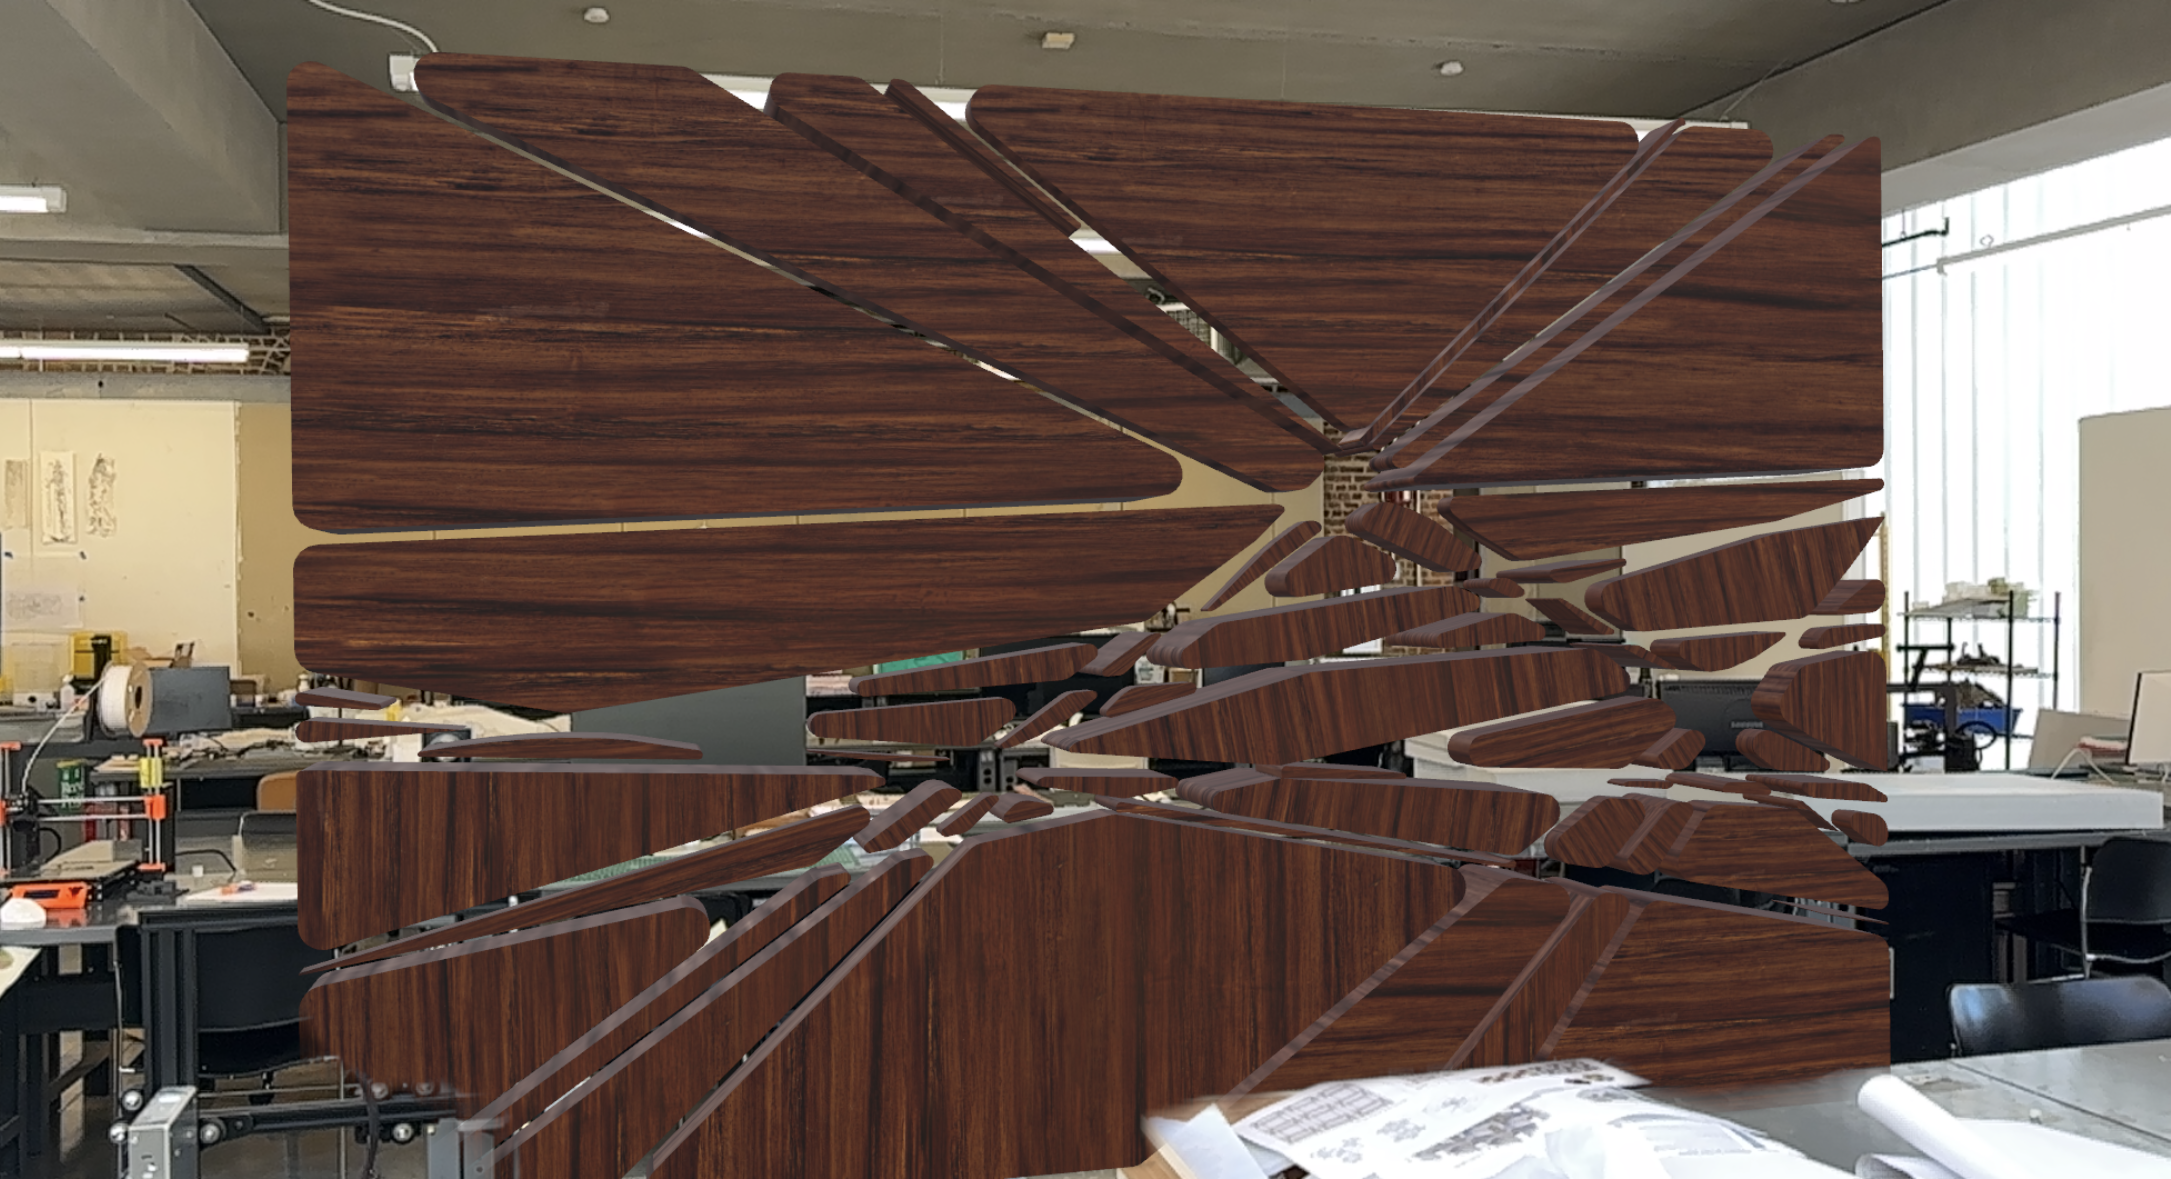
I approached this privacy screen project with a few key ideas in mind. My first goal was to use Kangaroo to create a swirling, growing effect—as if the screen were forming organically in its space. Additionally, I wanted to experiment with transparency and shape manipulation, allowing the privacy features of the screen to change parametrically. This adaptability would let the screen reveal or conceal more of what lies behind it, depending on its use.
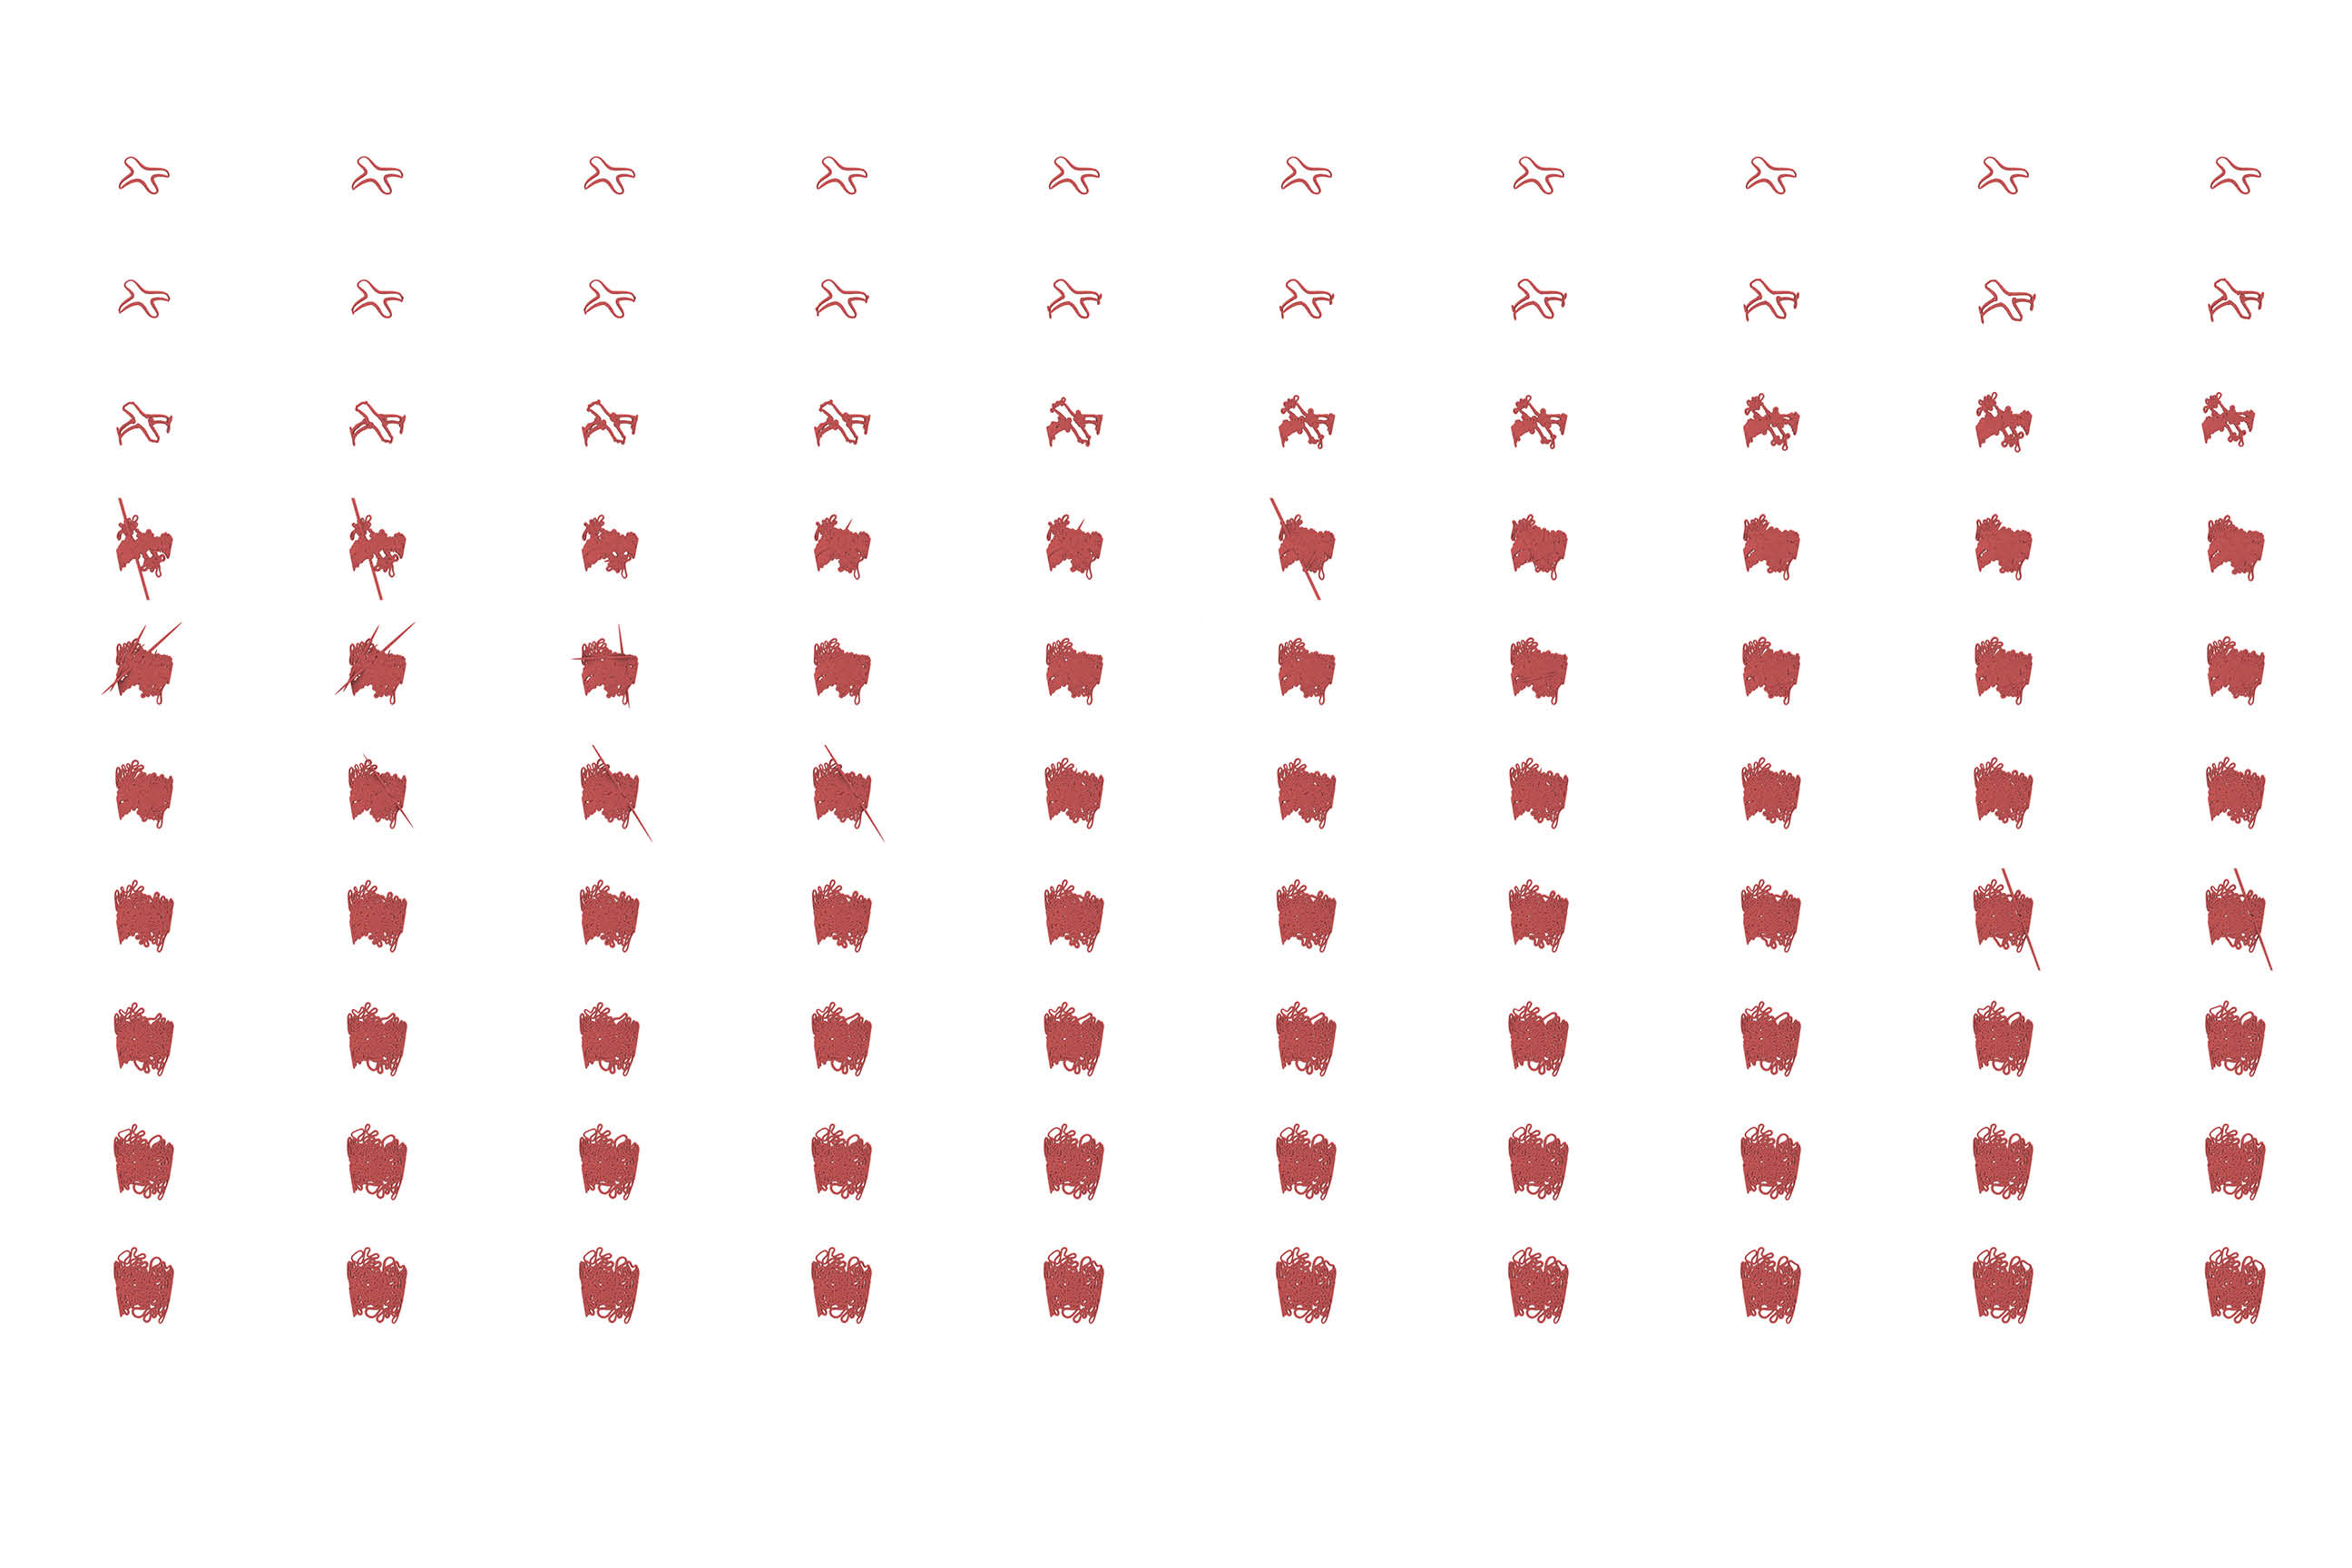
However, combining all these elements into a single model proved too computationally heavy to integrate into ShapeDiver. To address this, I broke the project into separate components. The first phase focused on the growth effect and the initial creation of the screen’s shape. This process is captured in a GIF and the series of 100 photos, showcasing the evolution of the form. The one at the top is my personal favorite but I included a few other variation as I played a with the settings and initial shape that it build from.

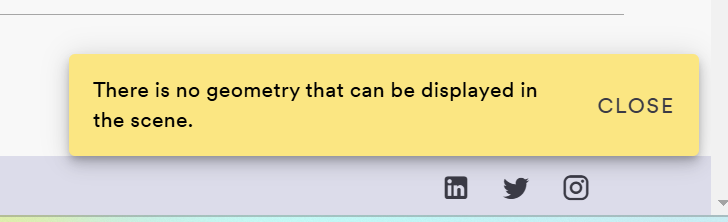
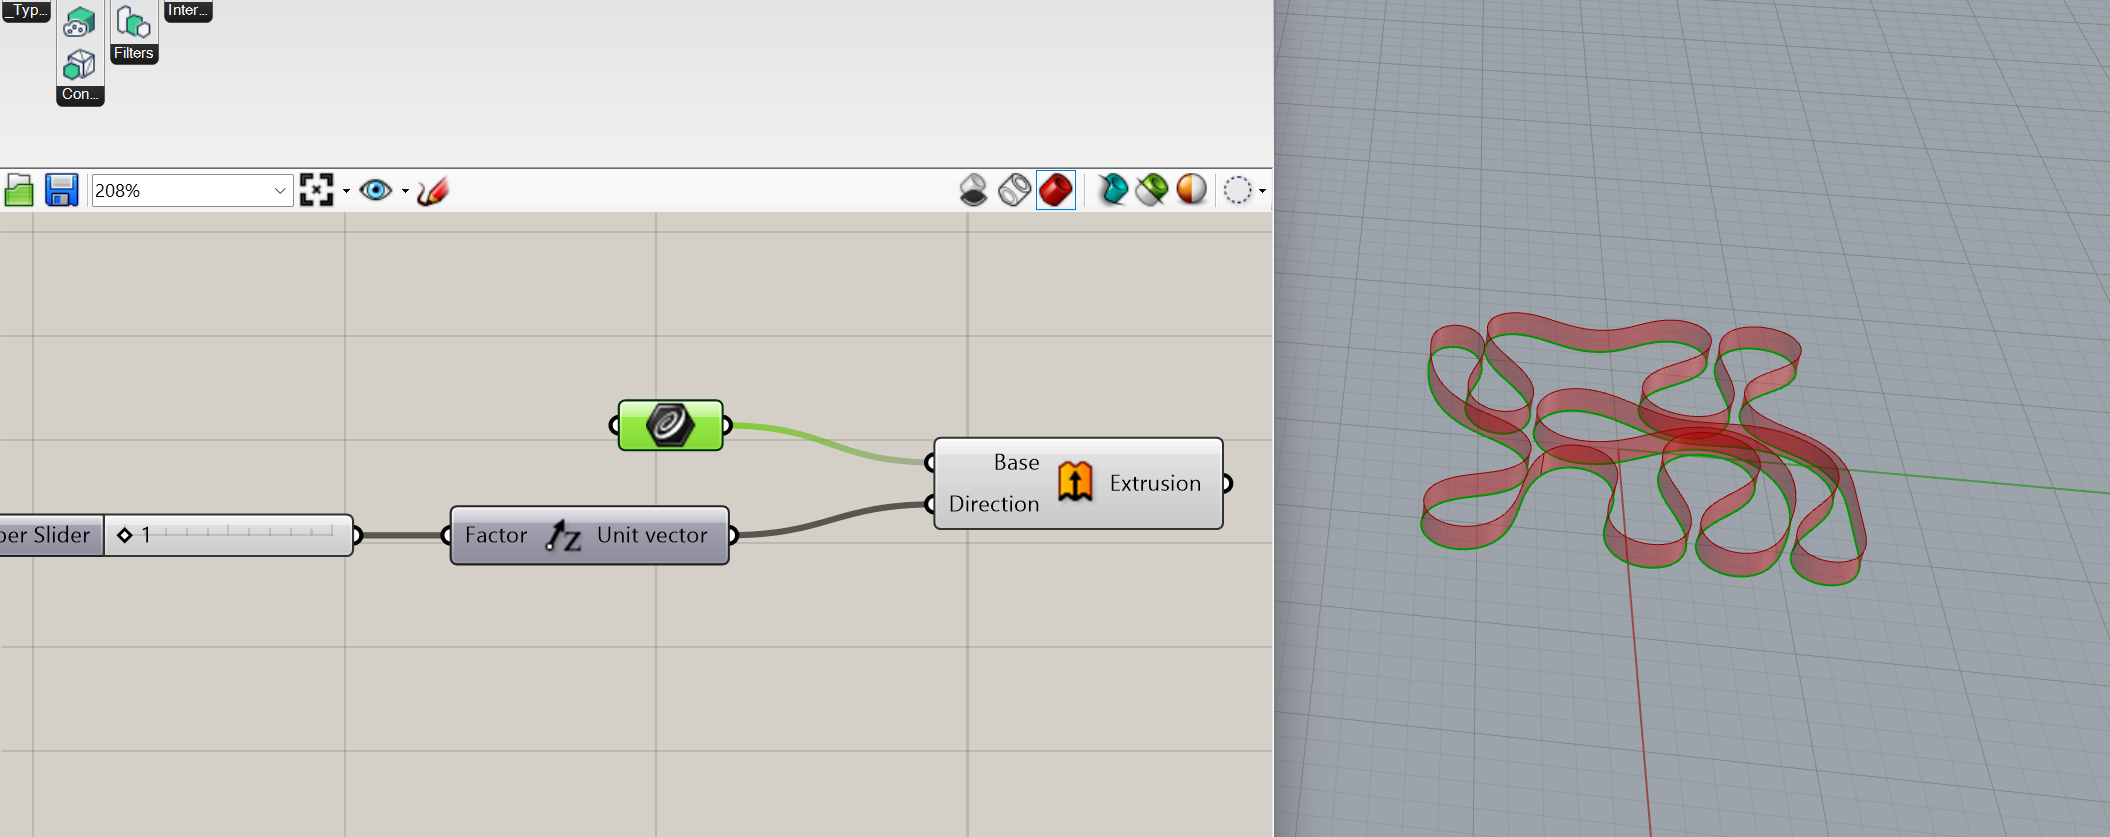
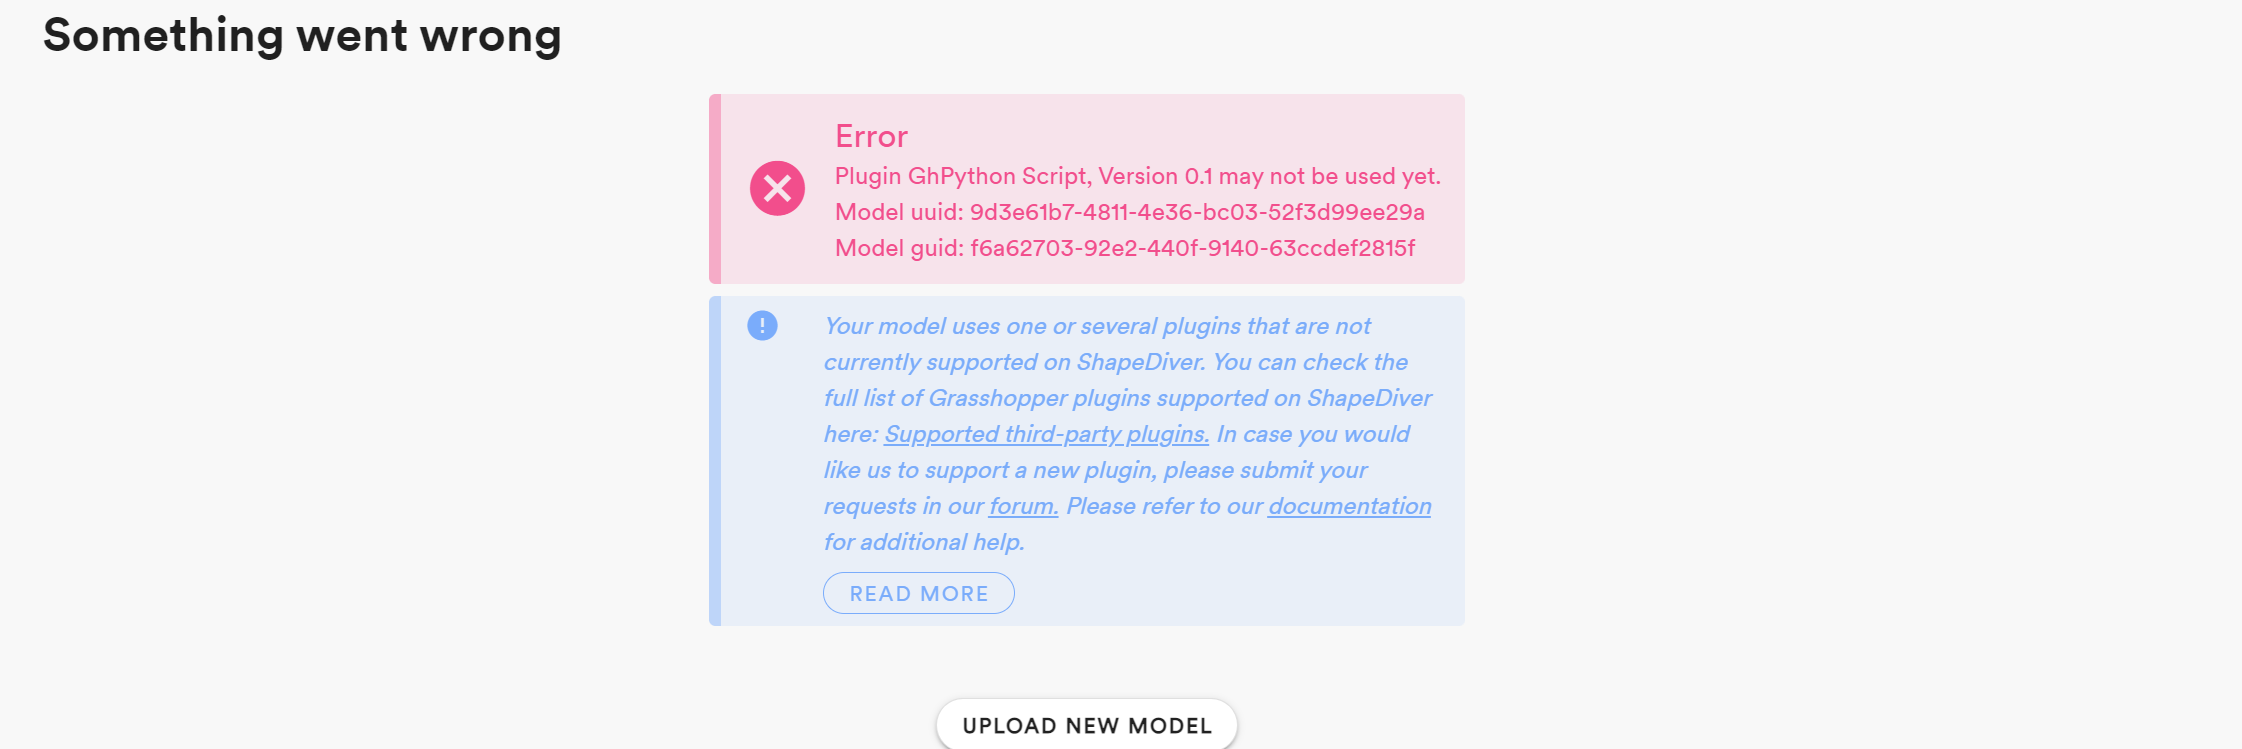
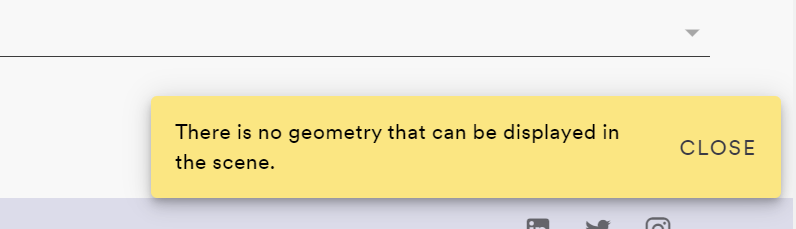
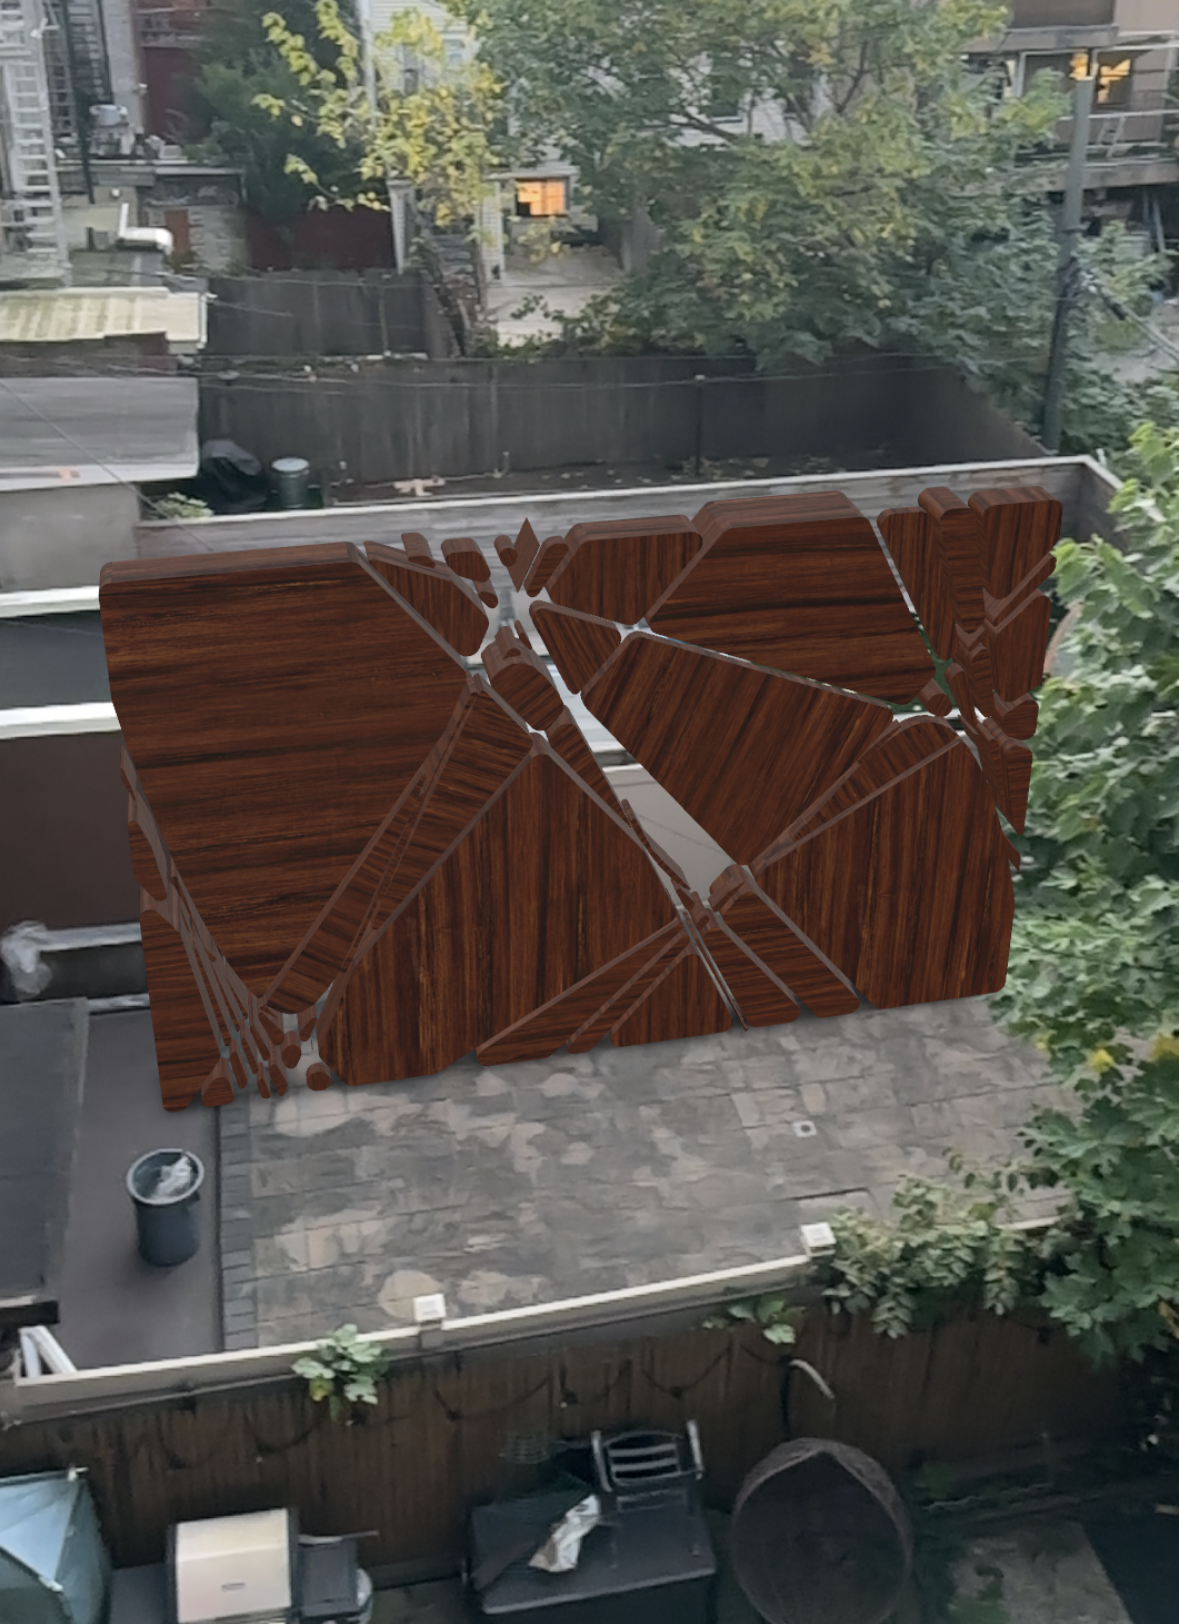
To try and get this geometry into ShapeDiver I selected my favorite configuration from the simulation results. This version retains the essence of the dynamic growth while allowing other aspects like transparency and shape to be altered in real time. I had an incredibly hard time getting this geometry into ShapeDiver, I exhausted all options that I could think of, simplifying the model, embedding geometry, reducing the number of sliders… nothing worked. I consistently got an error that there was no geometry to be shown even when imputing a model as simple as what is shown below. So, for now, I have everything shown in rhino but hopefully I can figure out what was wrong with ShapeDiver.
I utilized an attractor point to dynamically adjust the radius of the piping as it weaves through the model. This approach could be particularly useful in a privacy screen, allowing for controlled visibility by modifying the points where one can see through while still maintaining a sense of privacy.
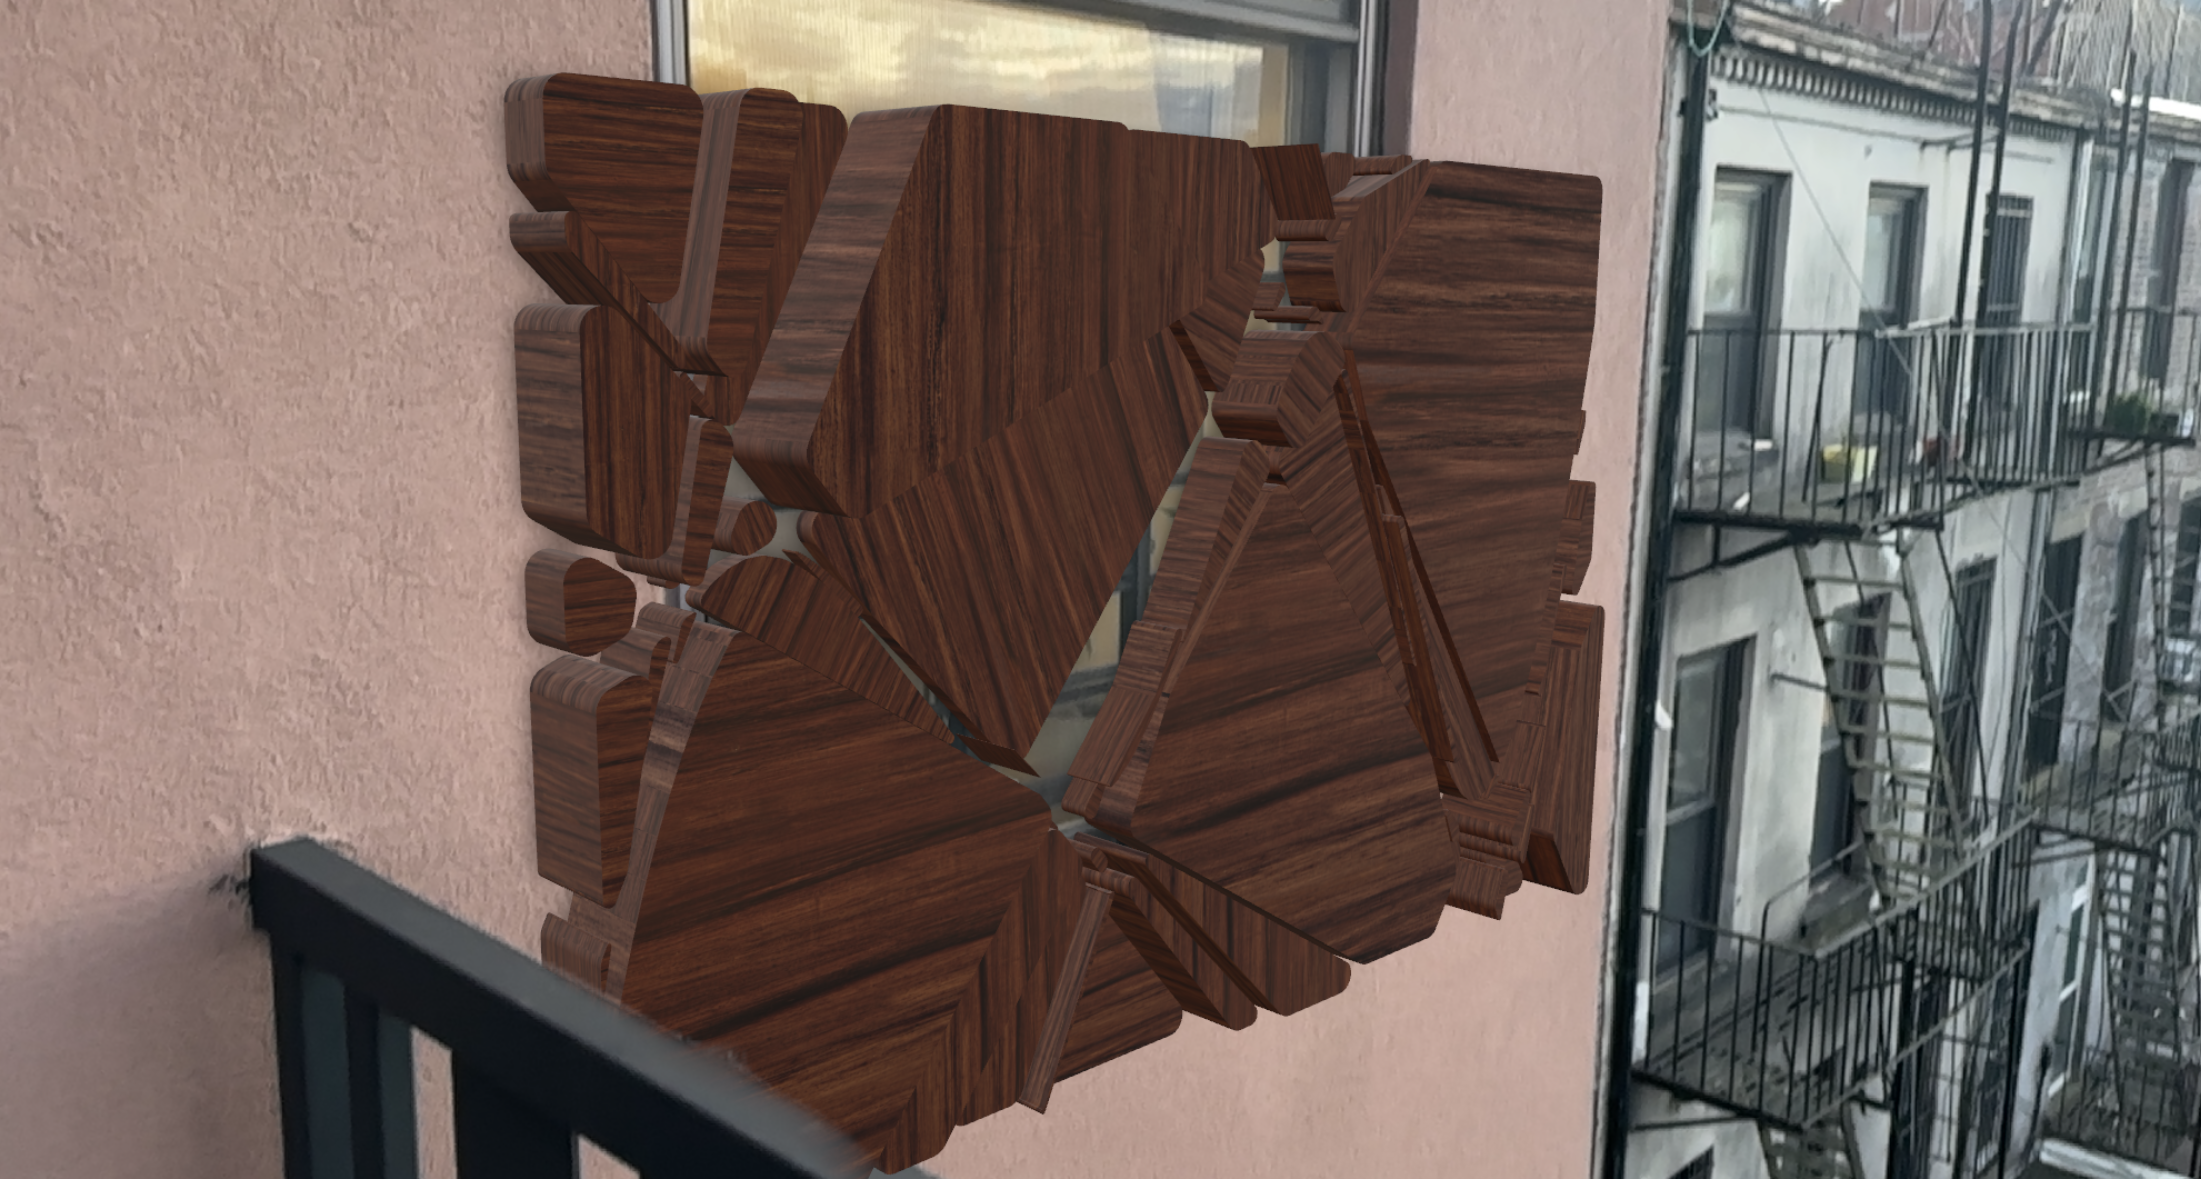
I also aimed to design a form that could transition between open and closed states, transforming from a flat wall into a fully enclosed circular partition.
Lastly, I experimented with transparency, incorporating gradients to create sections of the model that transition between transparent and opaque, moving dynamically along the geometry.


You must be logged in to post a comment.