Interesting.. (Grace! Read!)

http://www.treehugger.com/green-architecture/para-eco-house-tongji-university-students.html

Hey folks (Grace!)

I saw this online and thought of Grace’s design. It’s similar with the intentions of having some thermal control and integrating that into a space. The material choice may be interesting if you want that to contribute to your thermal control. (Are you including this with your thesis?). Anyways, still an interesting project. You can do it! =]

As for me… I’m still playing around with components to achieve seasonal conditions..not fun -_-.  But what I want to do now are the following:

Summer:  no direct sunlight before 10am
Winter: Maximum privacy and bounce light on ceiling onto walls (so no direct sunlight at all)
Spring/Fall: no direct sunlight on bed

Do these work as seasonal conditions?

Found something interesting!

Hi Guys!

I found this concentric circle grasshopper blog post while I was looking up manipulating waves.

http://www.grasshopper3d.com/forum/topics/wave-interferance

InputWaves

Reminded me of Rafi’s project, but it’s interesting nonetheless.

If anyone can help me. I made my “wave louvers” in rhino and referenced that as a brep to GH. However, I can’t manipulate that shape unless I draw new curves and loft them in rhino and reference them again into GH. Which sounds like a pain and I KNOW GH CAN DO IT.

Is it possible to reference a rectangle solid or boundary into GH and then extract points along that boundary and manipulate the curves? I want to create a wave inside the boundary box so that I can control the wave, ex: one side being thicker and the other side being thinner and lower.

Any help is appreciated!

MESS of a WINDOW

Hey Guys!

Here is an update on my window progress. I’ve added a second component, which is a lamp that hangs out to the side of my skylight.IMG_4728

Here is my entire mess of GH definition. It’s a mess:

ima mess

As you can see, My sun study is a mess. Orange is everywhere.

Here is the new Louver Window Hanging System with the added lamps (2 spheres):

aimwithlamp

Different views:

aimwithlamp_4views

Louver GH def:

gh_def

But how to notch?!

HOW TO NOTCH

Here is prototype:

IMG_4730 IMG_4732

Problems:

I wasn’t able to notch via rhino, and had to fudge it with illustrator and the “make2d” command in rhino. Therefore, it isn’t true. The prototype is a lie! However, I am glad I went through this process to understand how I needed to make this into a reality, along with my other frustrations of creating and designing.

Thanks!

V

Responsive Screening System

module-animationimage-9

The parametric screening system will account for realtime weather, light and temperature conditions to control for an ideal interior condition. Using a egg crate structural system, smaller, flexible modules made of mylar or textile will be inserted into each frame module. The flexible components will have to segments that unfold independently on a Y and Z axis. By allowing the axis of each to work independently, the system can respond more intelligently to data, either blocking, bouncing or non-interfering with light and temperature.

Grasshopper Definition:

The grasshopper frame is based on a rectangular grid system and broken down to an egg crate support frame. Two flexible modules per rectangular component are them created based of of proportional points of the frame. The geometry movement is created by rotation around points.

animation-4

Movement only the Y axis:

animation

Movement on the Z axis:

animation-two

Movement on the Z and Y axis concurrently:

animation-3

Kinetic Prototyping 

The prototype uses linear motion to pull on the corners of each modular component. Currently the prototype is activated by pulling on the end handles. Next steps will include moving towards a rack and piston mechanical movement.

photo 5

photo 2

photo 3

Robotic Next Steps:

I will begin moving into using Arduino in order to respond to realtime environmental conditions. Possibly, I will using streaming weather data via a wifi connection. Other options would be to use on site sensors to collect light and temperature data.

Arduino:

ArduinoUno_R3_Front

Stepper Motor for activating movement via a rack an piston.

Nema_17_Stepper_Motor

Light/Luminosity sensor.

luminosity-lux-light-sensor-439-00

Temperature and humidity sensor.

temperature-humidity-385-00

Window Screen – Hexagons

Hi All,

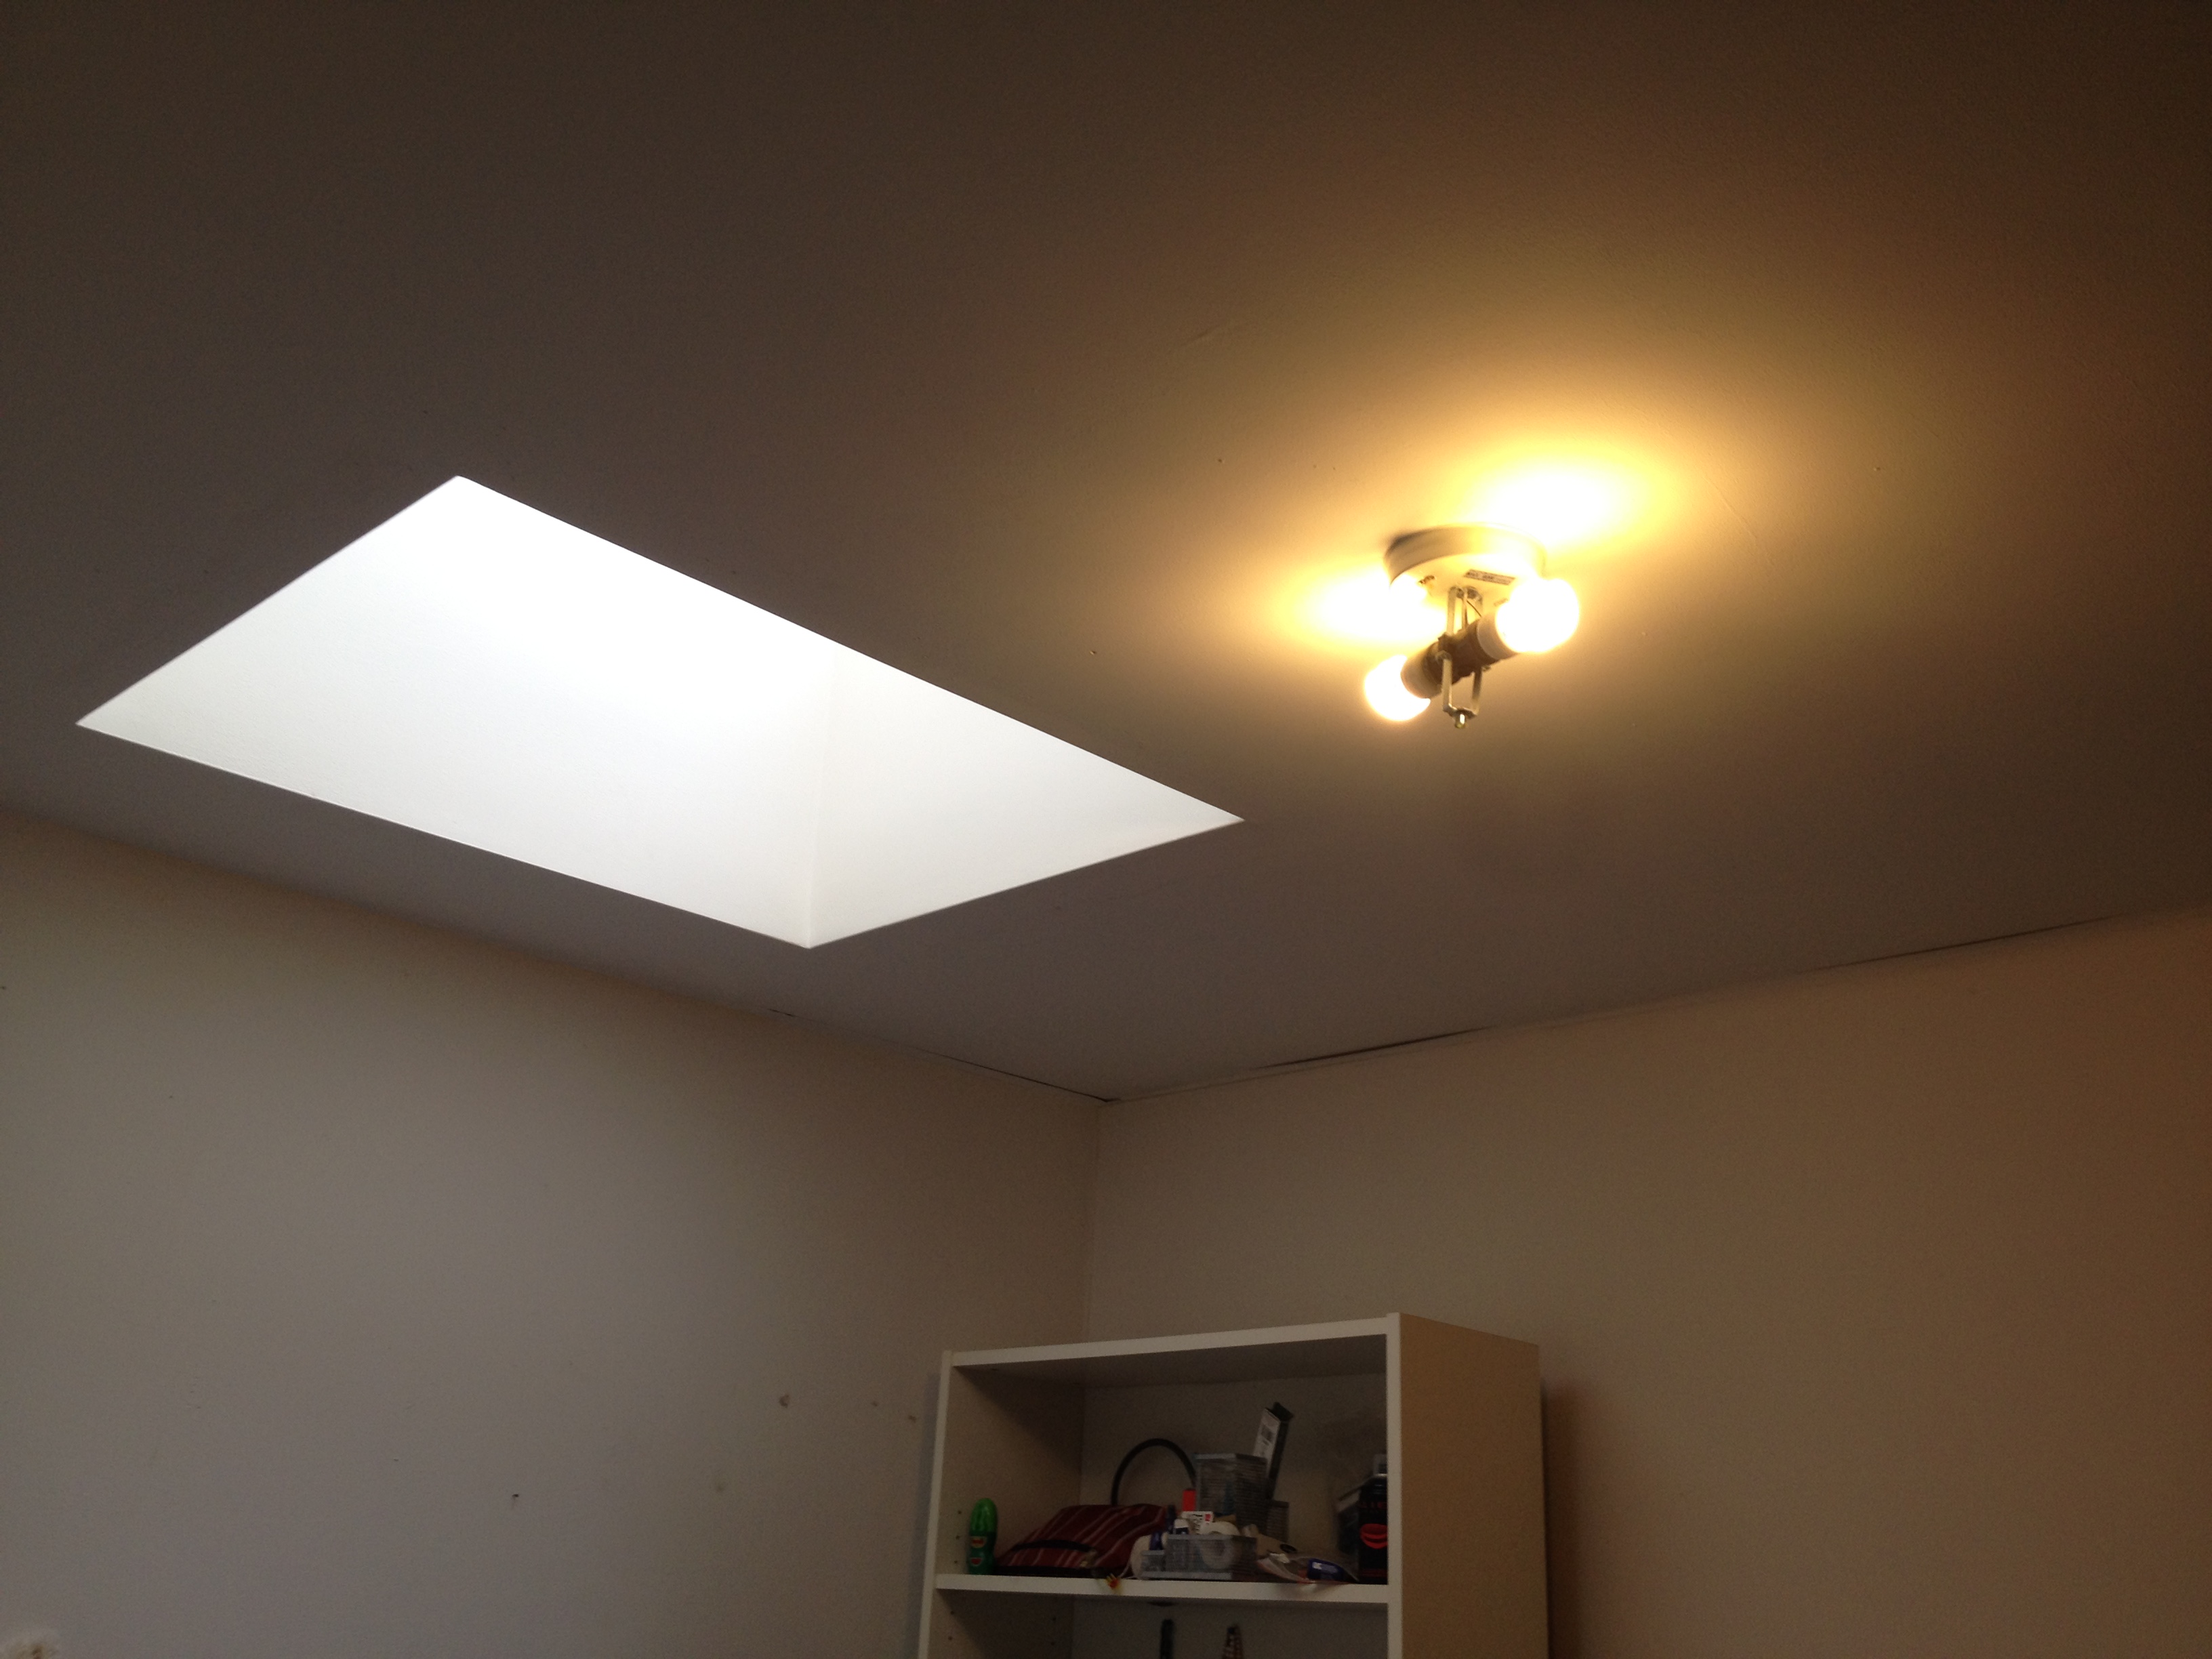
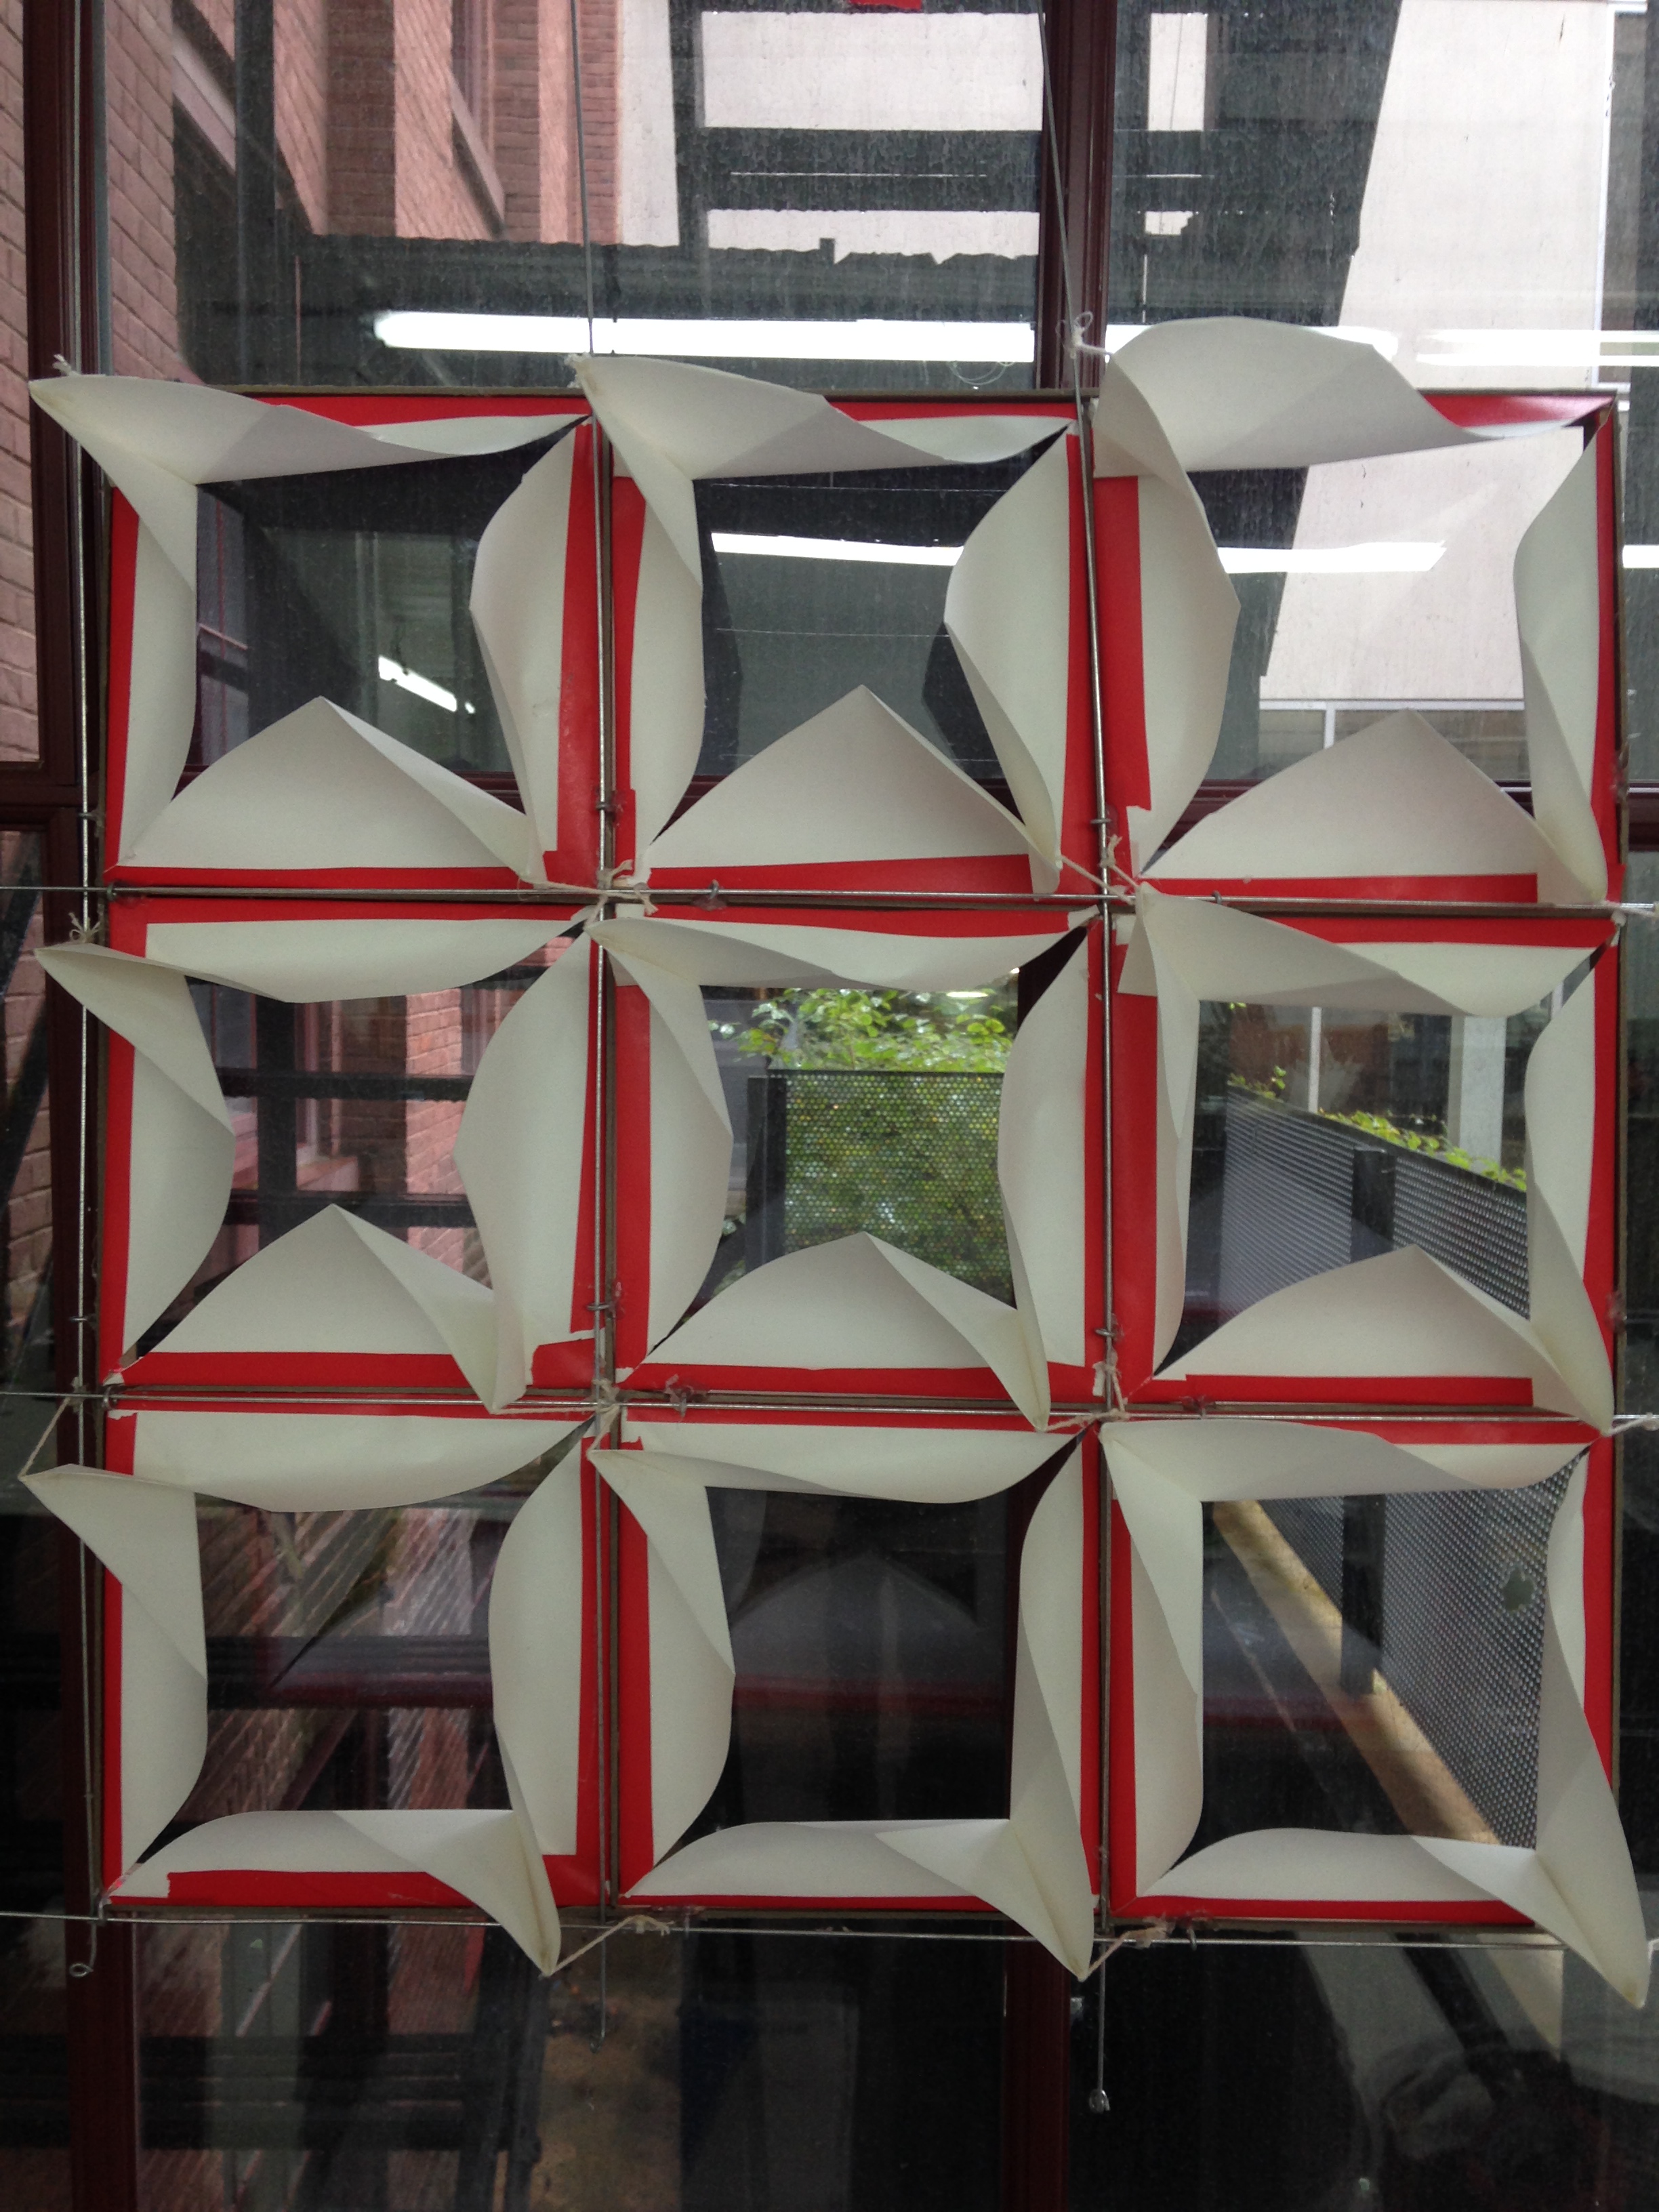
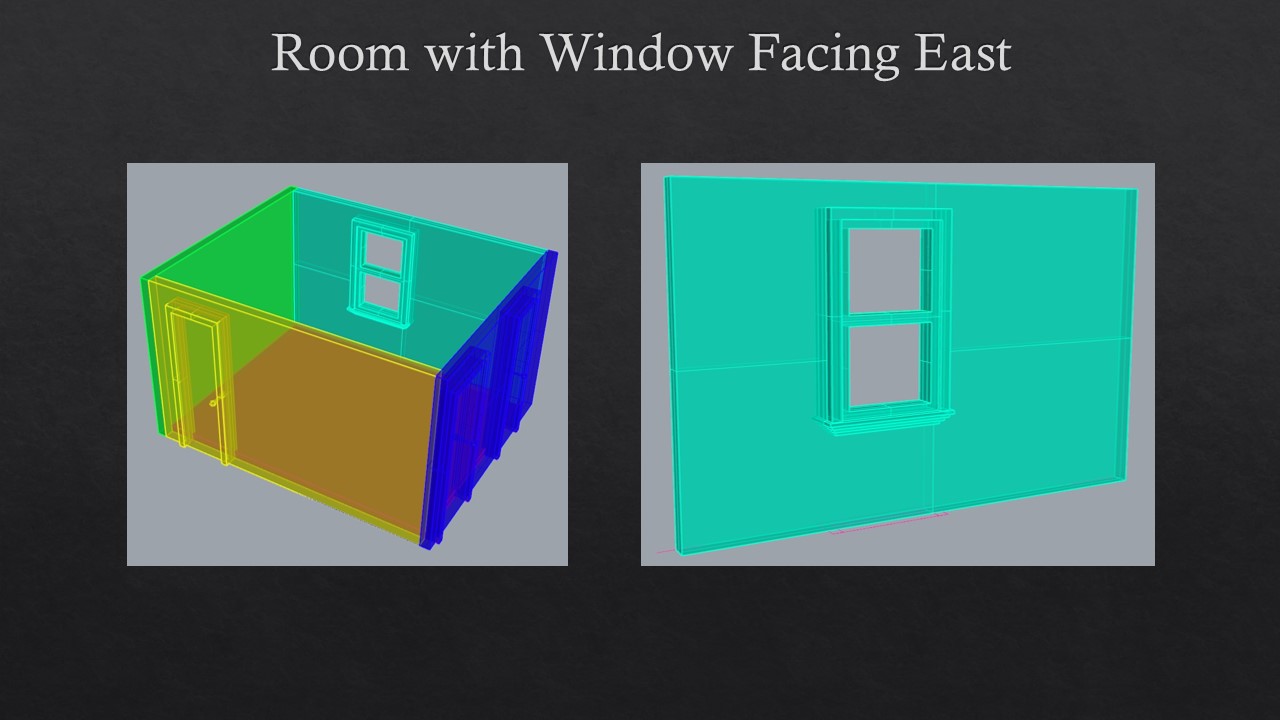
So I have my window screen. Yay. The room has a window facing the East which means there’s a lot of sunlight that comes in which I hate, so I wanted to make a screen that would control the amount of light that comes into the space.

Slide2

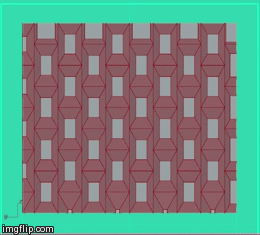
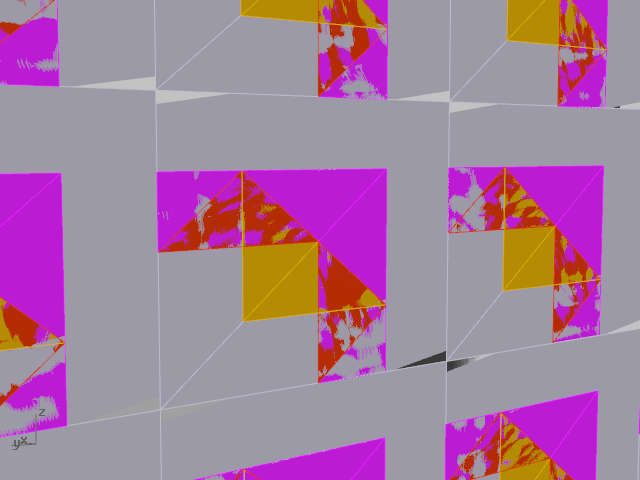
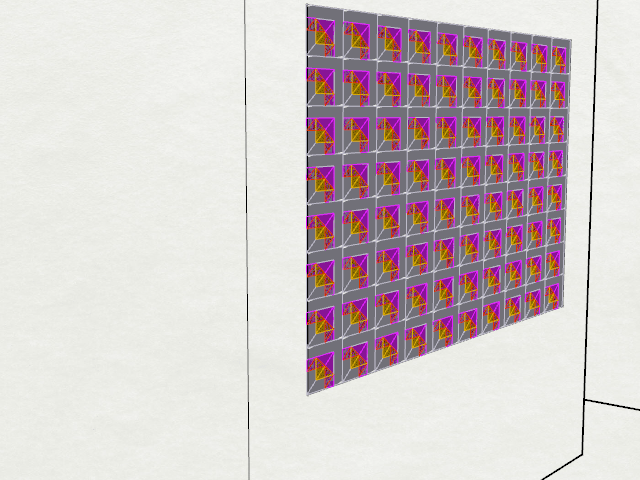
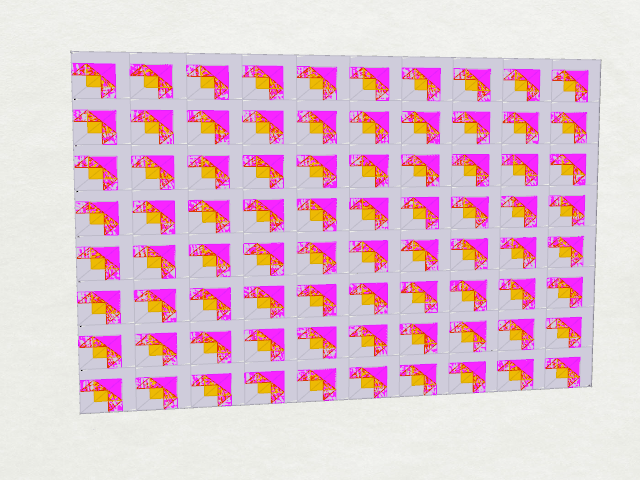
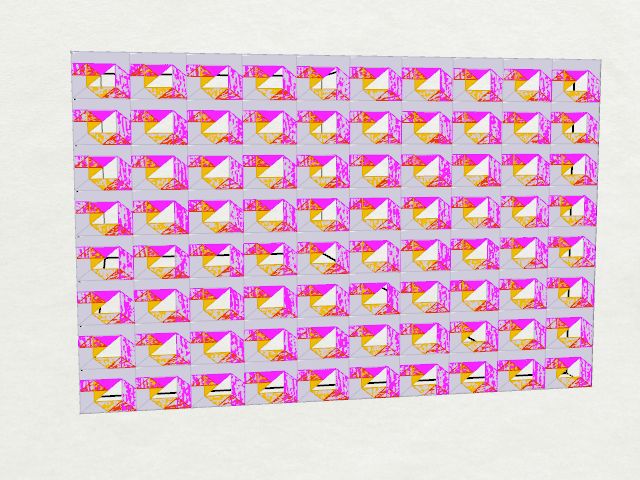
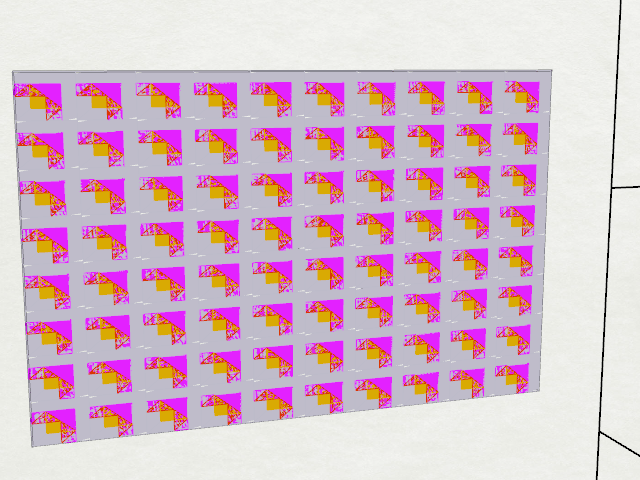
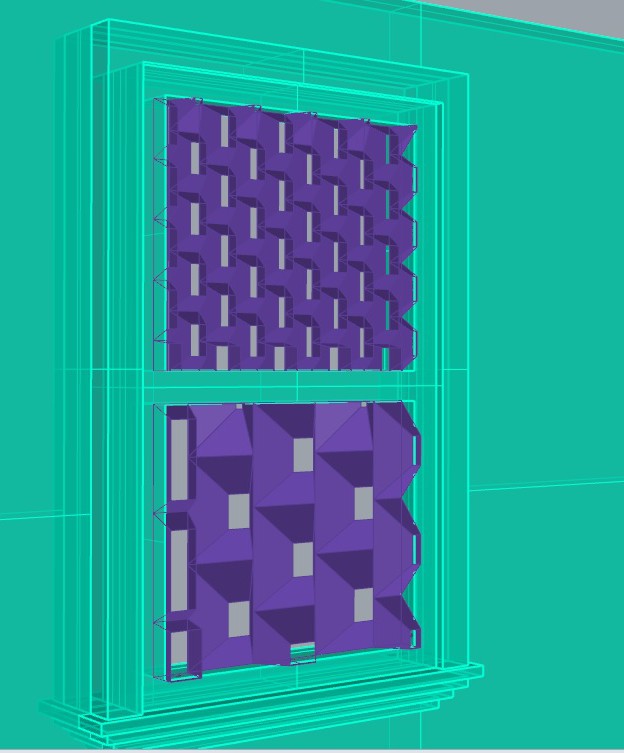
Below is the screen I decided to make followed by the definition.

Window image

Slide4

Design Drivers:

±Controlling the number of Hexagons (Length)

HexLength

±Controlling the number of Hexagons (Width)

HexWidth

±Controlling the Depth of the screen

HexDepth

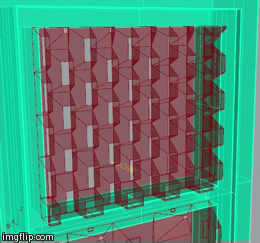
±Controlling the Angle of the Hexagon

HexAngle

±Controlling the Size of the Hexagon center holes (Closer to UV = Smaller hole)

Attractor - size of hex hole

±Controlling the Maximum distance from the center of Hexagon

MaxDistance

±Controlling the Minimum distance from center of Hexagon

MinDistance

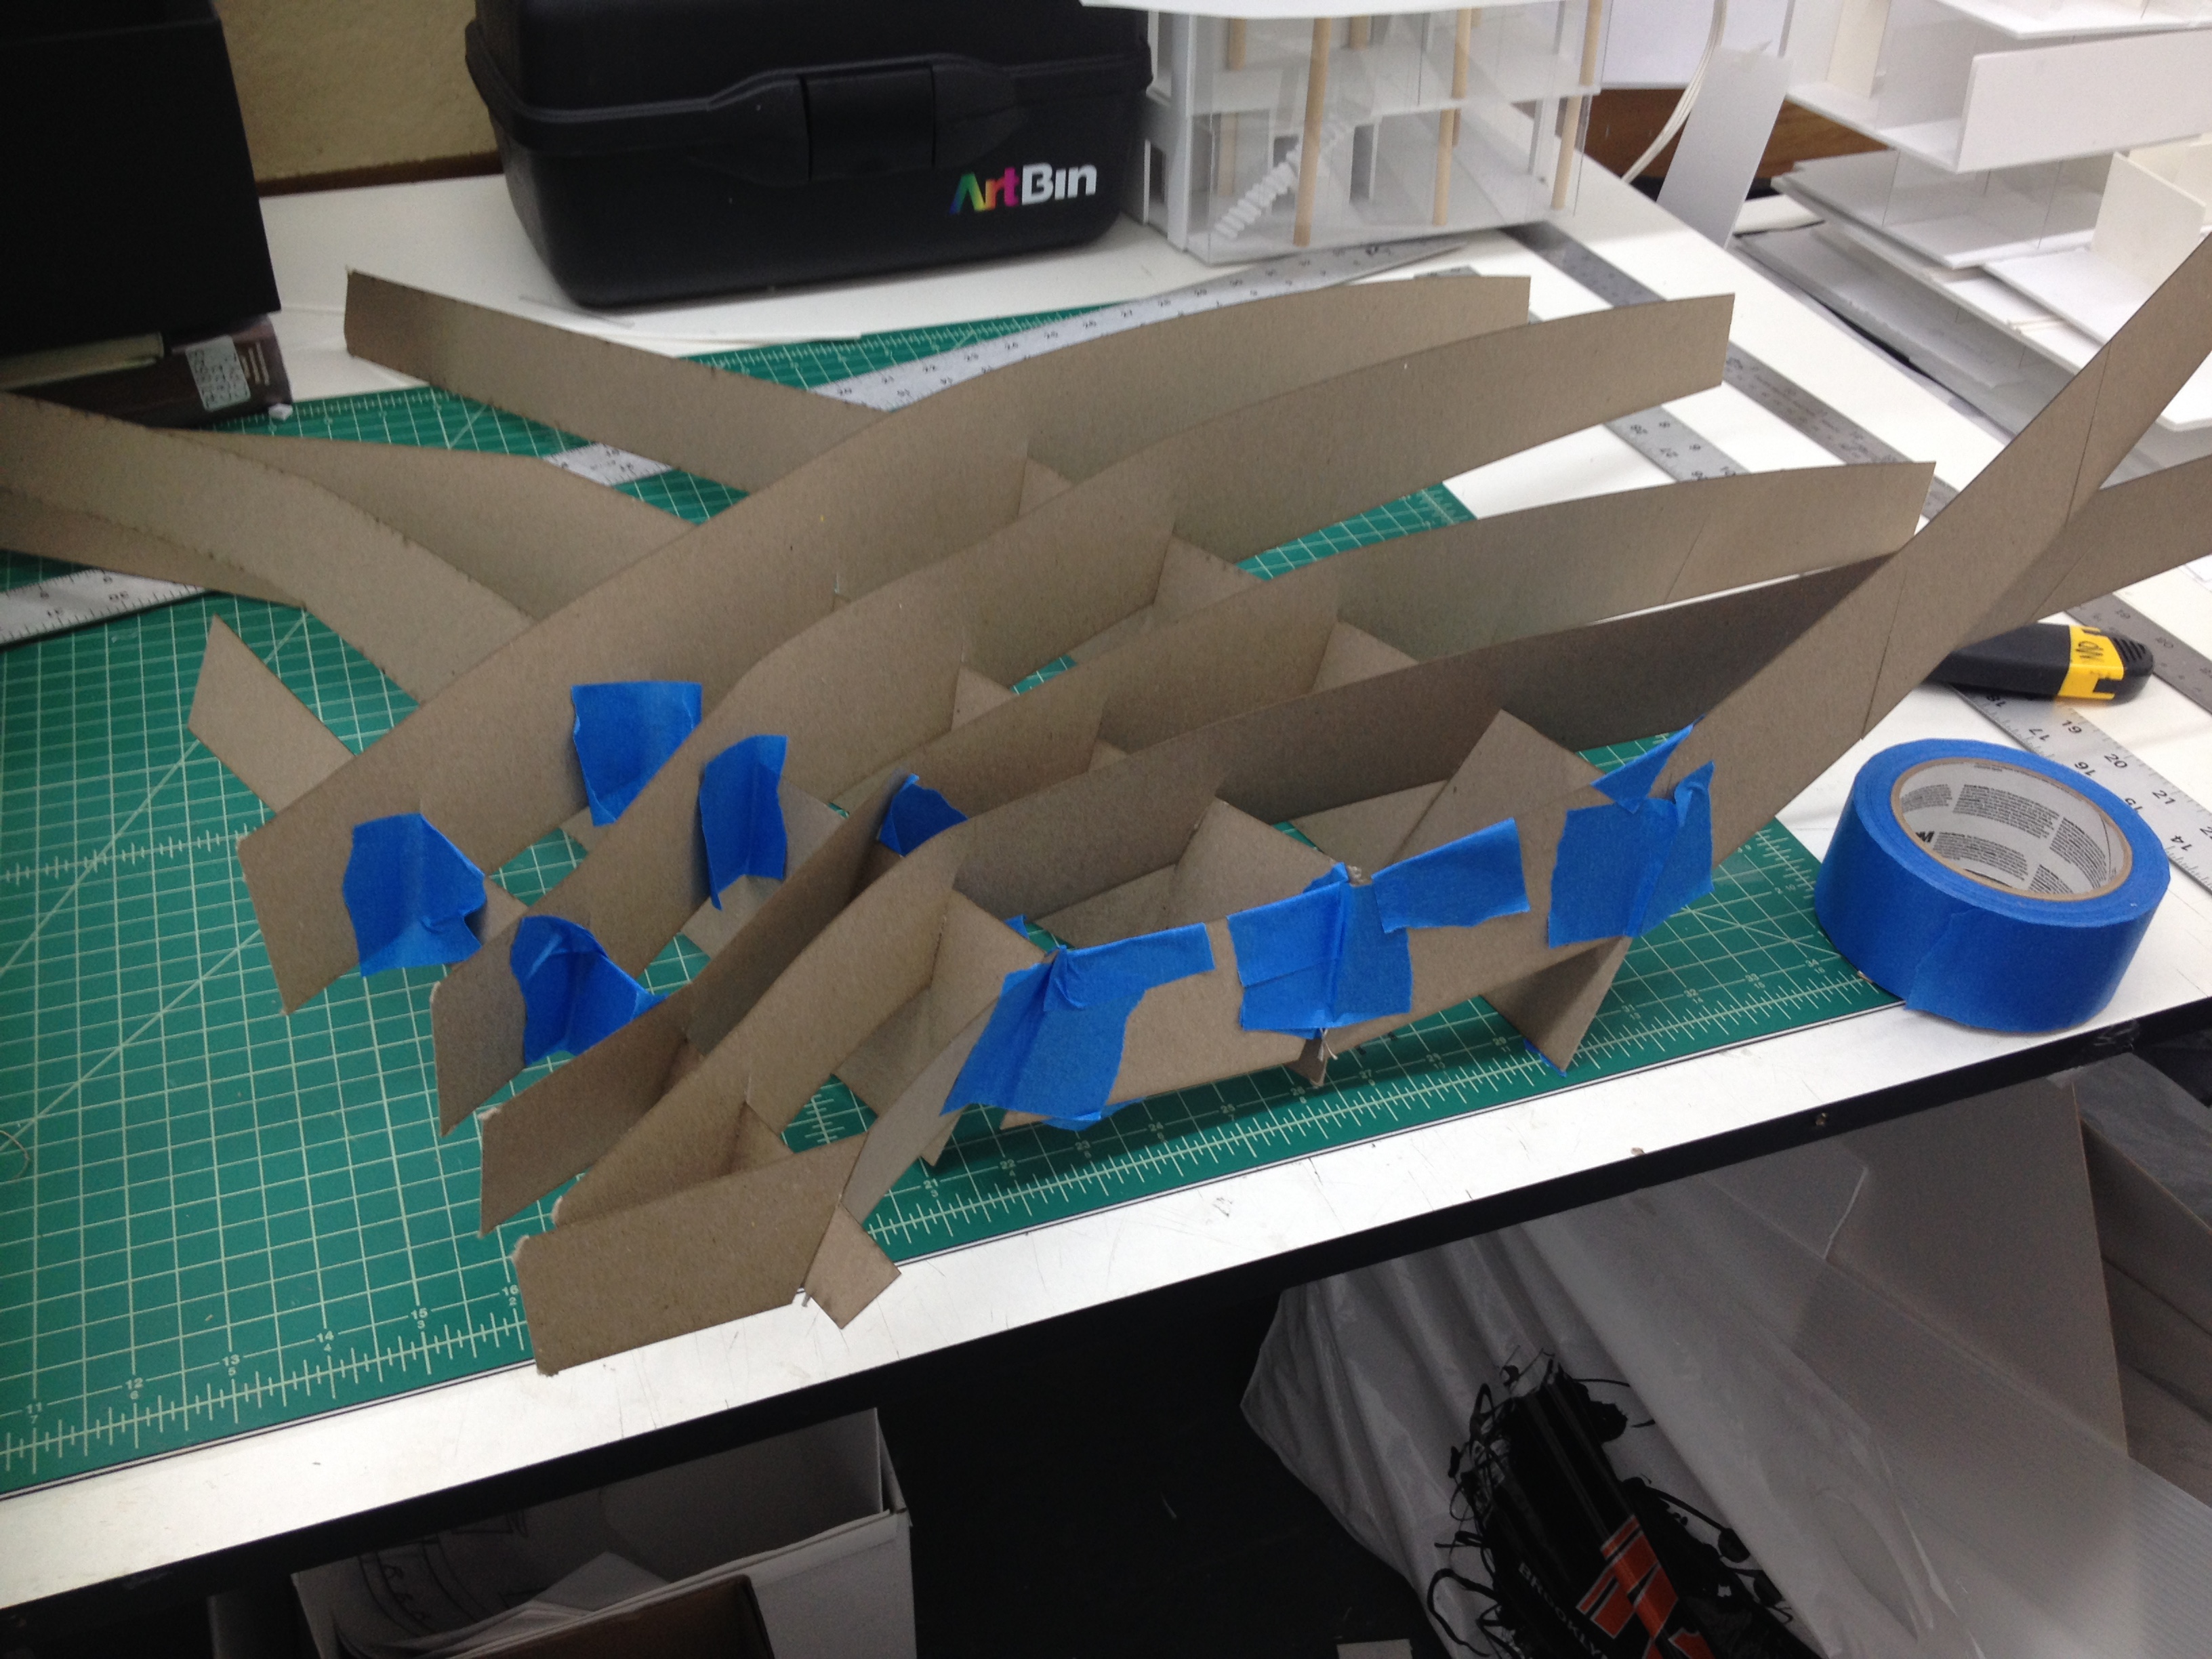
Building a Prototype:

To build a prototype of my screen, I used the unfold tool to laser cut my file. I tried tagging the items but it looked a bit weird as the tags were floating by the objects, but not on them. I just used Illustrator to add the tags to the pieces myself.

Slide5

Unfolded pieces

1415149559862  Snapchat--7966599030237766992 Snapchat--7356075119314060376

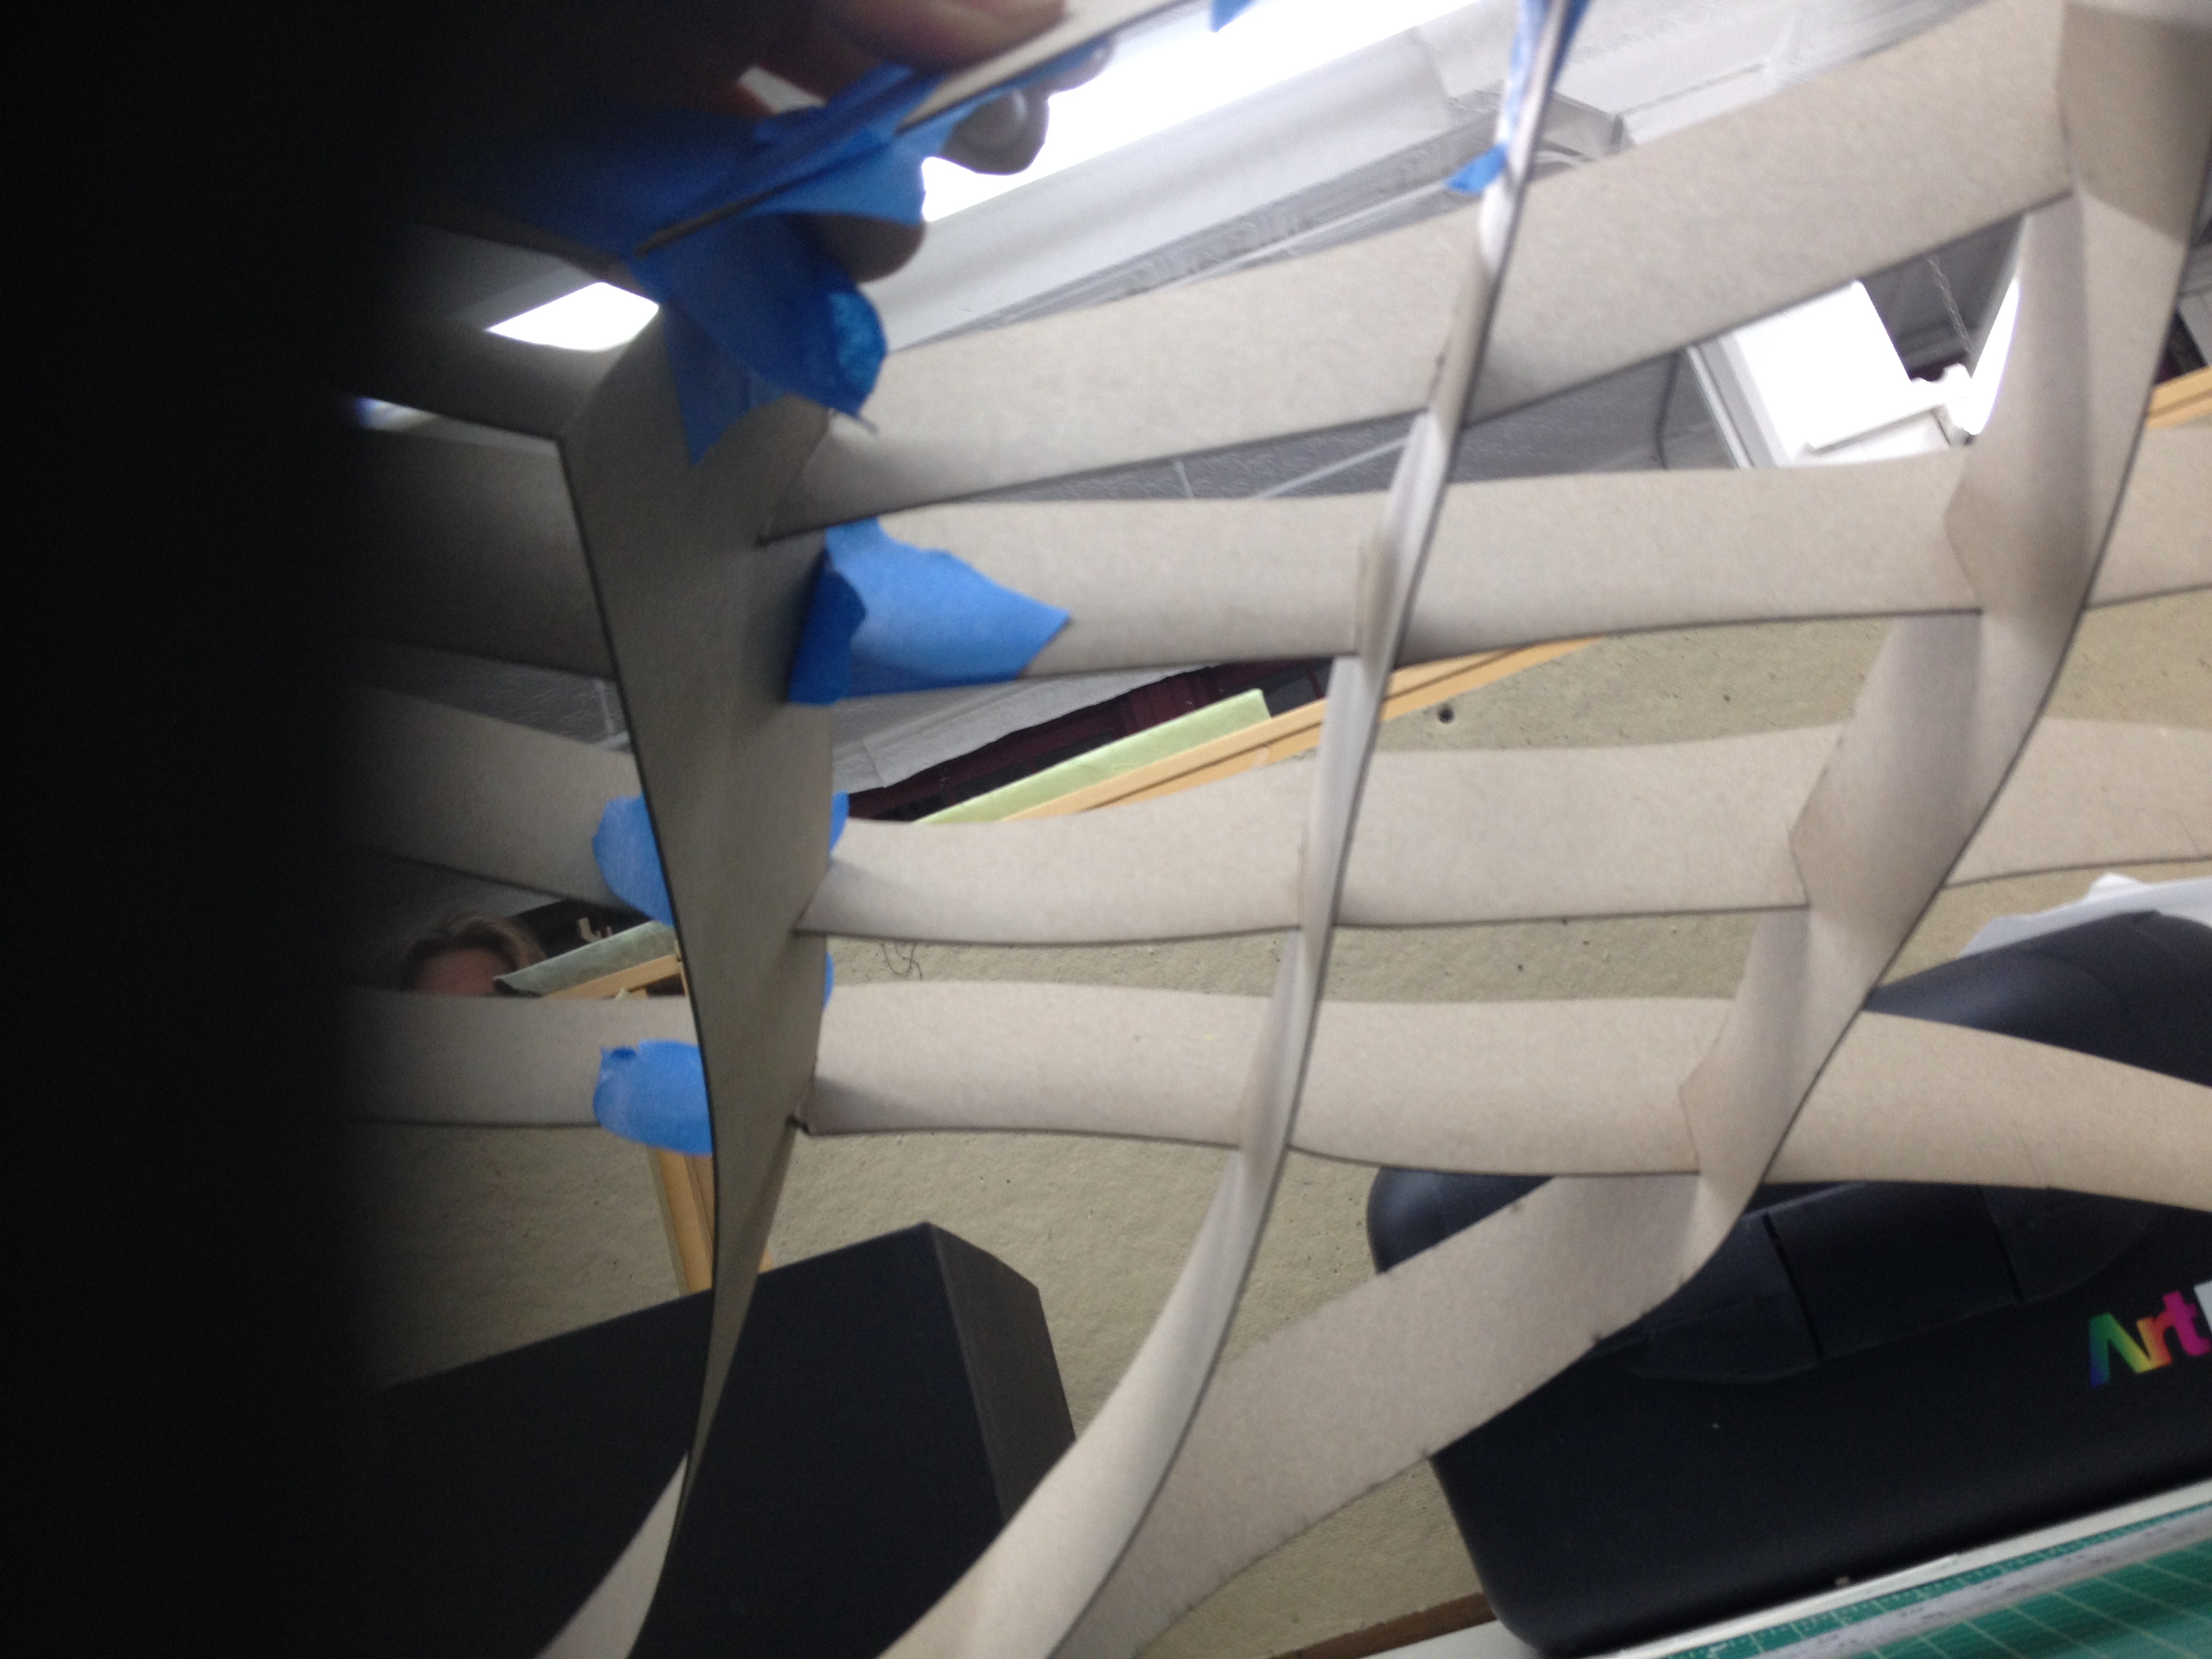
I’m pretty happy with how it turned out. It would be easier to assemble if I had tabs but I kind of like the way it looks without the tabs. As far as attached it to the window, I would want to attach it to brackets. It’s against the window above. Of course this is at night, so I’ll have to see how it does in the daytime…when it is not cloudy and raining.