Month: April 2013
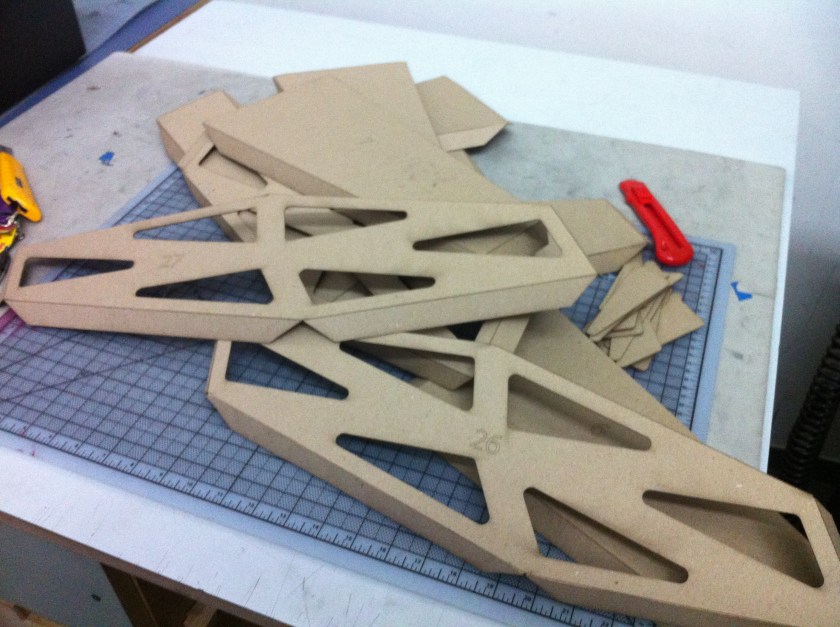
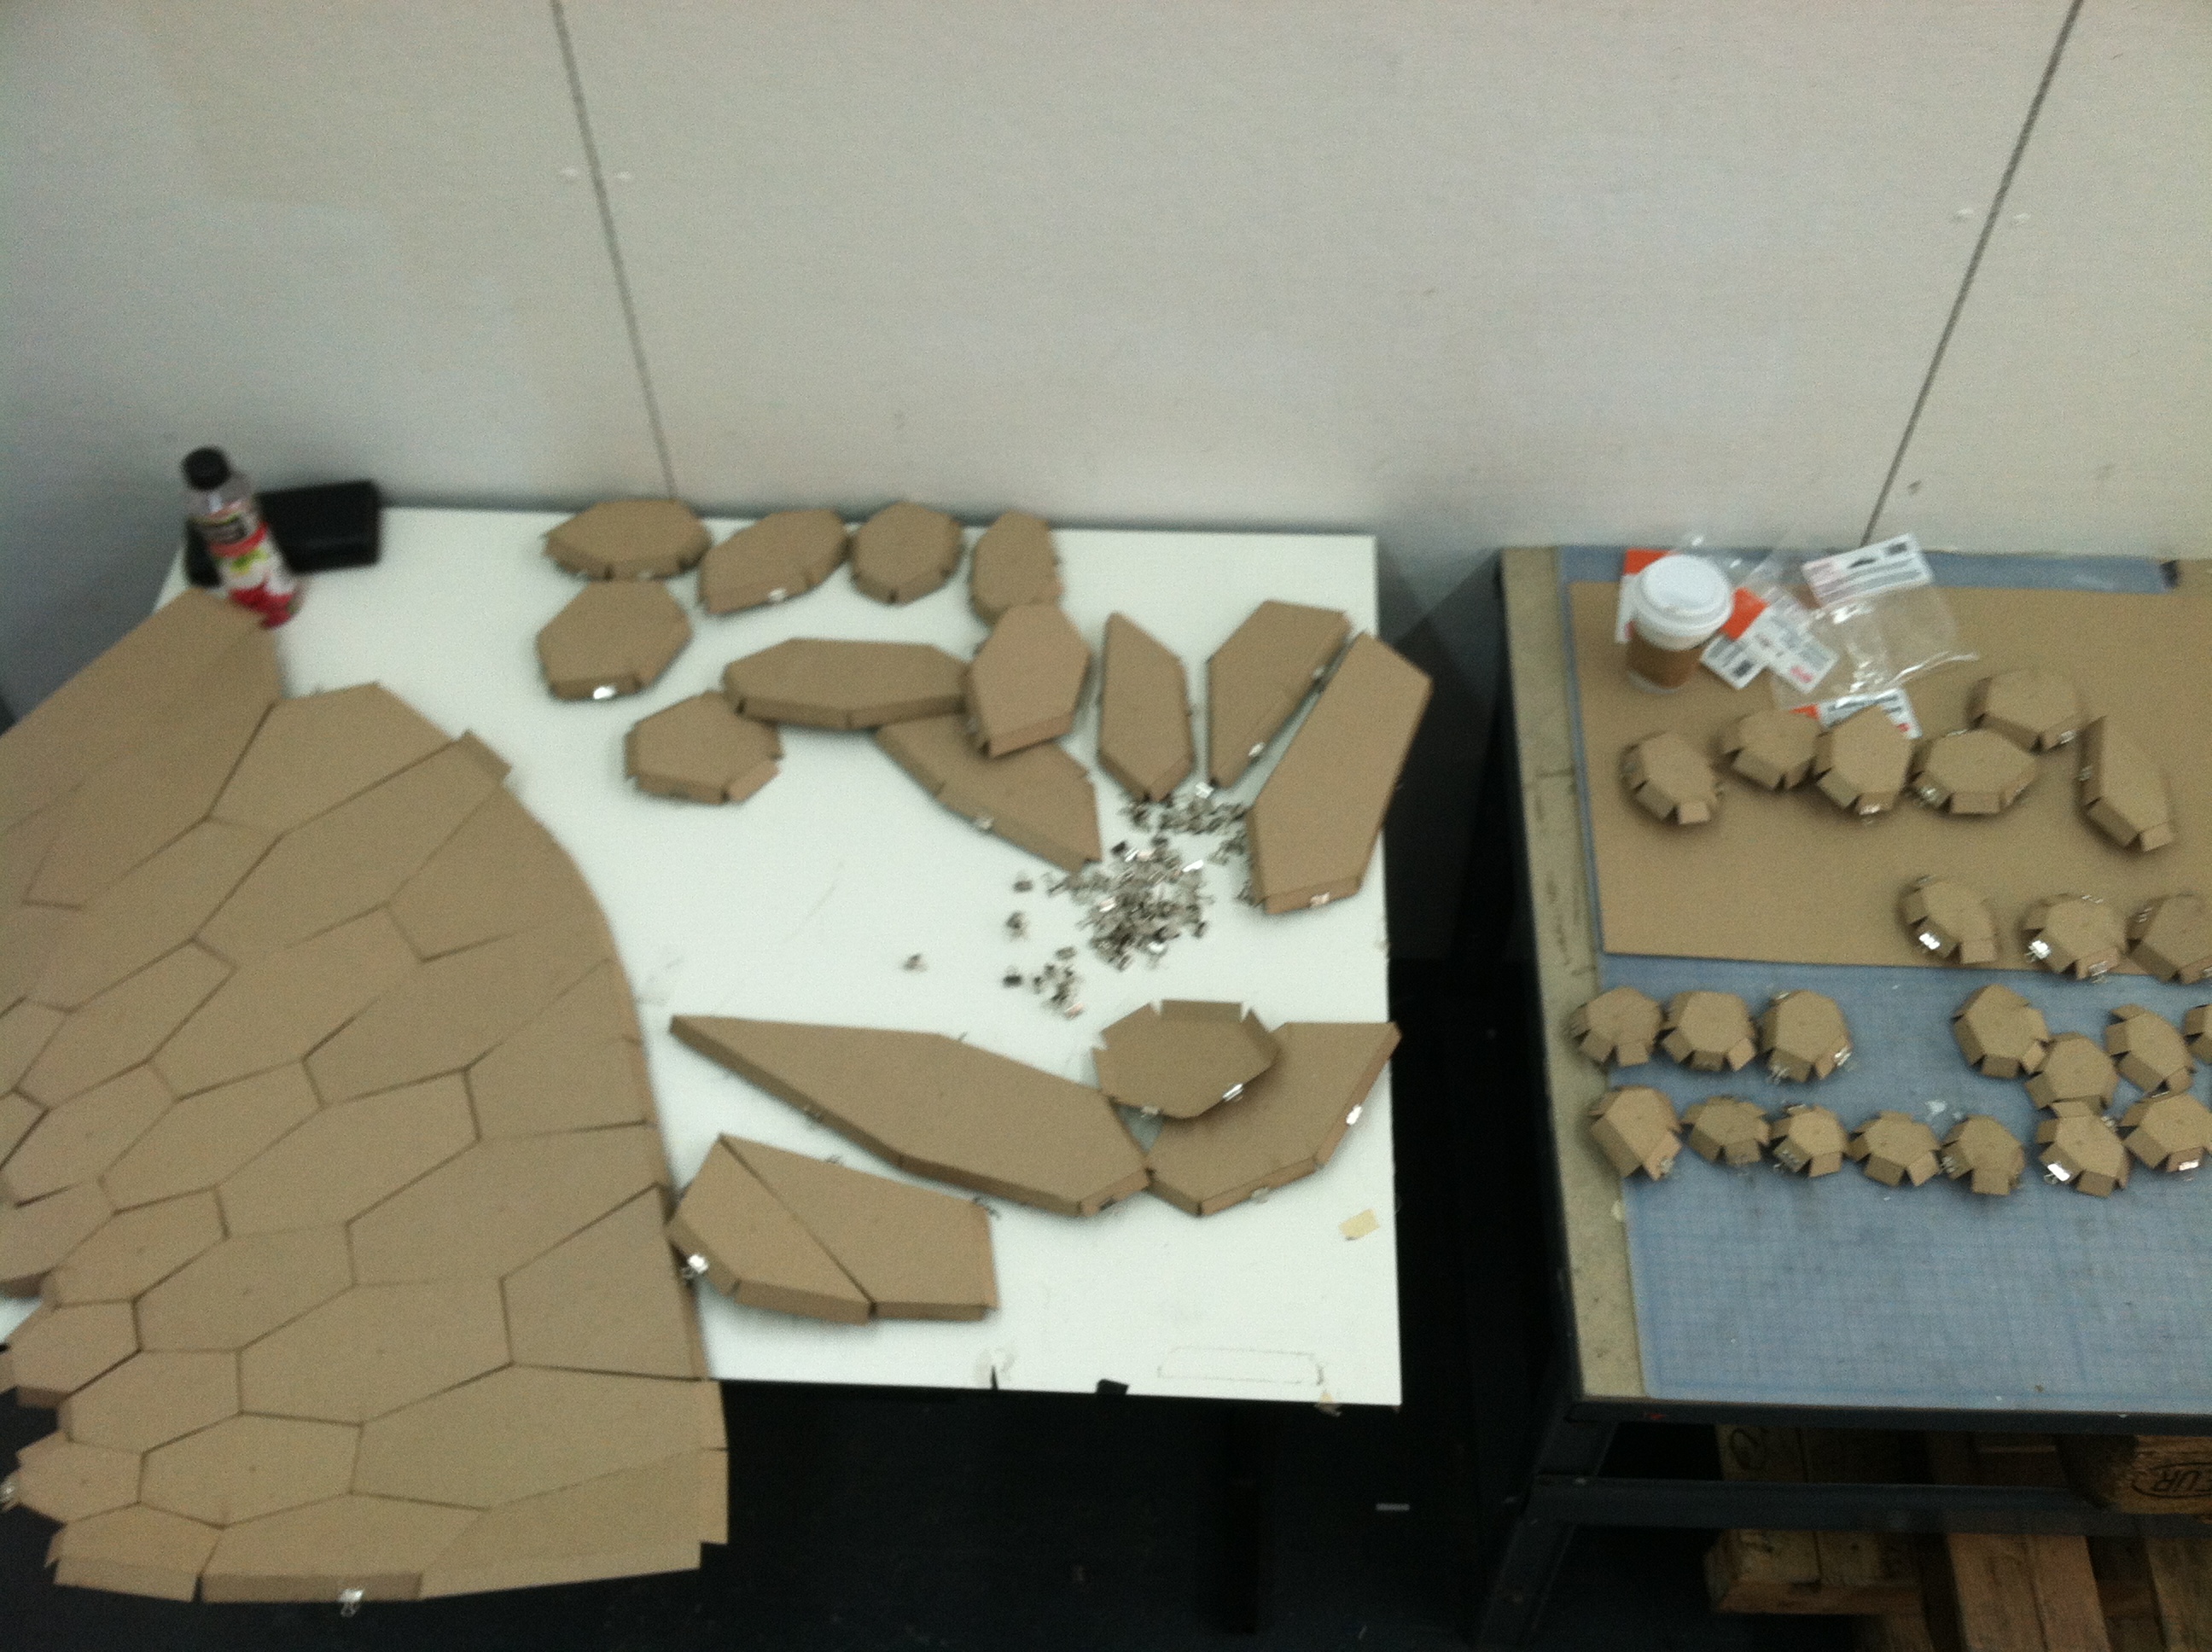
the solid bottom pieces of our model
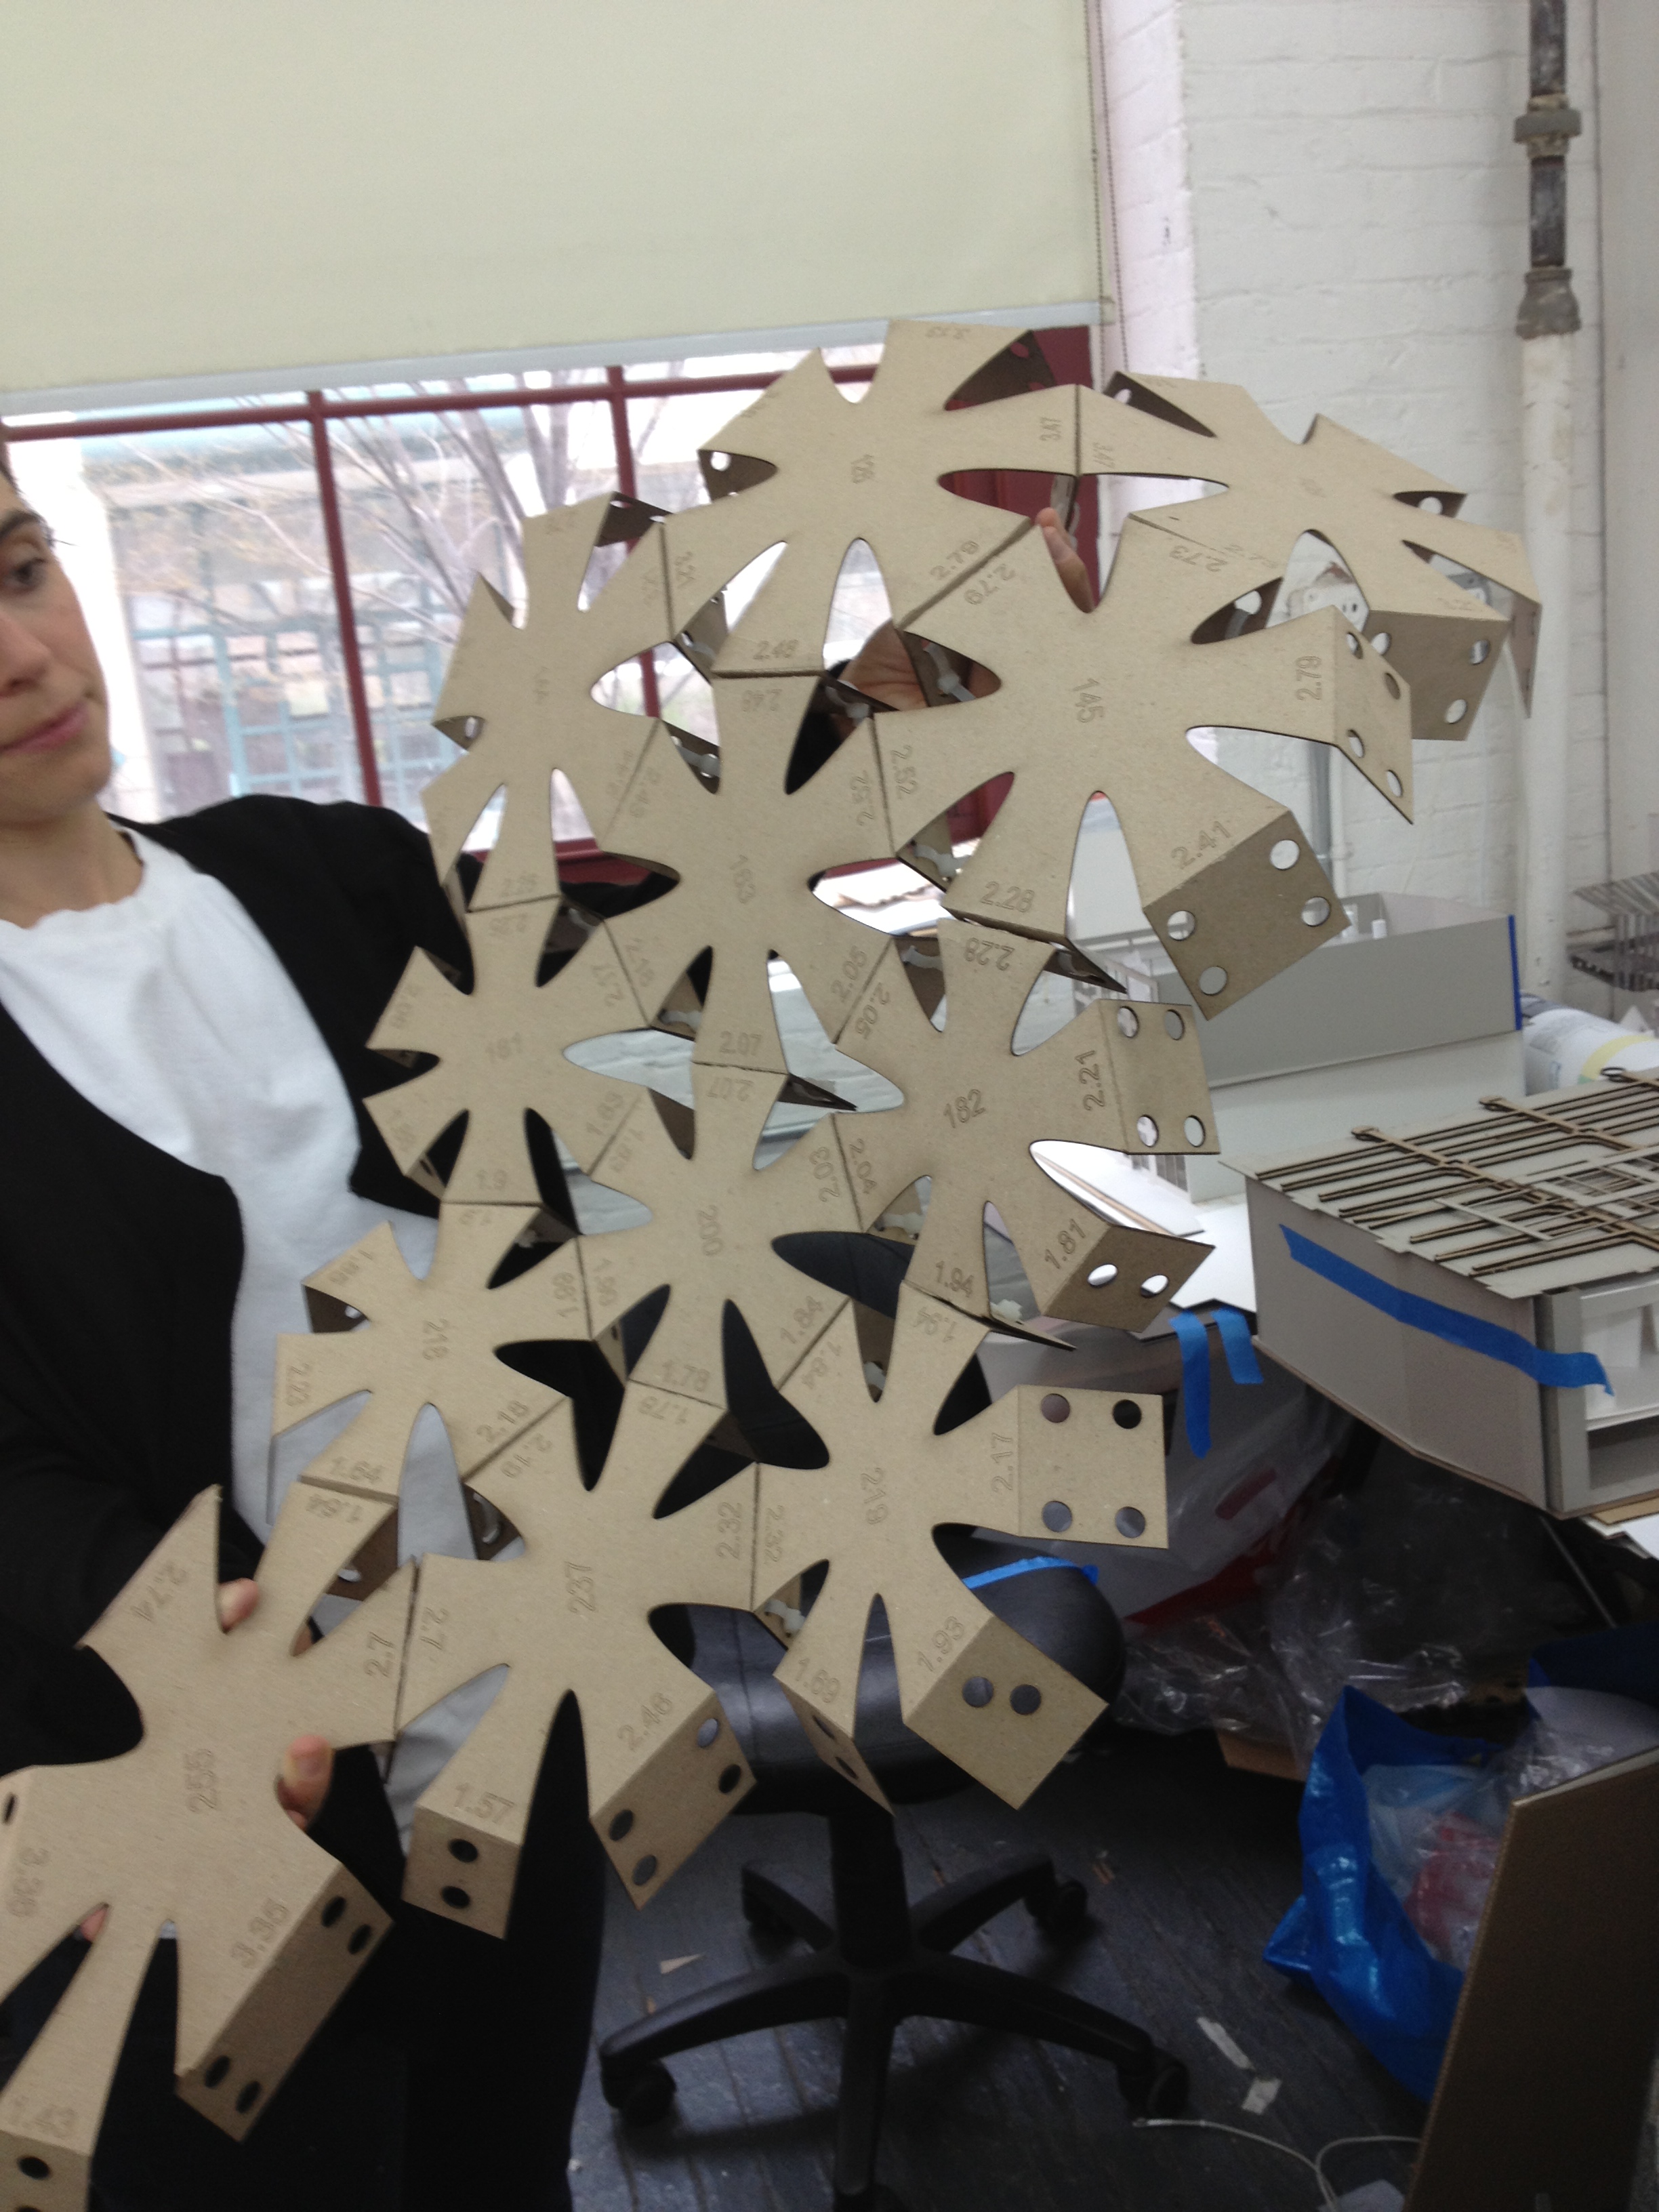
the beginning of our final model!
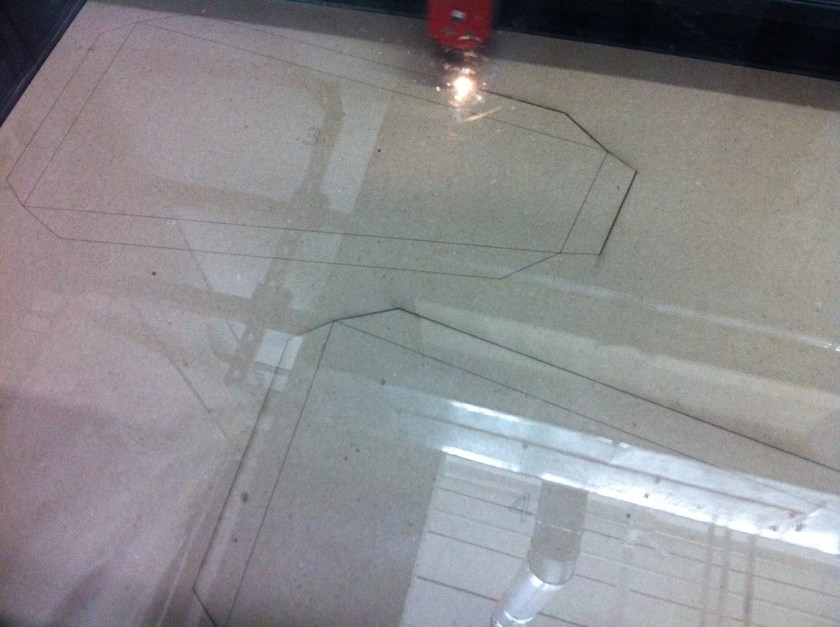
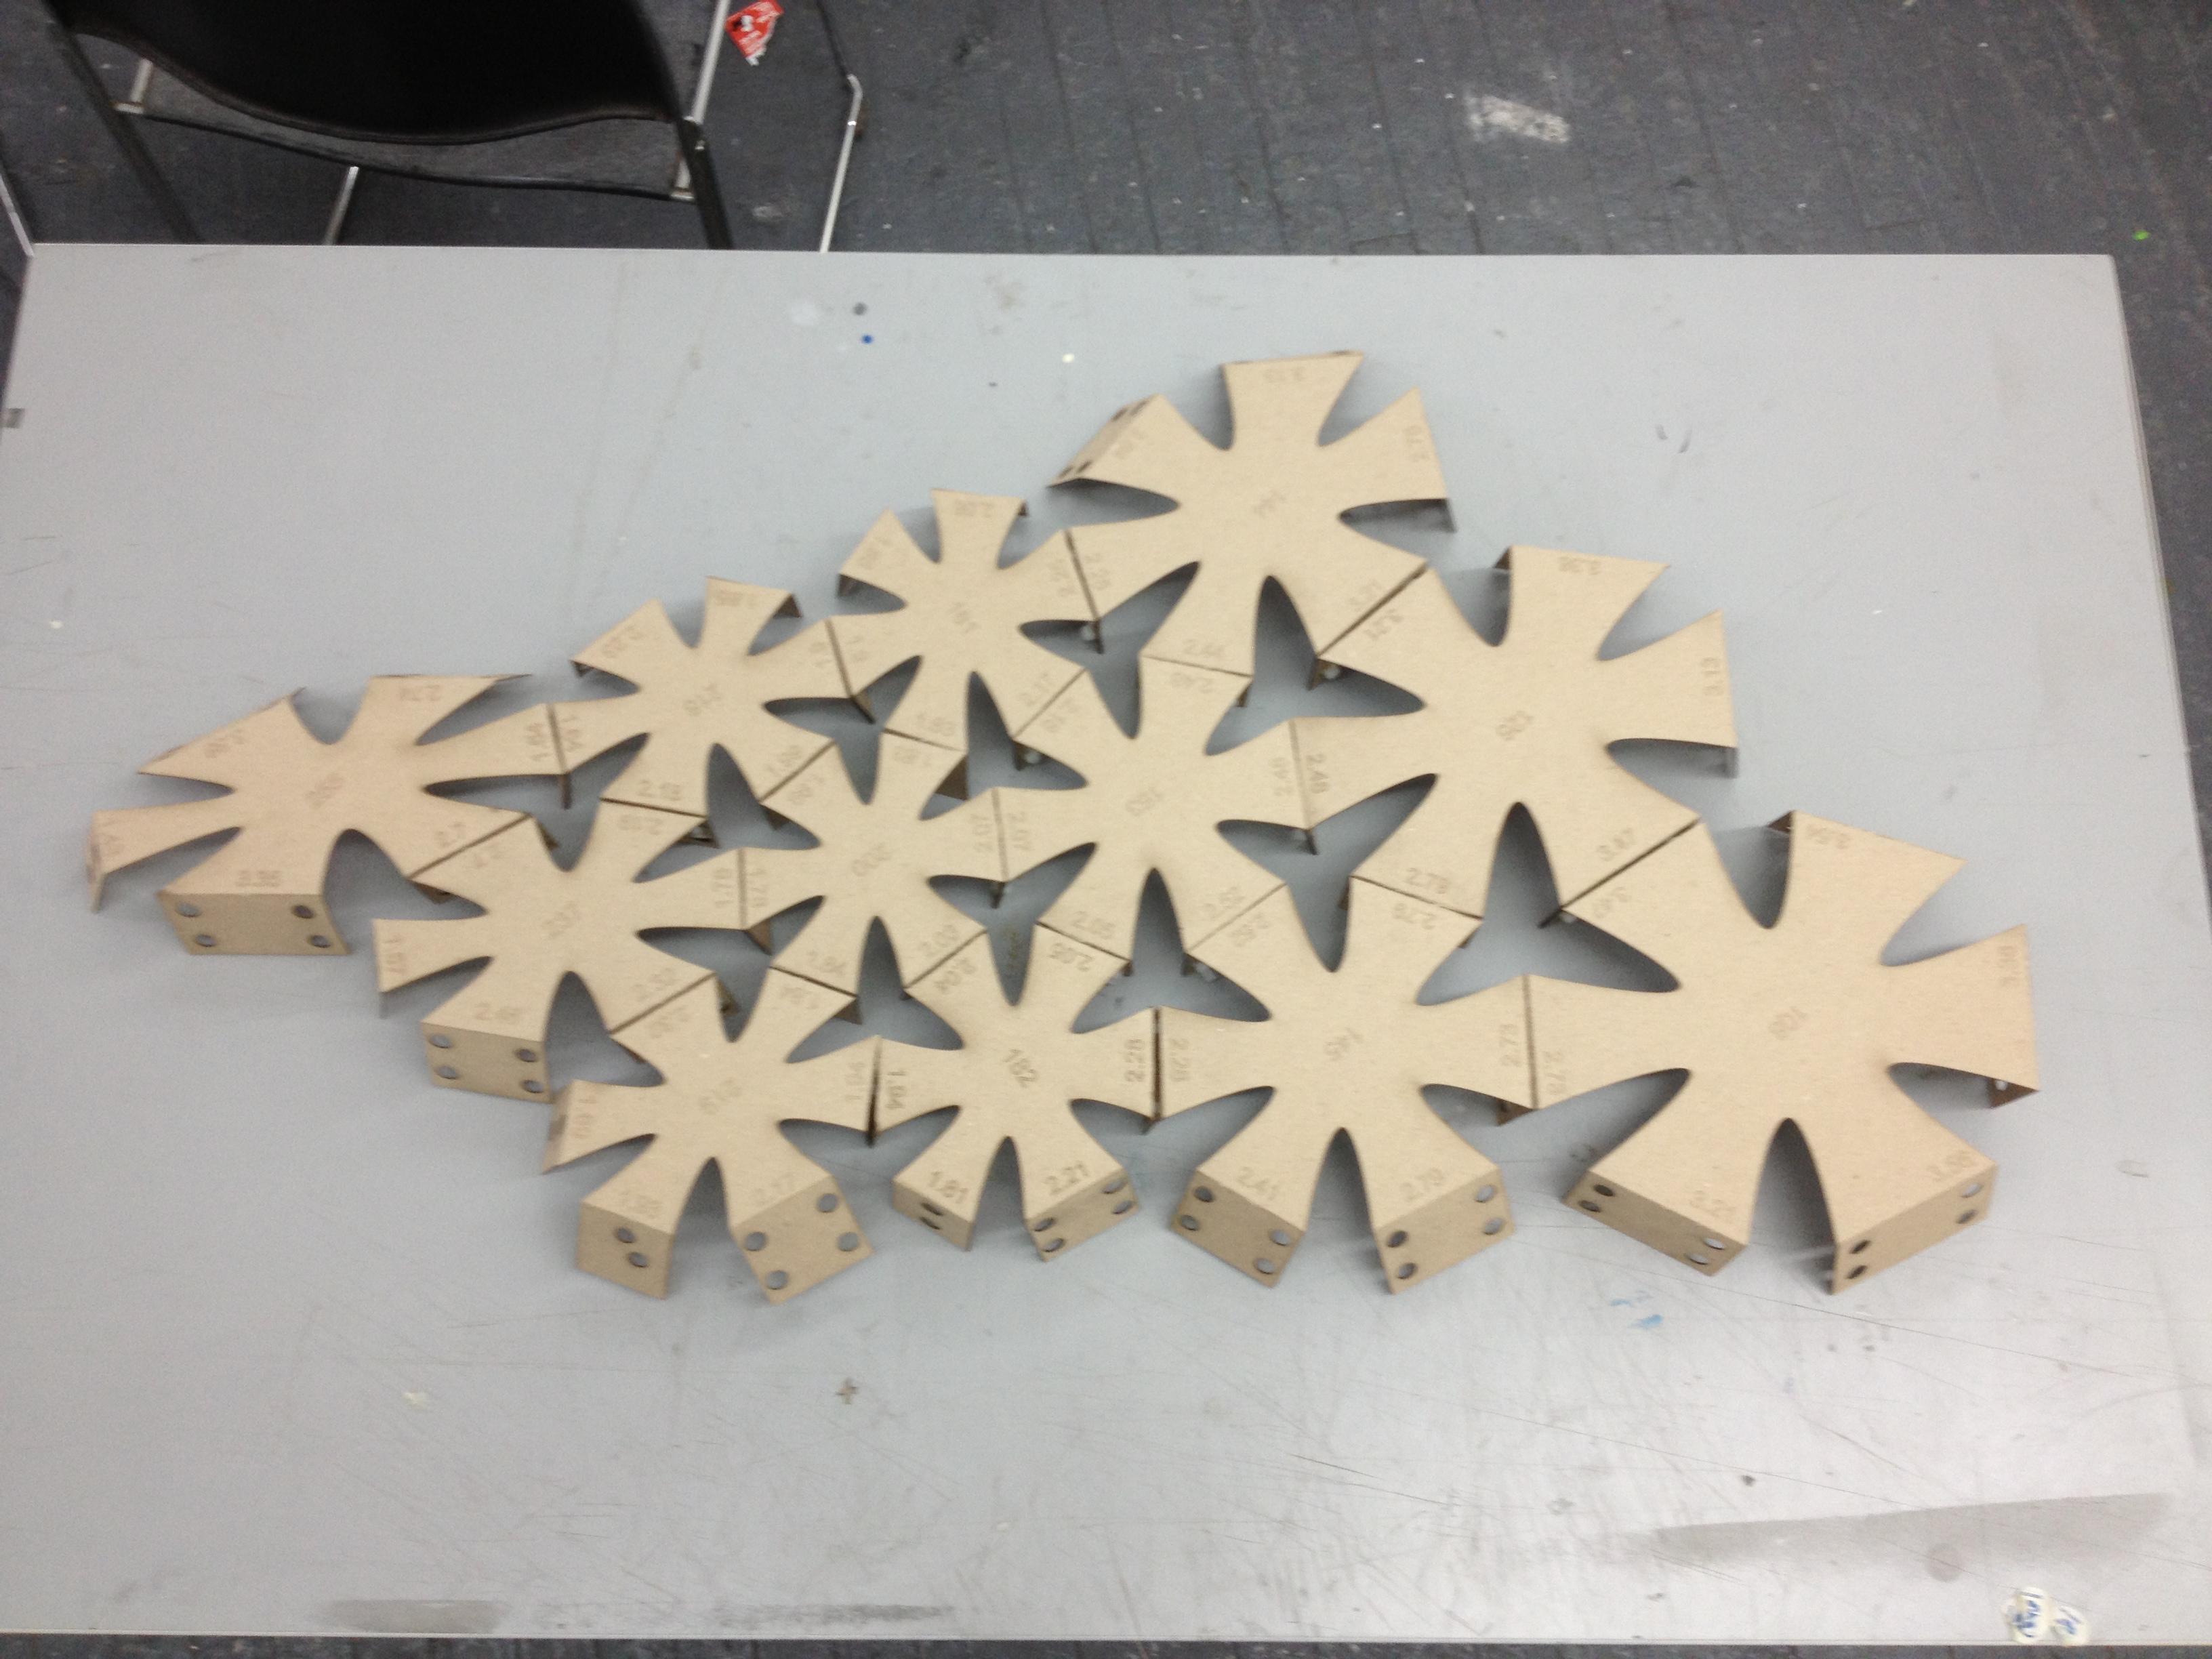
the shapes being laser cut
Project Process: Justin, Seal and Edeline
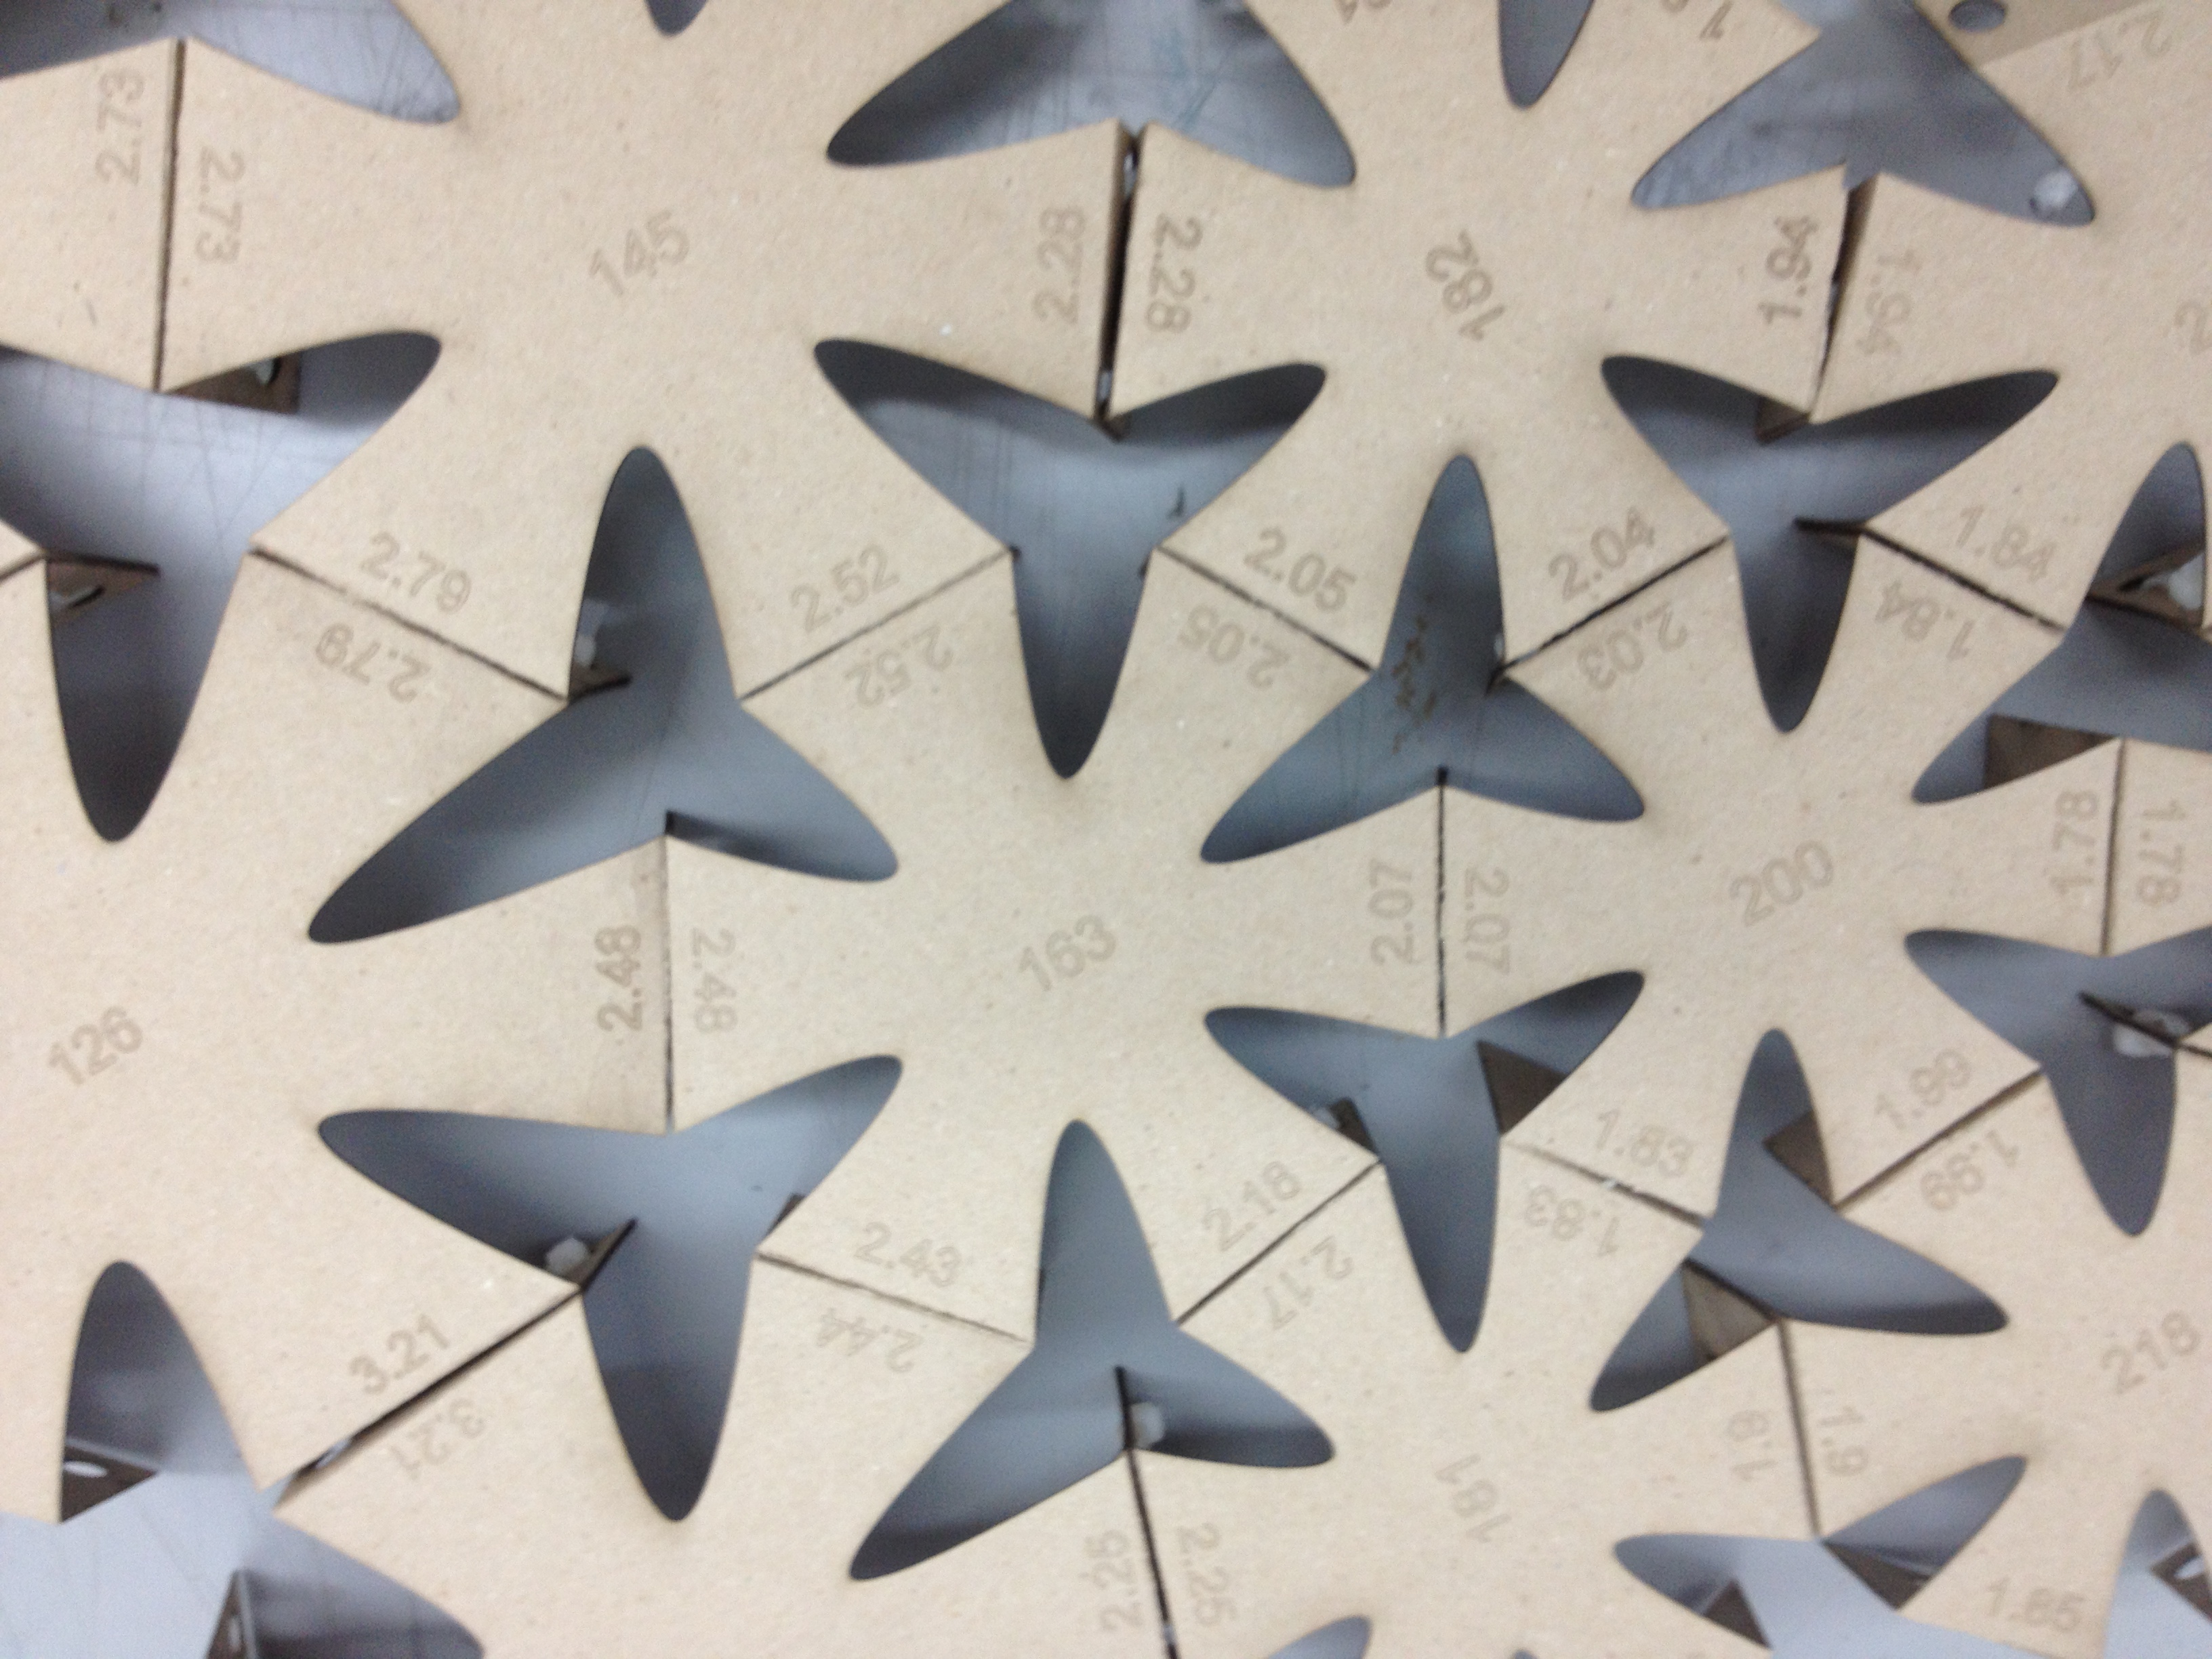
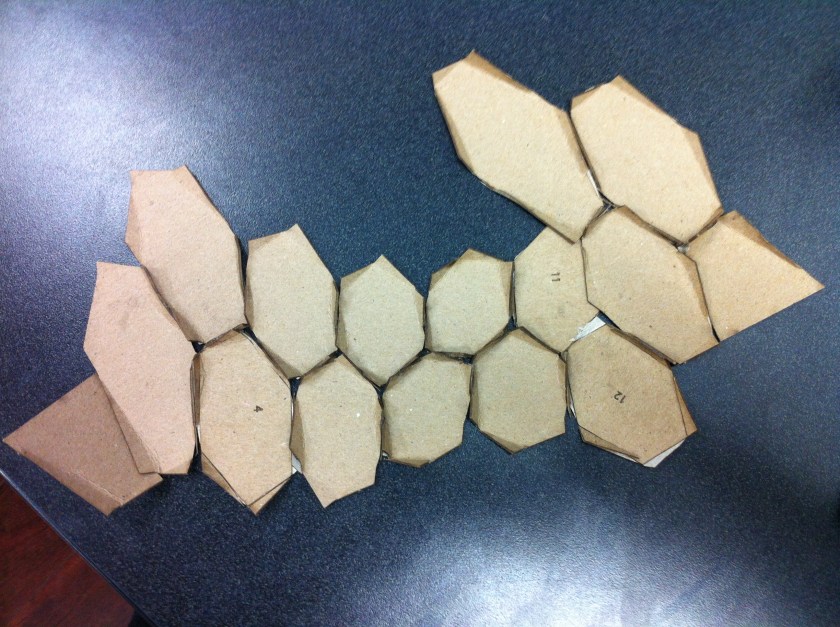
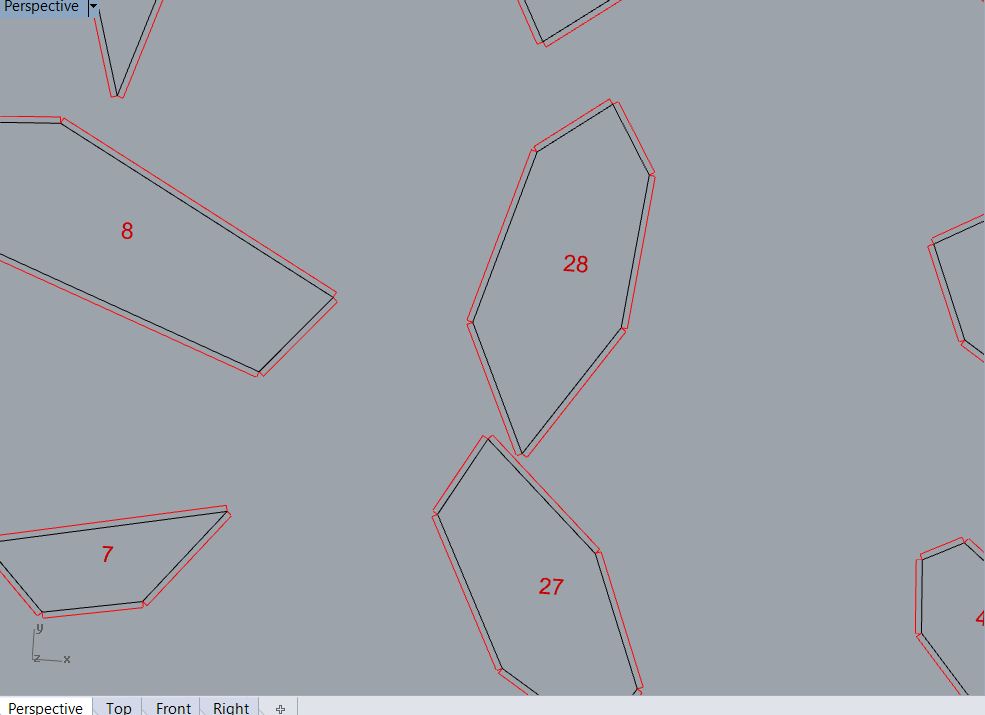
Hear is a sample of our geometric patterns in full scale.
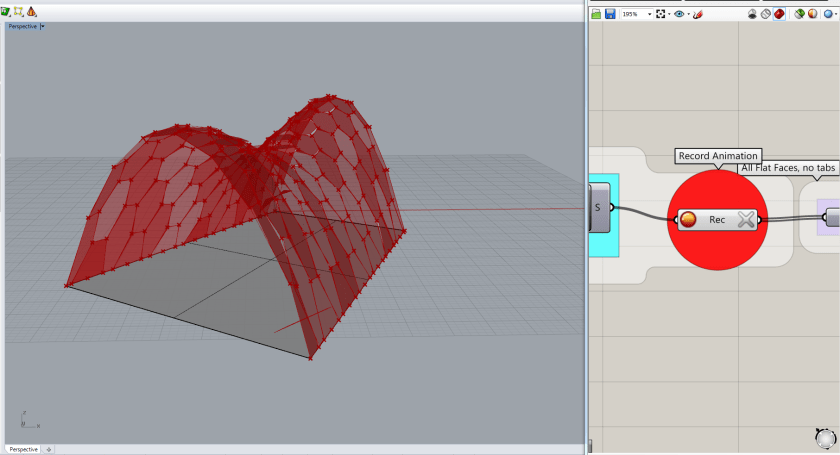
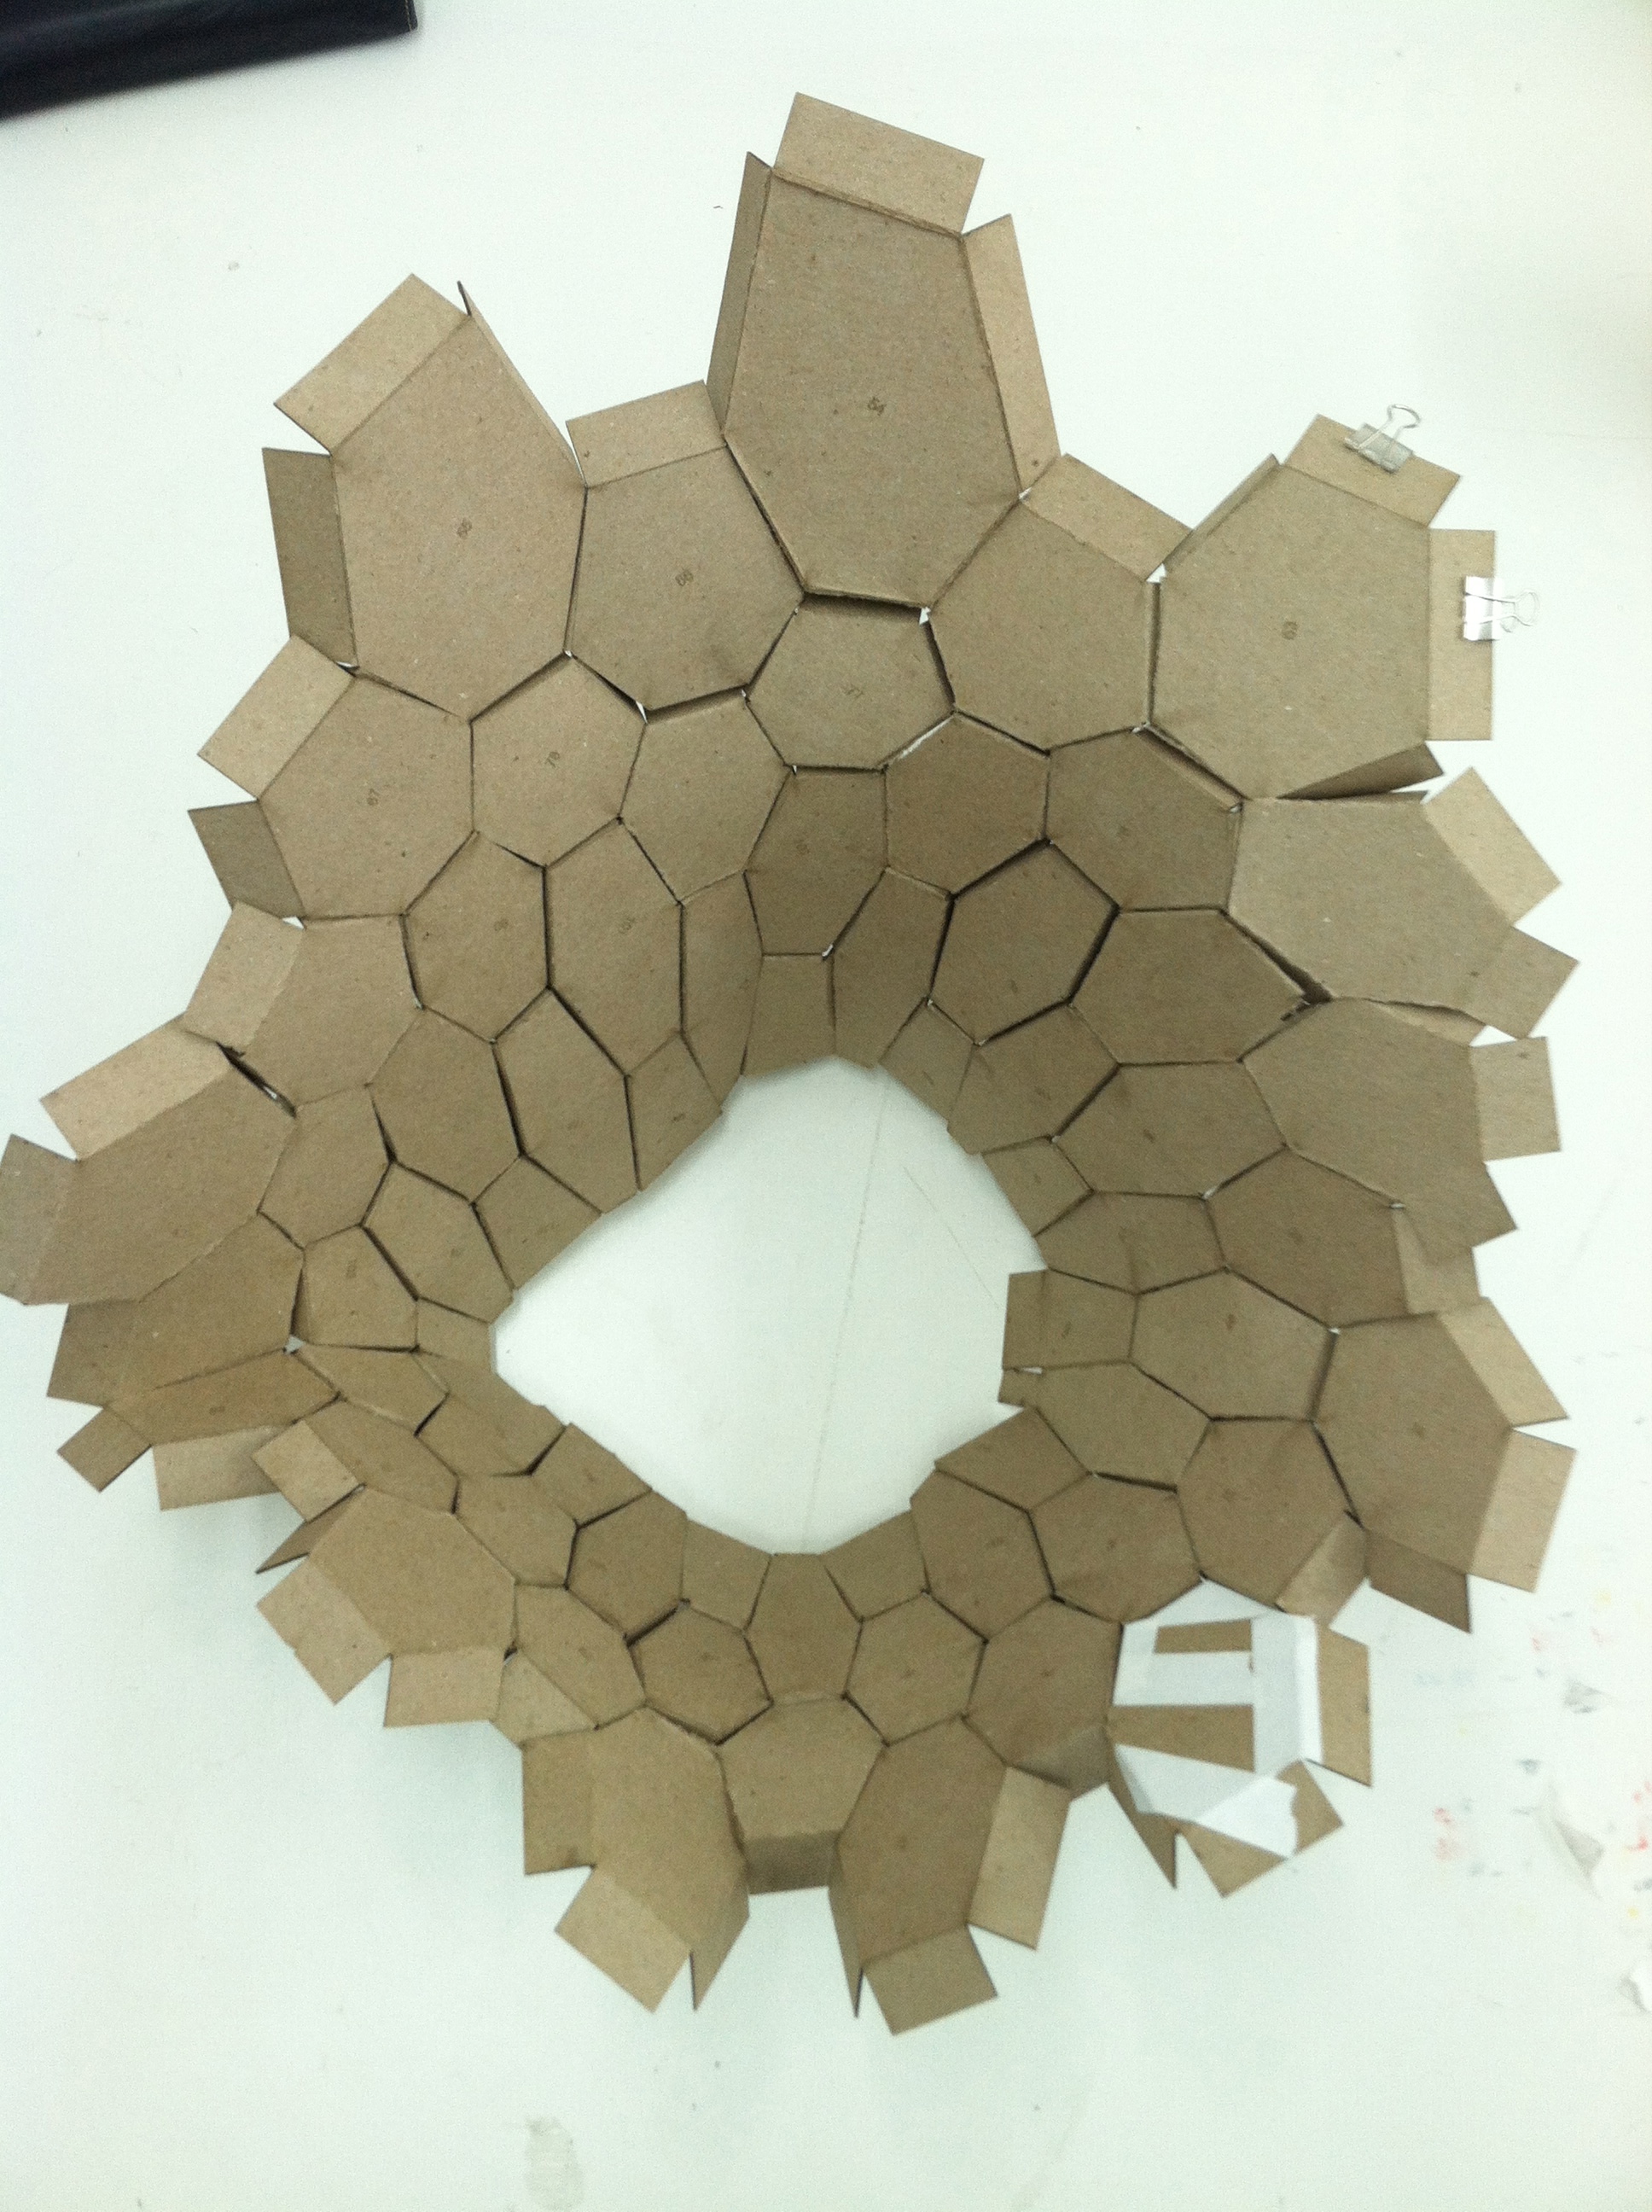
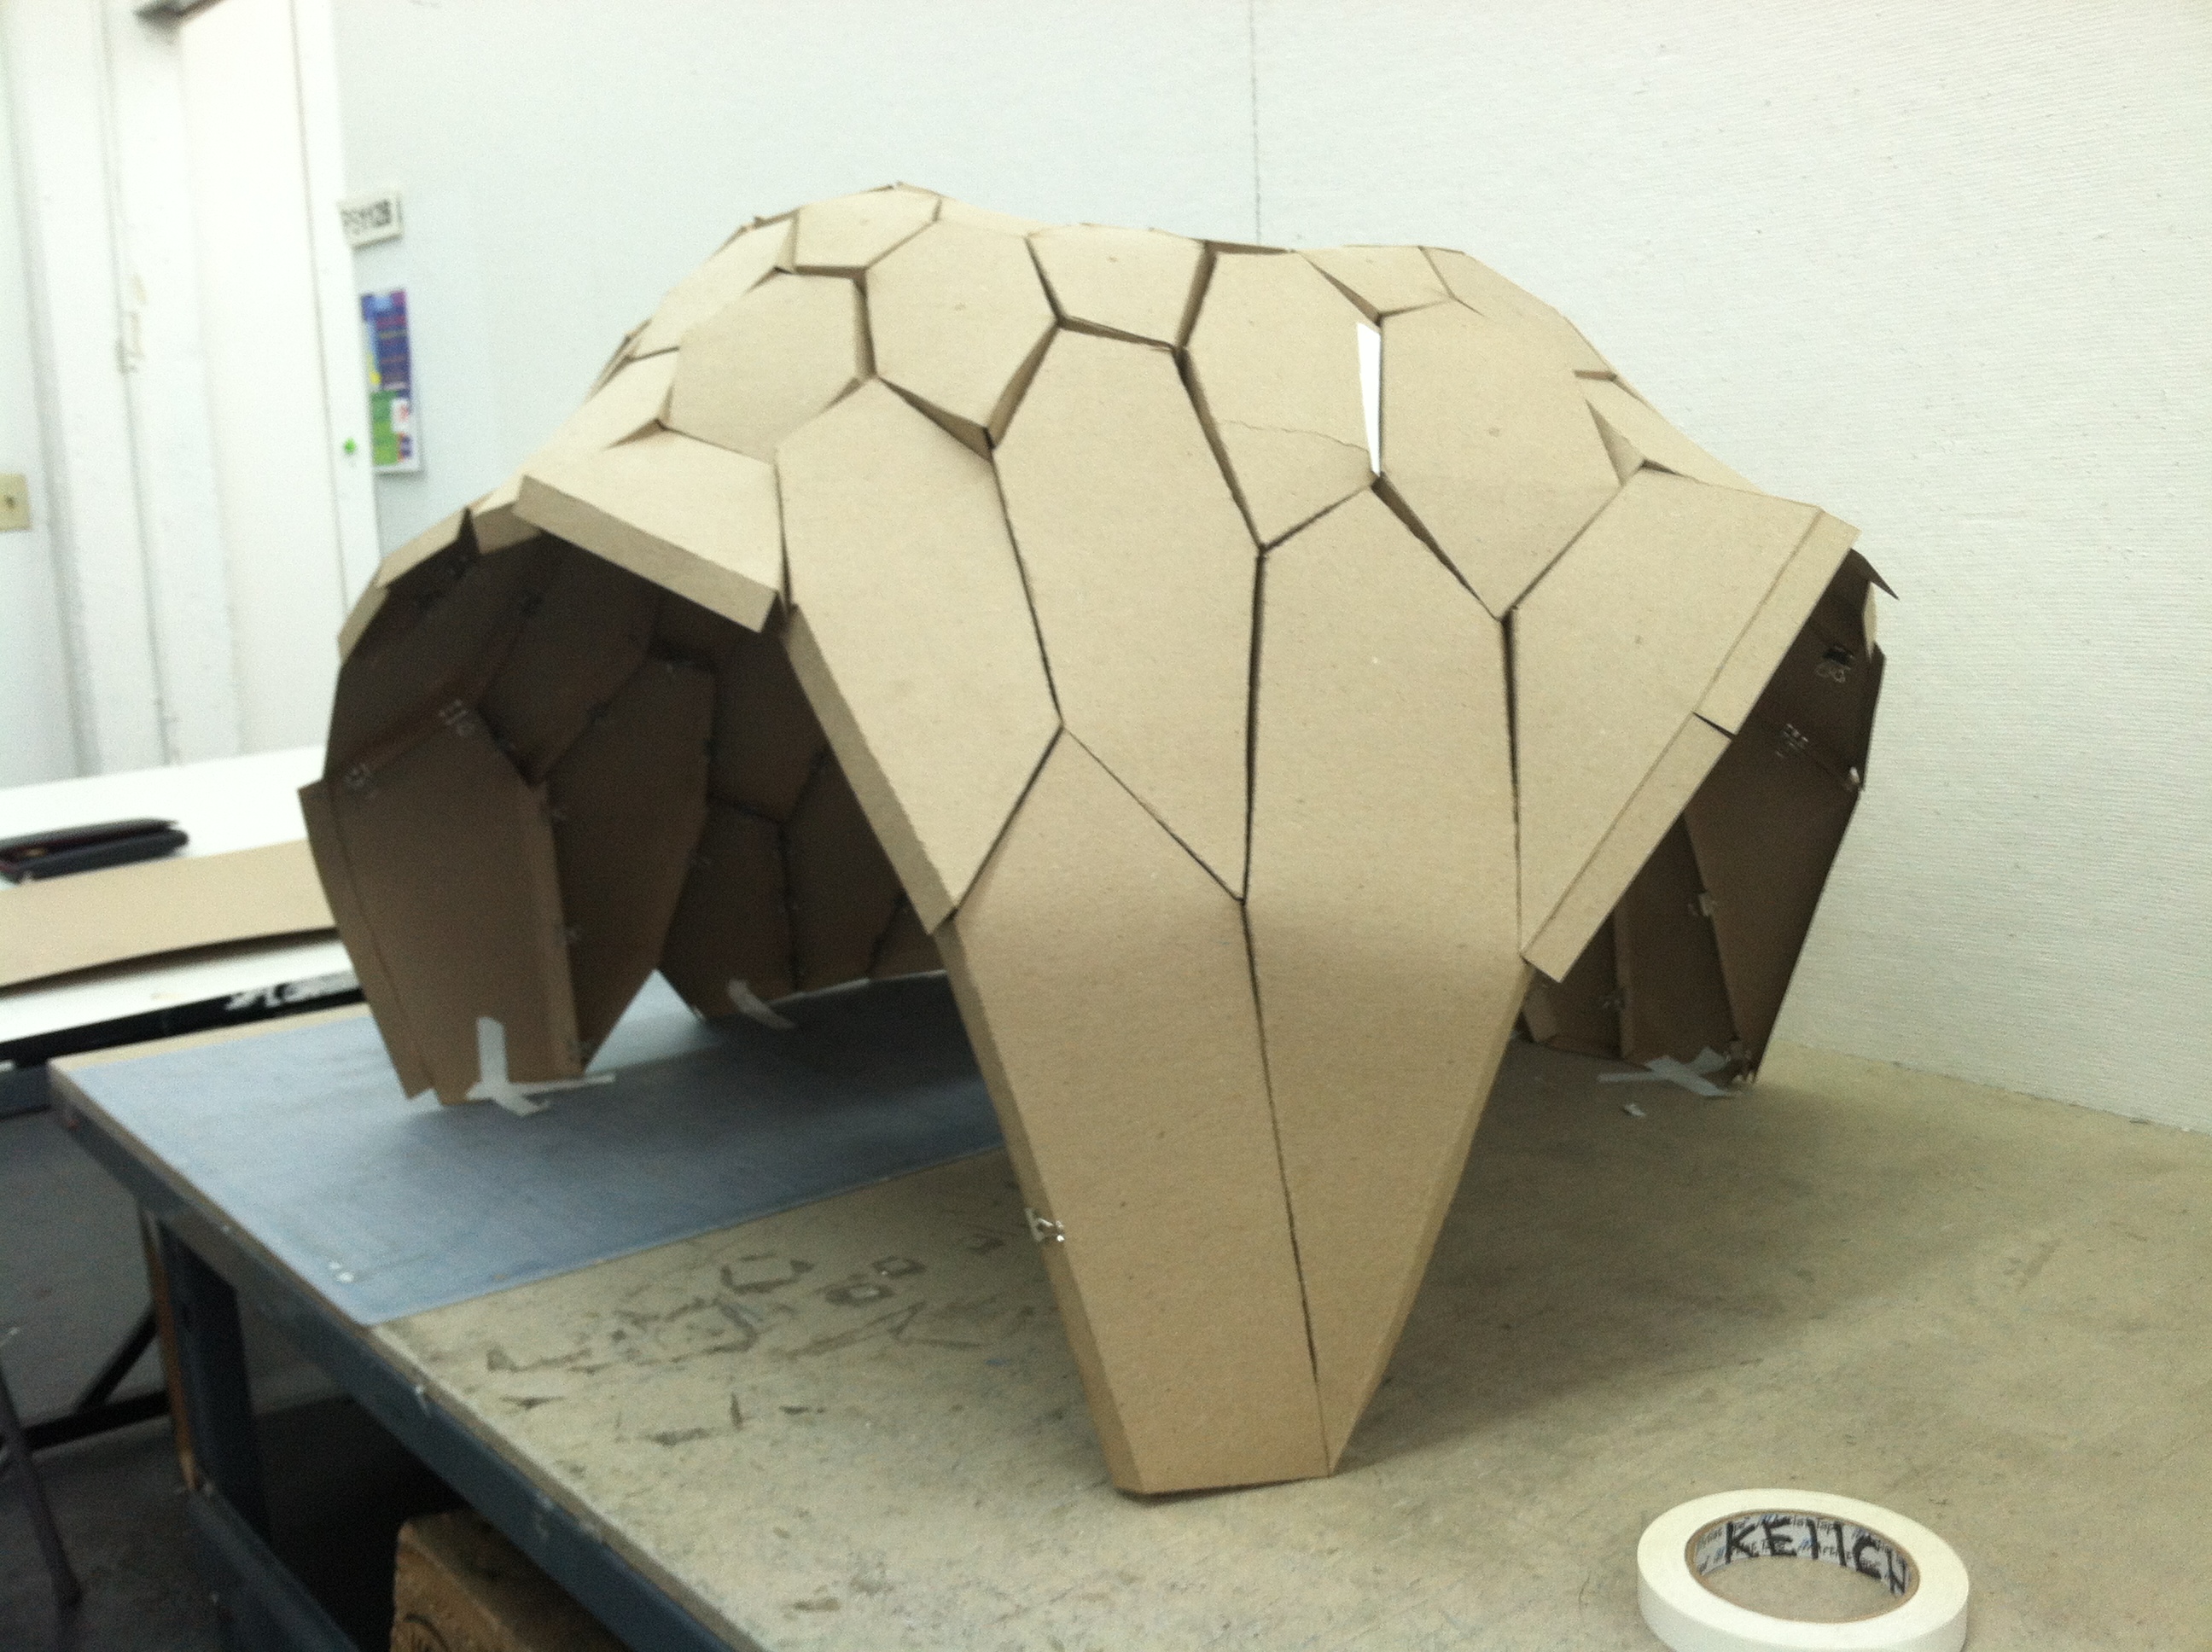
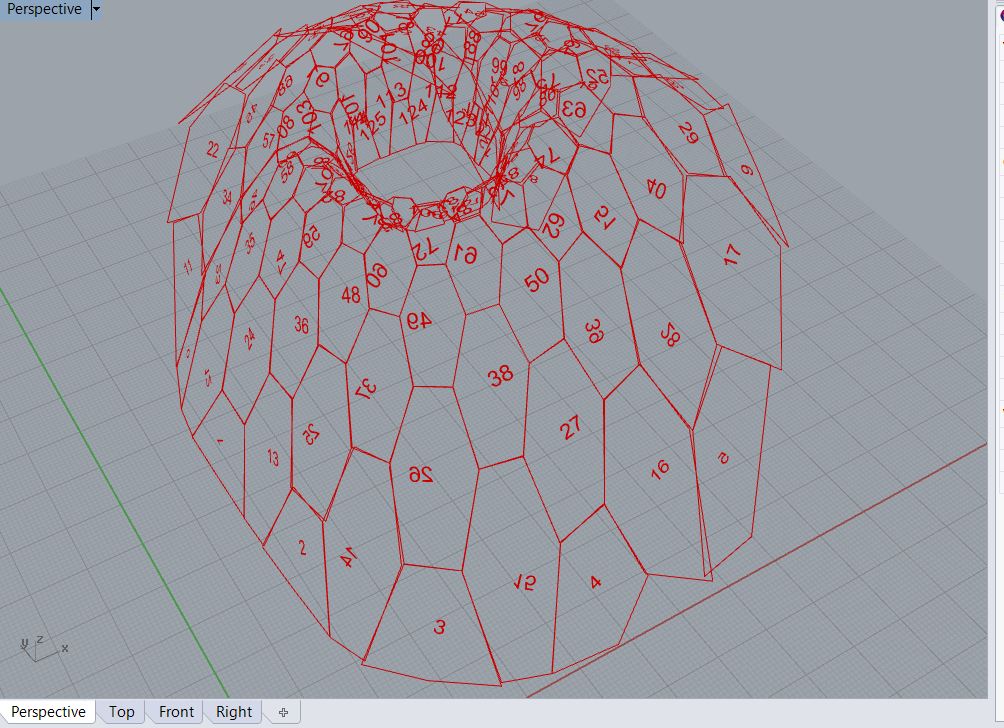
This is the ‘parabola-like’ form we are going after.
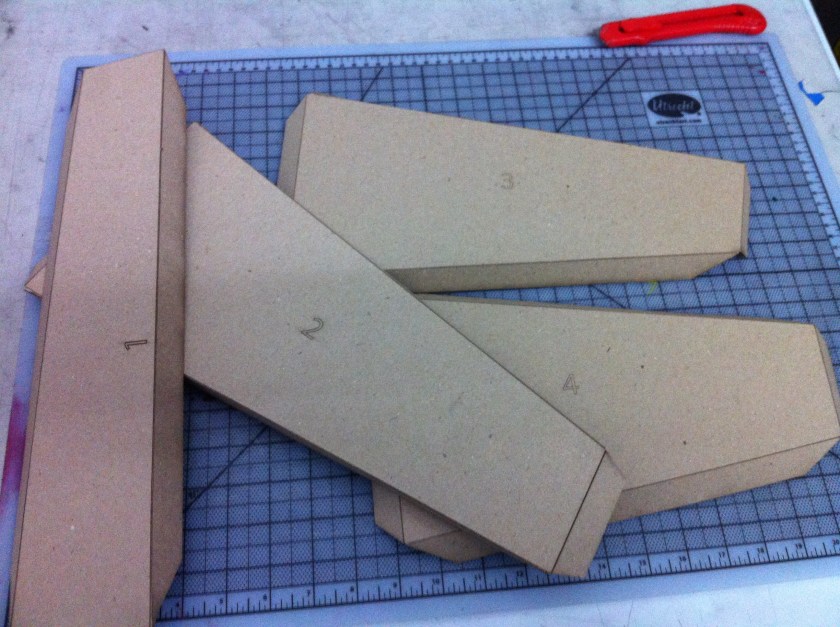
Our Individual Flat surfaces that define the general shape
There are 111 panels in our final model. Most are hexagons, yet some are quads.
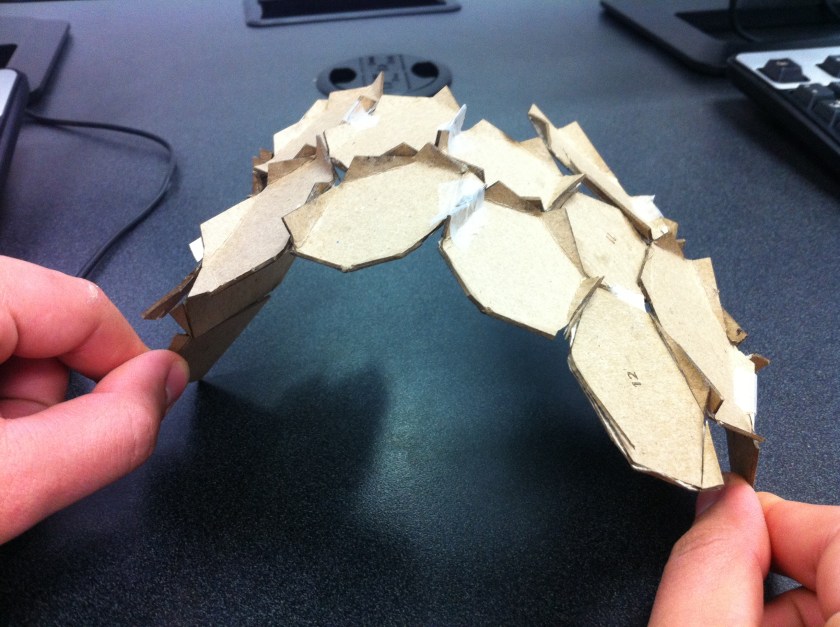
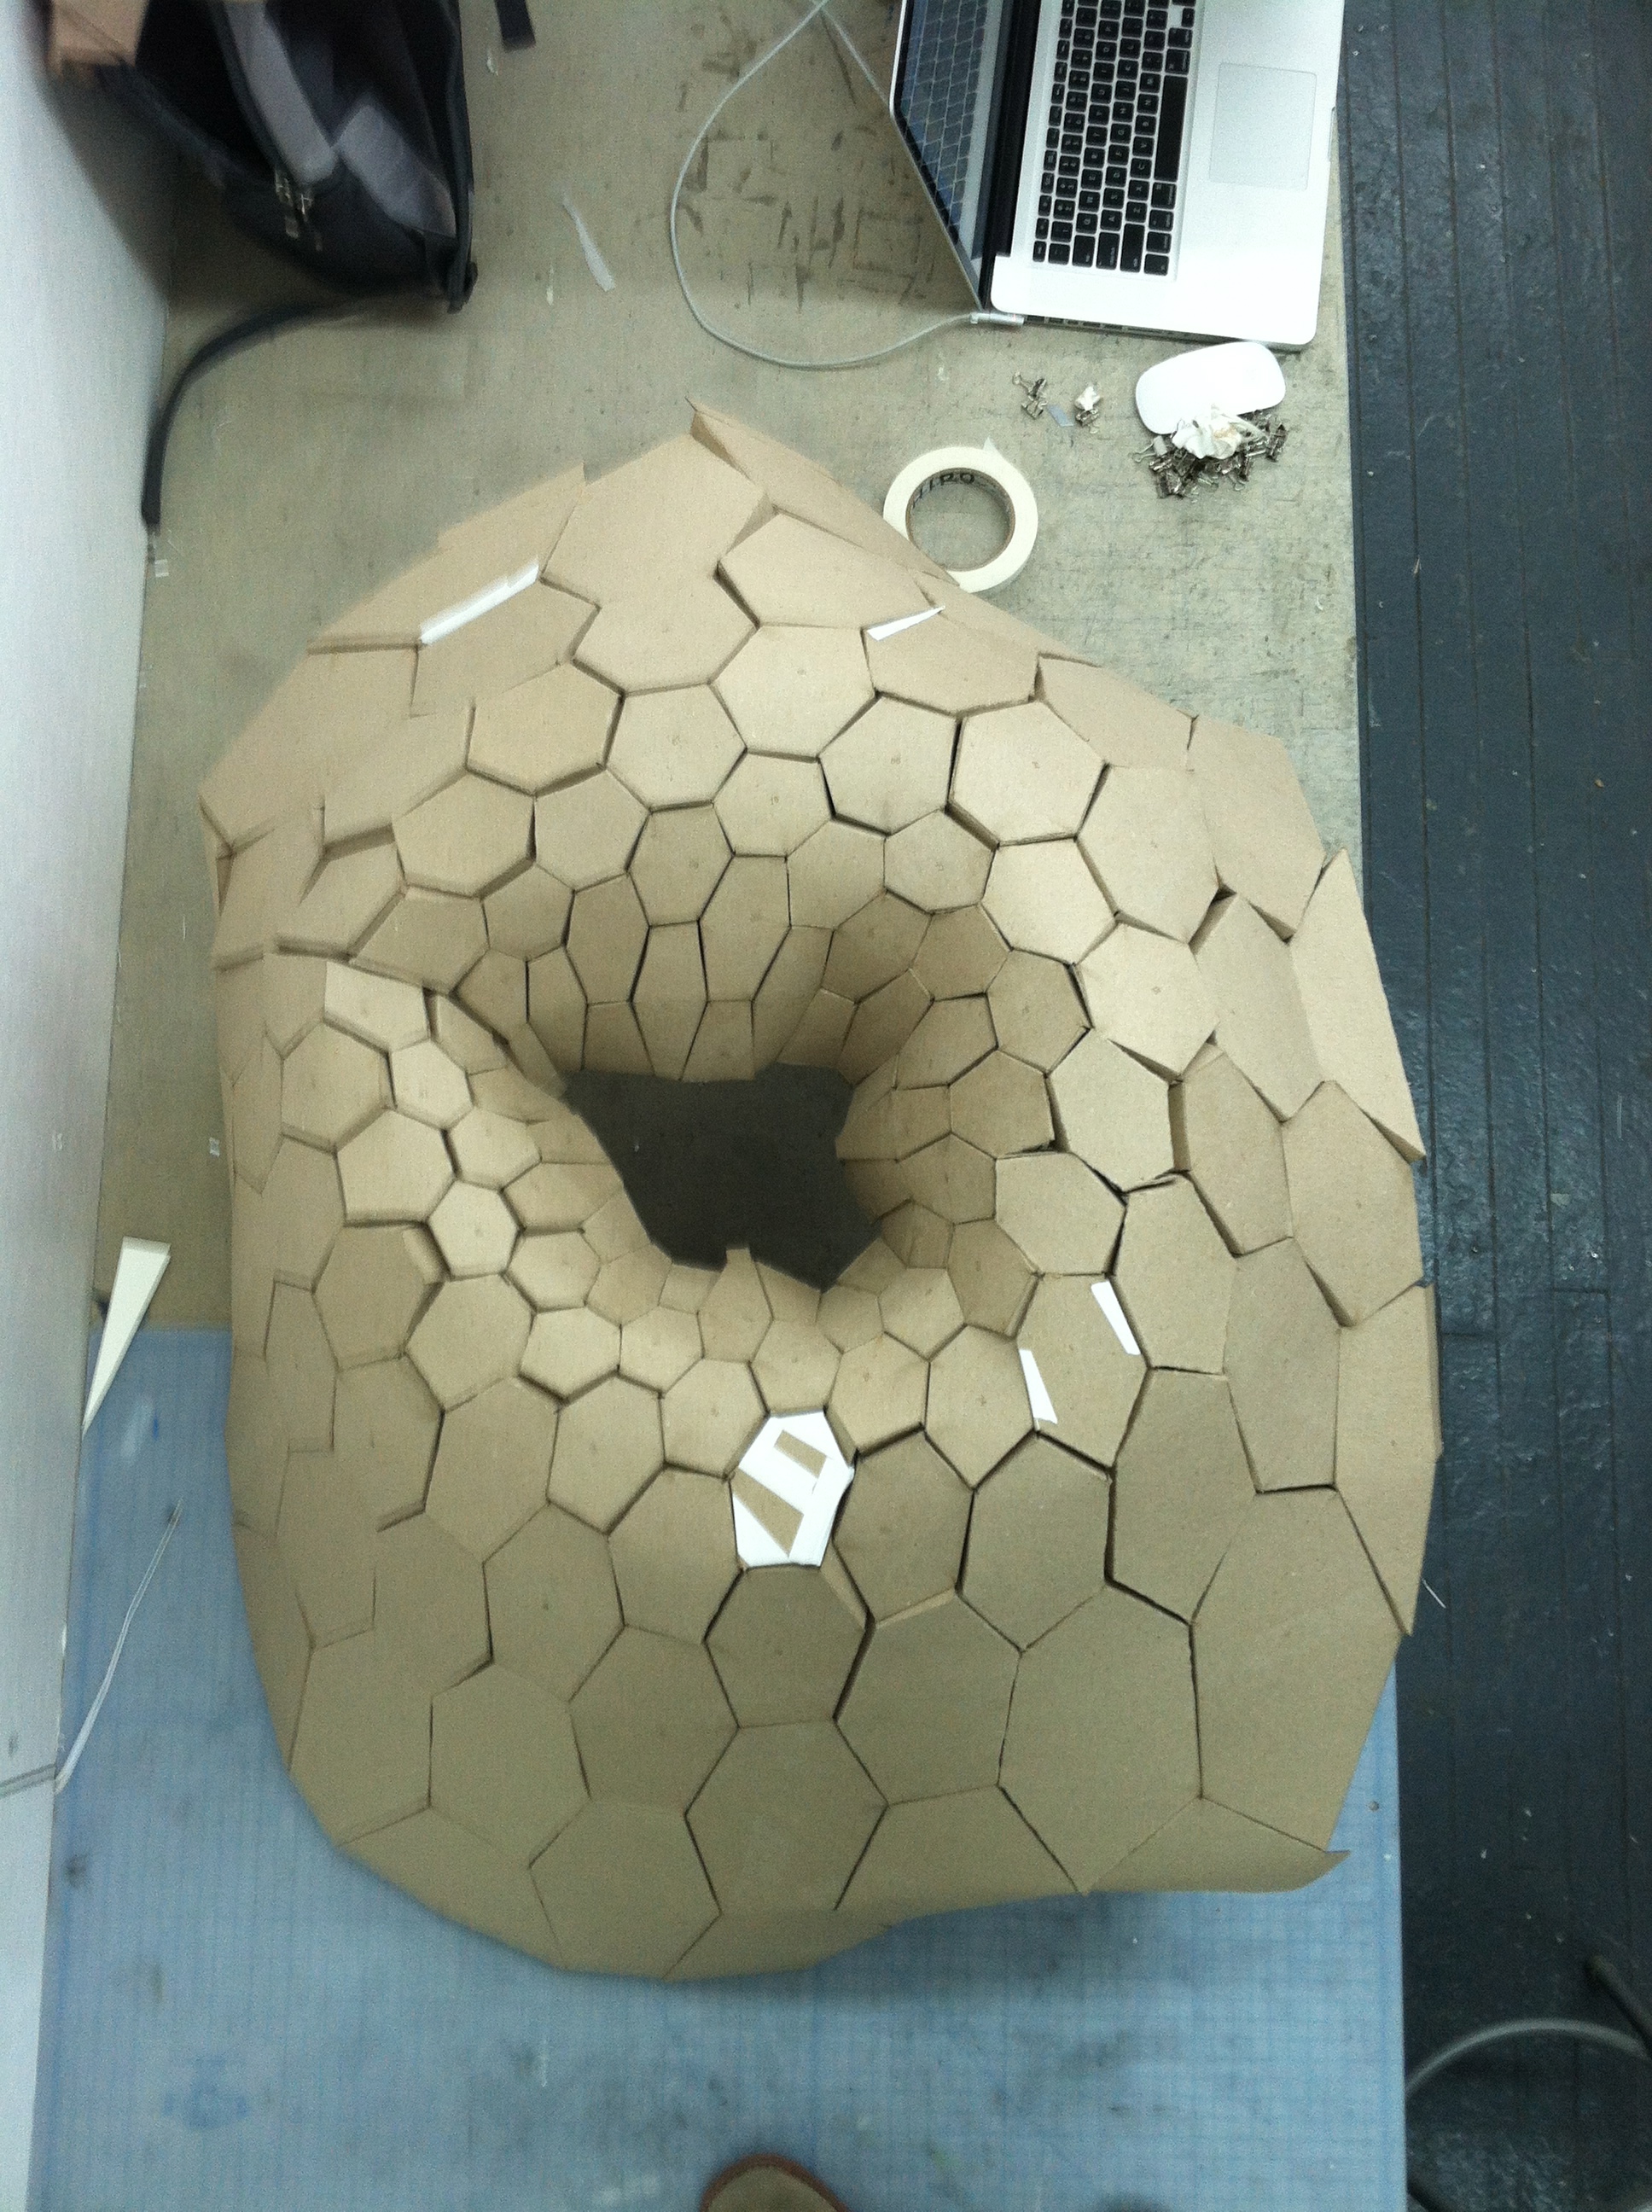
This is a section of our final in quarter scale. It is not perfect yet, but will be soon
Project Process: Justin, Seal and Edeline
Here are some pictures of our group putting together the 1/4″ scale model of our project. After we put it together it seems that is not holding by it self and we had to tape the bottom parts to the table. We are going to address this fact in class to discuses how we are going to fix it.
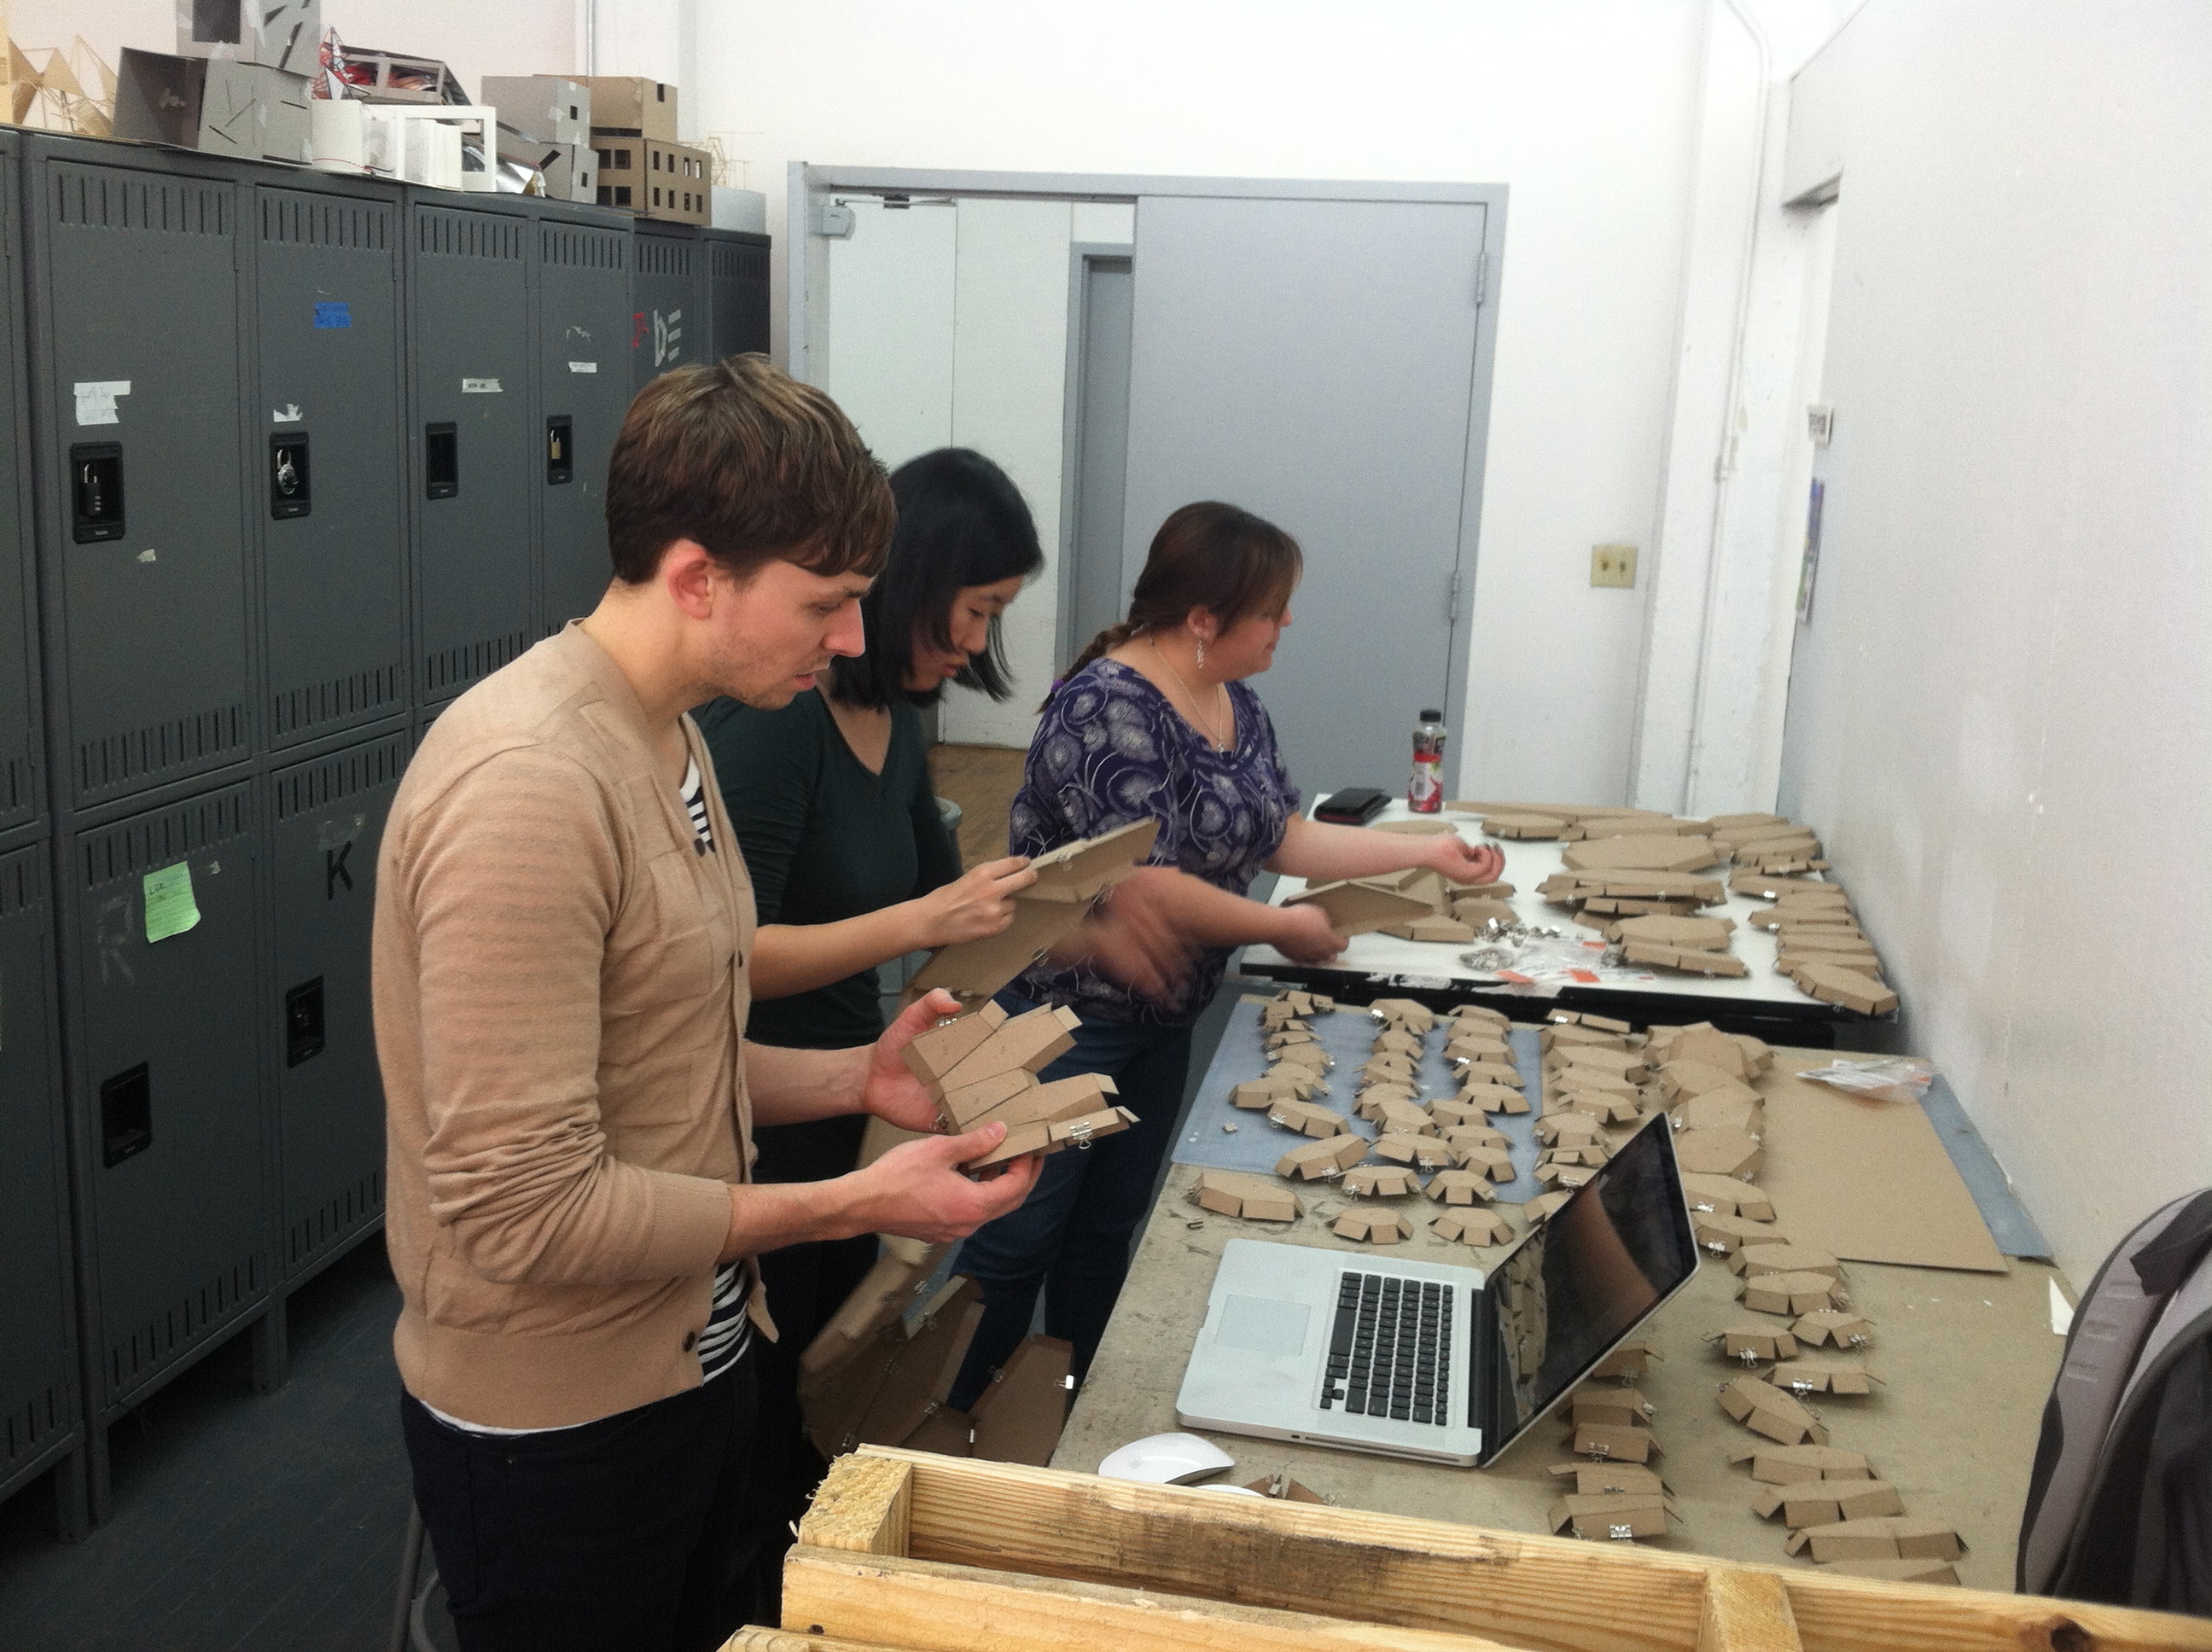
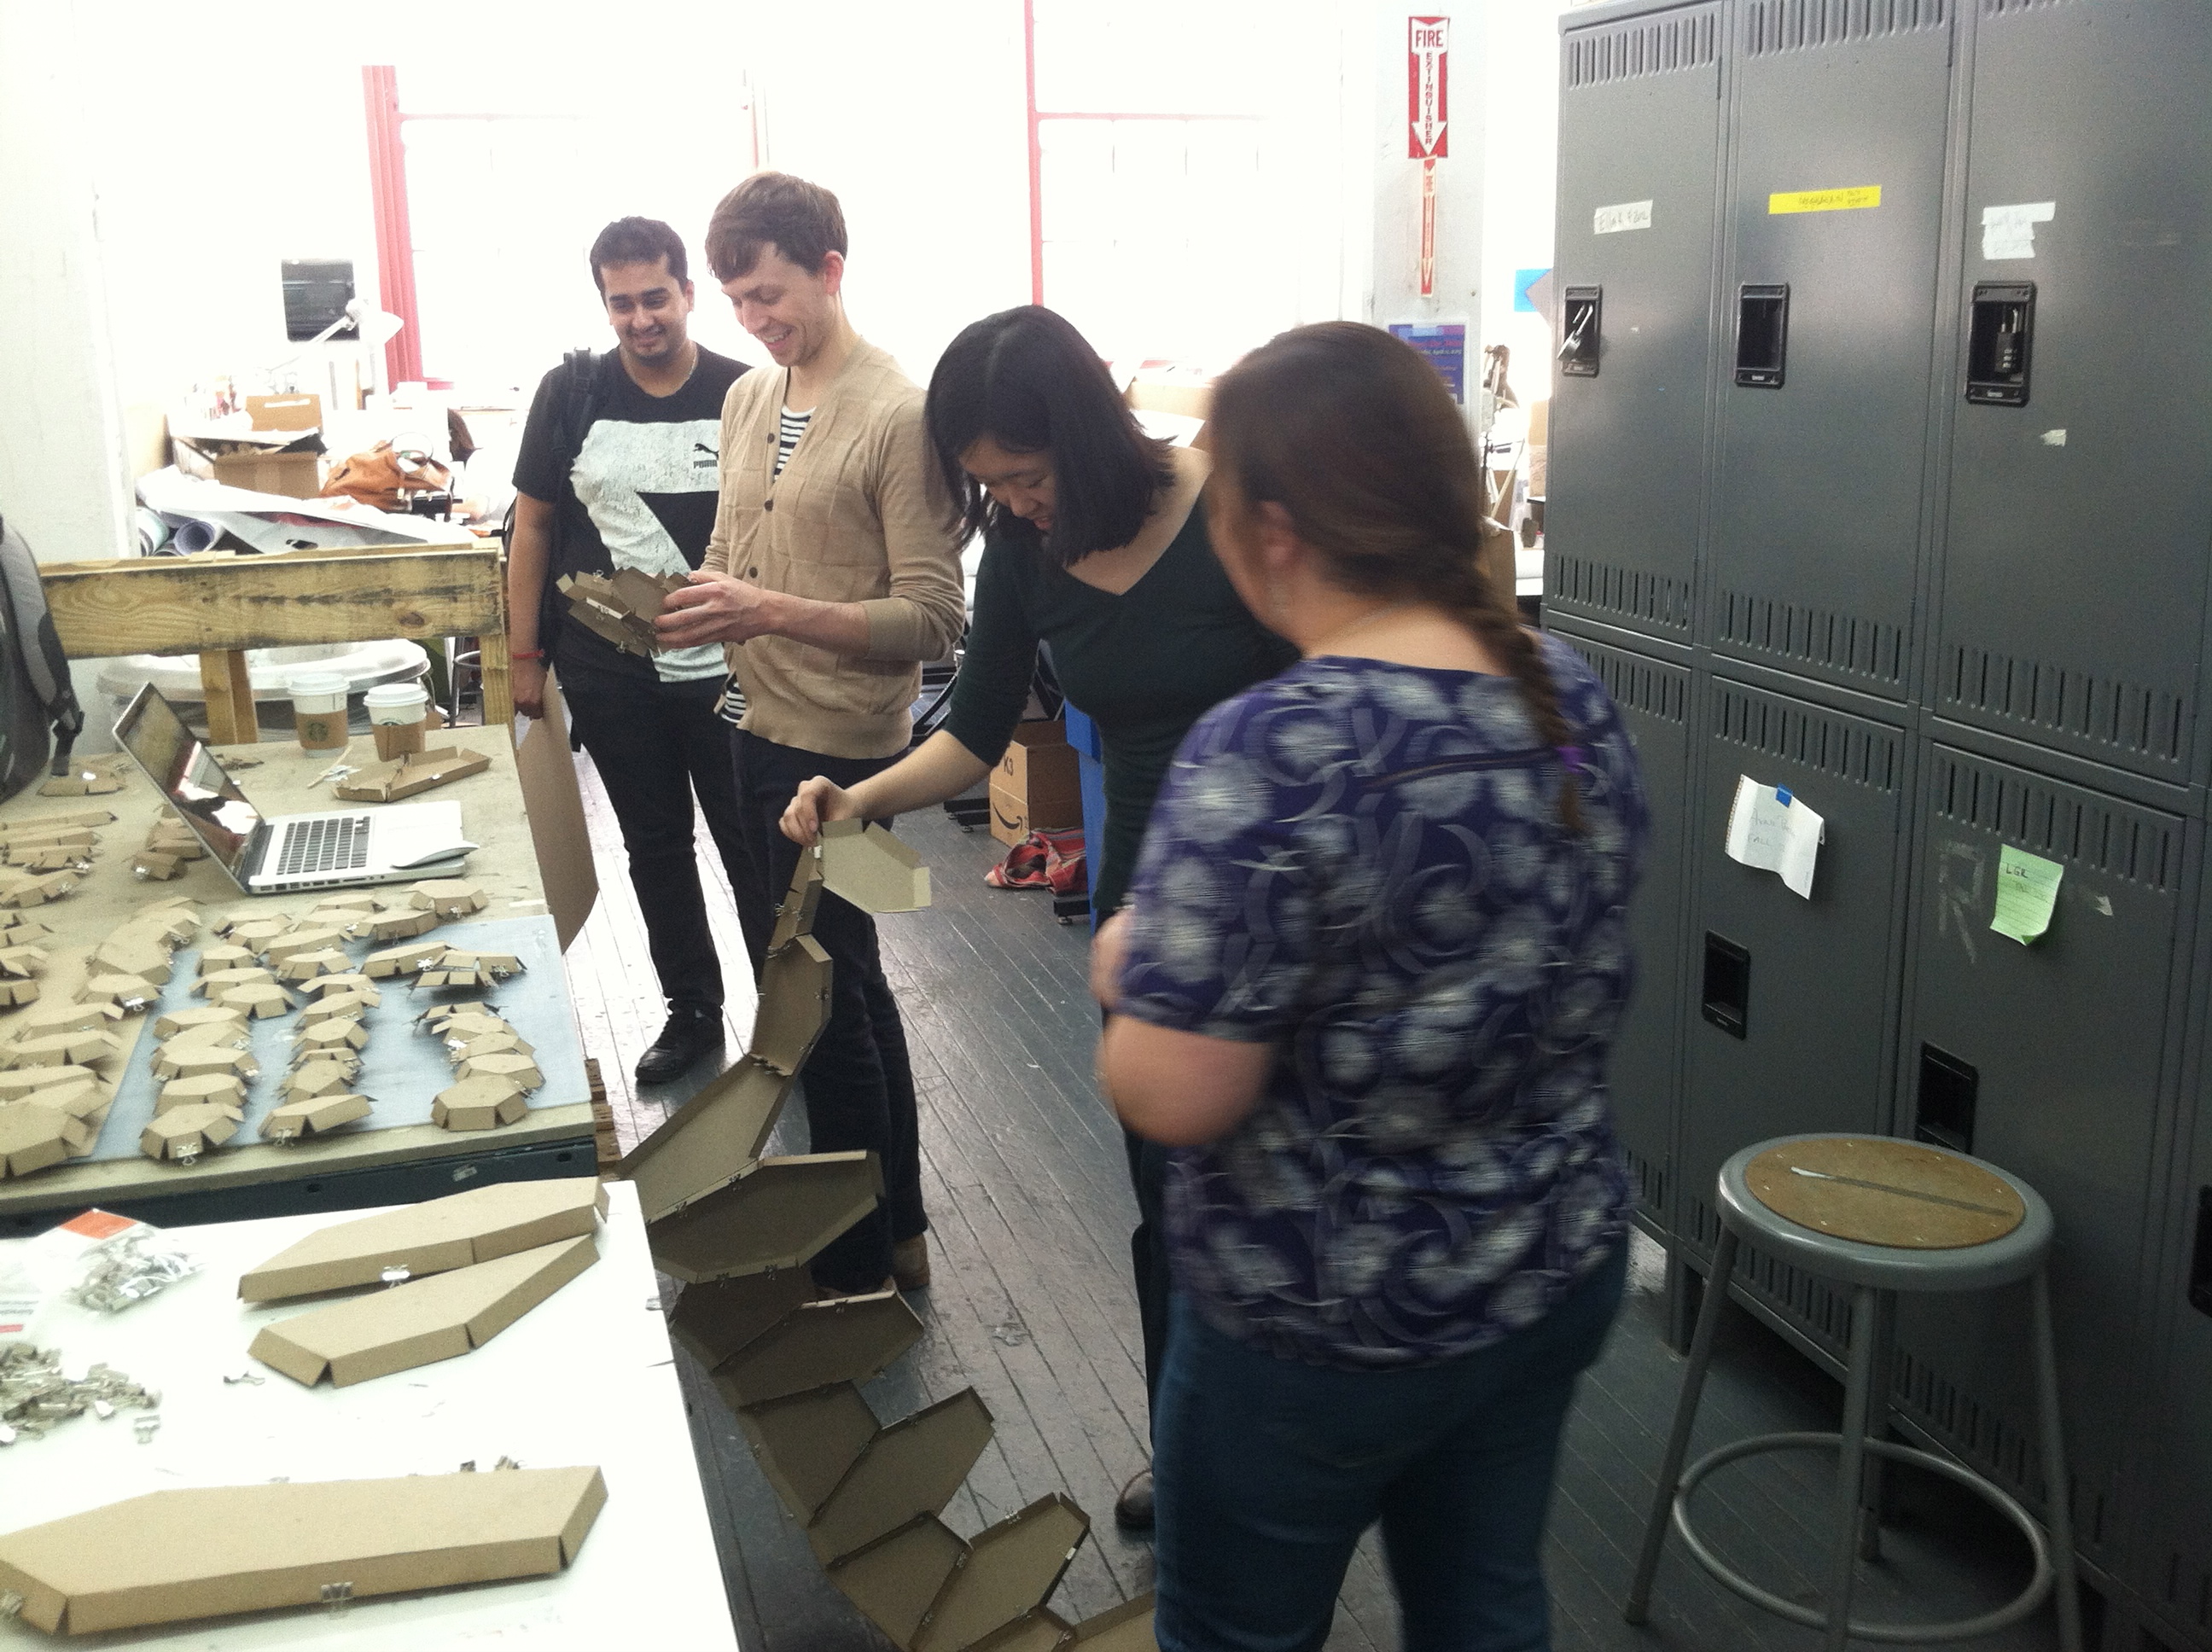
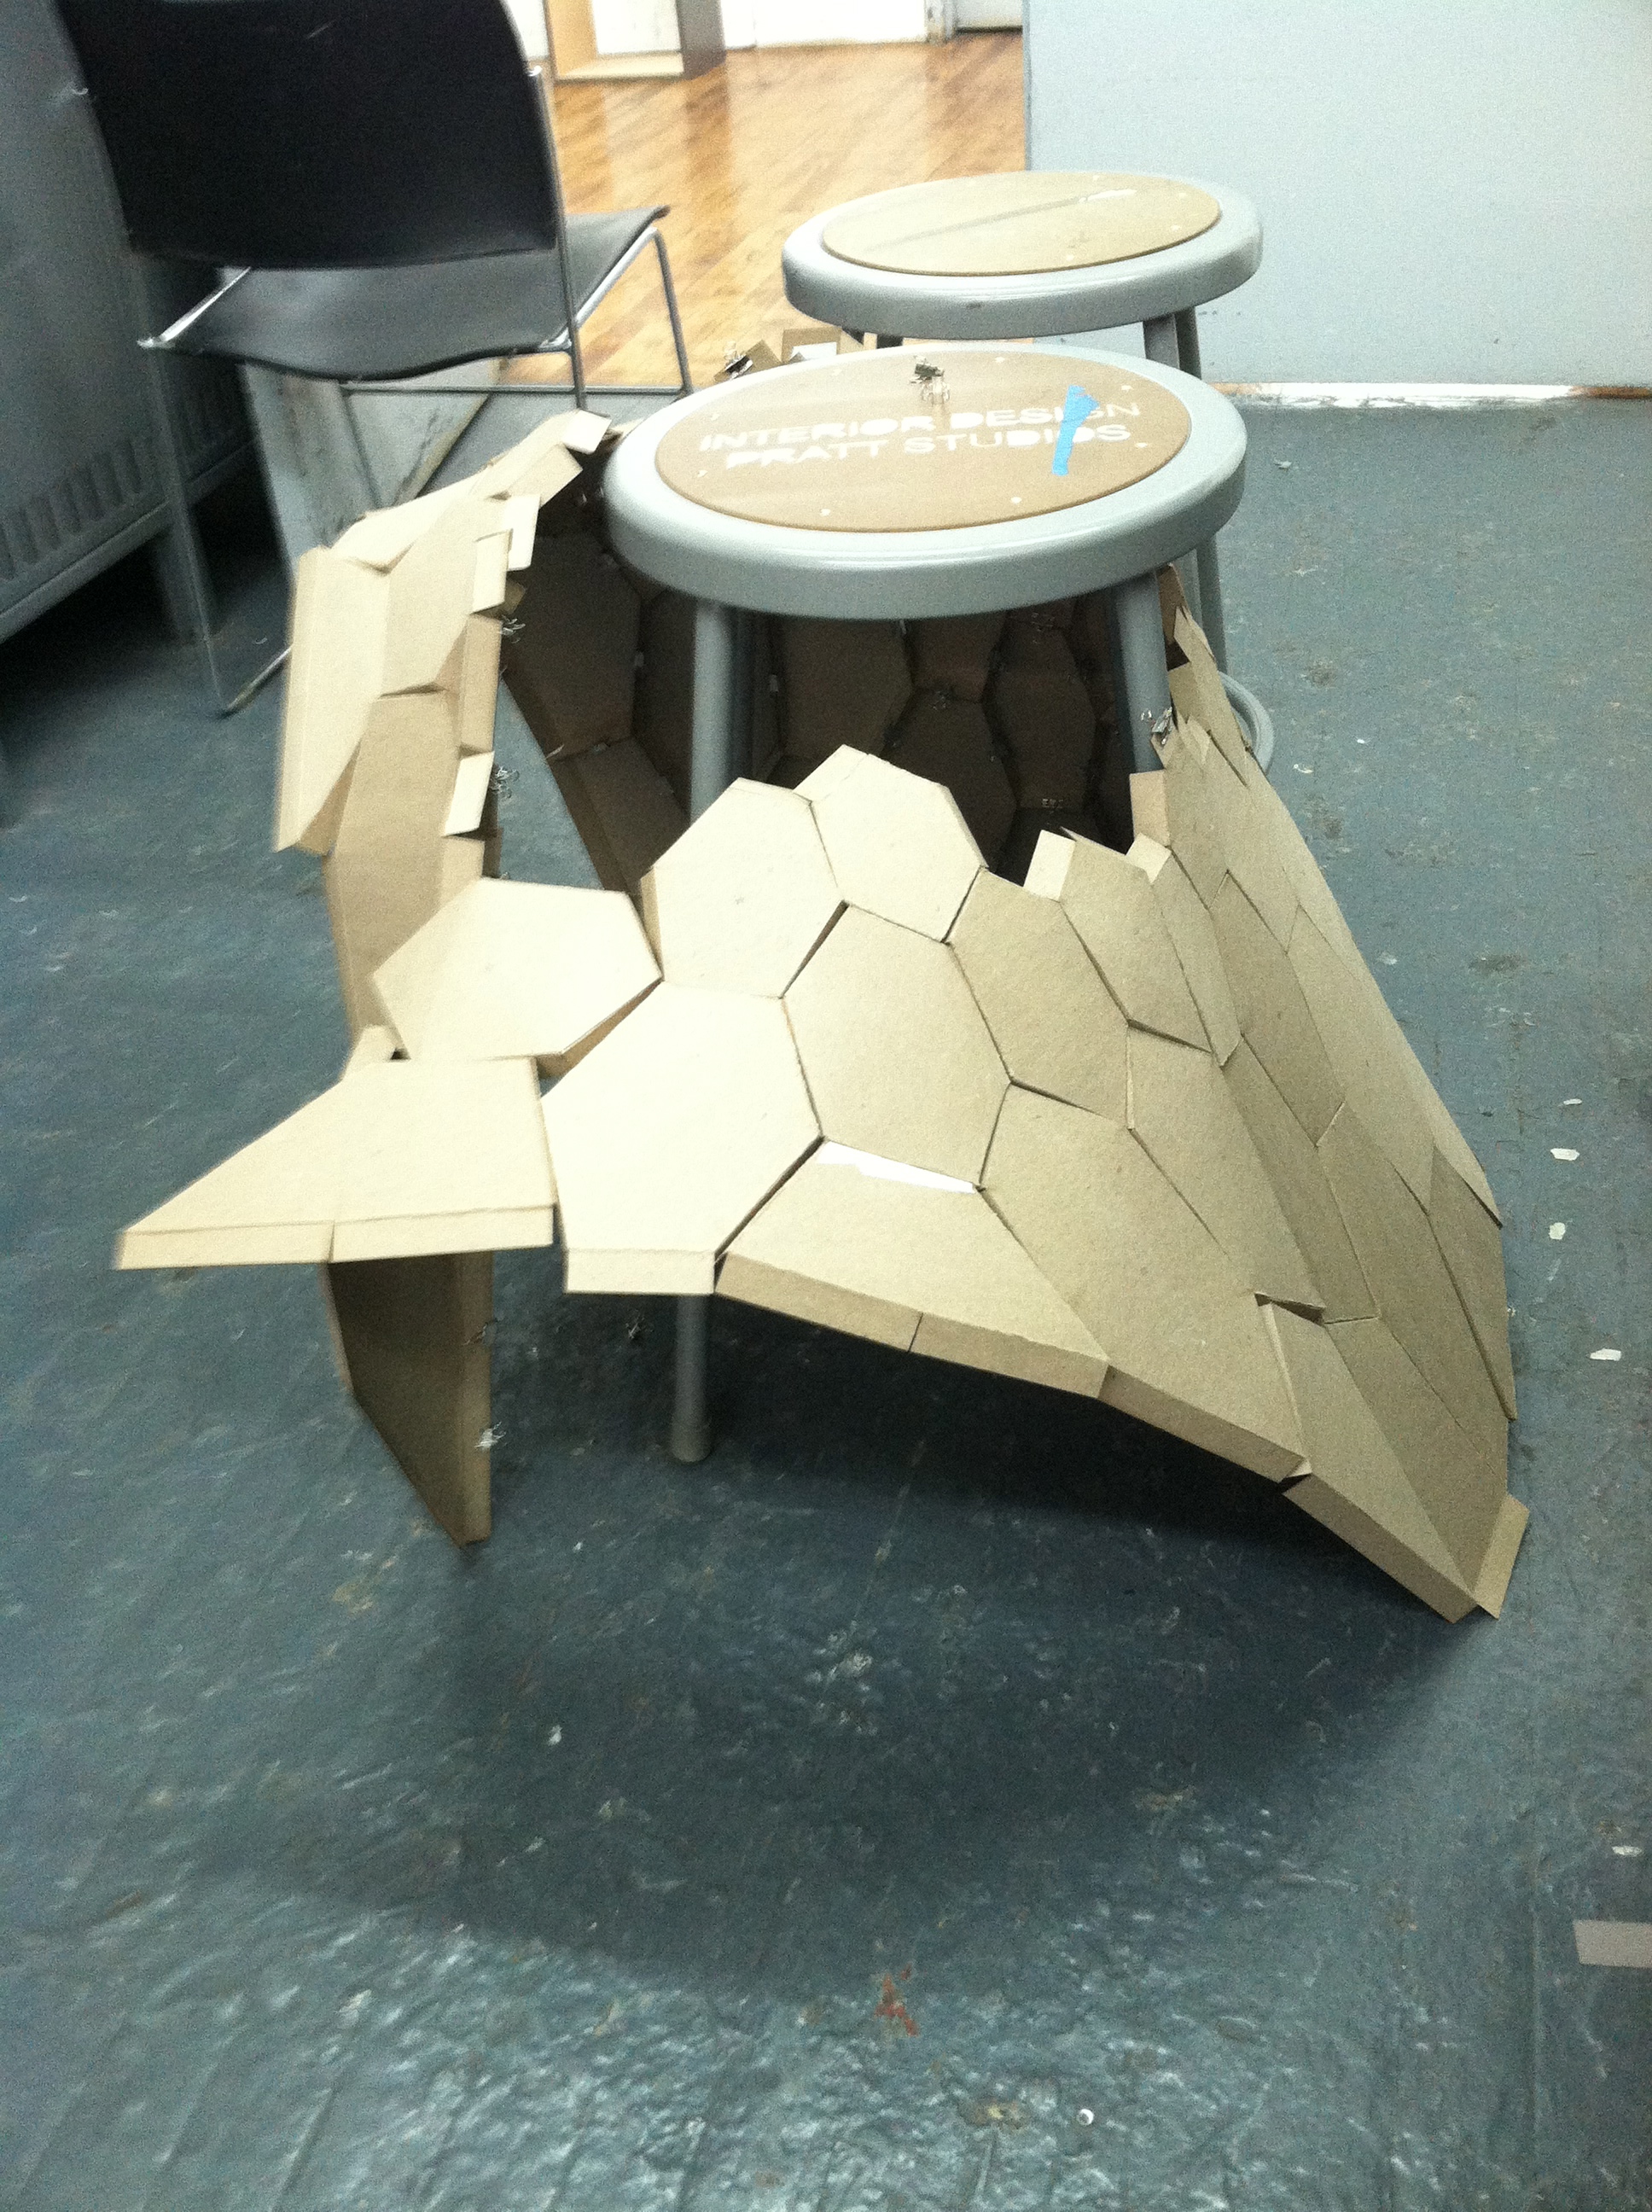
Building the mock-up – Seal, Edeline, Justin
Here we are just beginning to put together all of our lasercut pieces!
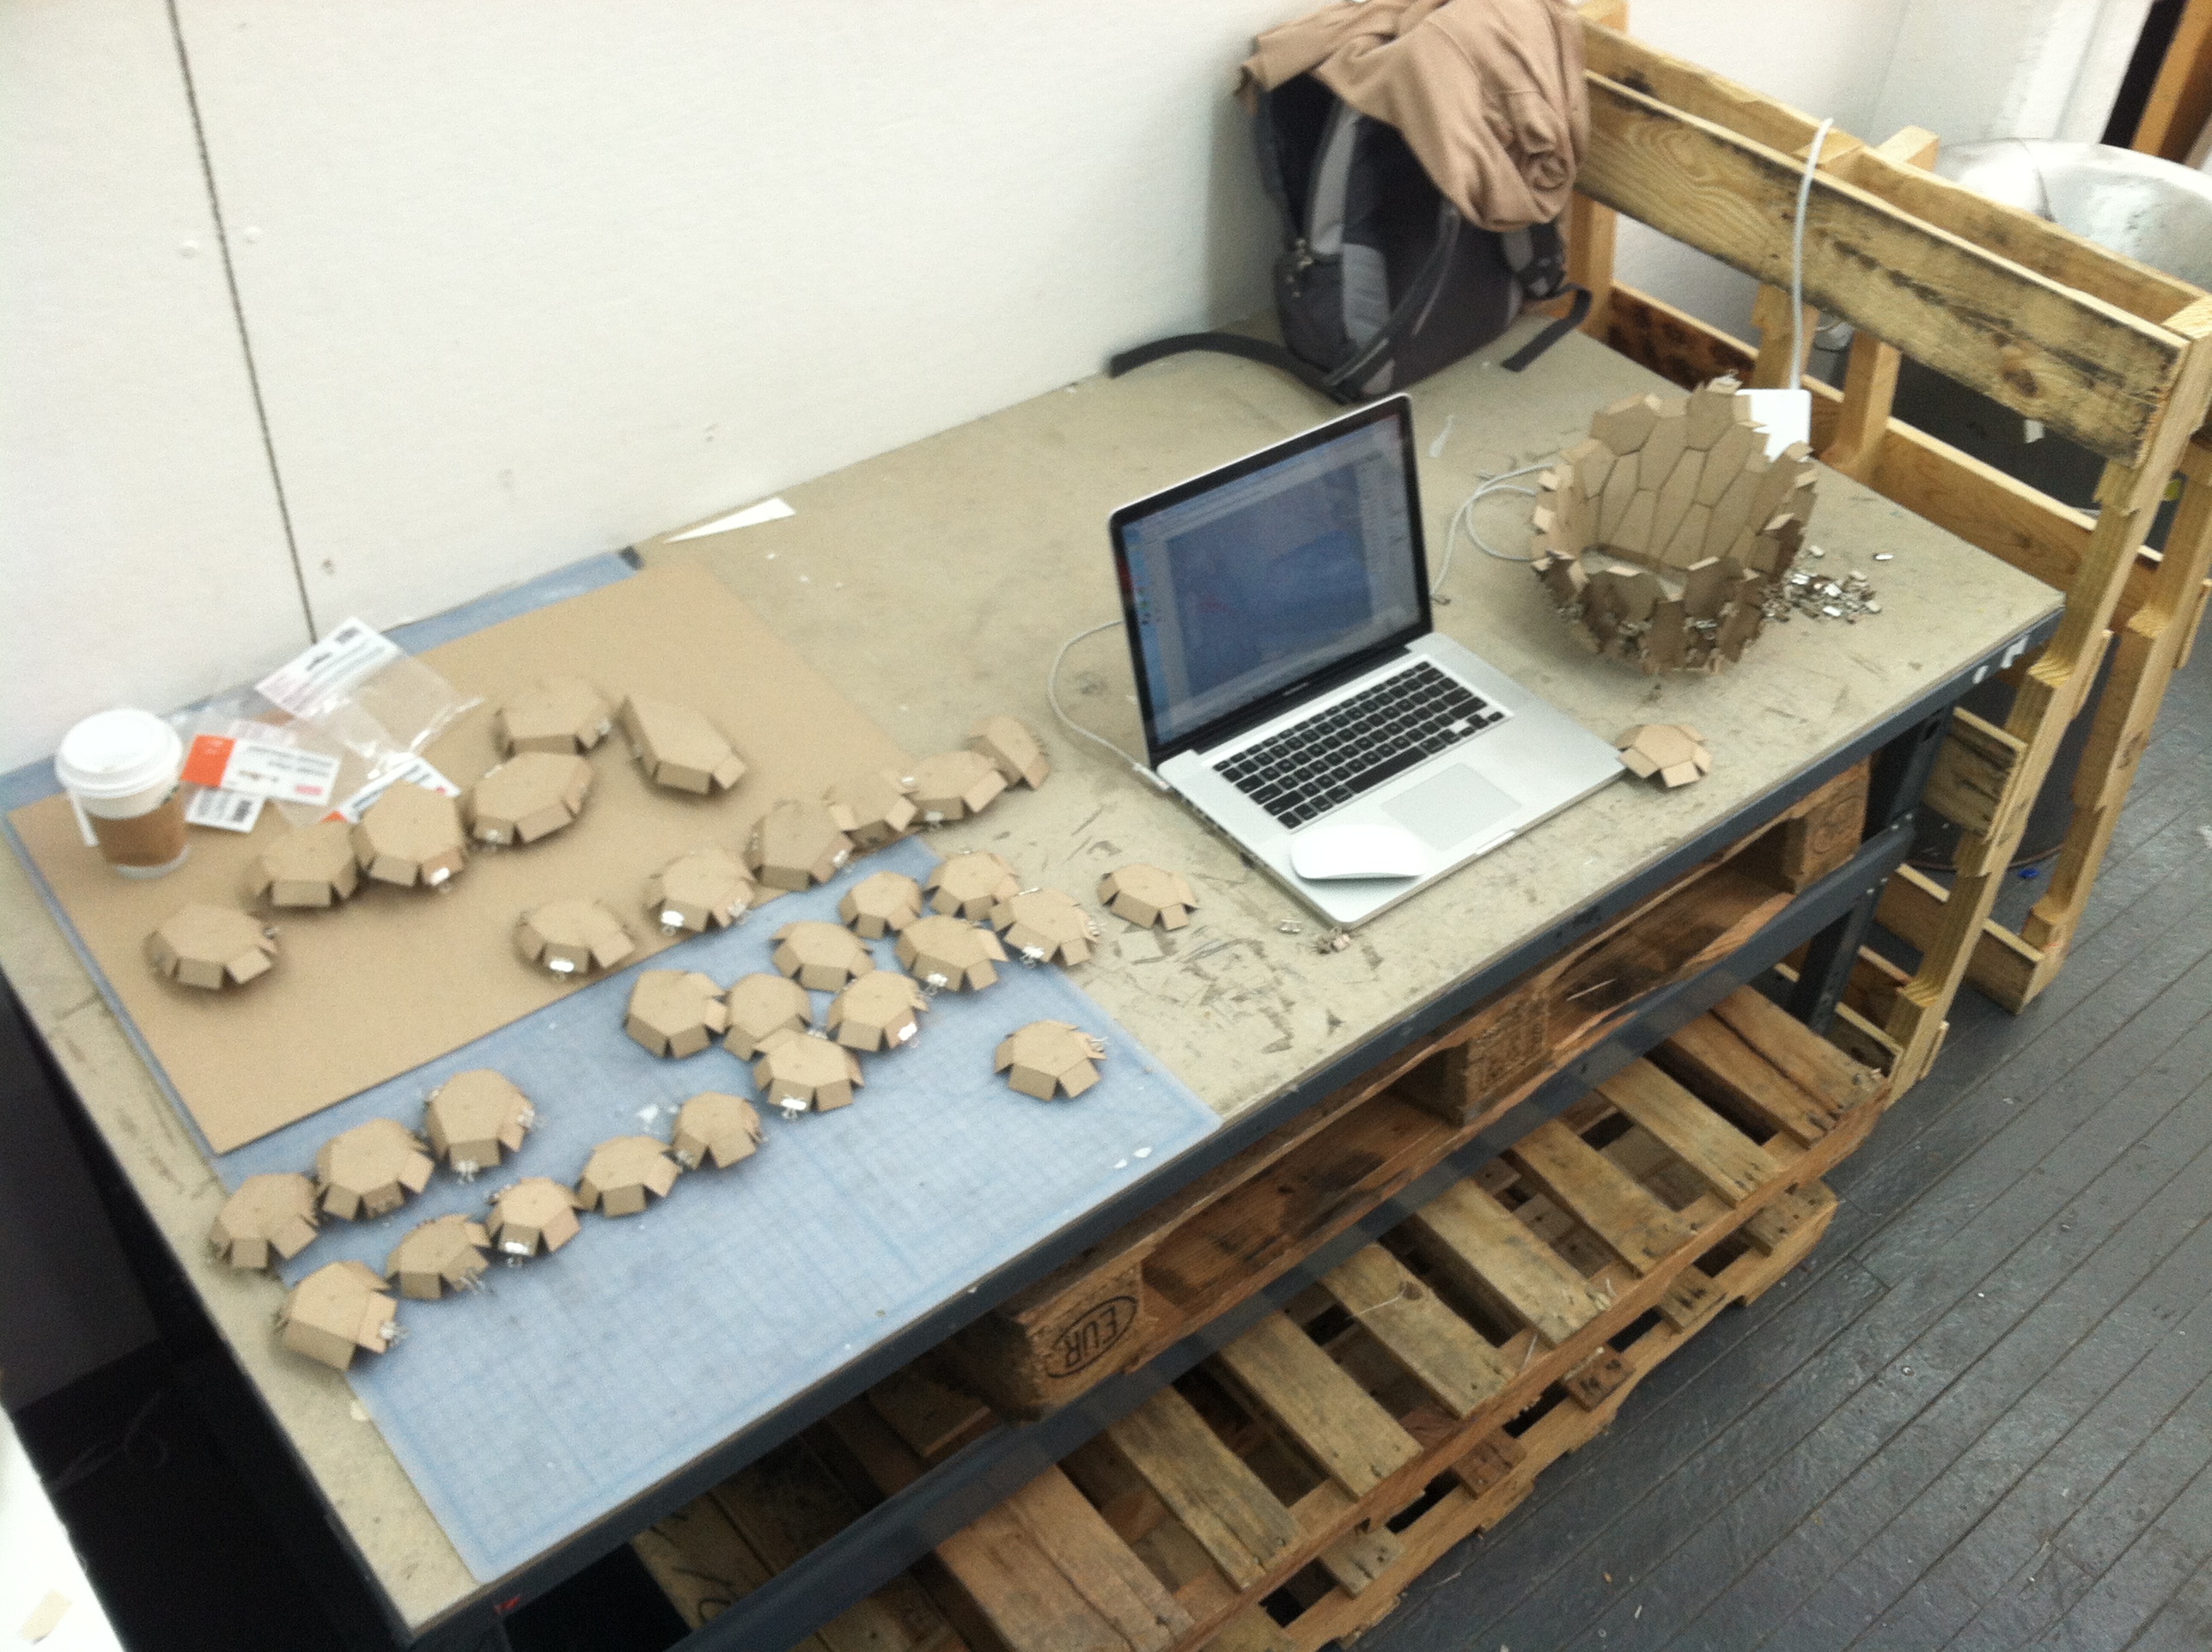
Preparing our 1/4 scale mock-up – Seal, Edeline, Justin
I’m a little behind on the blog posting!
Seal recently posted about finishing the form finding for our structure and flattening the pieces to be lasercut. We were also able to label each of the hex surfaces on the structure with its index using the Text Tag 3D component so we could identify each piece:
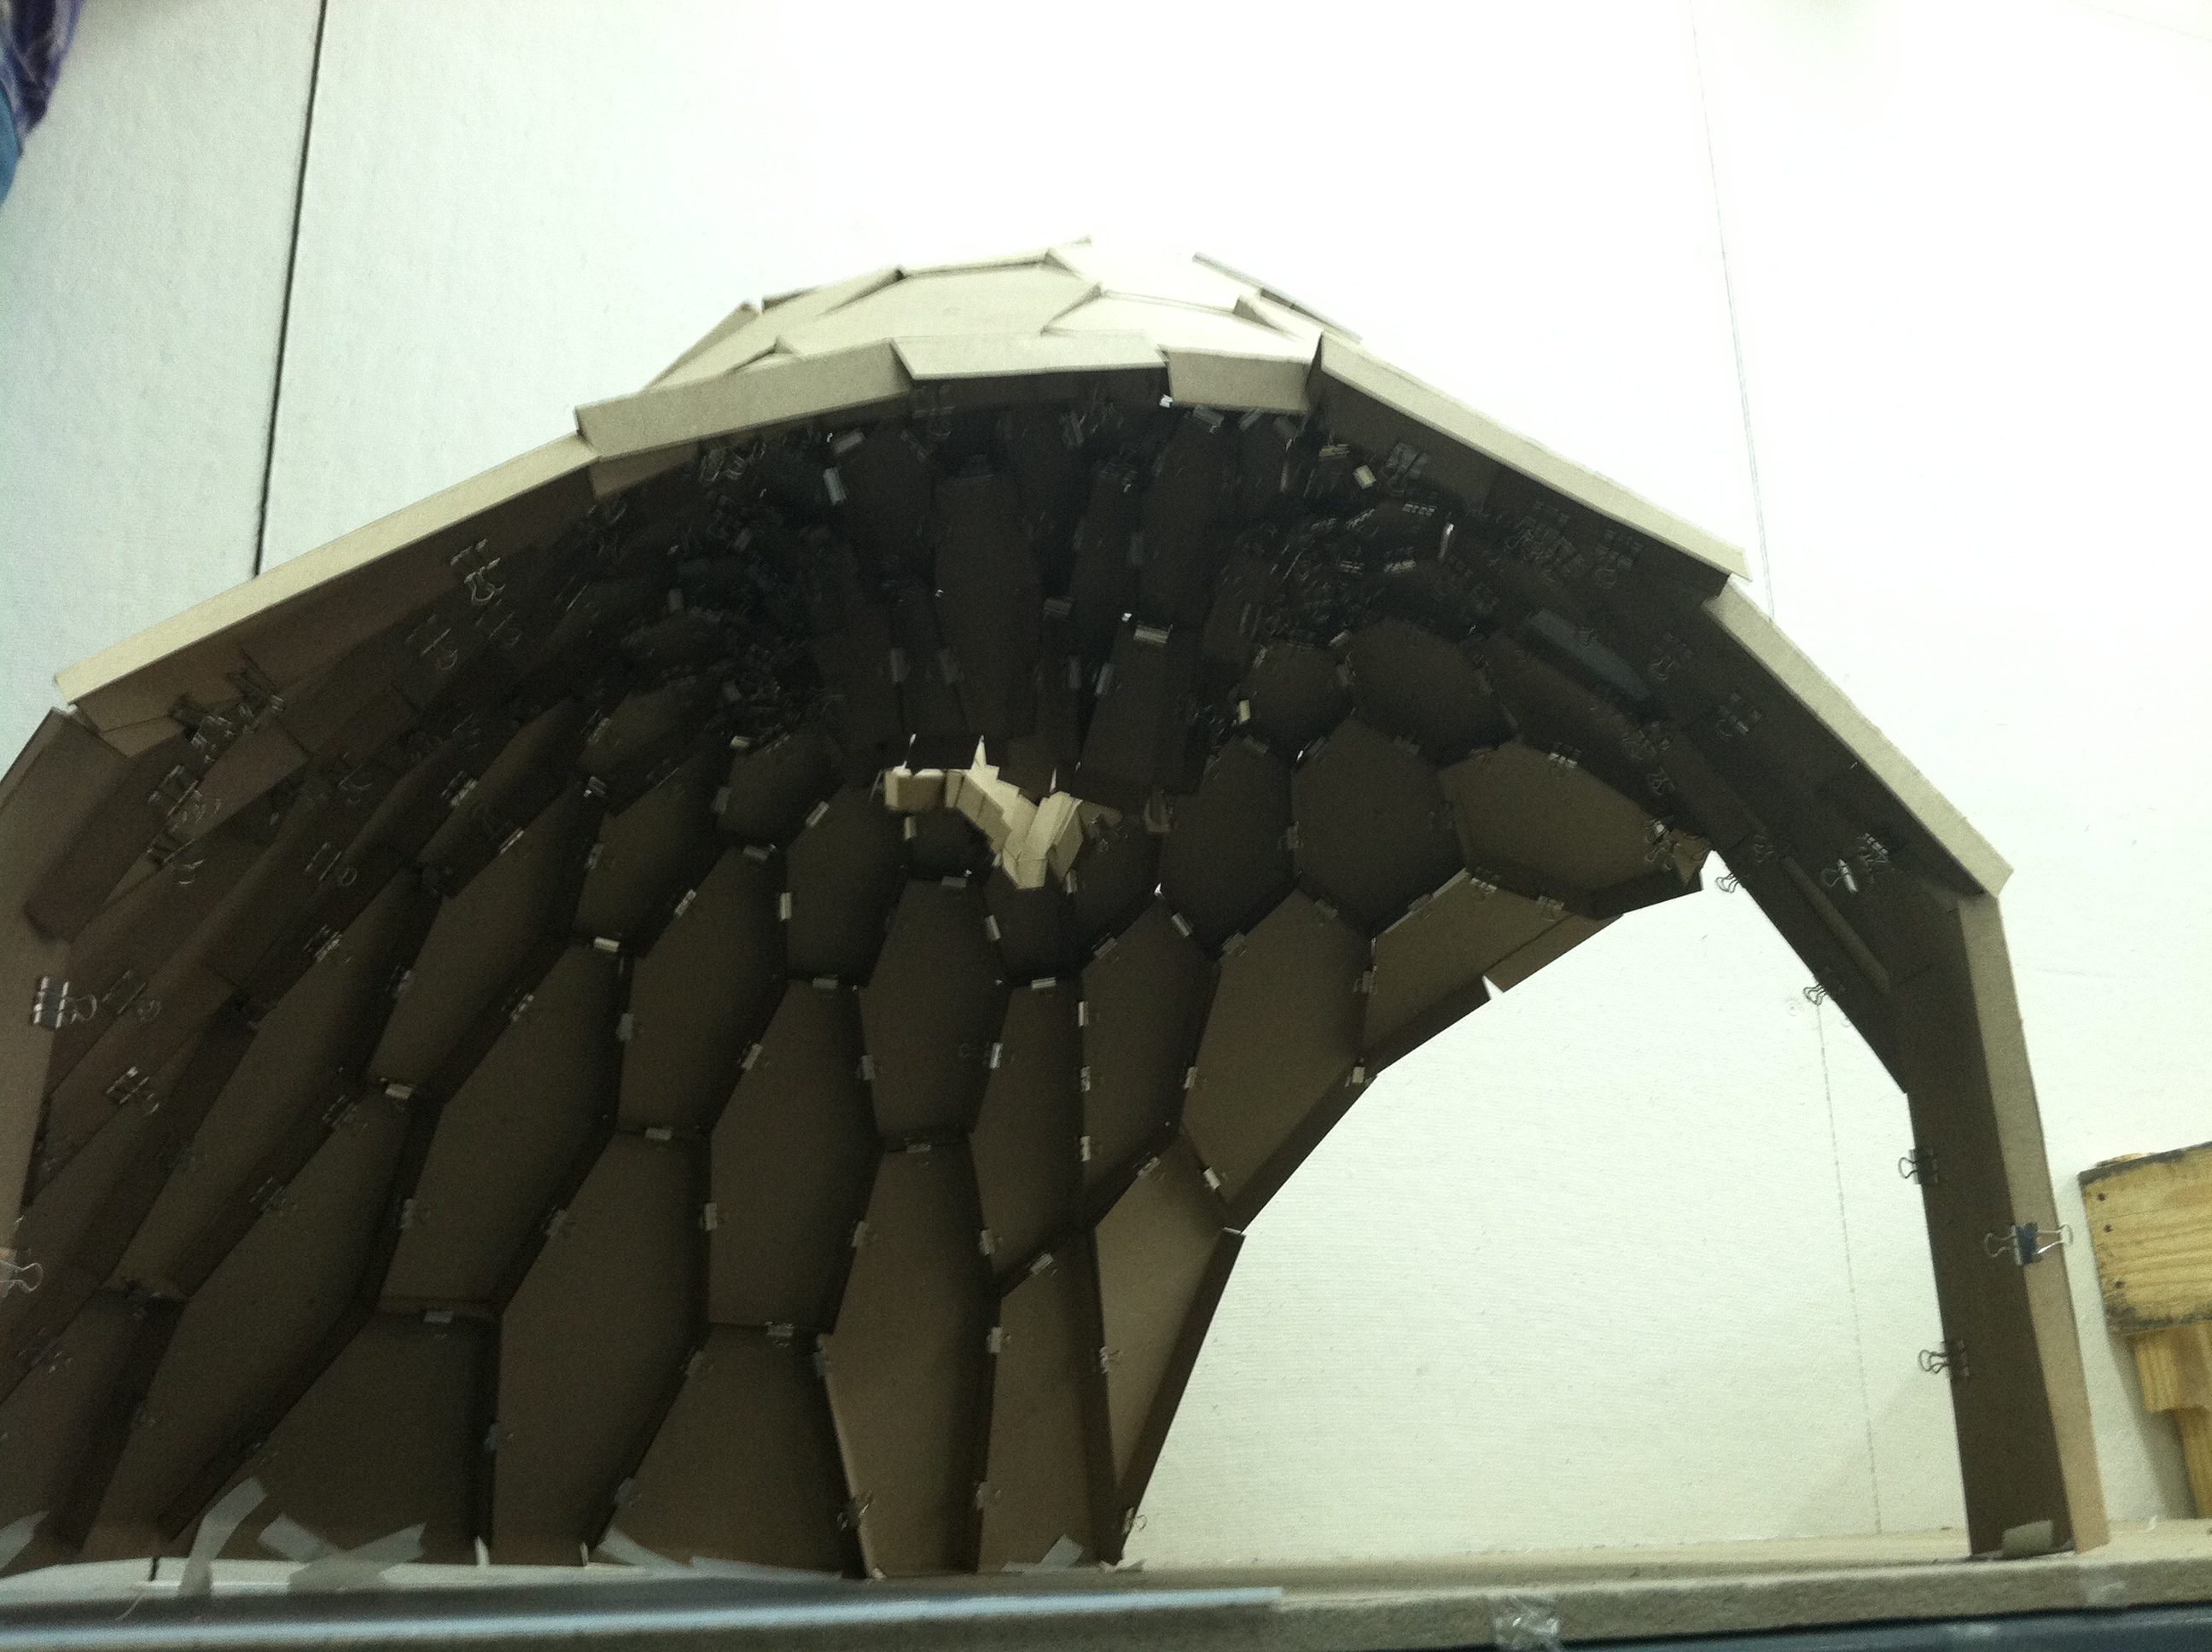
One problem that became apparent is that the normals for each of these surfaces do not face the same direction – some face inside and some outside (as you can see in the photo, some of the text is backwards). We need to establish a clear direction for the final so that the lasercut score line folds in the right direction.
Also, putting together the pieces based on this index alone was difficult because the orientation of each piece was not clear. For the final, we are thinking of labeling each edge or vertex so we know quickly how the pieces fit together.
We were also able to generate “tabs” for each hexagon. We baked the flattened hex surfaces into Rhino and ran a separate GH file to generate the tabs. We identified the edges of each hex surface, offset each edge, and then drew a line from the start/end point of the original edge to the offset line. We were able to use the Color component in the Vector area to make the hex edges black (RGB 0,0,0) and the tab outline red (RGB 255,0,0) so they would be ready to lasercut.

You must be logged in to post a comment.