Hi Guys!
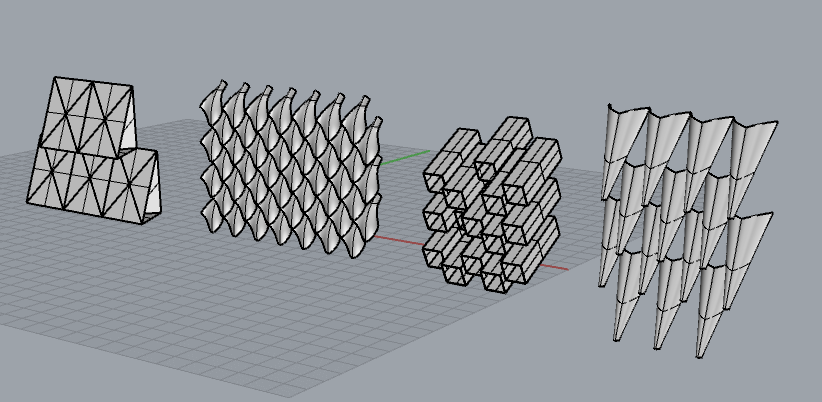
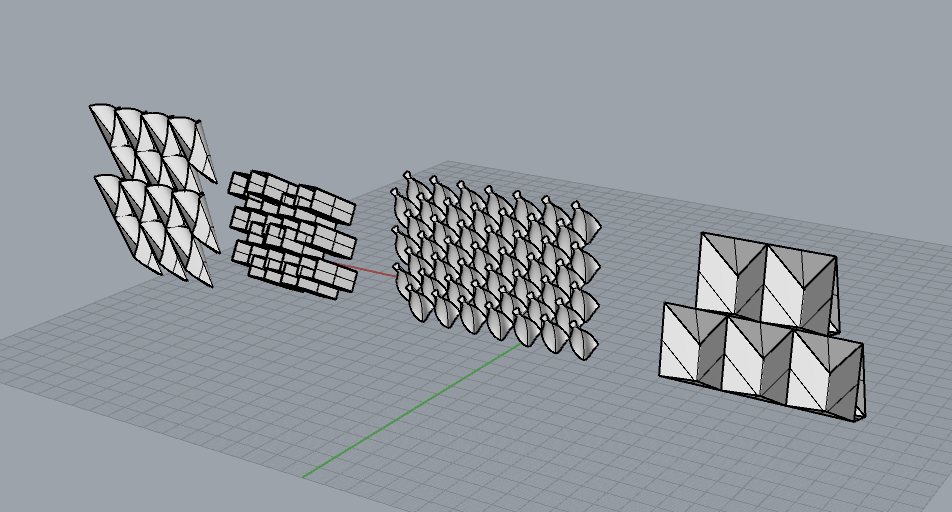
I revisited Ben’s Window Tutorial to figure out how exactly I am going to accomplish what I want. I want to create a hanging egg crate system that will diffuse and redirect light. Ultimately, I want to harness the sunlight and use it to create a “natural lamp”. In my trial, I only influenced one axis to twist, however, I am still researching what will be best for my situation.
Here are some updates on my process:
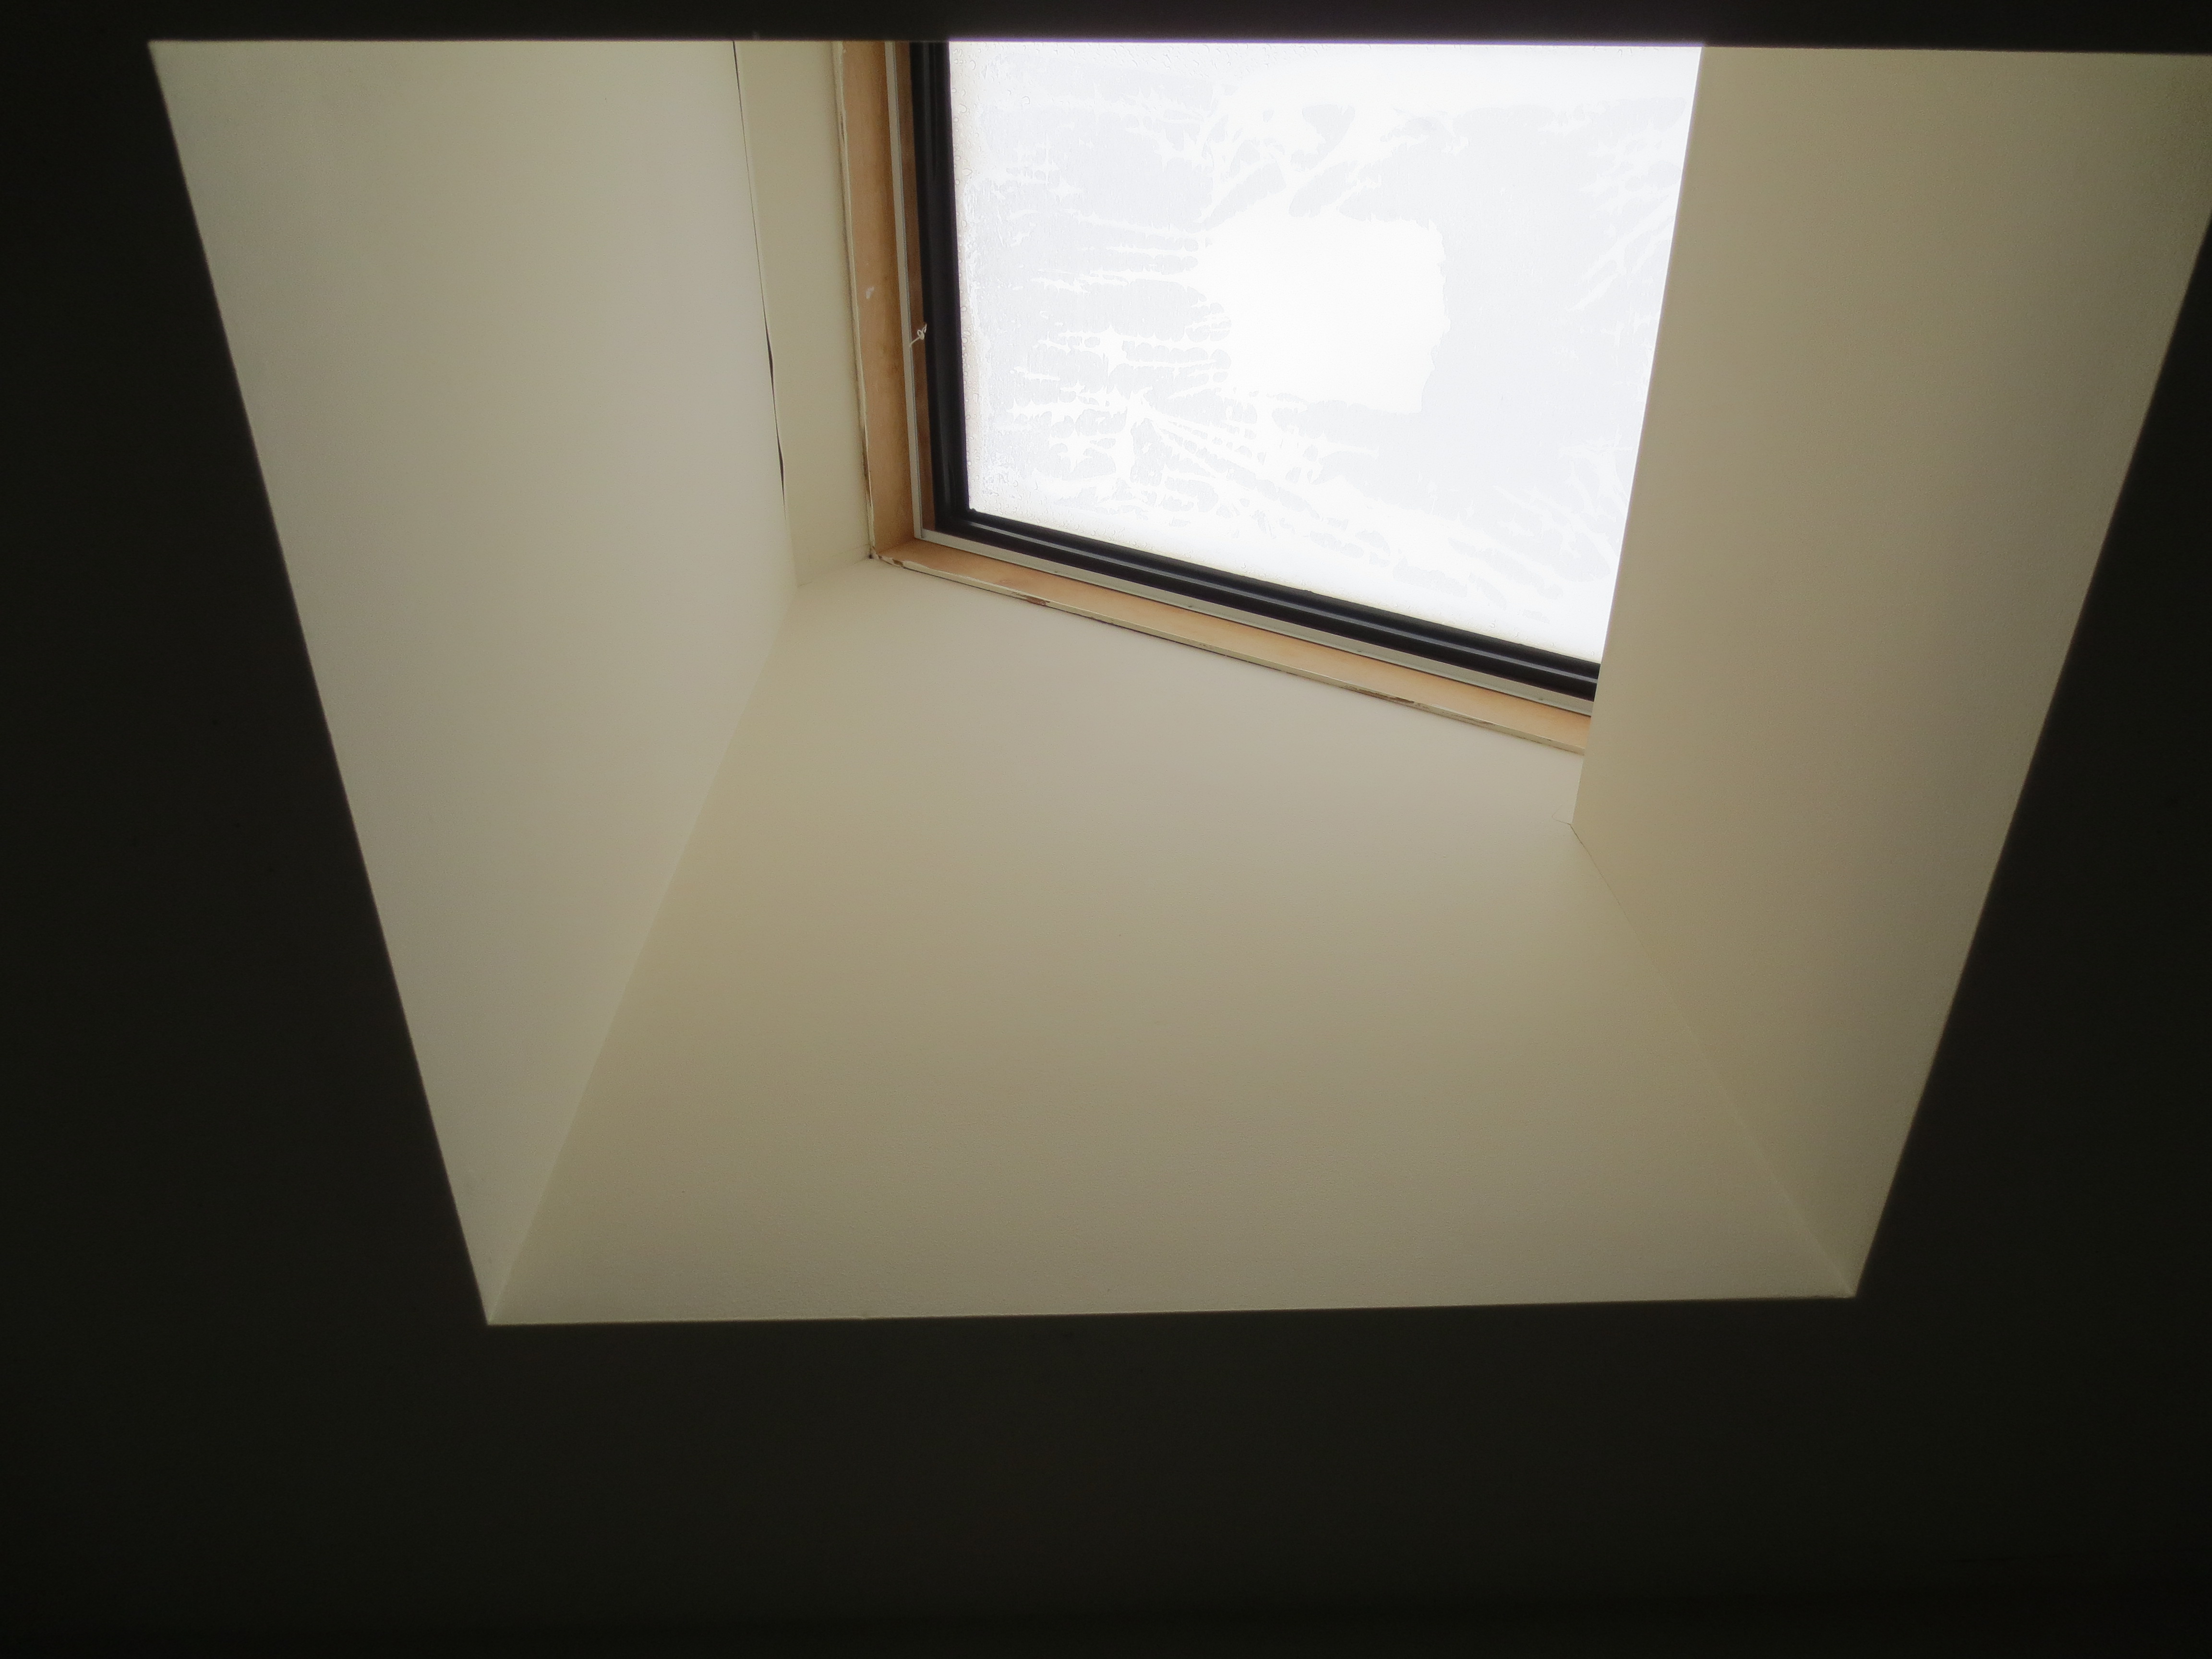
 Light will be redirected left and right.
 Above my bed.
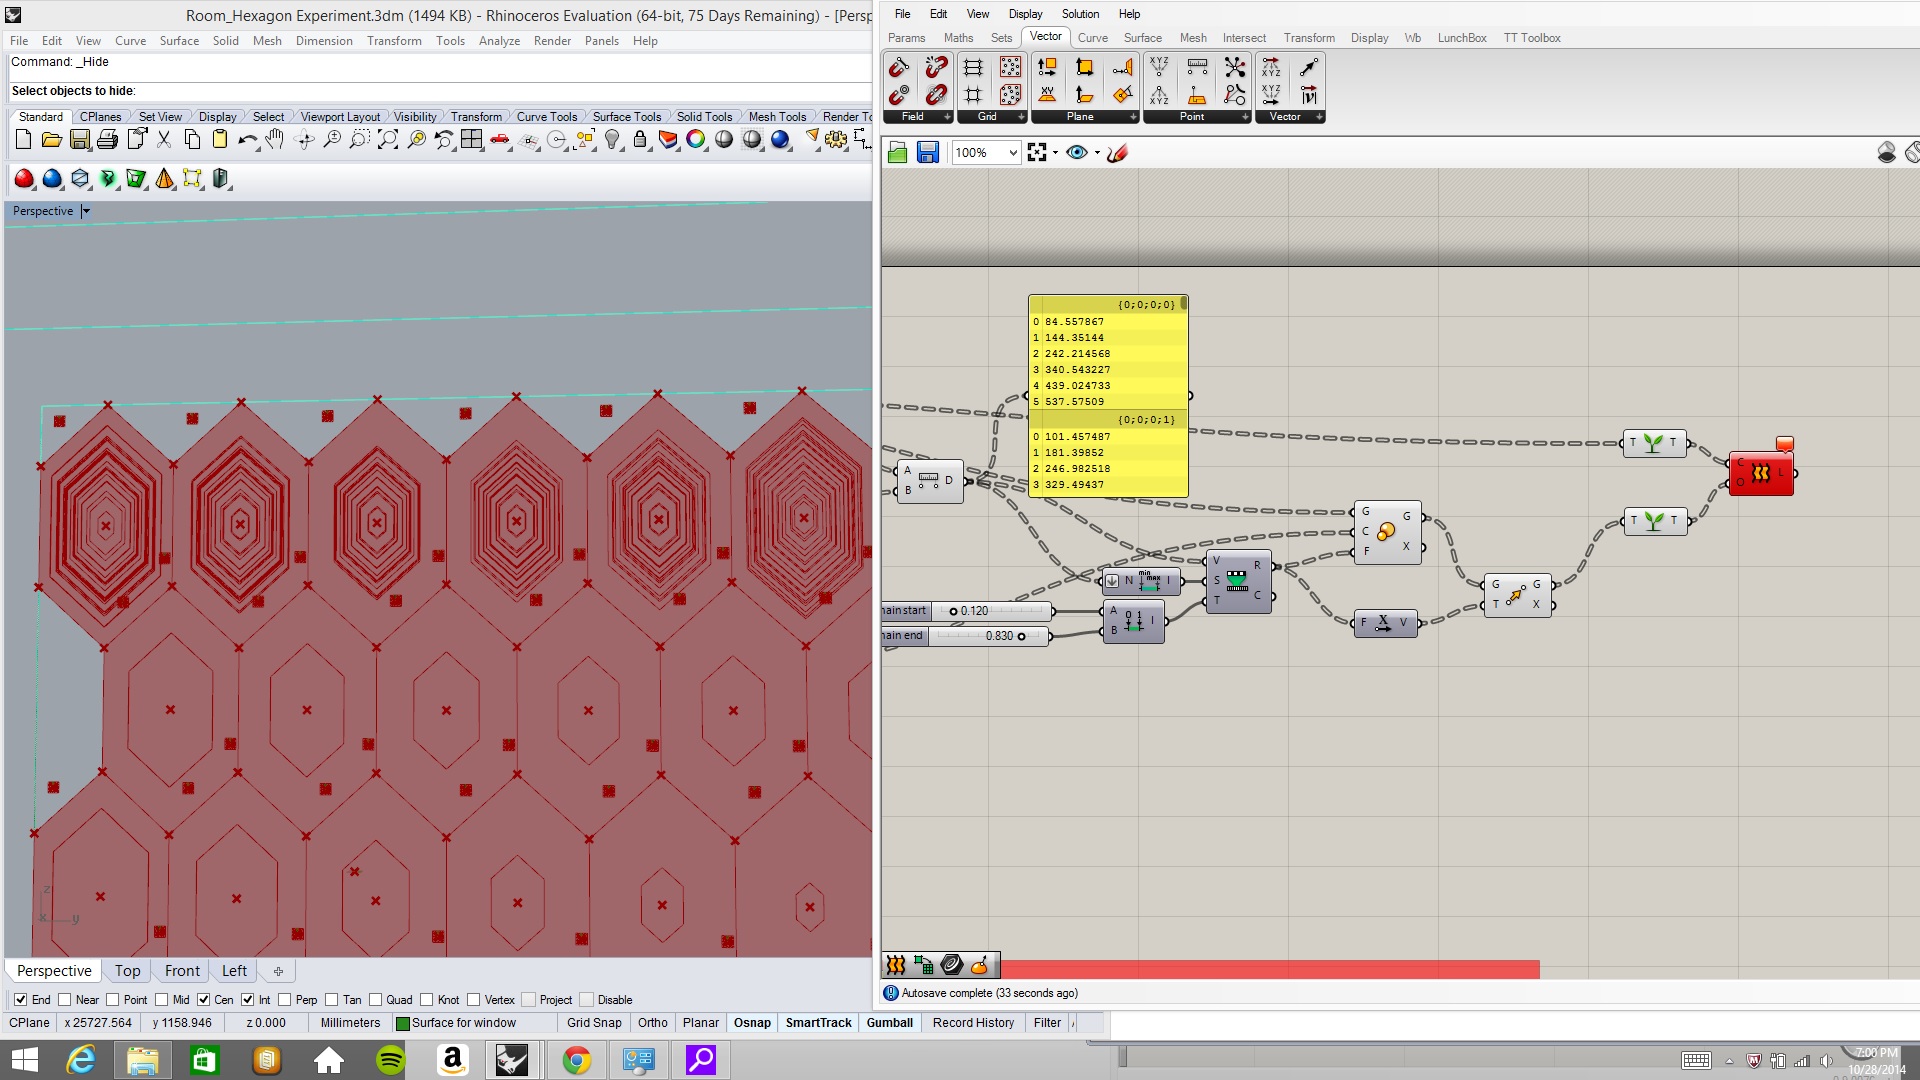
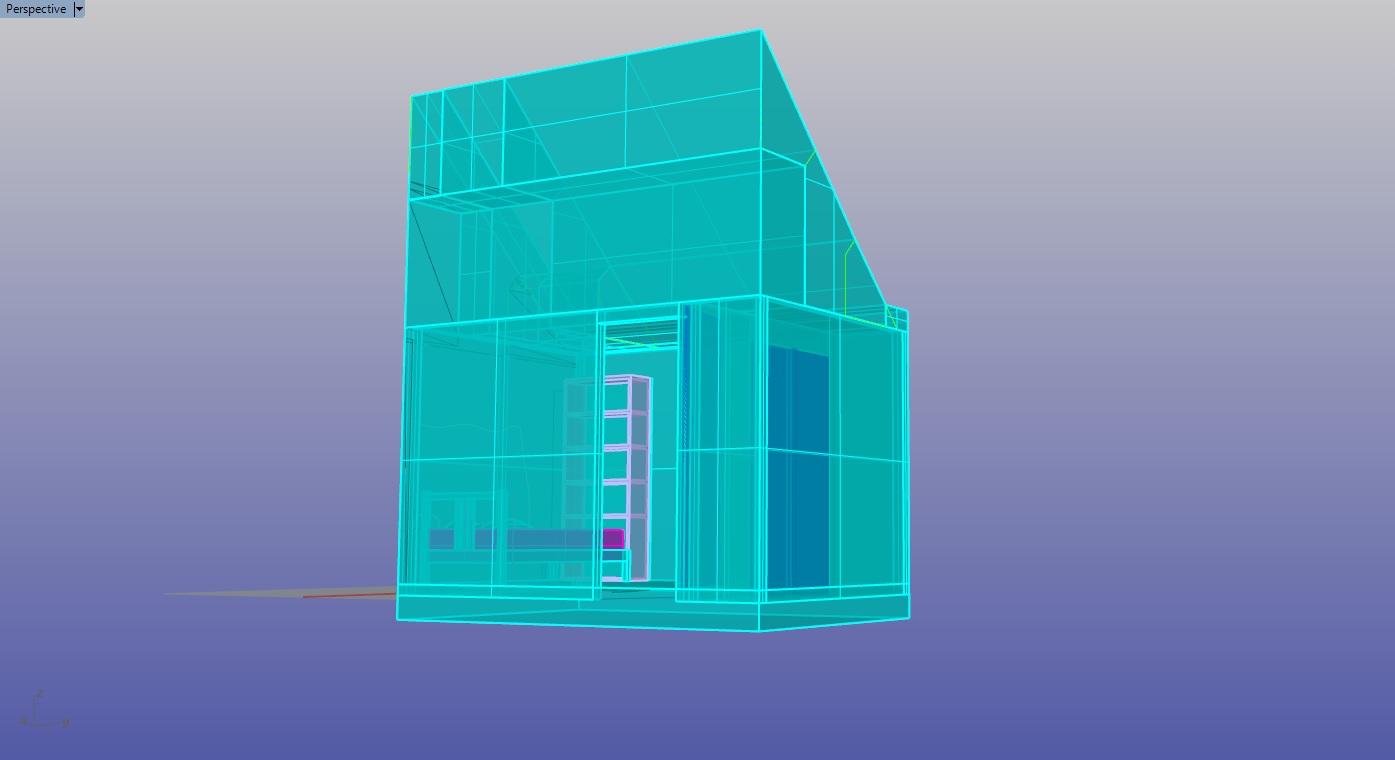
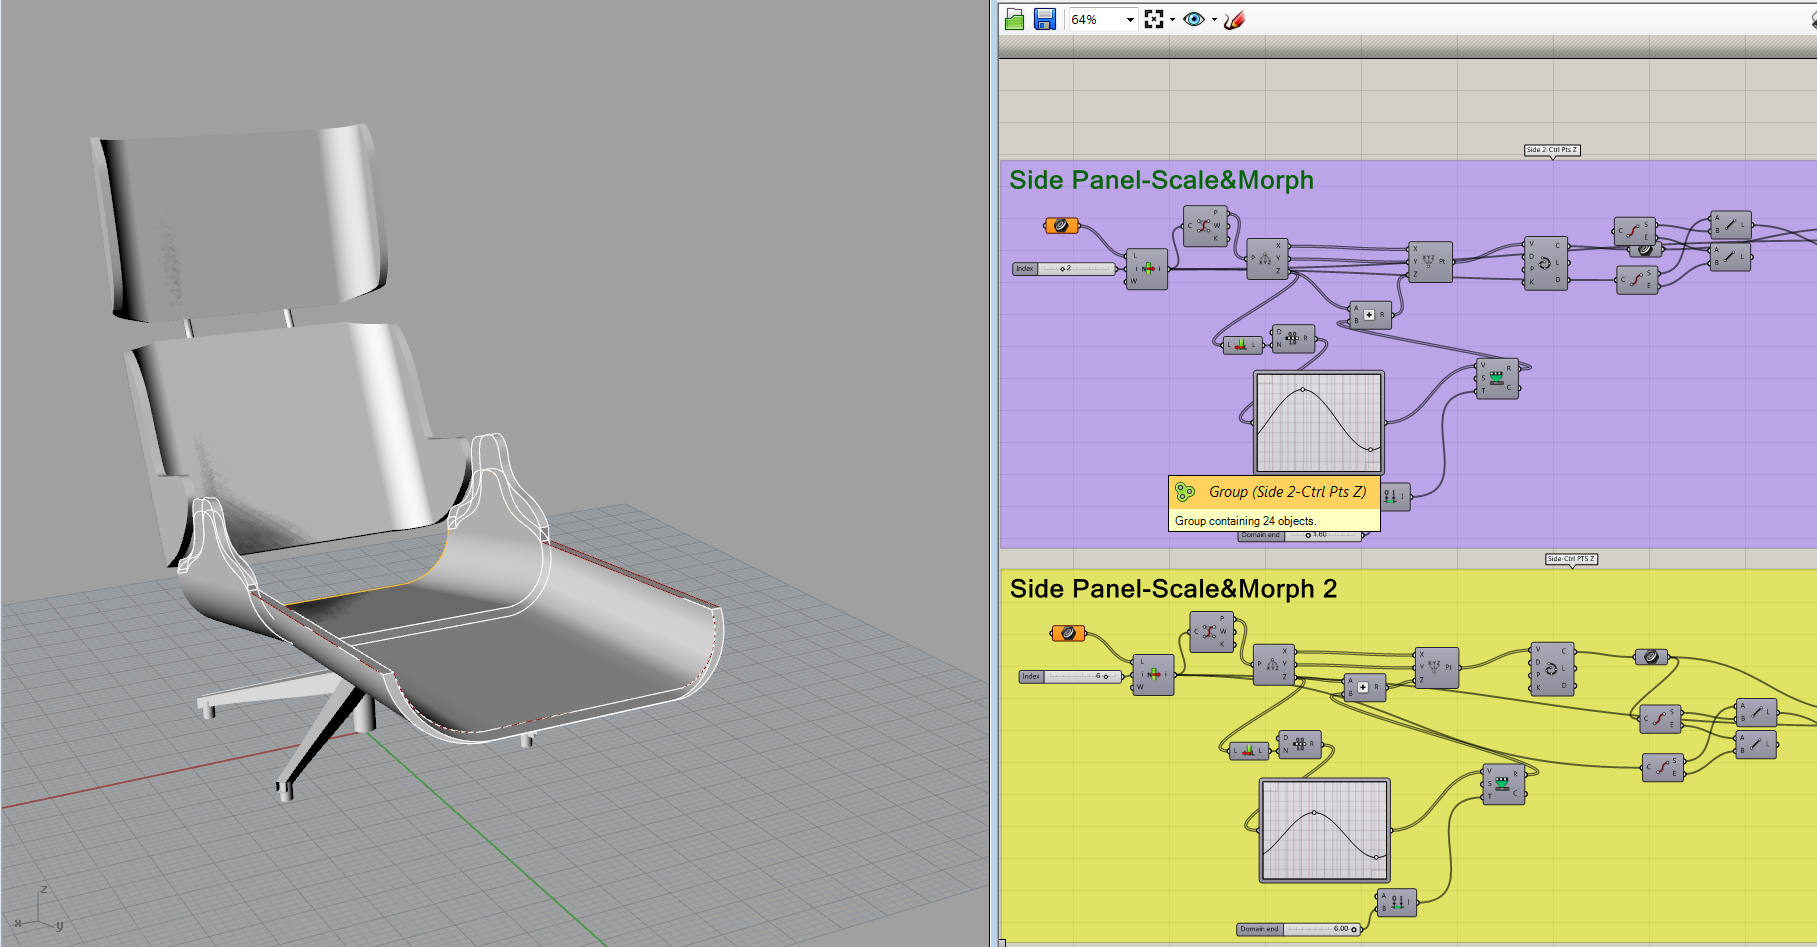
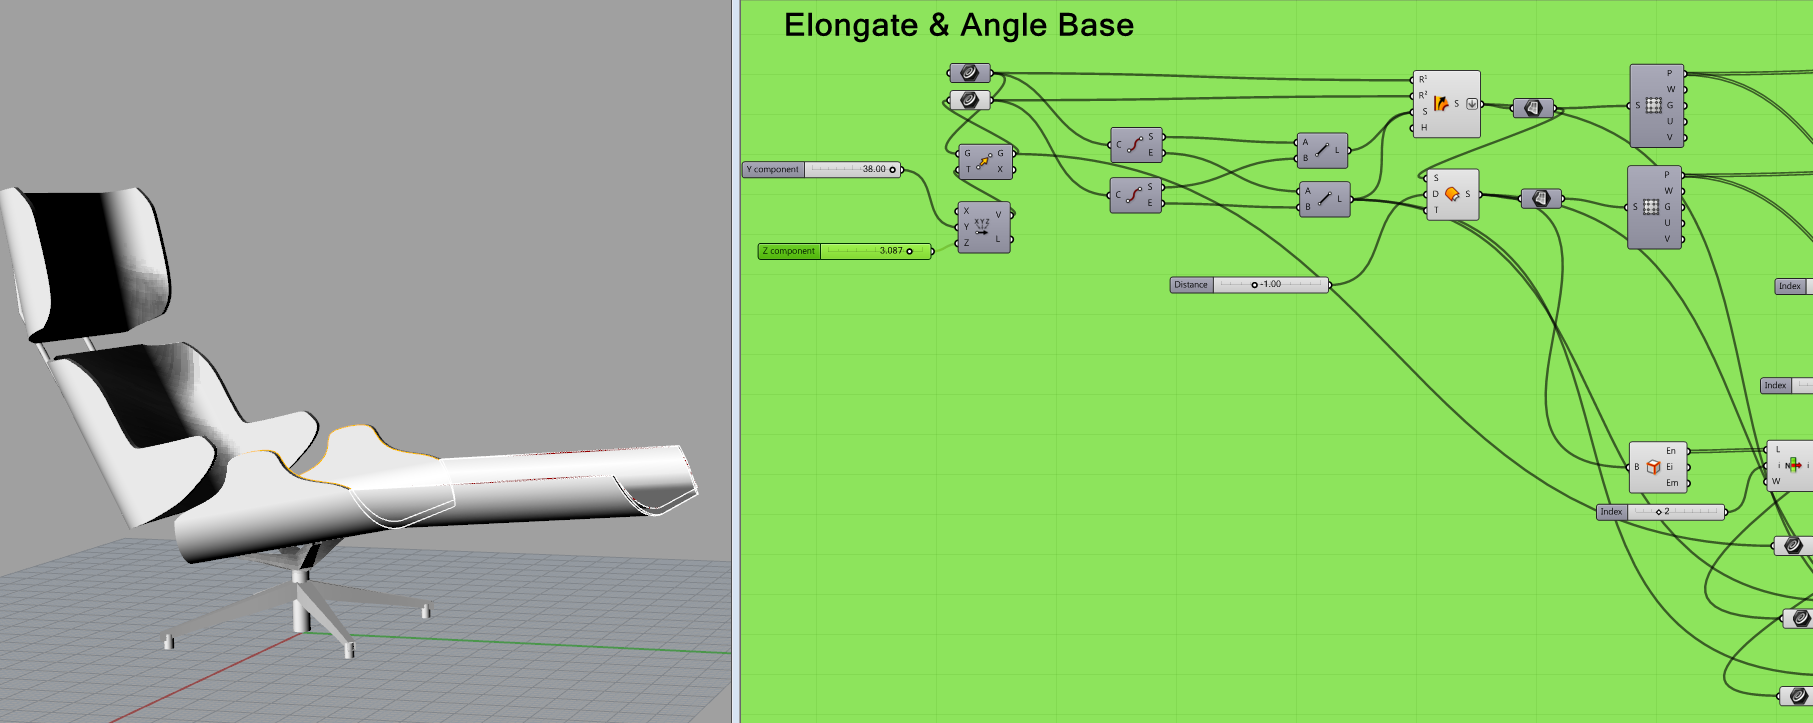
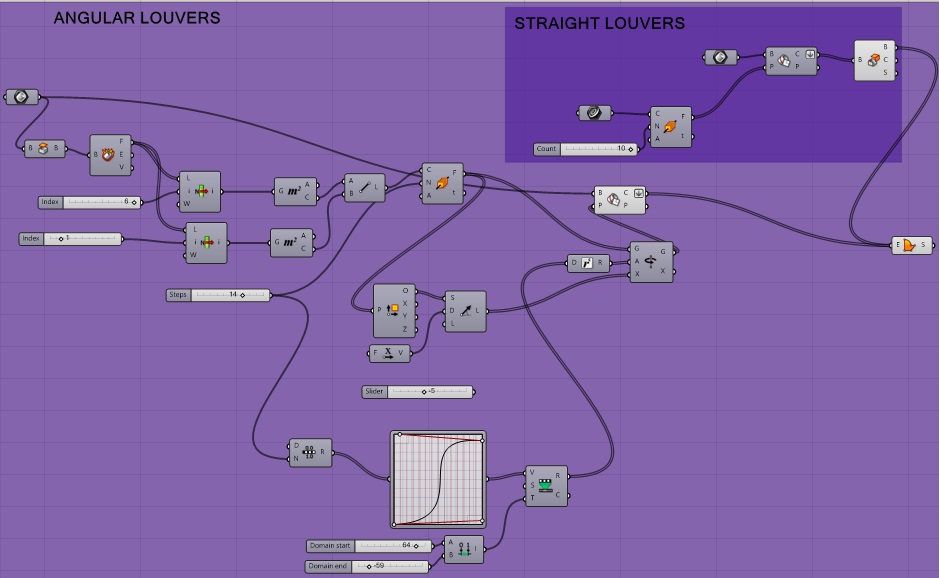 Grasshopper definition
Any suggestions on how to hang this thing?


 I
I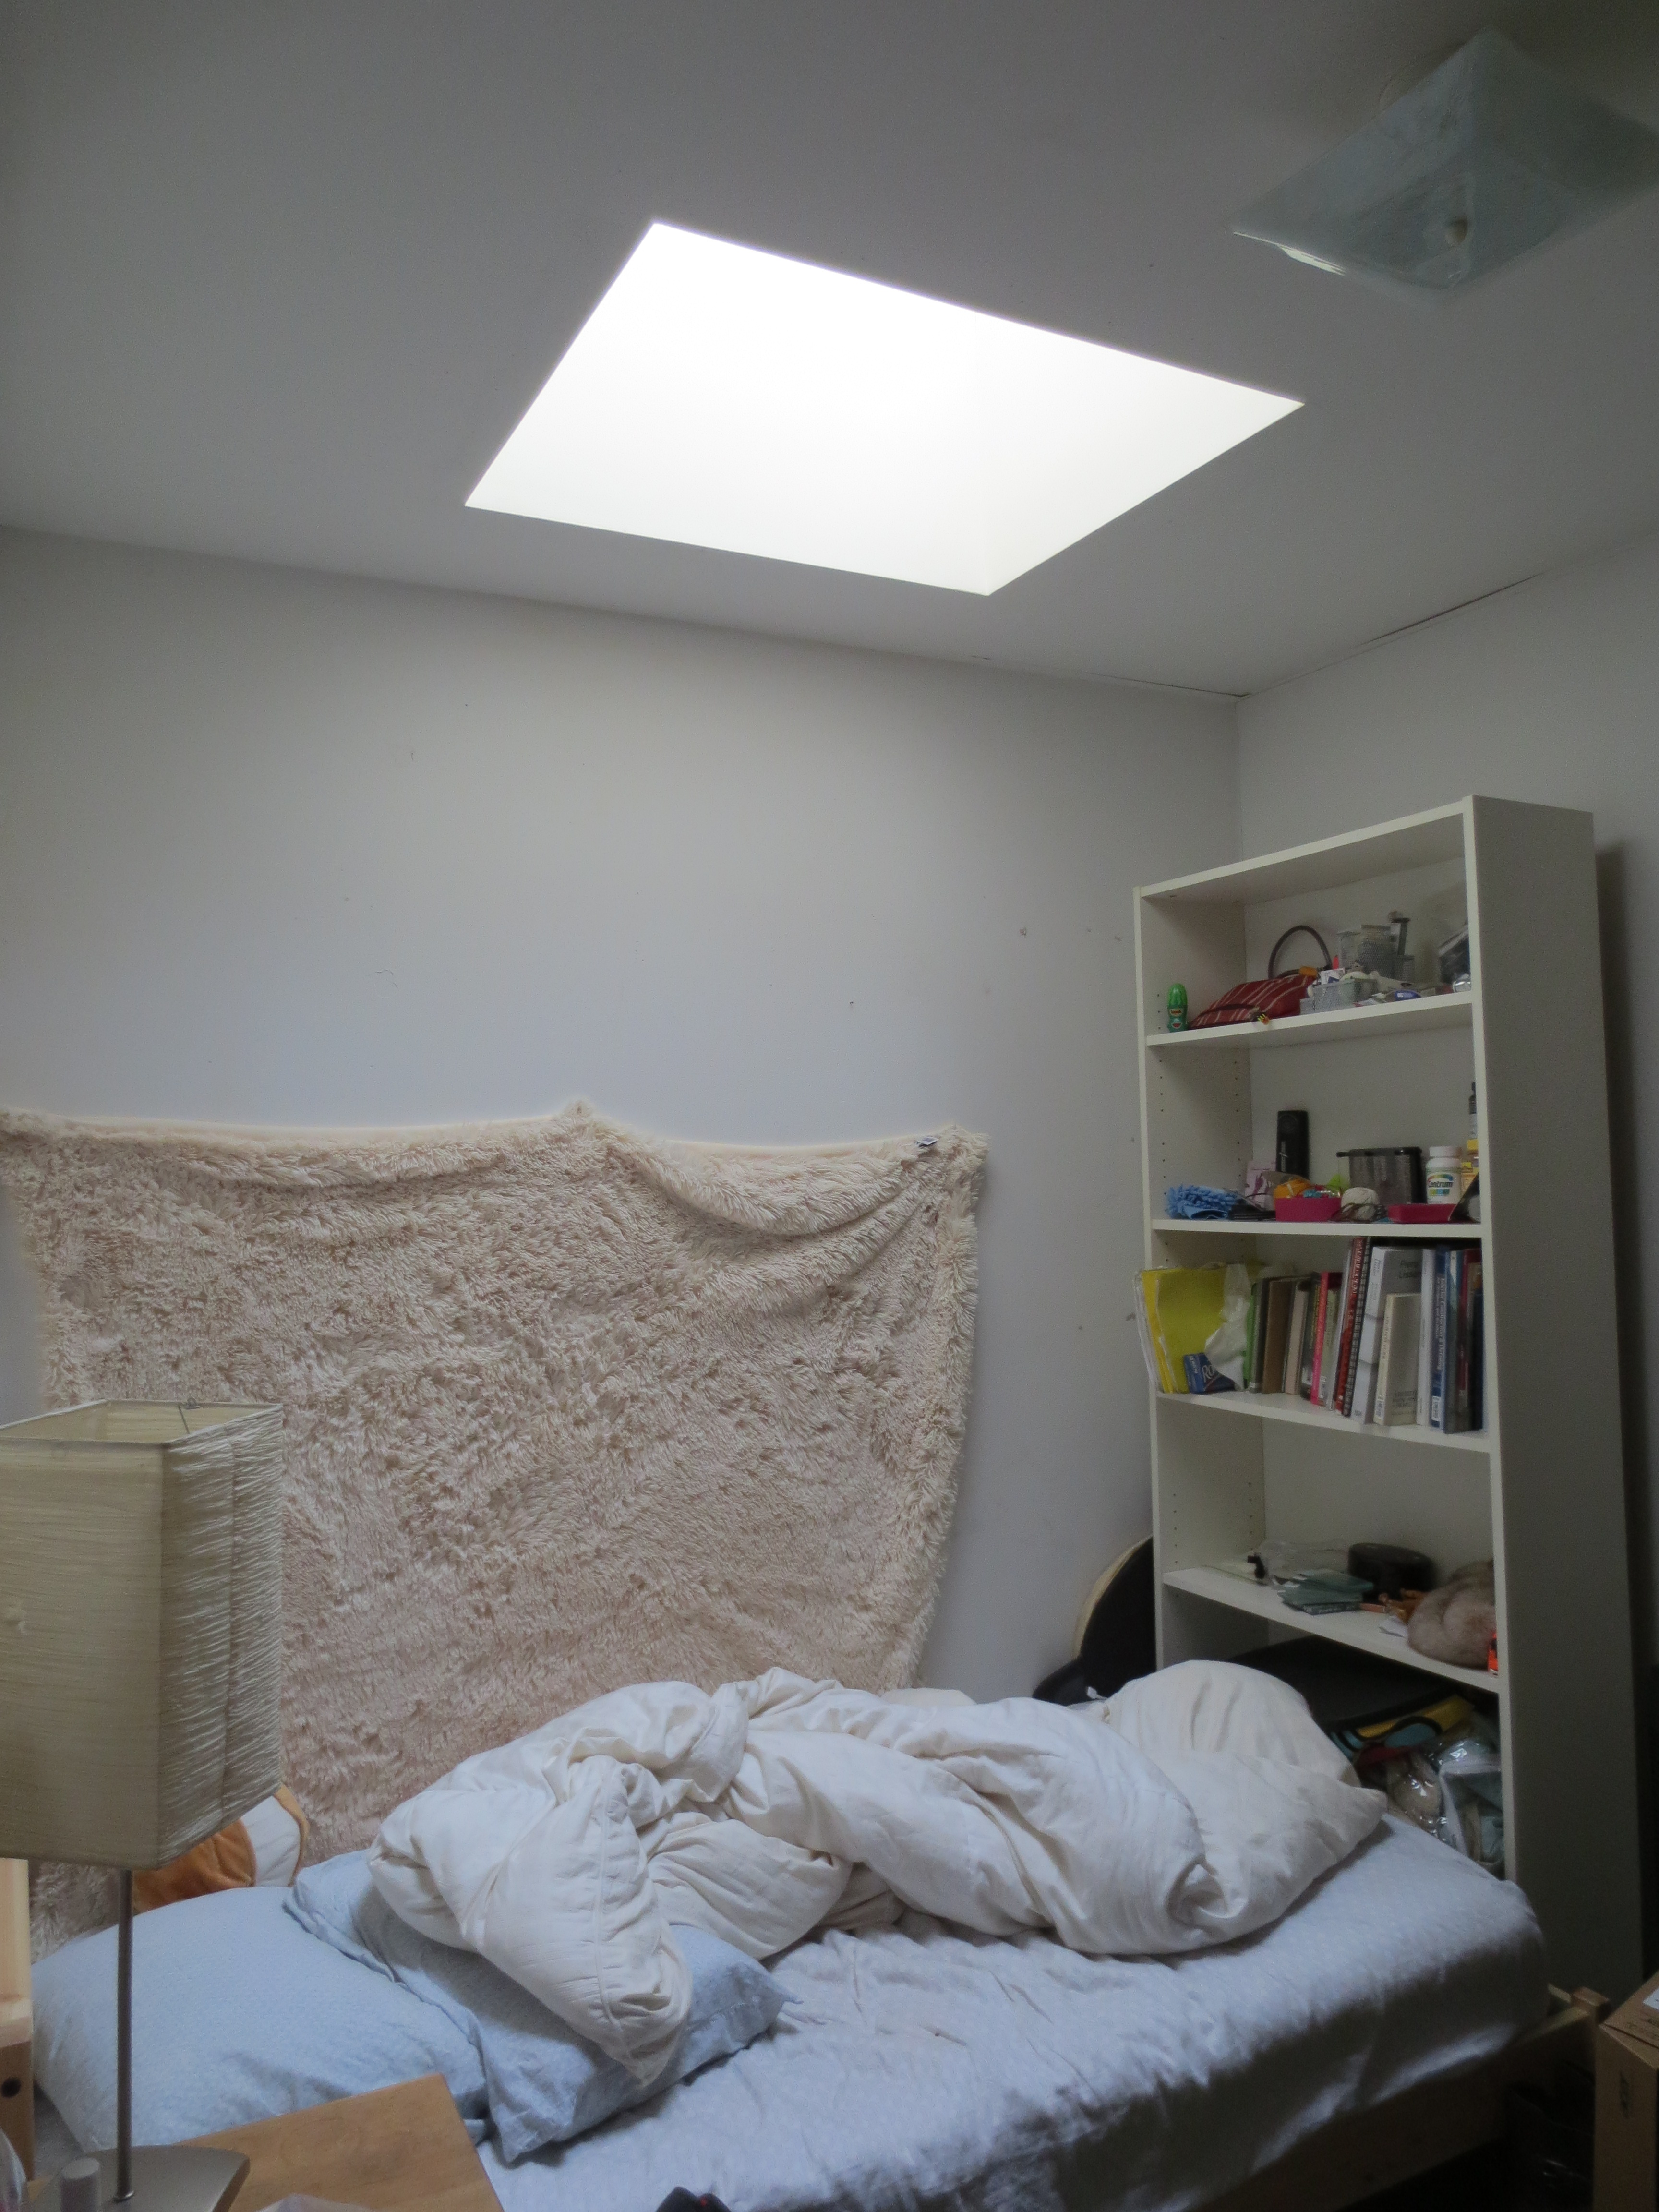
 I
I


You must be logged in to post a comment.