I have a family of chairs. I changed the shape of my chair using rhino for one piece and GH for the other. Then I applied the voronoi pattern onto them. Do they count for my family??

I have a family of chairs. I changed the shape of my chair using rhino for one piece and GH for the other. Then I applied the voronoi pattern onto them. Do they count for my family??
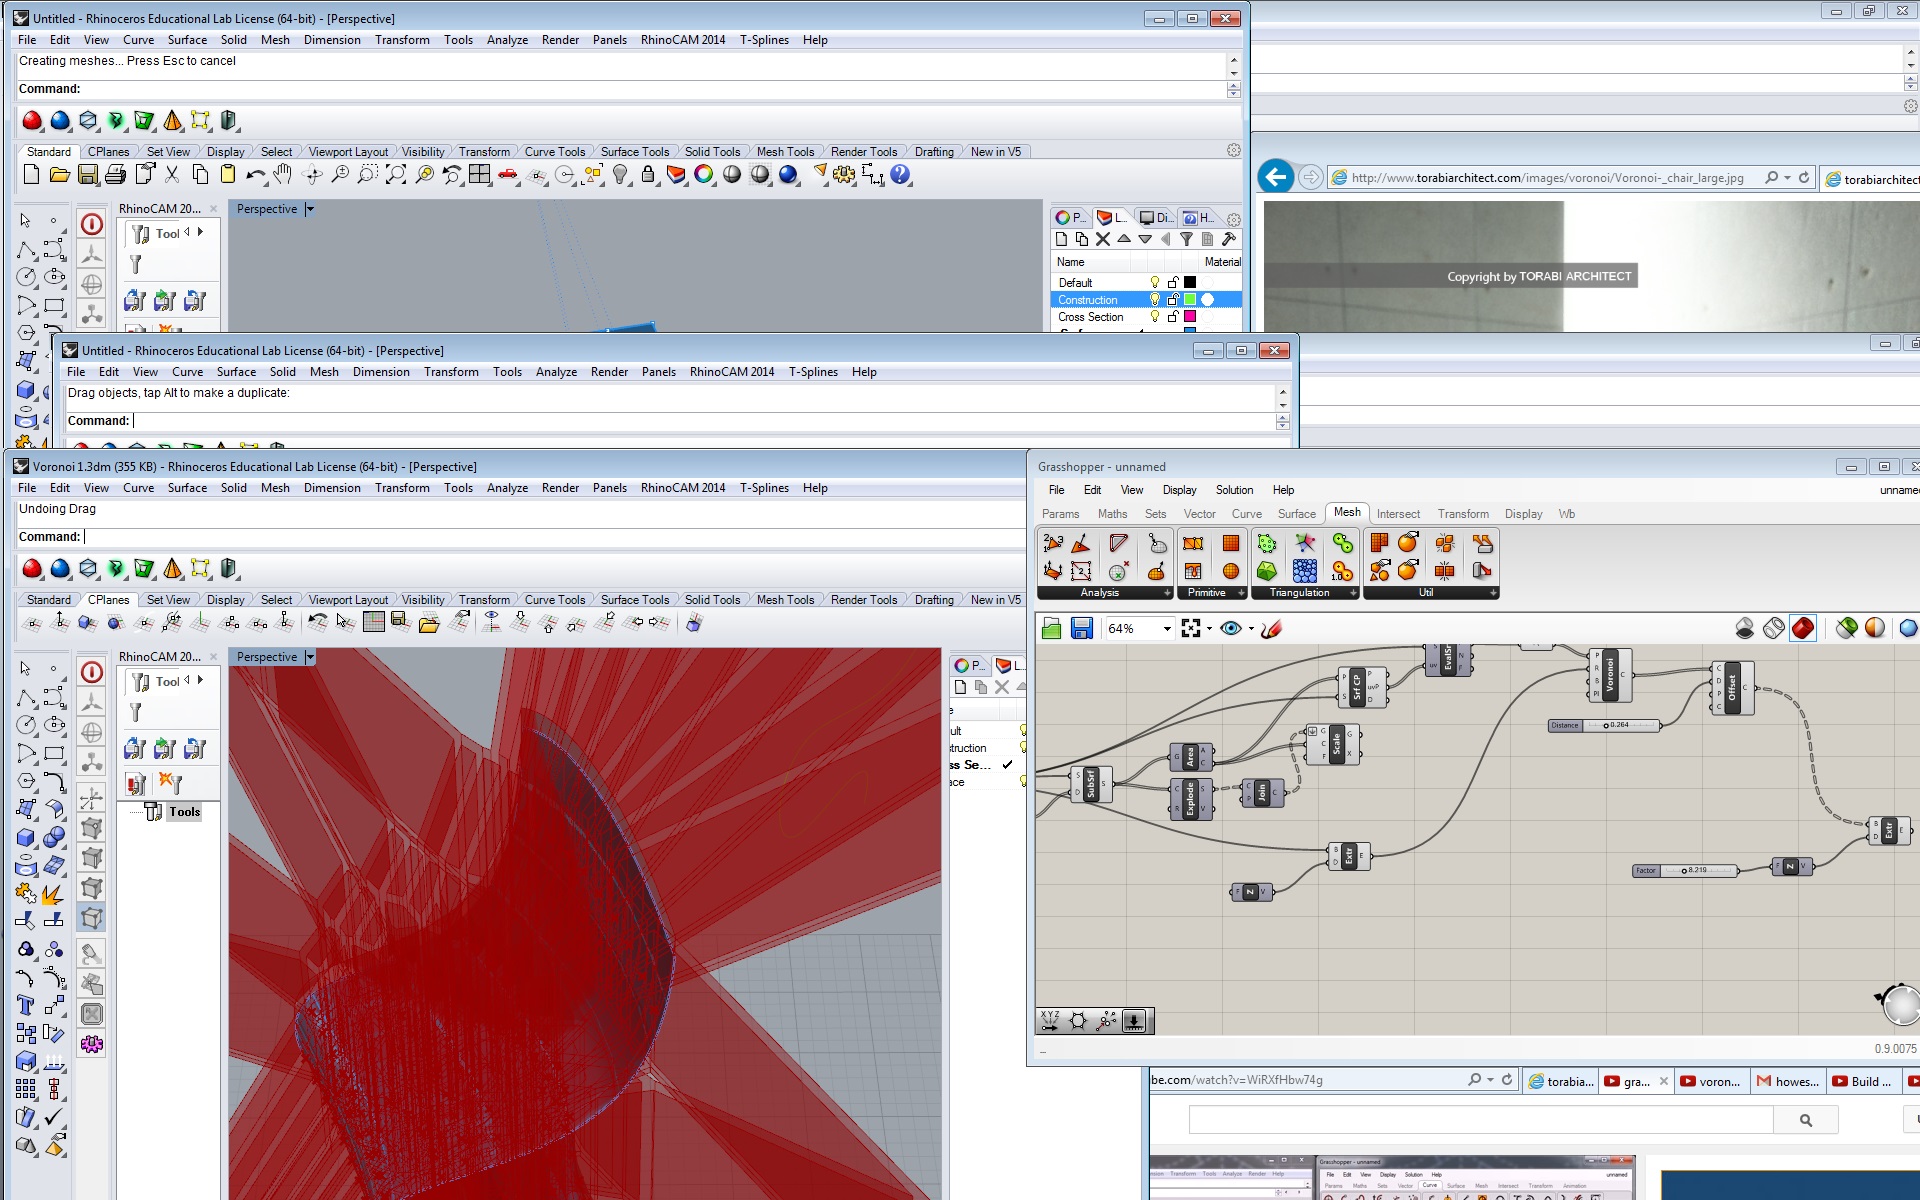
Hi! heres a snap shot of my progress..
I have a problem though, I cant make a solid from 2 offset surfaces at the base.. does anybody know how I can do this?
So I made a few variations of my Voronoi Chair. Below is a picture of the original and the subsequent are abstractions.


In this model, I changed the number of points to apply the voronoi pattern onto. I also changed the width and thickness of the polylines. All of these parameters were changed via Grasshopper.


In this model, I increased the density of the voronoi pattern. There are about 500 points to which polylines were created.

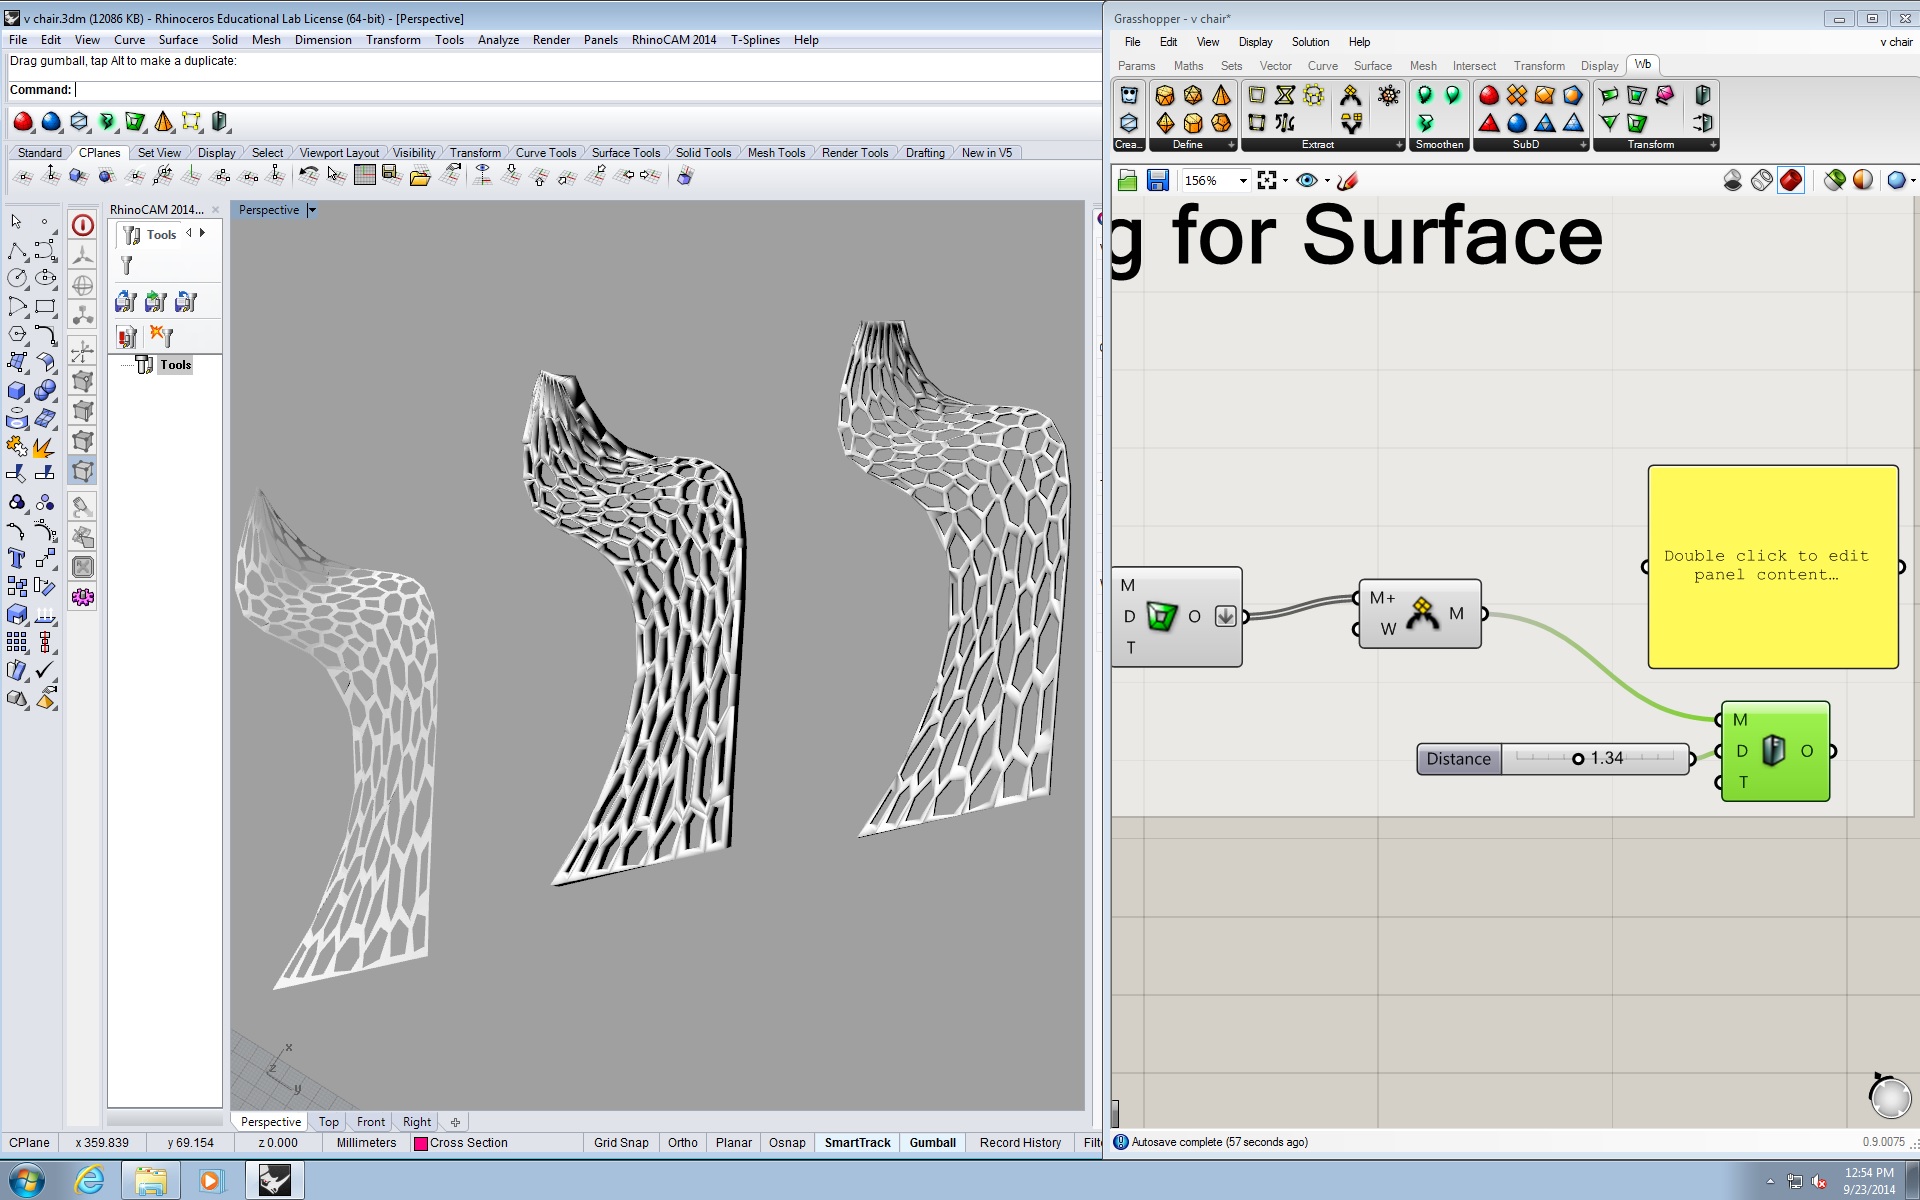
In this final abstraction, I created different shapes and applied the voronoi pattern onto it. It was a bit tricky because I tried to just set a new surface without having to do everything over. But I found that I had to detach all of the meshes and reattach them so the pattern would be applied appropriately and a mesh could be formed for the surface.
I decided to 3-D Print the first abstraction. I wanted to do all of them, but I learned that 3-D printing is quite expensive. If I wanted to print the original voronoi model I had, it would have cost about $64. No thank you. The cost was not due to the model itself, but because of the support systems it would need in order to be made. I listed the process of my 3-D print below.
Have a model in *.STL format. (You just need to save the rhino file as an *.stl). However, you need to make sure your surface model is a mesh or it won’t print. Submit the file to the tech, you pay (hopefully not a crazy amount –Good Luck), and then you wait to pick it up. The amount of time it takes to print depends on how complex the model is, plus an addition 4-5hours for washing. For example, my original model would have taken 21 hours just to print (without washing). The model I went with was much simpler and it took about 5 hours to print and 5 more to wash.

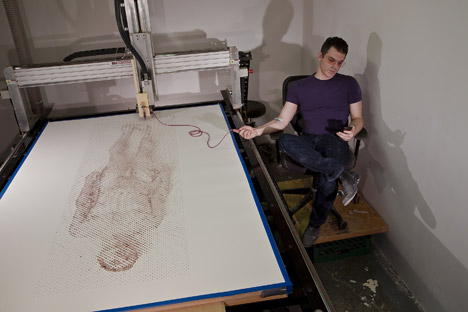
This is an image of the machine for printing. (Sorry for the reflectivity). The temperature of the machine is over 100 degrees F.

This is the first layer that was made during the print.

This machine is used to wash the model that was made. The webby stuff below shows the supports (which are the costly part of the printing). The wash is used to wash away the supports so that the model is what’s left.

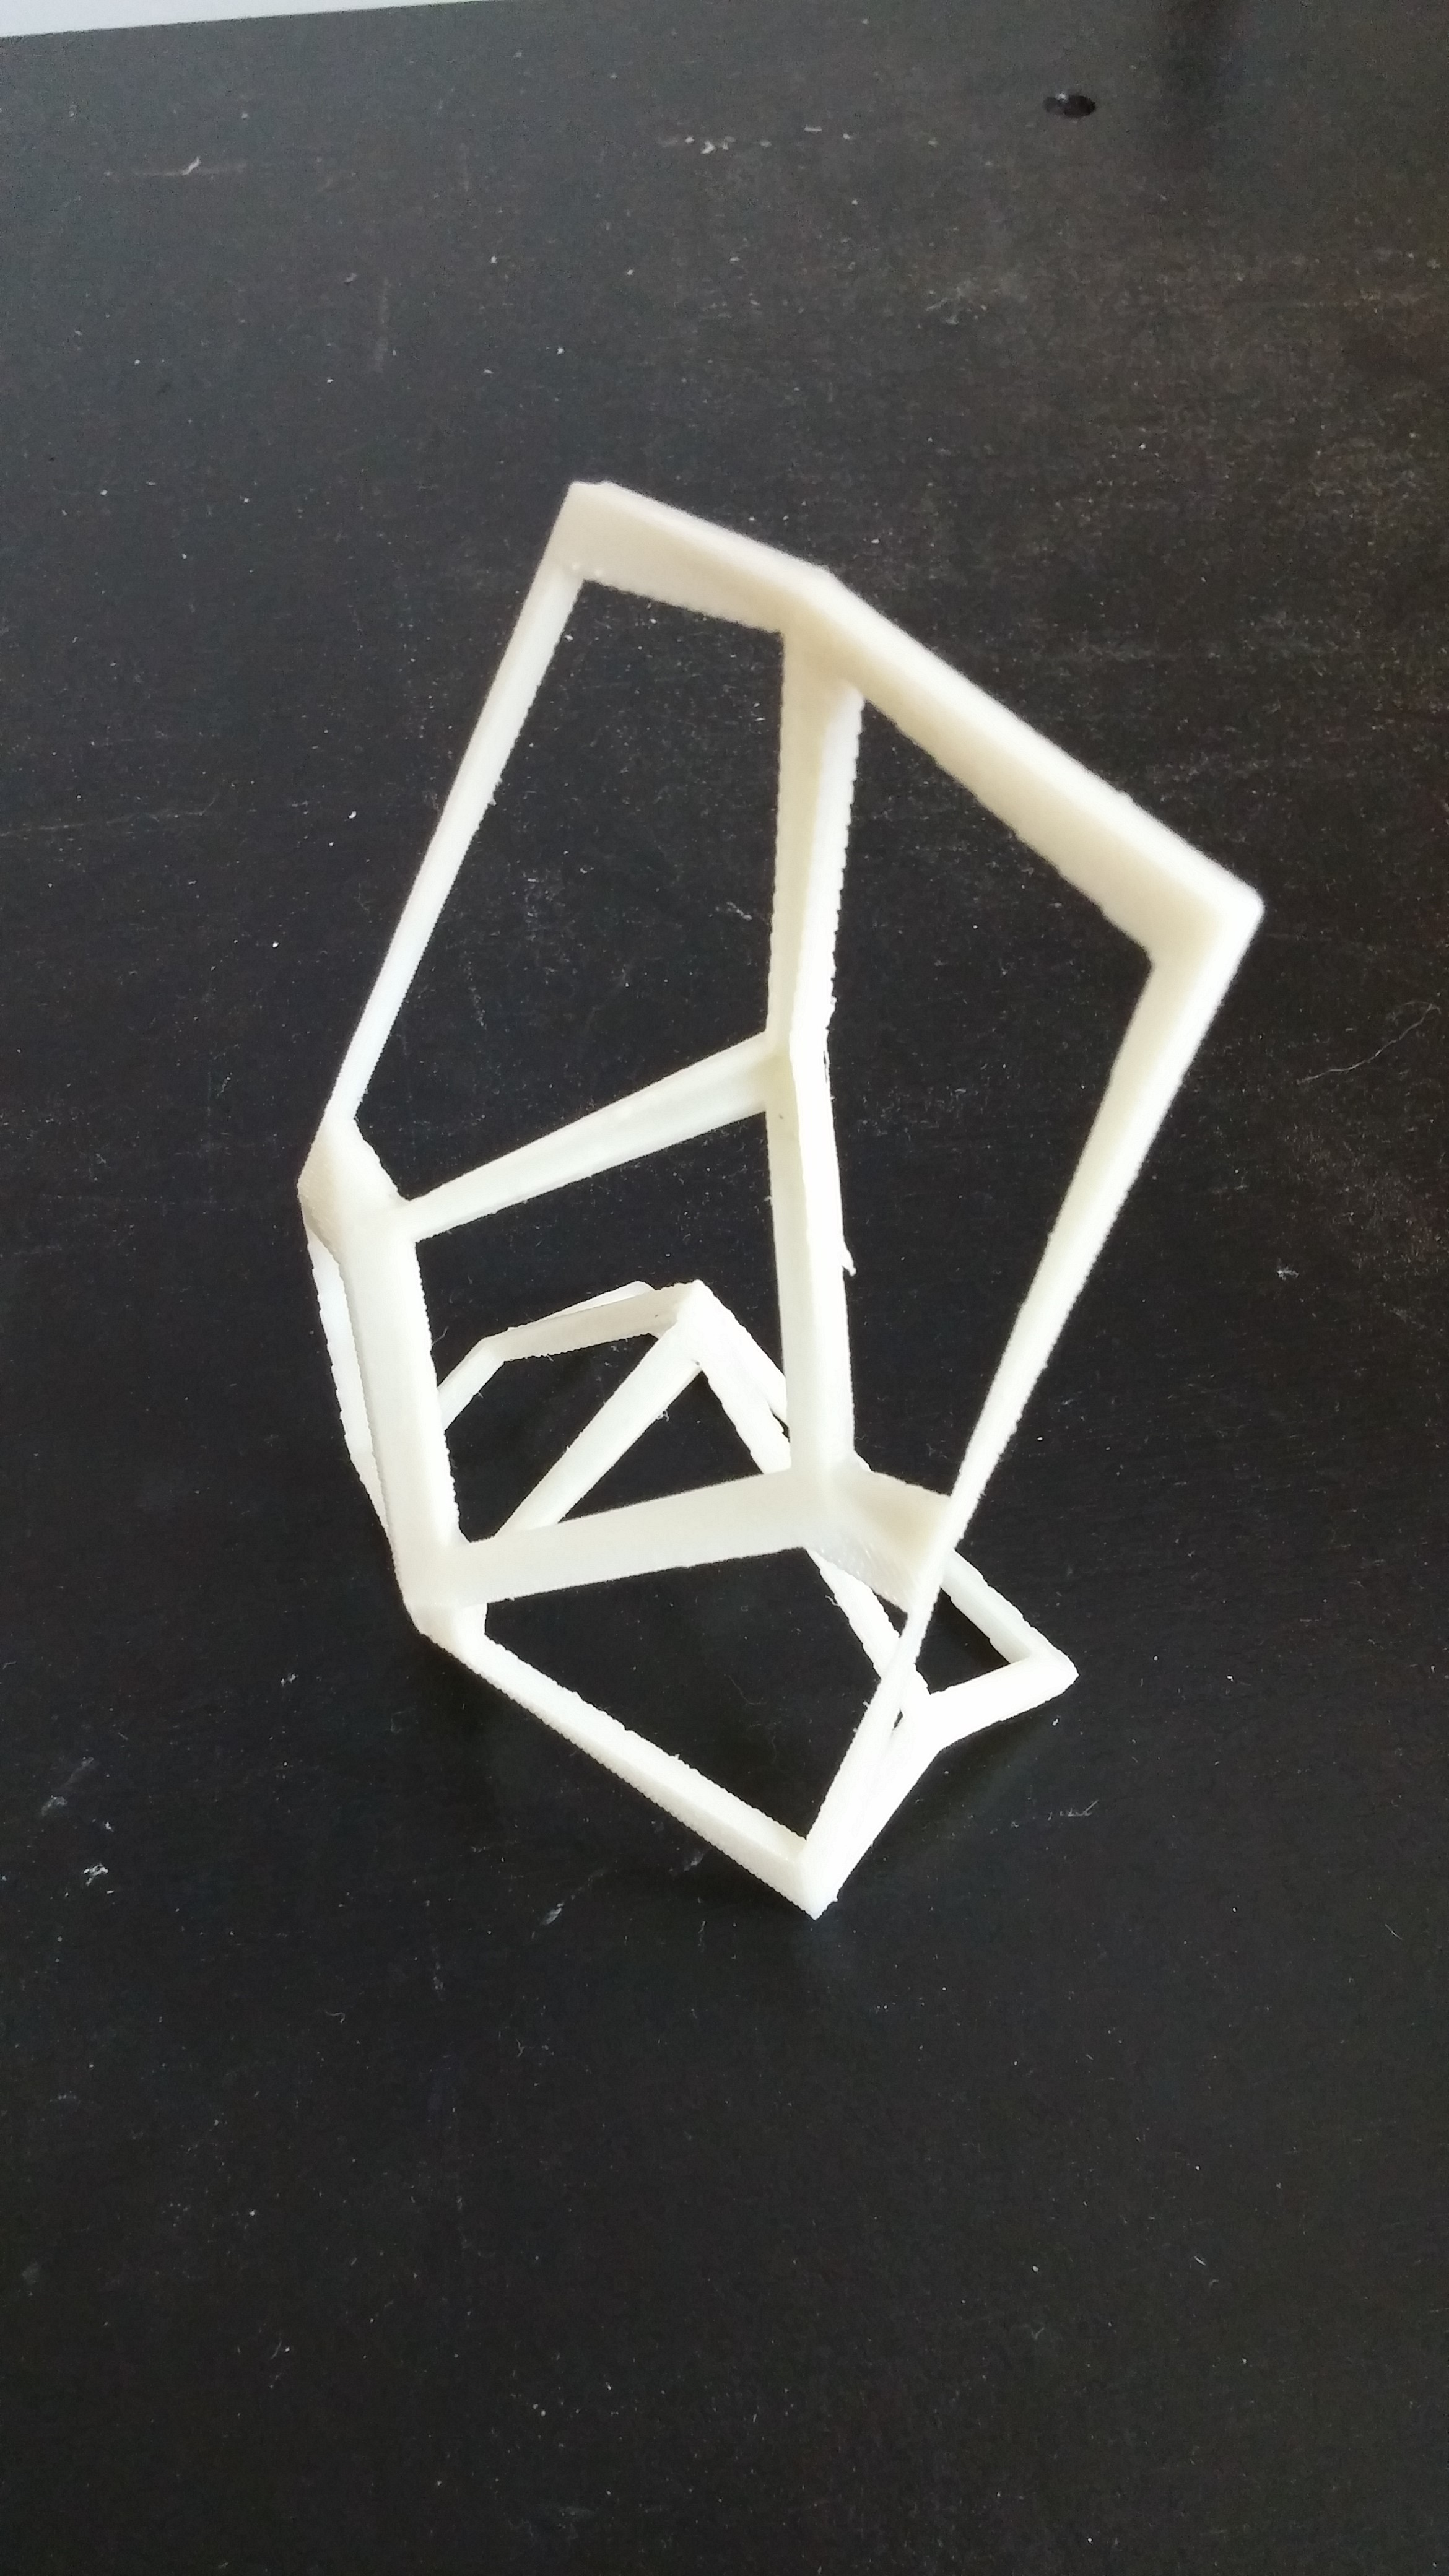
IT’S ALIVE! So above is the finished version. Interesting process, wish it wasn’t so expensive. Apparently, there’s the baker botts machine which is free for printing (first come, first serve), but it has quite the bad reputation of dying and therefore leaving a frantic student in misery. I wouldn’t really rely on baker botts if you’re working on a final.
I believe I have done the parametric properly, but I have useless red lines that are overcrowding it. Unable to get rid of them and their purpose is unknown.
hopefully this won’t scare me after december
The truss exercise was going smoothly until I got to drawing offset curves and fillet. I’m not sure what went wrong. Maybe the points are in the wrong order? When I click on the points they don’t show that they are selected in green. Or maybe it has something to do with connecting the surface driver server to the client. But I keep rewatching the videos and I feel like I am doing everything the exact same way.
How is everyone else doing with their truss?
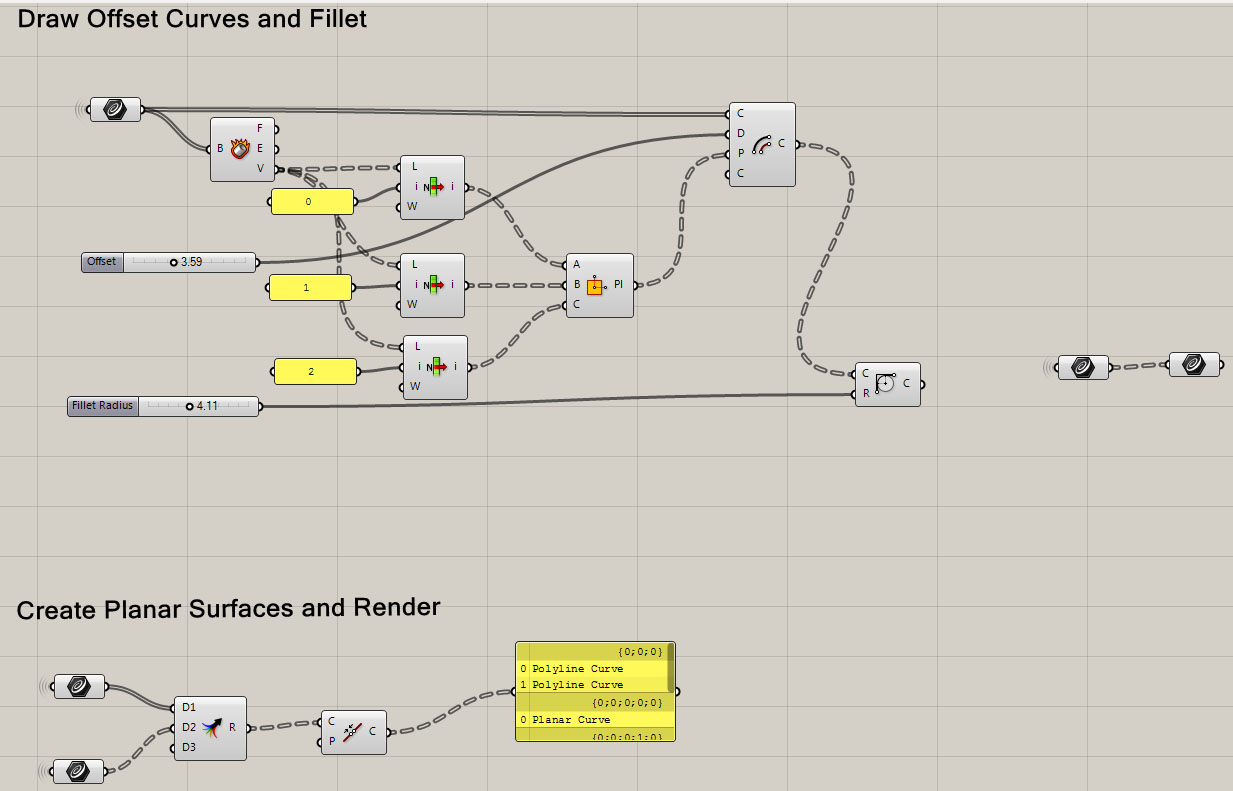
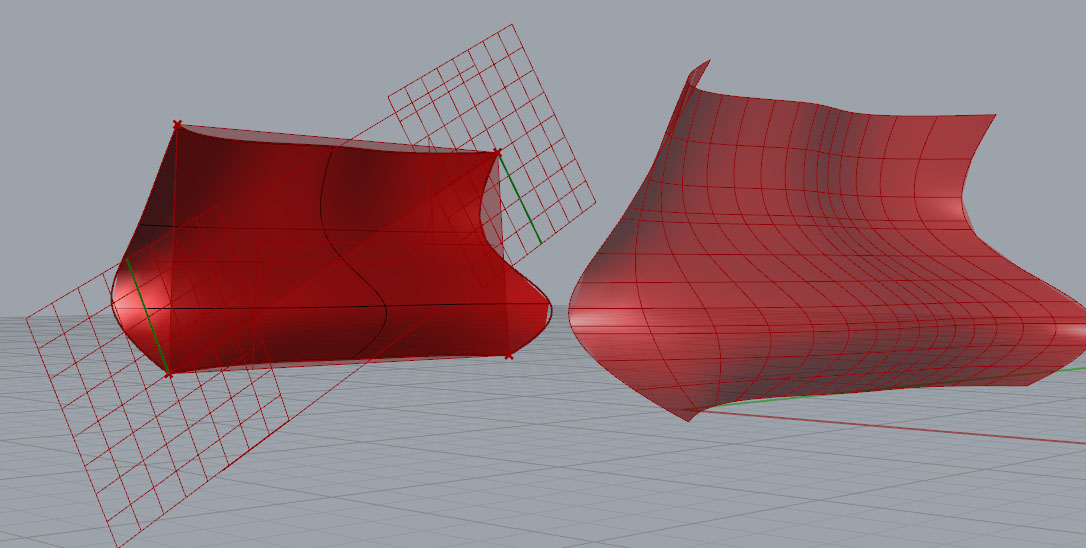
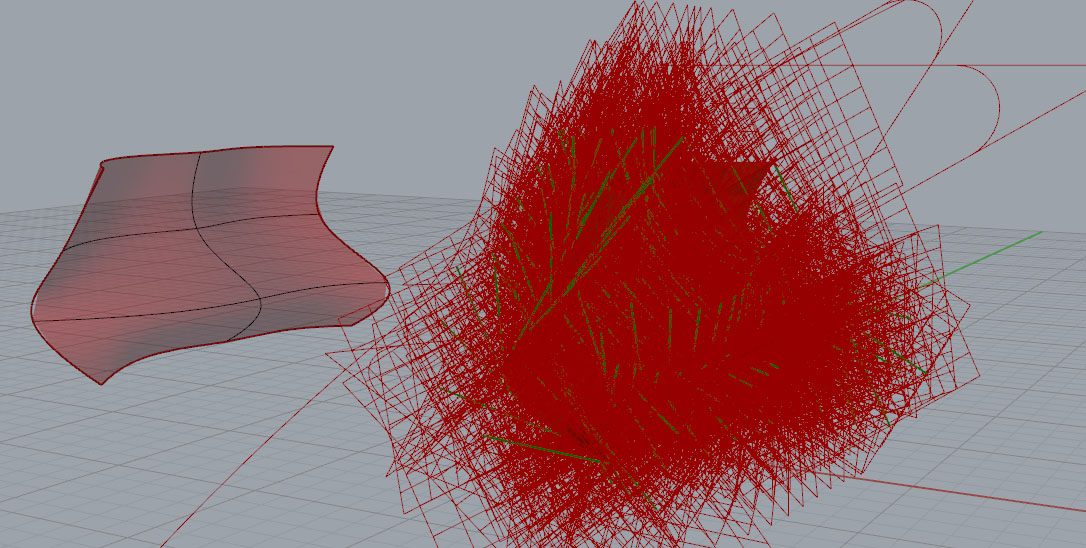
When I connect the single surface to the surface driver server I get above. When I connect the Isotrim to the single surface driver I get the below craziness. This problem only started once I started with the offset curves and fillet. Trying to figure out what went wrong…. AHH.
Hi guys!
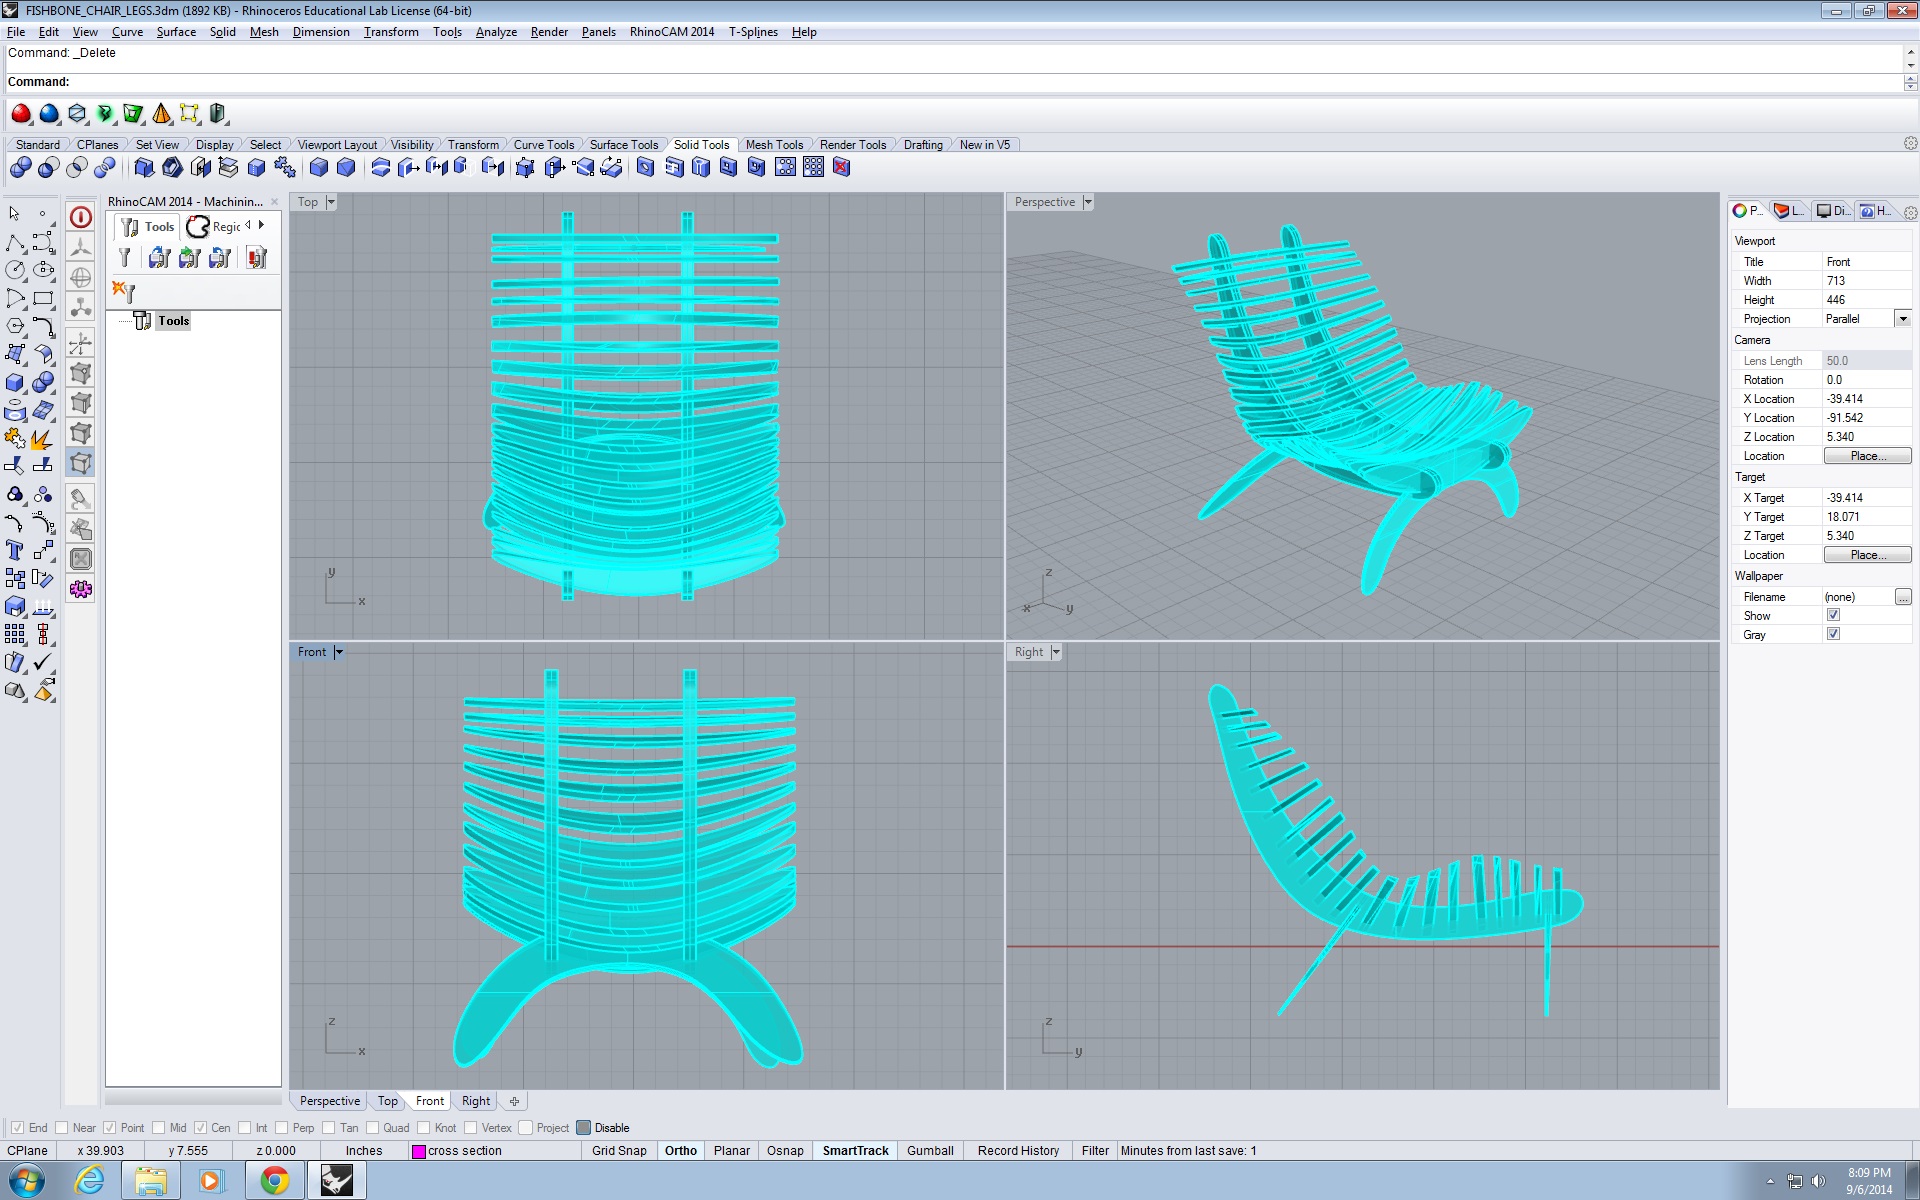
This is my Fishbone Chair rendering. I am trying to get the notches in the chair right now. It took multiple tries but it looks pretty close, however, the only peeve I have with my rendering is that its not “egg shaped”. If you look at the view of the chair from the front or top, you can see its still rectangular. It should also curve, see reference image of actual chair. I may change it, now that I know the process, it should be quicker.
good luck to everyone!

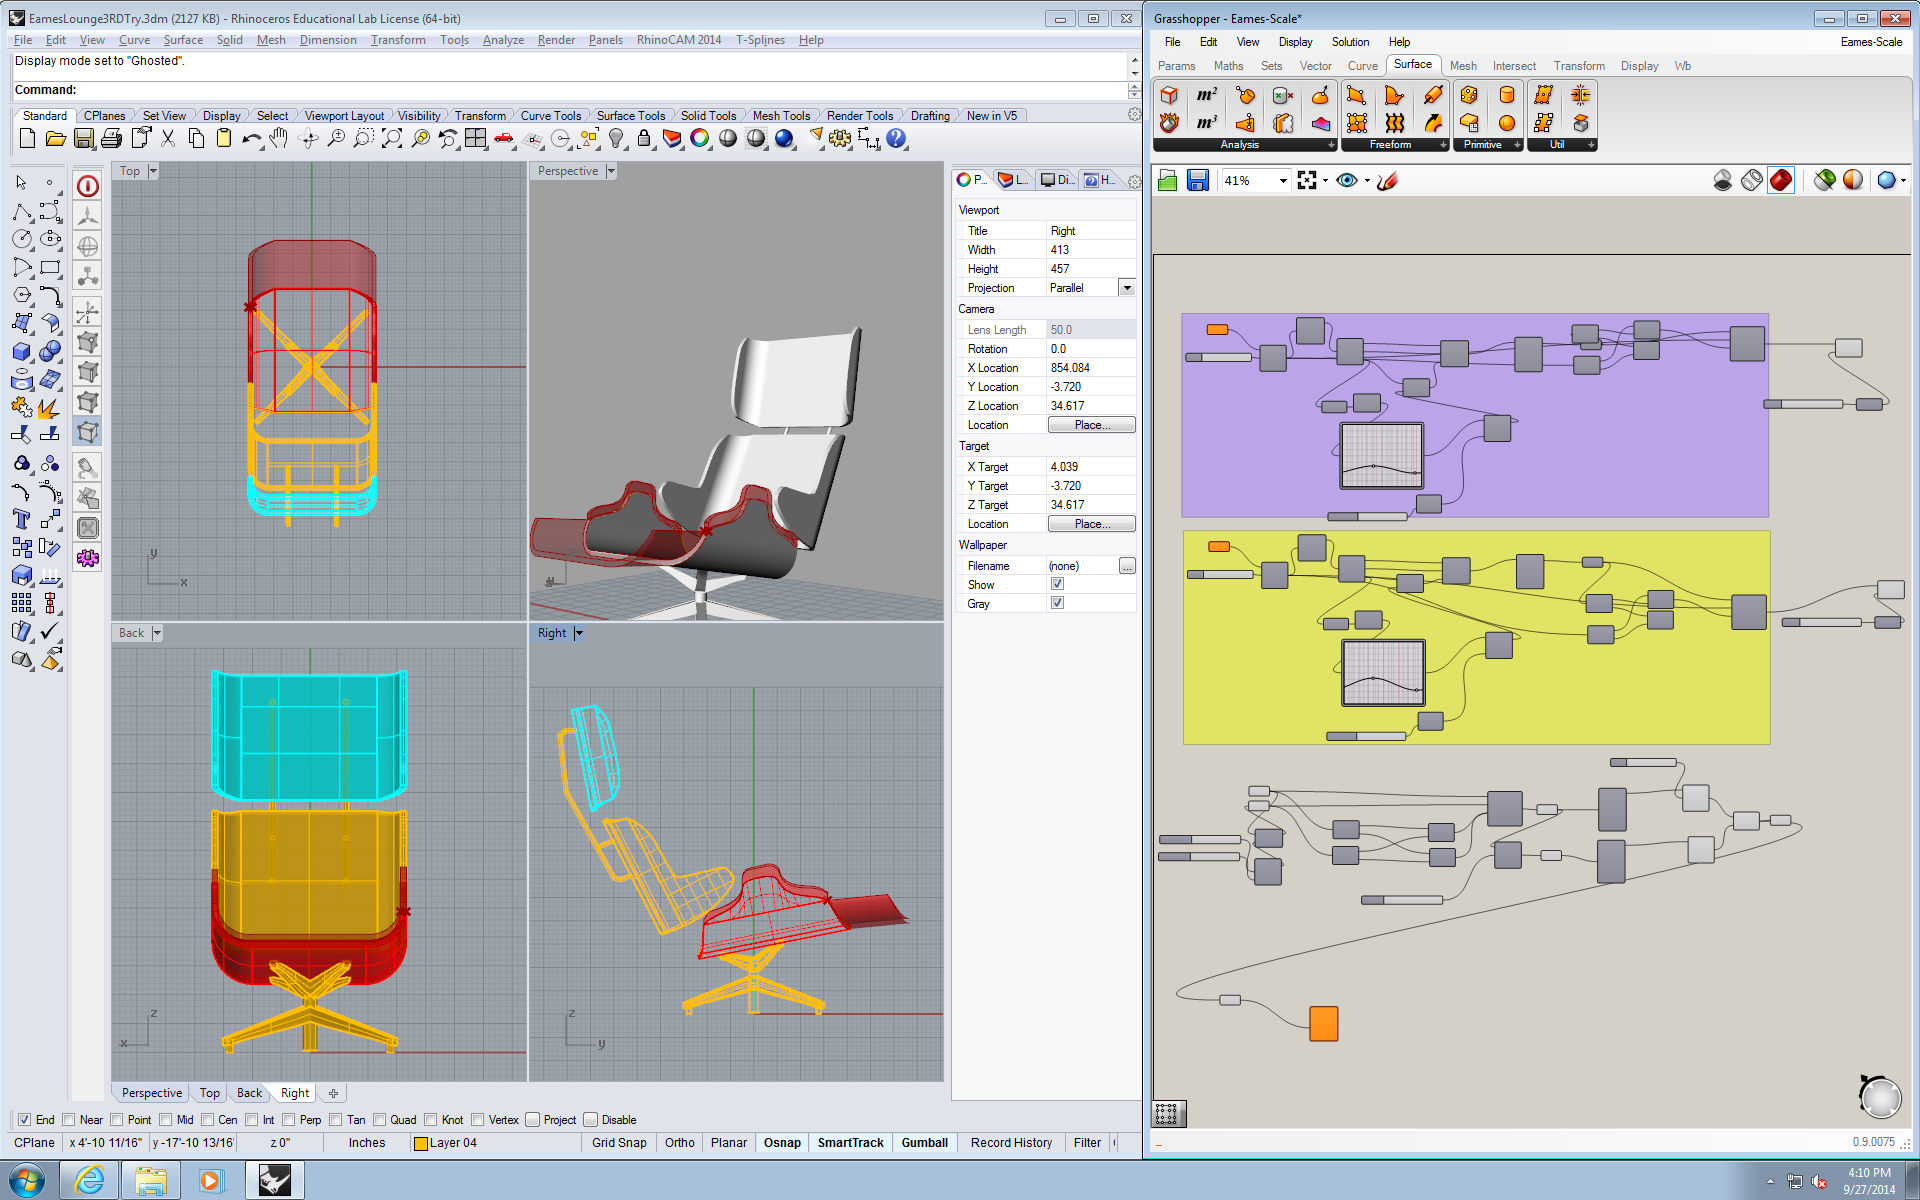
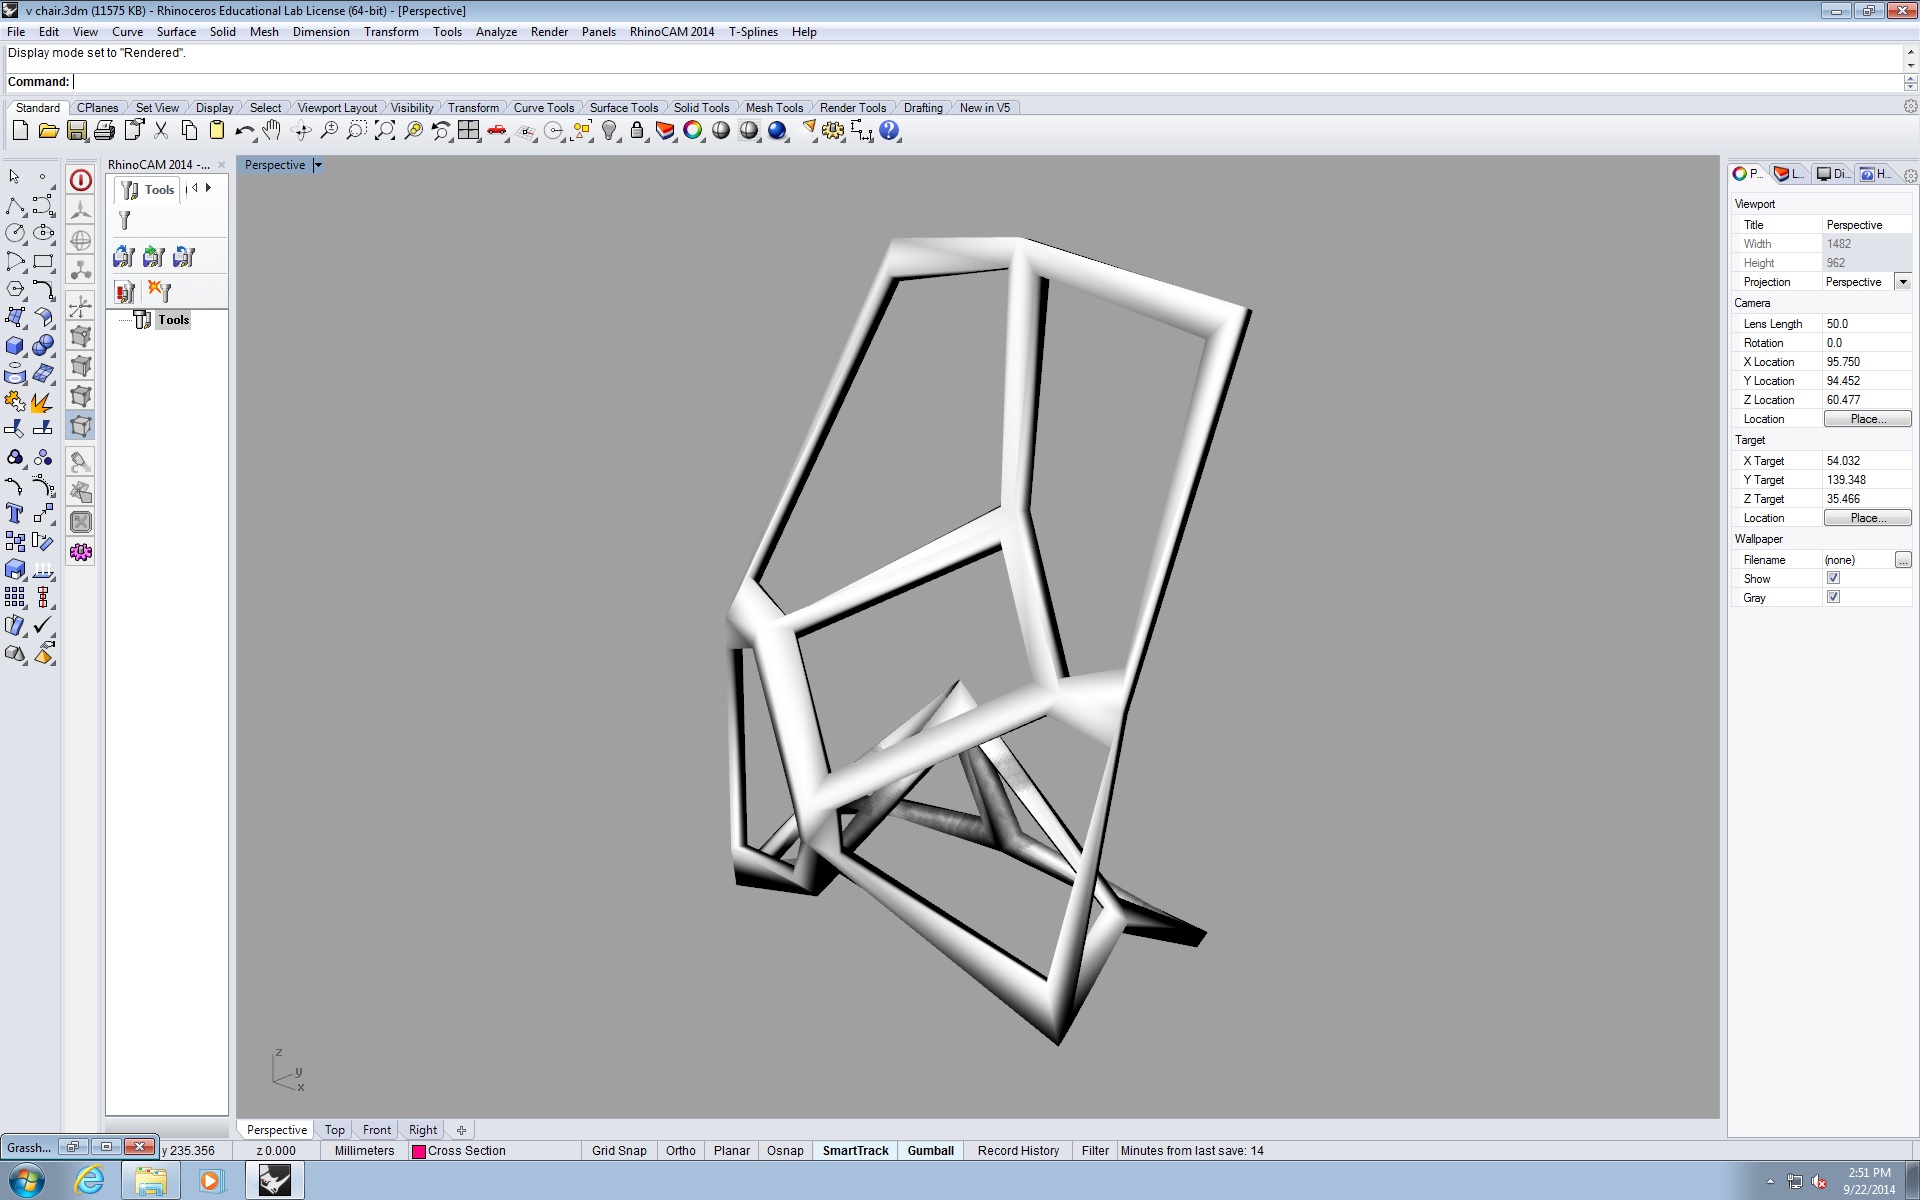
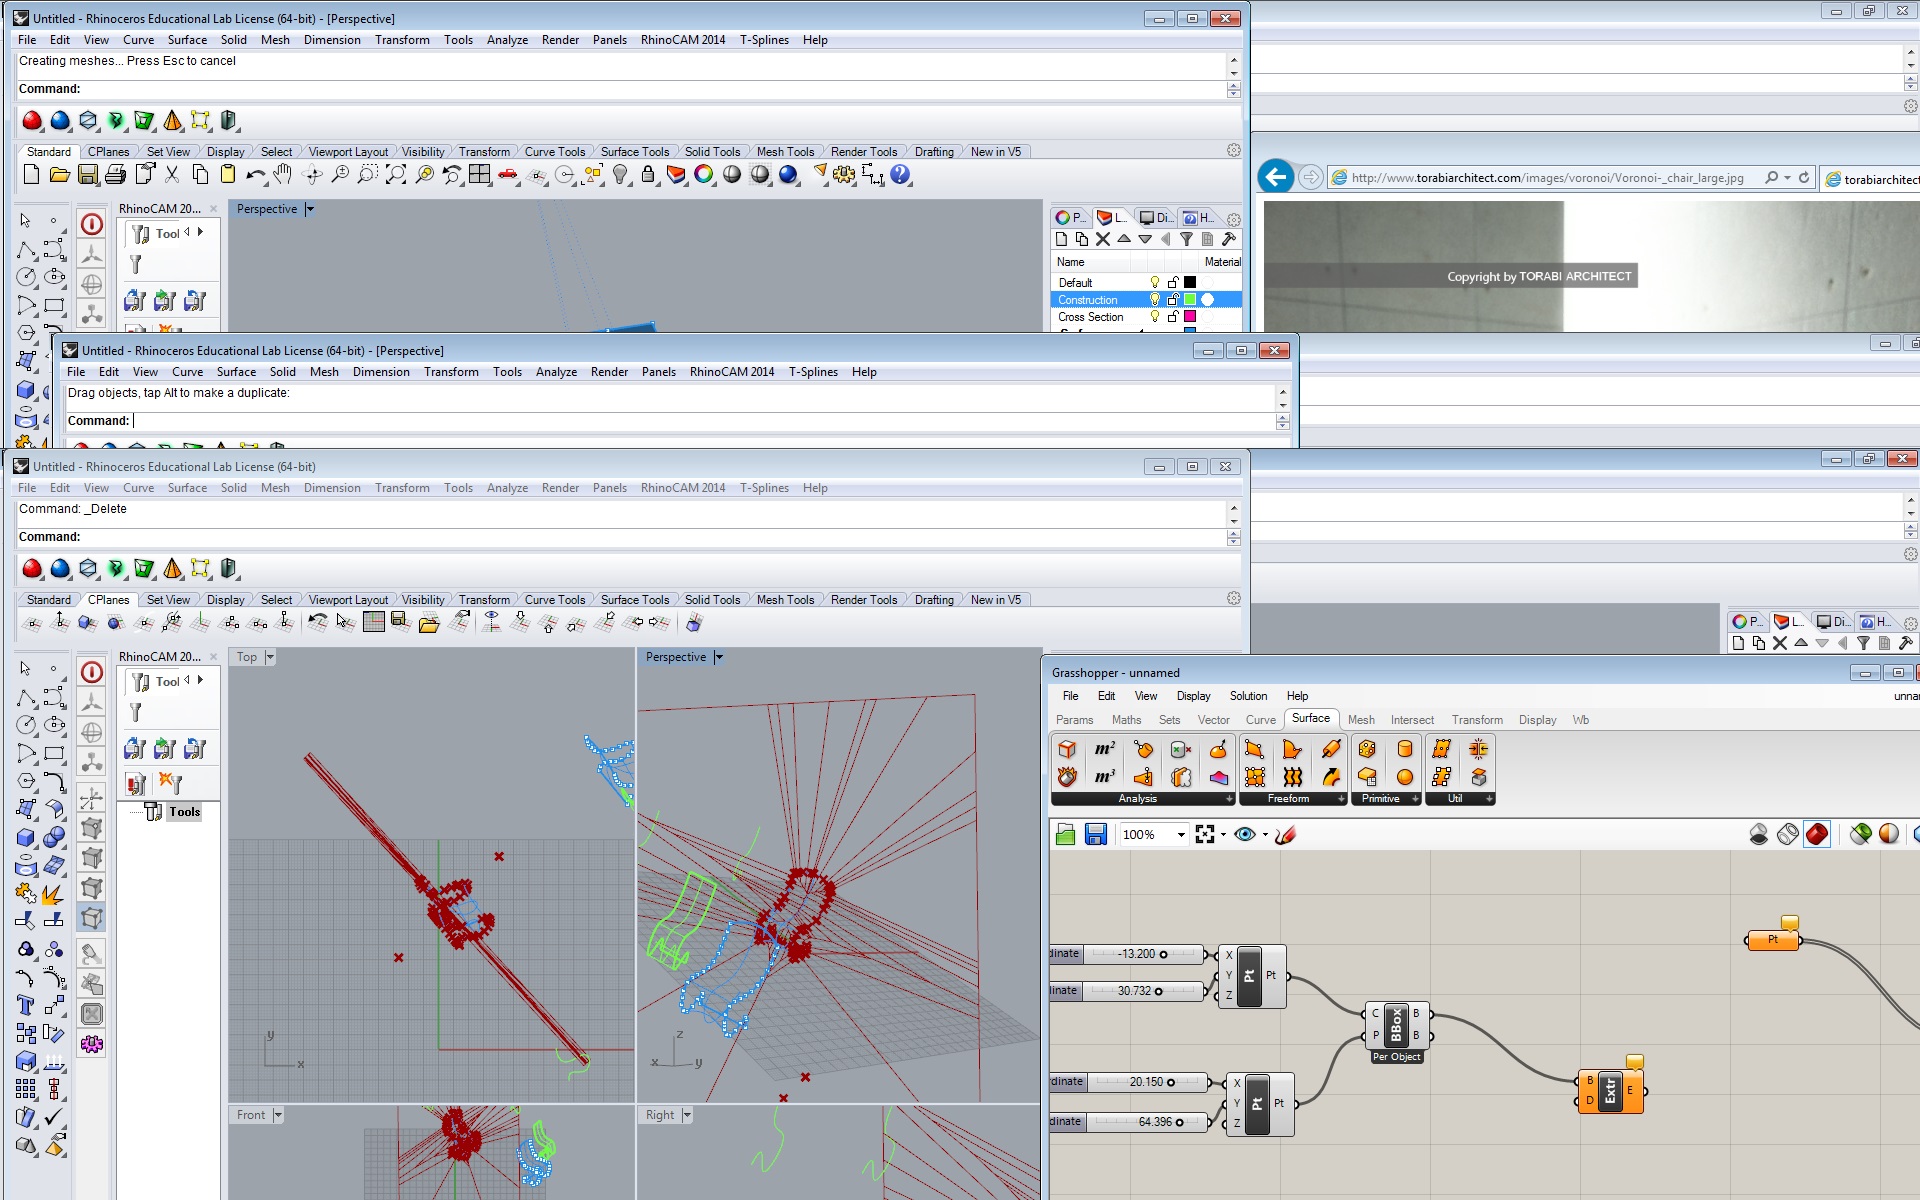
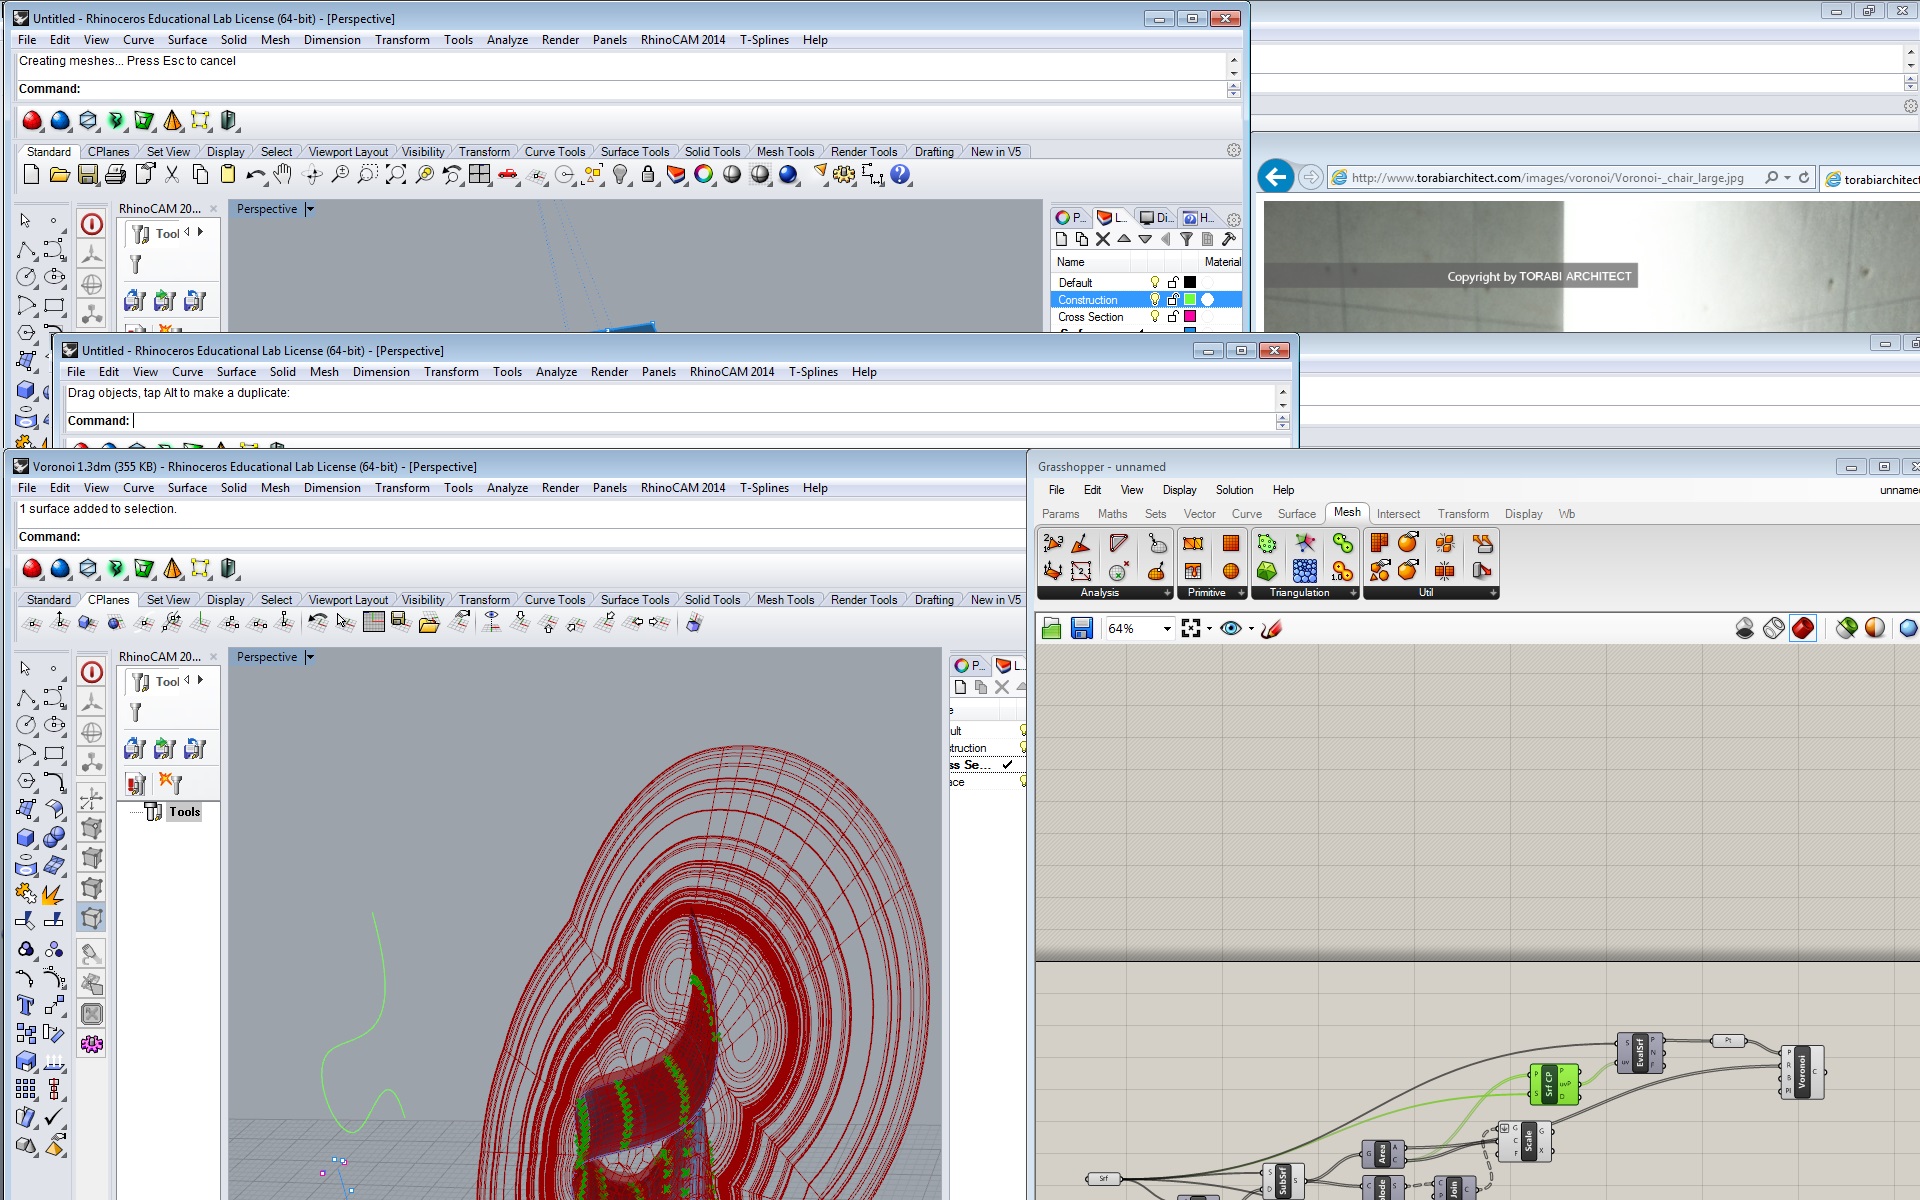
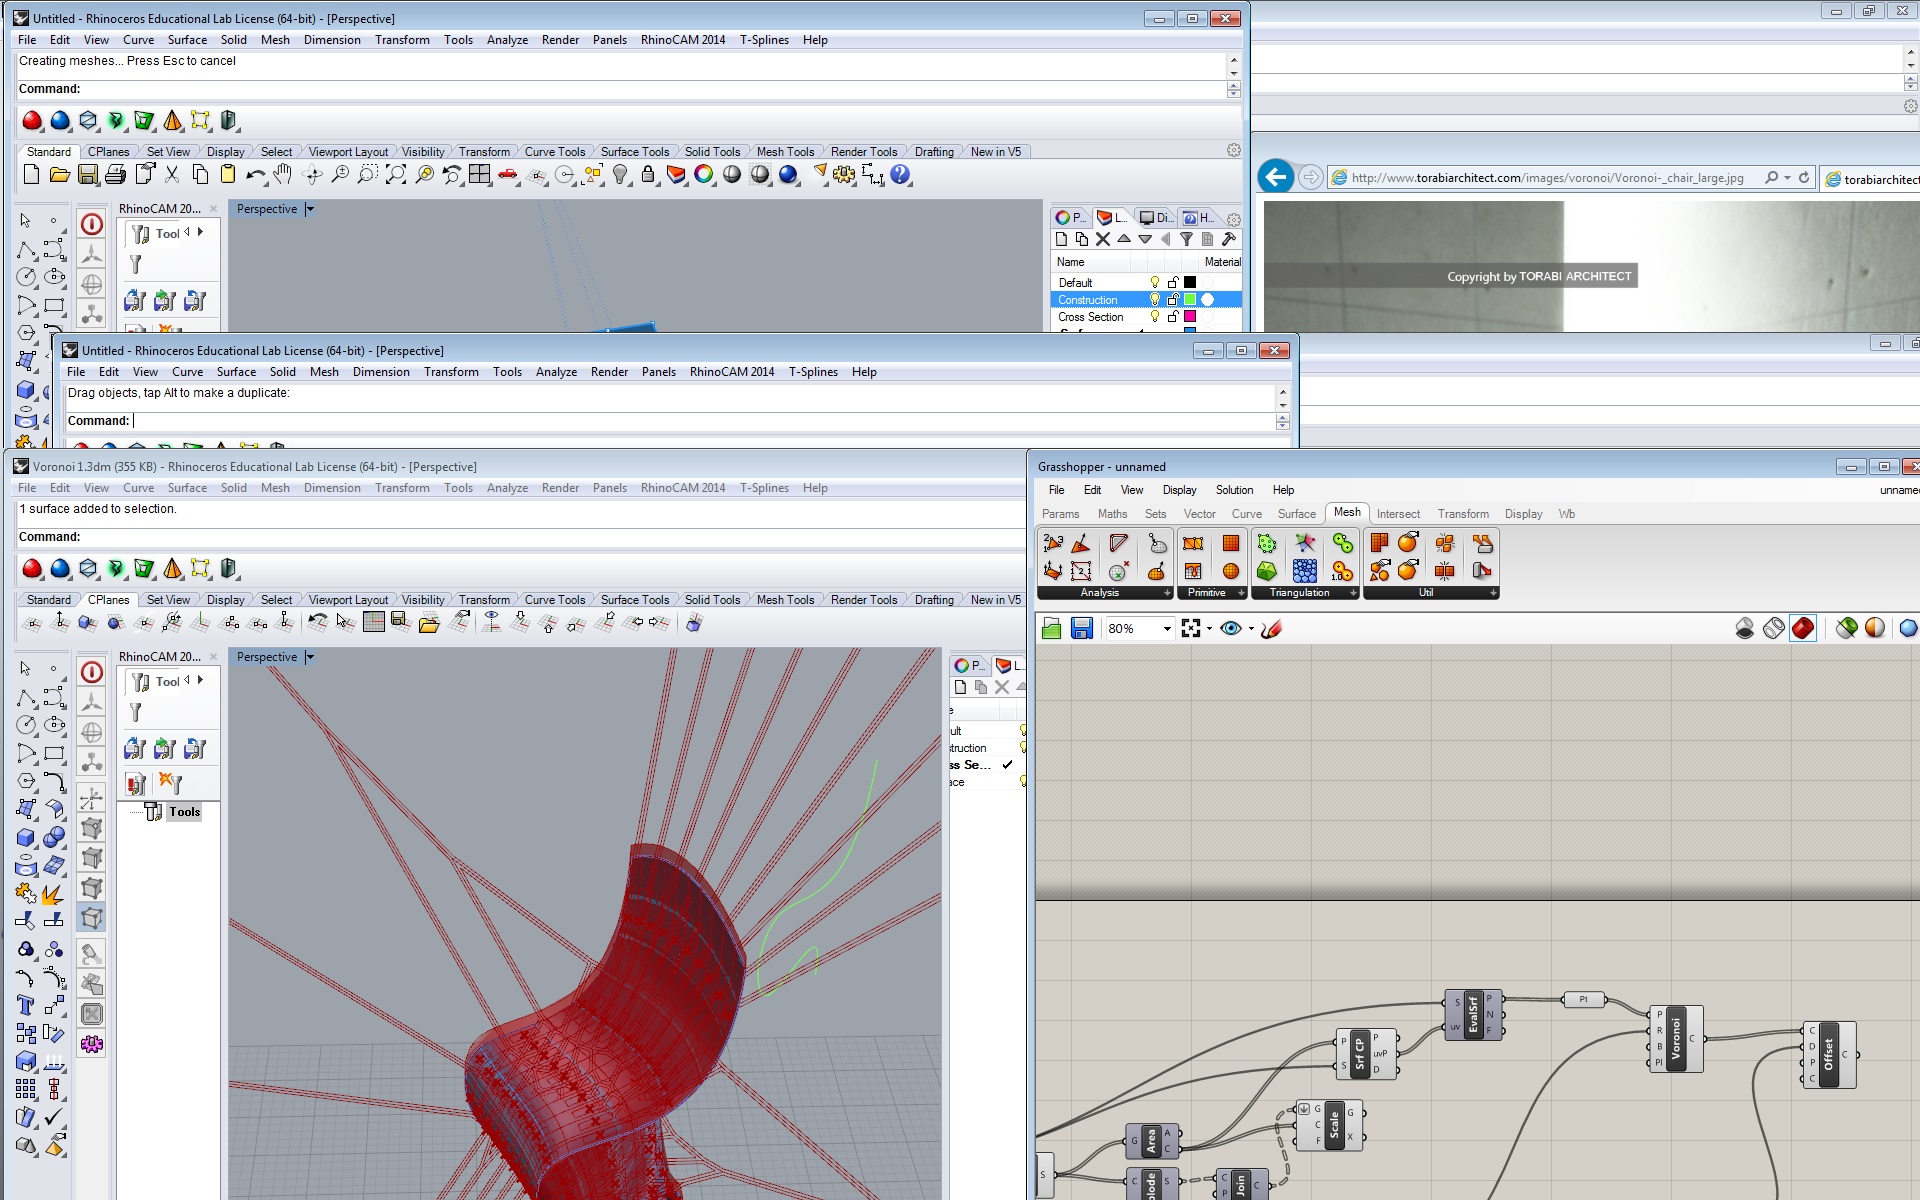
The first chair I was working with is the voronoi chair. I made the initial curve in Rhino and lofted it over. i then used the gumball tool to change the curves to match the chair. I tried applying the voronoi pattern onto the chair, but it would be applied onto a flat plane and would not go with the organic shape of the chair. I kept playing with different algorithms on Grasshopper but I essentially ended up with the spawns of spiderman (failed).
Below are the images of some of the results I got in my attempts.


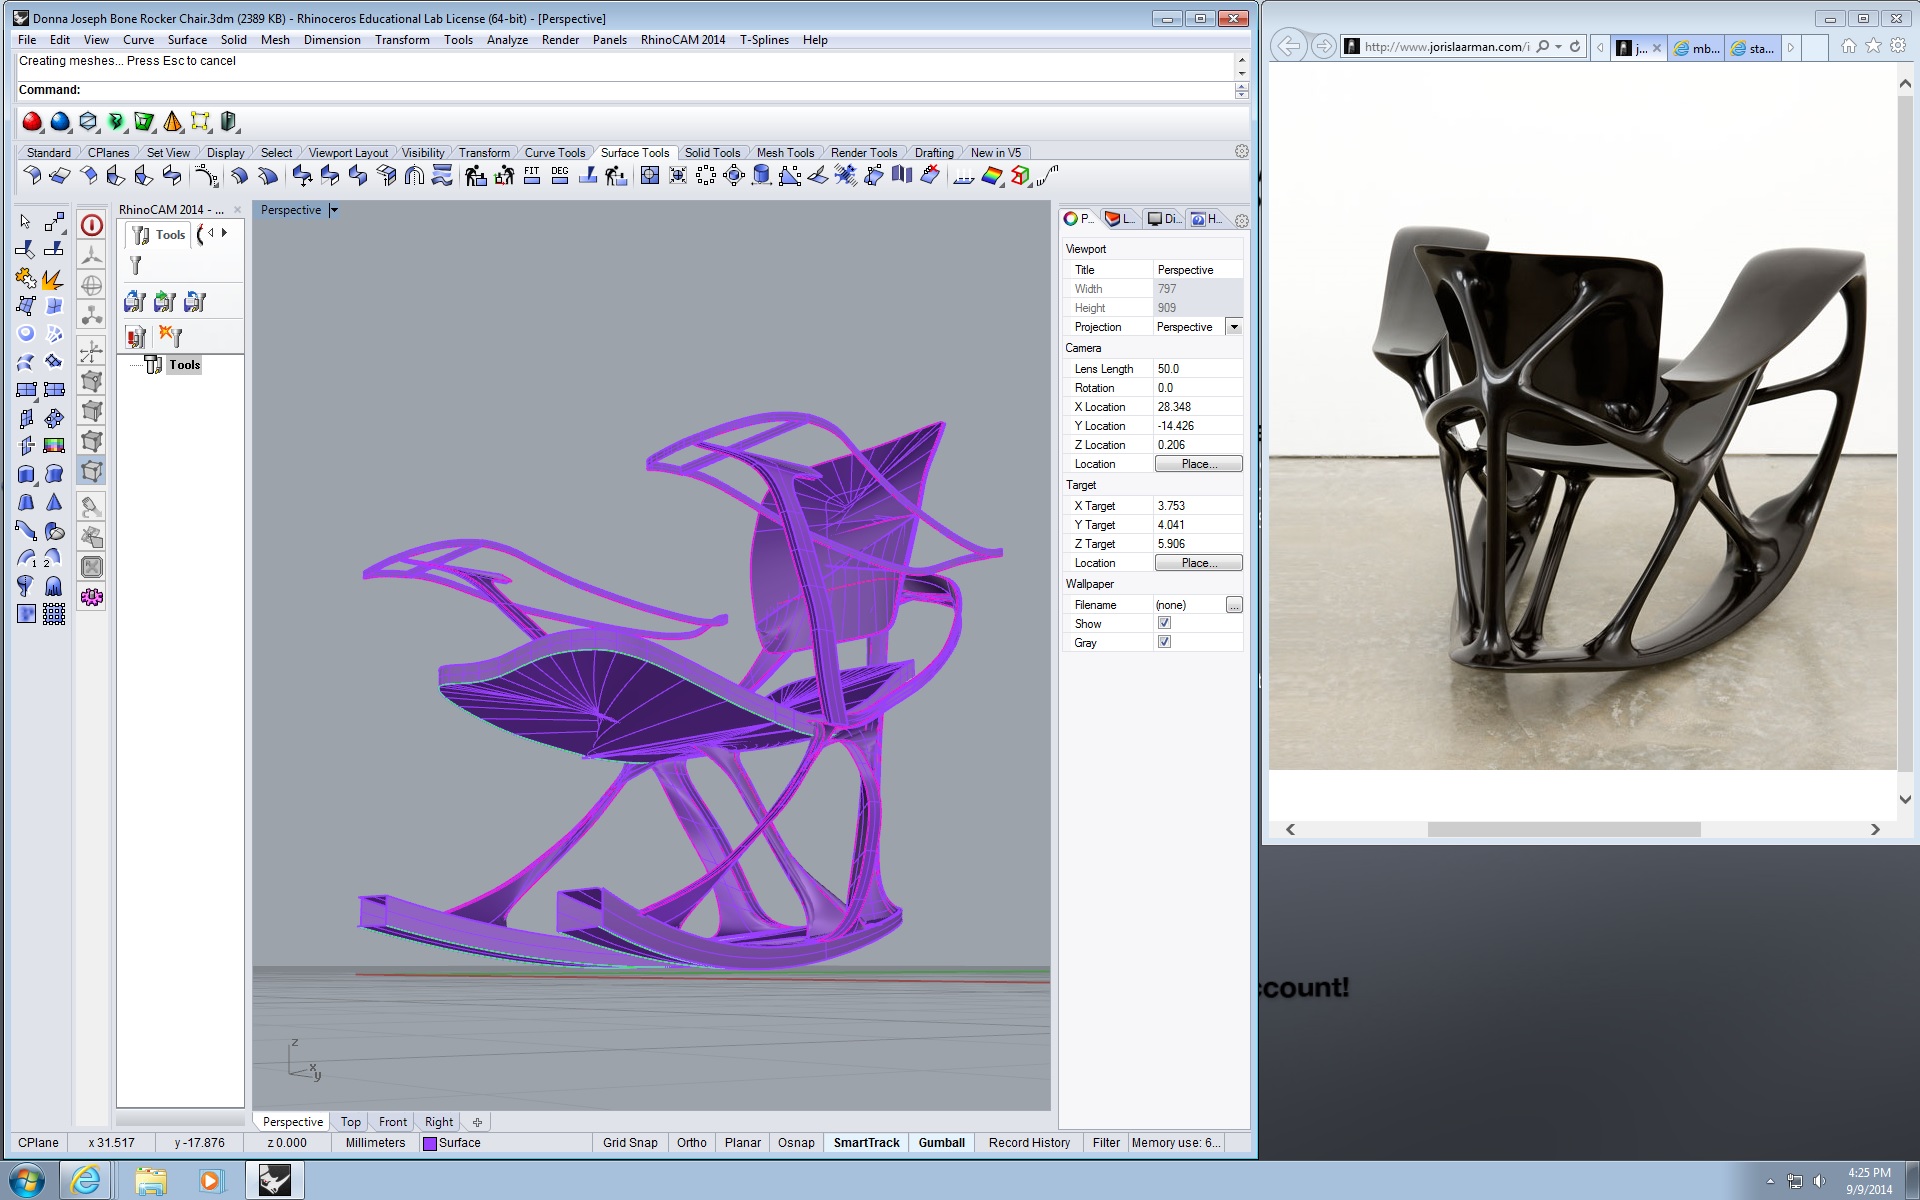
The Bone Rocker Chair was designed by Joris Laarman by merging 3-D modeling and life sciences. Laarman used algorithms to model the proportions of naturally occurring growth such as in human bones and trees. This algorithm is used by the German car industry and helped Laarman in reducing and strengthening his designs by optimizing the allocation of material, weight and stability. It also helped in minimizing material input. “In his own words, Laarman sculpts ‘using mother nature’s underlying codes.'”

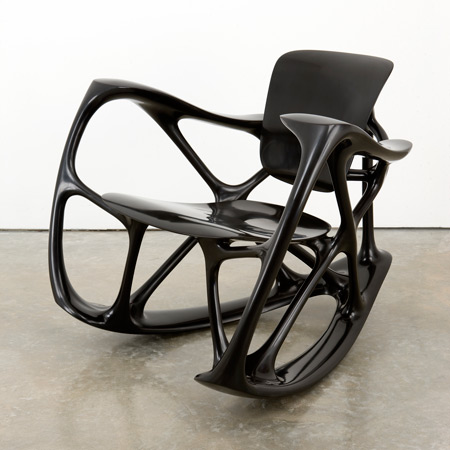
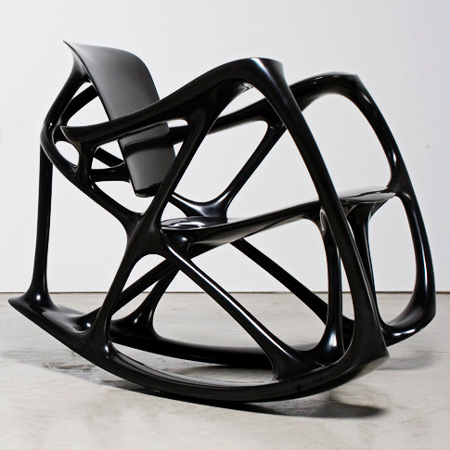
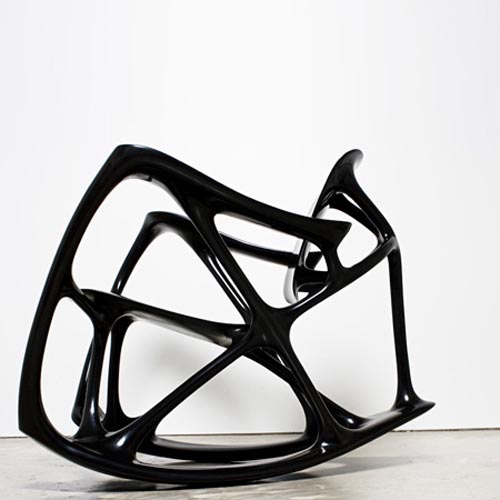
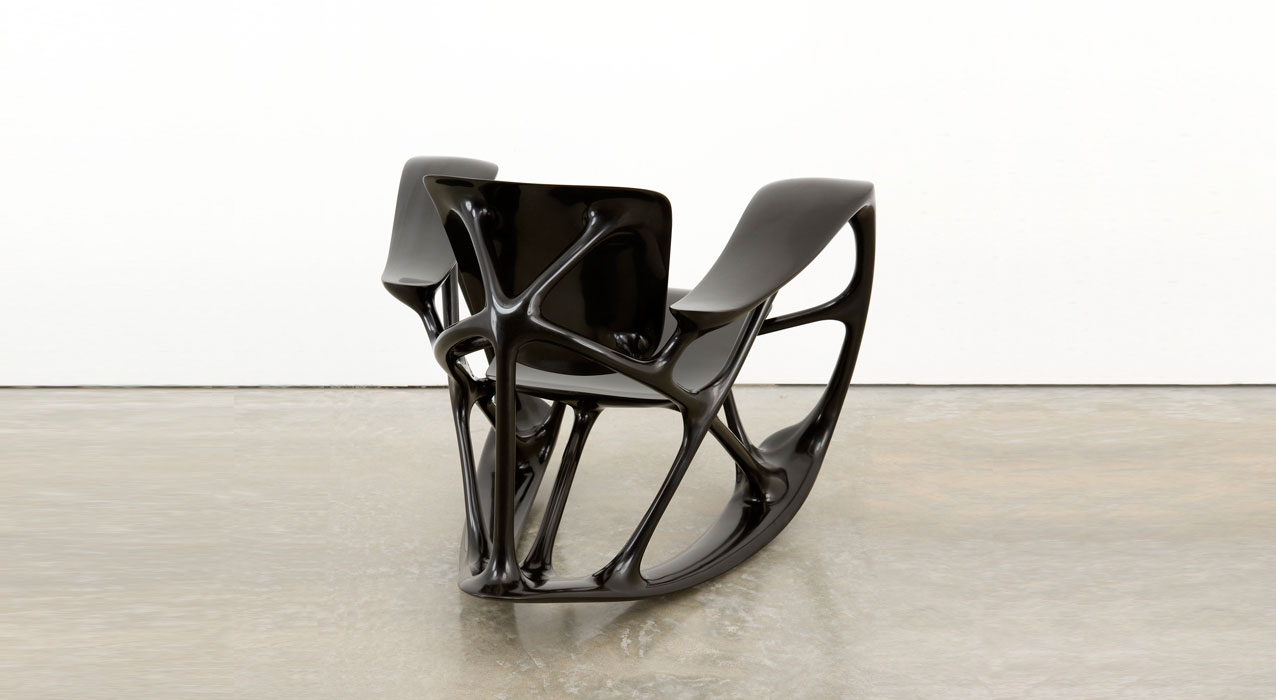
Design drivers(??) I am not sure how to use Grasshopper to manipulate the size of the chair. This model does not have grasshopper in it. I would select the thickness of the legs, the length of the base rocking legs, the length of the seat, and the width of the backrest as my design drivers.

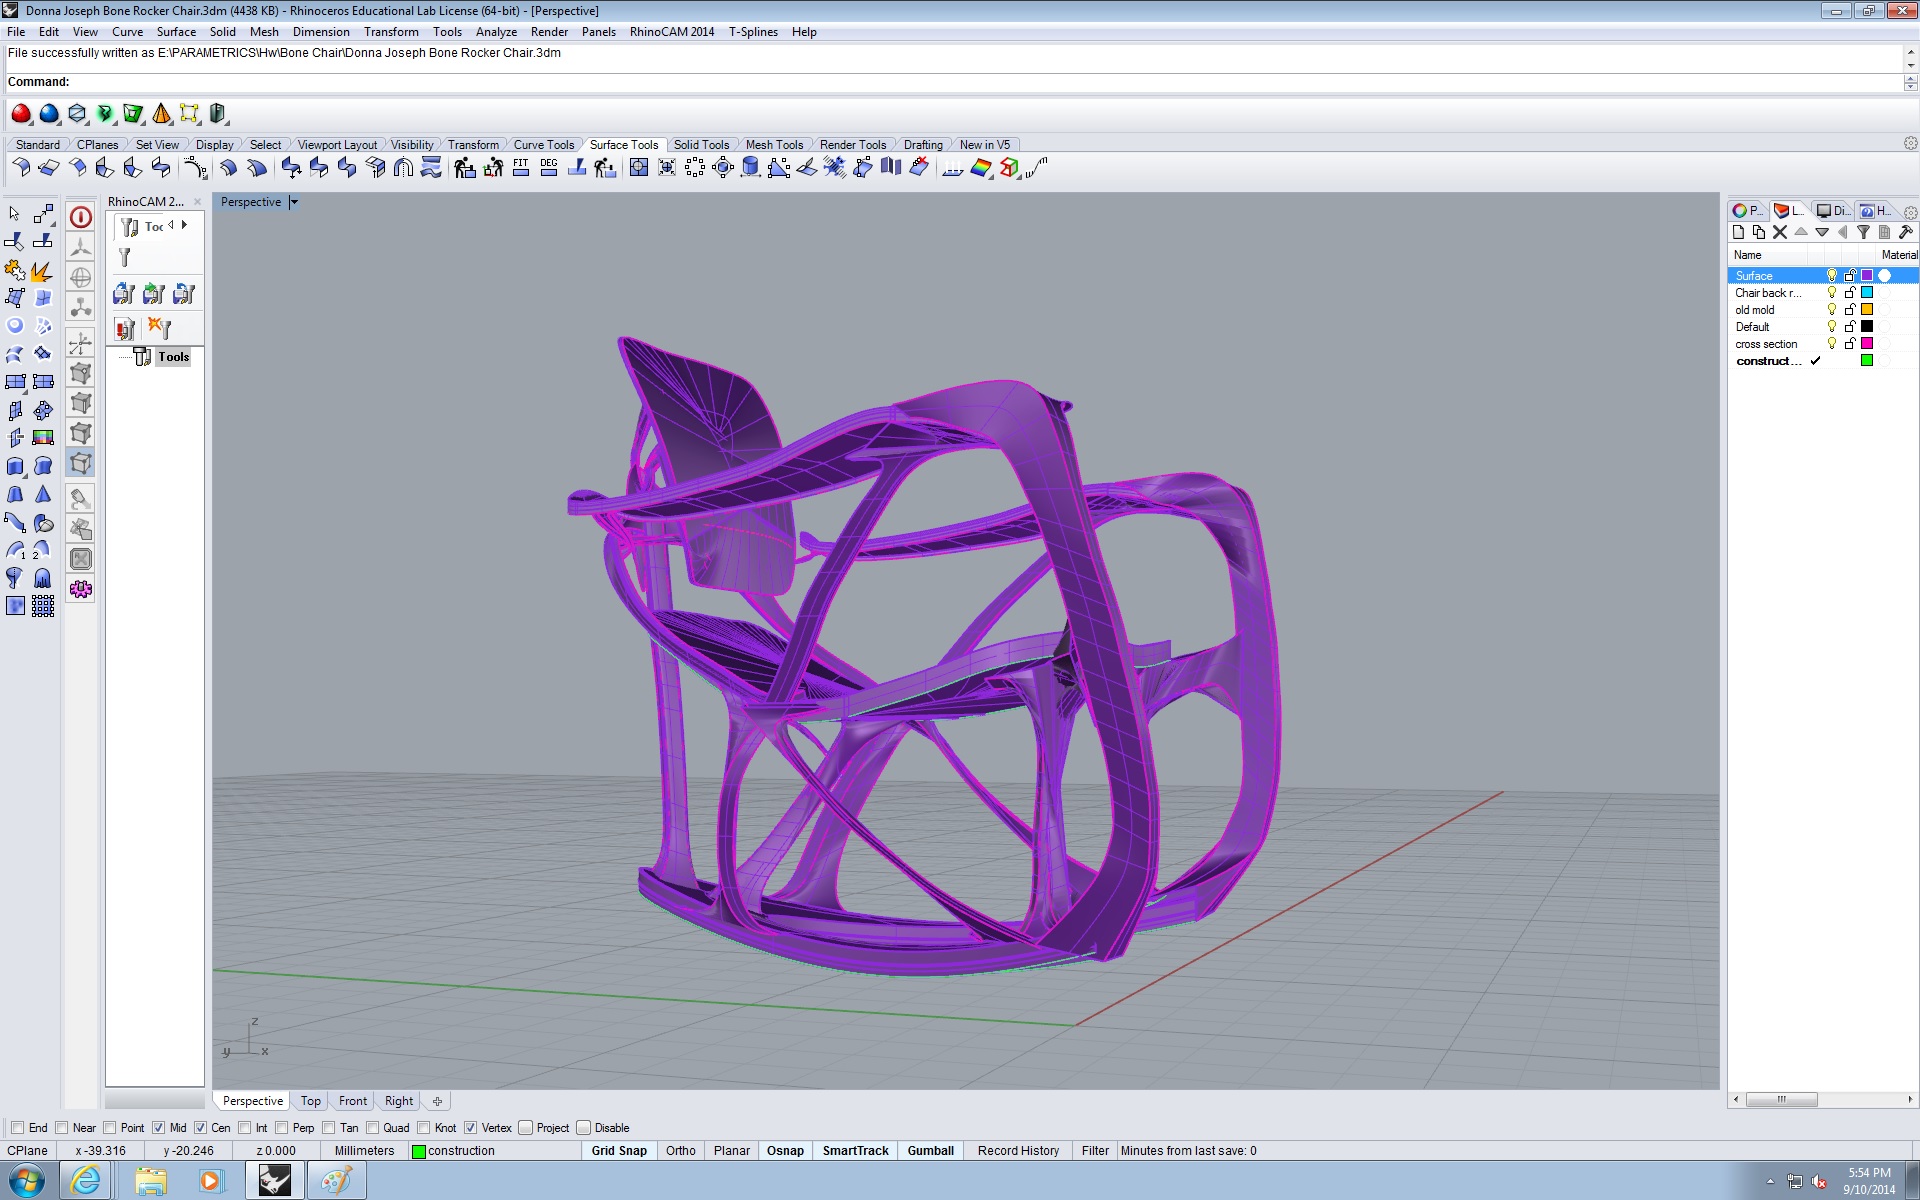
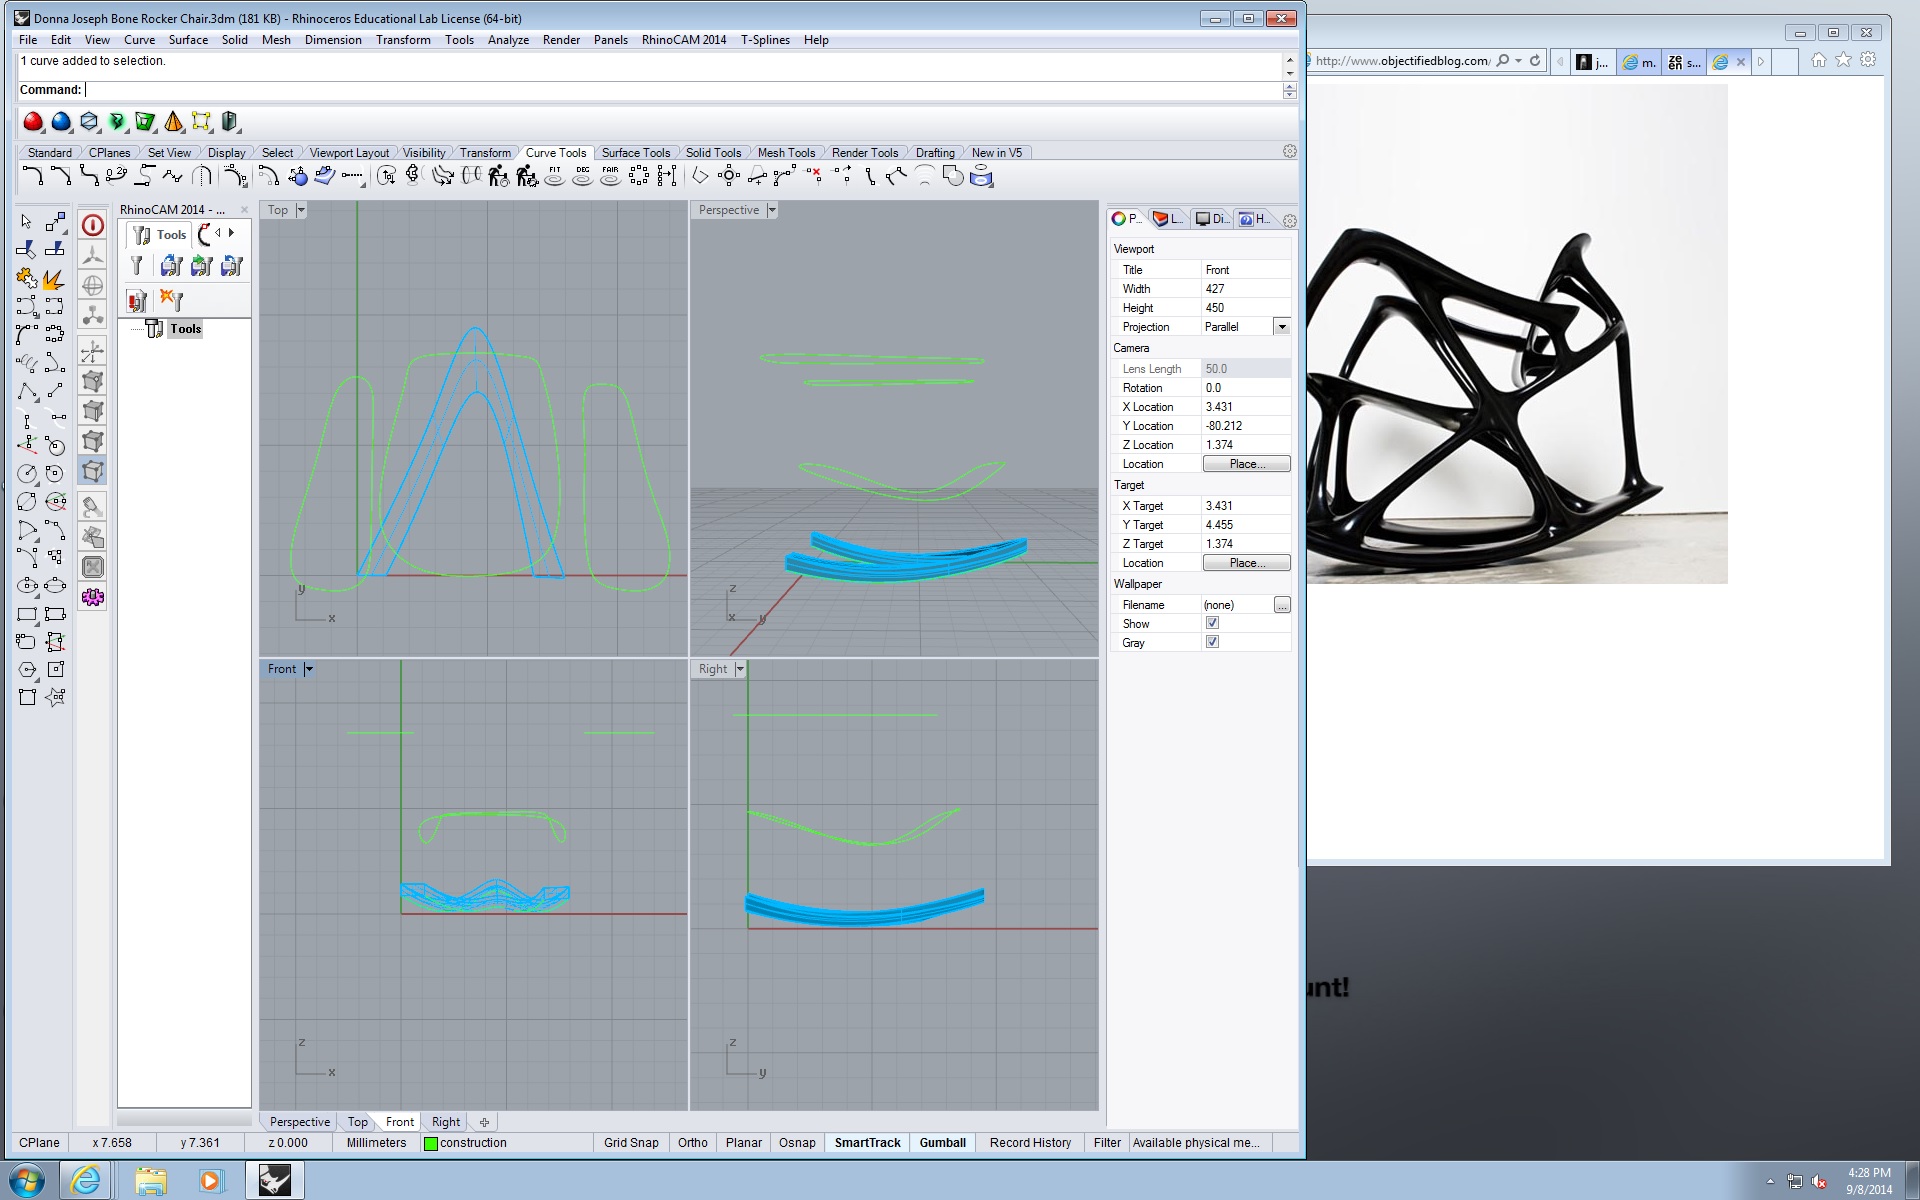
Process:
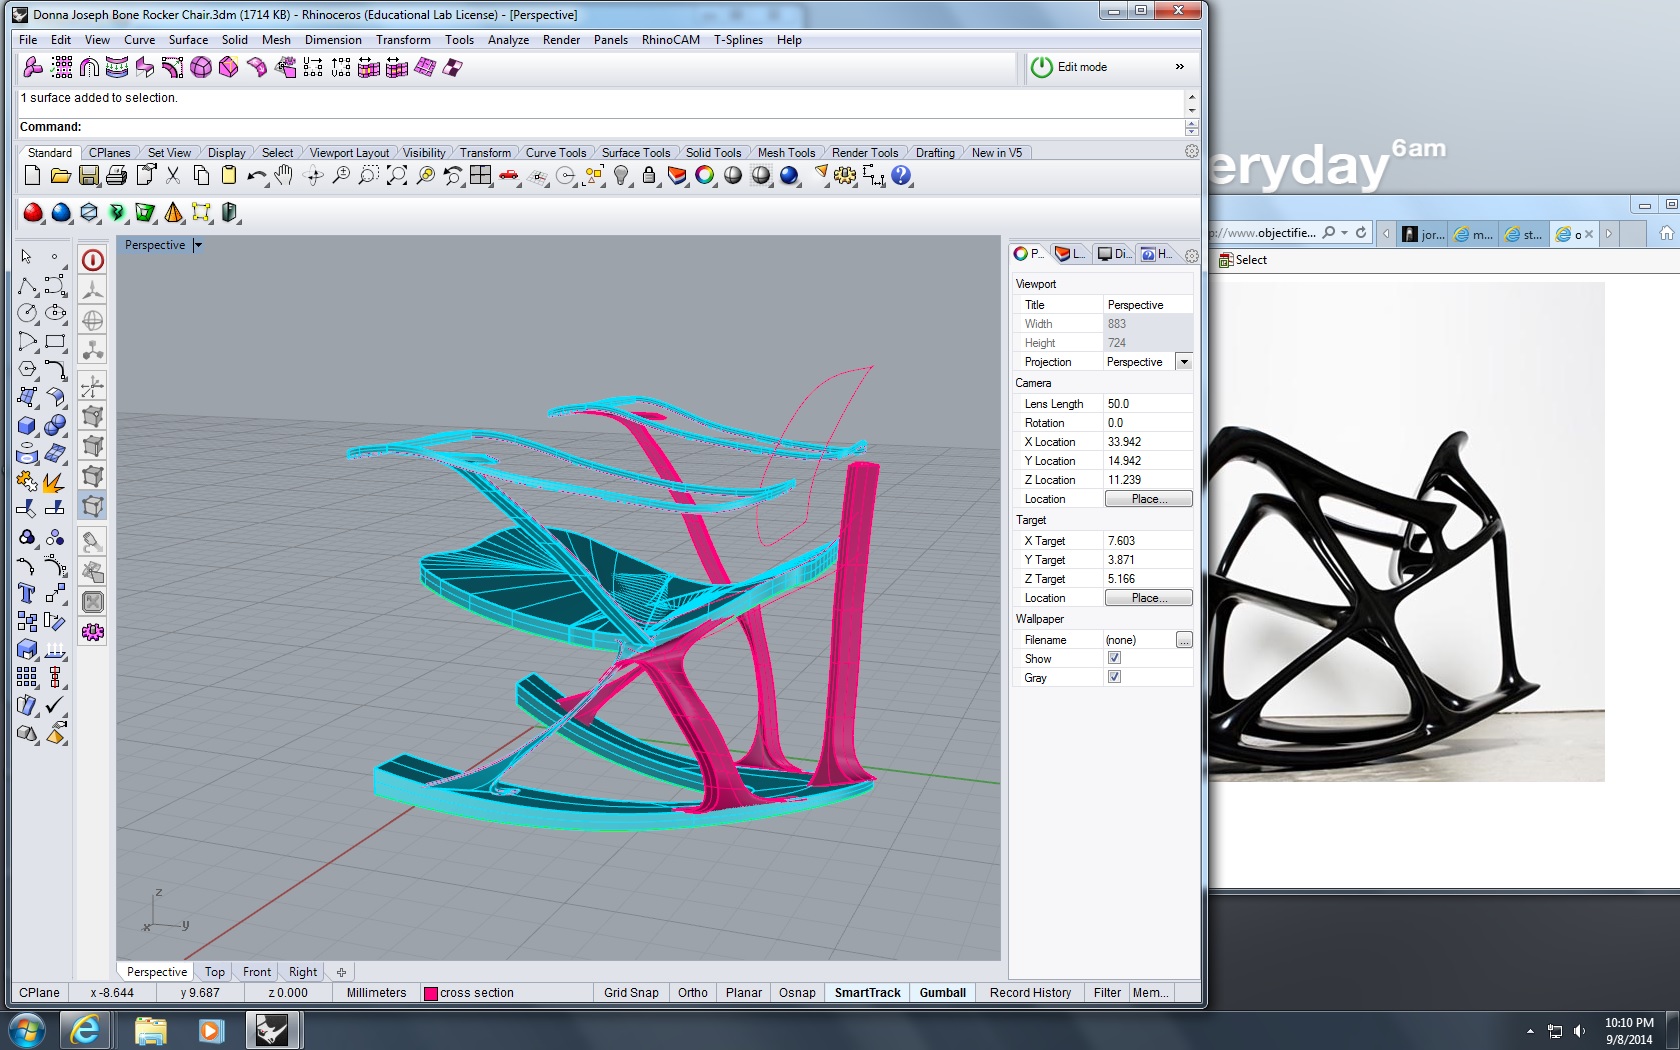
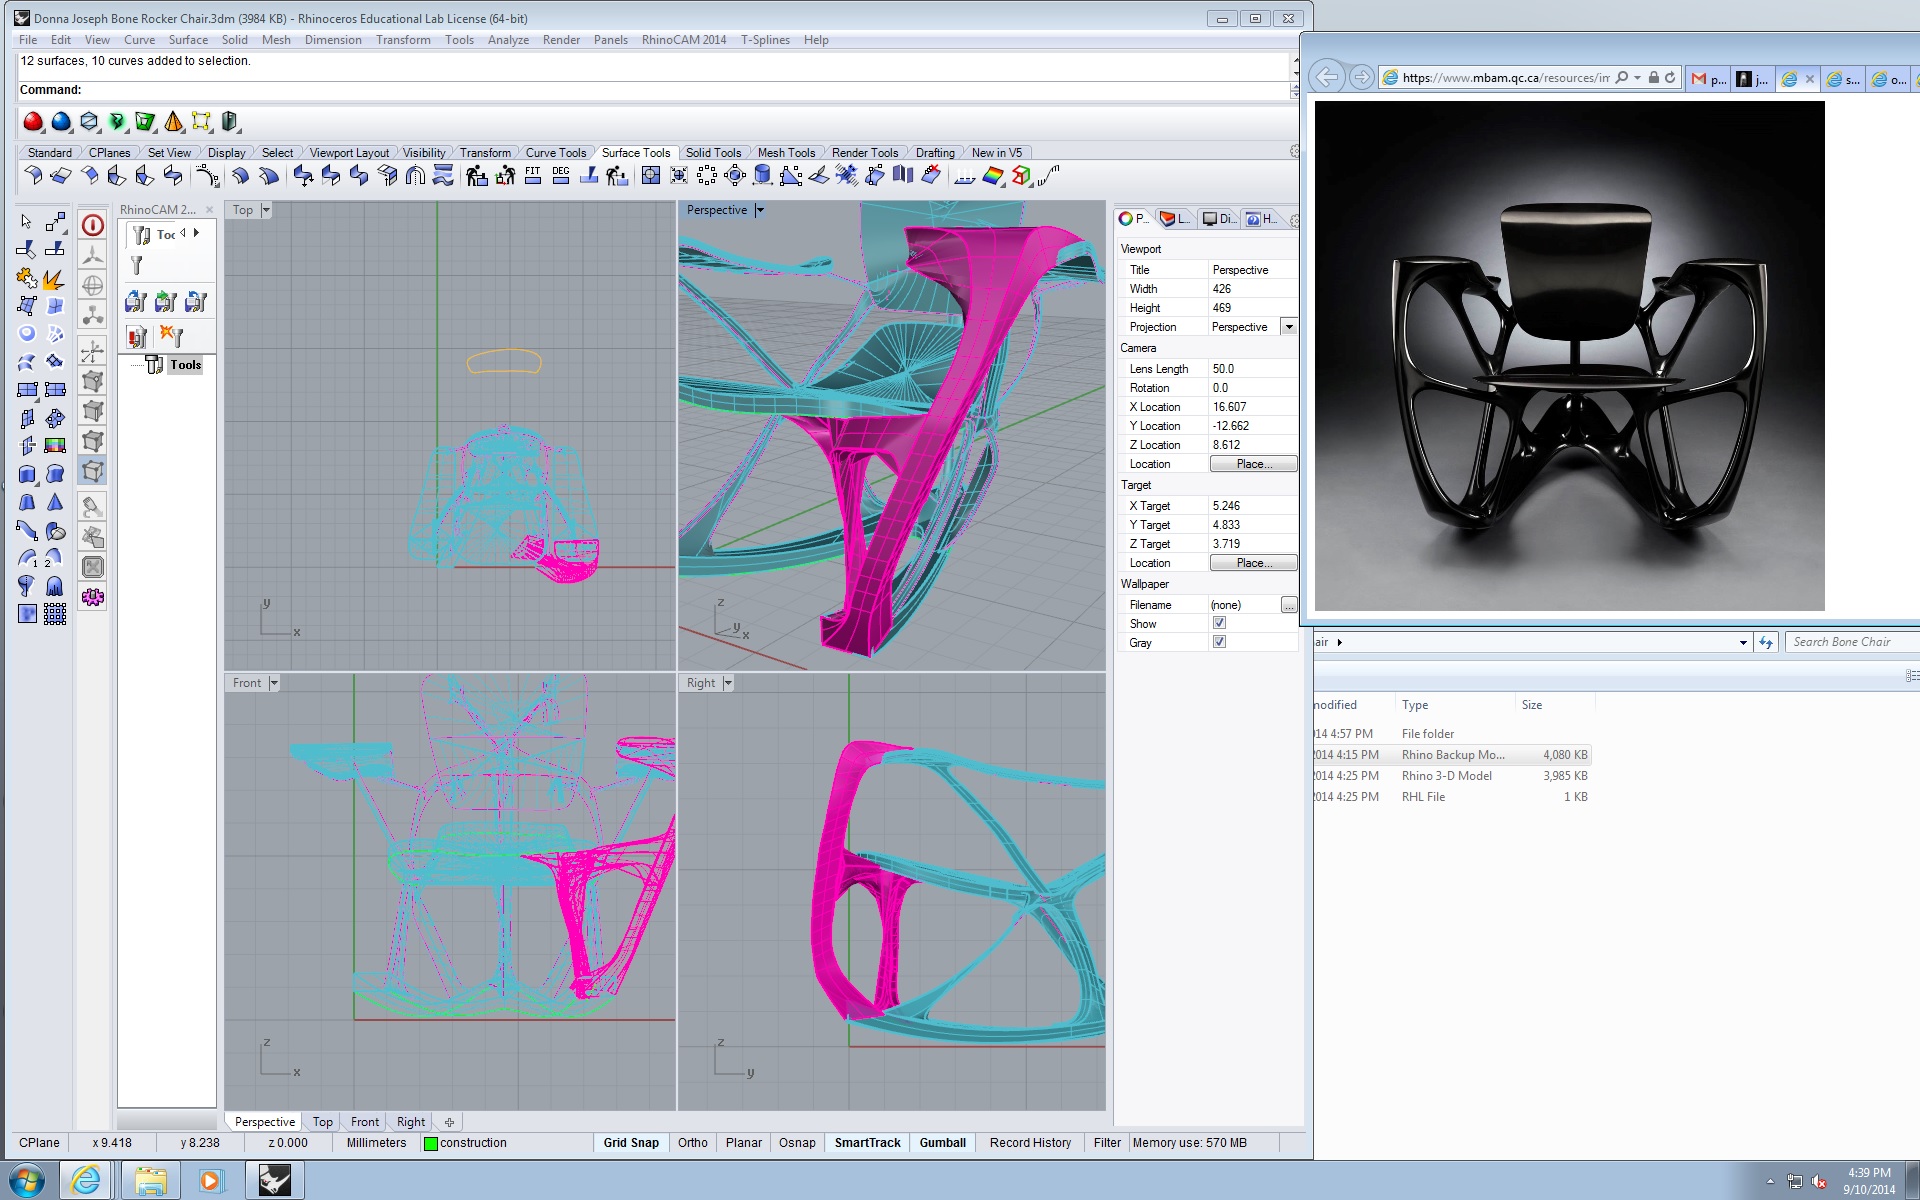
I started with the base rocker, then the armrests, and seat. I used lofting to connect the pieces and would play with the loft tool so the piece would loft along the curve I wanted it to follow. Extruding didn’t really work in my favor. It would only extrude the curves and the surface would be hollow. I used the gumball tool a lot to manipulate where I wanted the curves to be. Working with all four windows worked best for me so I knew where my curves and lines were on the chair.
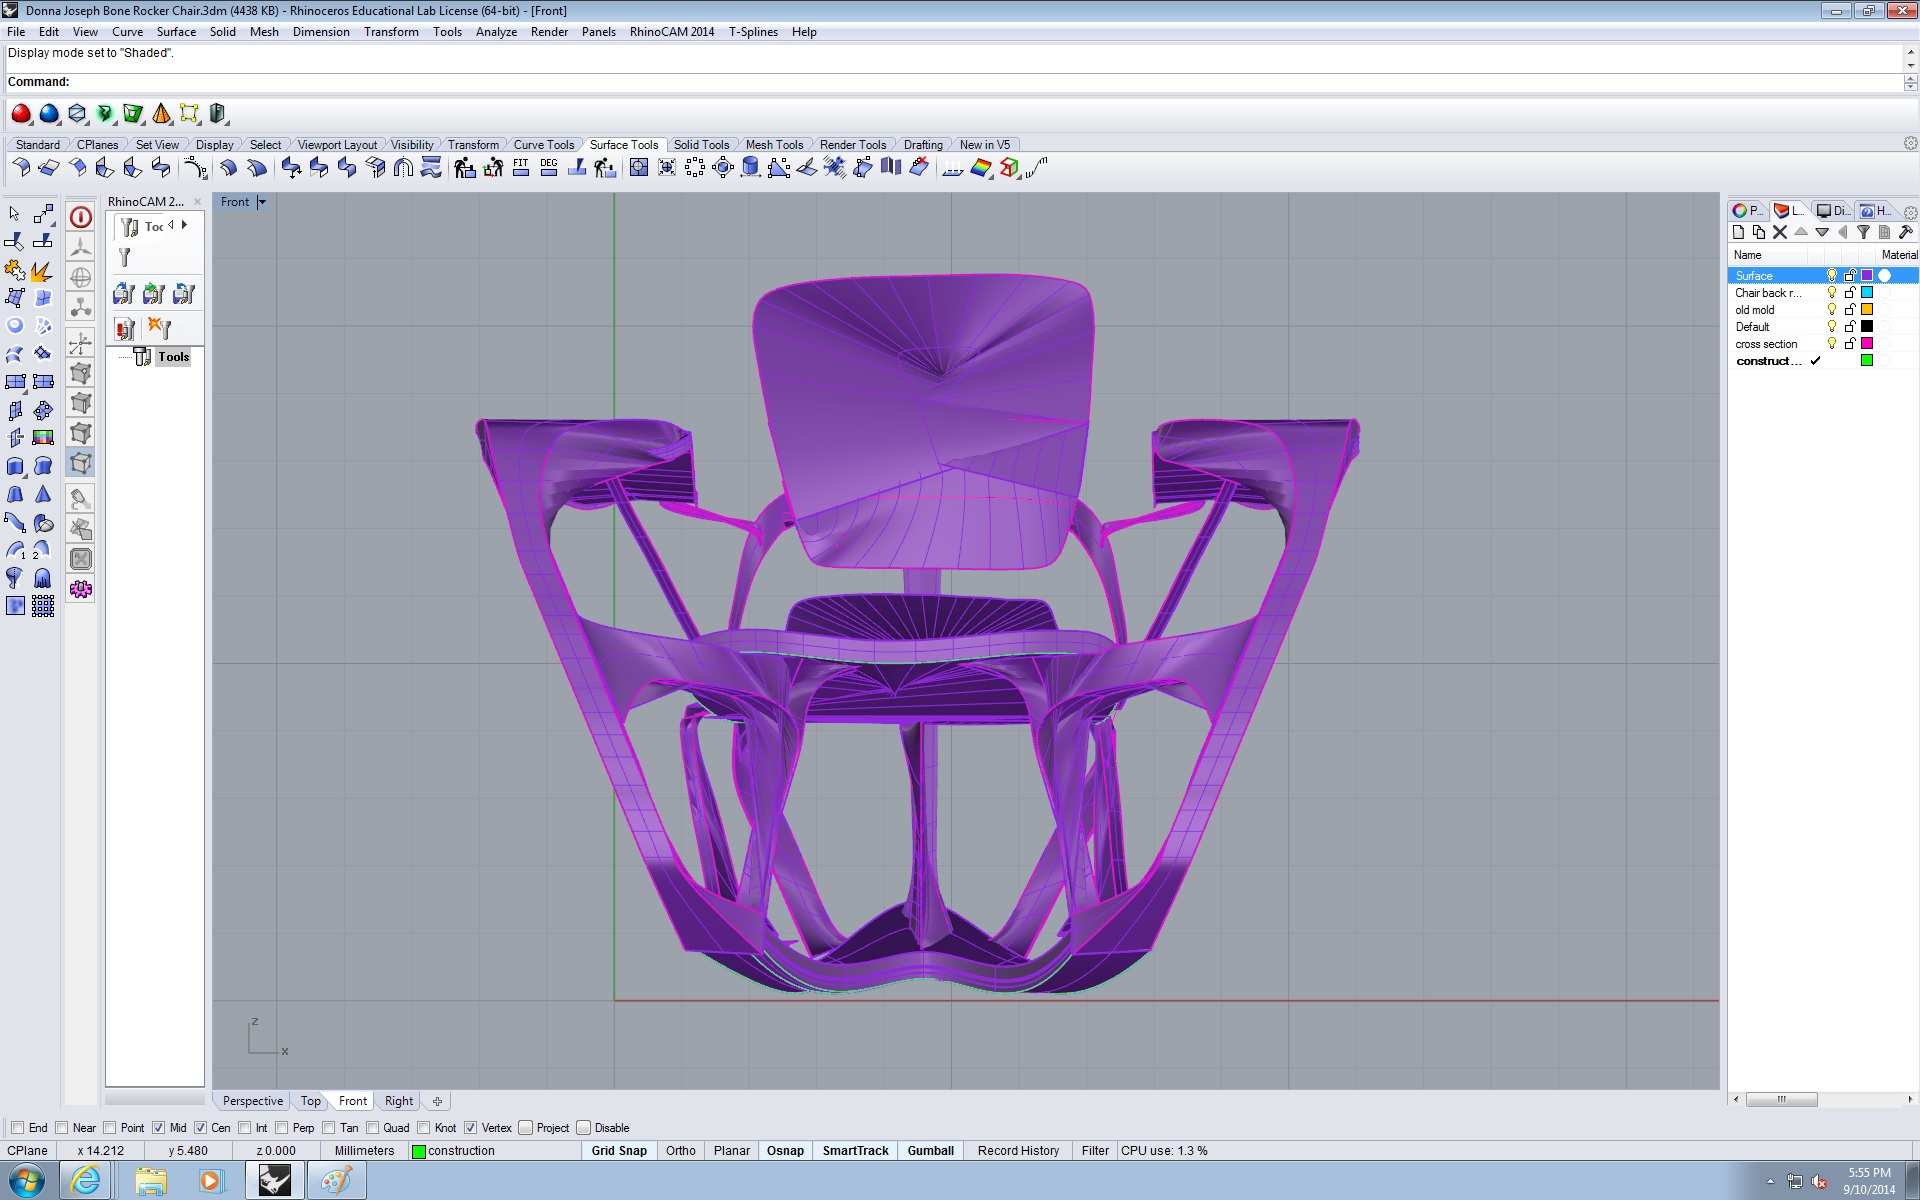
When I started doing the legs, I found it best to mirror the objects so I wouldn’t have to rebuild everything and worry about everything matching up correctly, which I realized that the beginning portion of my model therefore may not have been accurate i.e. the base rocker. (Maybe one side bigger than the other. I decided to use the mirror tool a lot then to try to make the model as accurate as possible. By the time I reached the front rocker legs (connecting the front of the armrest and the base rocker), my gumball tool starting having trouble. It would lock onto certain distances and wouldn’t be as flexible. I don’t know if this is a setting issue (maybe I hit a button) or if the file was getting too big/complex with all of the curves and lofting I did with this chair.

Hi Everyone!
Did it work?

You must be logged in to post a comment.