
Month: December 2014
Seasonal Panel
Responsive Membrane
The project is a window interface system that responds to real-time weather and human interaction to promote ideal interior conditions.
The screen responds on three levels: Temperature, Exposure and Human Interaction.

In order to respond in real-time, I’m using an Arduino, servo motor and lux sensor to determine light levels and exposure.

The screen is made of a series of identical modules with a top and bottom flap that open through the use of small motors and data. Variation in the screen occurs as a product of hyper local weather data and responds as a membrane, opening and closing to bring a state of stasis.


The way in which the screen responds is seasonal.
WINTER
In winter months, when temperatures are cold, the bottom half of each module opens to bounce light into the interior and harness solar warmth.


When the bottom flaps are at 90°, the interior receives more bounced light.

SPRING/FALL
In the spring/fall when weather conditions are in an ideal state, the screen responds to human movement through pattern shifting.

Through variation in the membrane, light patterns shift in the interior.
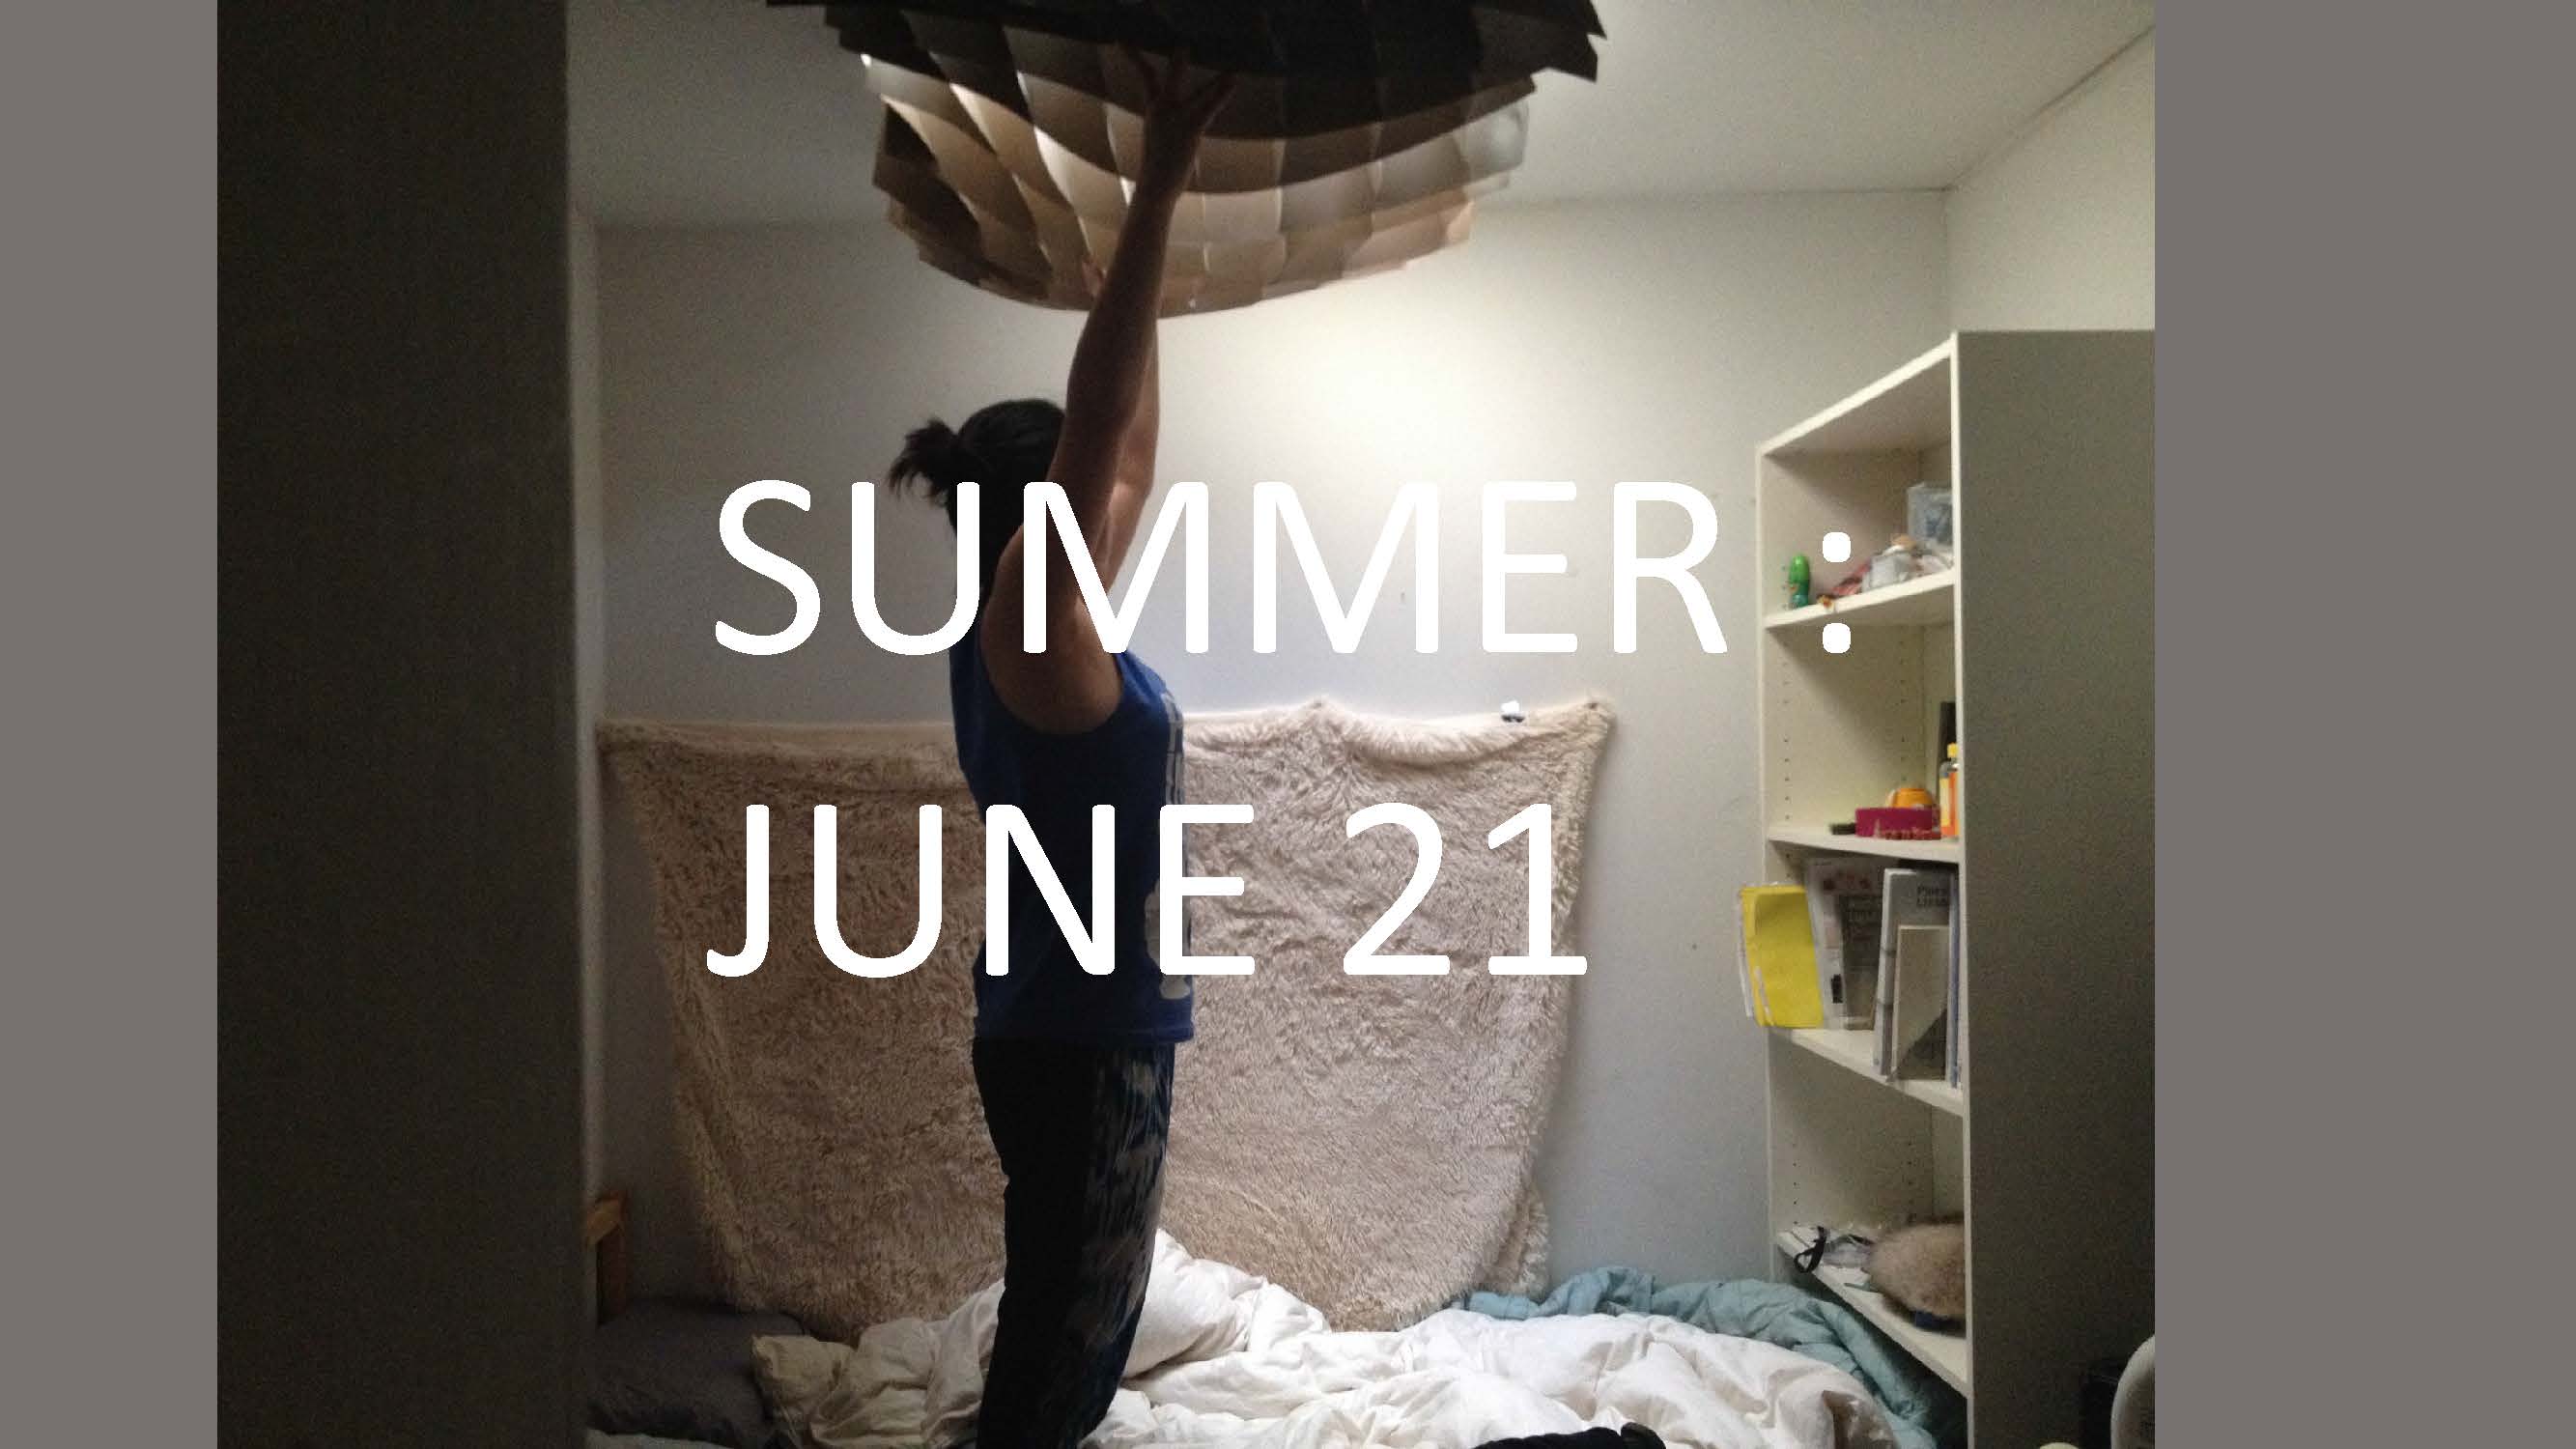
SUMMER
In the summer months, when temperatures are hot, the top half of the module moves to block and reflect direct light, adding shade and helping to cool the interior.


When top flaps are at 90°, light in the interior is reduced.

Hexagonal Seasonal Window Screens
Hello,

I have screens! I decided to go with a singular hanging screen over my window instead of making two separate screens. My definition and drivers all remained the same. Since the midterm, it was really a matter of playing with Ladybug to find the right design for each season.
GRASSHOPPER DEFINITION:

DESIGN DRIVERS:
Controlling the number of Hexagons (Length)

Controlling the number of Hexagons (Width)

Controlling the Depth of the screen

Controlling the Angle of the Hexagon

Controlling the Size of the Hexagon center holes (Closer to UV = Smaller hole)

Controlling the Maximum distance from the center of Hexagon

Controlling the Maximum distance from the center of Hexagon

SEASONAL CONDITIONS:
WINTER: No direct light on floor
SUMMER: Minimum direct light
SPRING & FALL: Maximum direct light
I used Ladybug to test whether my designs met the criteria. Each season had different tests. For each season, I checked every month to make sure the conditions/criteria were met. The biggest testing unit was done during the 1st bounce of light. After this, I would check how much light could get into the room by experimenting with the number of bounces in light.


CONSTRUCTING THE SCREEN
UNFOLDING AND TAGGING PIECES:

Unfolding my hexagons weren’t an issue. Tagging, however, became tricky. I had to work backwards and found out there was a minor issue in my definition, which goes to show how one mistake can really catch up with you. I made my tabs for construction purposes using Panelling tools in Rhino. This is a plugin that I downloaded.
My model turned out pretty well. Laser cutting took a long time. I ended up only being able to cut close to 2am and didn’t finish until 4am. I only then decided to do one model because of the time constraints for access into the lab. Building the model didn’t take as long as I had feared. It was about 3 hours. The only unfortunate part is that I was not able to put model up against my window to see how light comes through. I had to leave my model in school because of how big it is. Also, I haven’t been home in the day time to test it out.
Overall, I am satisfied with the screens. I’m happy I was able to fabricate something I was able to test out digitally and customized to a space. I think this may be one of the first classes where things were practical in the sense that I can make use of the information provided via rhino and grasshopper and be able to apply it to real life.
Hmm, I love the smell of burnt chipboard in the morning
Hey guys!
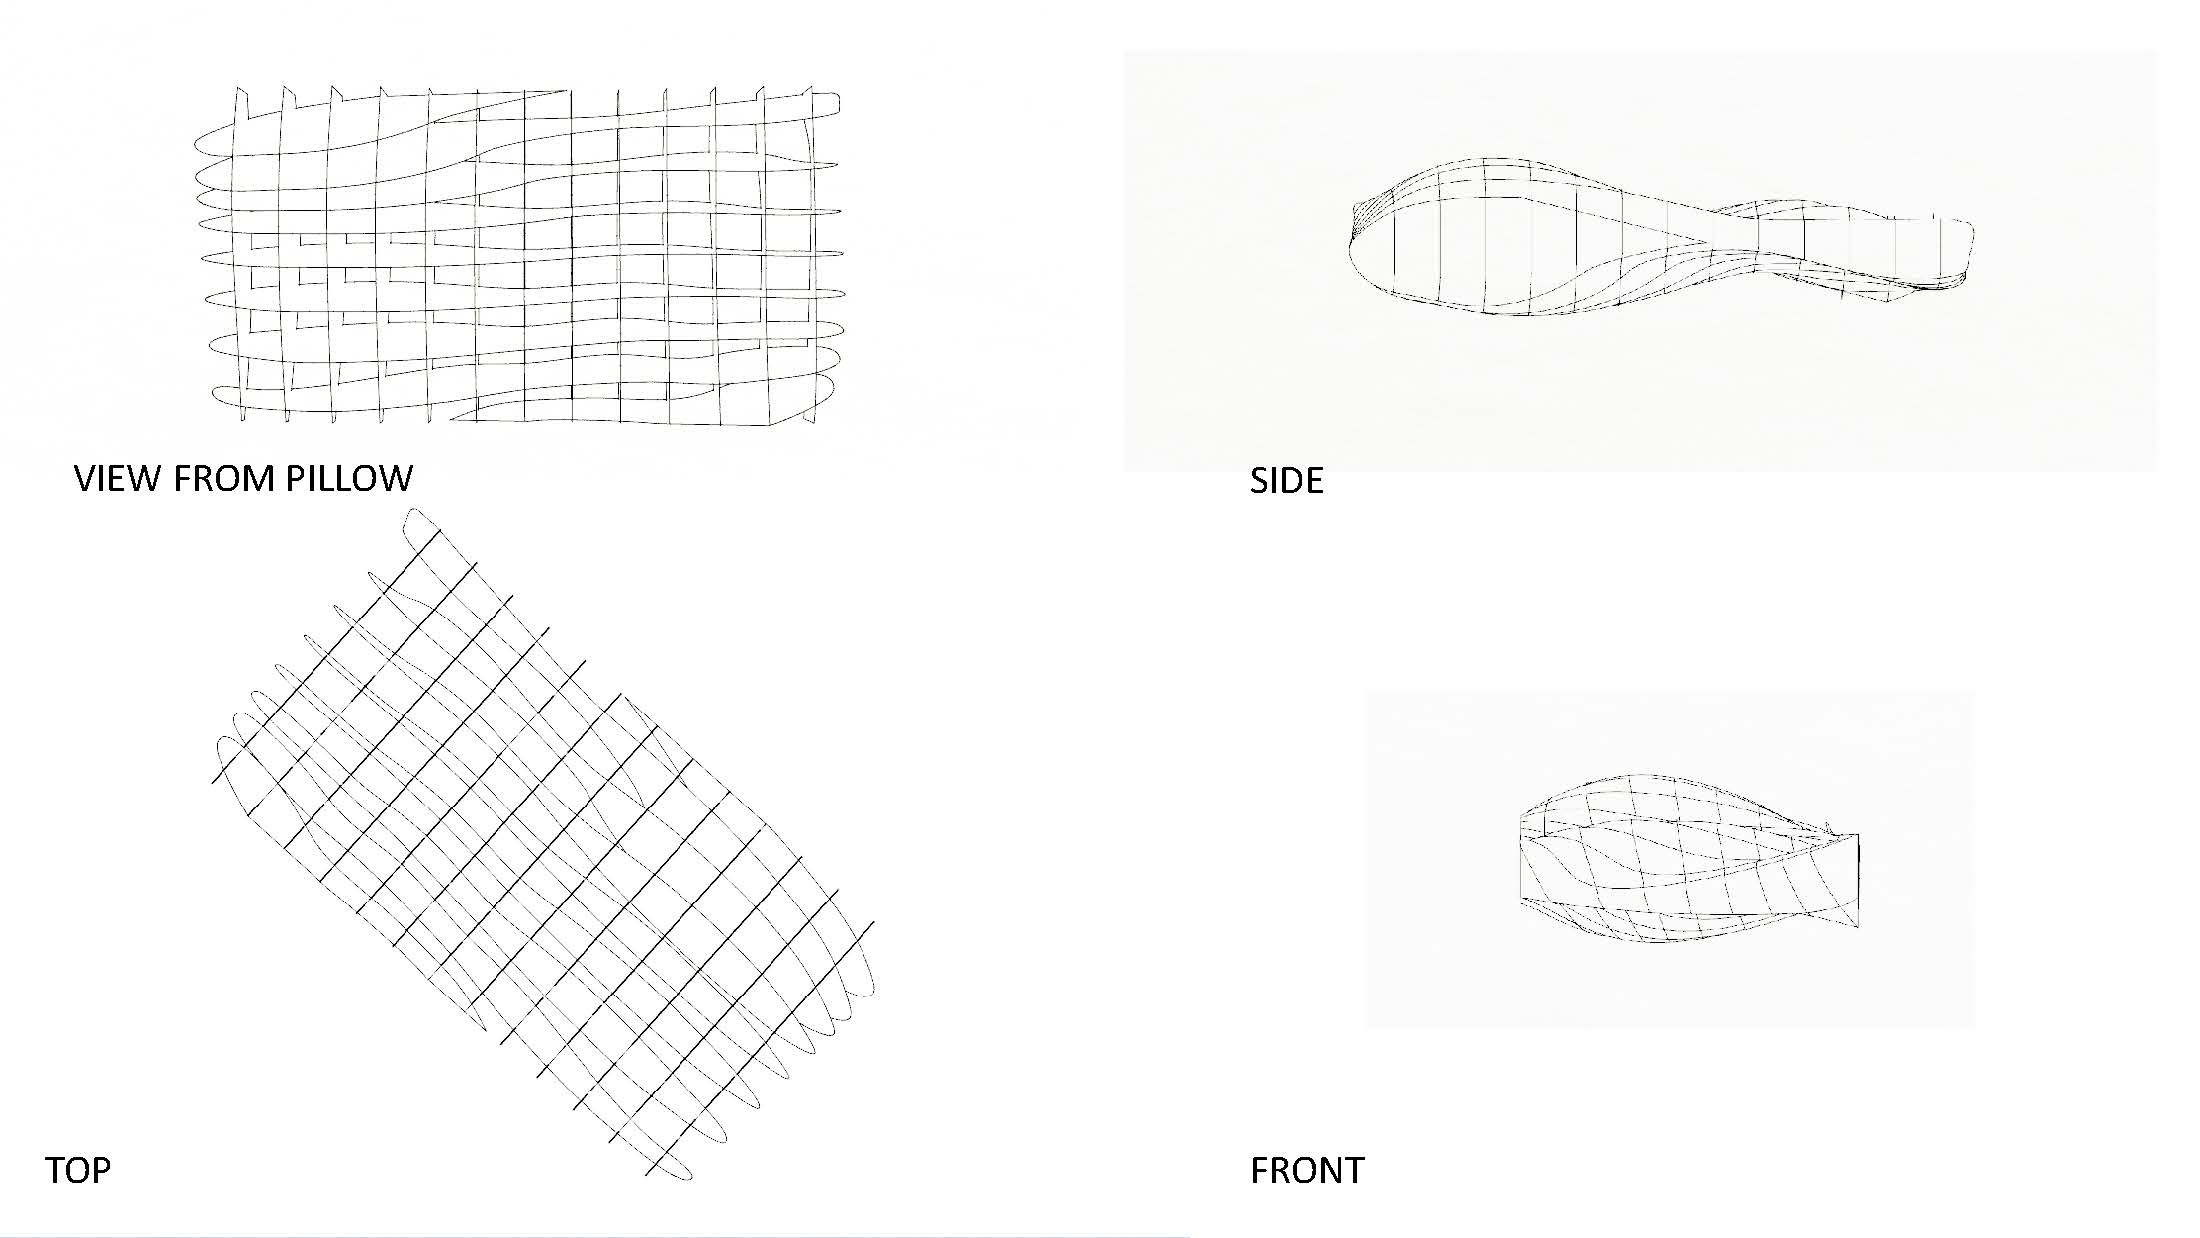
Since my last update I had a few set backs. I am still having trouble notching and translating it. I can get it in 3D but the moment I lay flat to 2D it dissapears. Laying flat in 2D, and applying the same definition I did in 3D, does not work. So there is some mistranslation between the 3D world and 2D world in terms of my grasshopper definition.
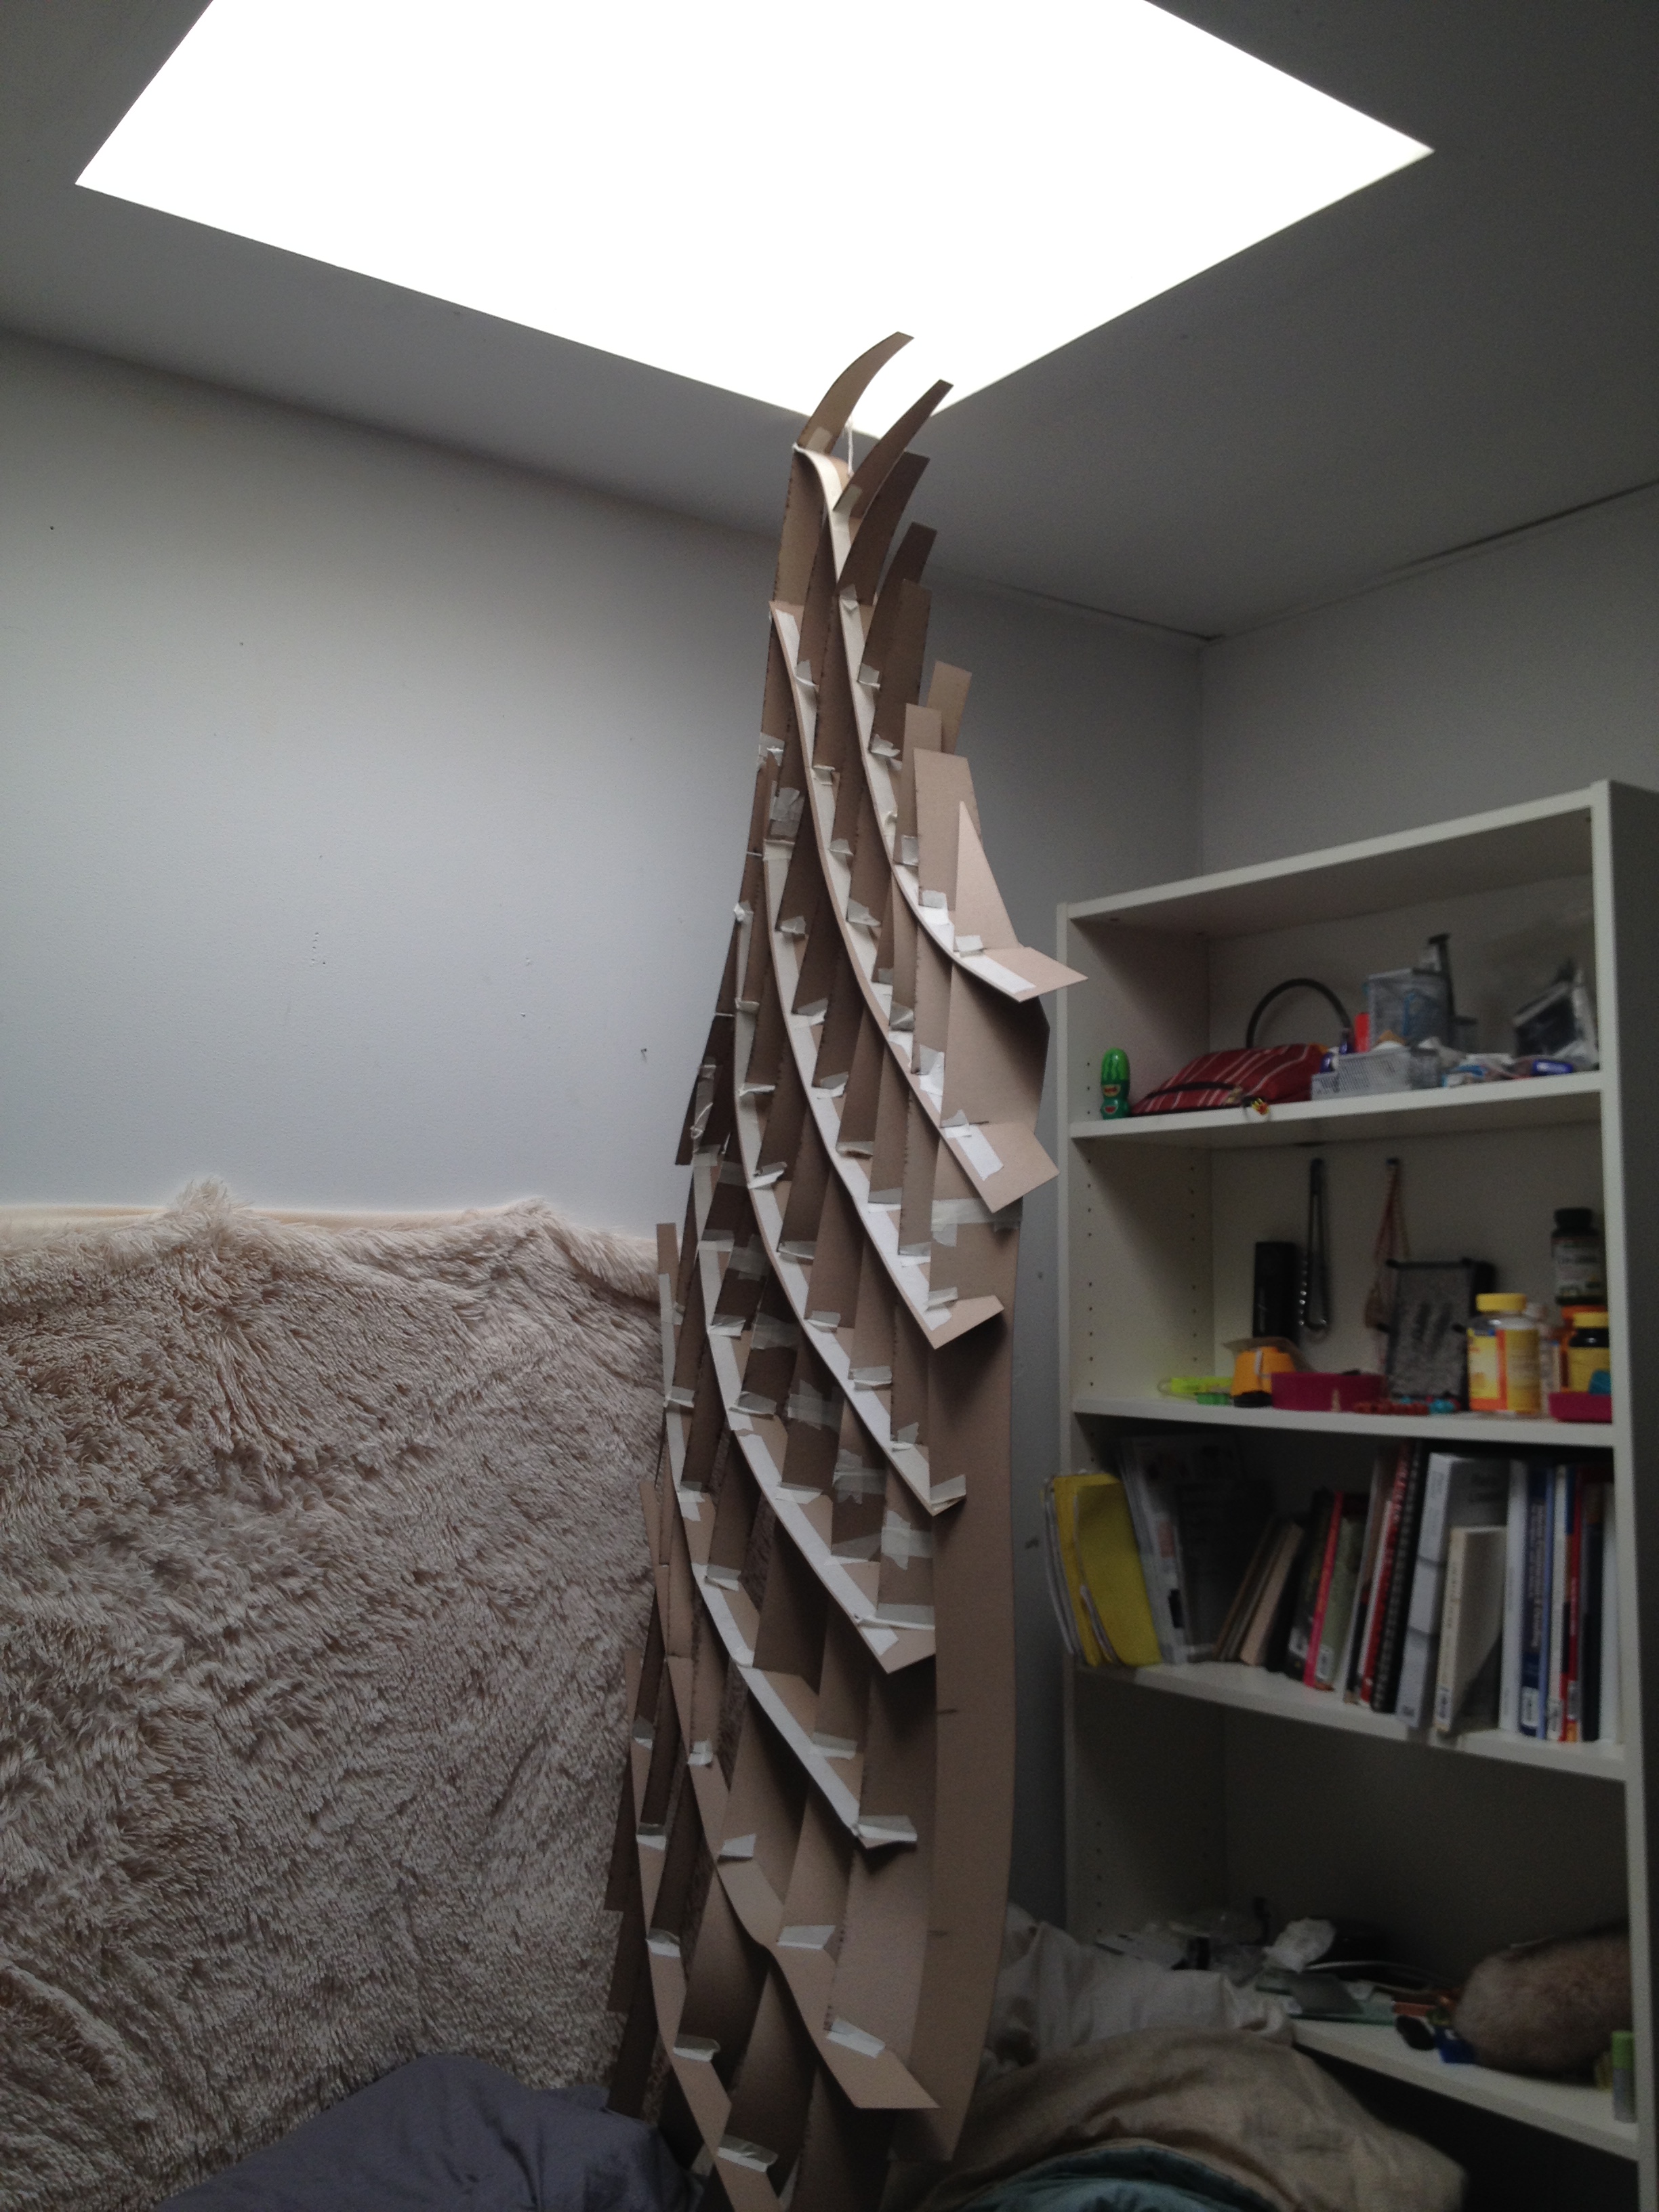
But on the other hand, you can totally take the extra hours (which was shorter than figuring it out) to manually do it in ACAD! yay! Here are the results of my first prototype.
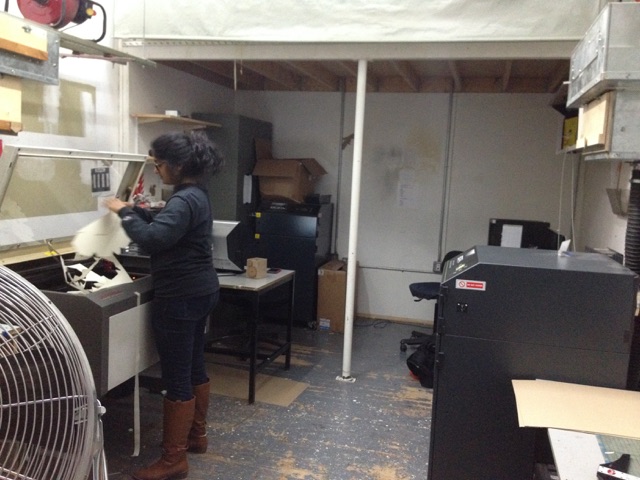
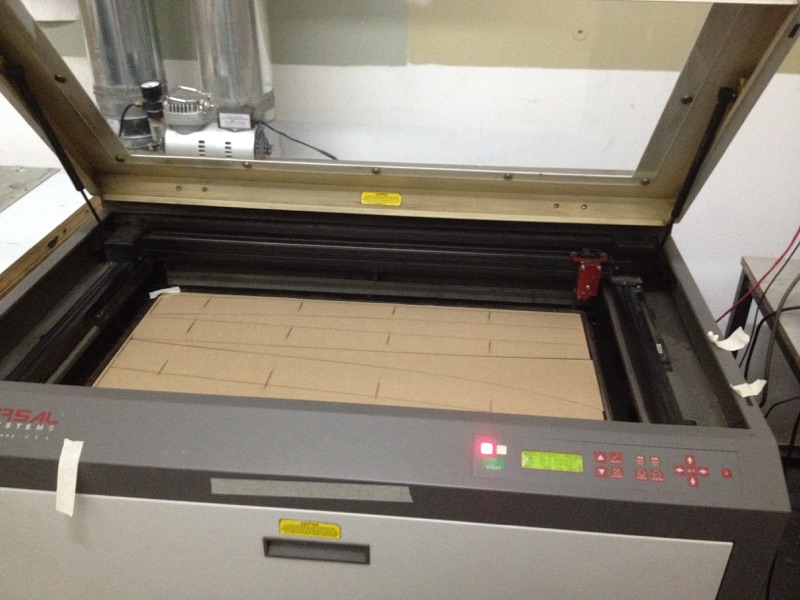
Laser Cutting in the A.M. with Donna! Apparently Undergrads use it too and the red laser is broken.
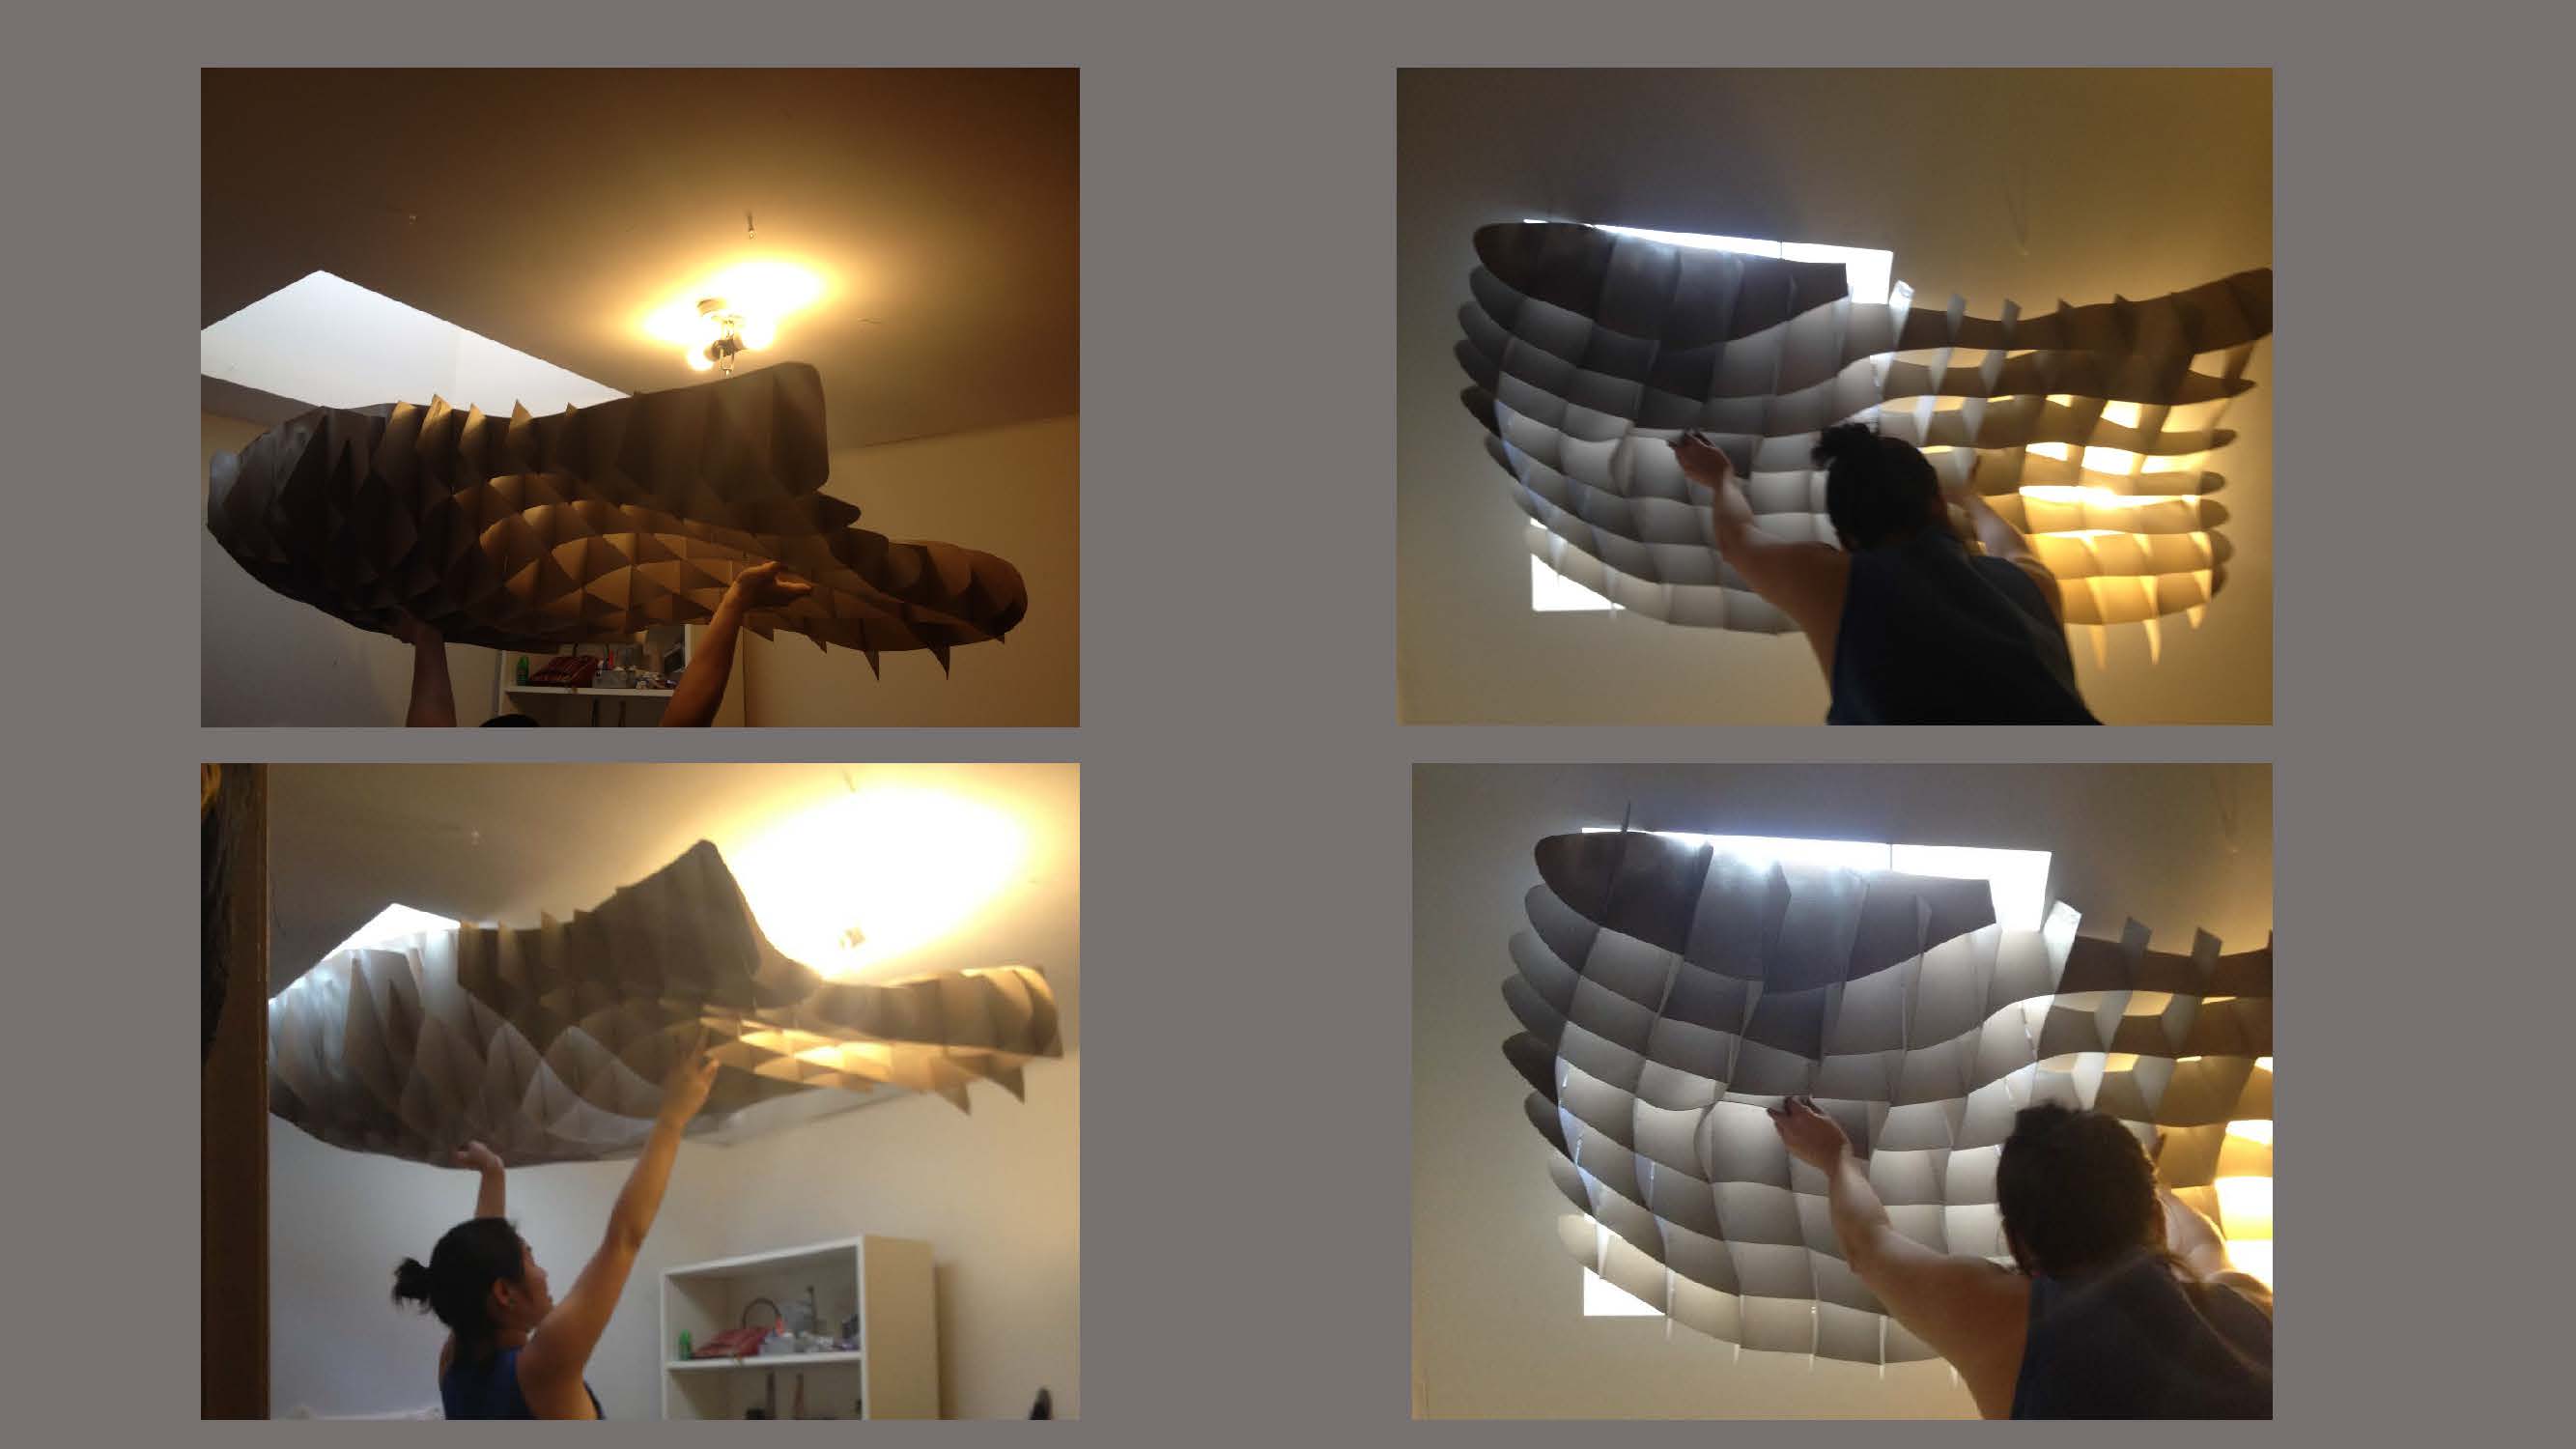
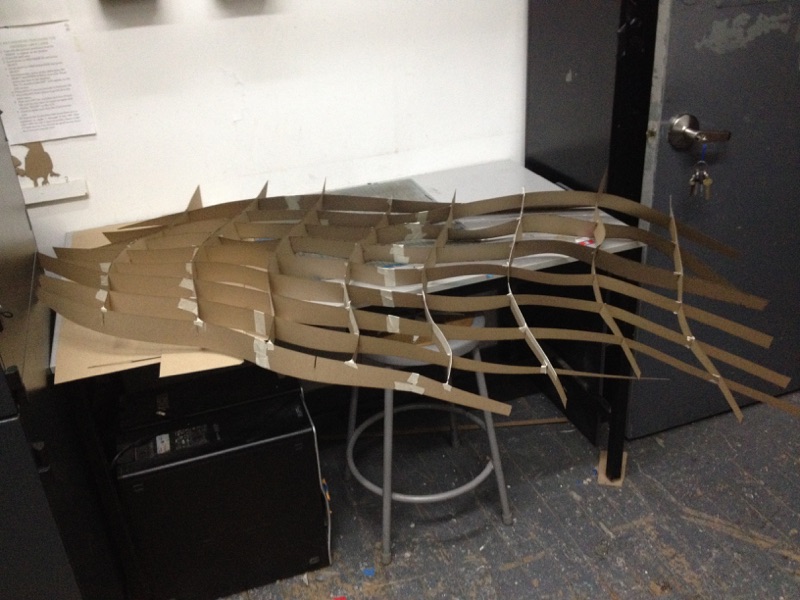
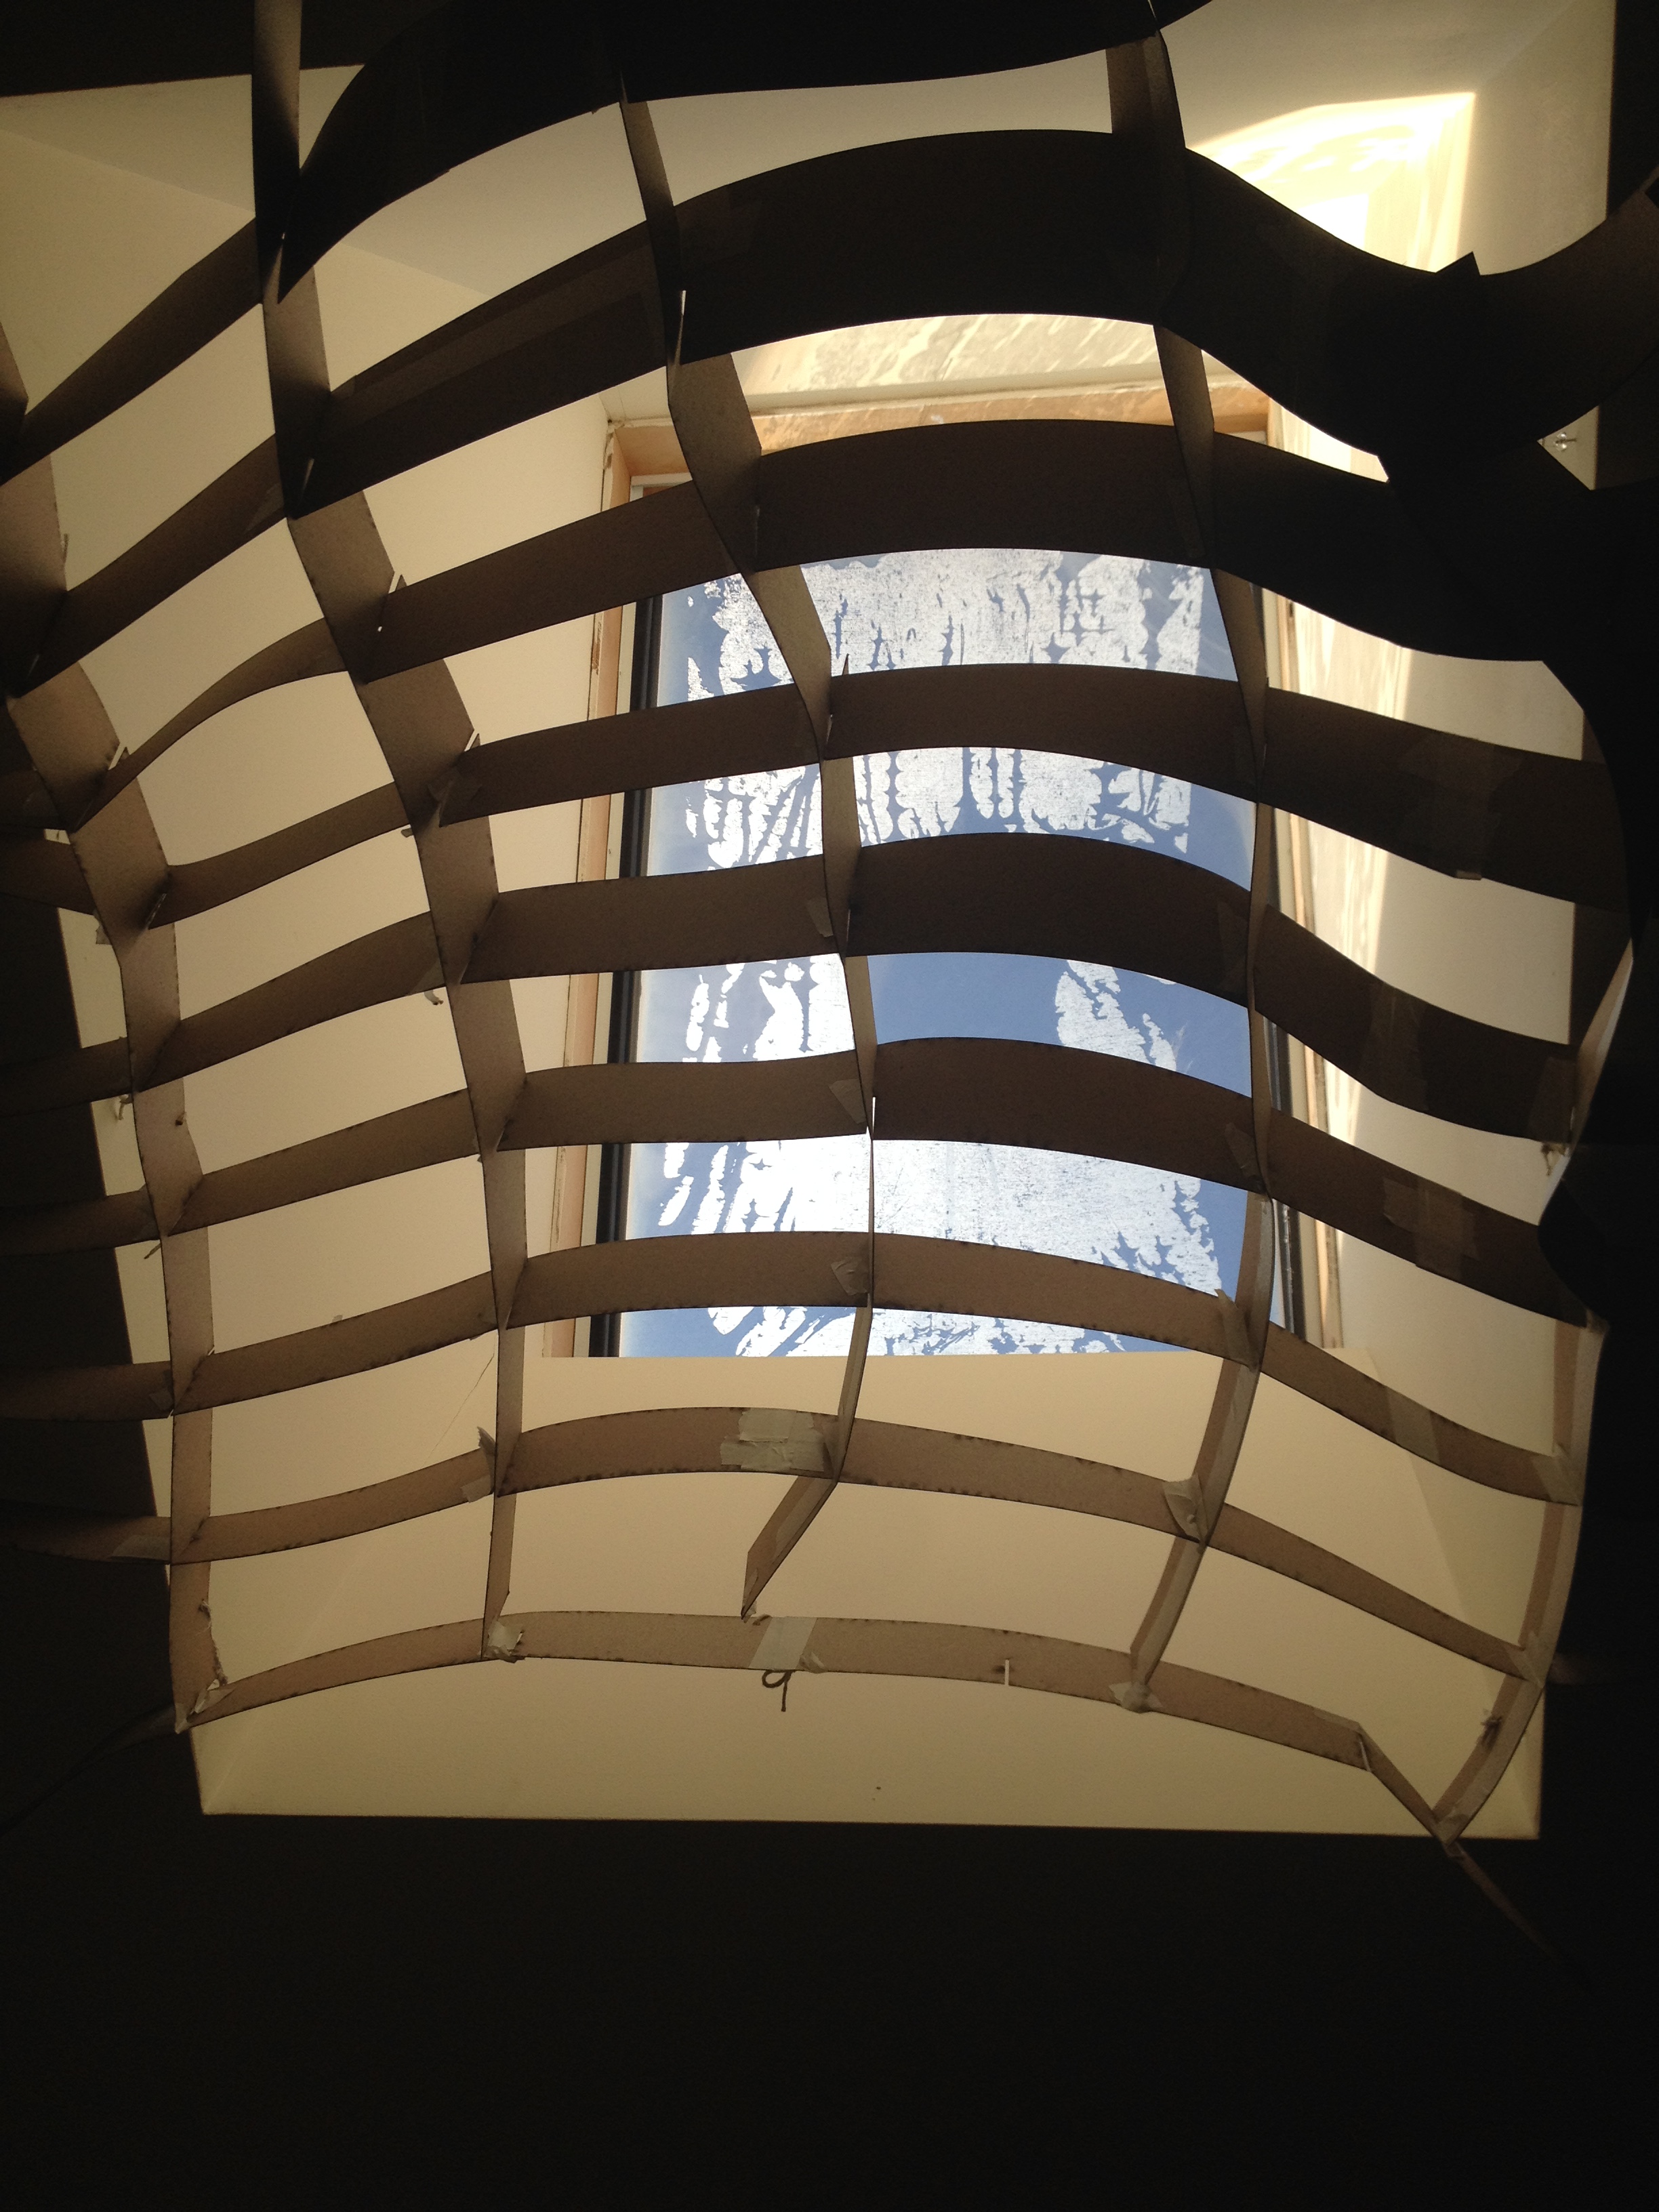
Building it:

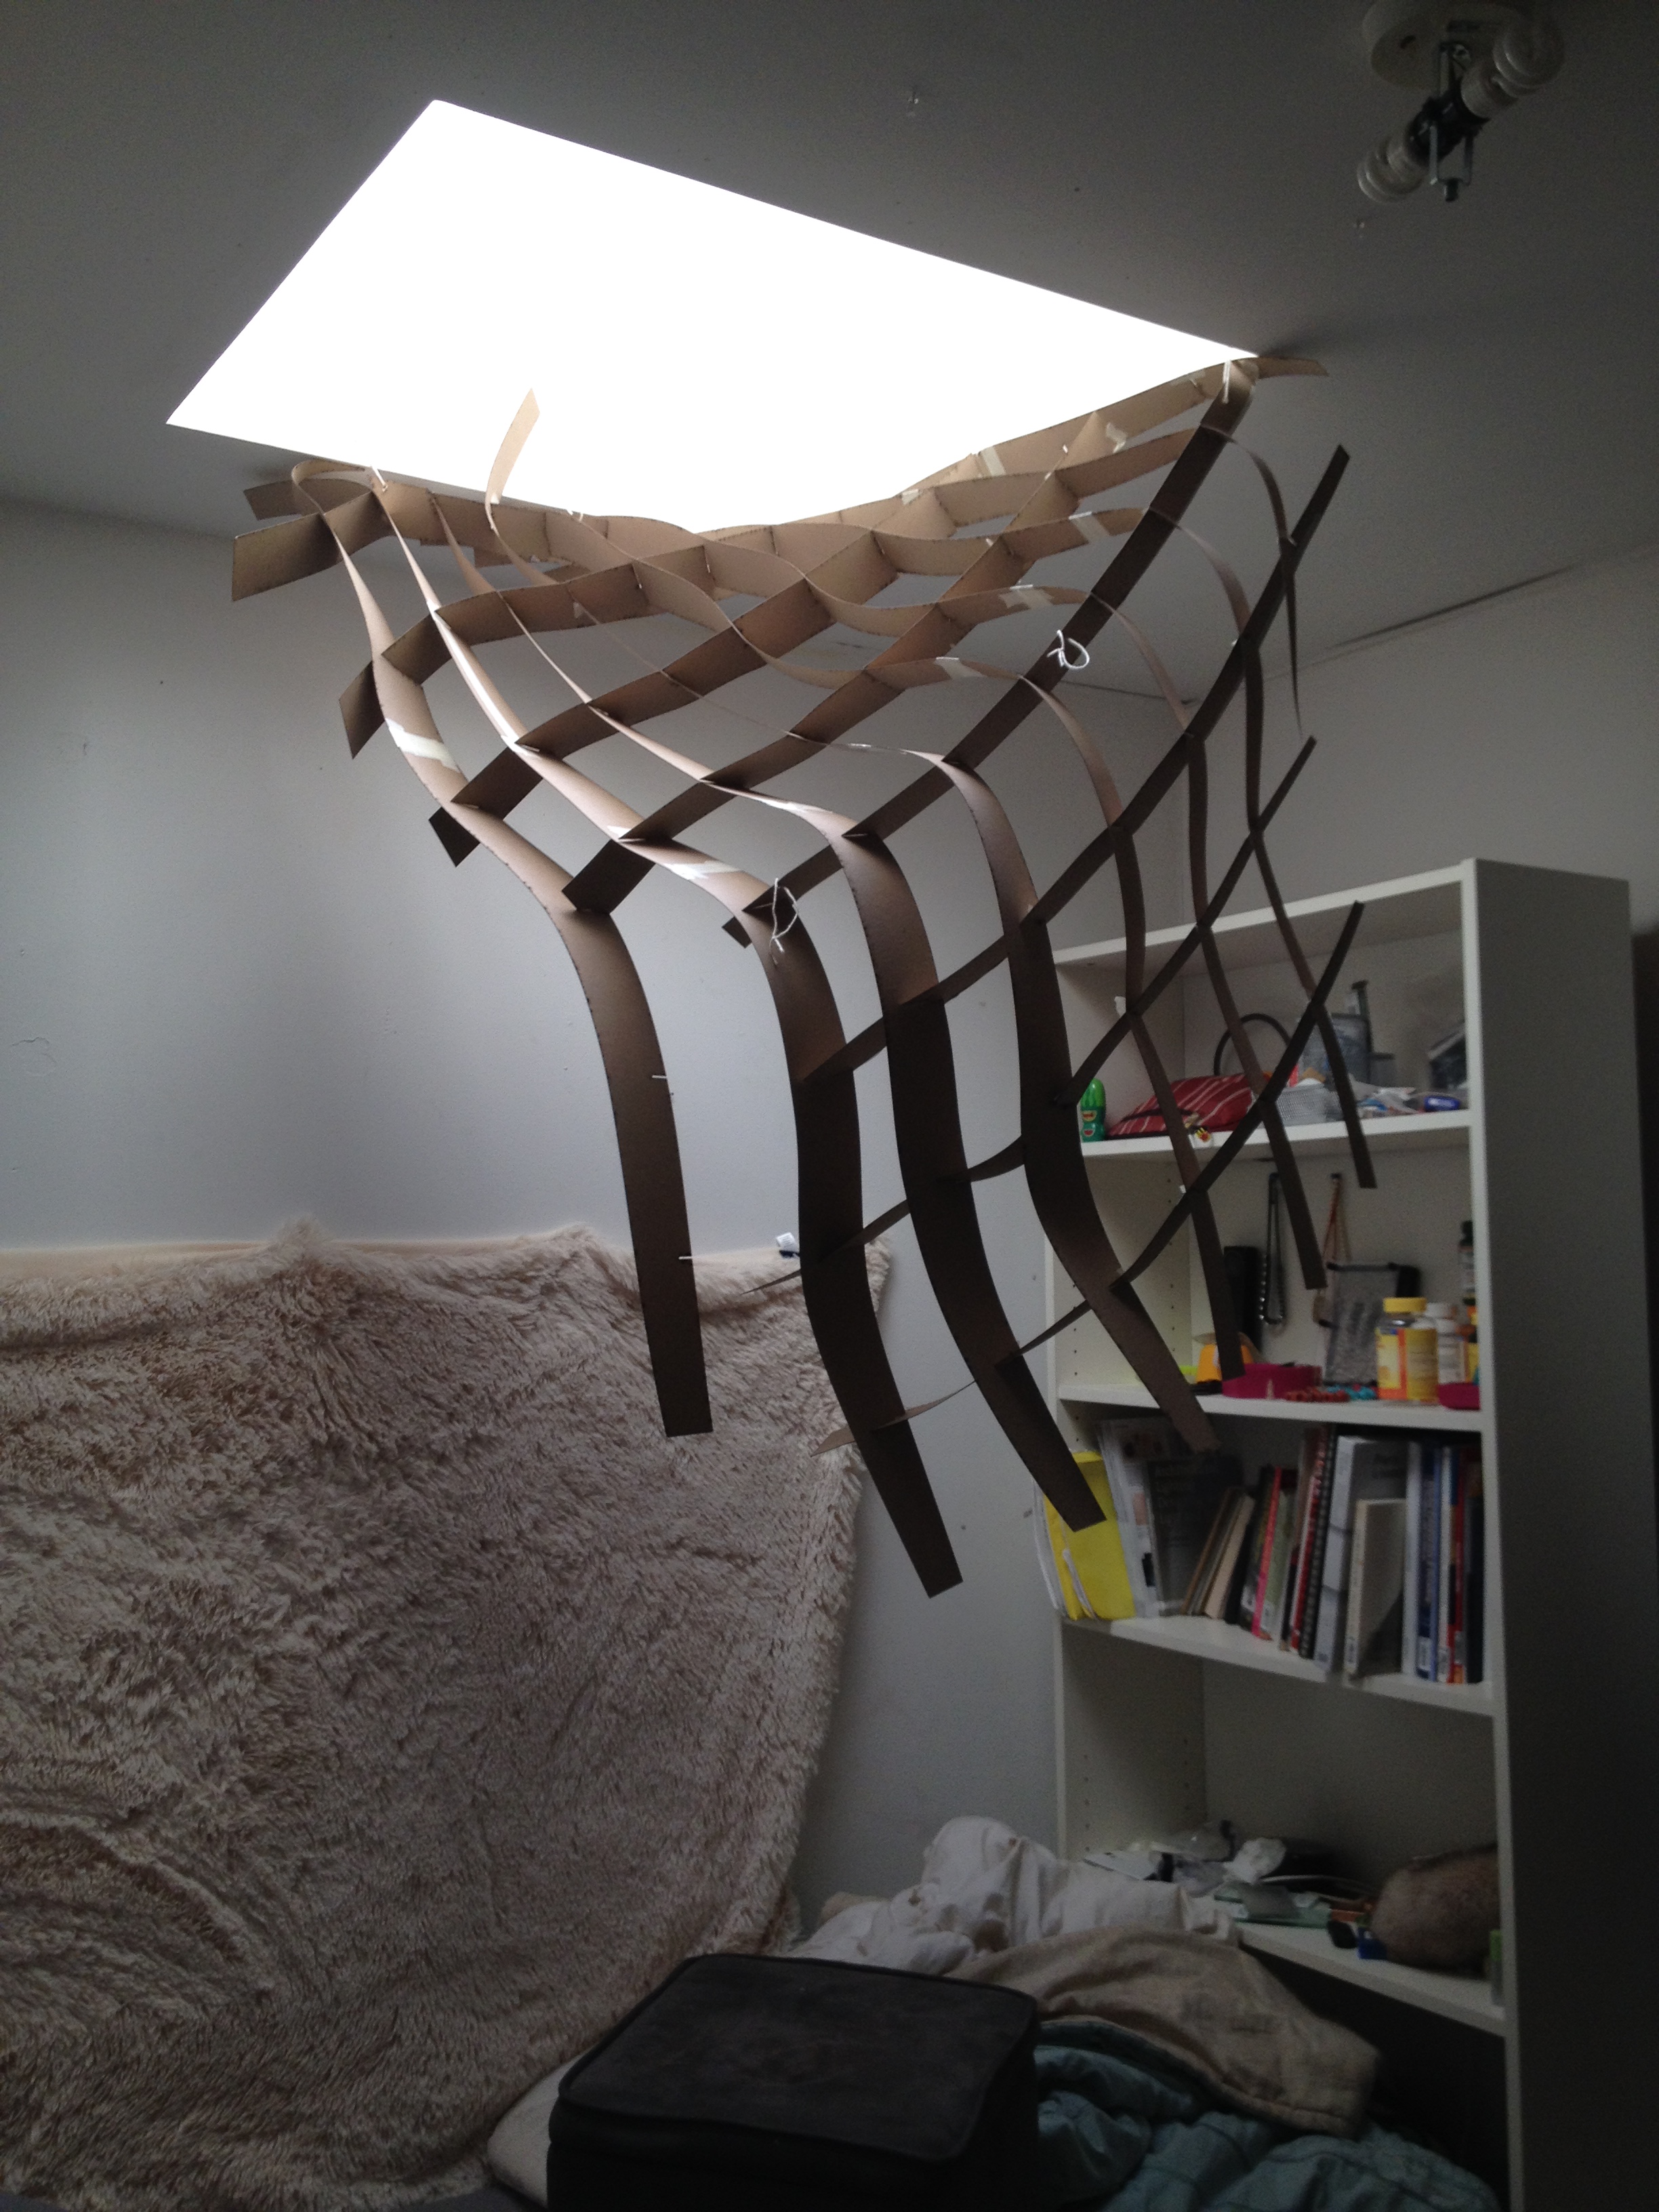
Hanging it:


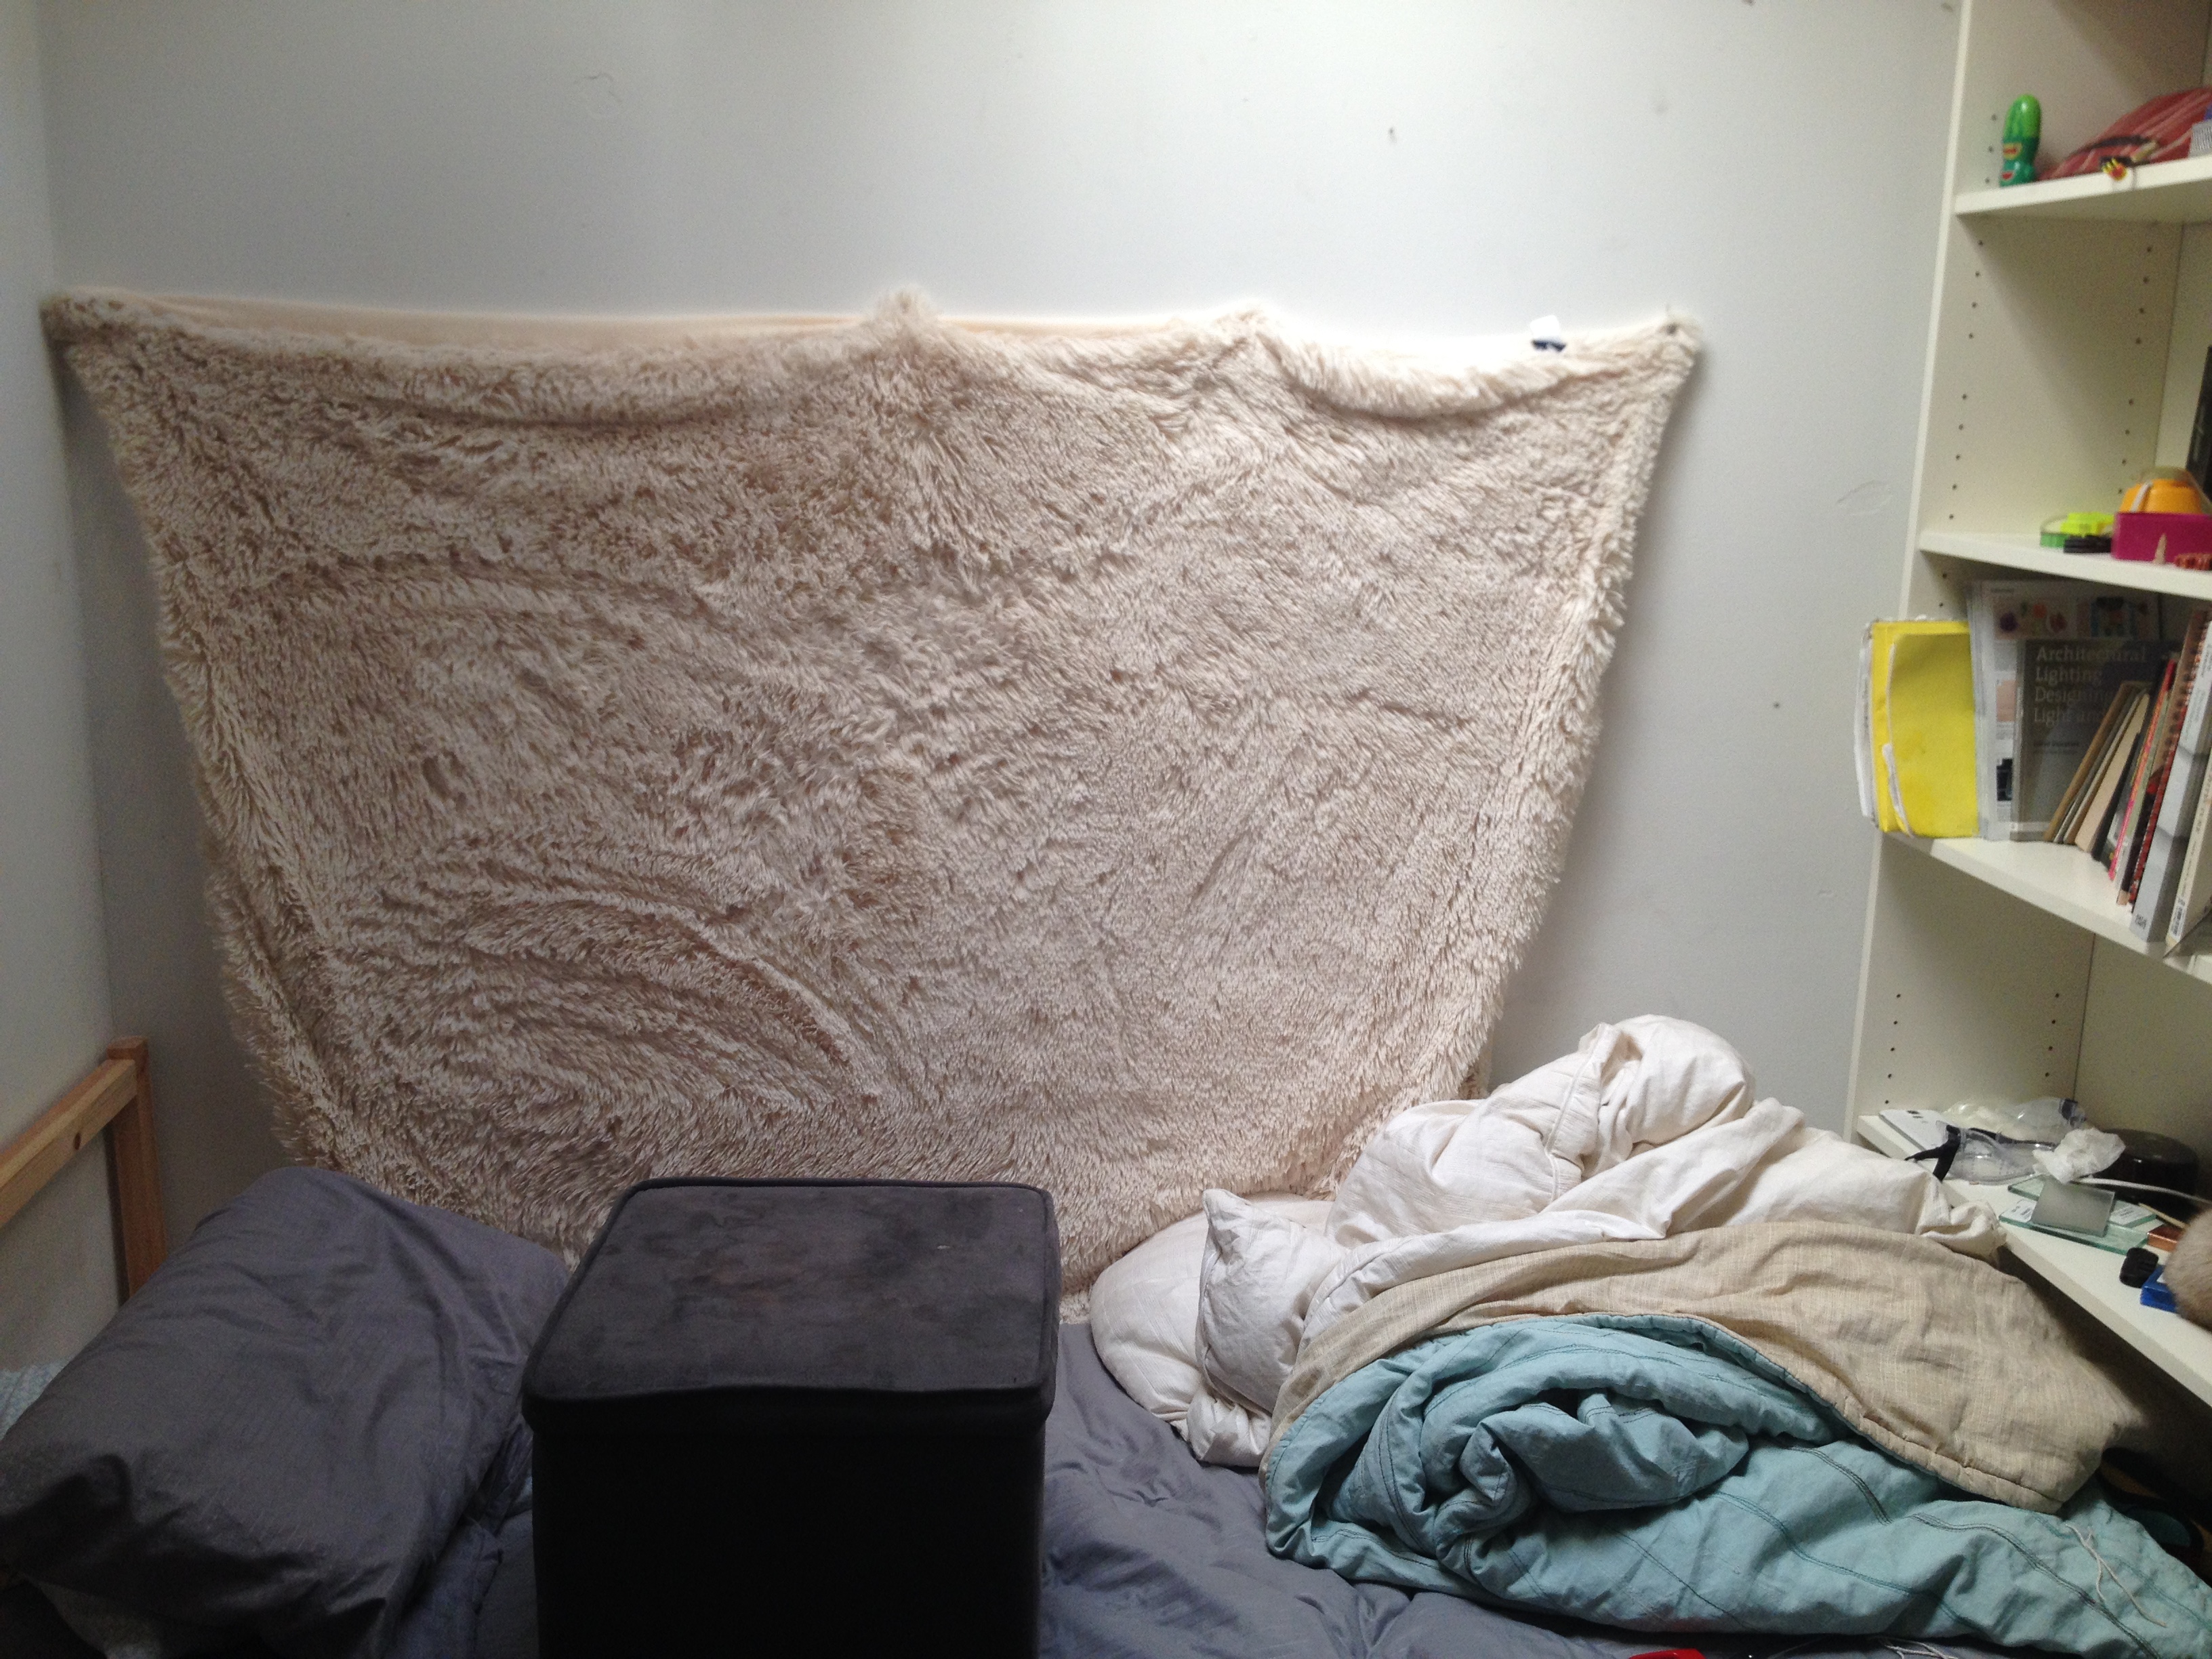
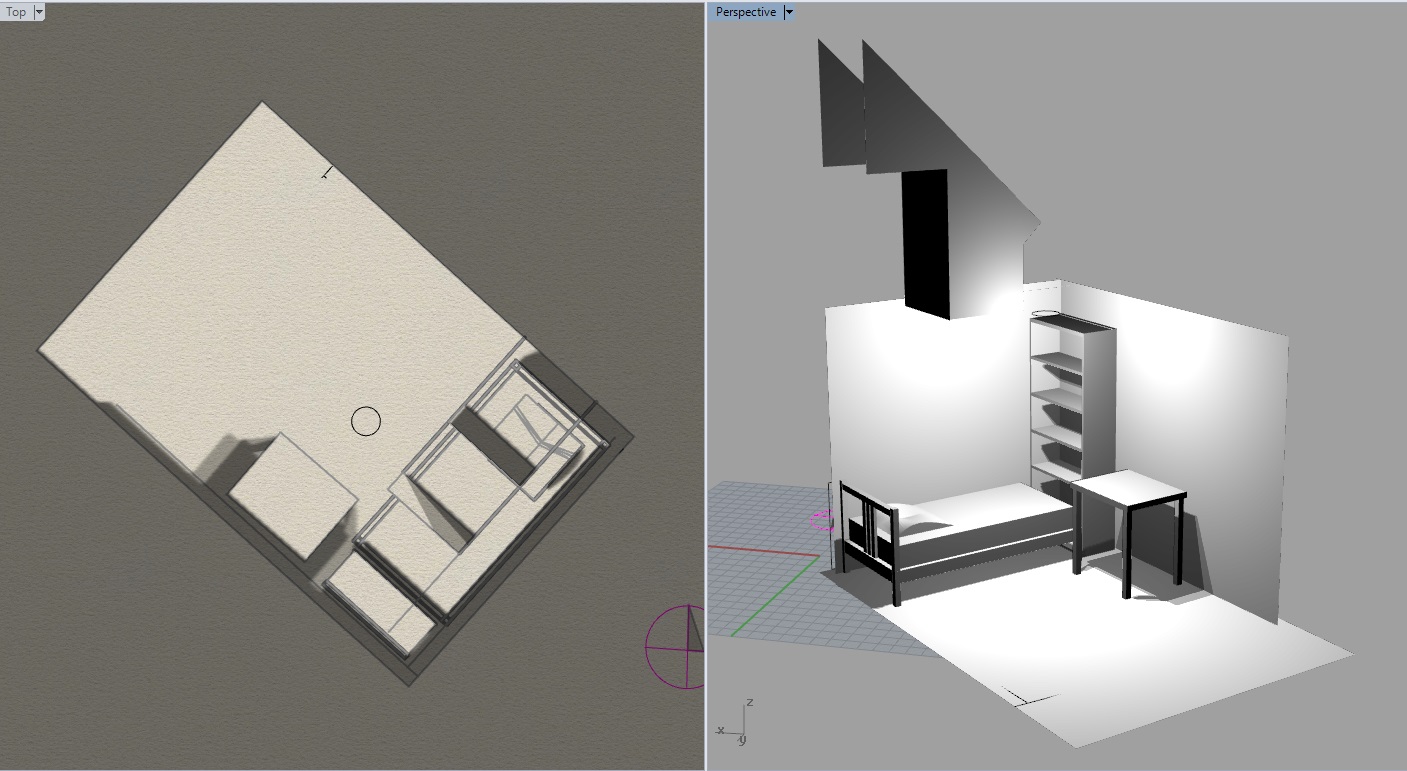
You can see the brightness scale already on the wall: Much more brighter on the right side towards the bookshelf and less bright by my head! Yay! (around 10 am)
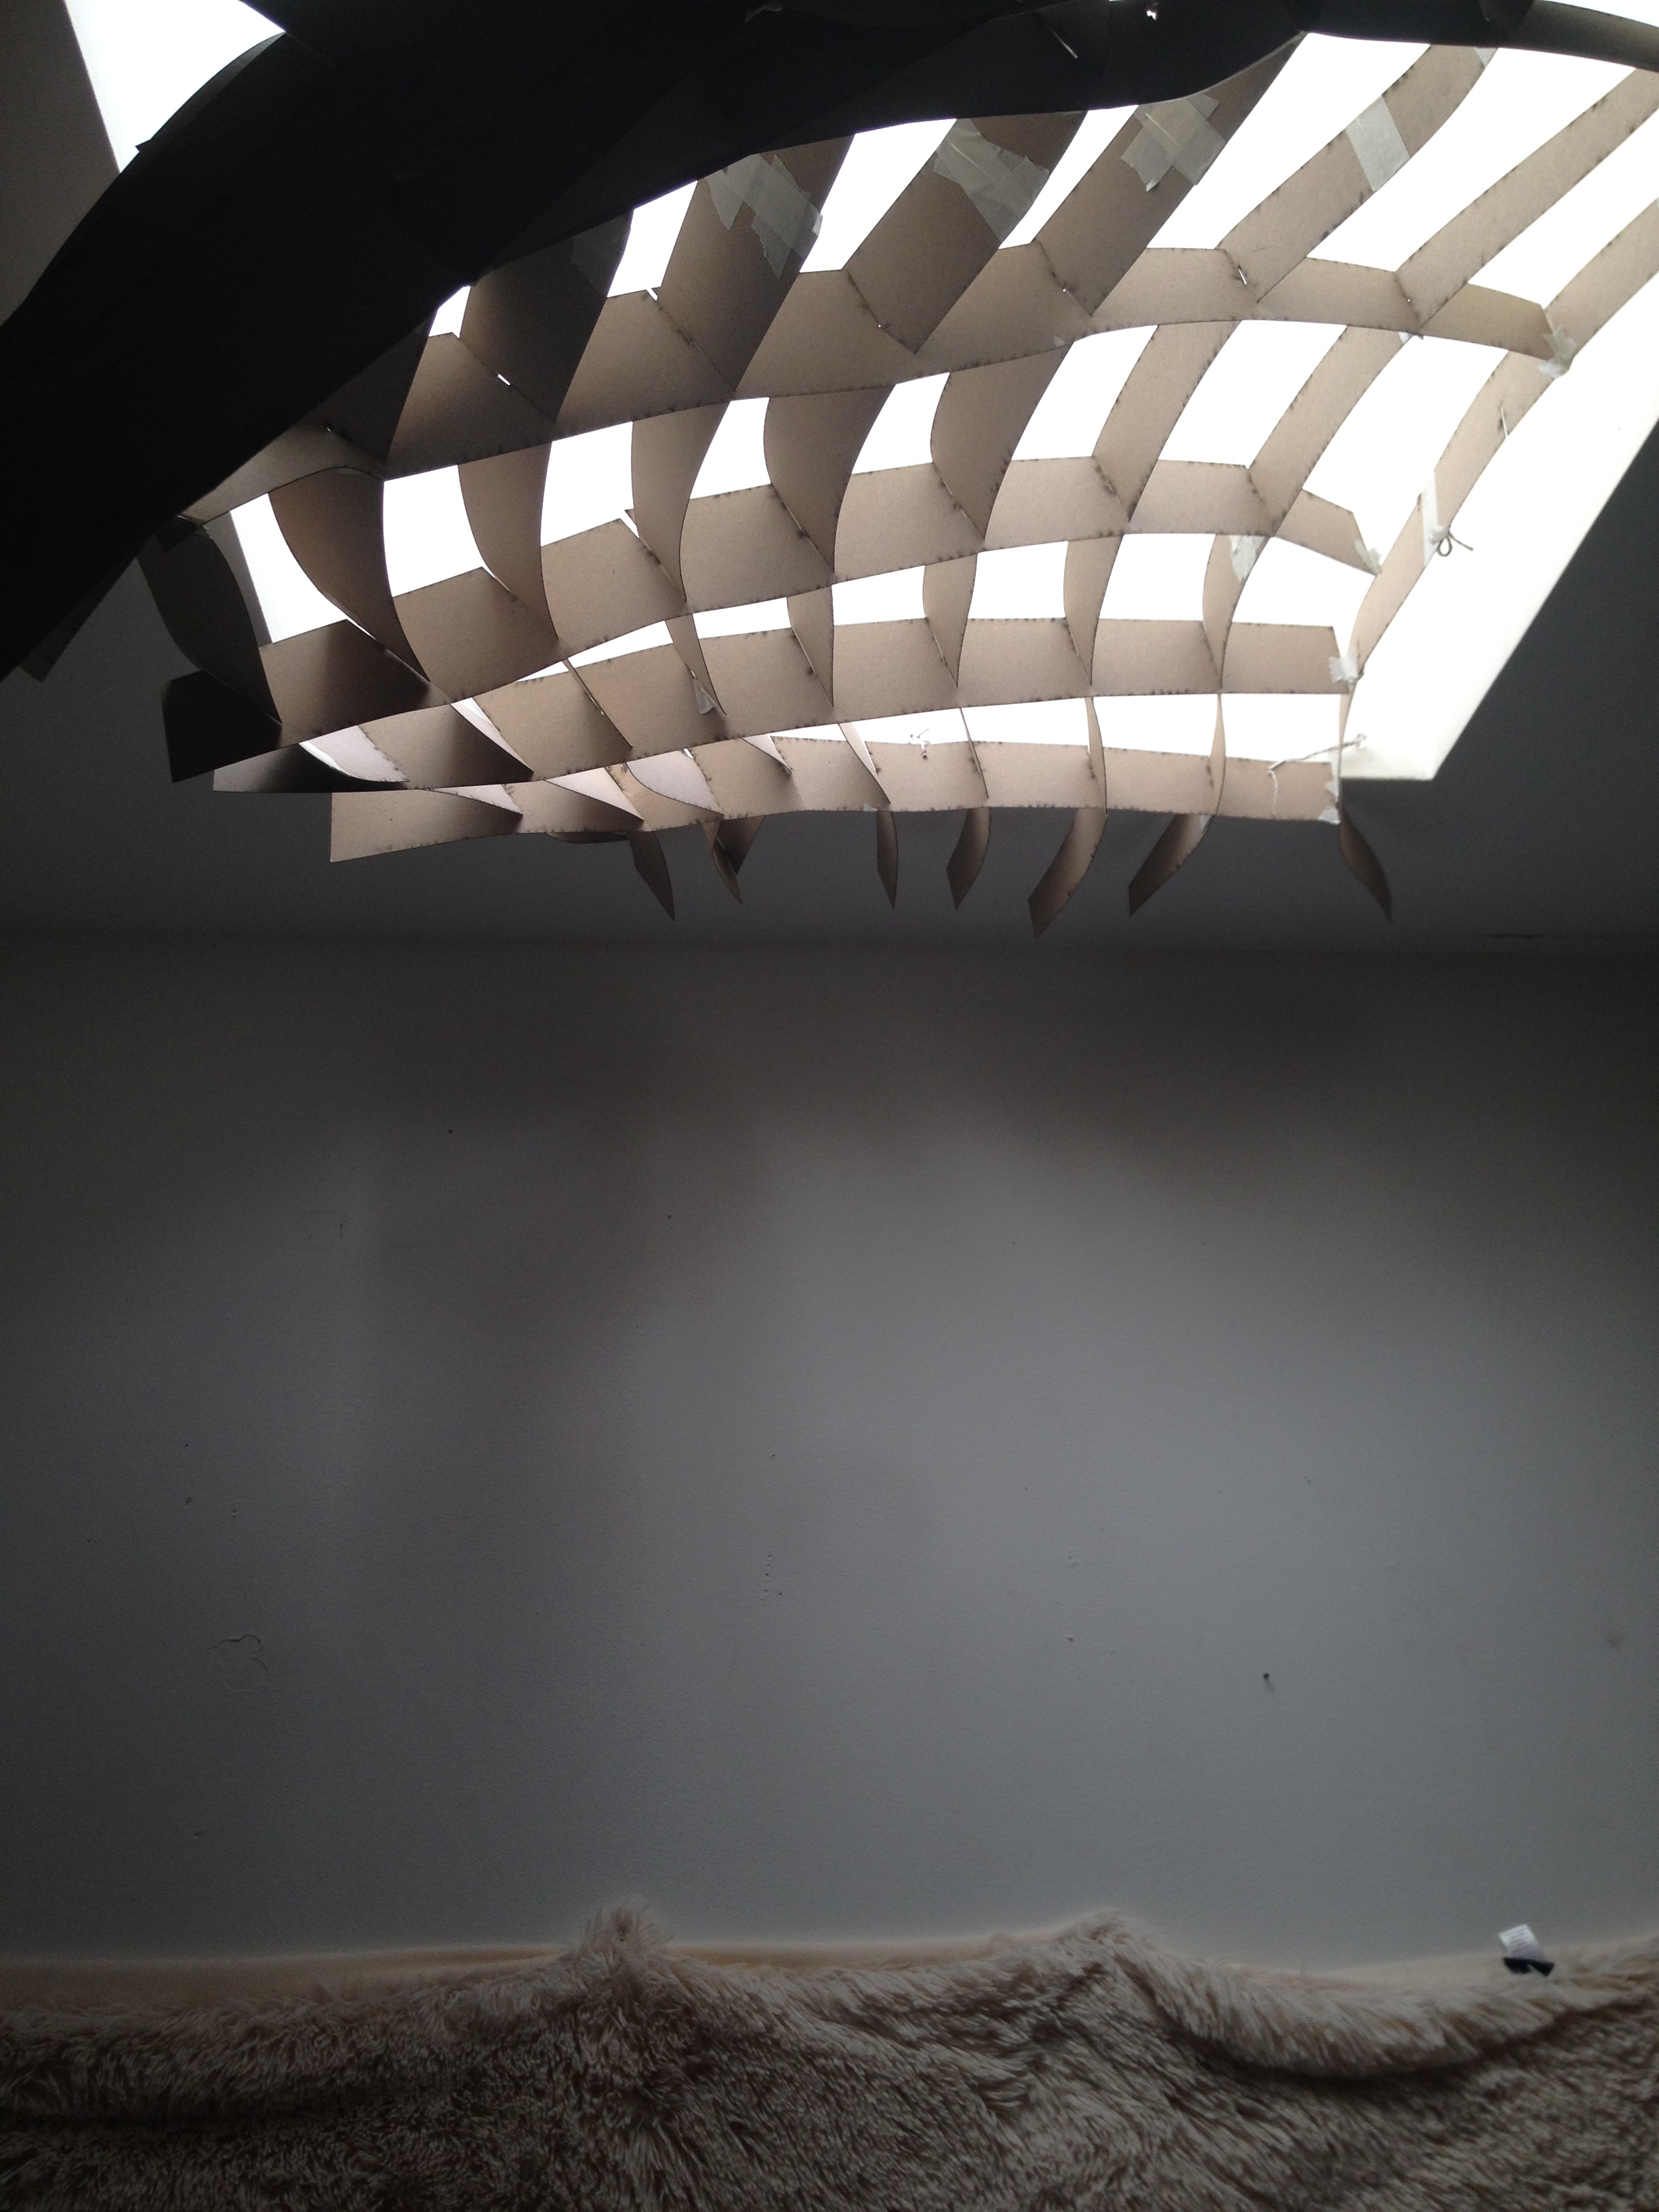
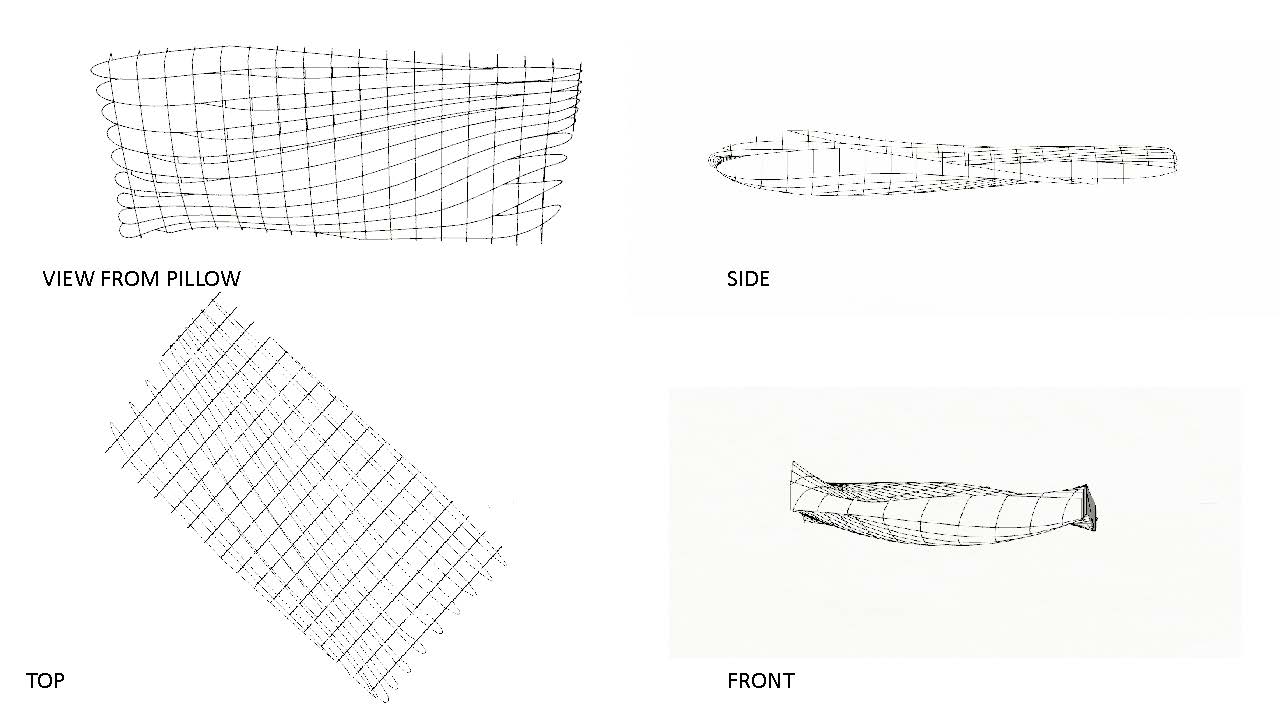
View from pillow
And the electric light
I think moving forward I need more louvers. The shorter vertical ones, and perhaps thickening it, and hang it lower. It’s way too close to the ceiling now.
That’s all folks!
V
Lady Bug is flying!
Hello Guys!
Over the Thanksgiving, I tried to “redo” my project, just to see if I can do it and to retain what I’ve learned so far in Parametrics. Testing myself, I suppose. What ended up happening was a disaster. haha! I think it may be my BREP reference that is messed up, but nothing seems to be working, except….LADY BUG! Woohoo!
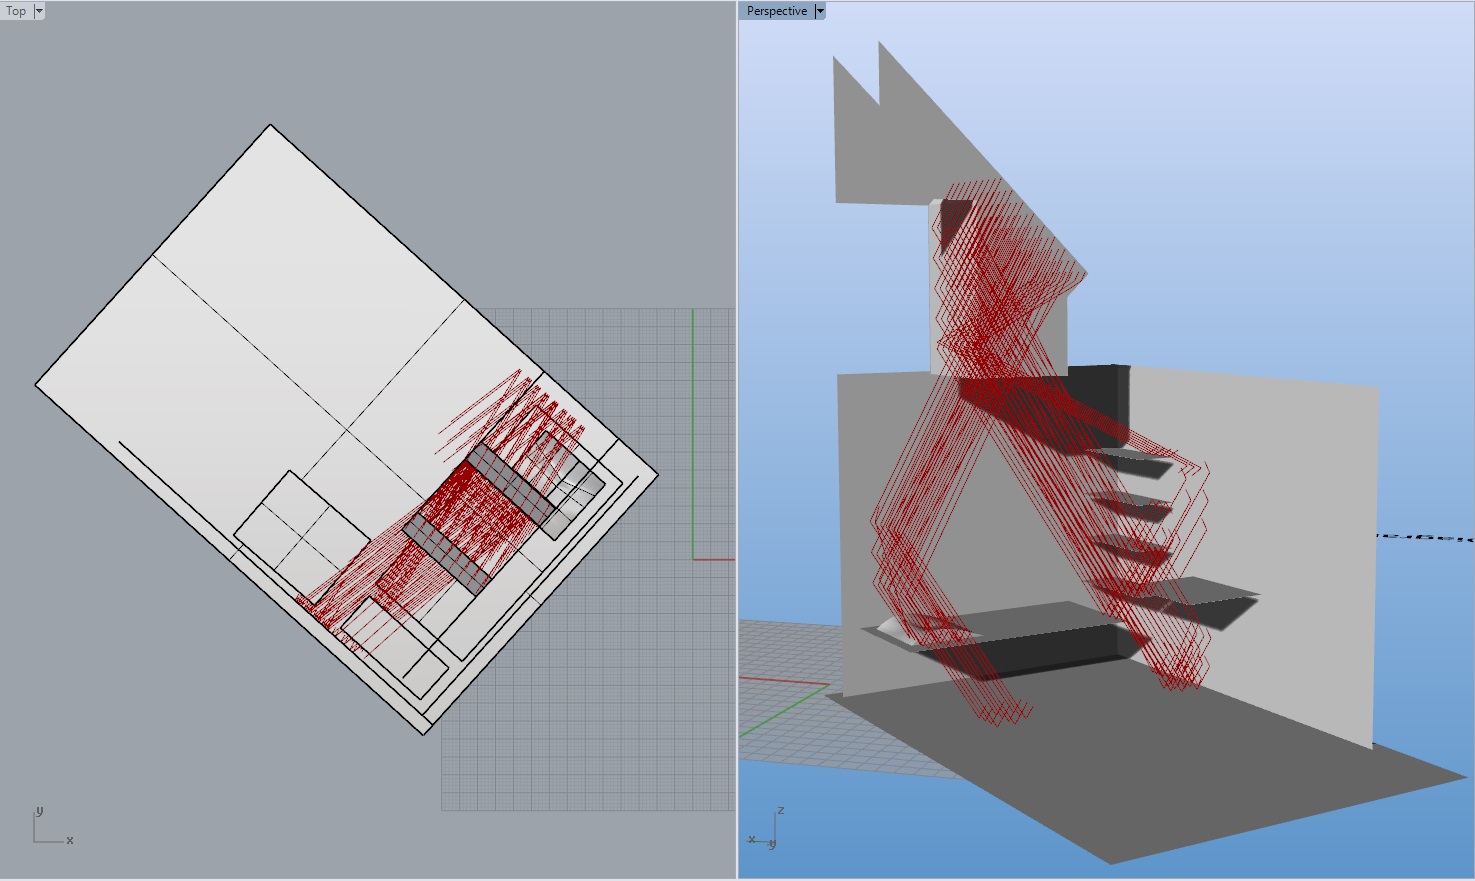
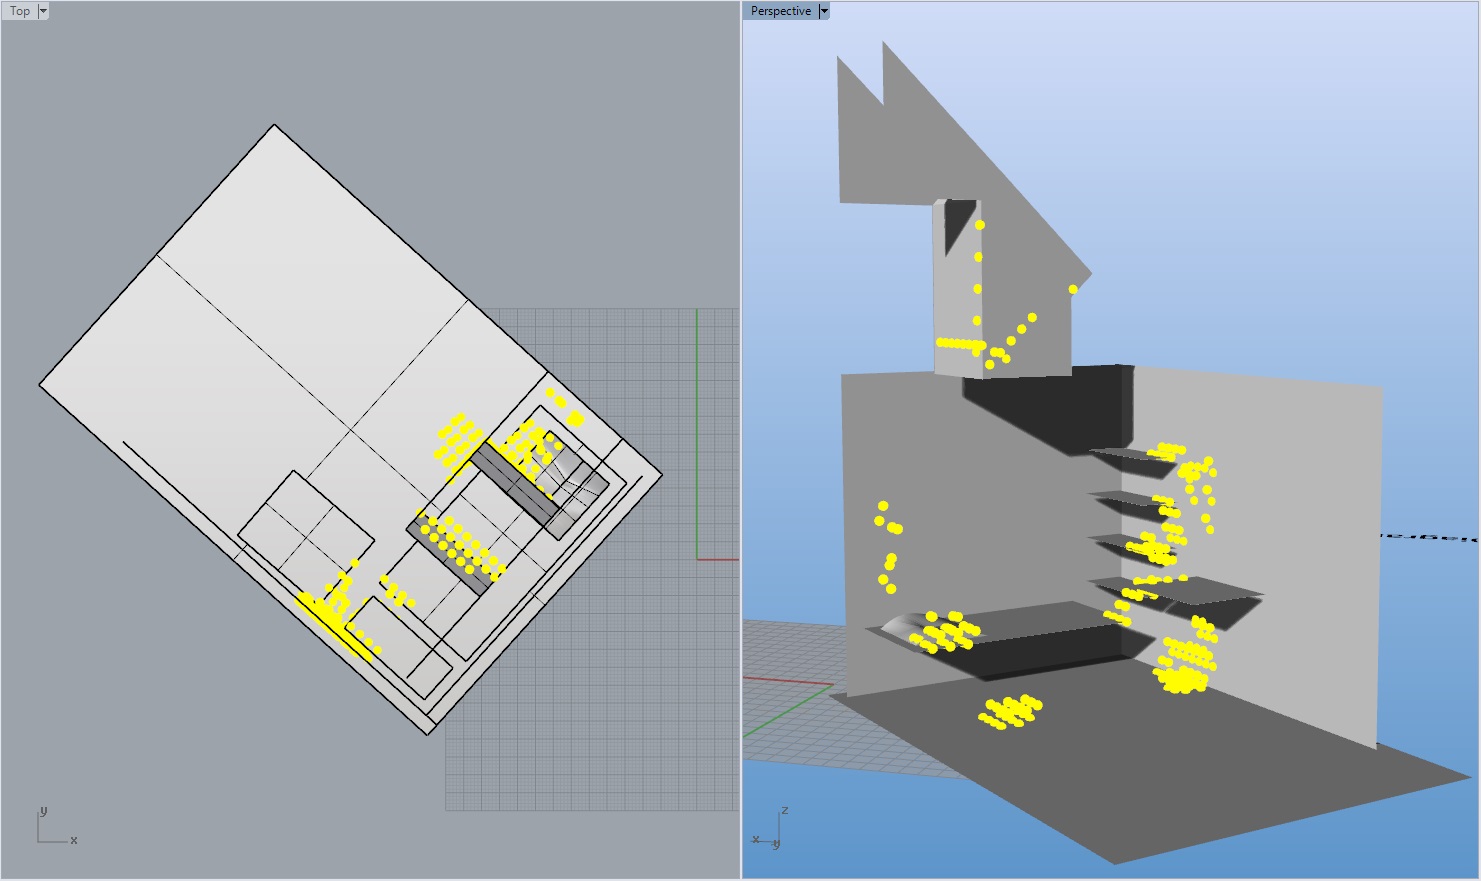
So I am pretty excited about getting that to work. Small victories shall win the war! (it’s serious like that) So I’ve got June 21, Decemer 21, April 21, and October 21 for my four months of study for my Sky light. I had 2 bounces at first, but none would then bounce out of the skylight, so then i influenced it to 3 or 4. What I am wondering now is the best way to represent skylight sunlight entering my space. It’s not really vector, but its also not really points. Thoughts?
VECTORS
YELLOW DOTS
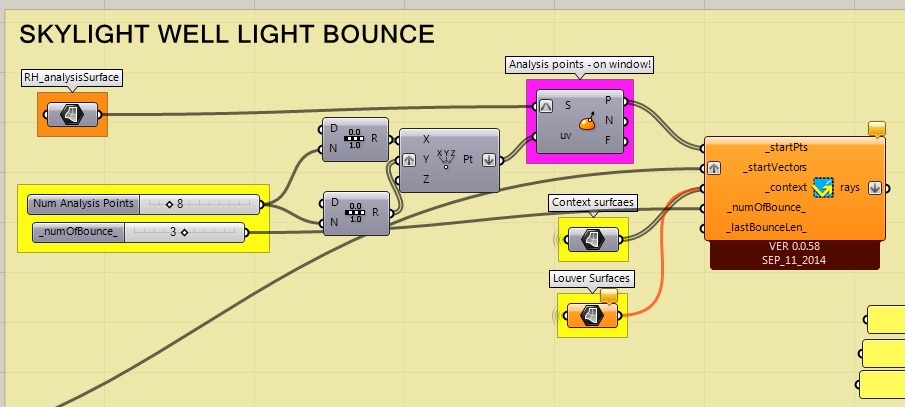
Grasshopper DEF for VECTORS:
Grasshopper DEF for DOTS:

what do you guys think?
Here is the room with my lamp on:
V

You must be logged in to post a comment.