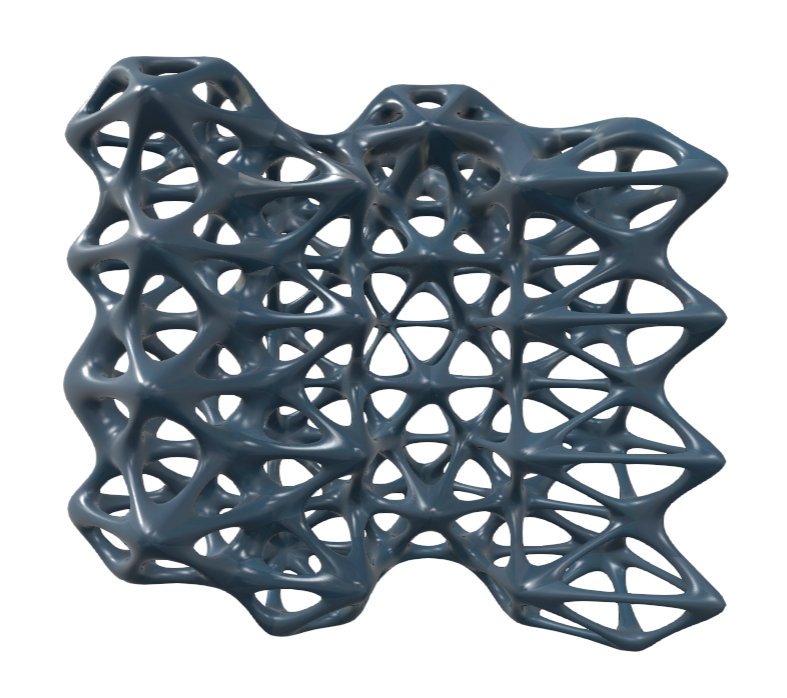
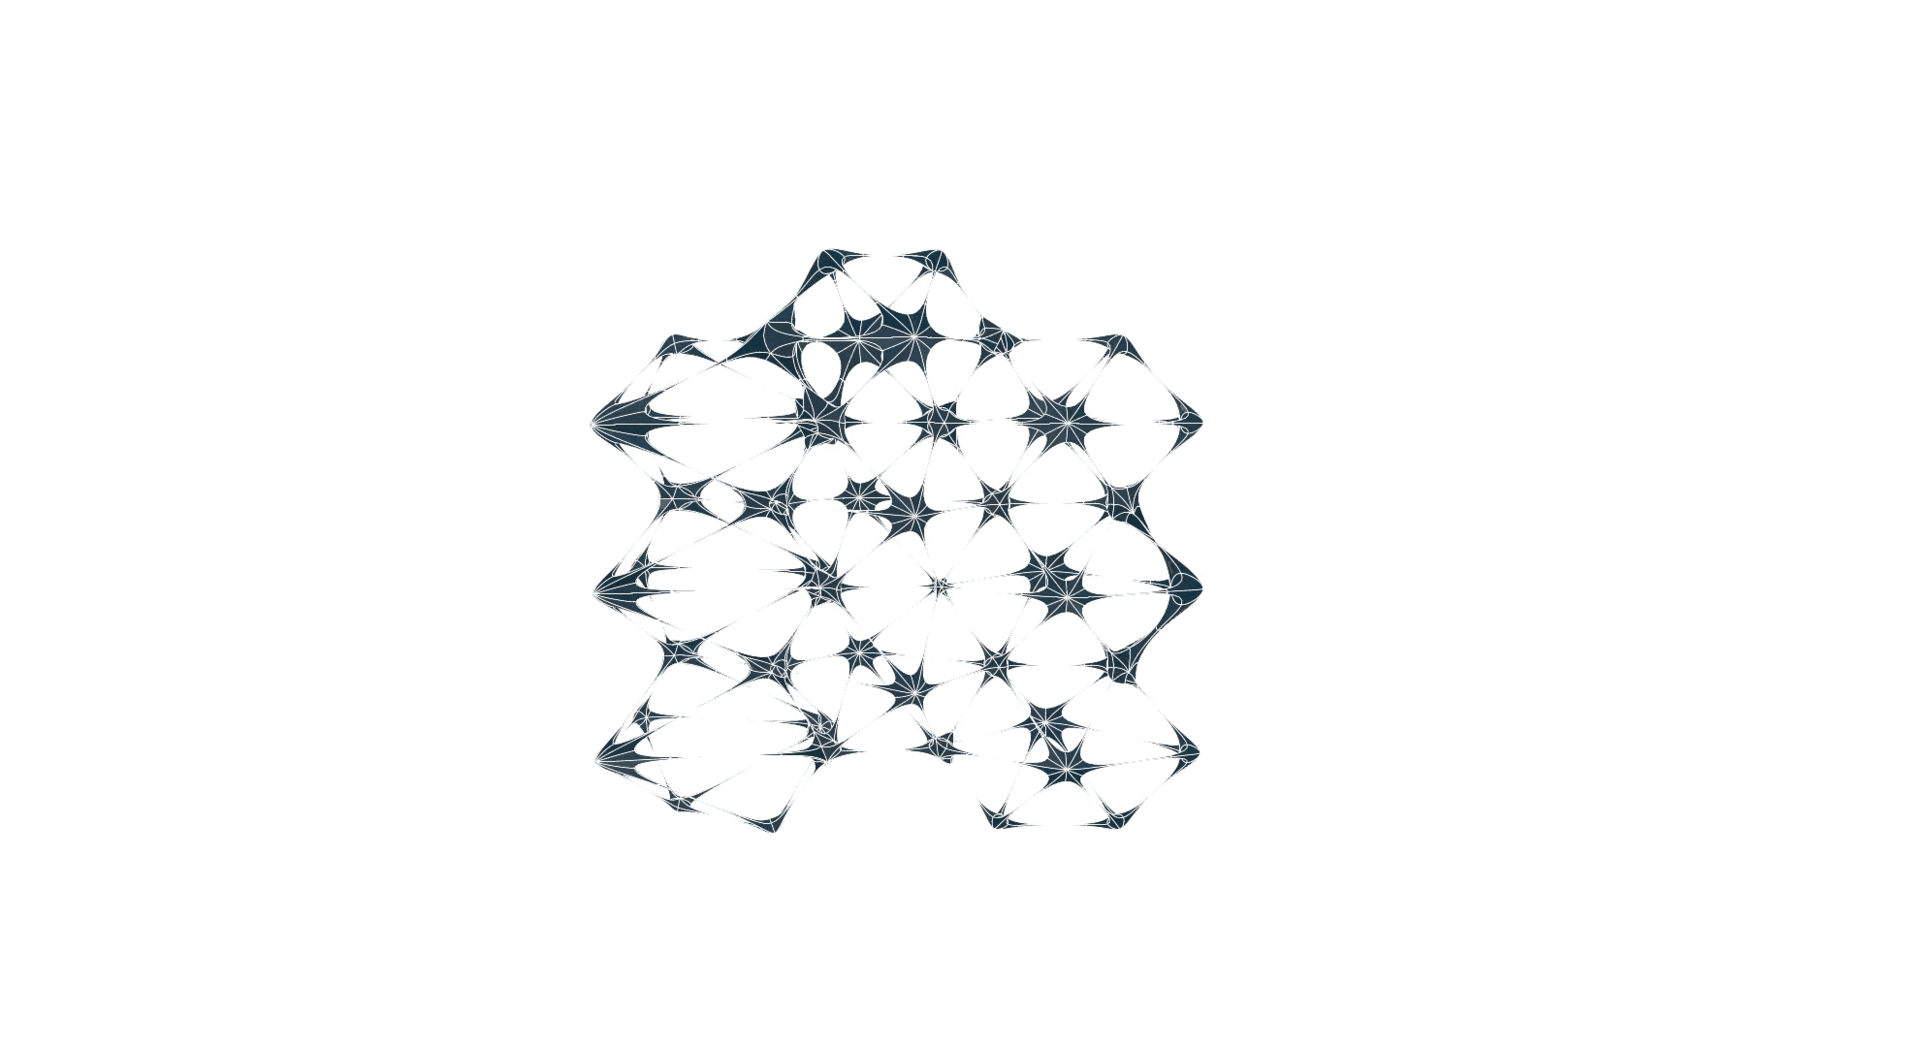
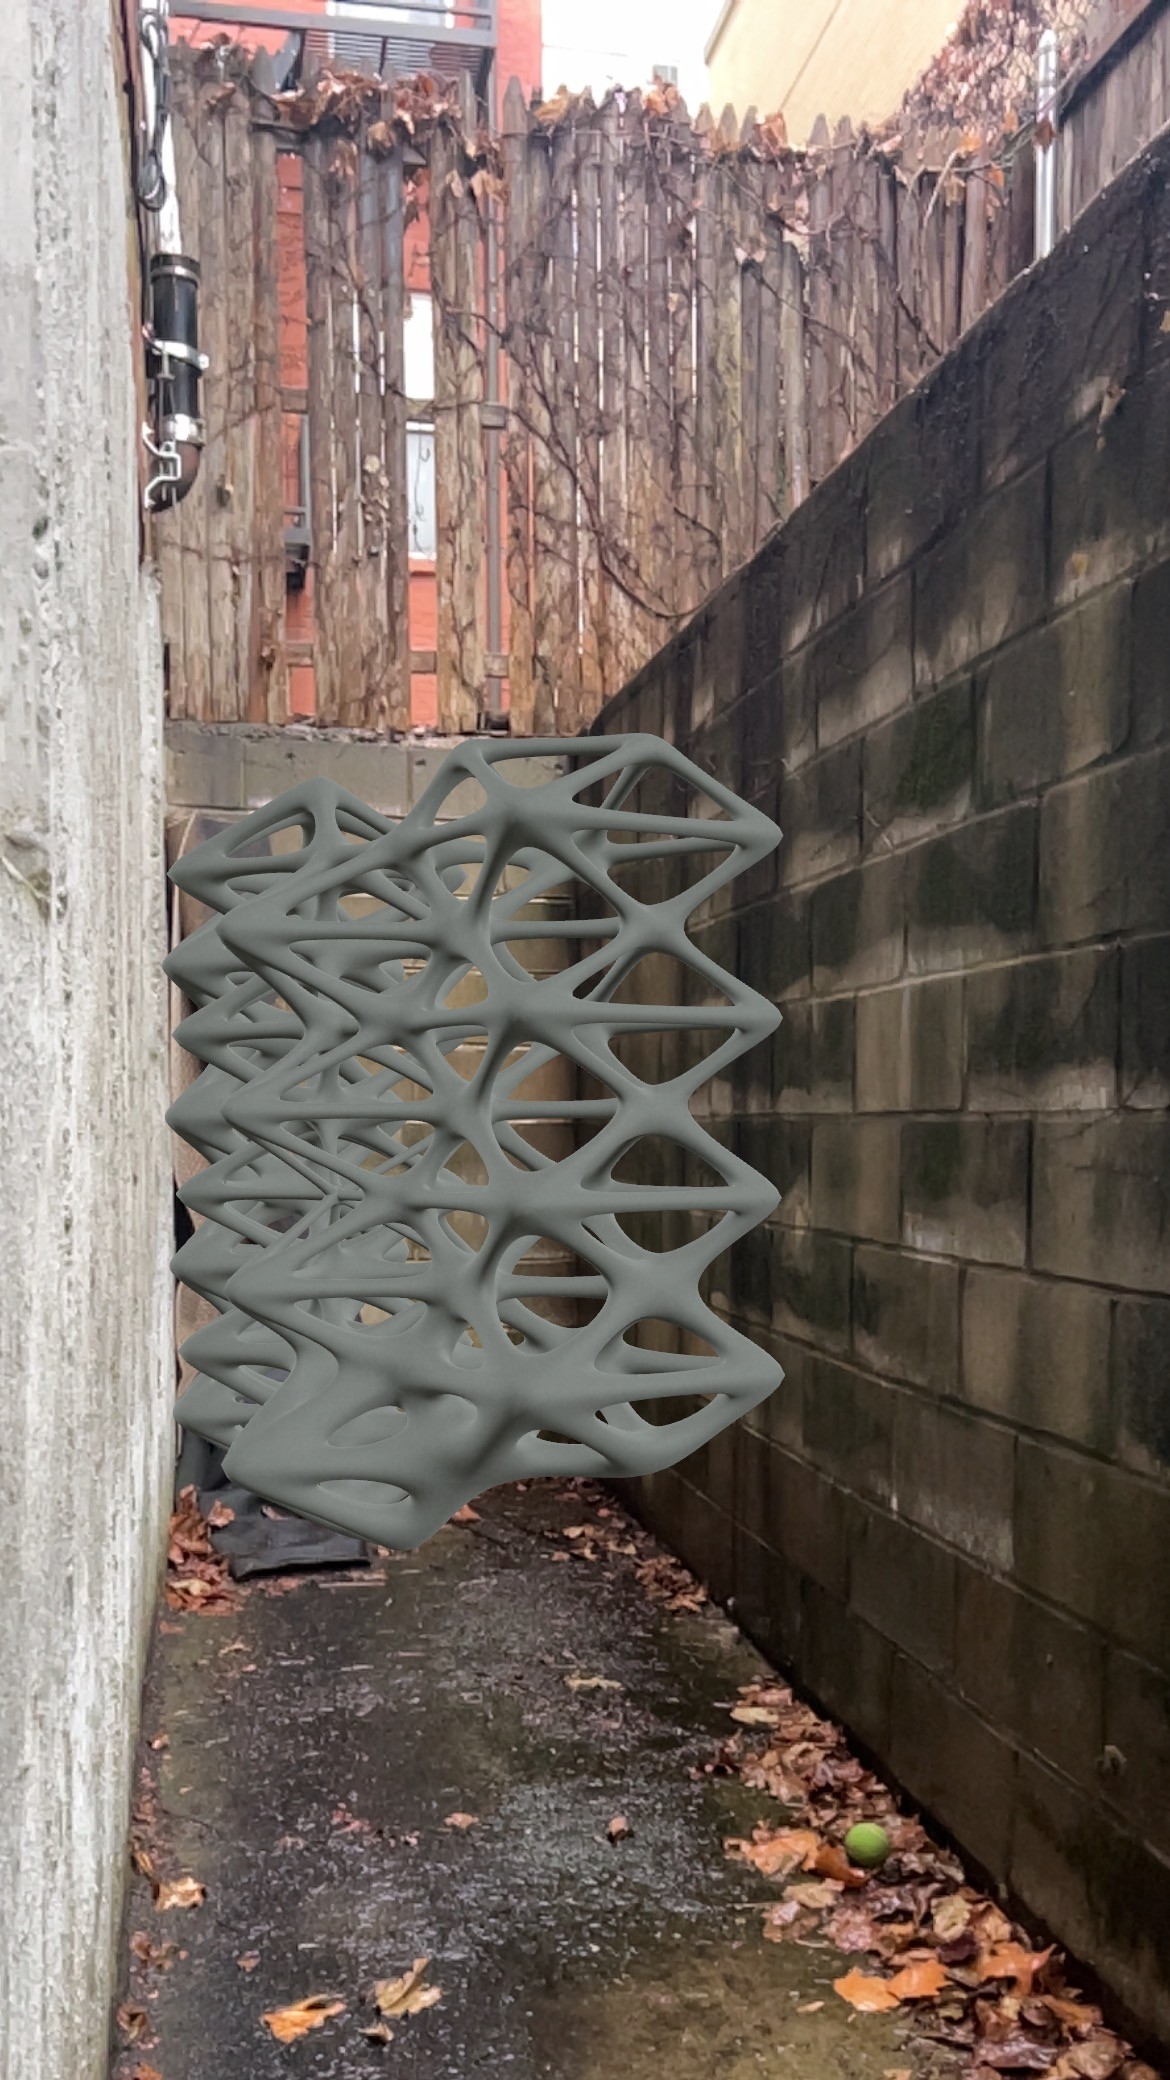
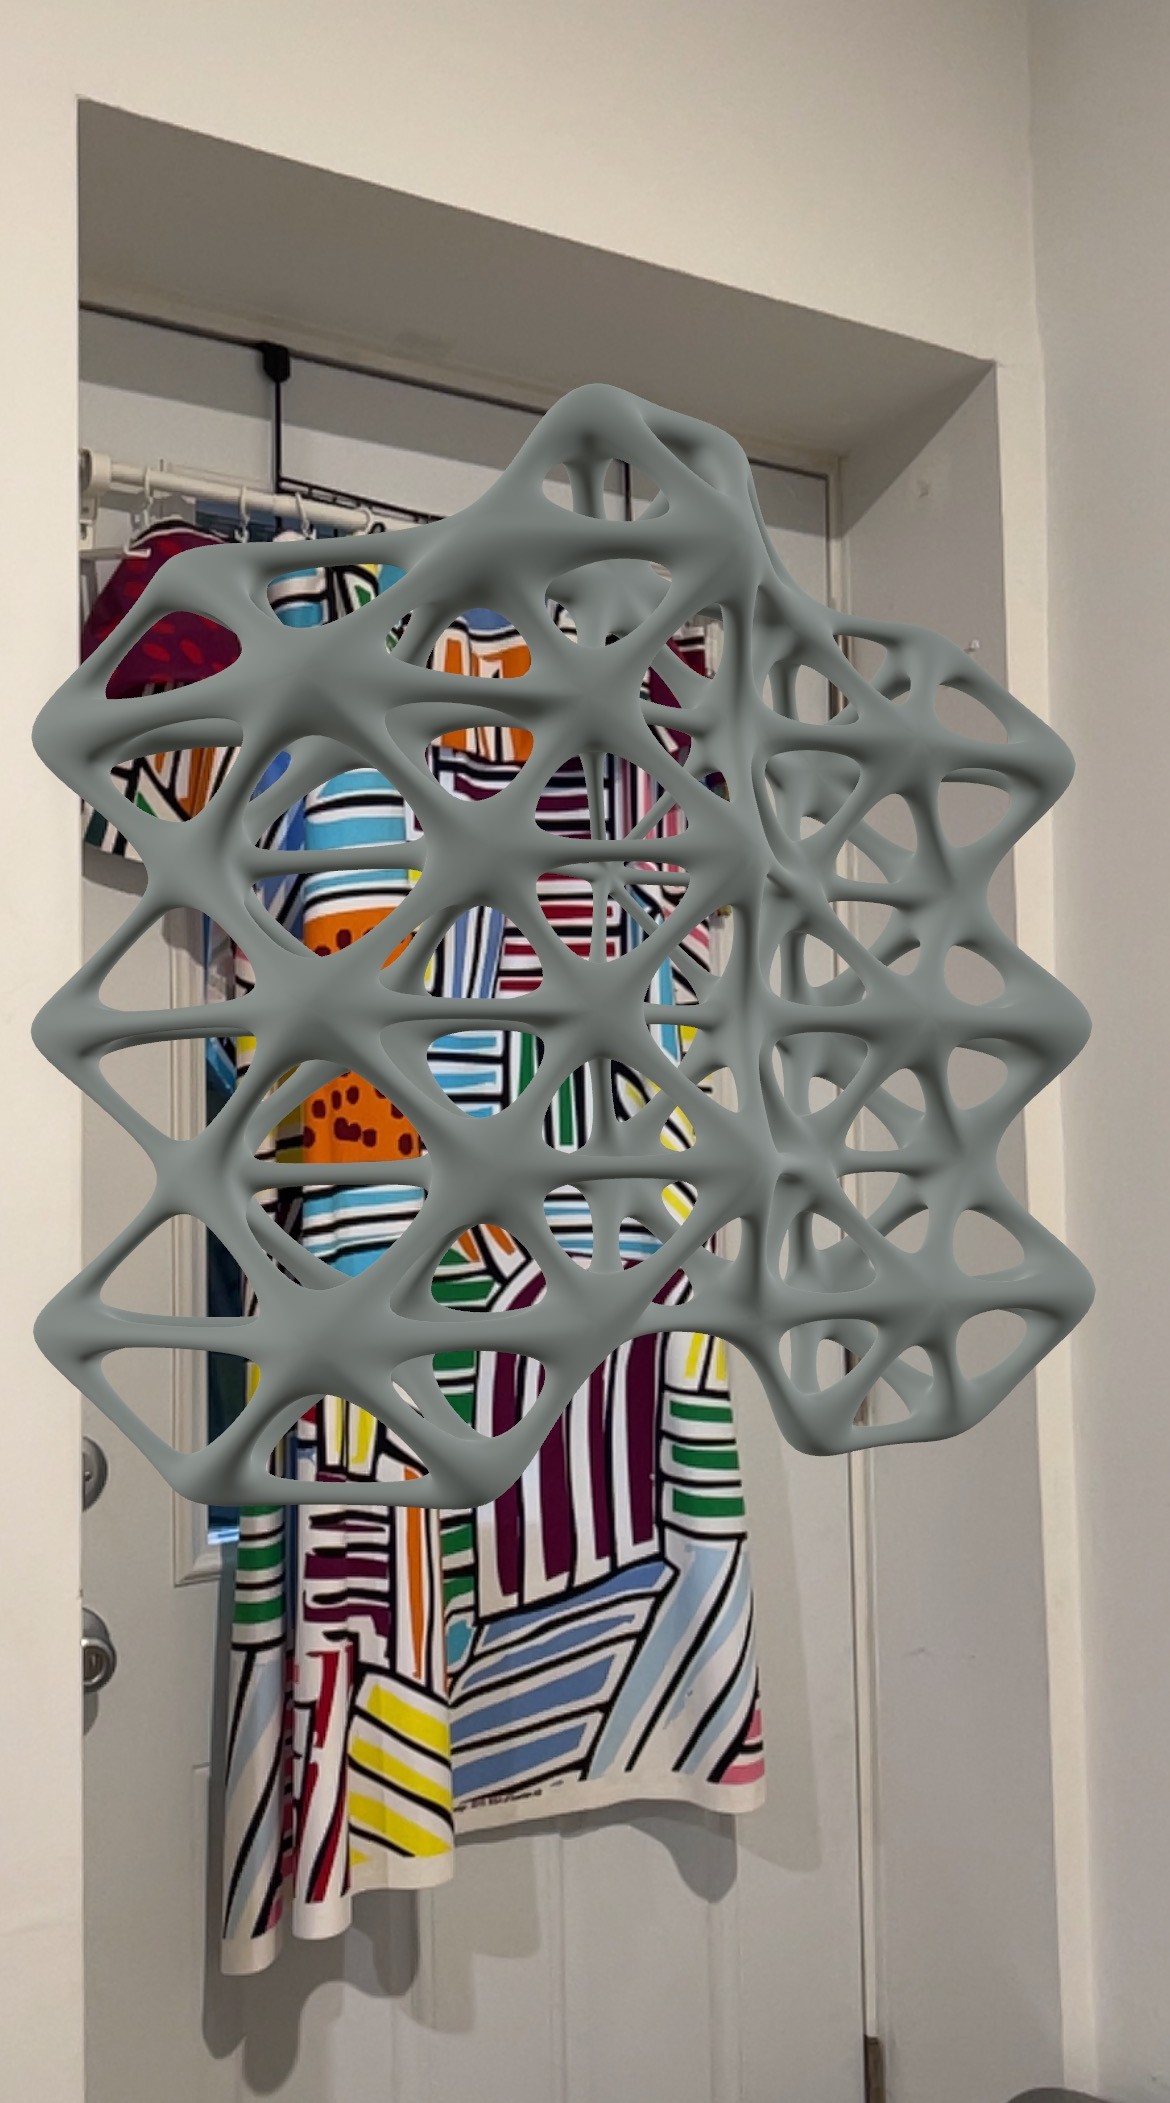
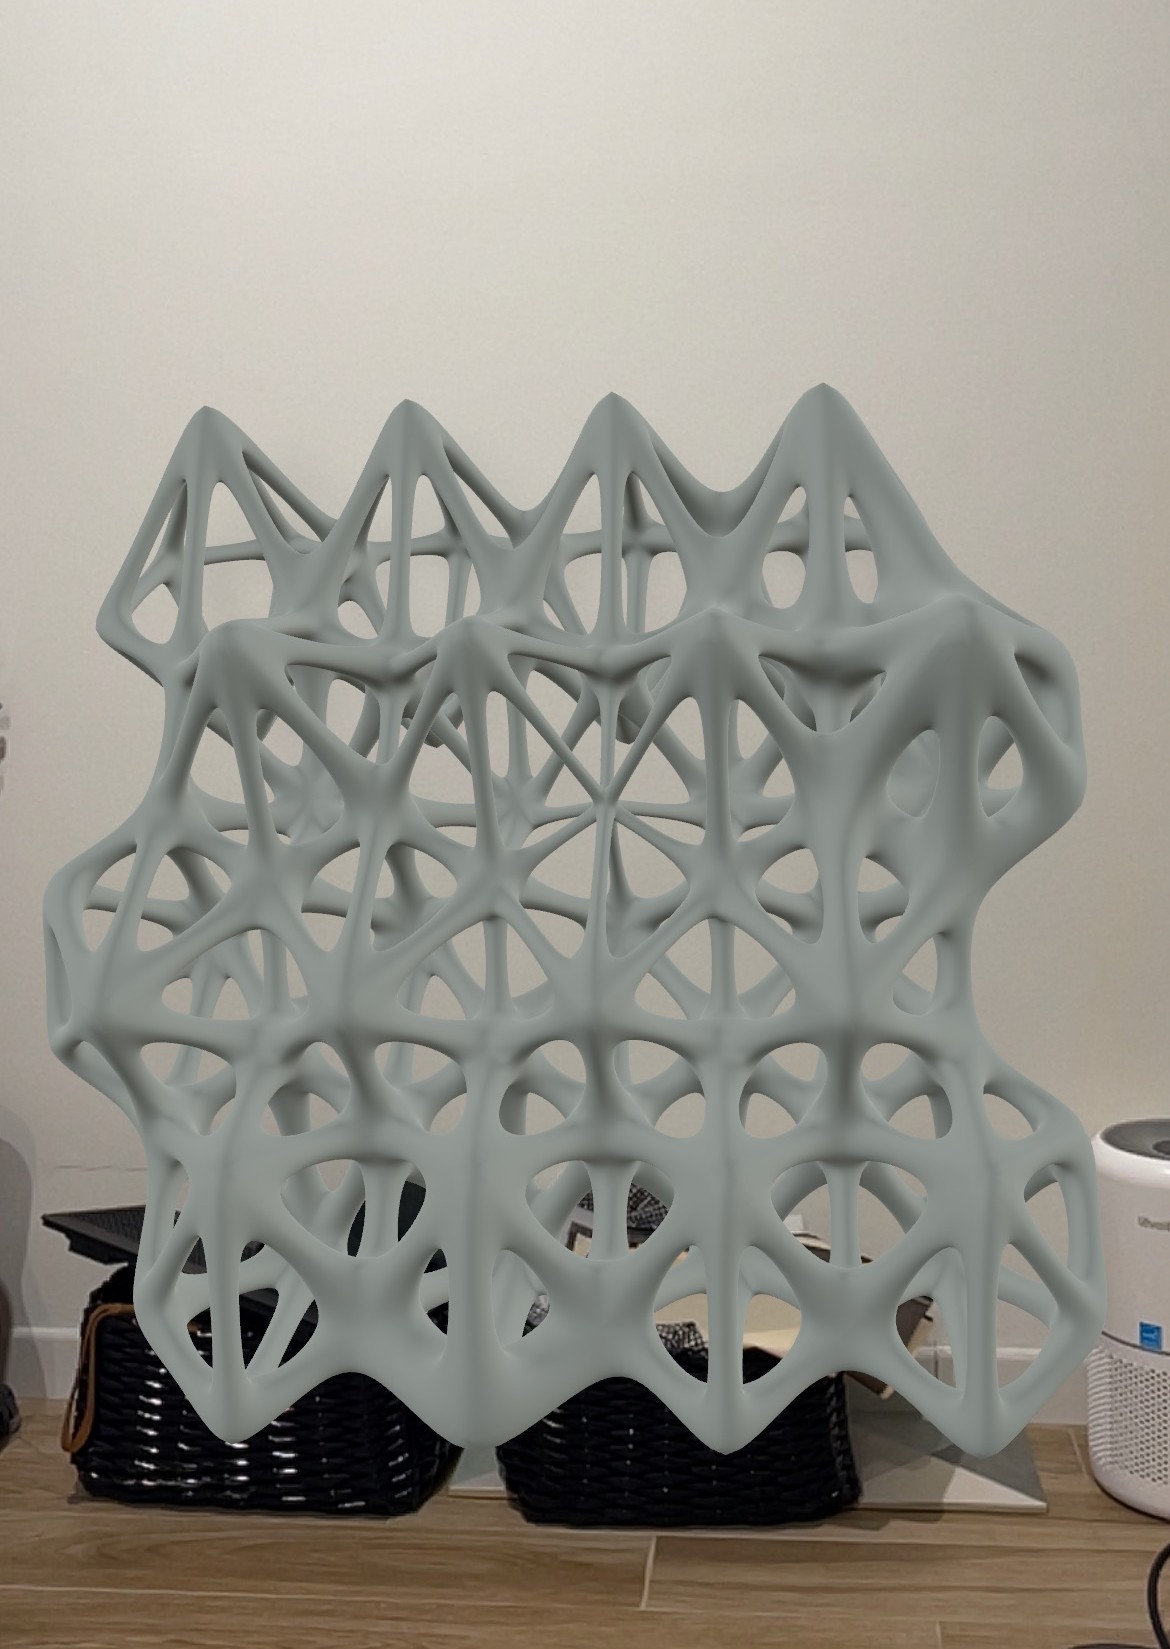
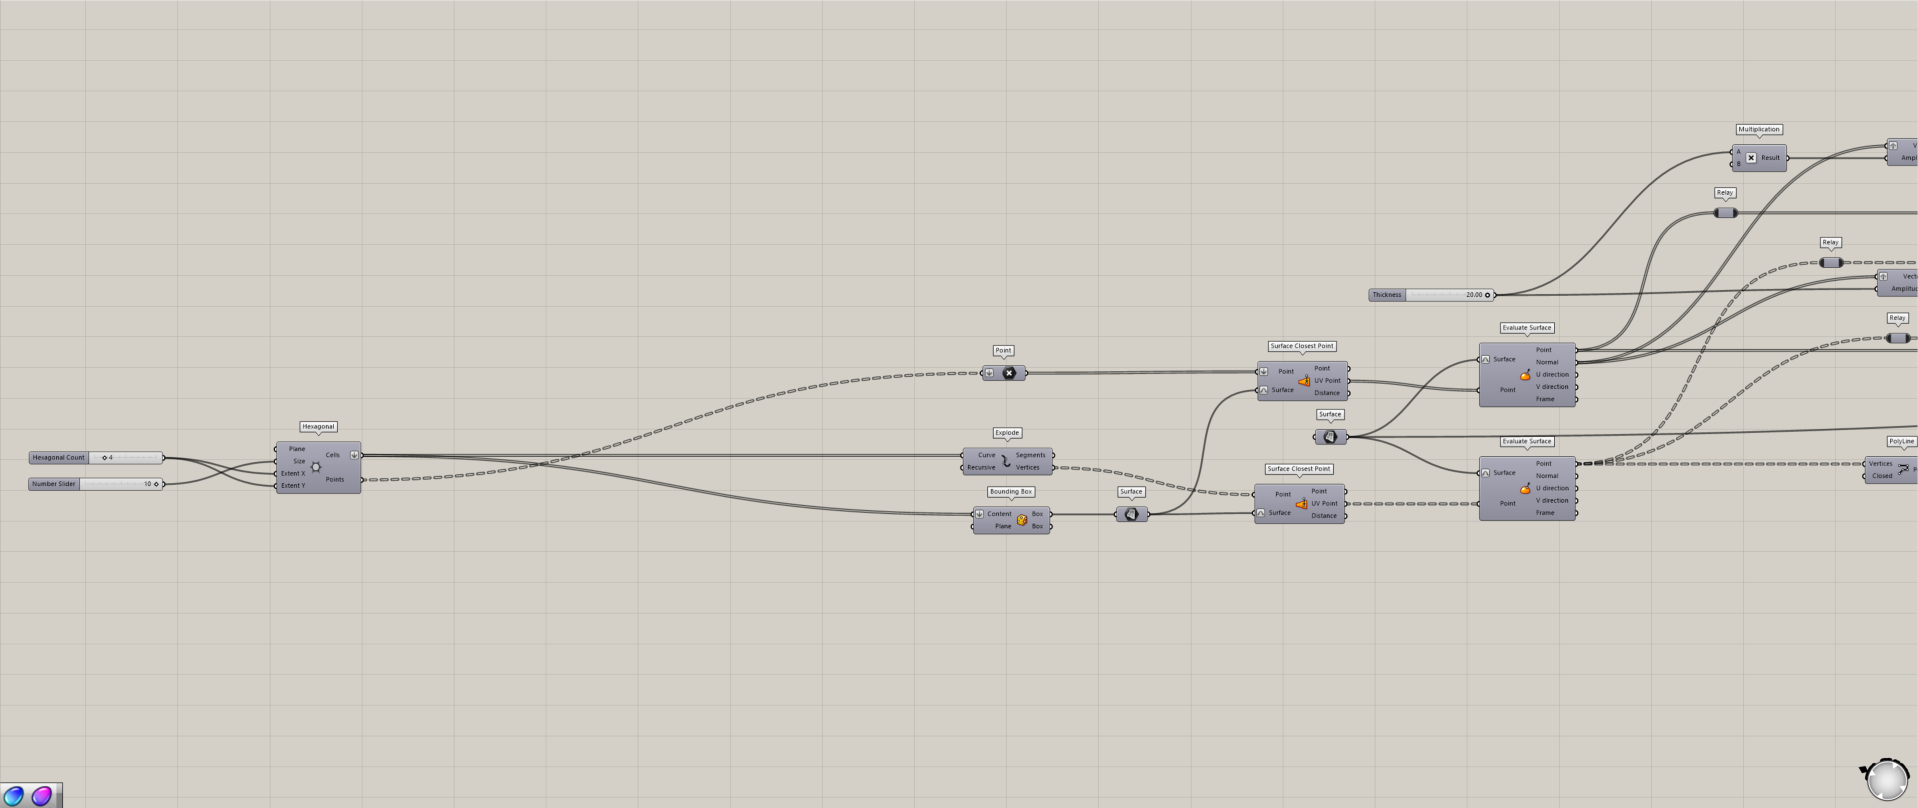
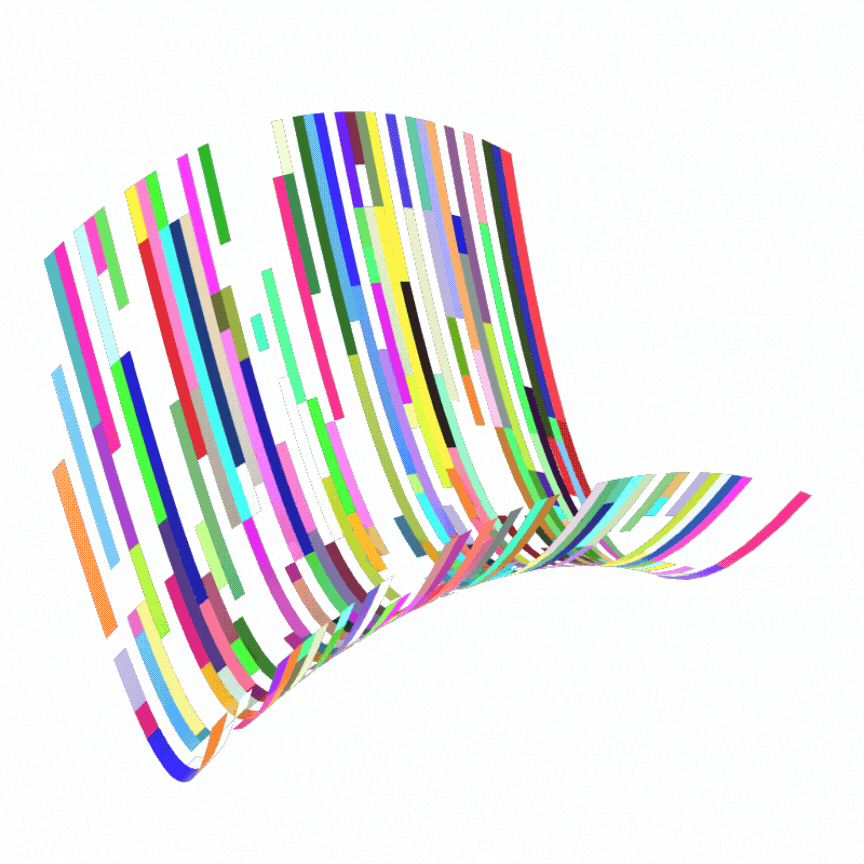
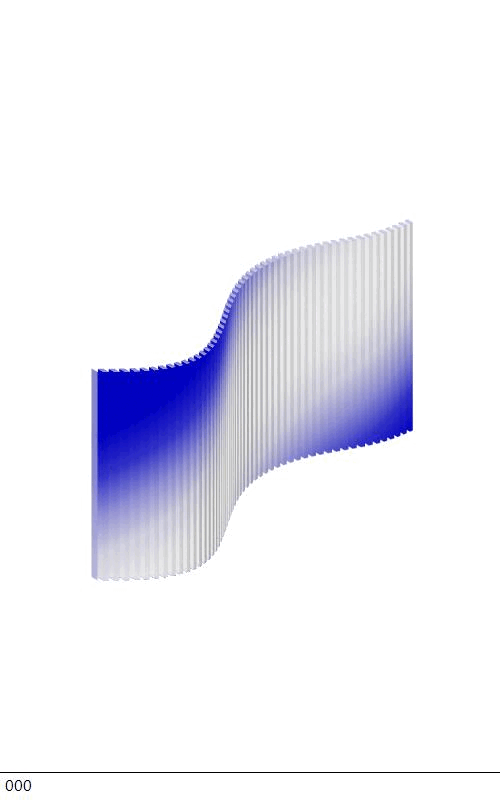
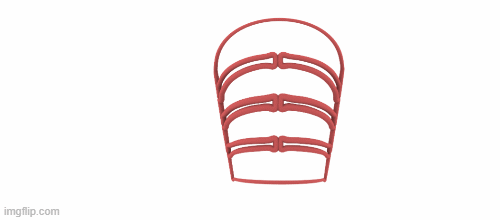
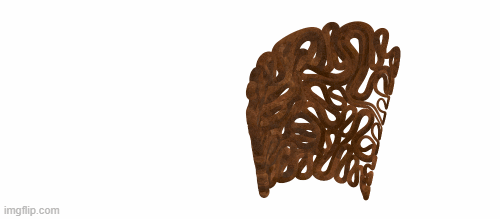
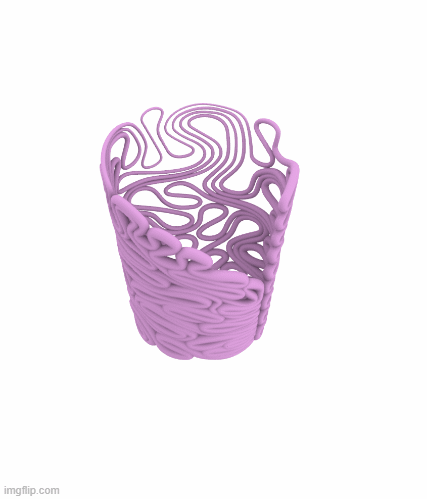
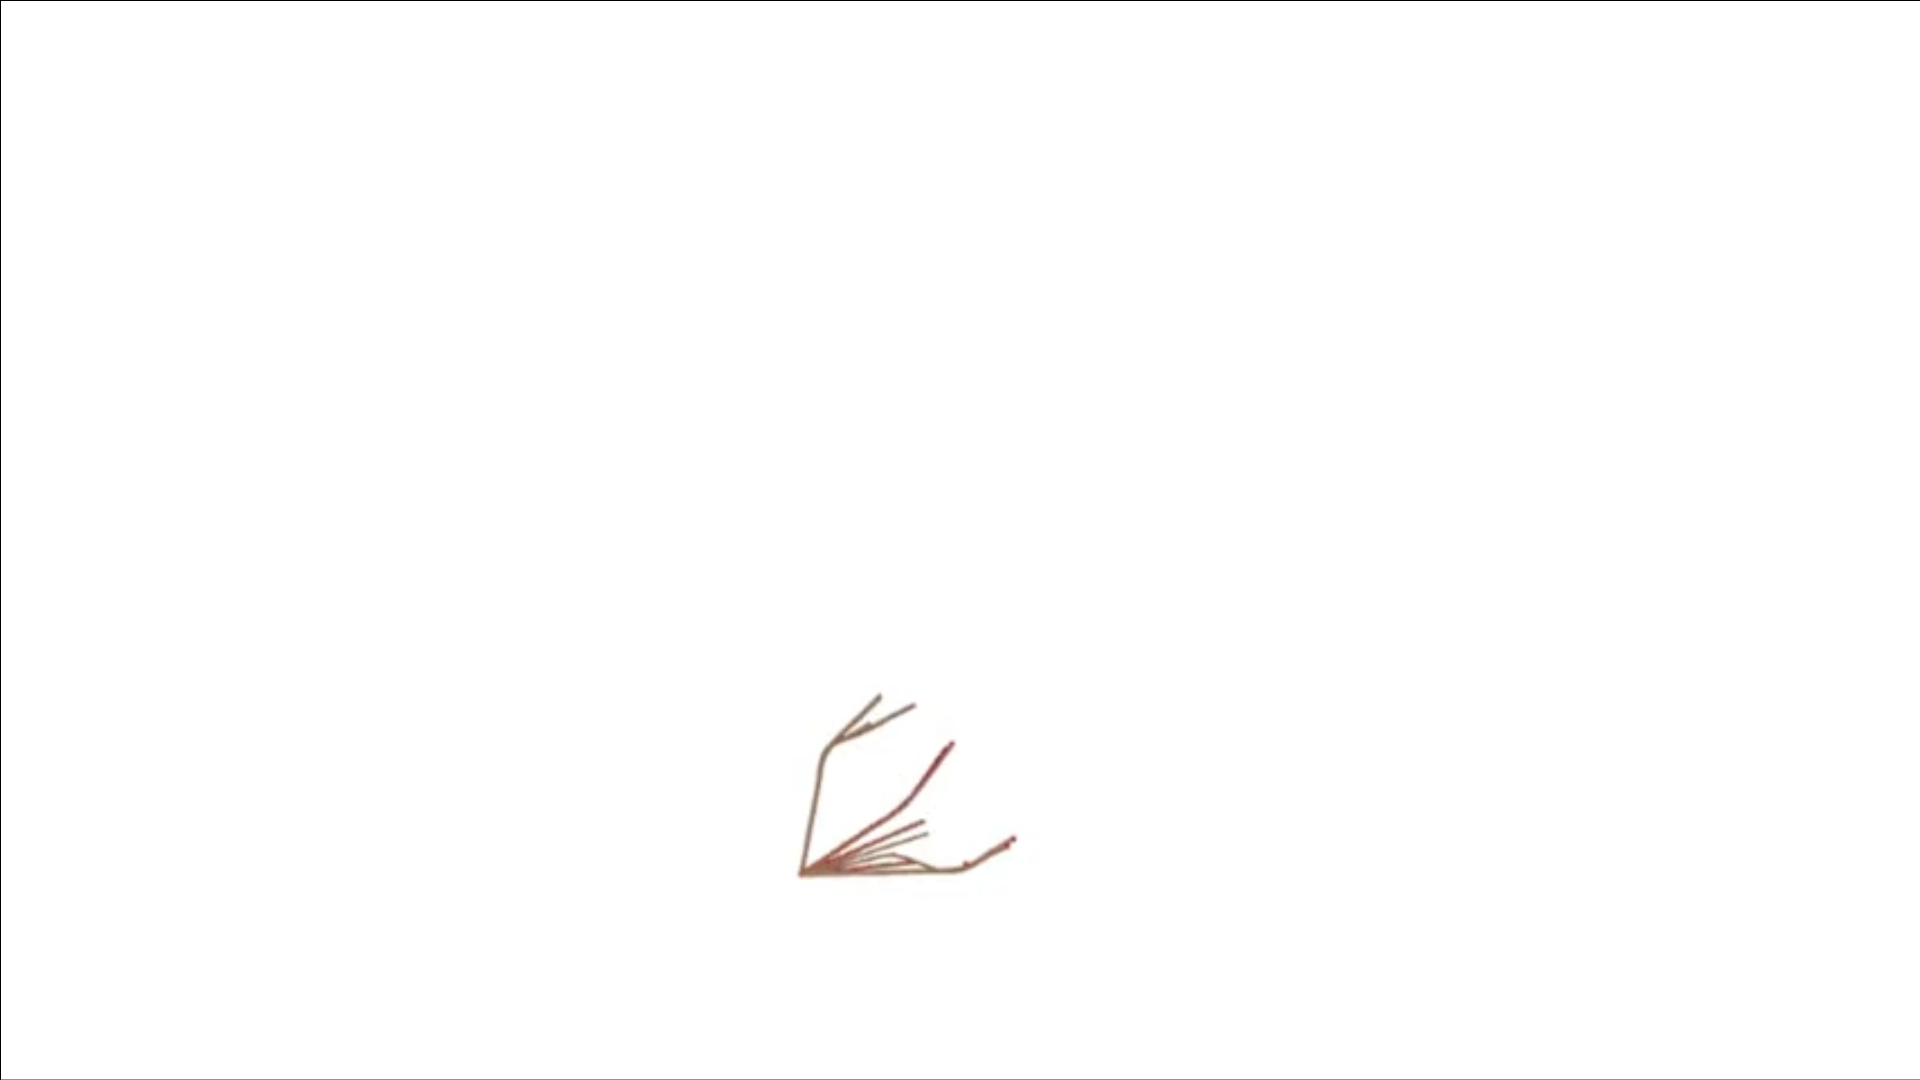
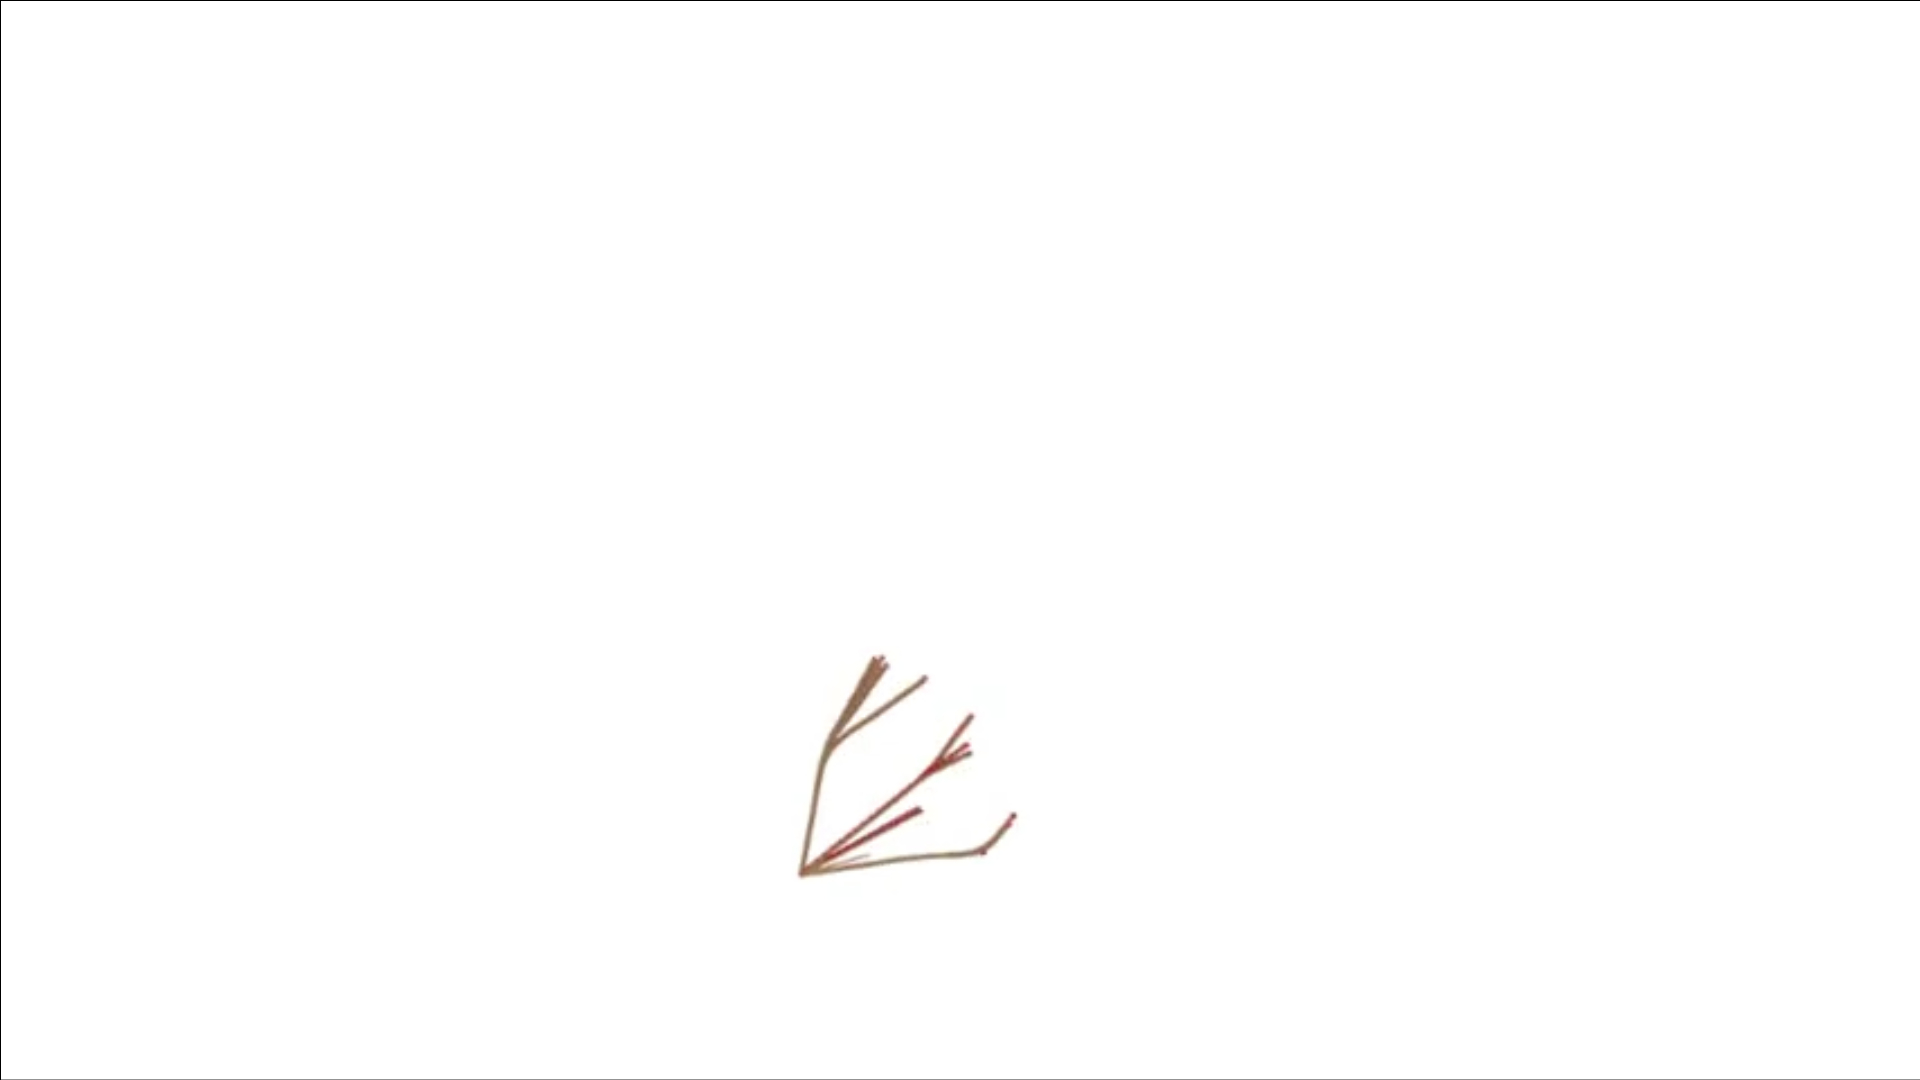
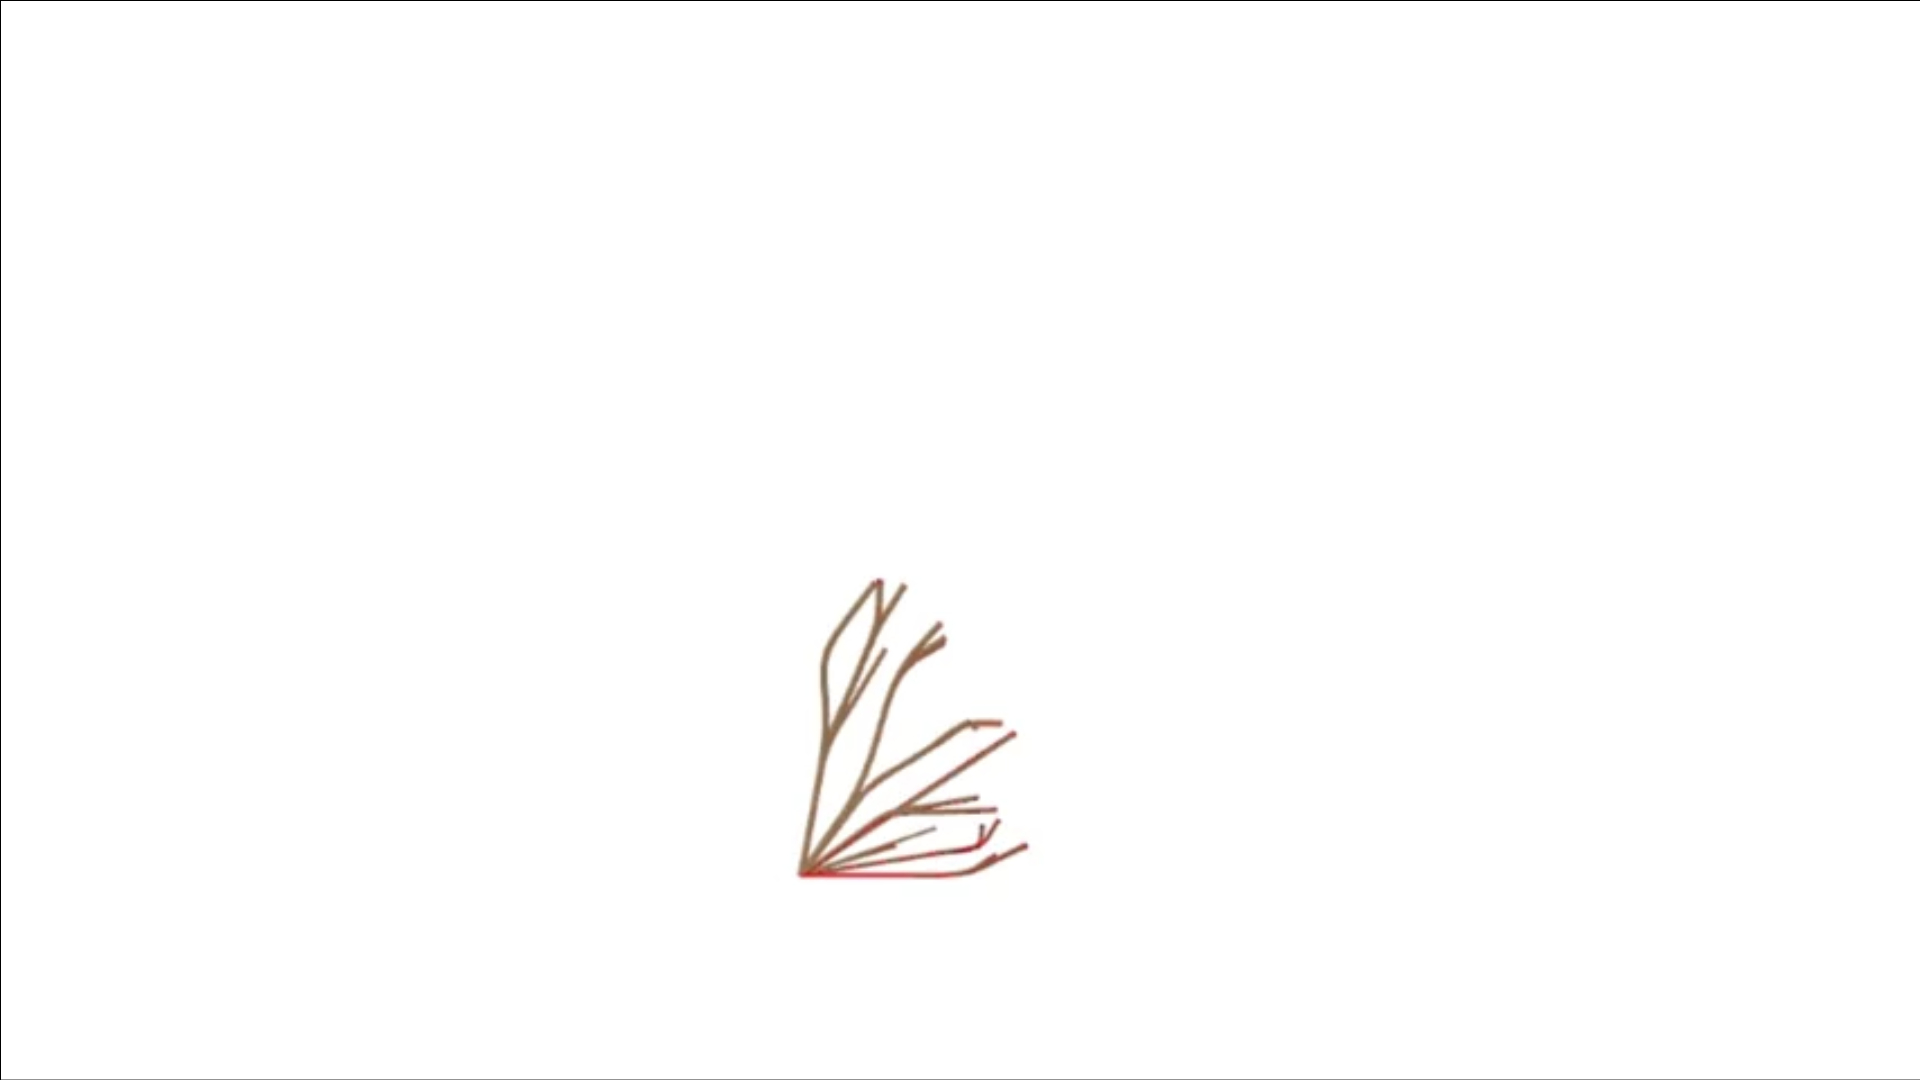
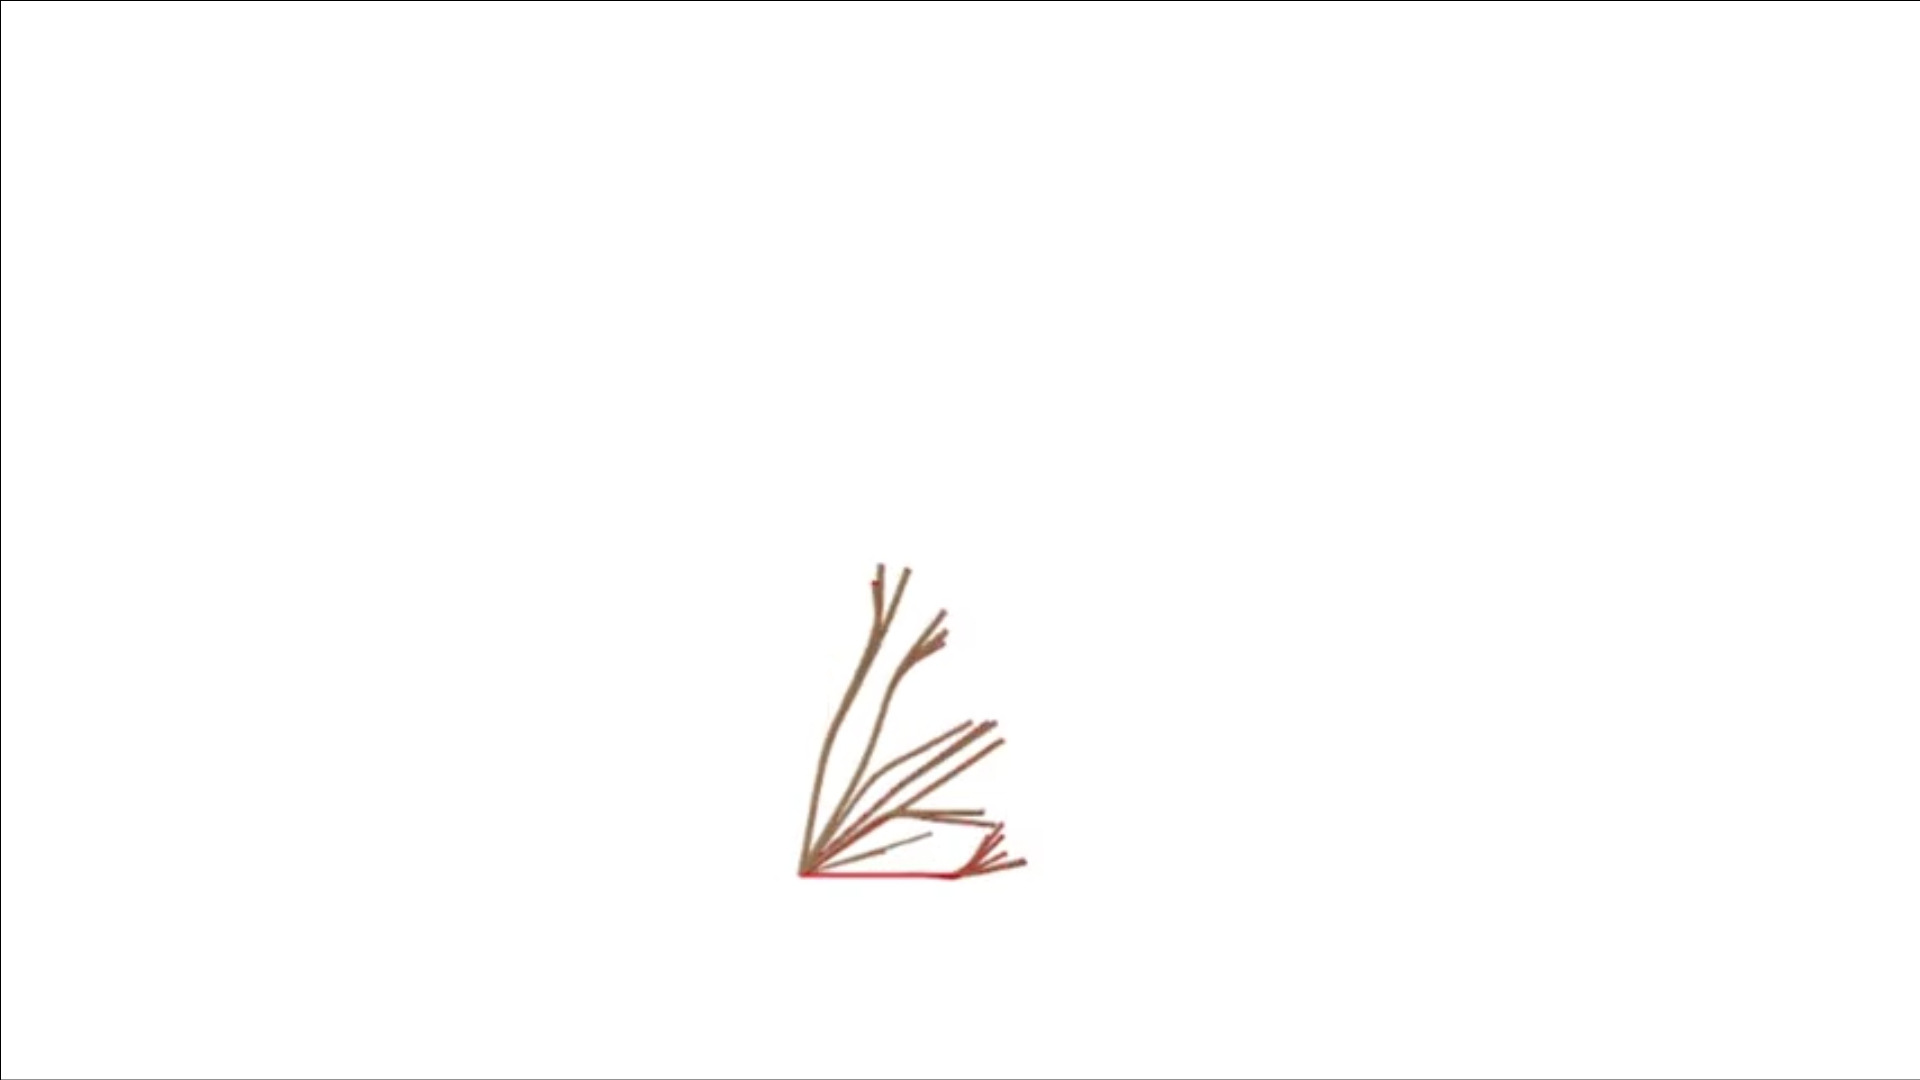
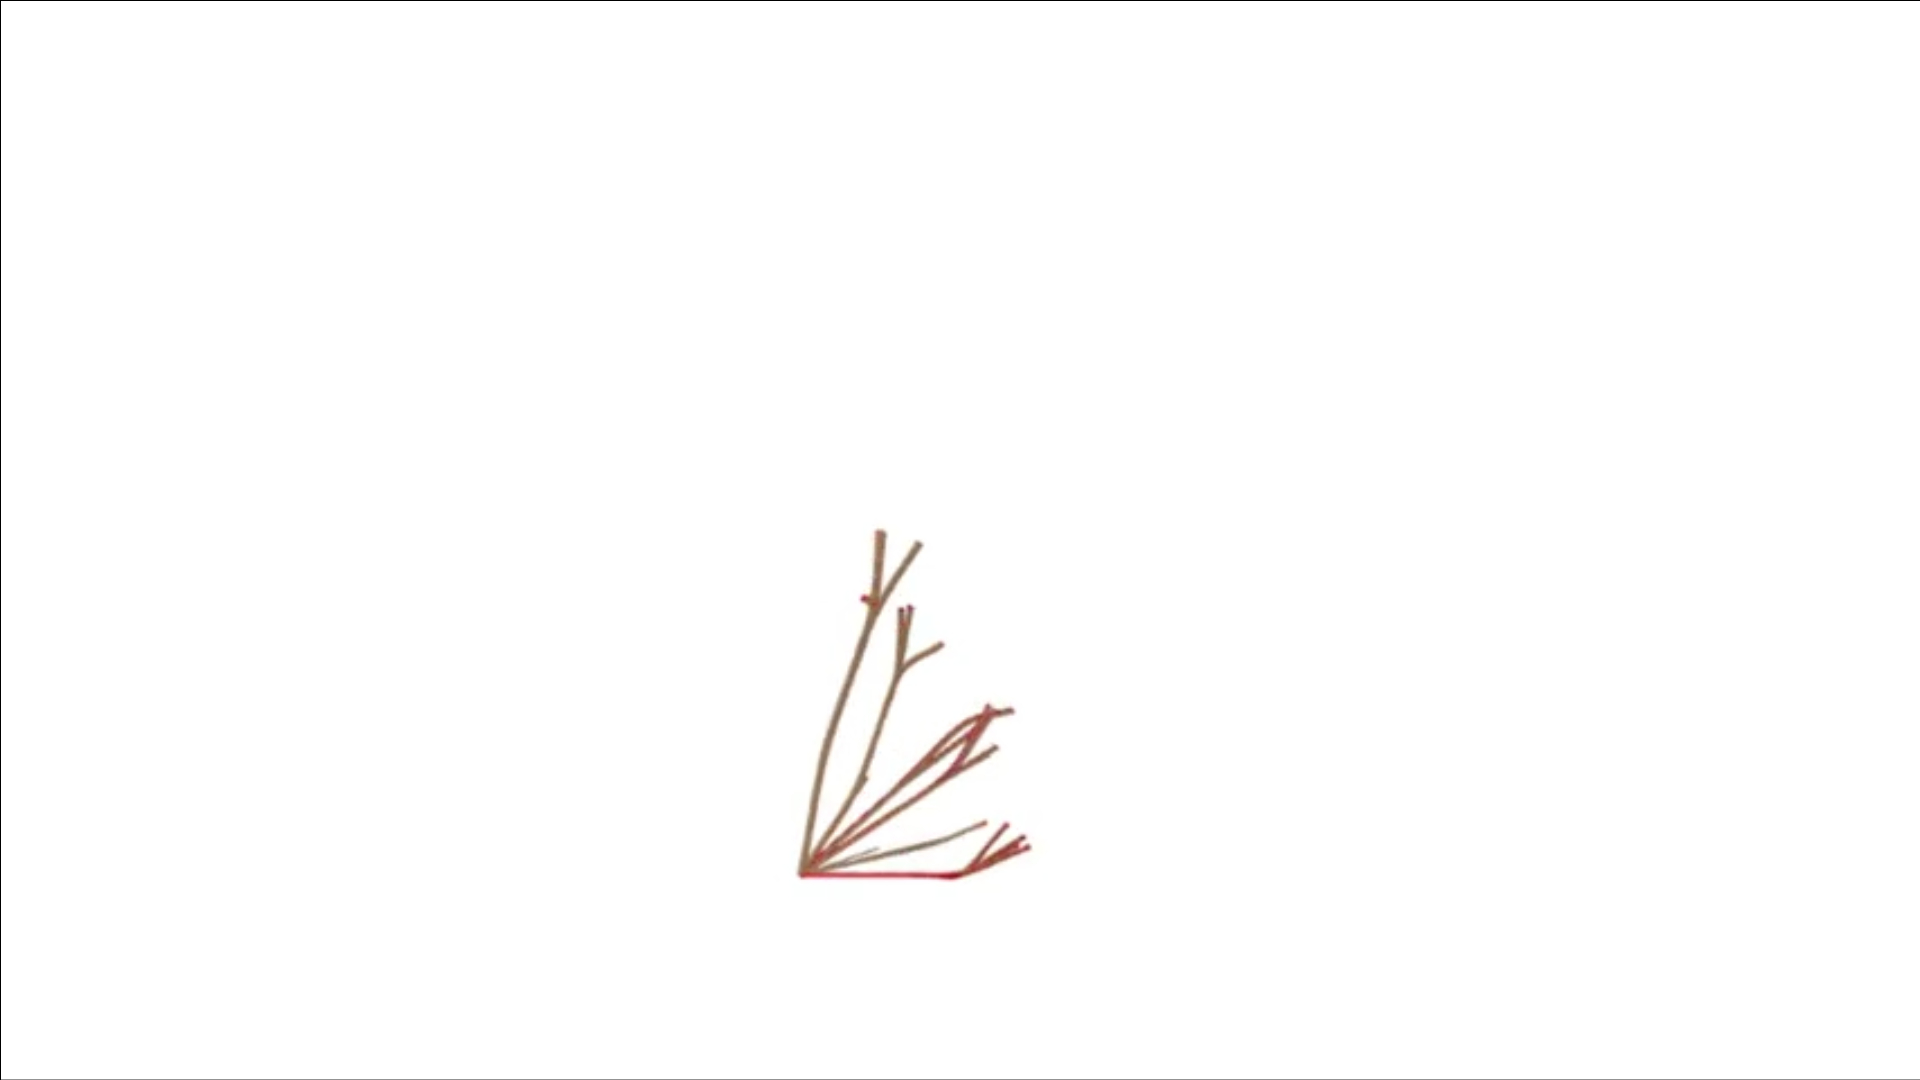
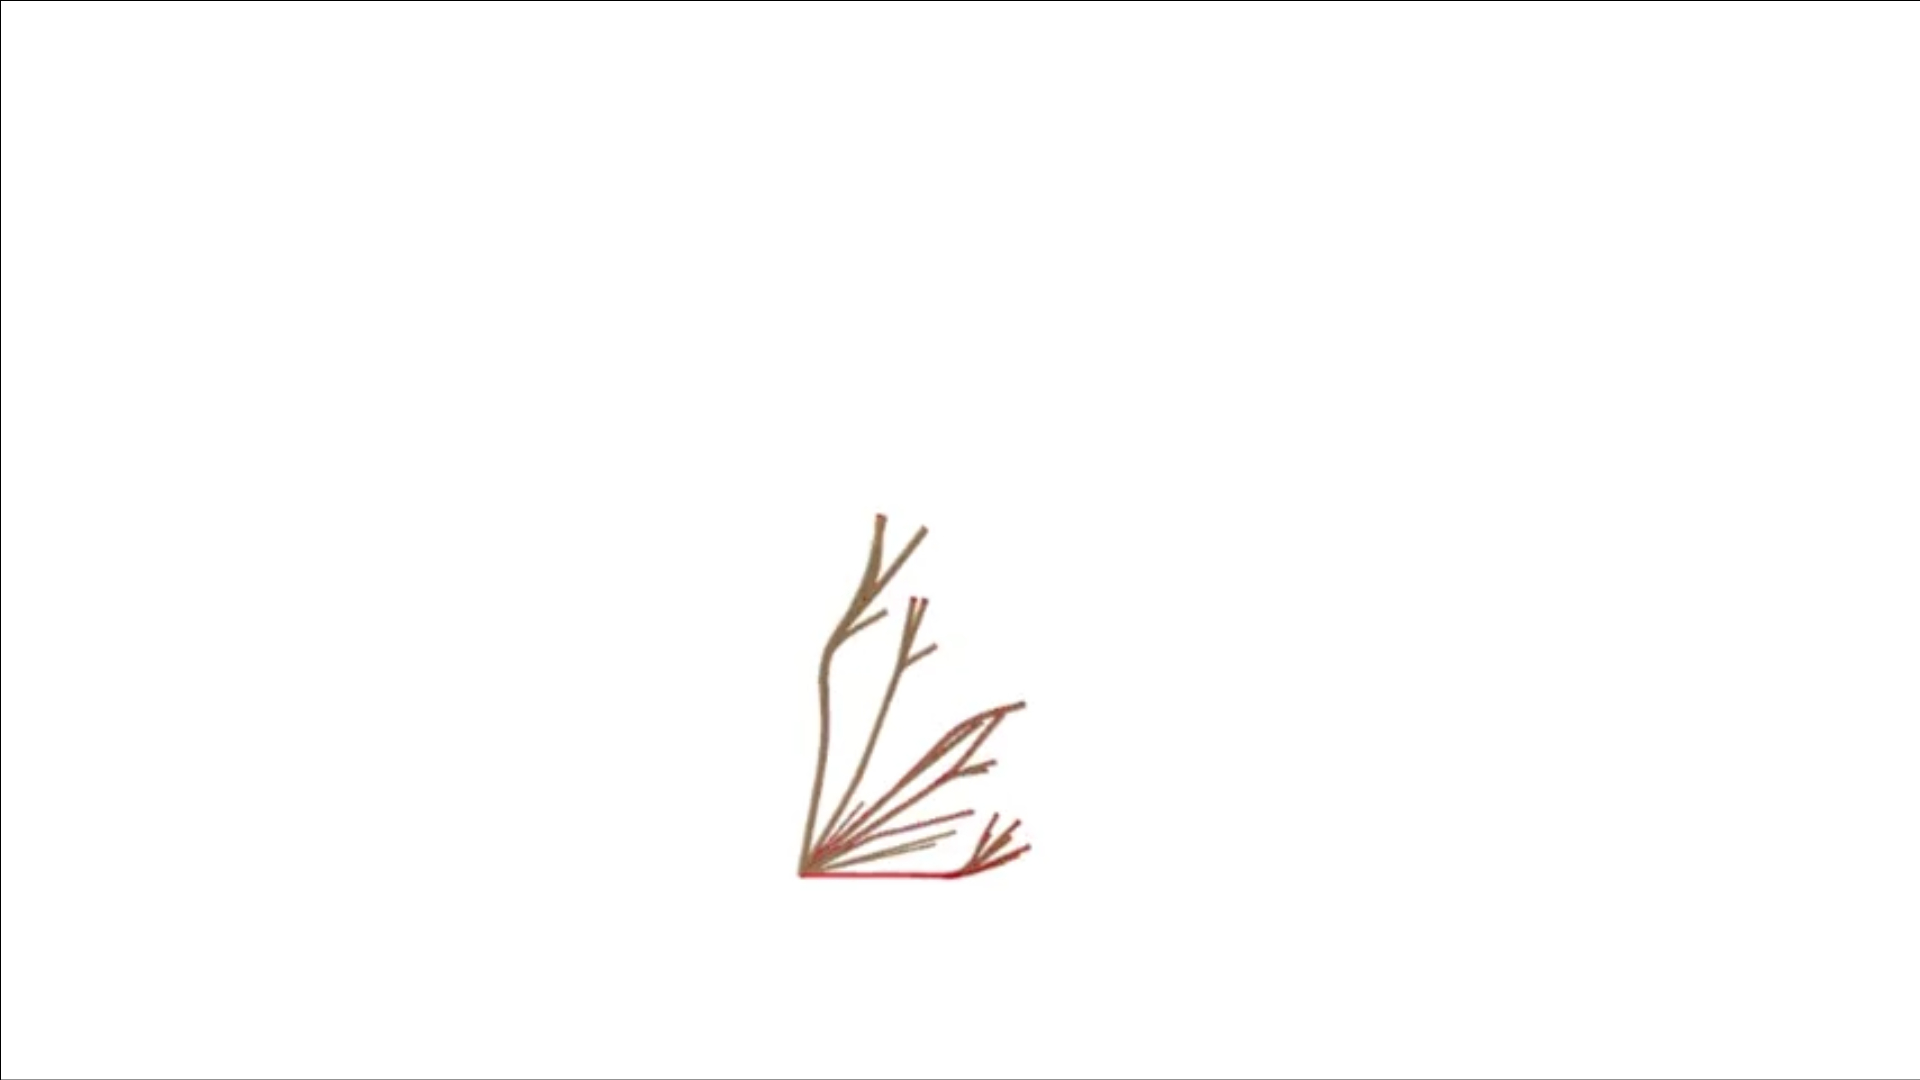
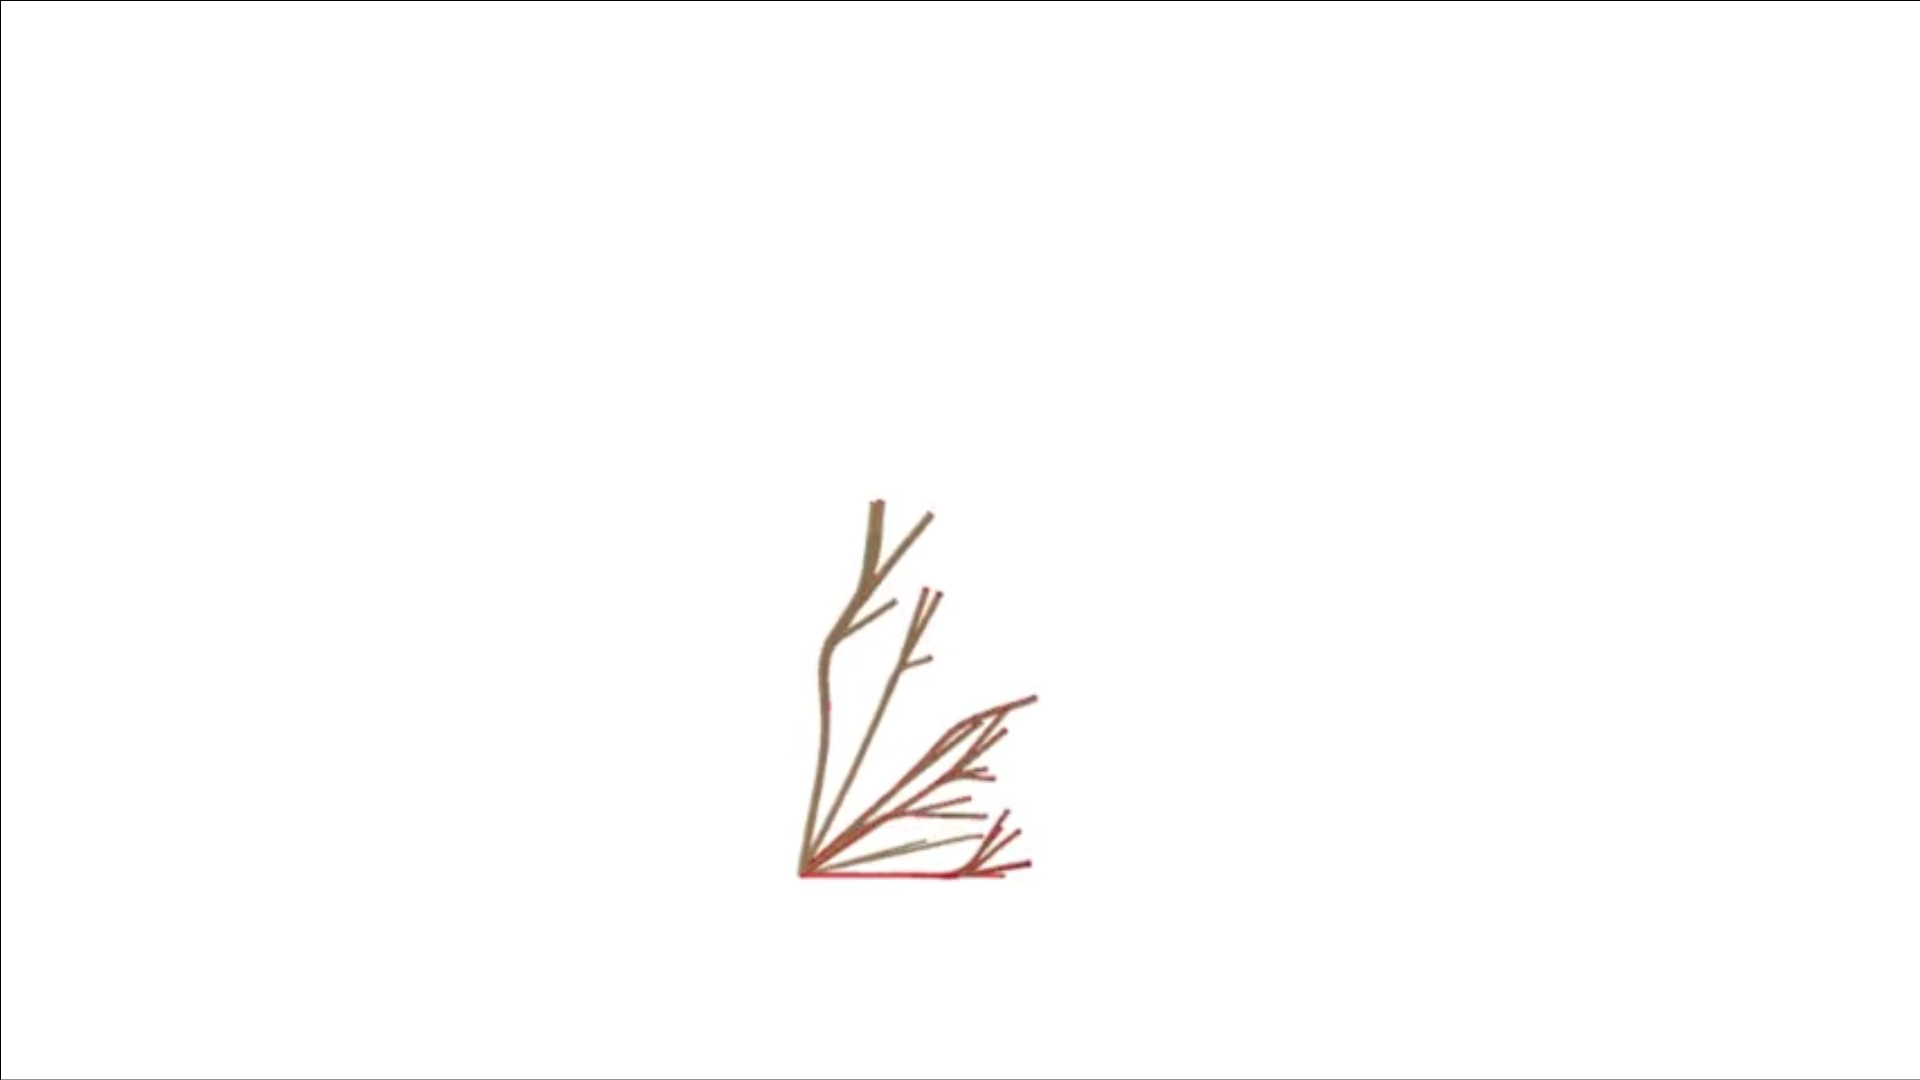
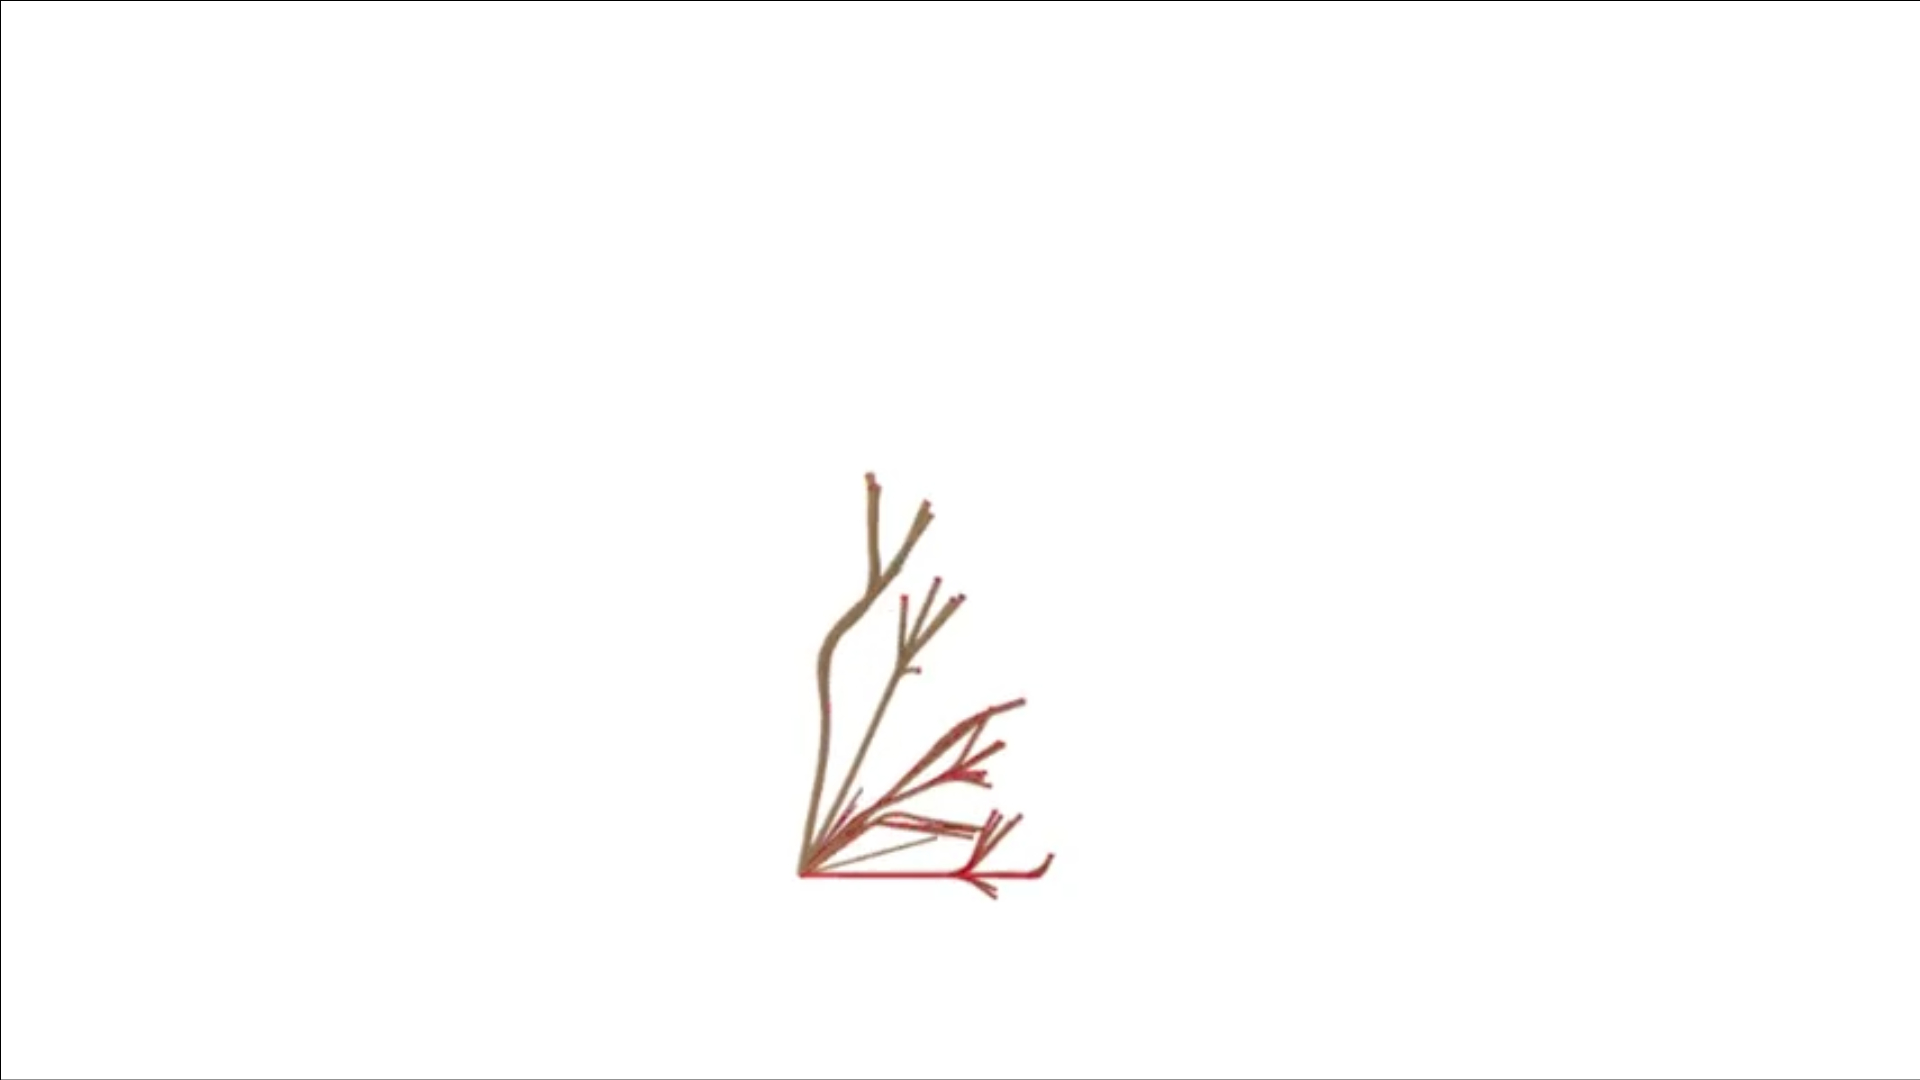
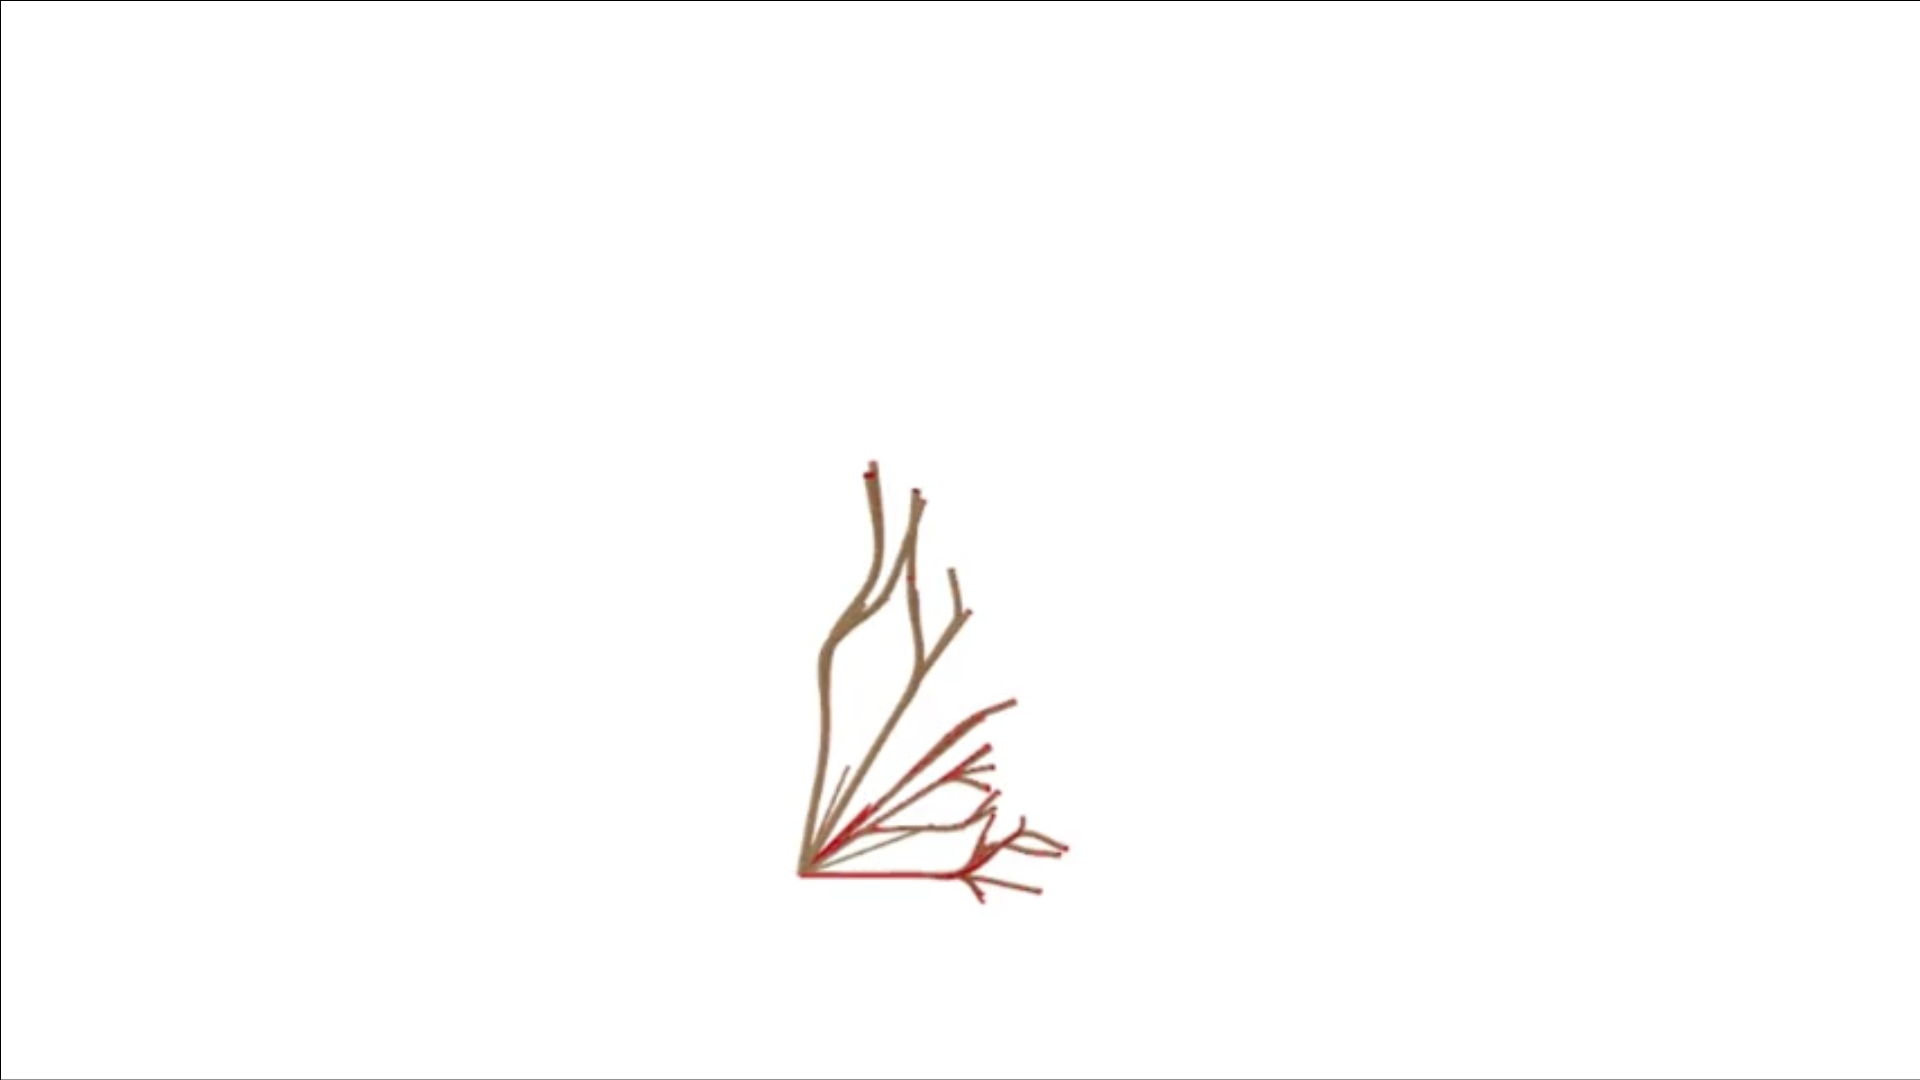
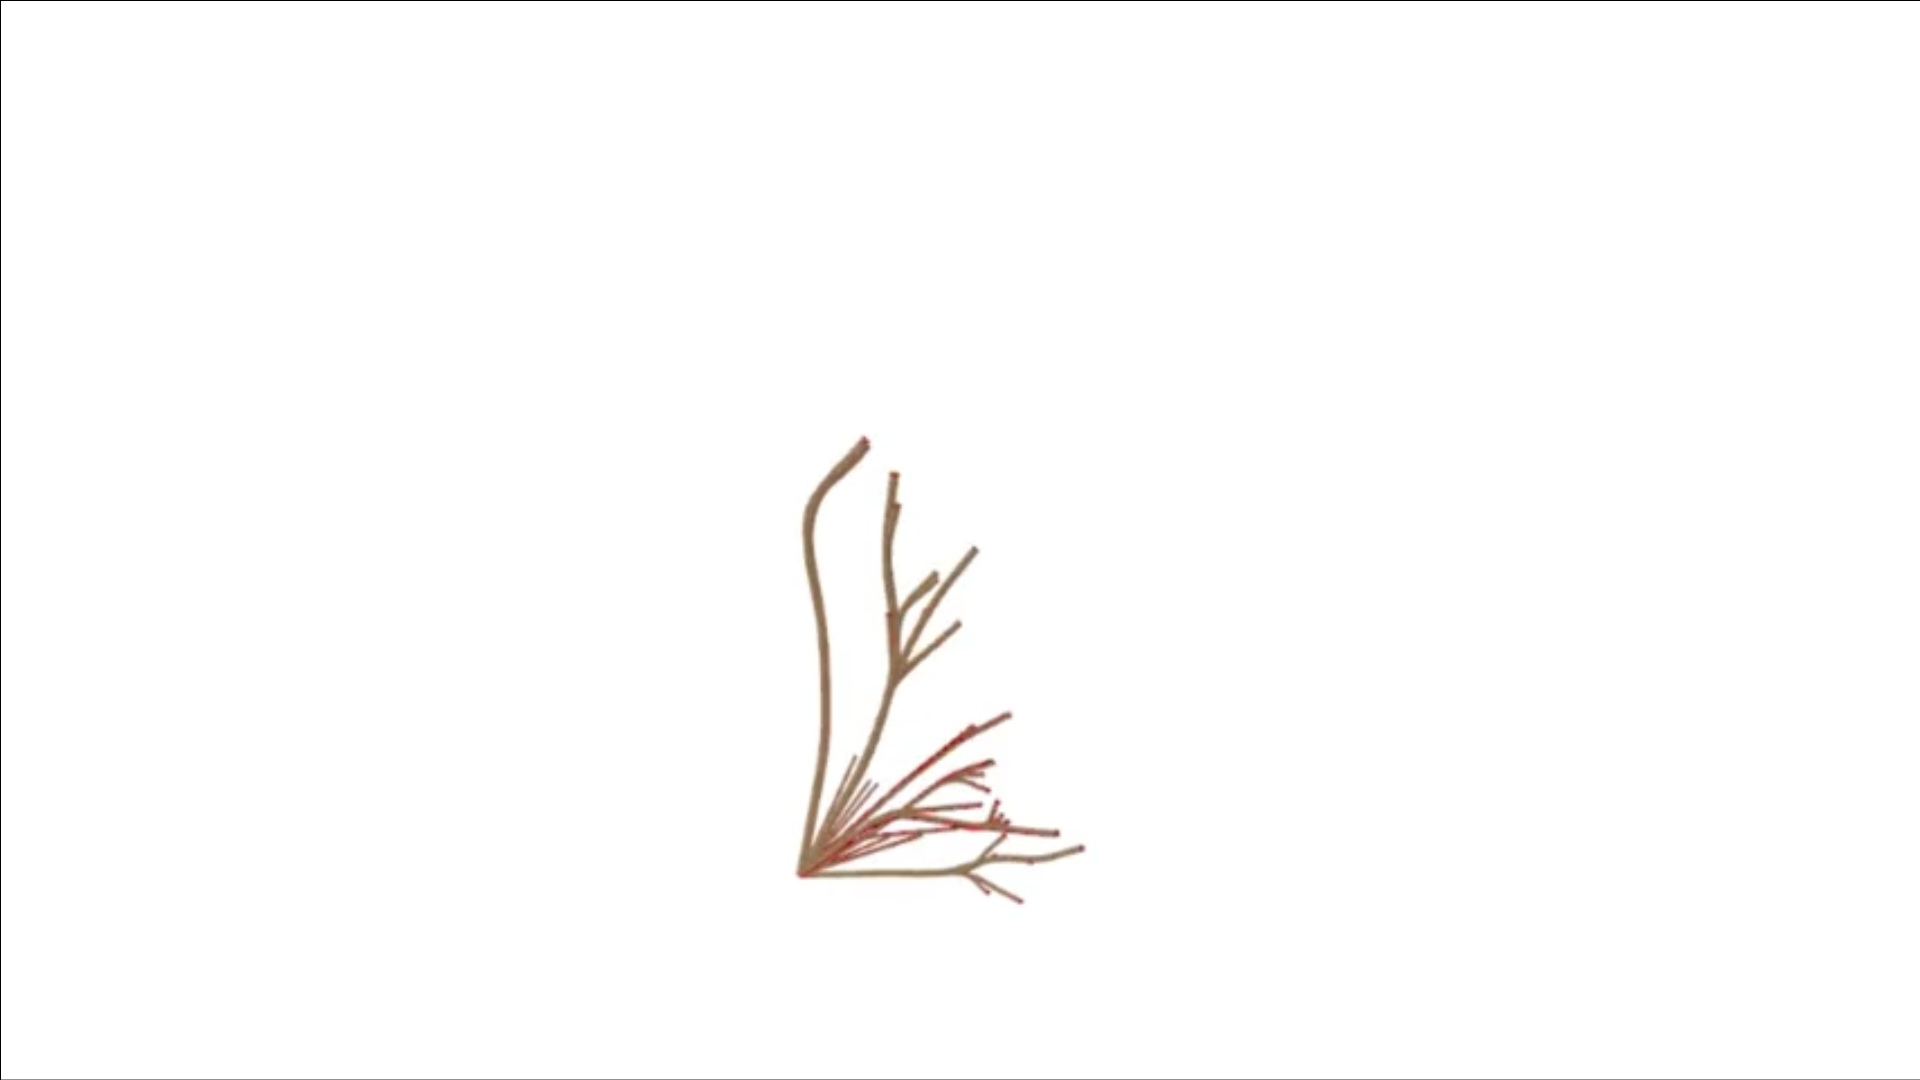
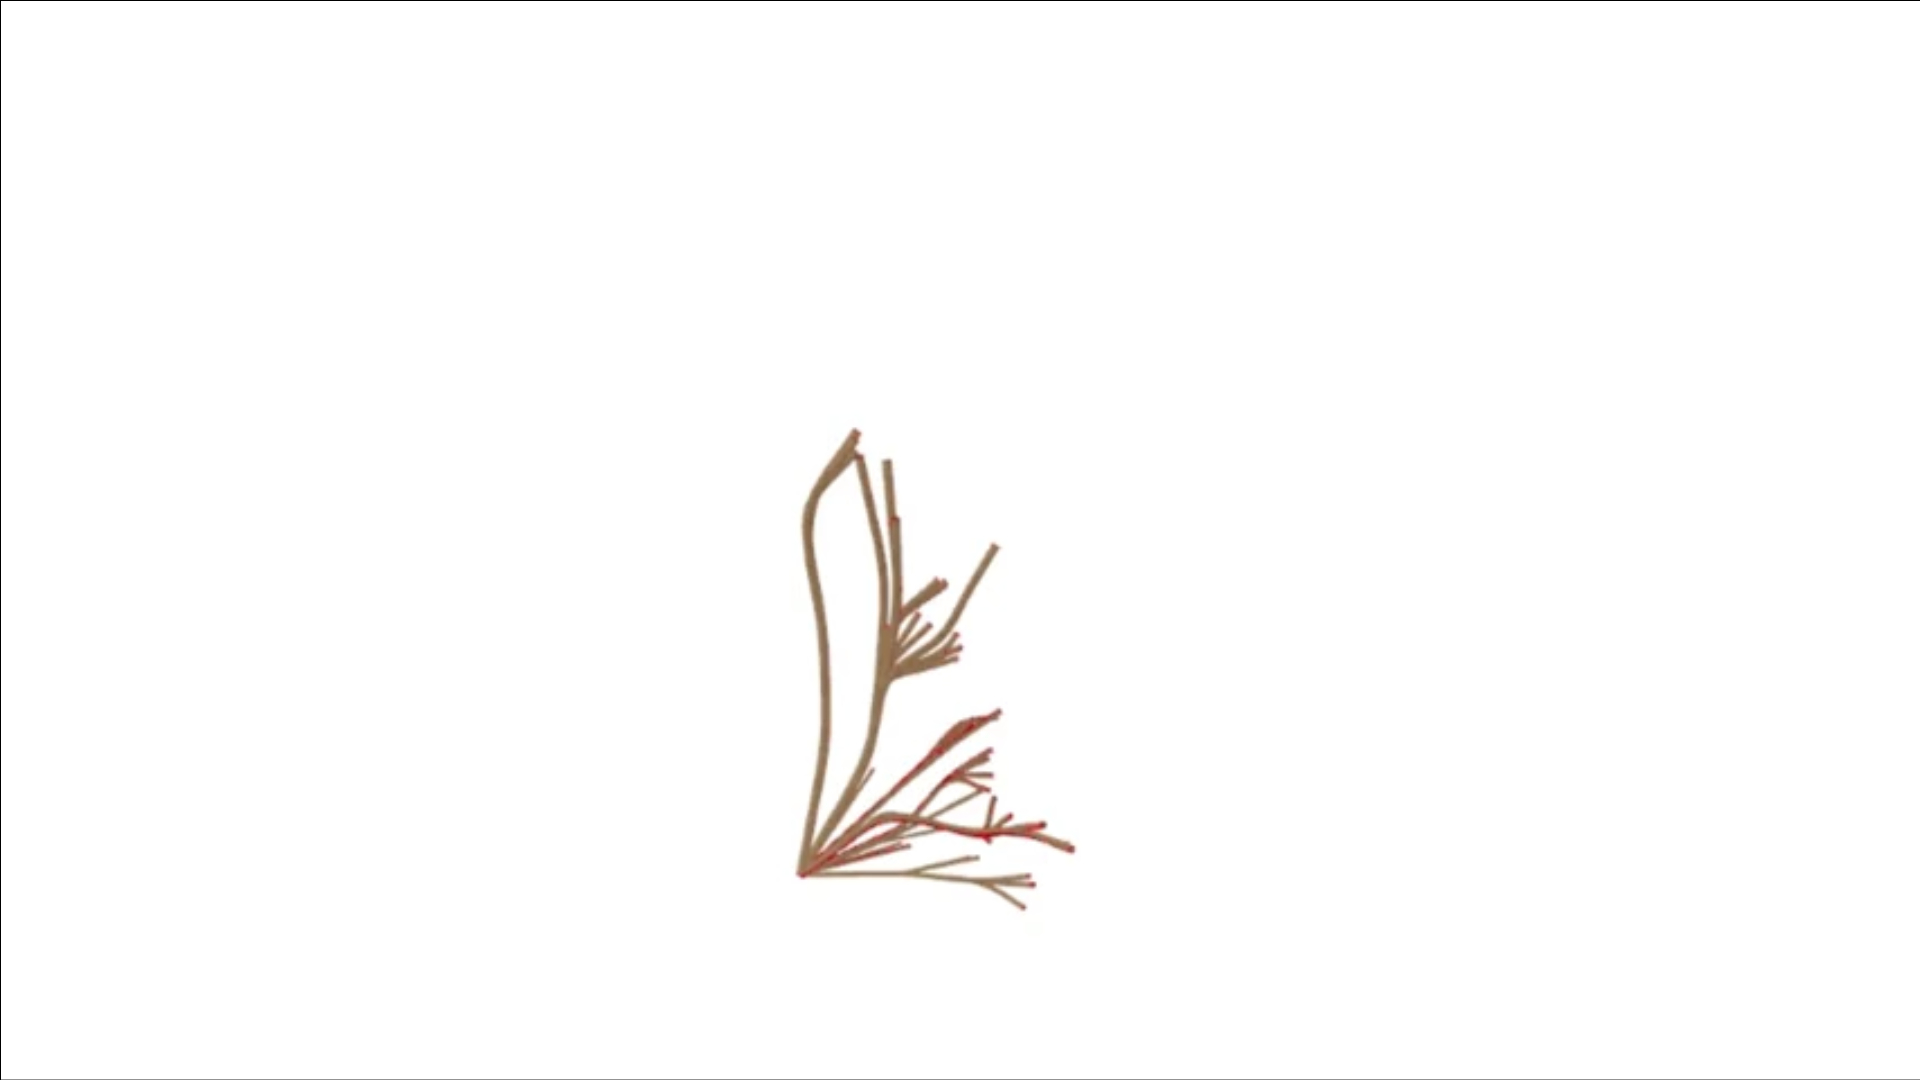
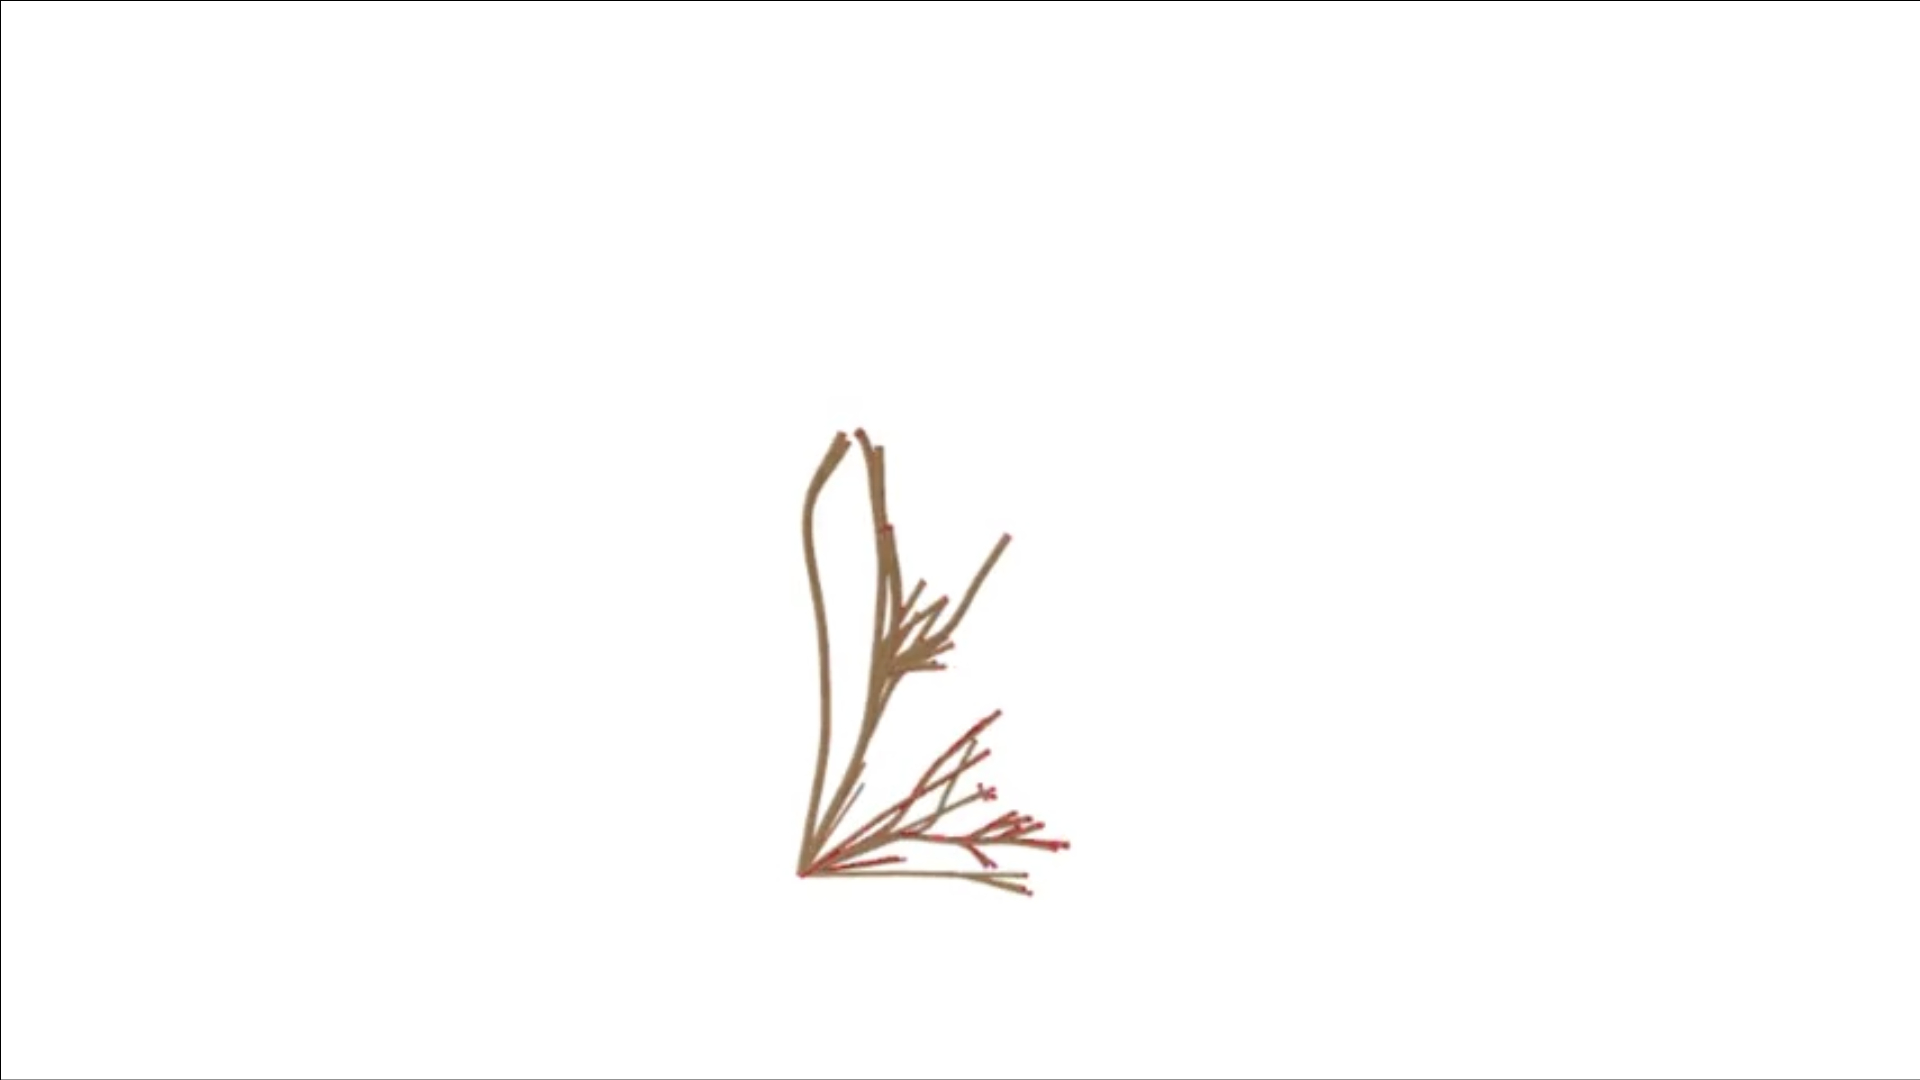
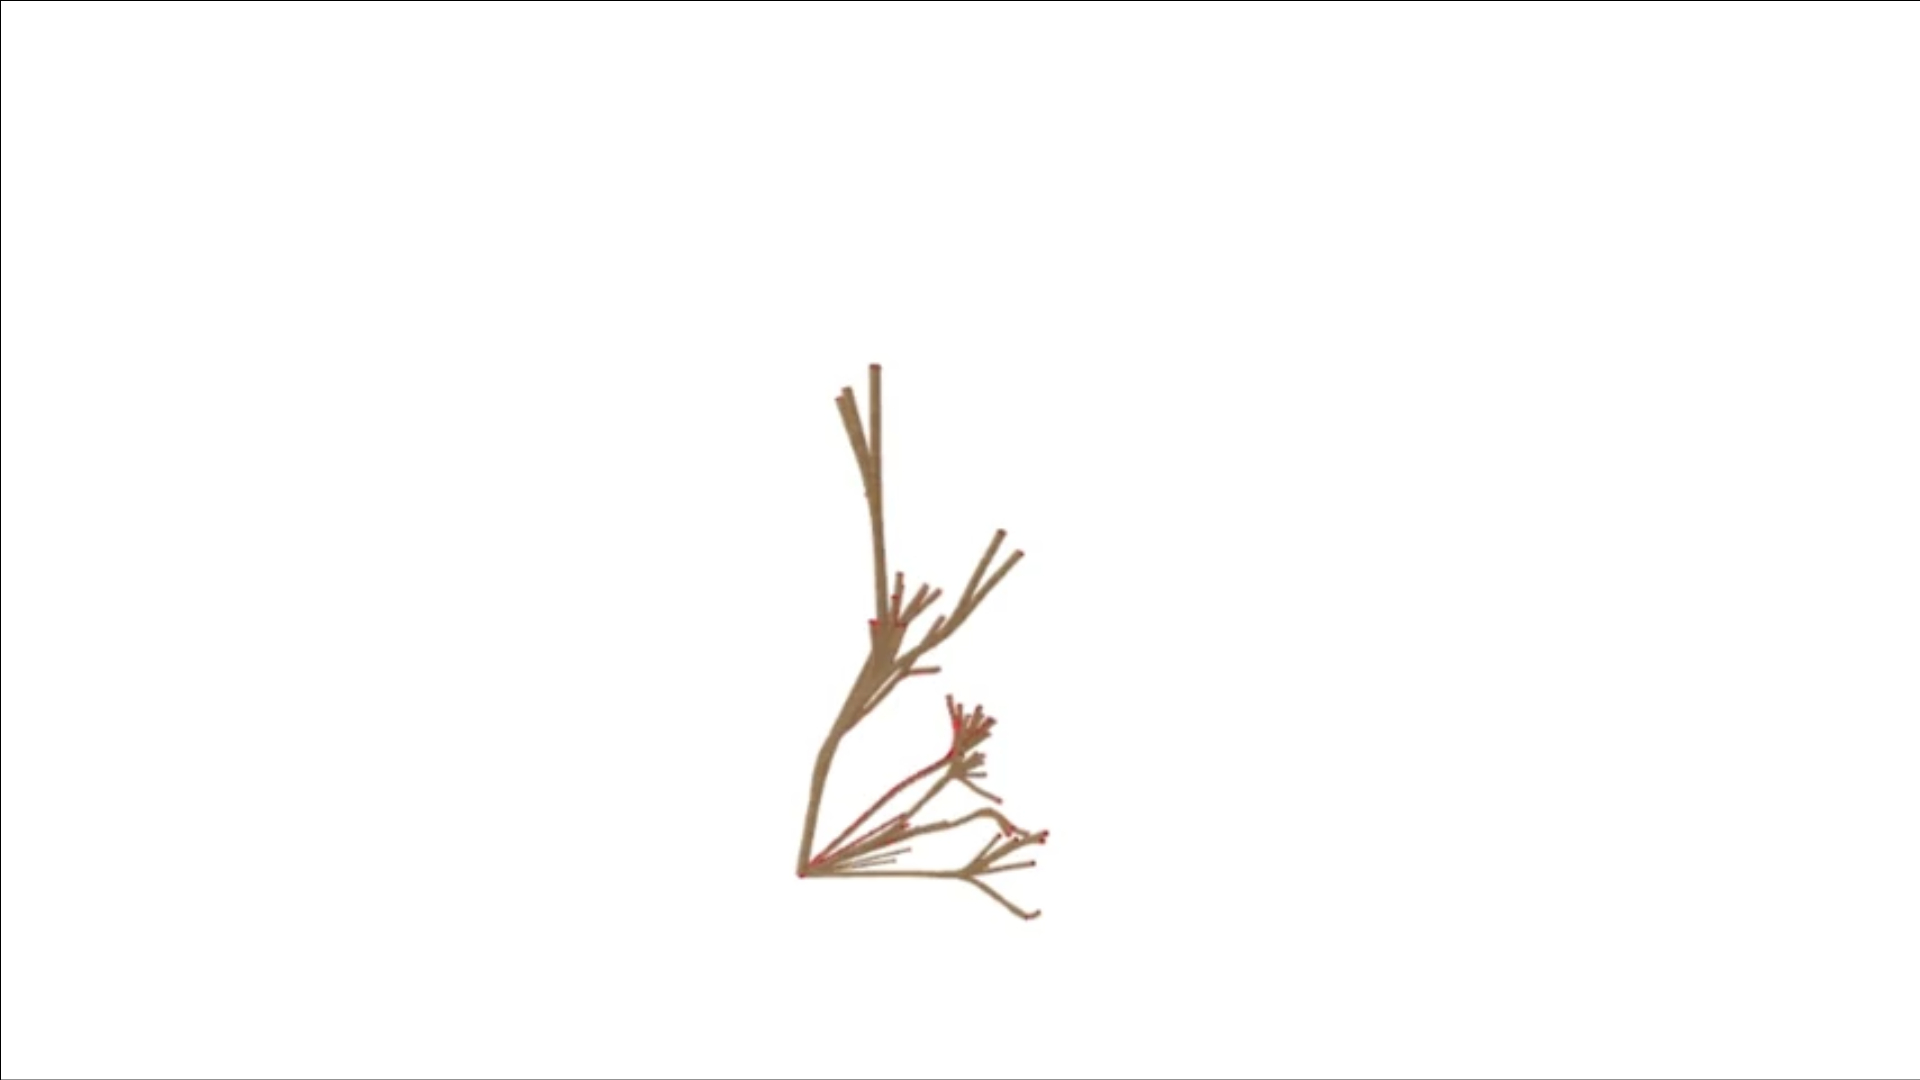
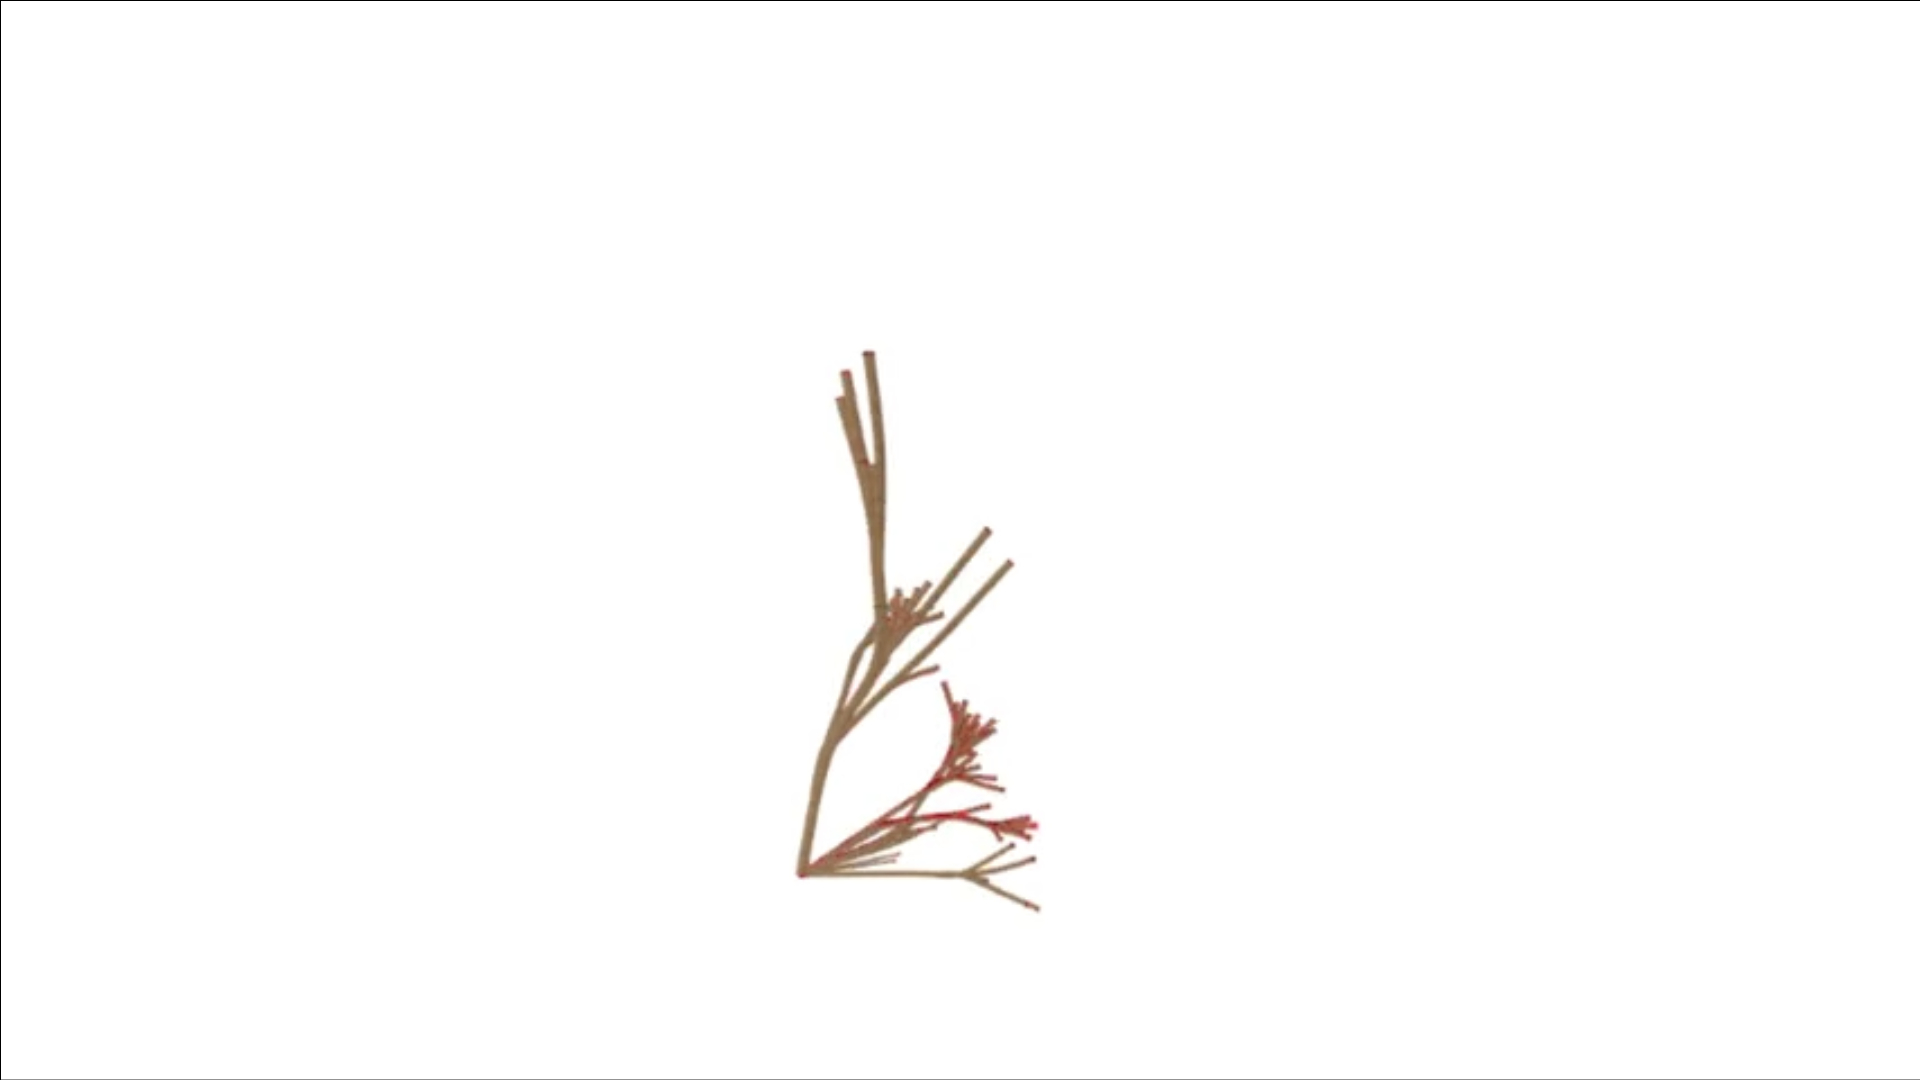
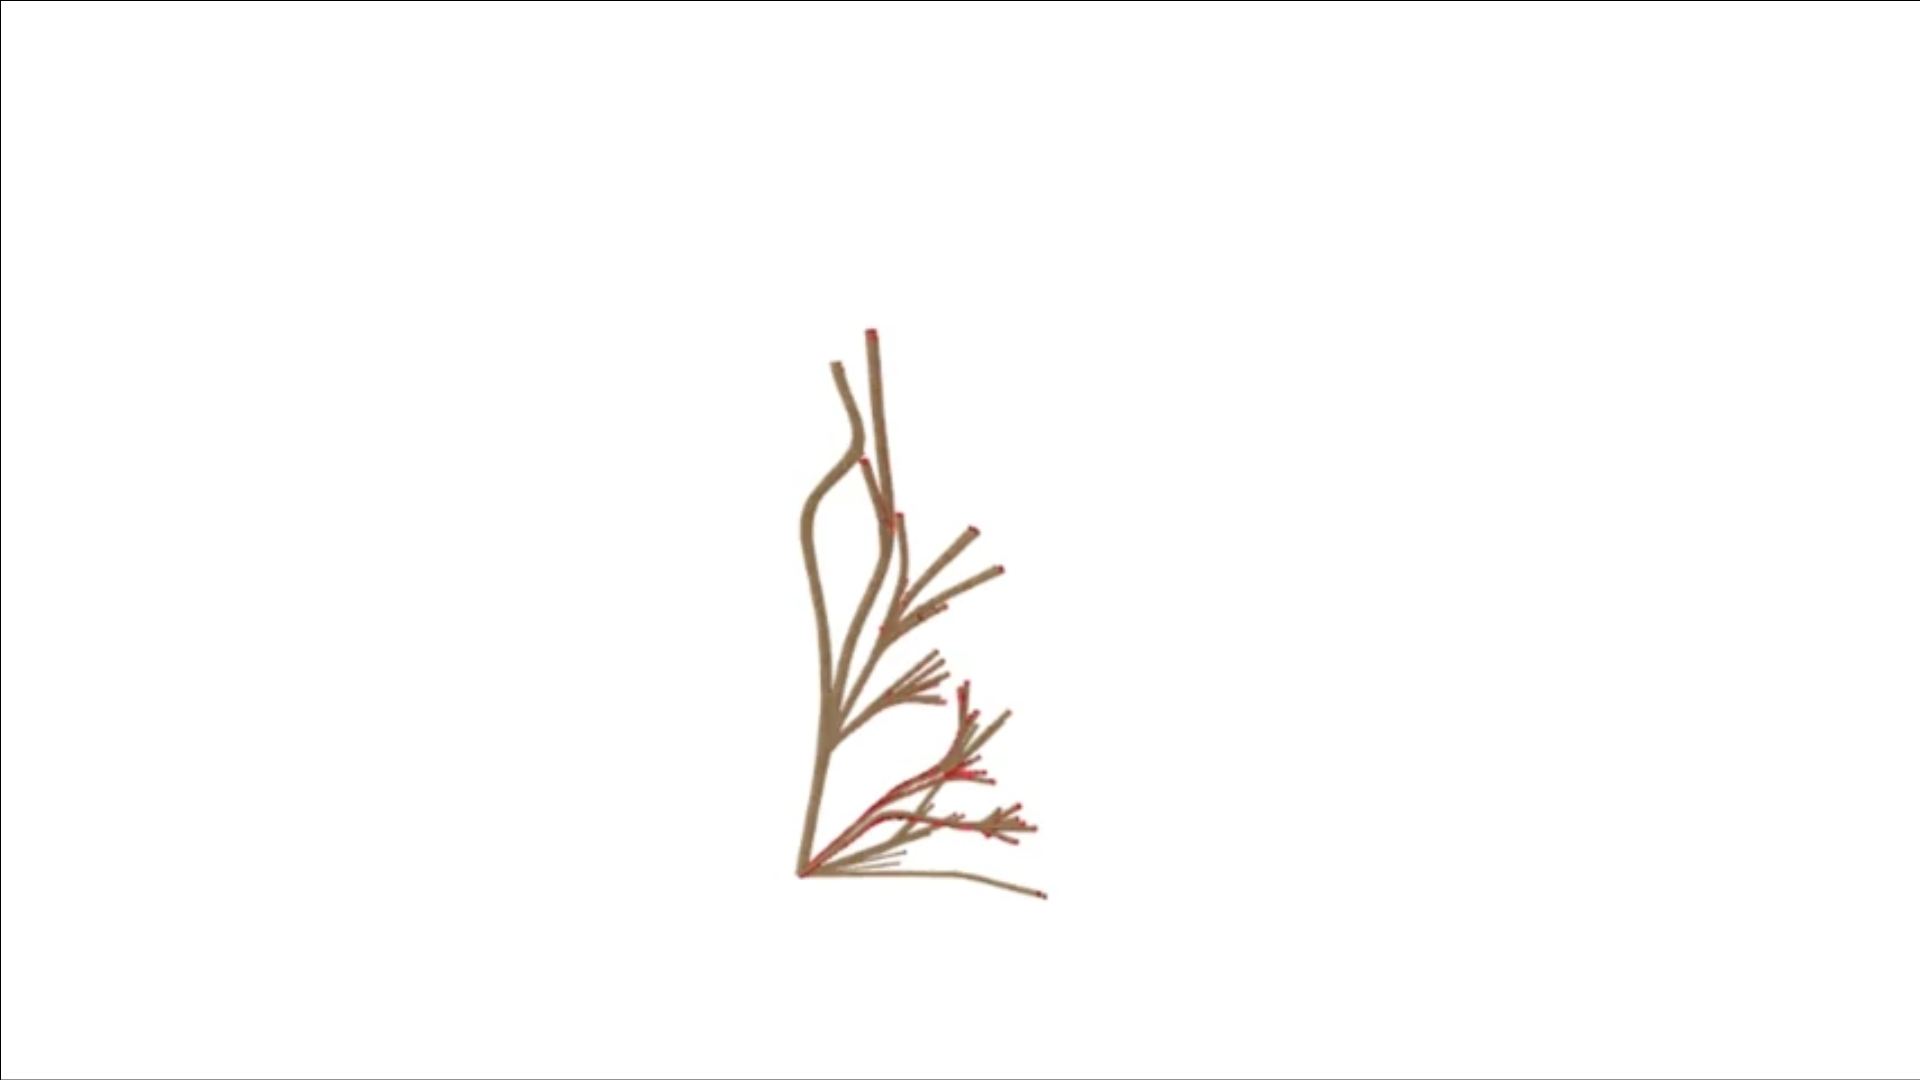
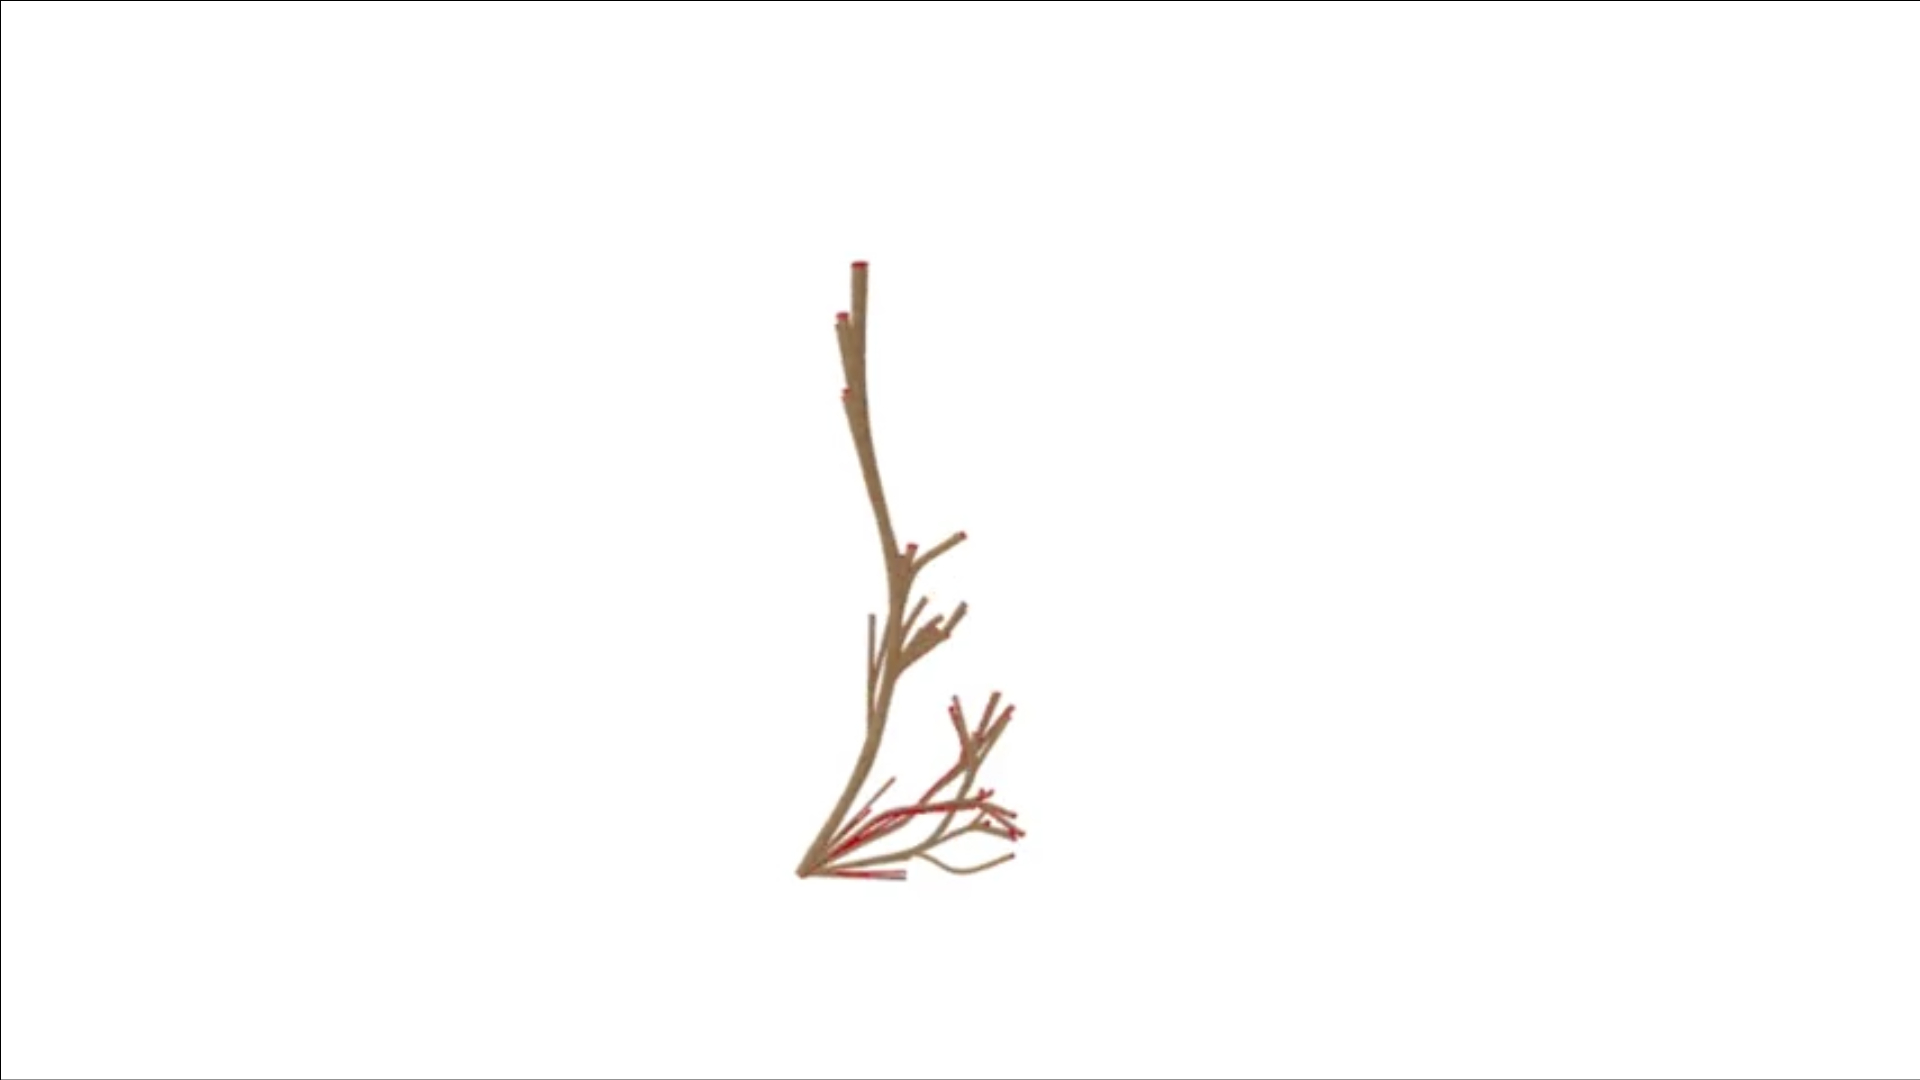
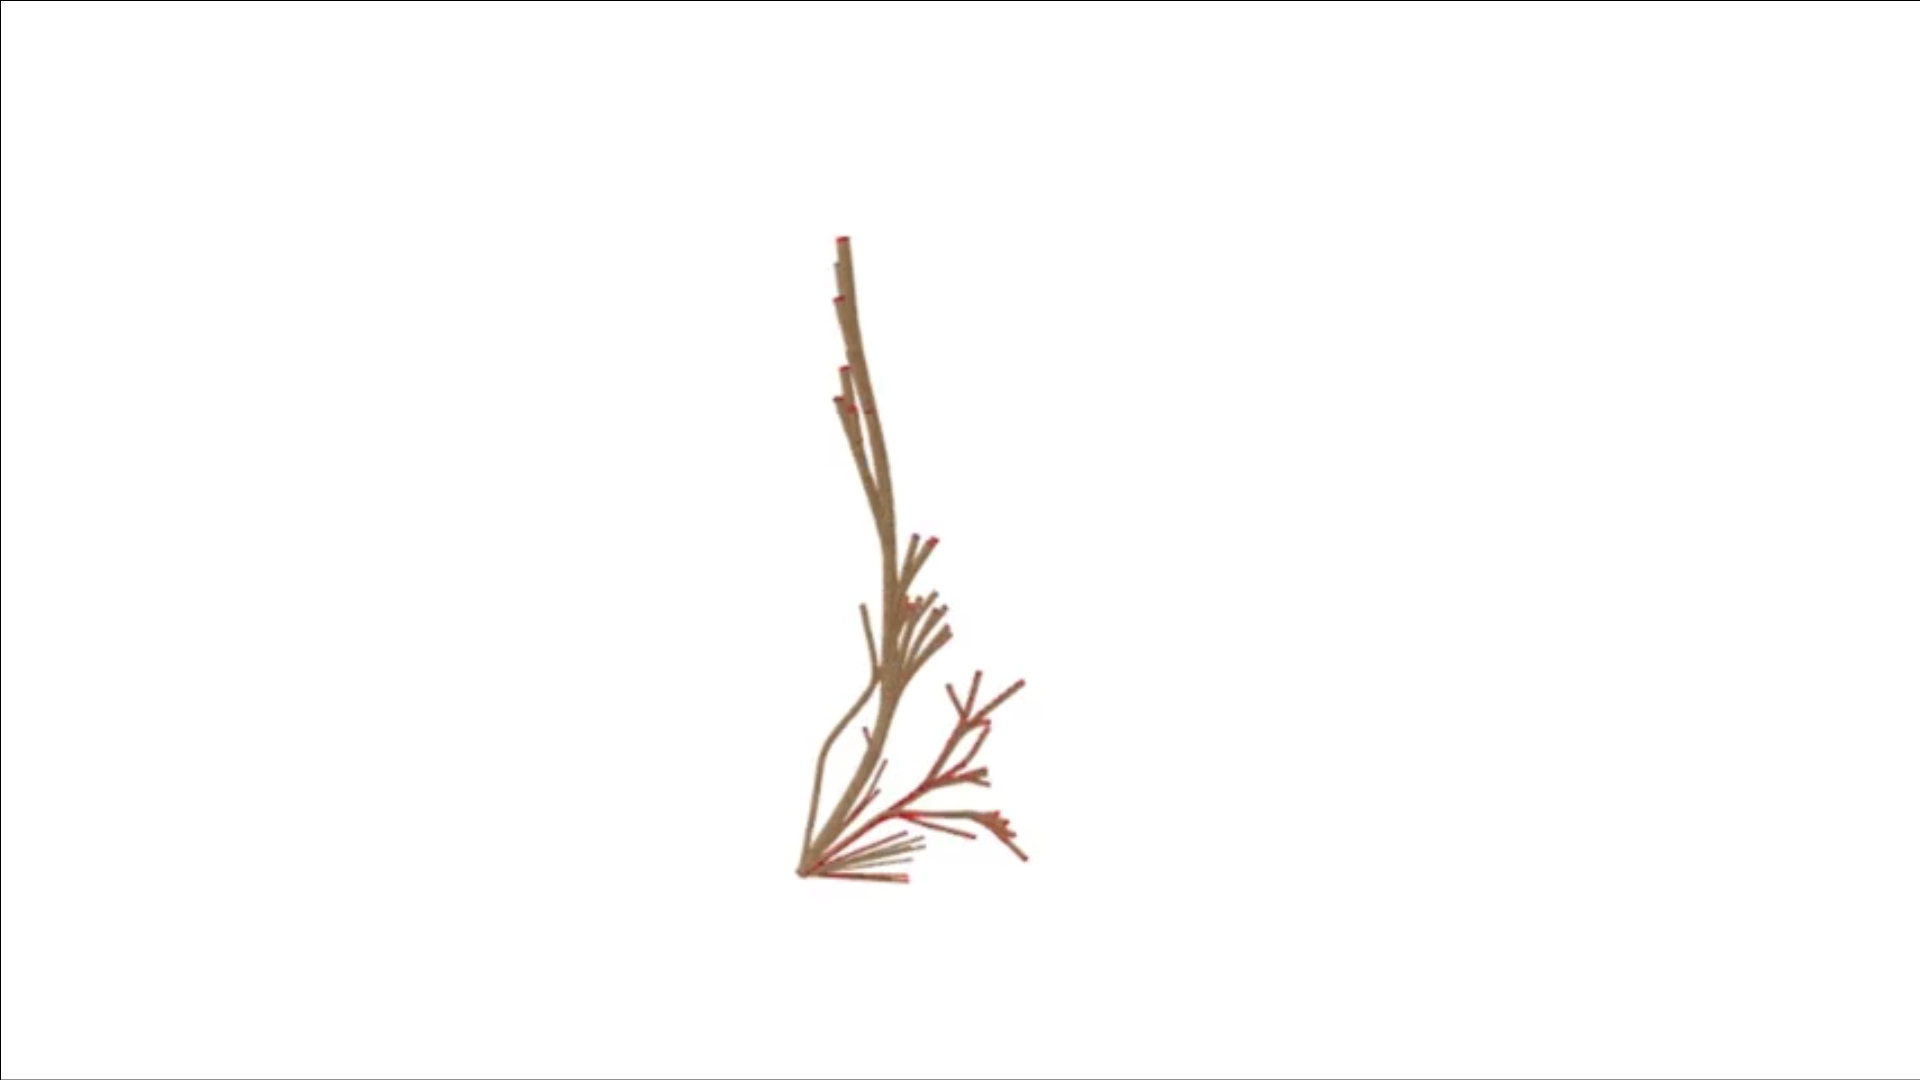
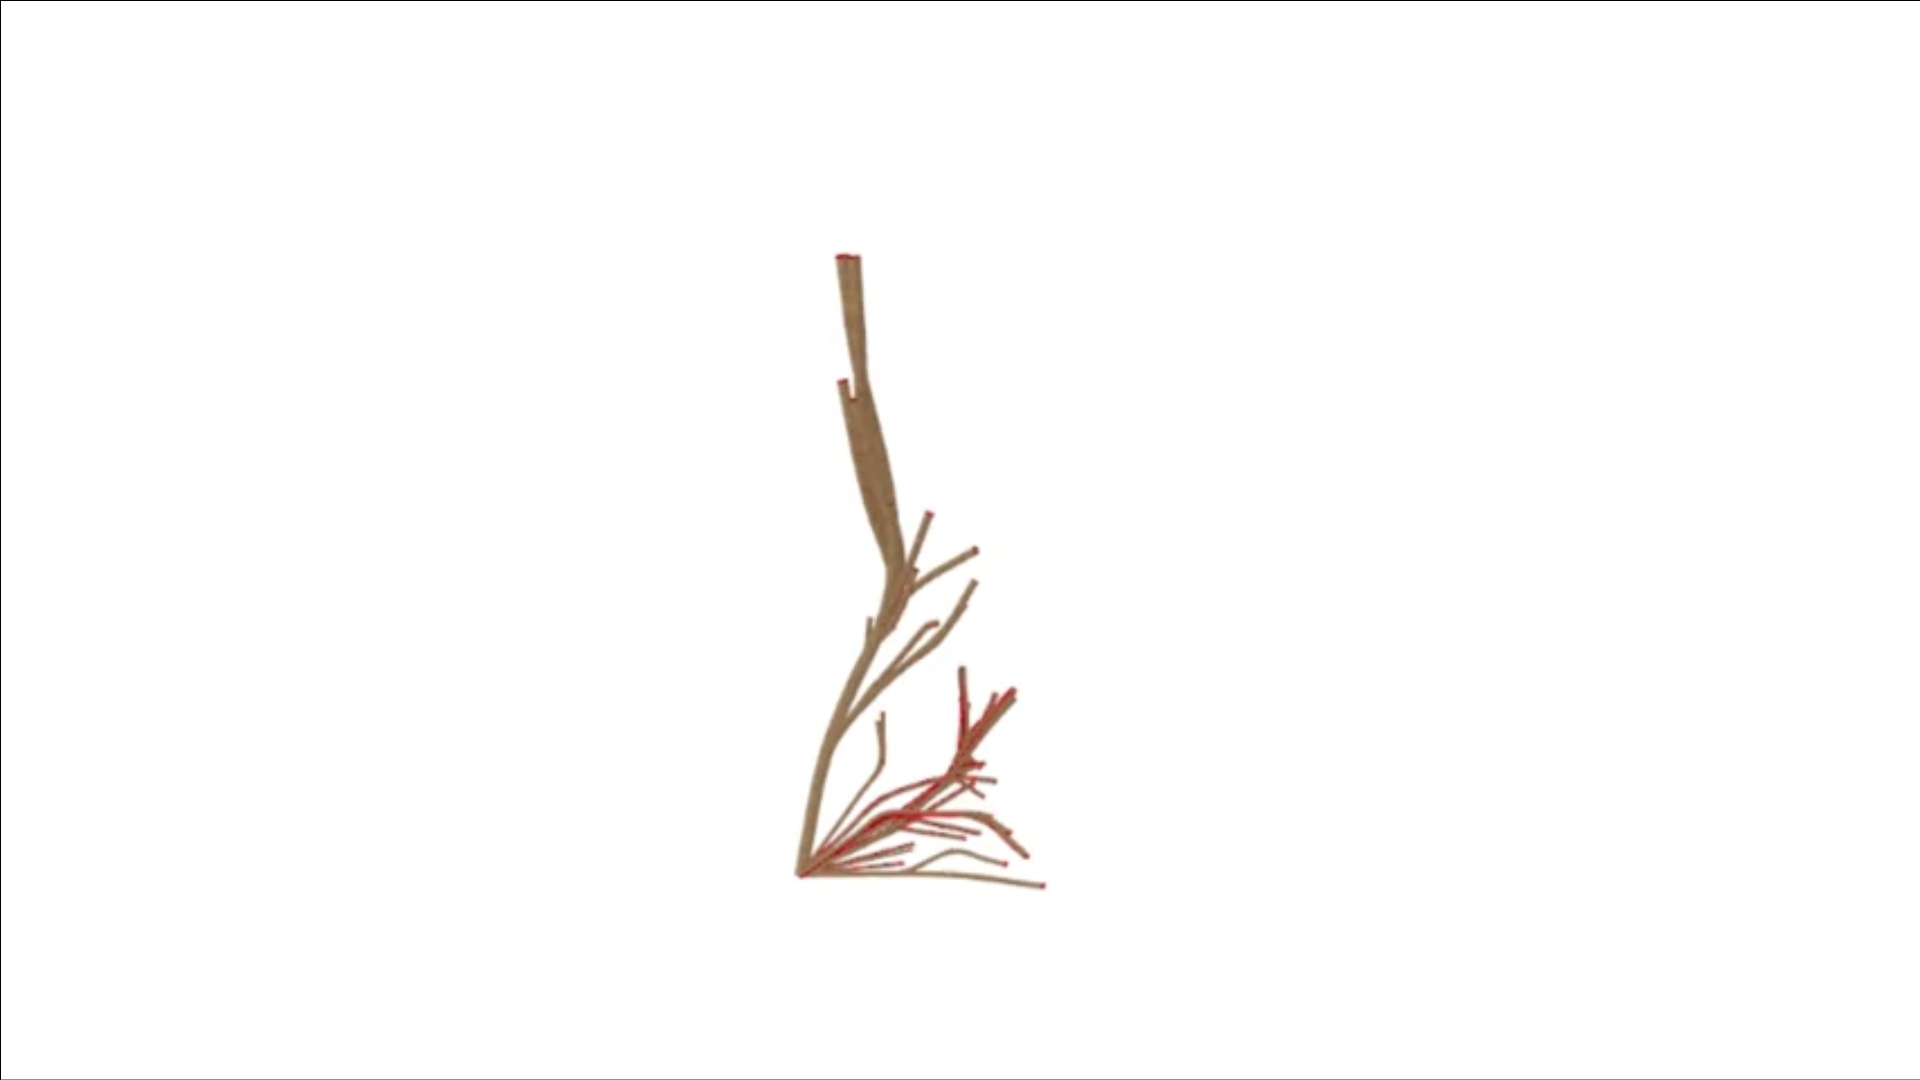
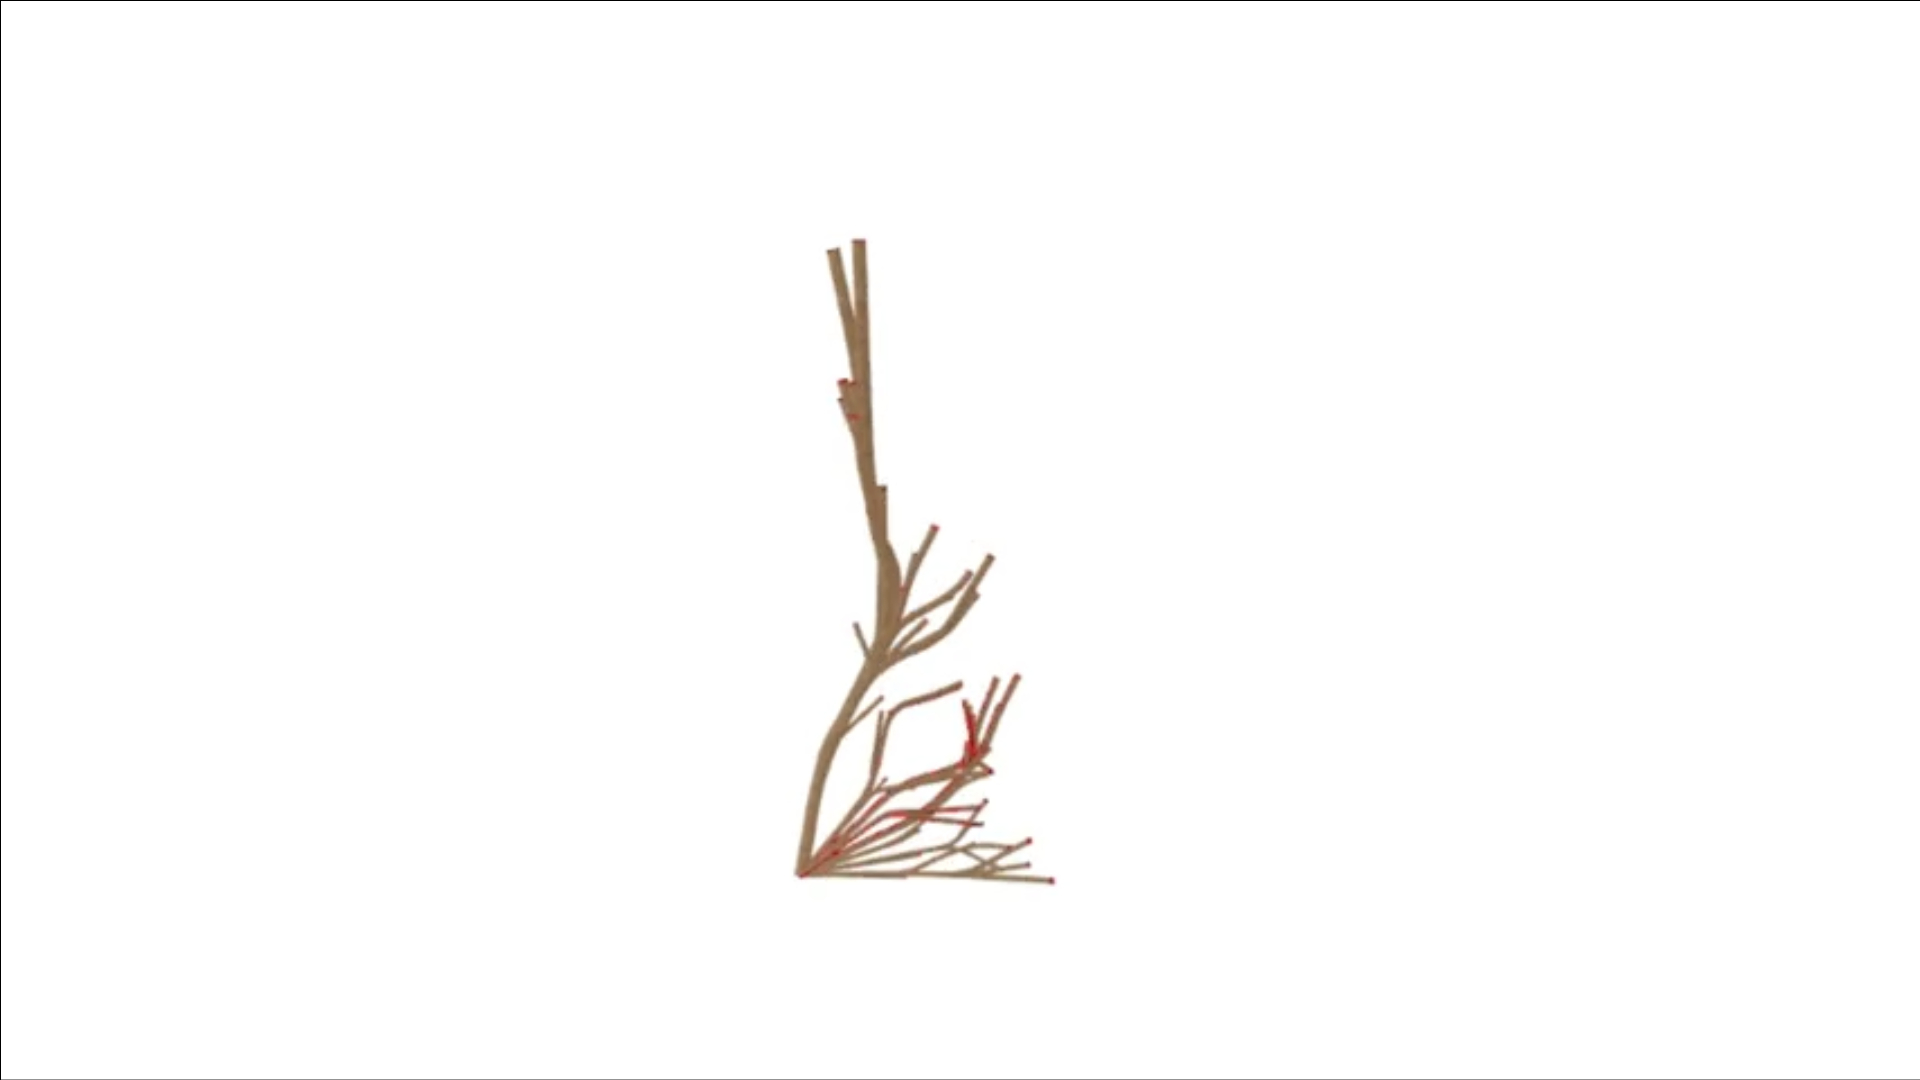
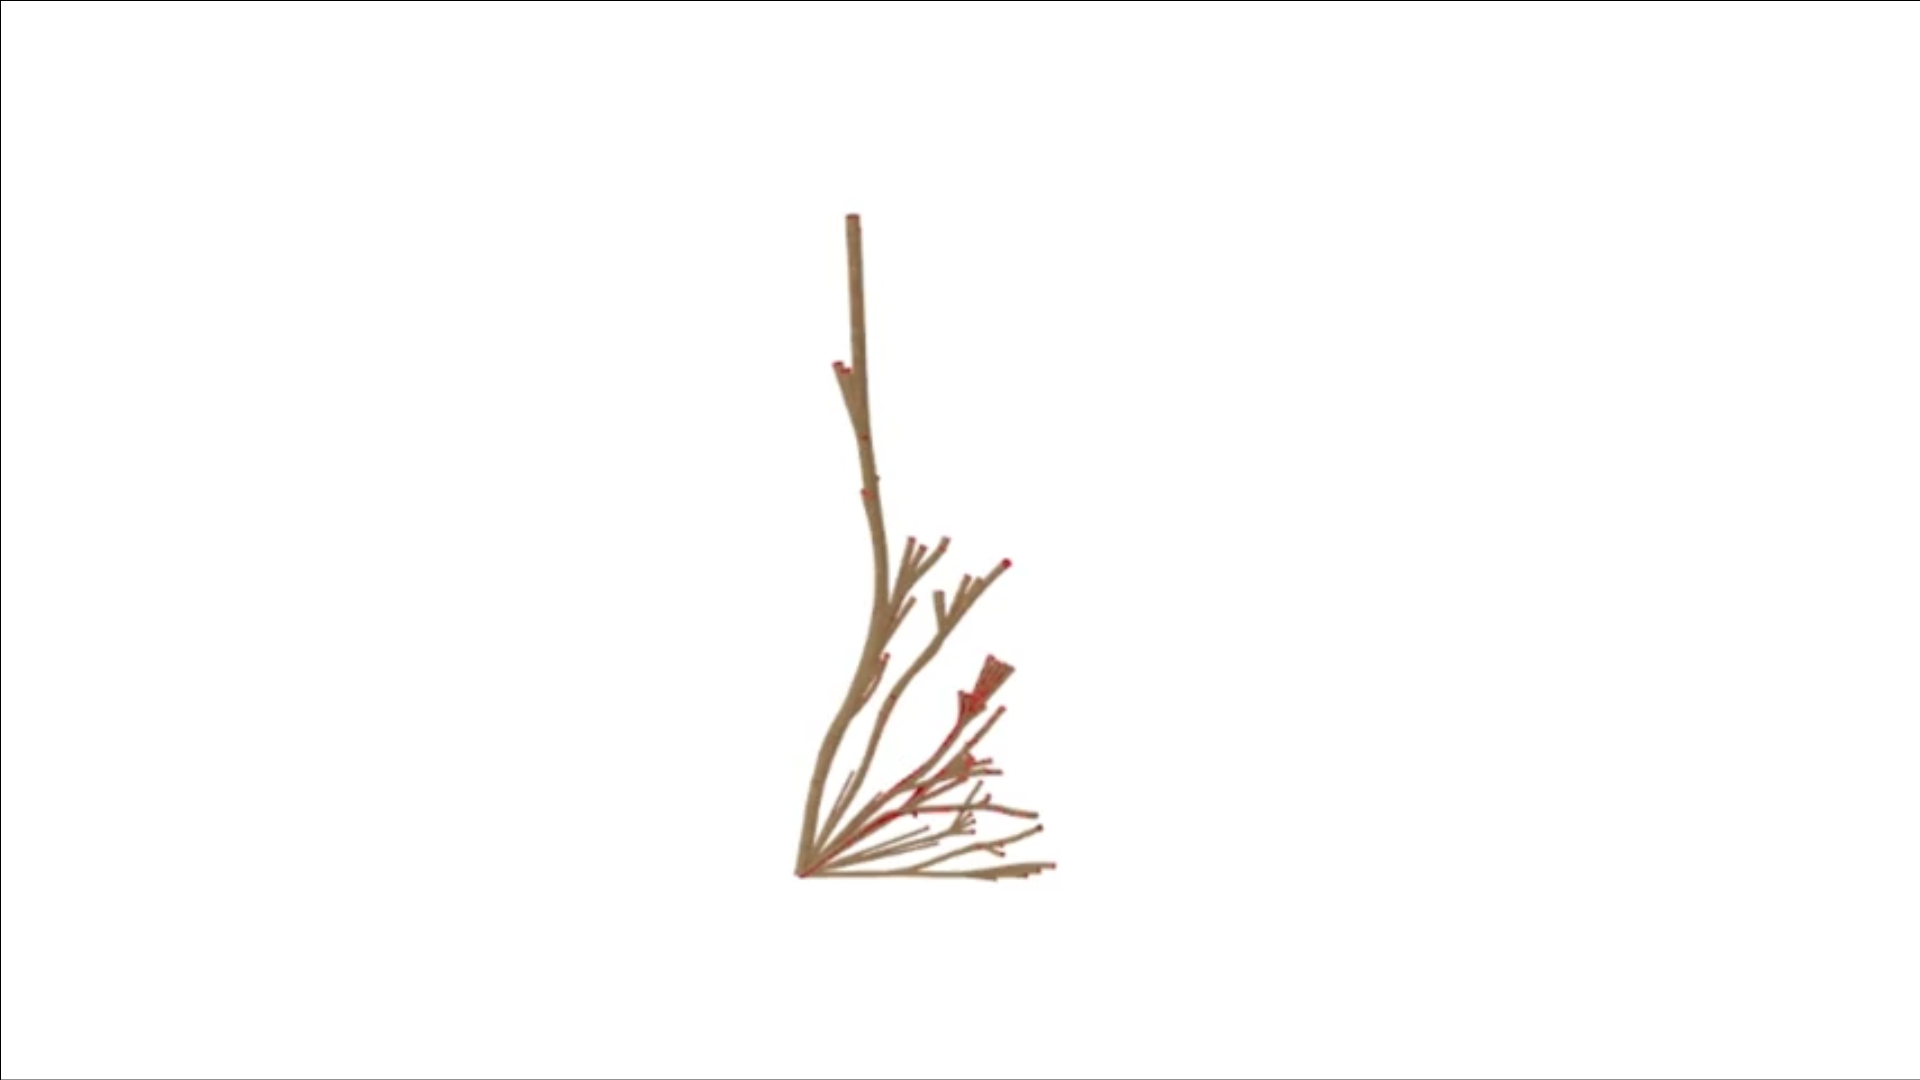
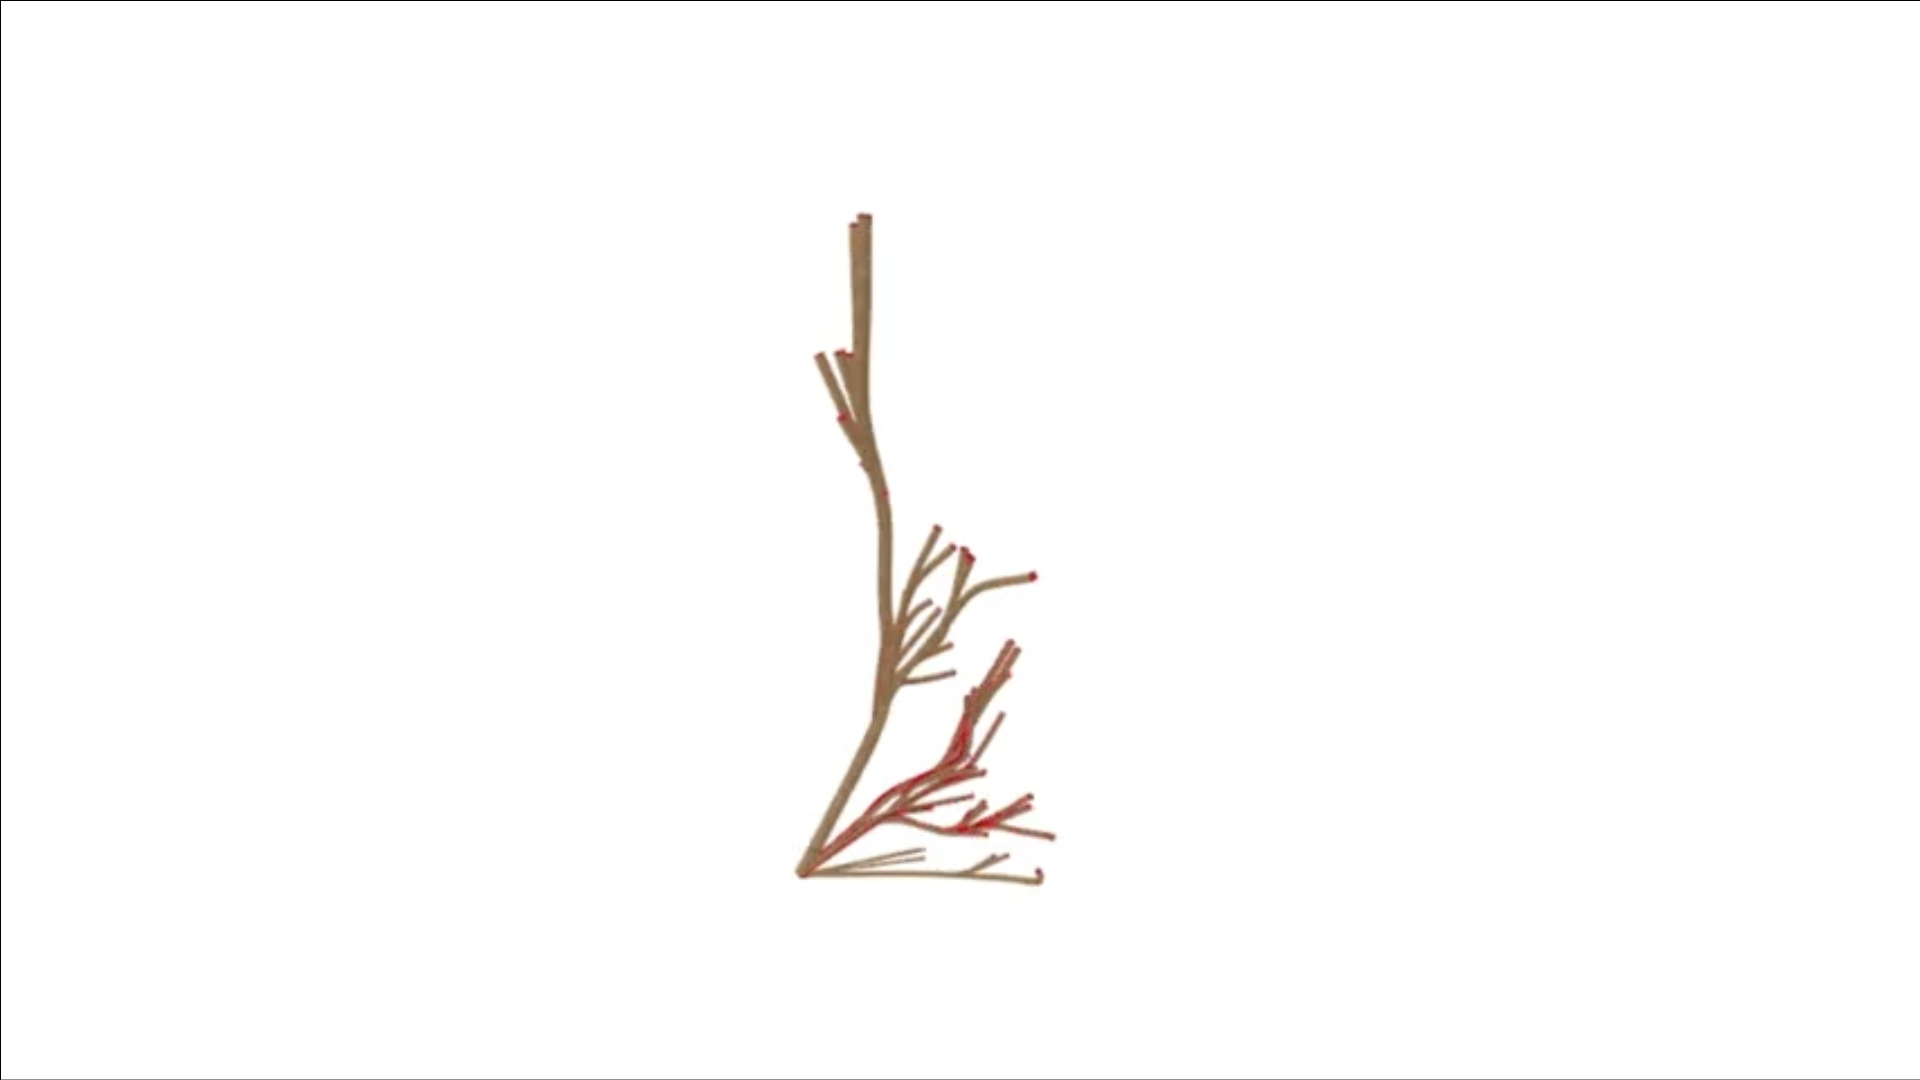
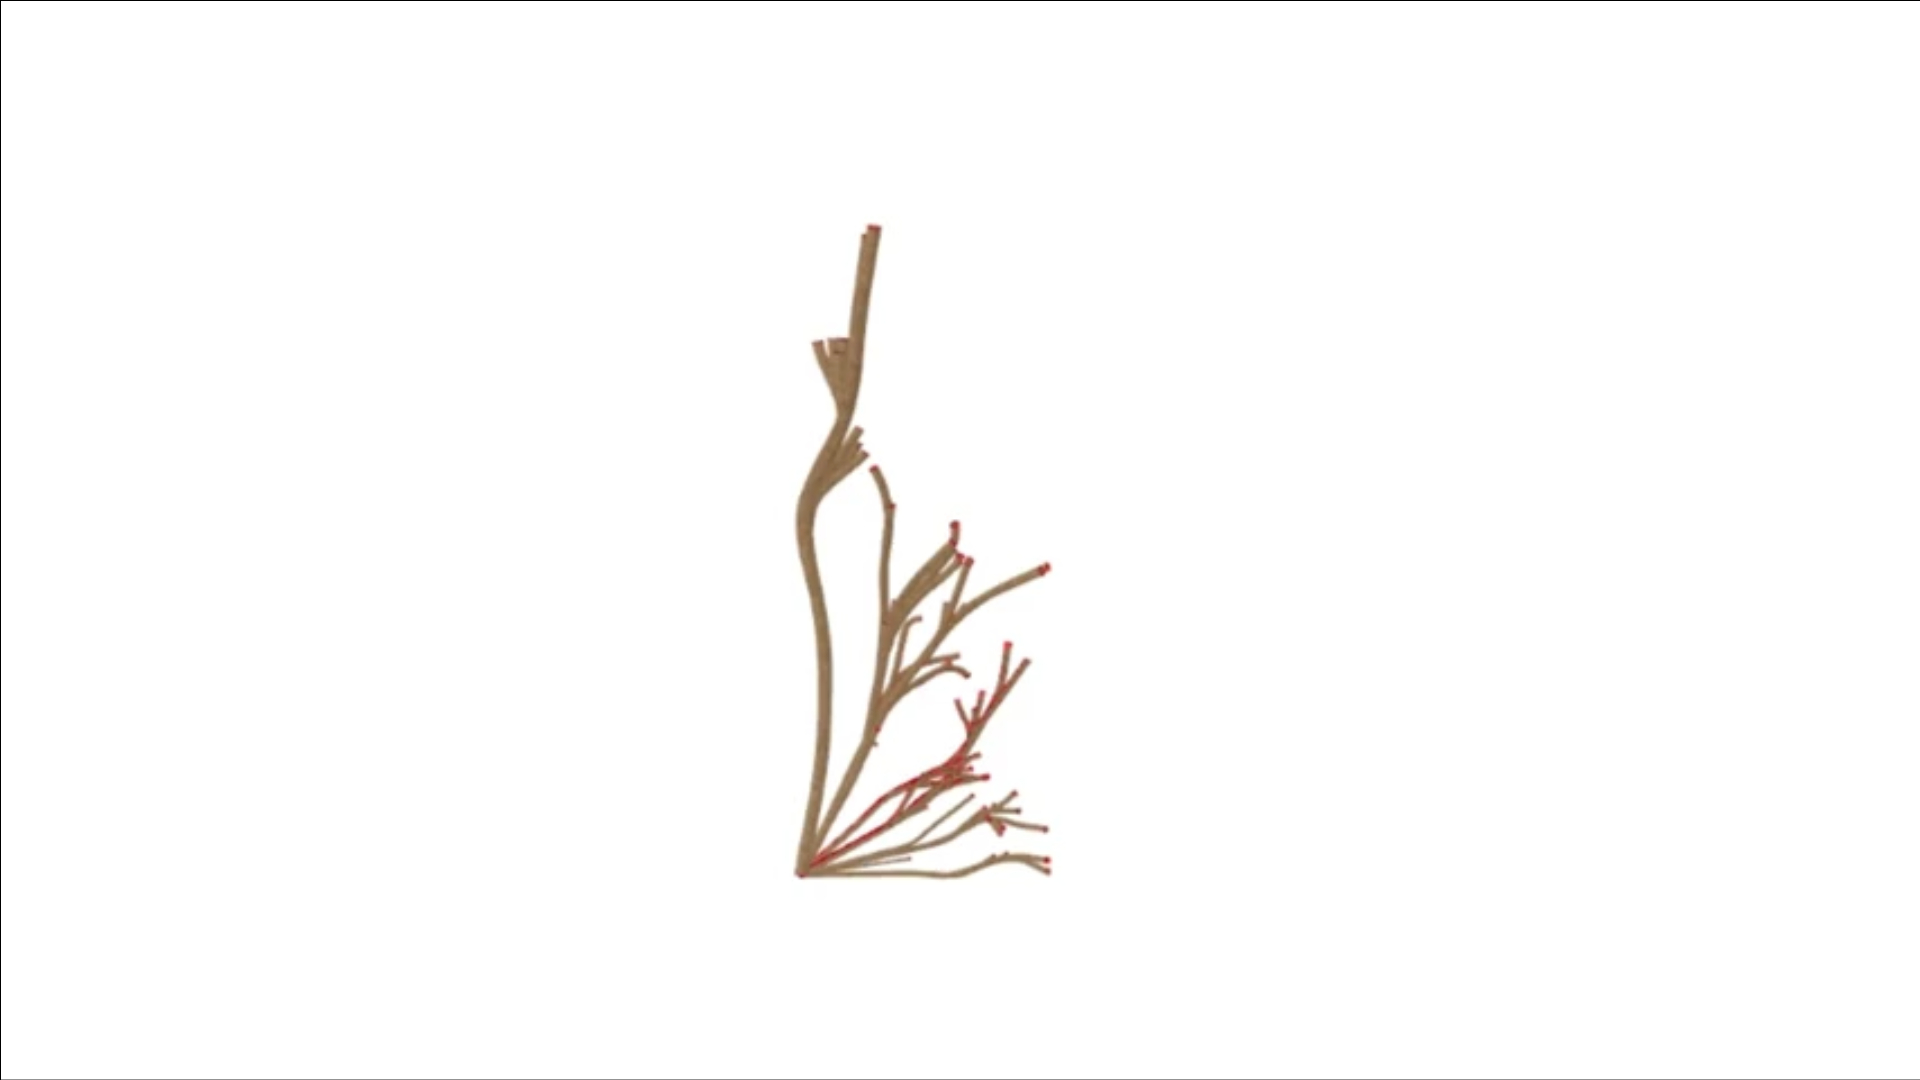
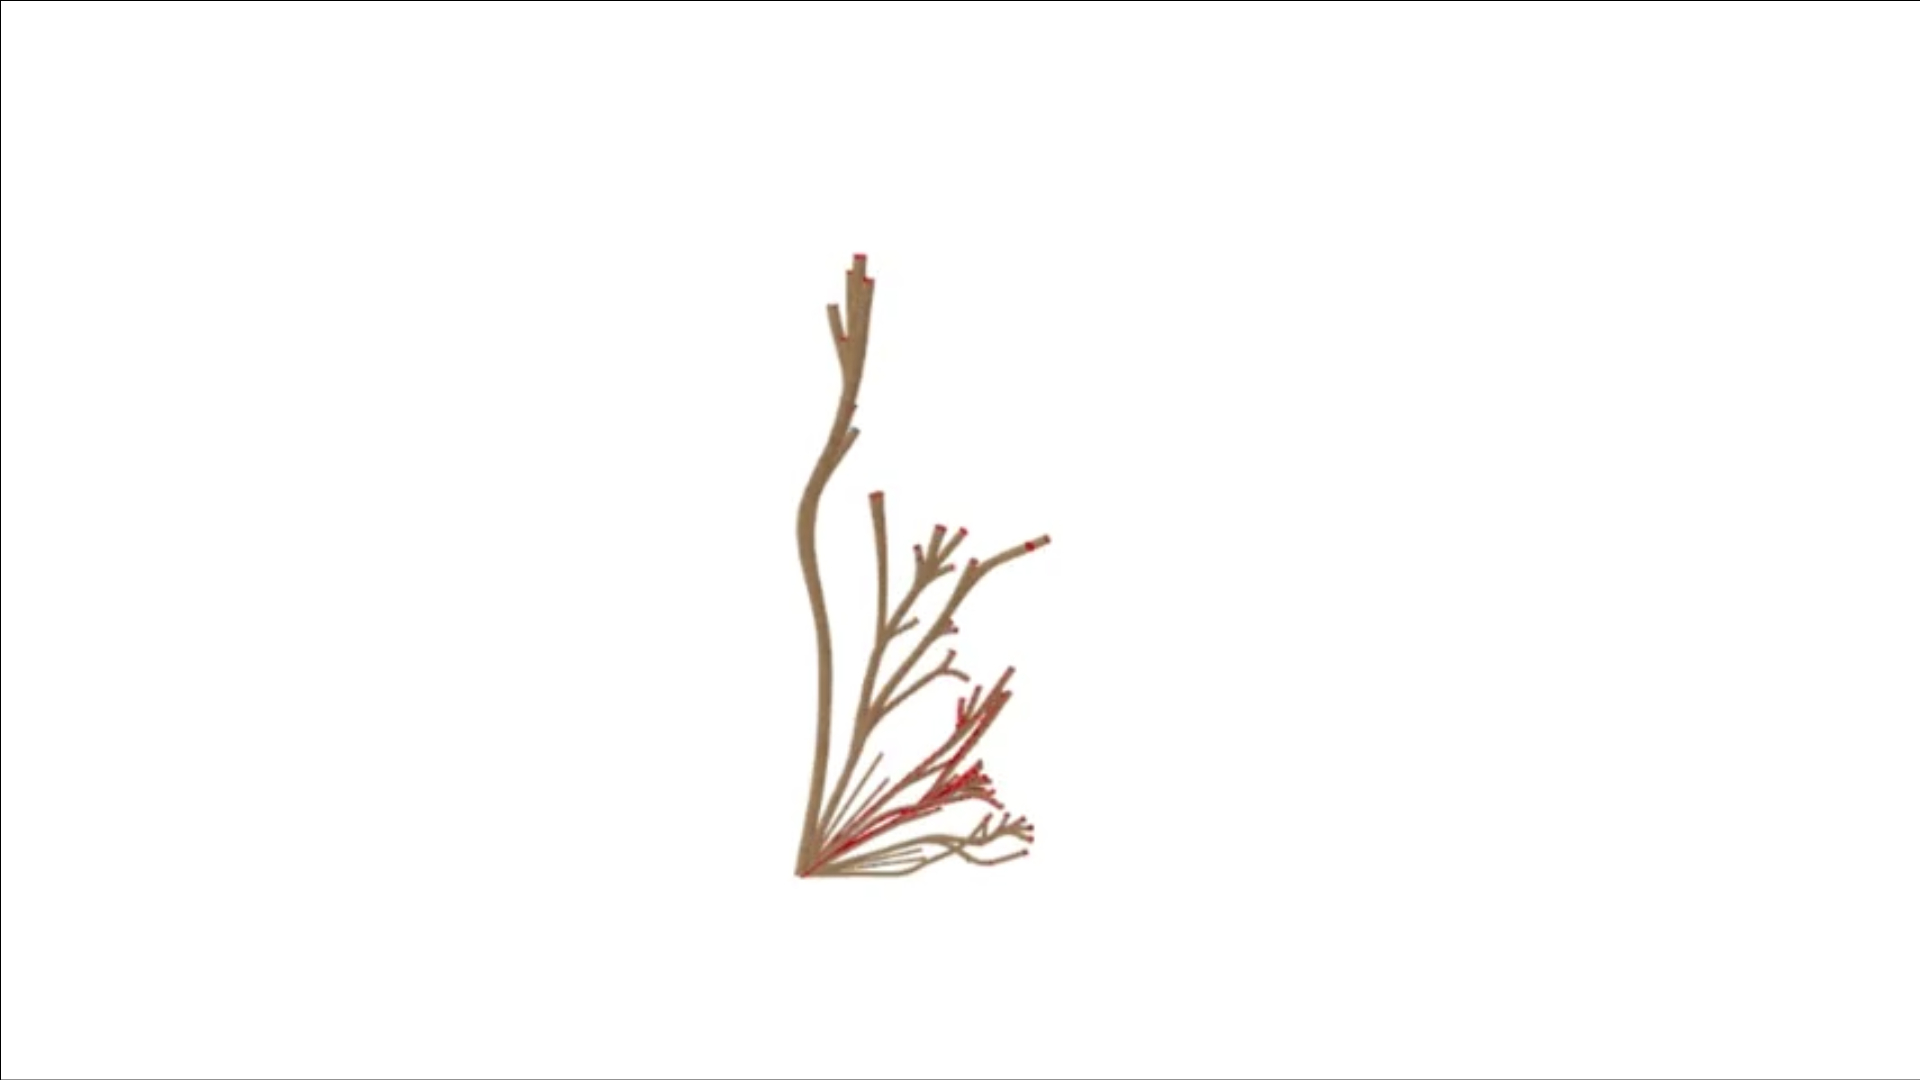
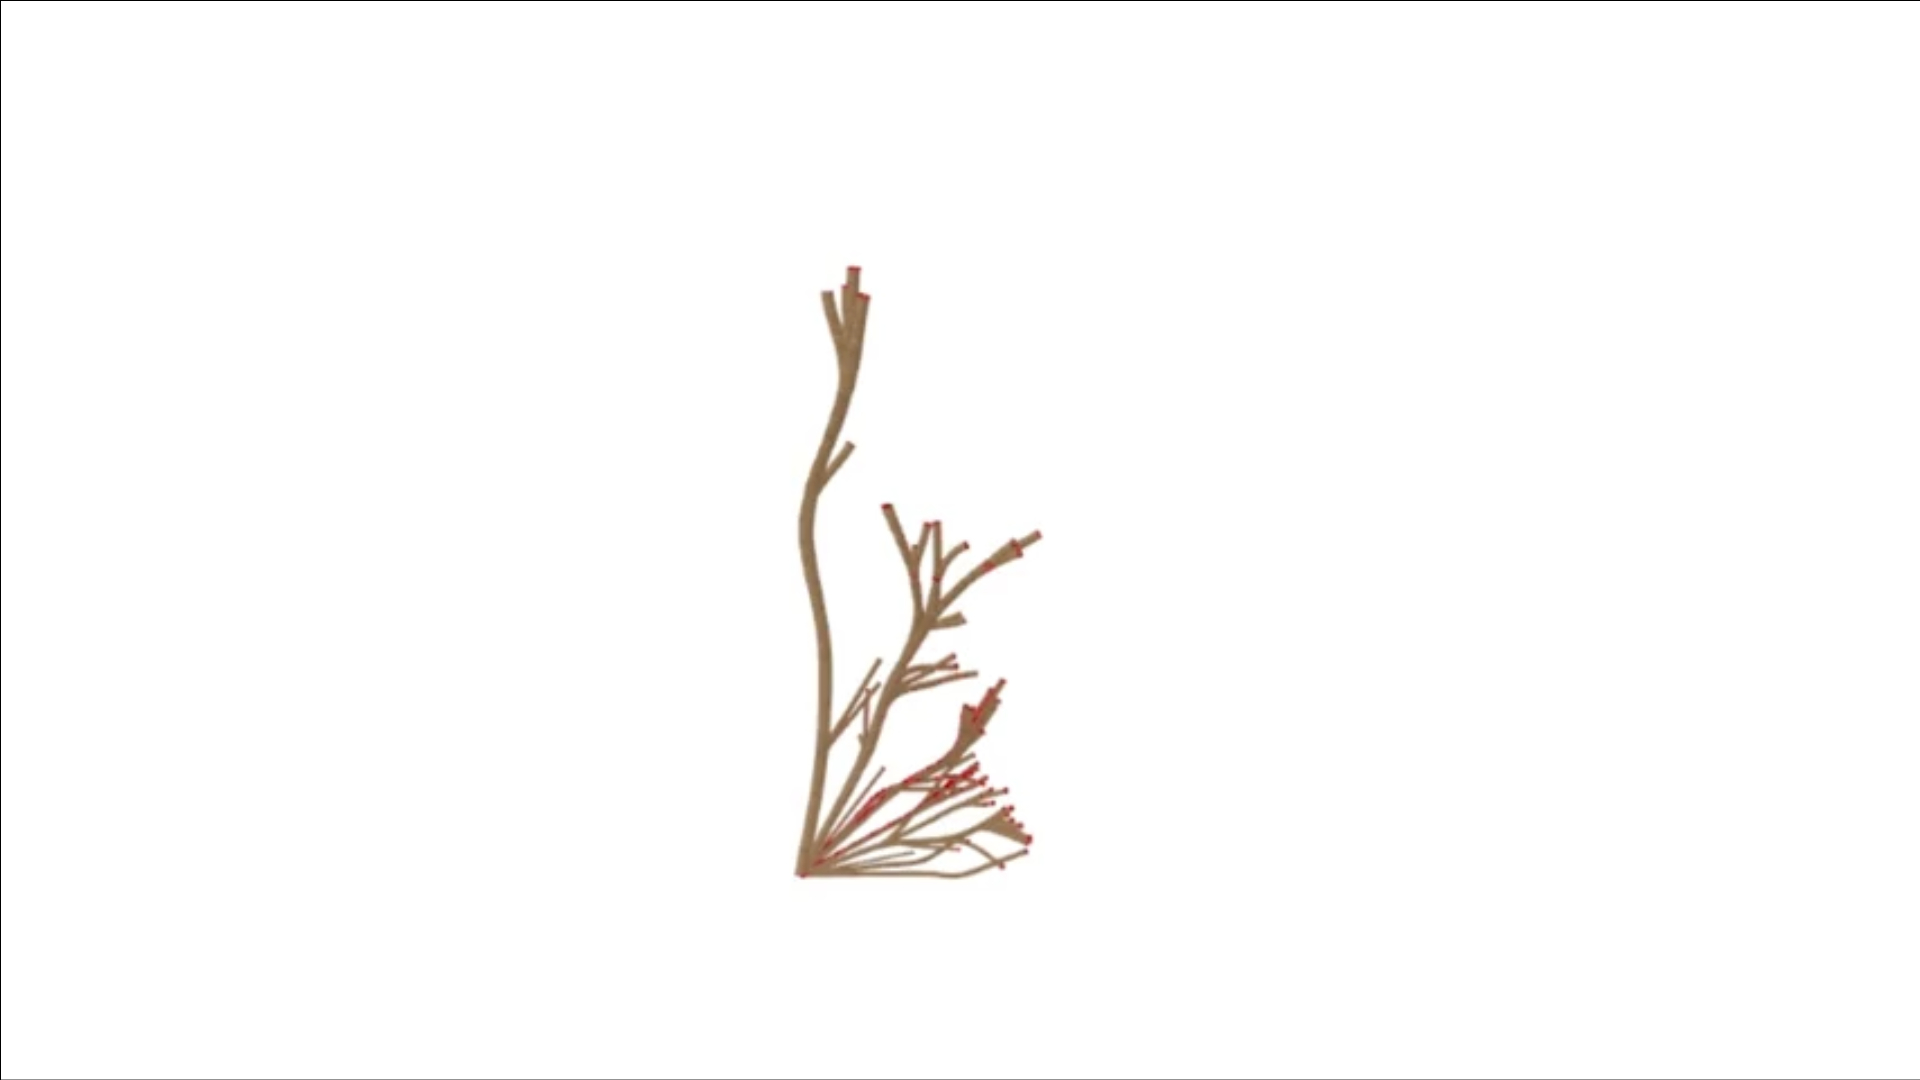
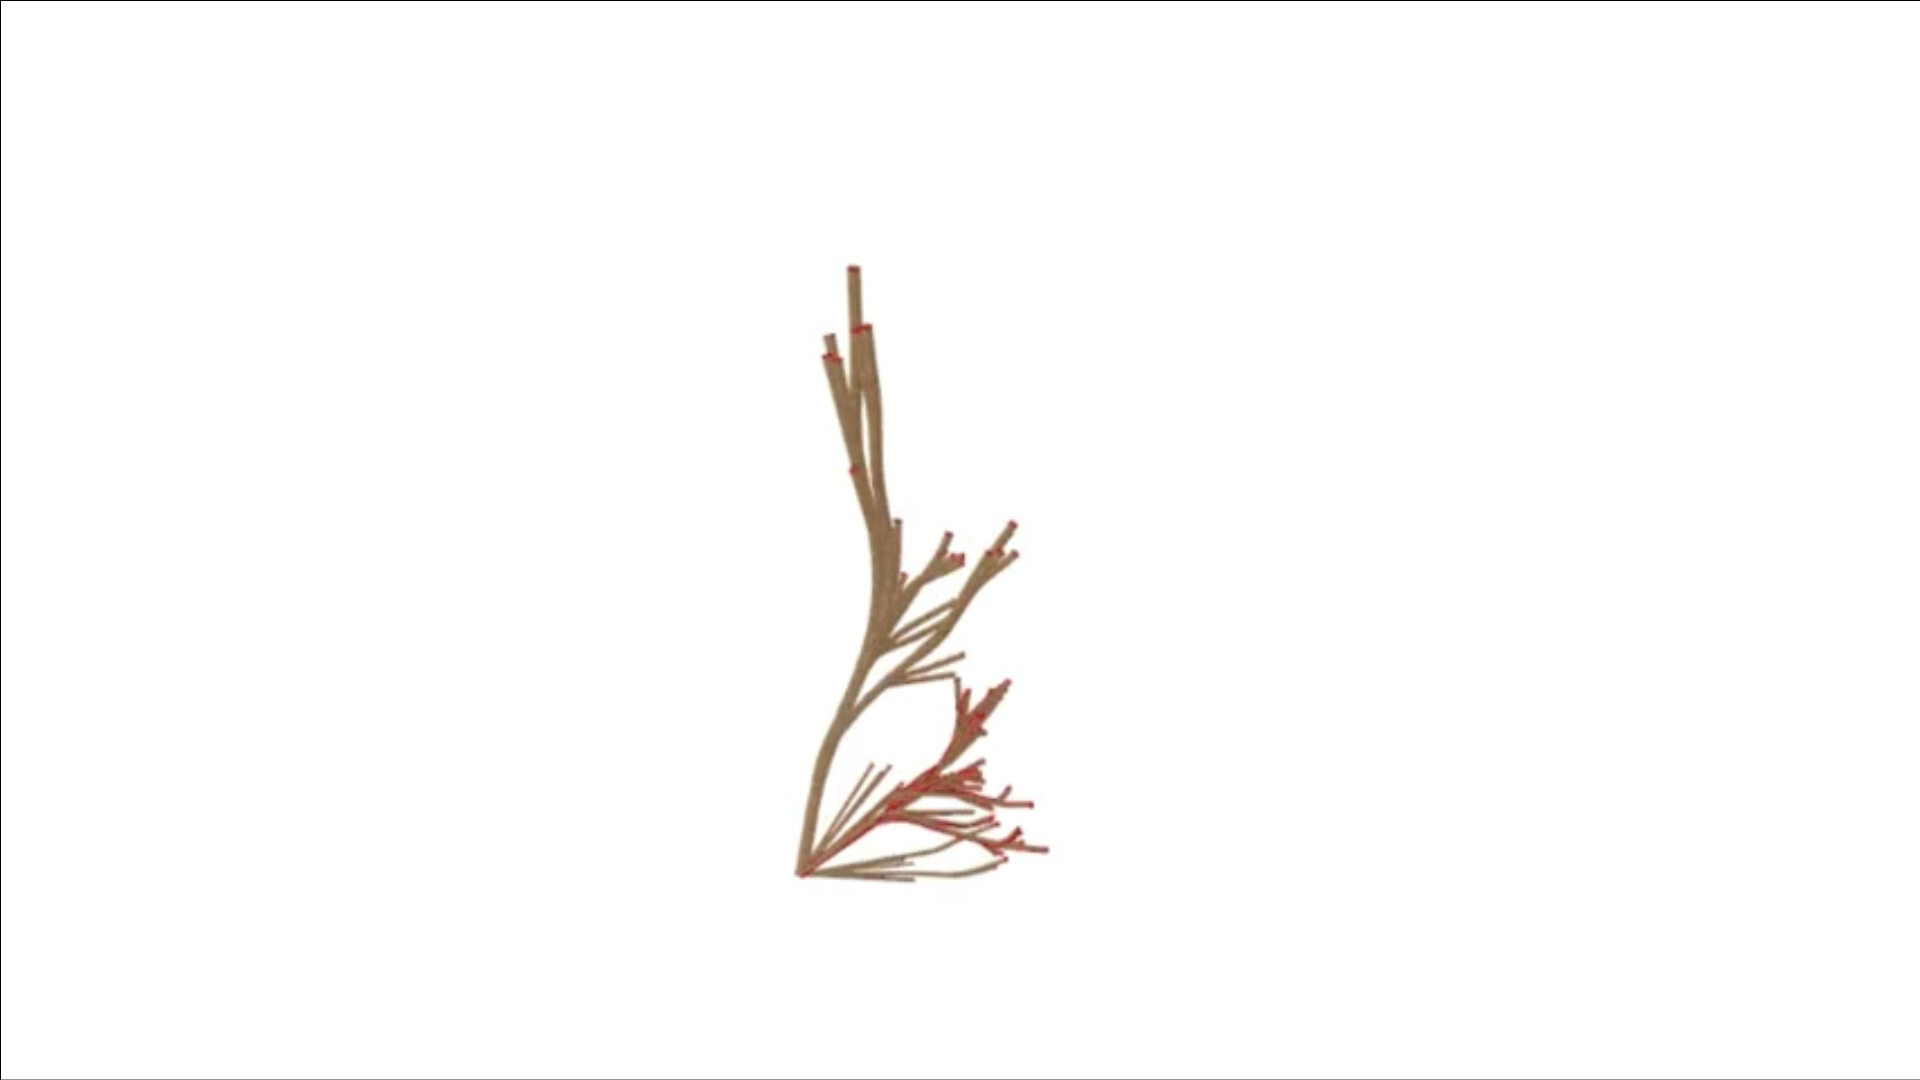
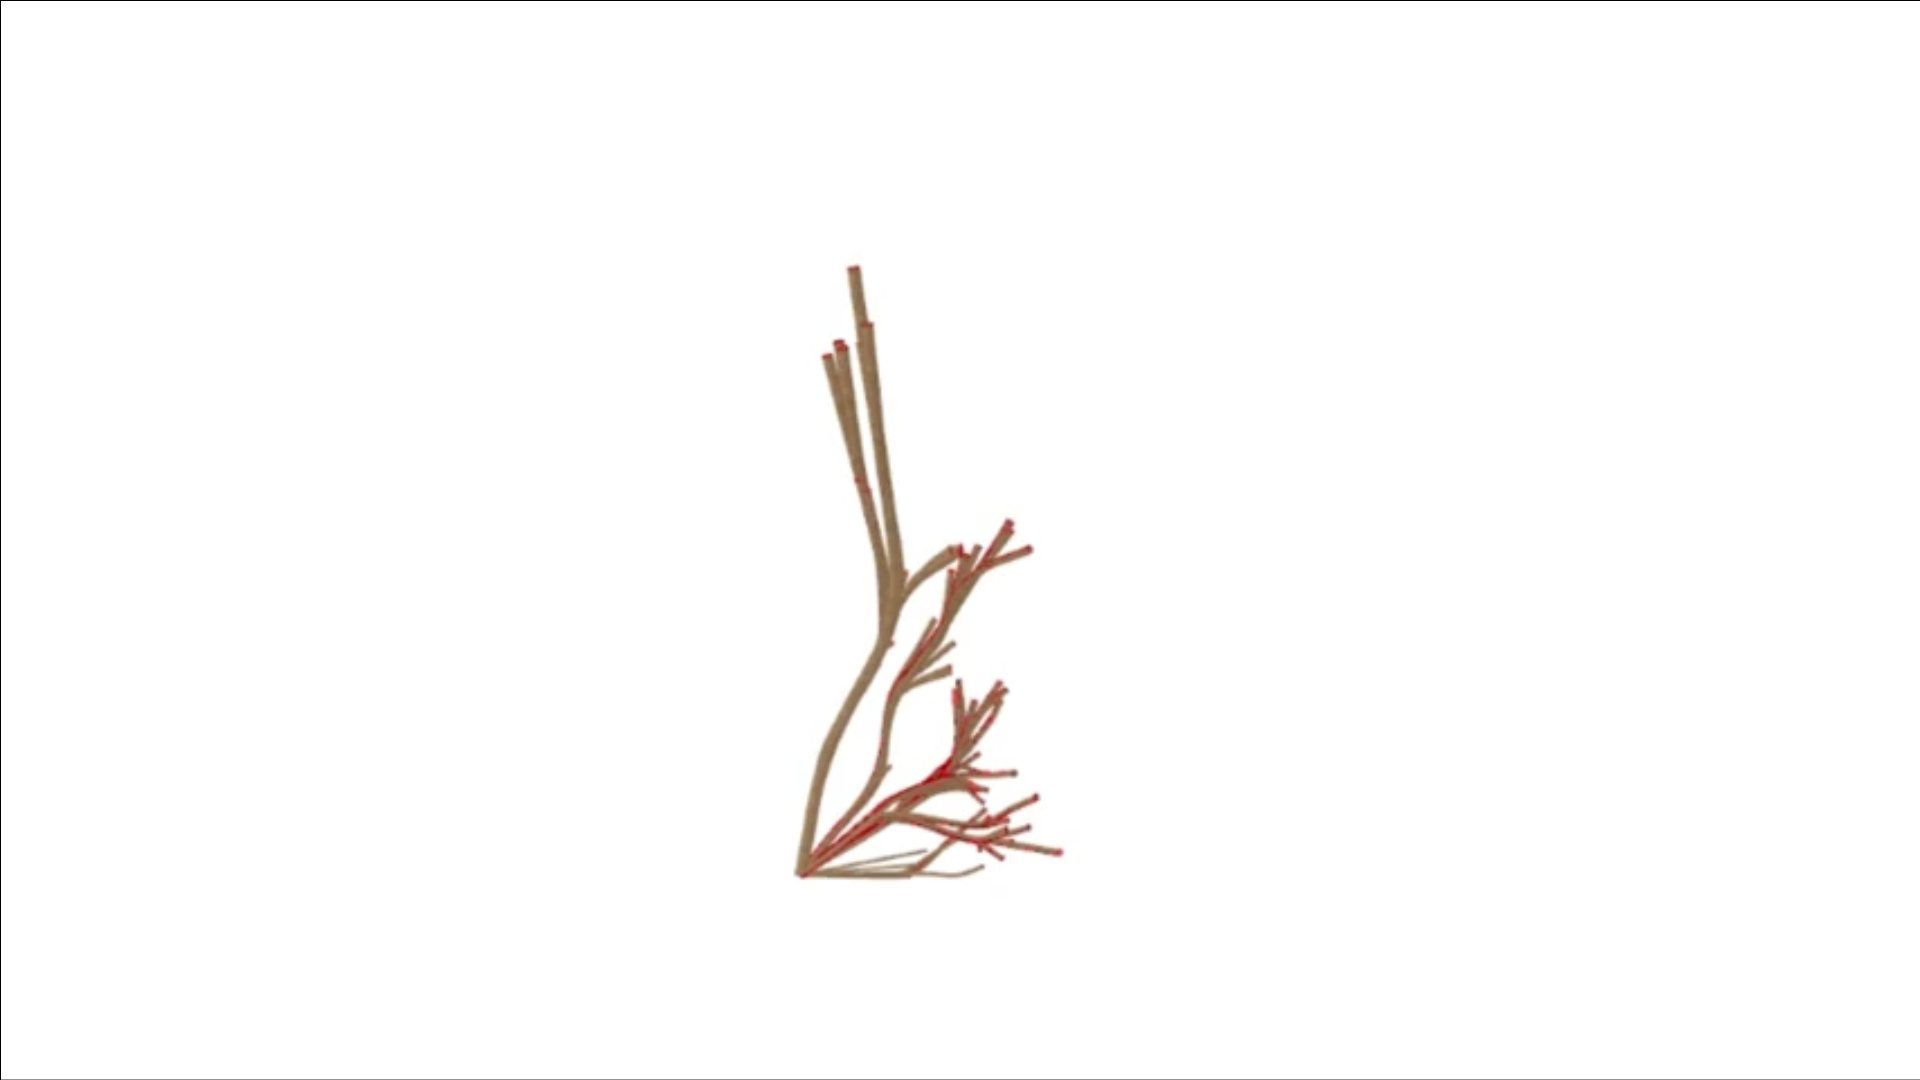
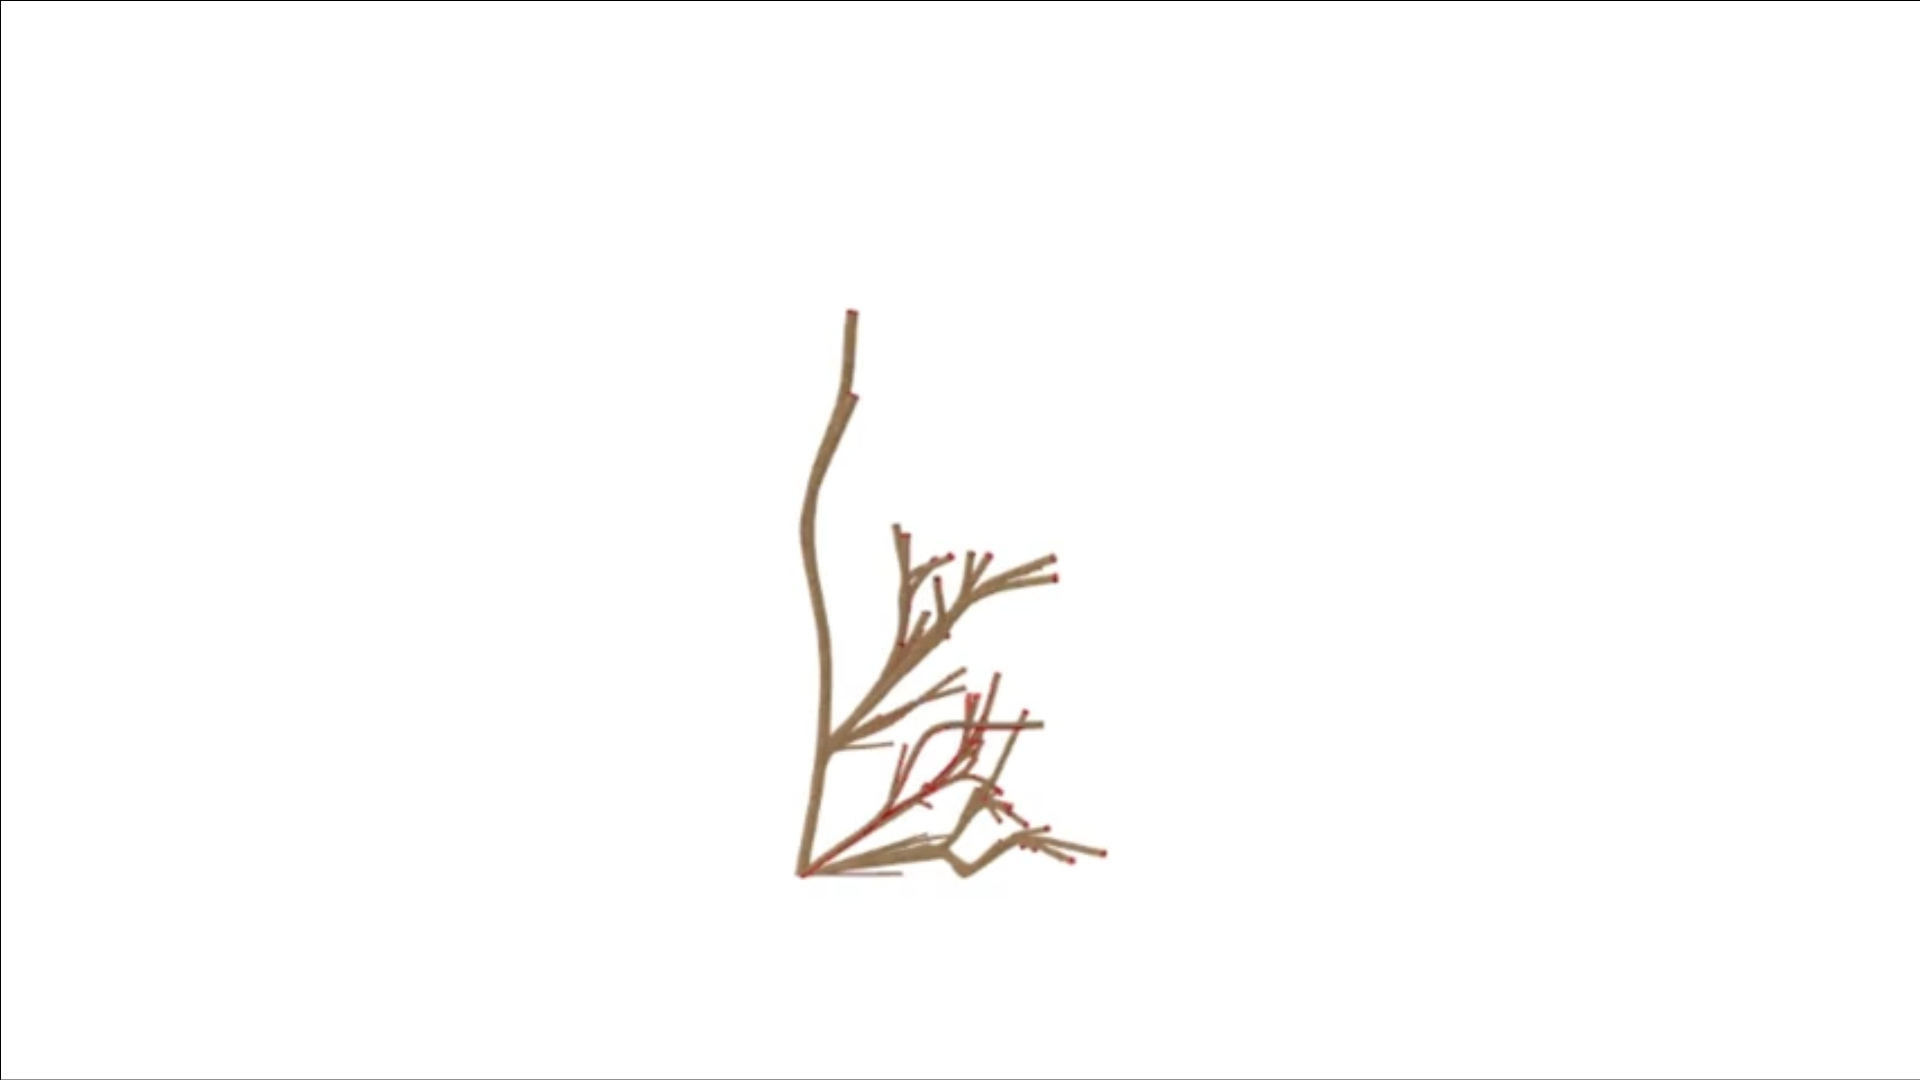
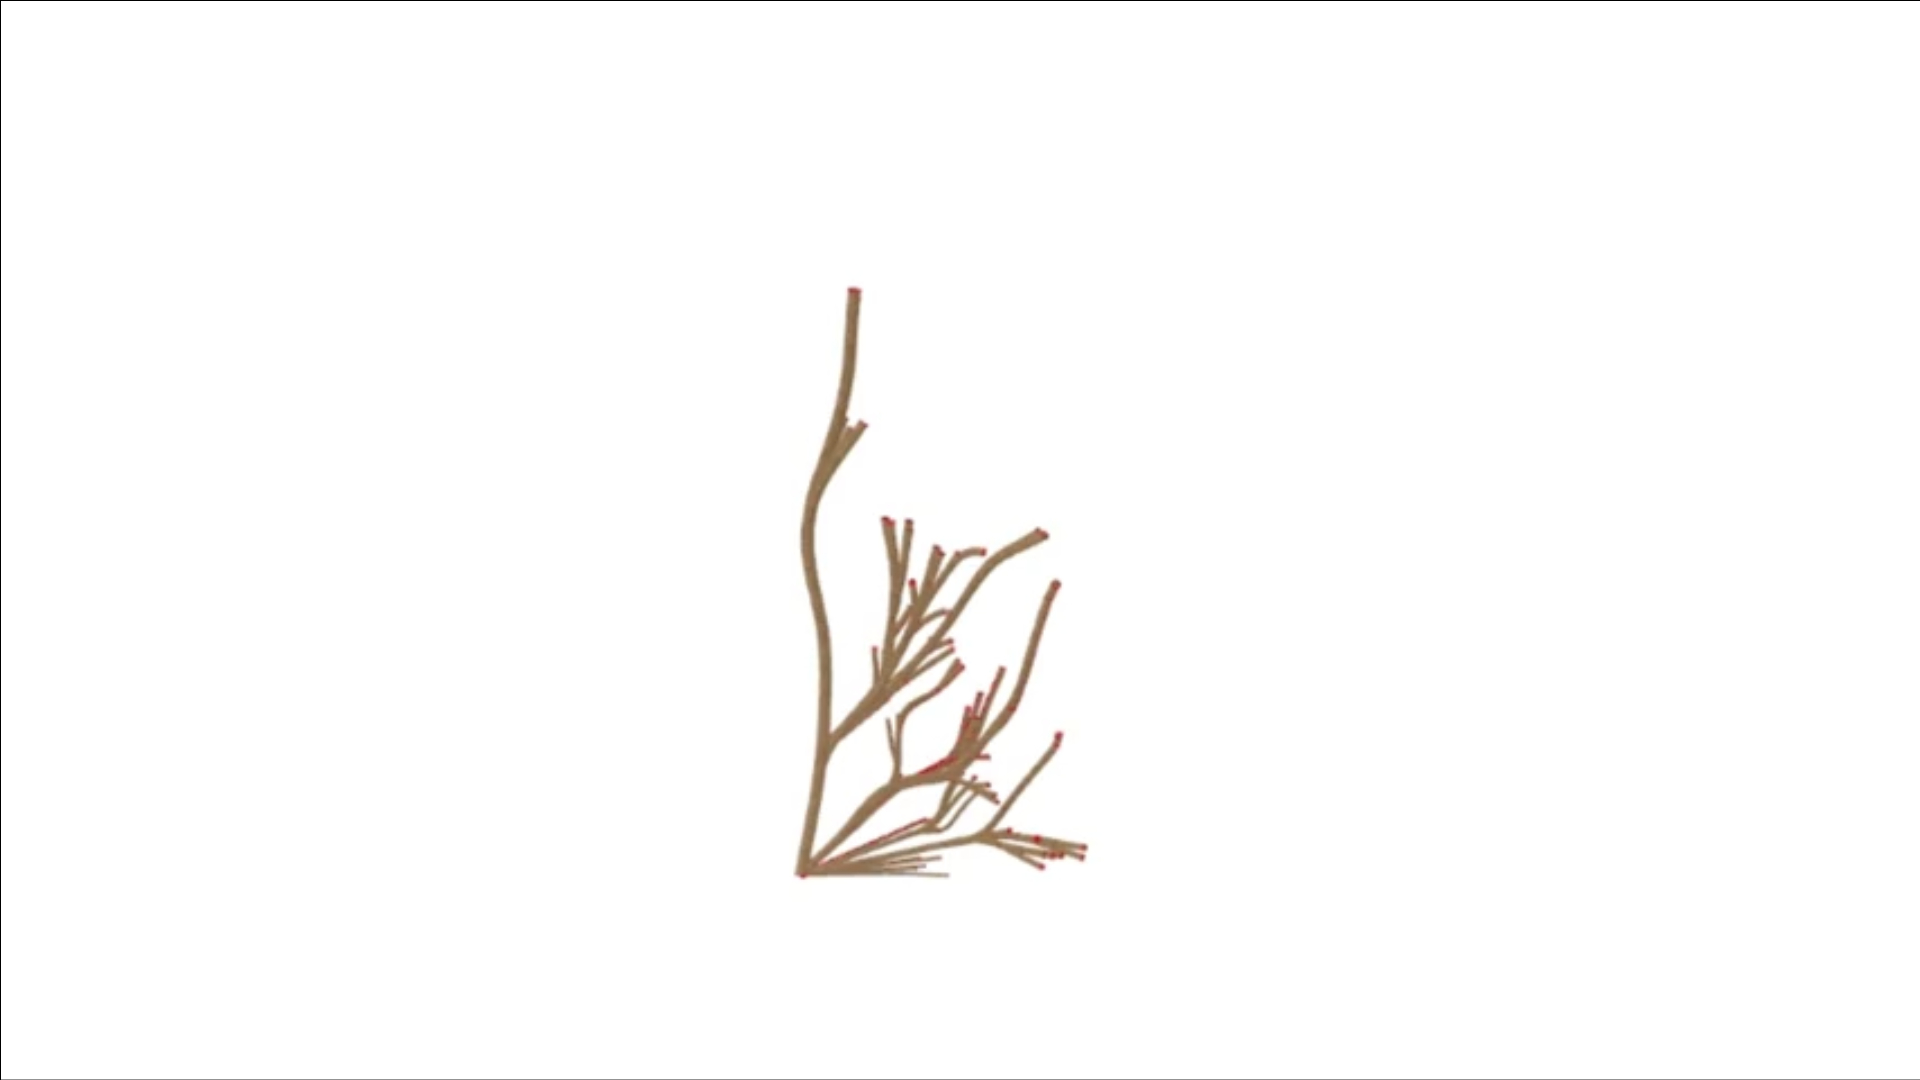
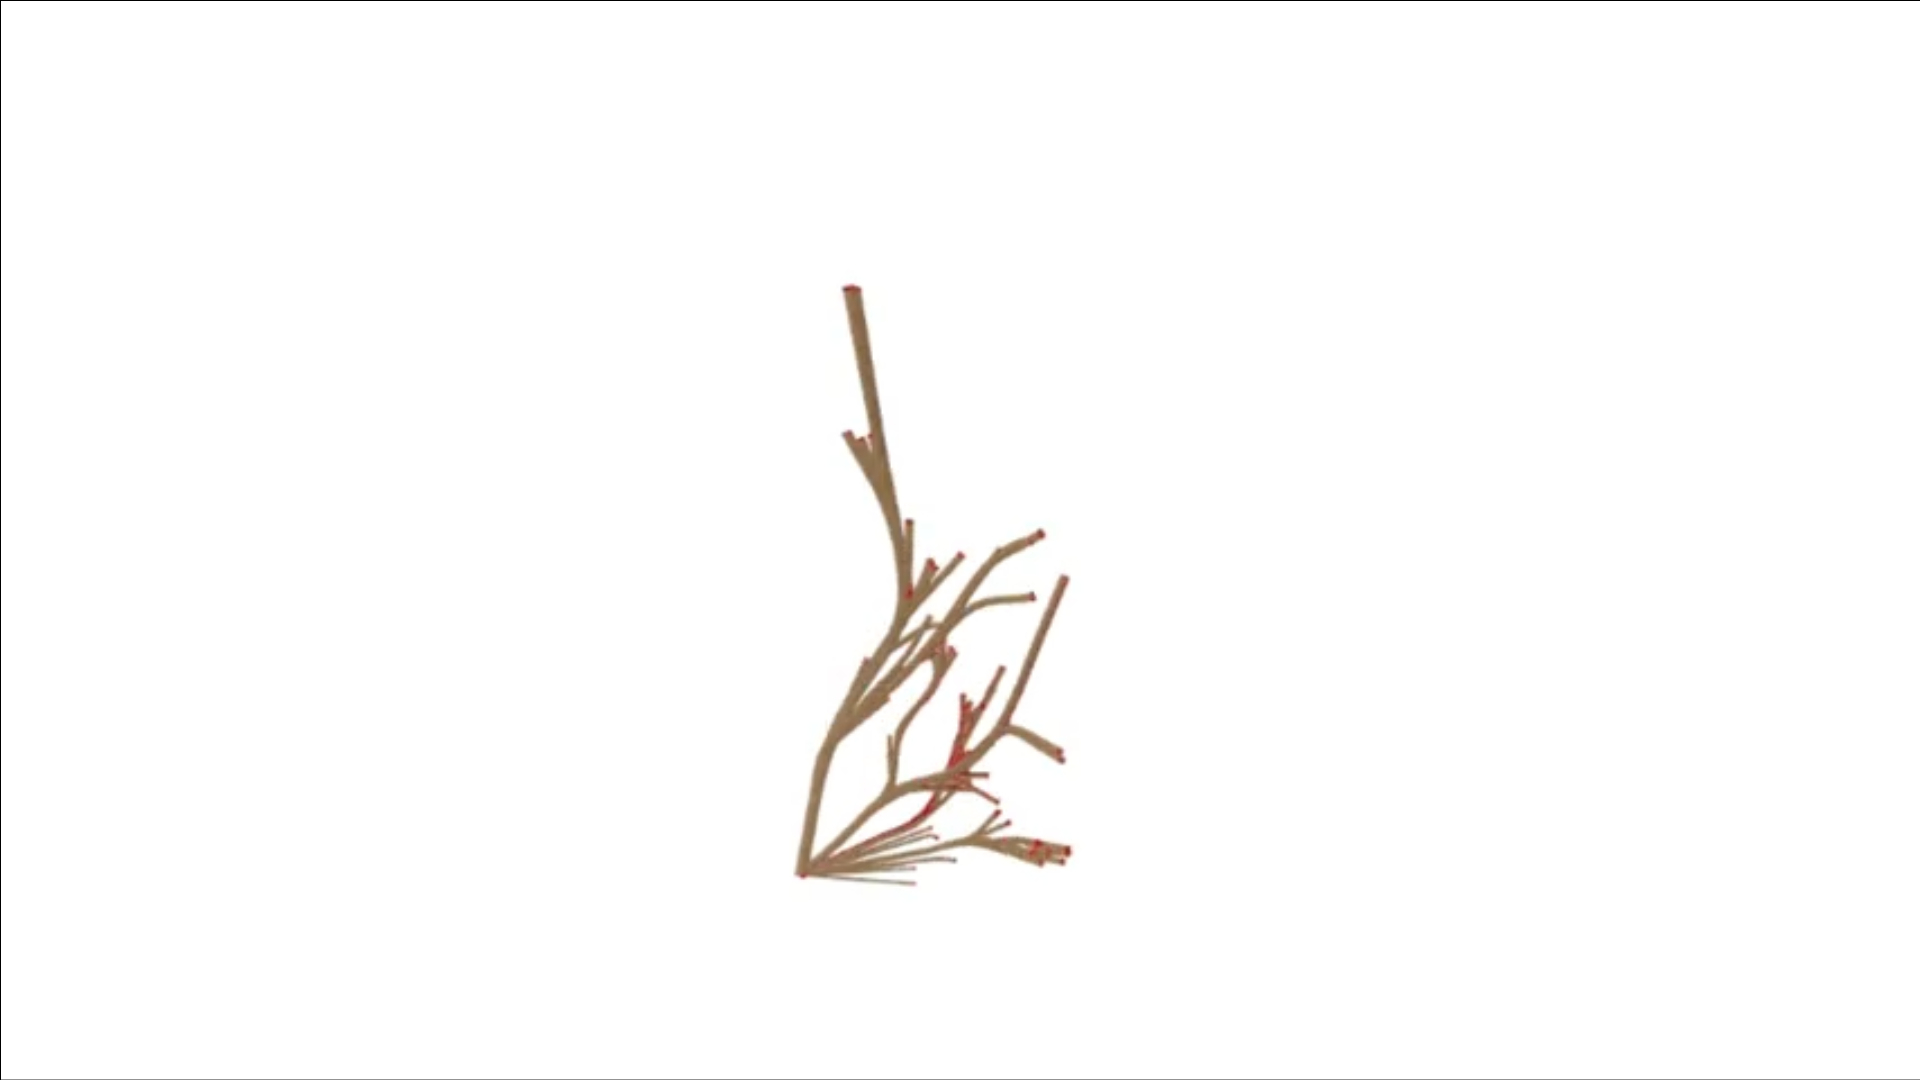
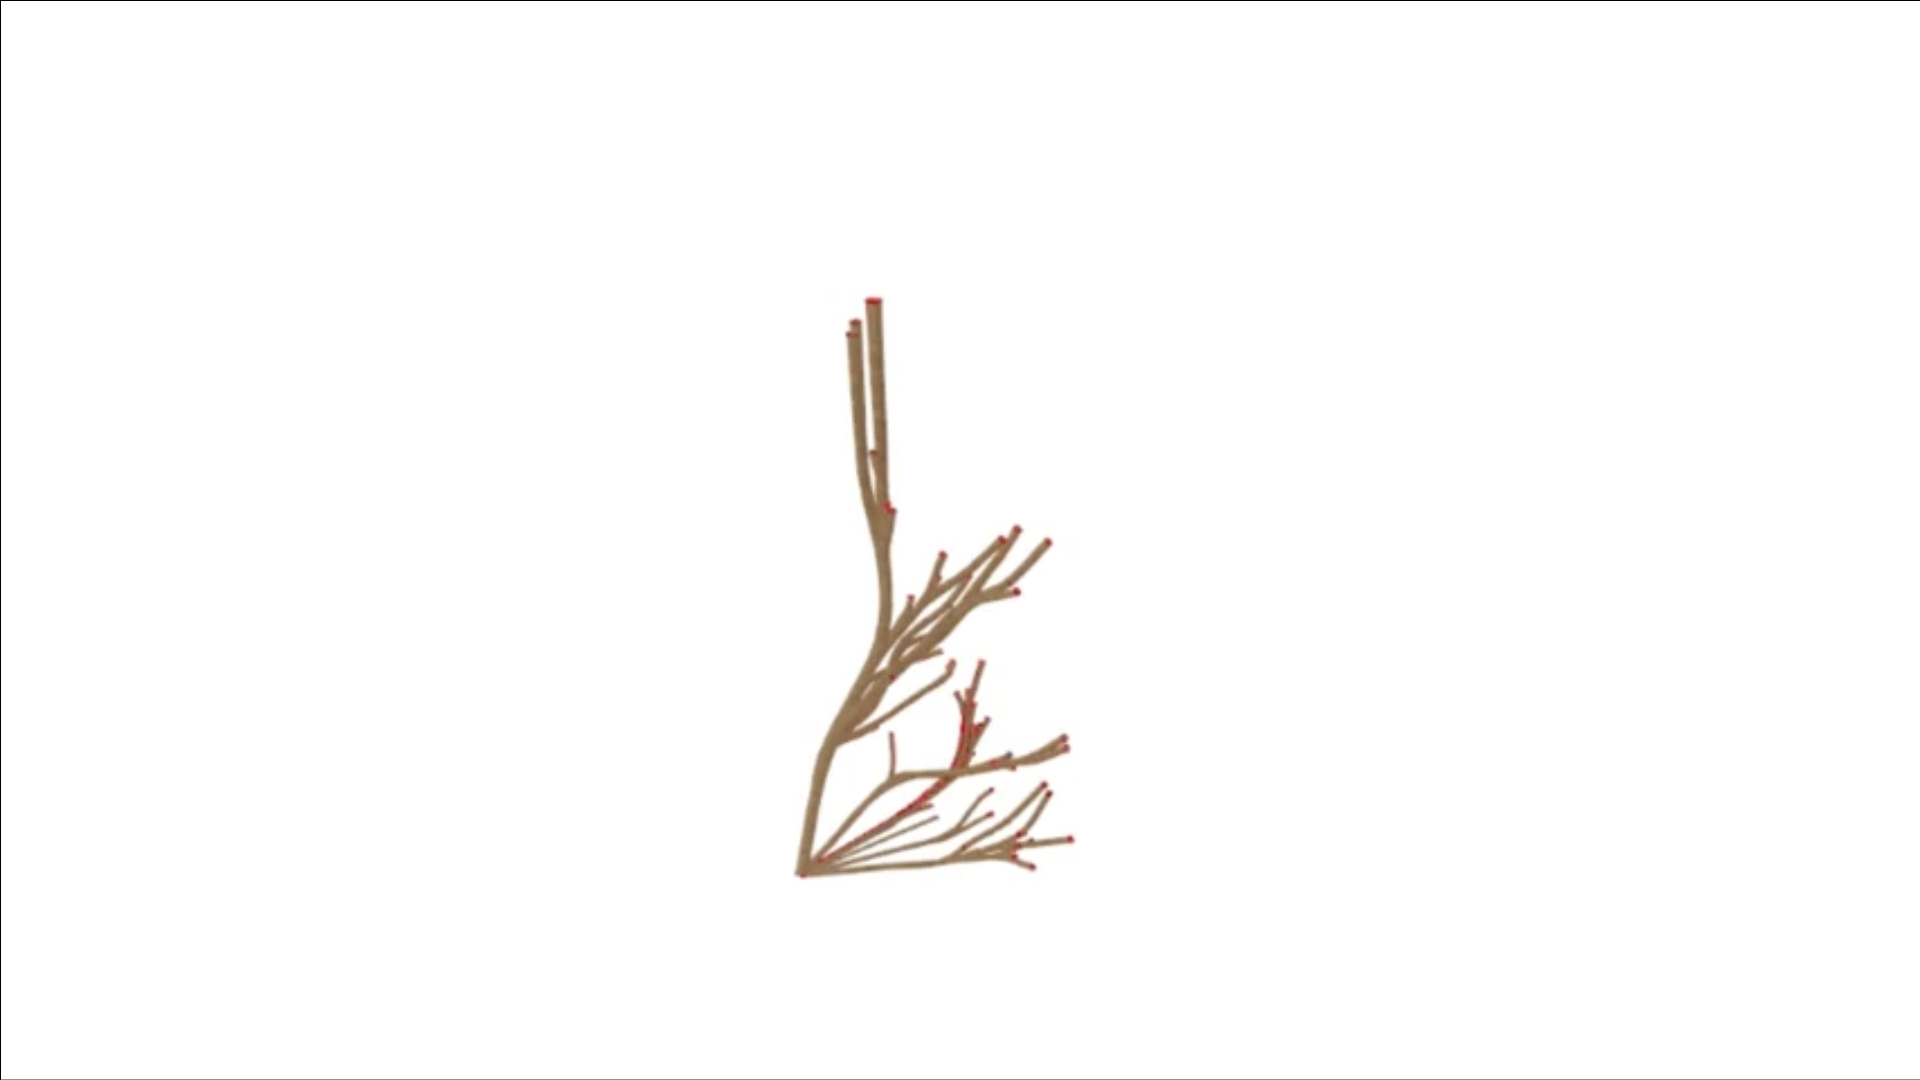
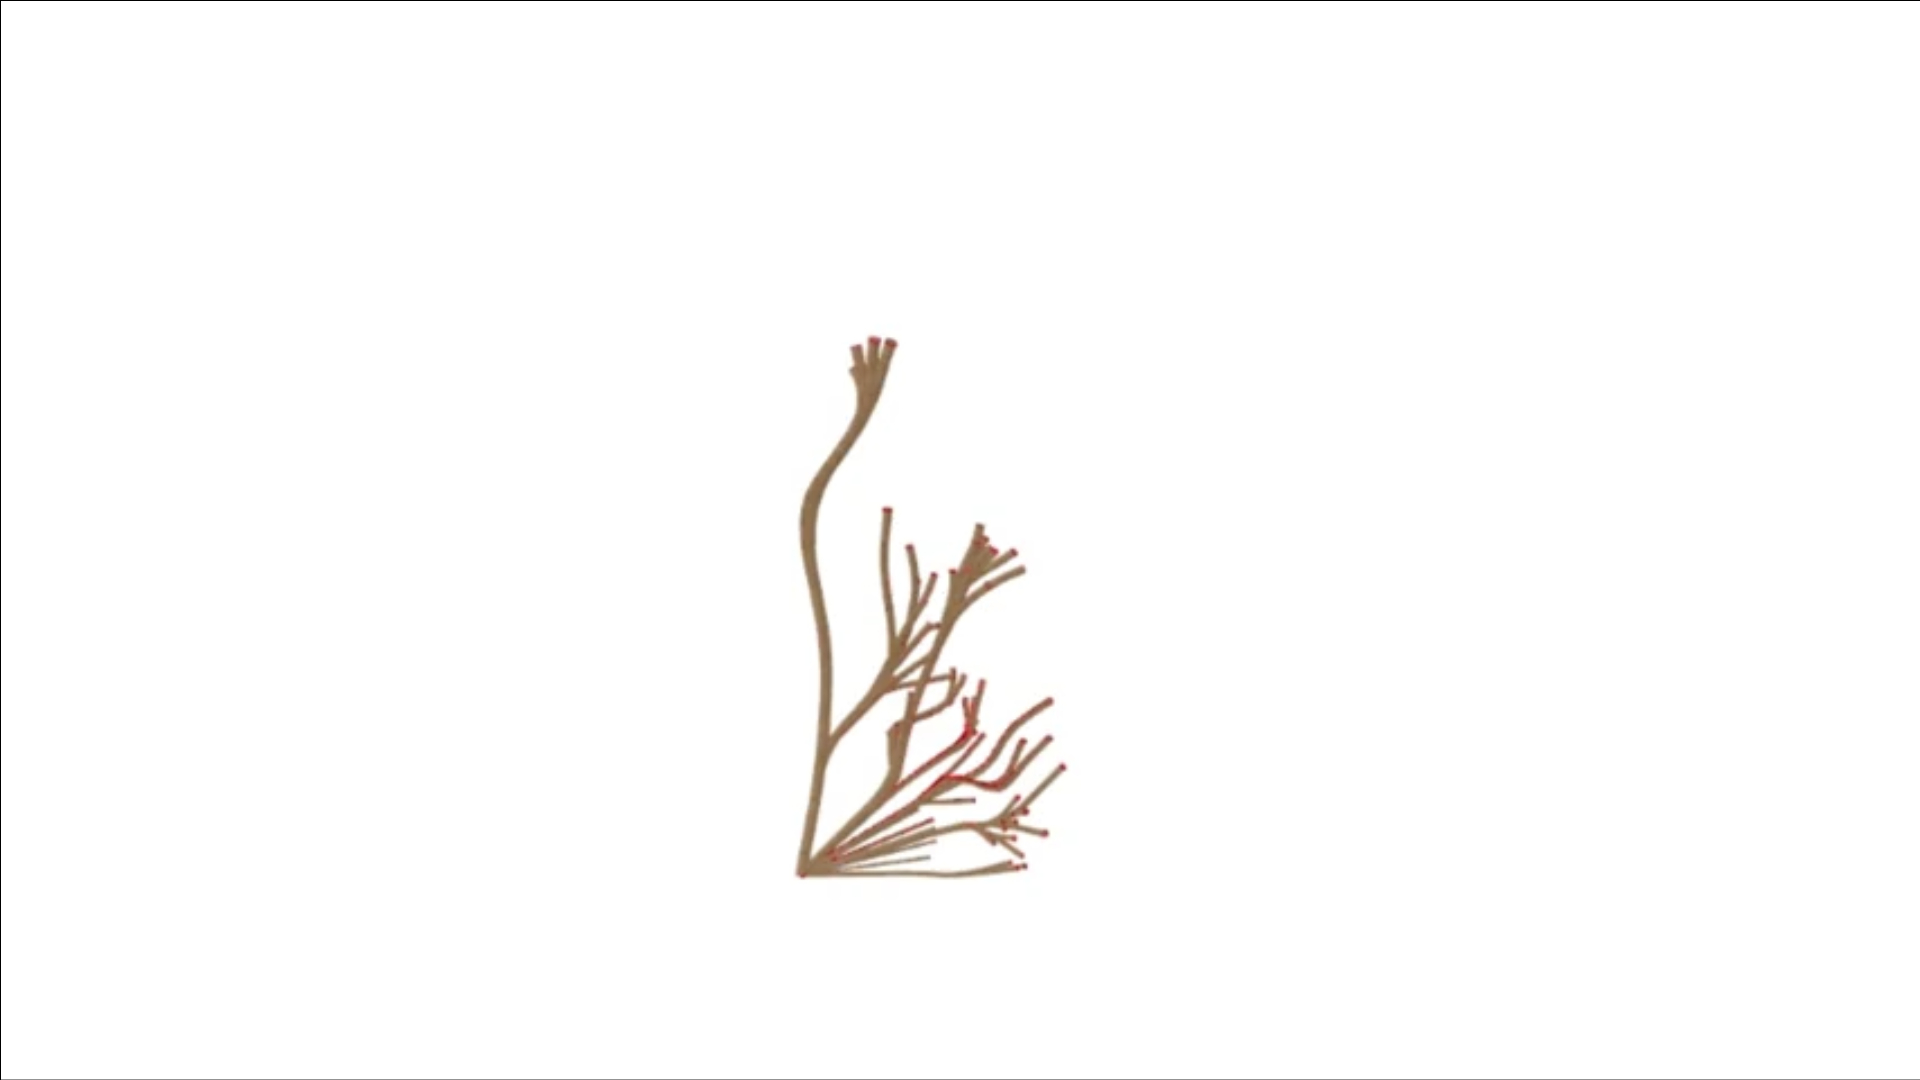
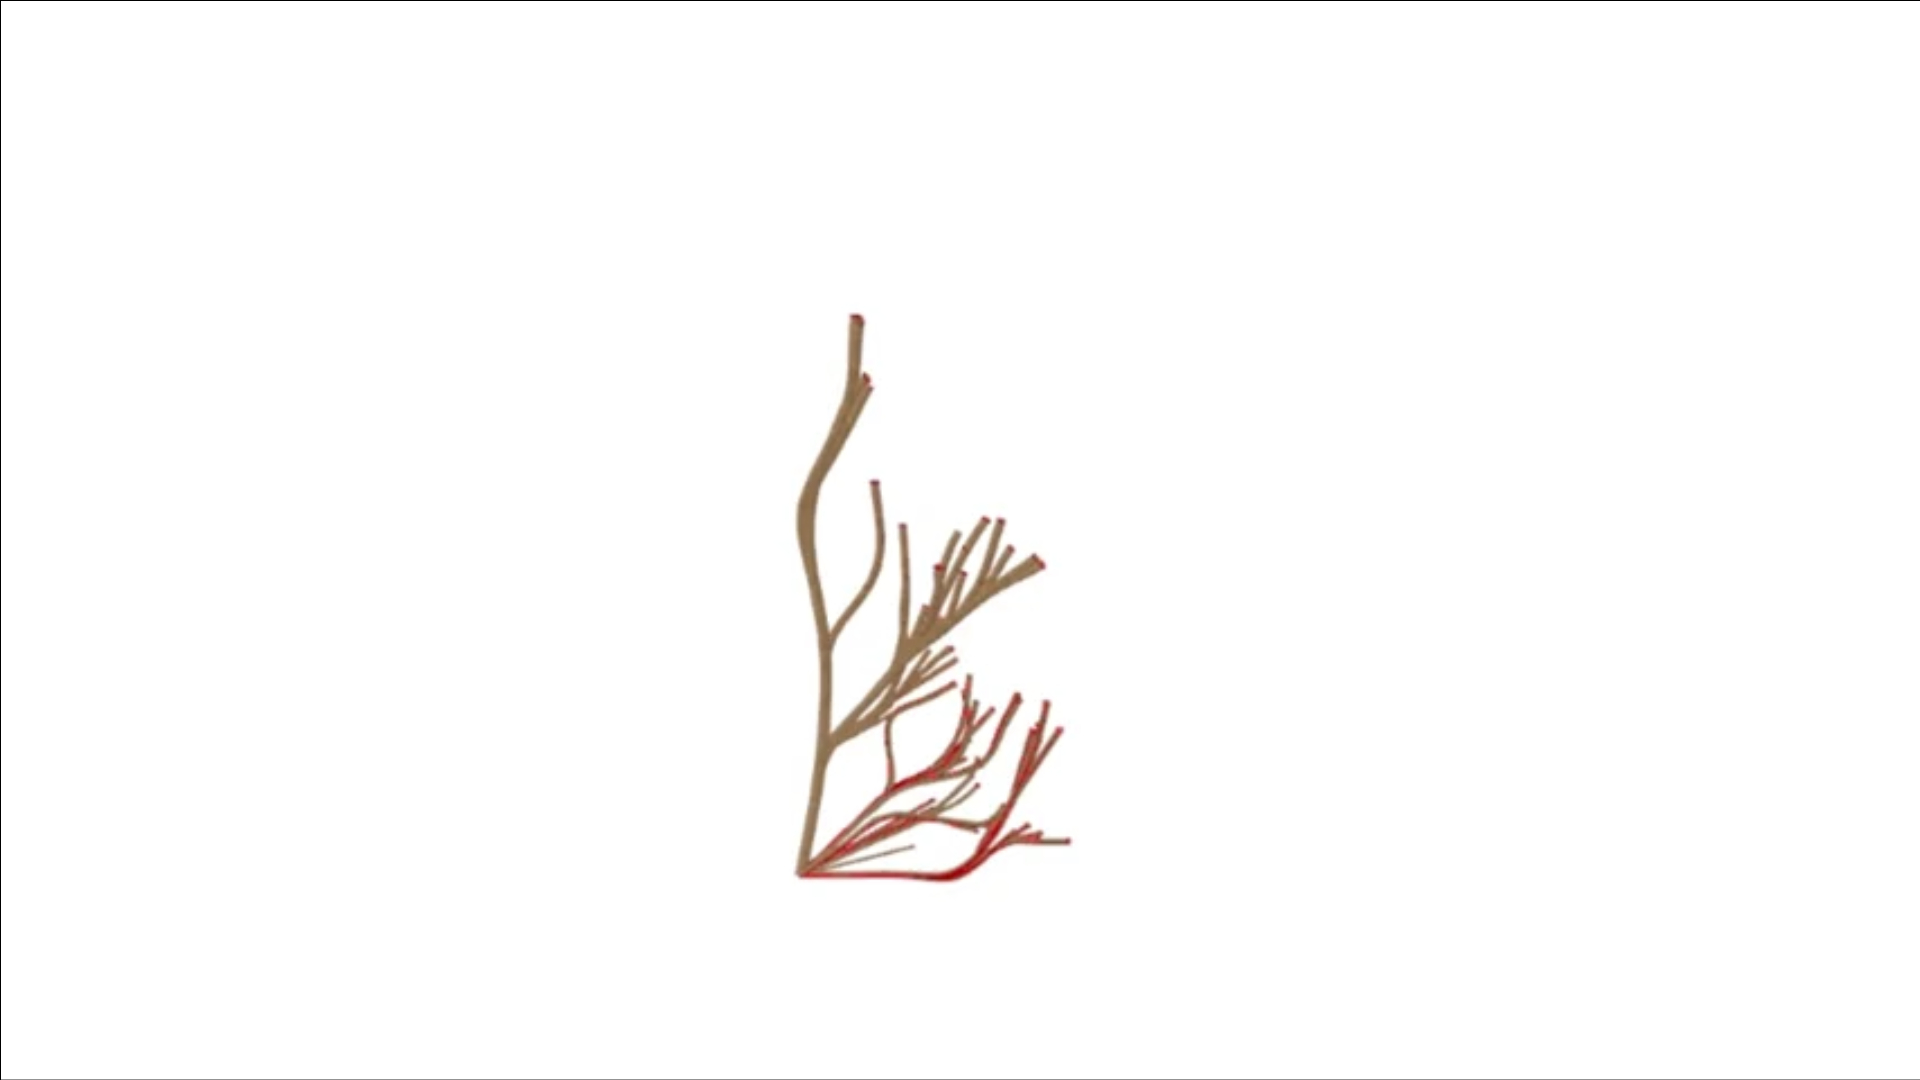
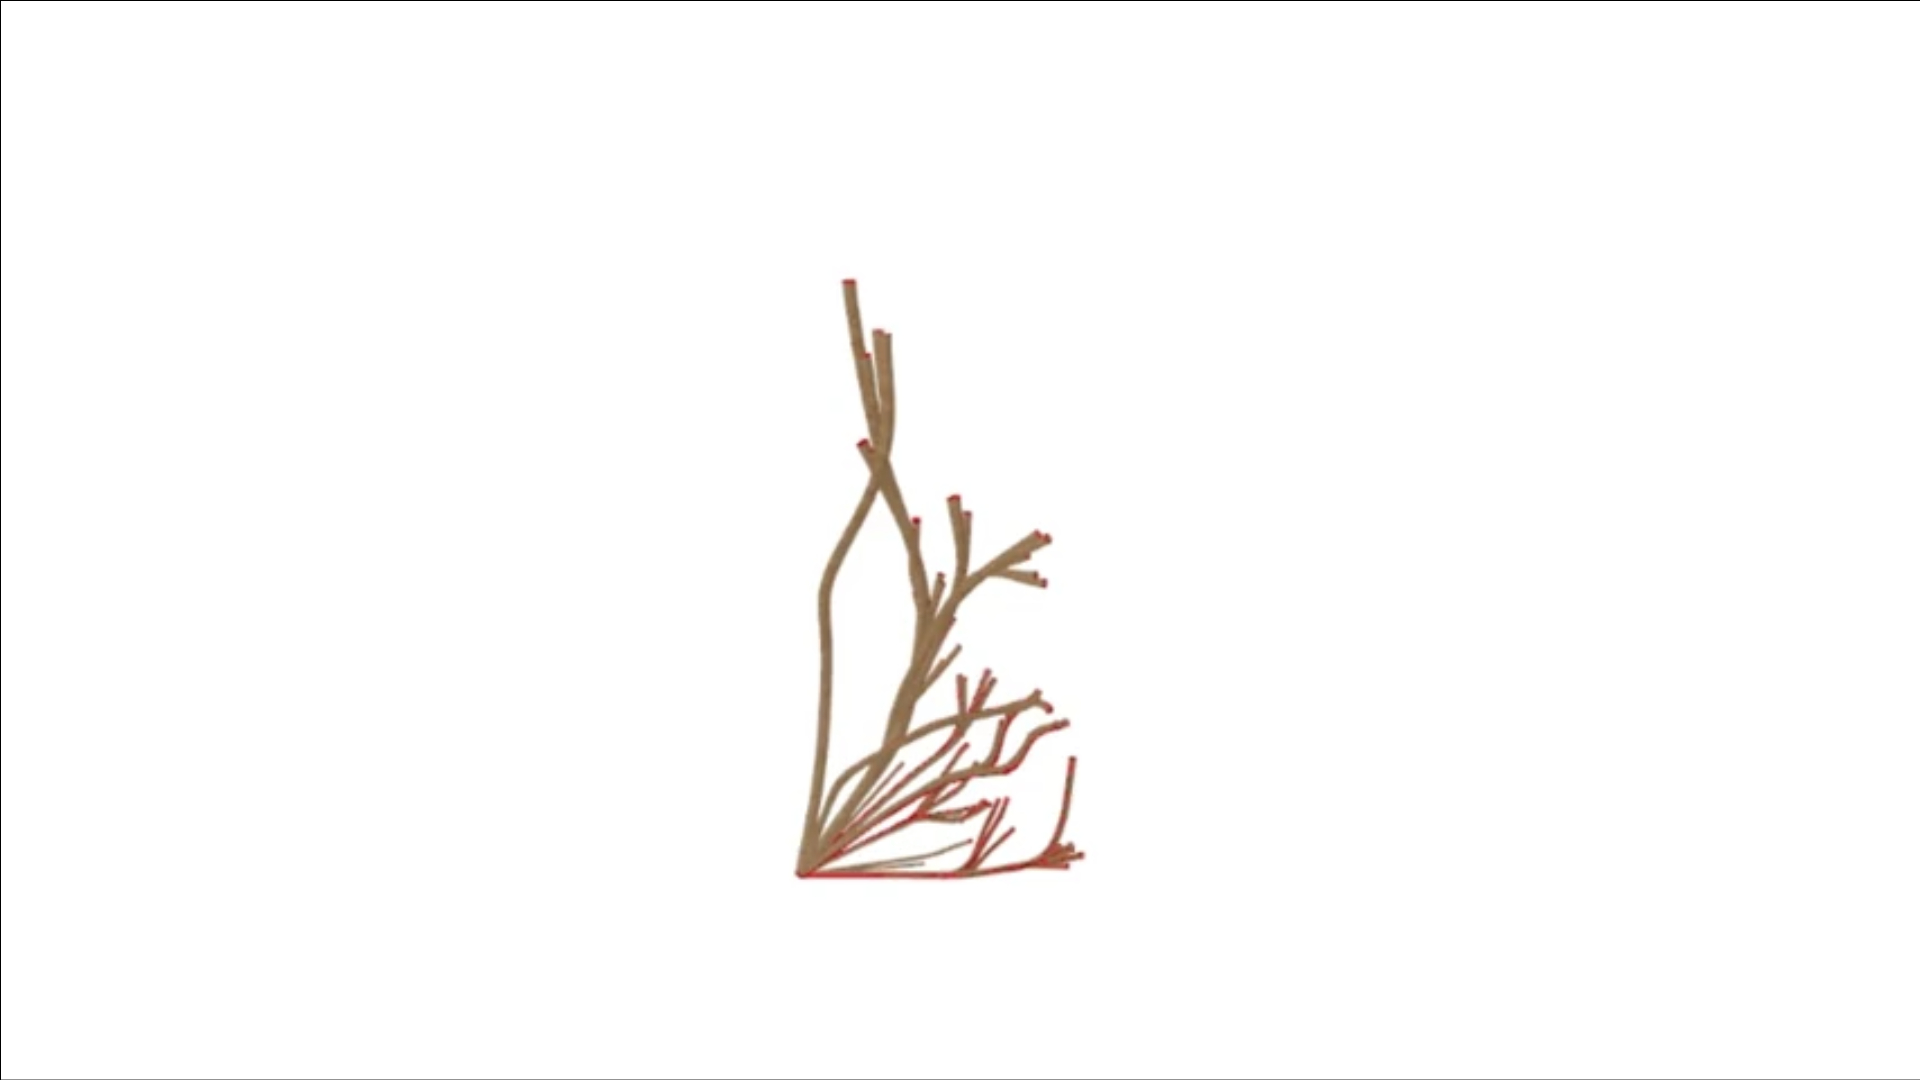
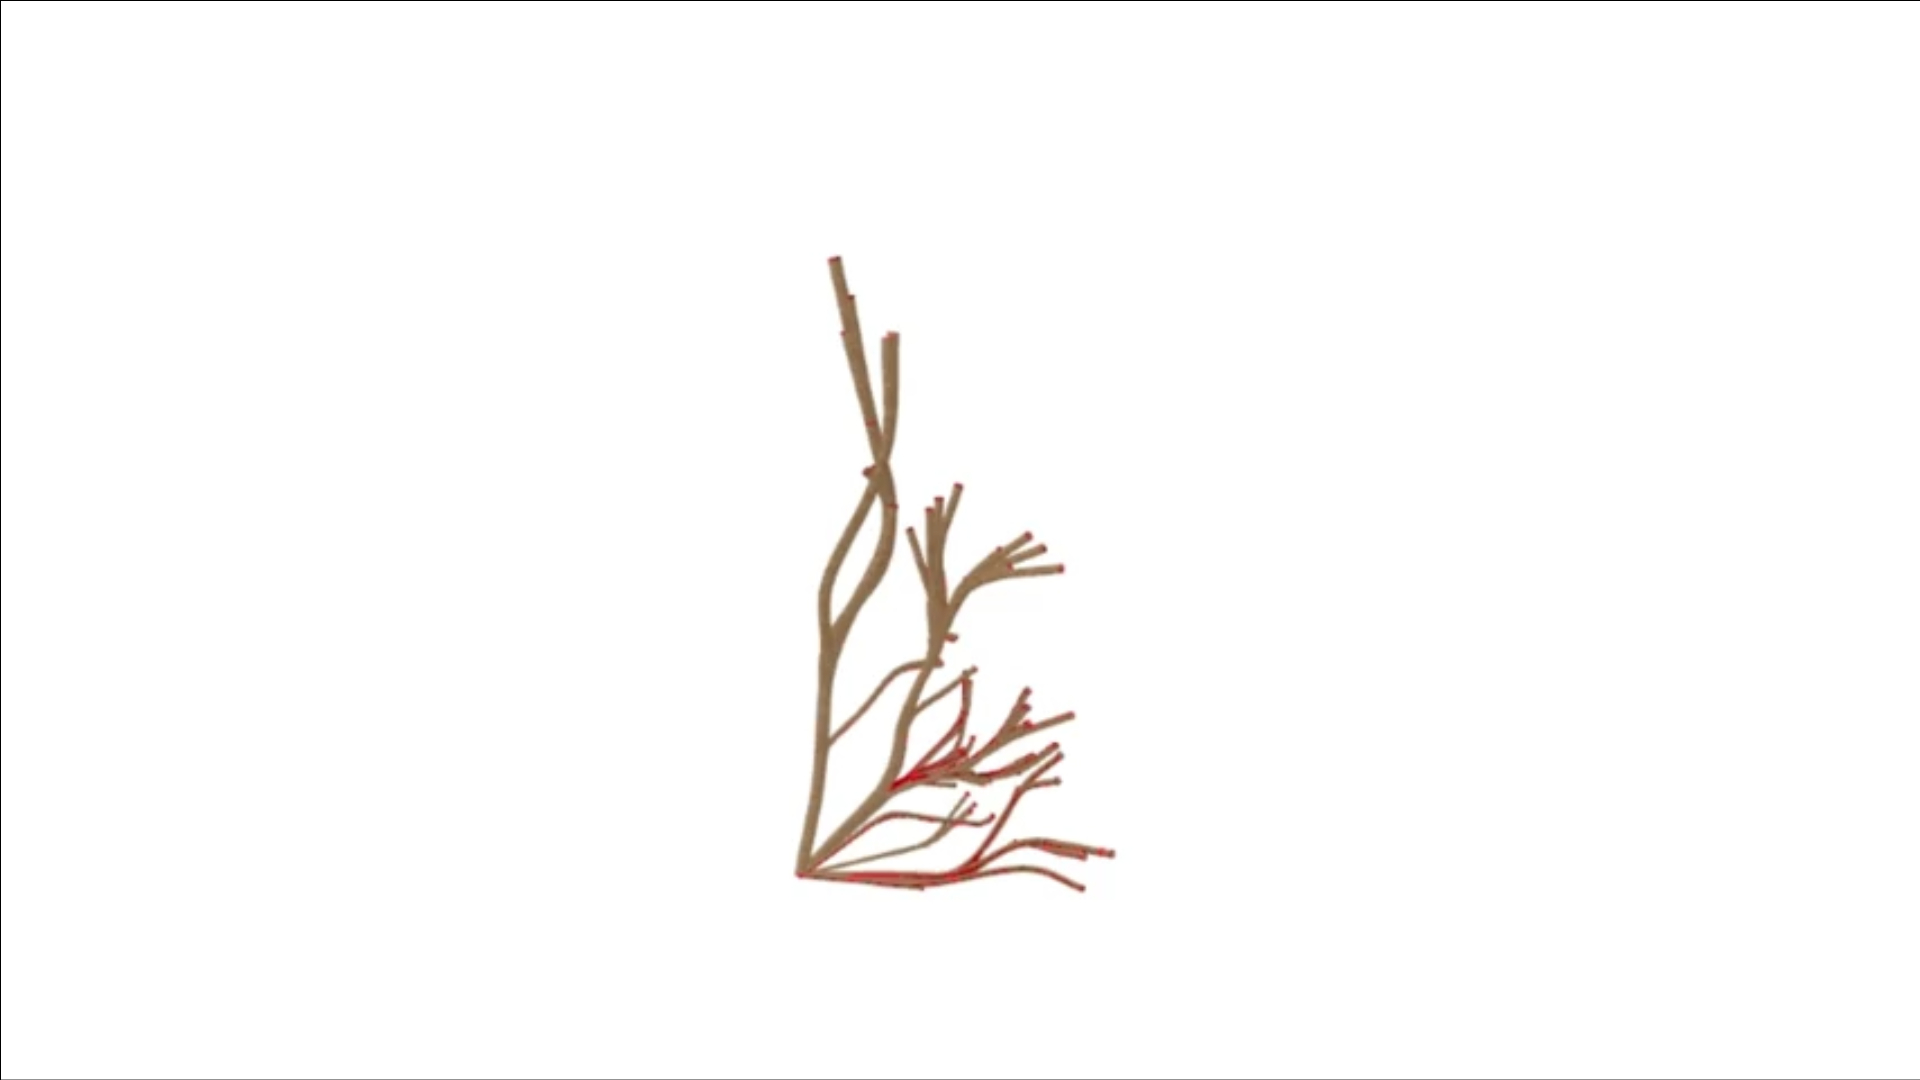
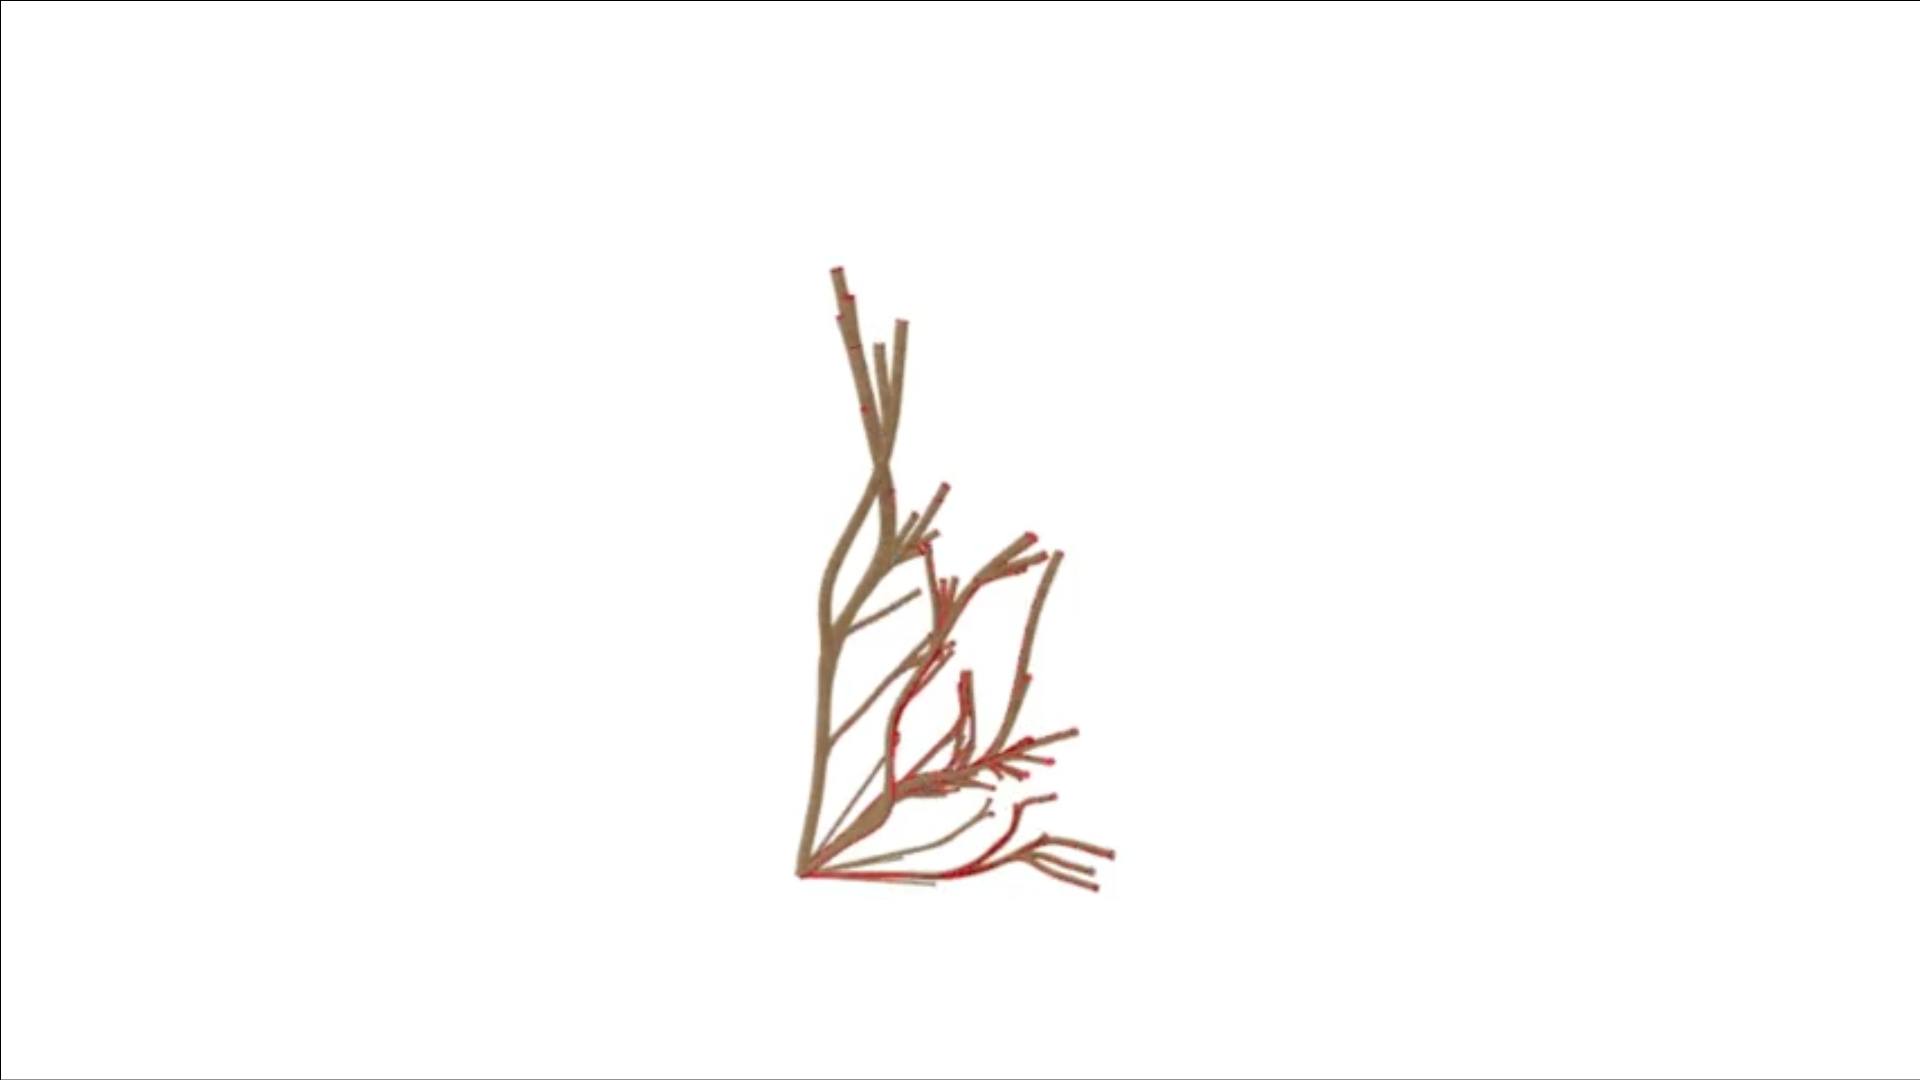
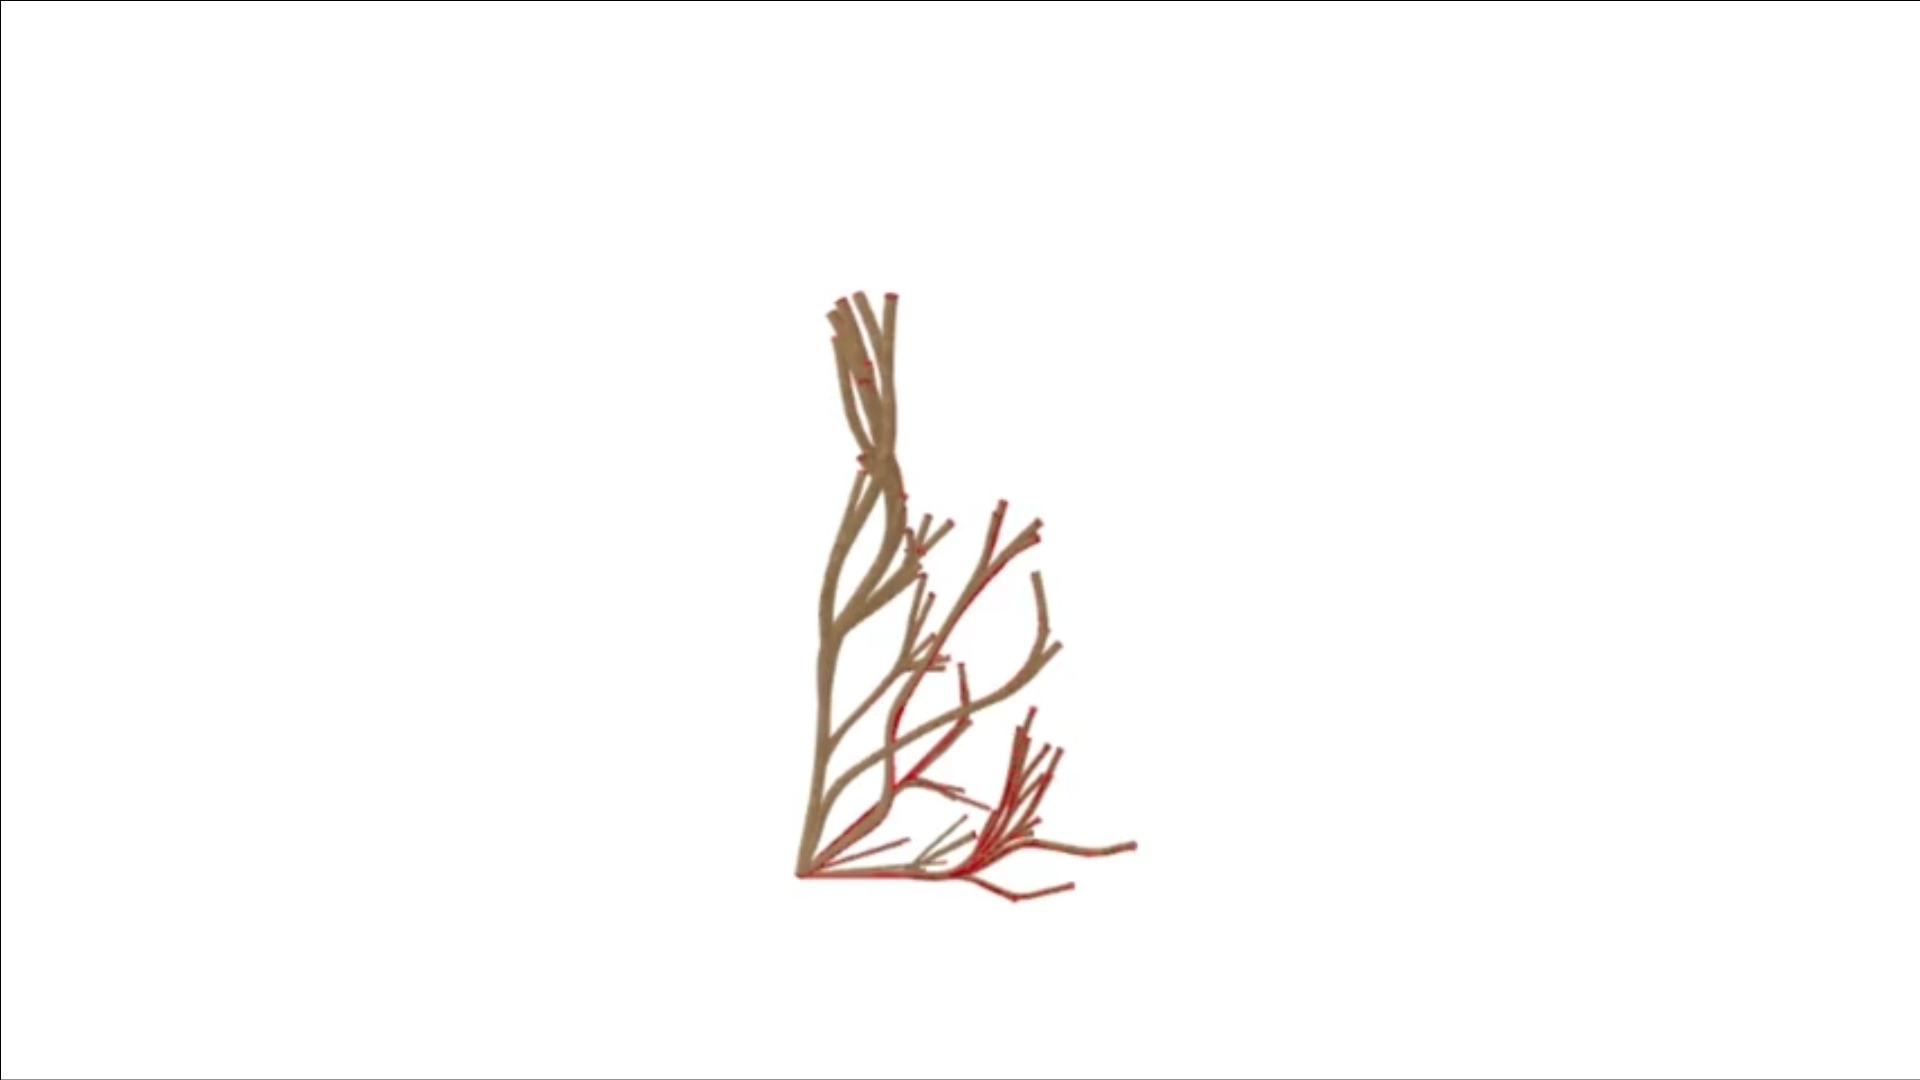
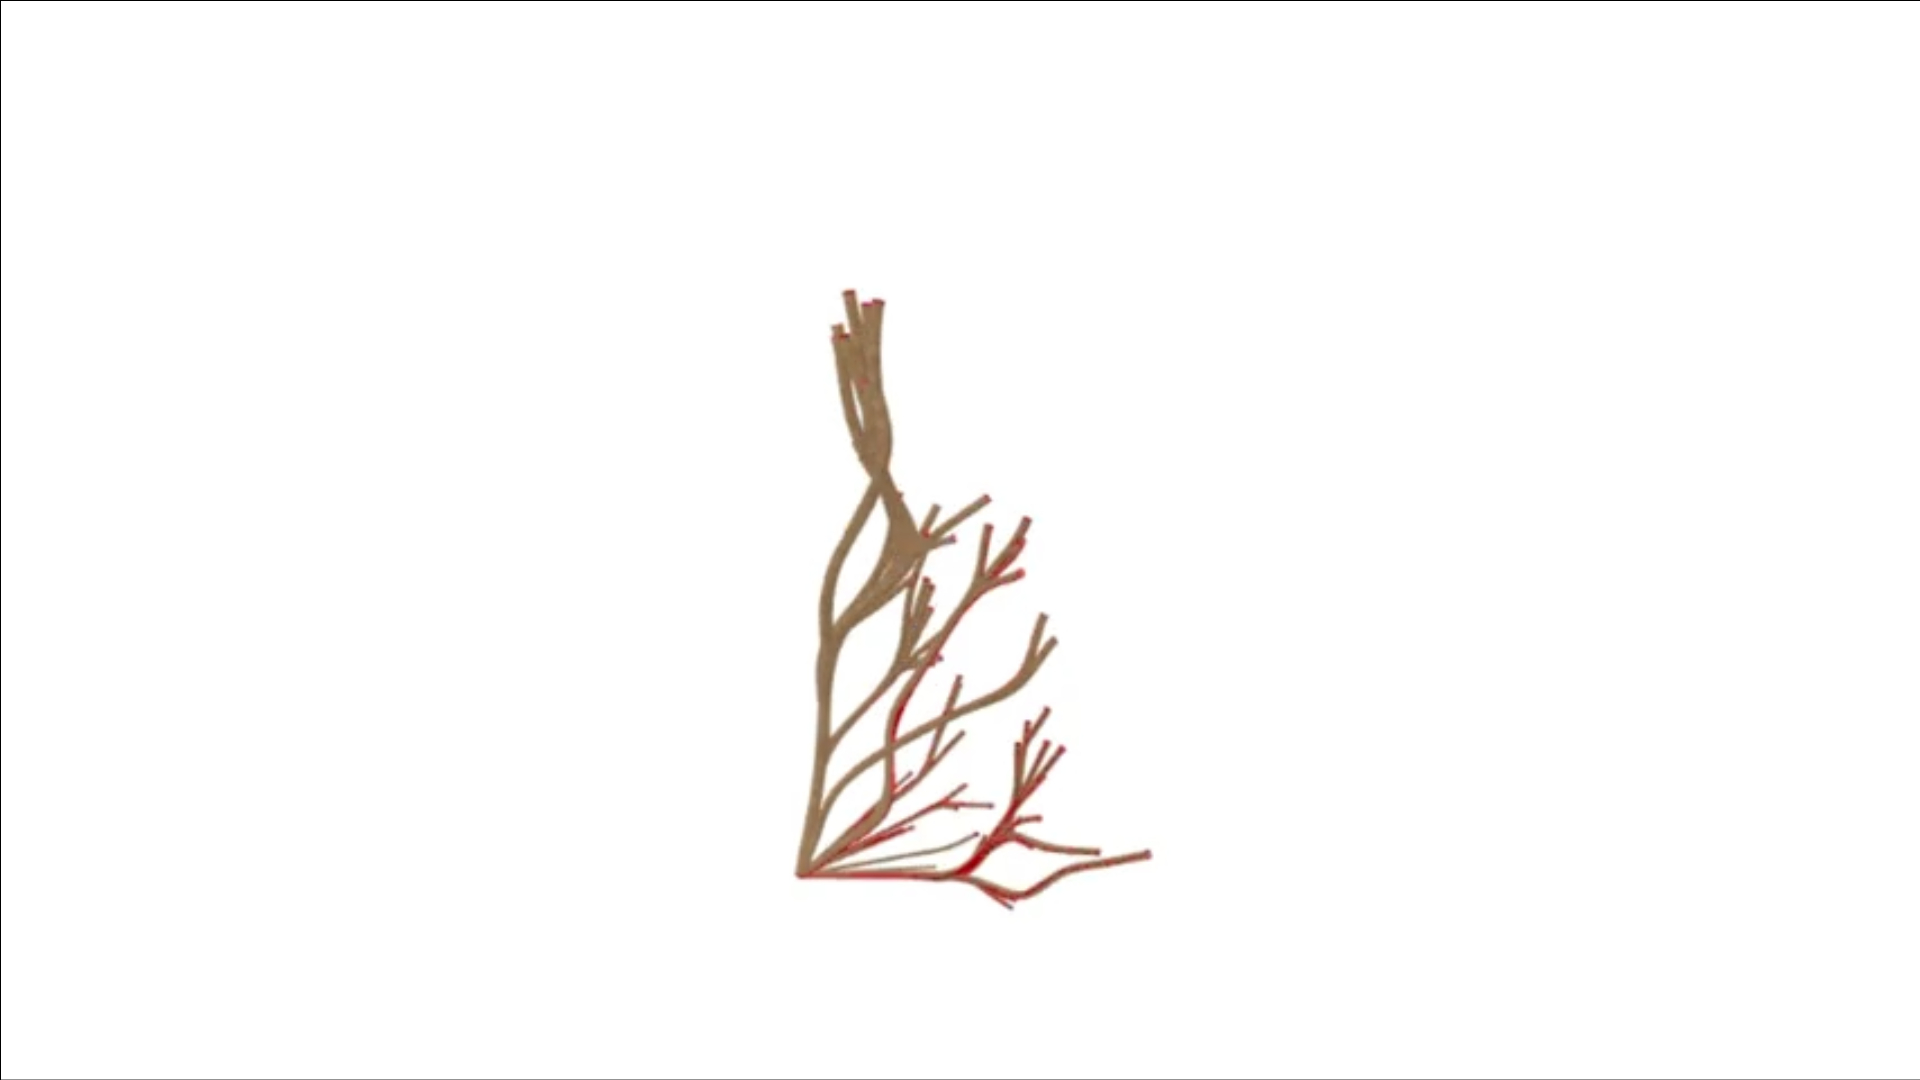
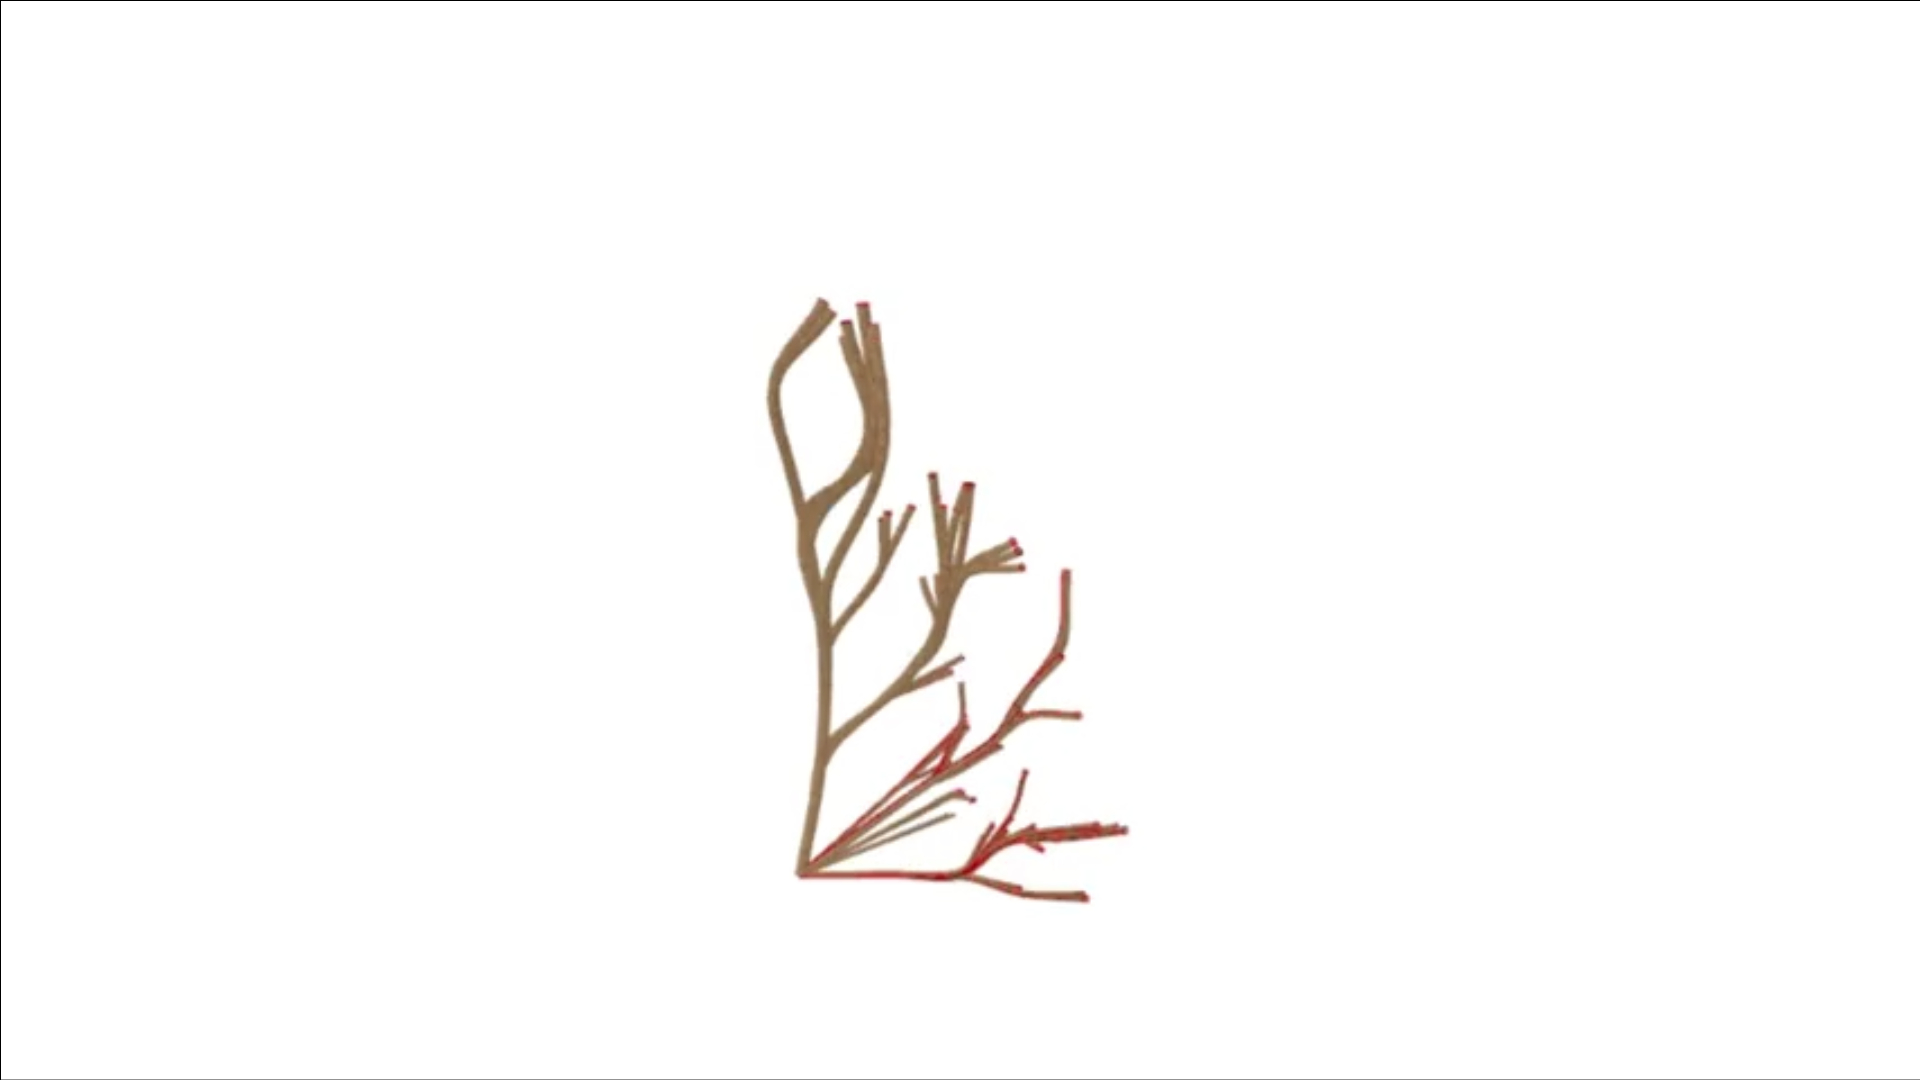
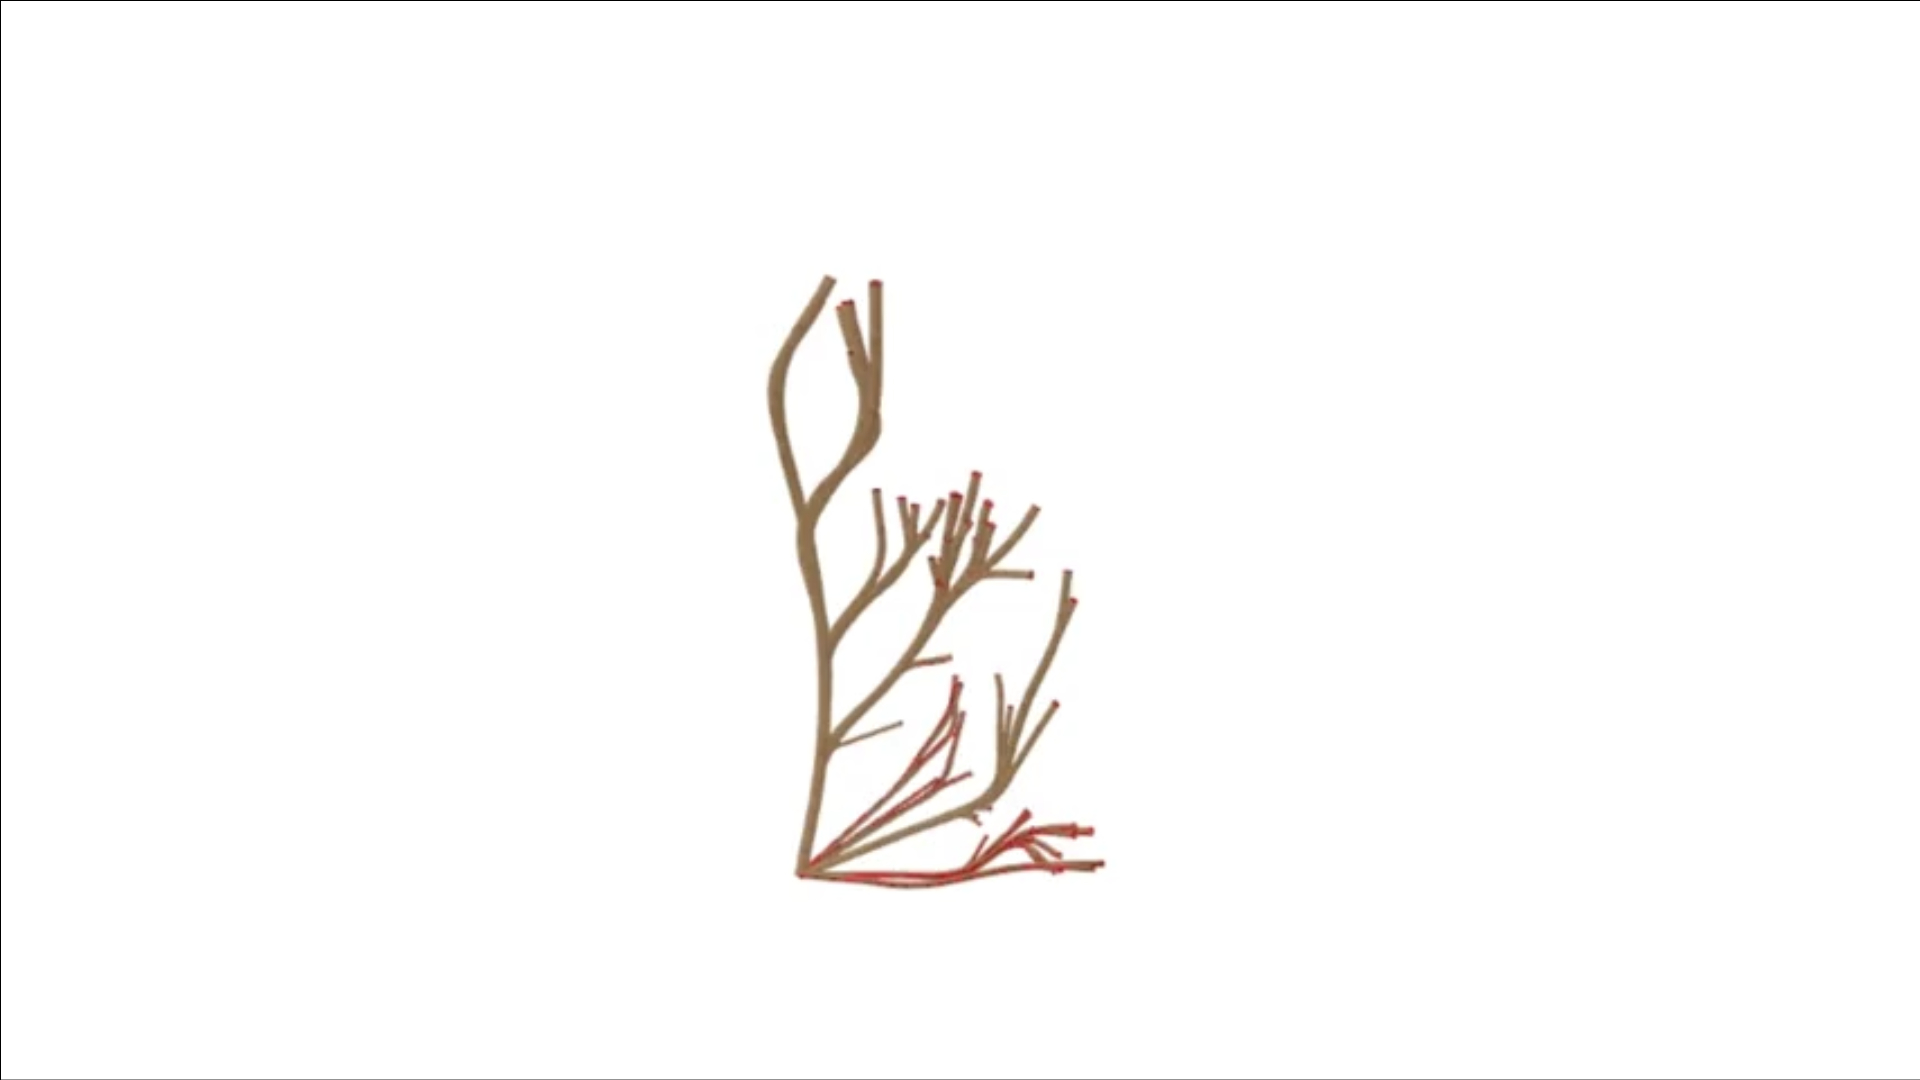
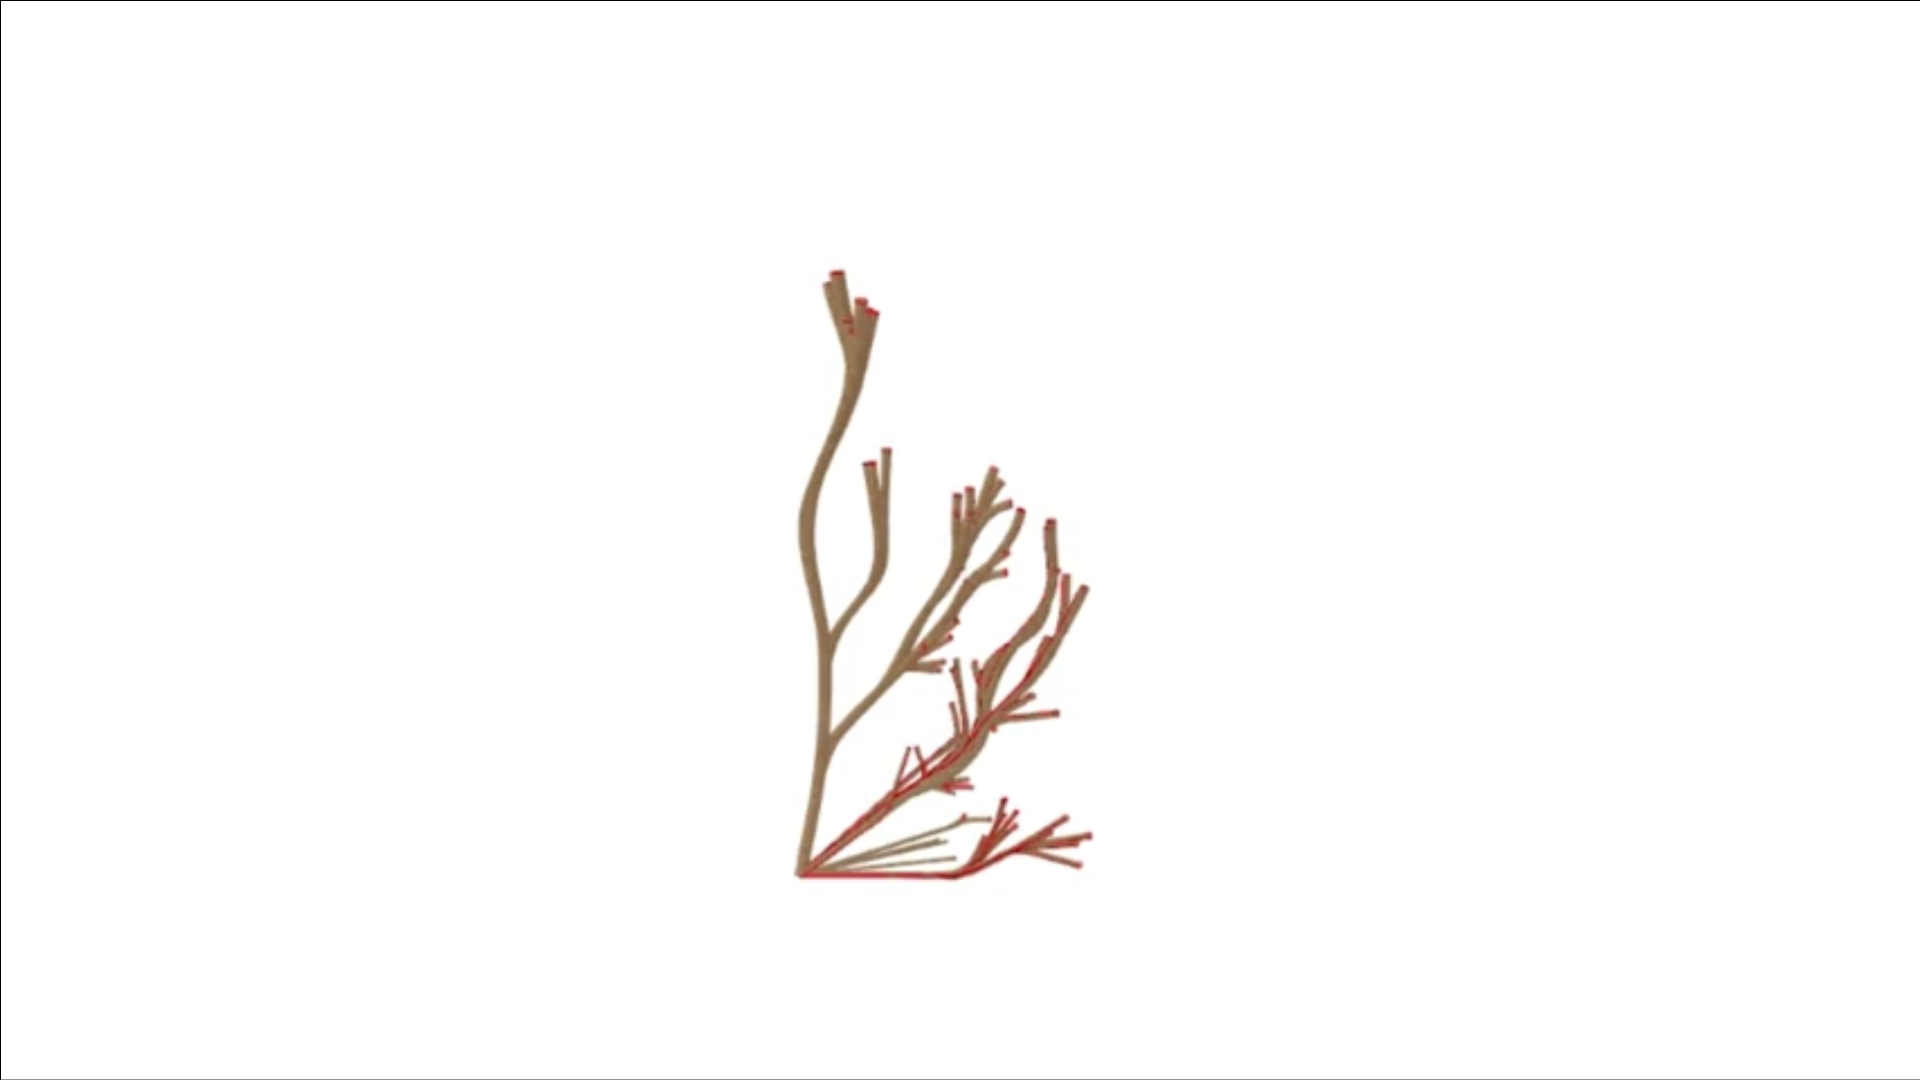
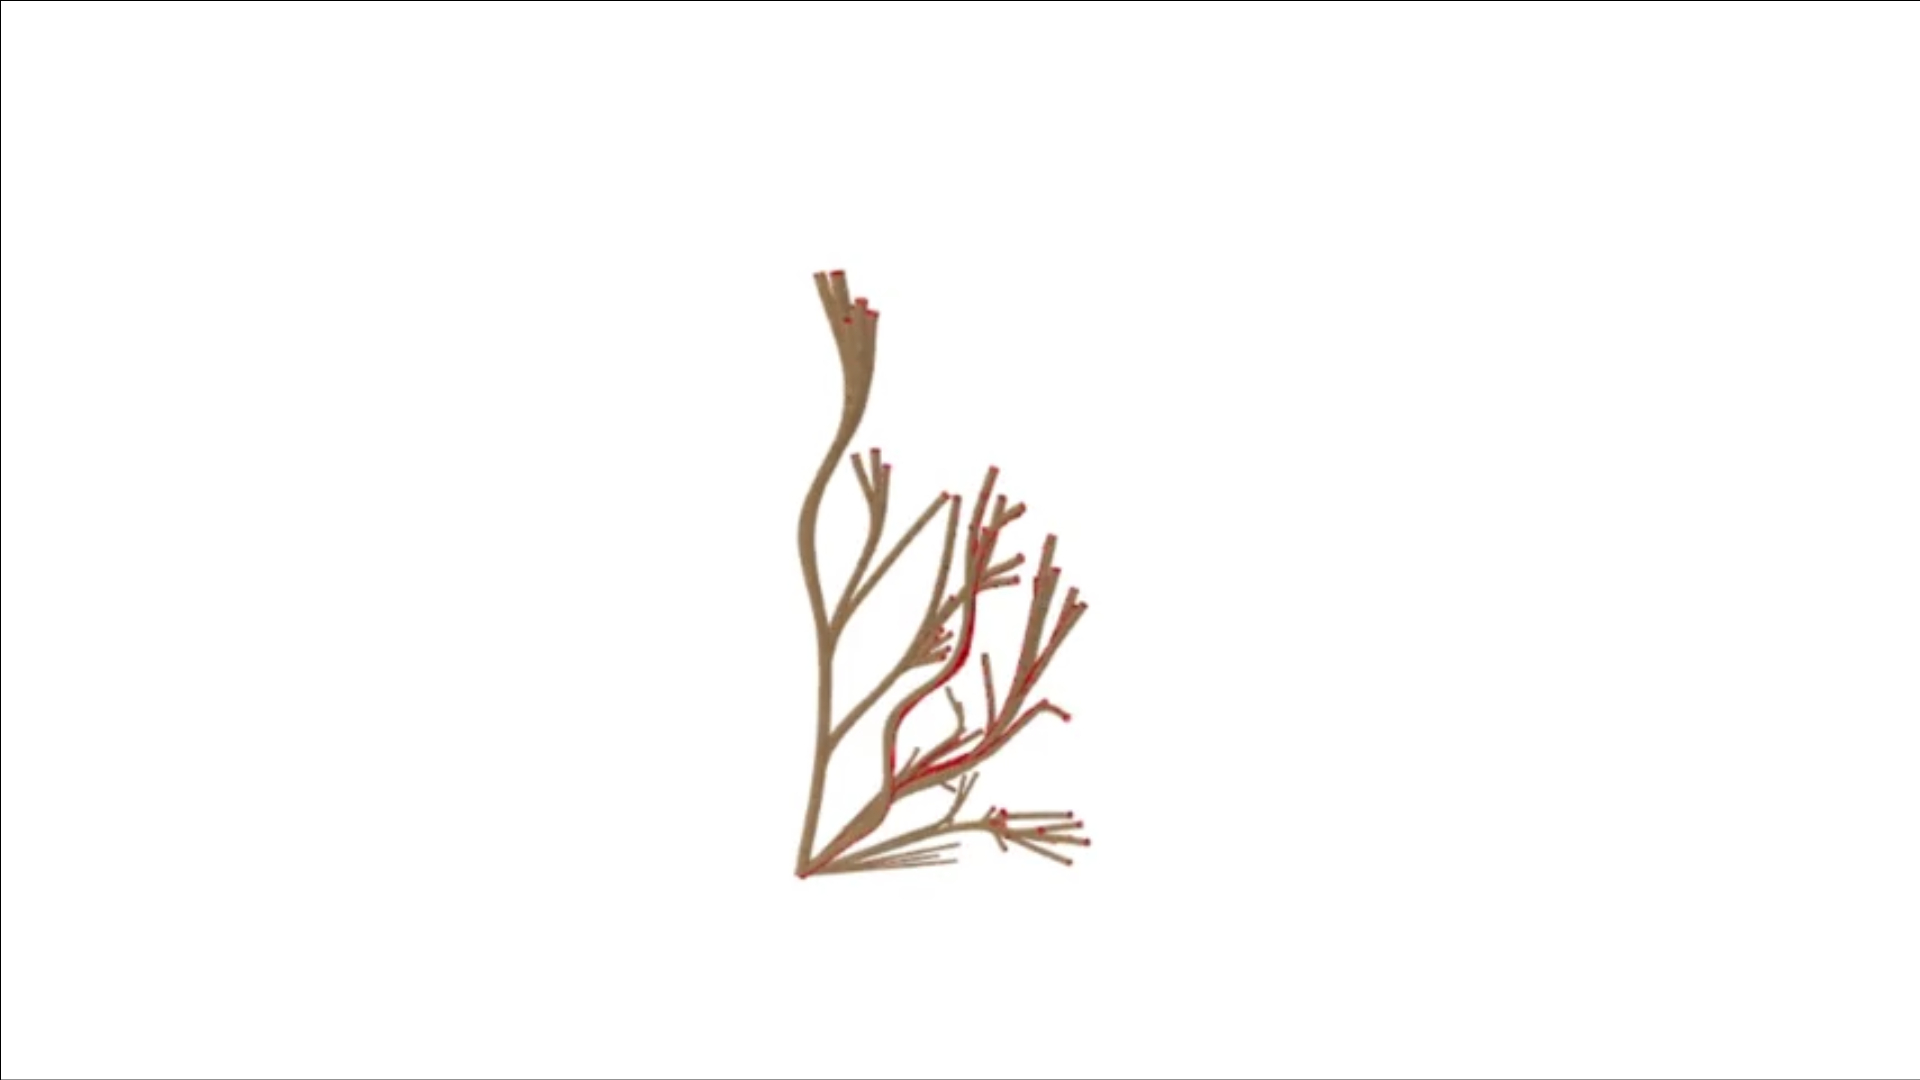
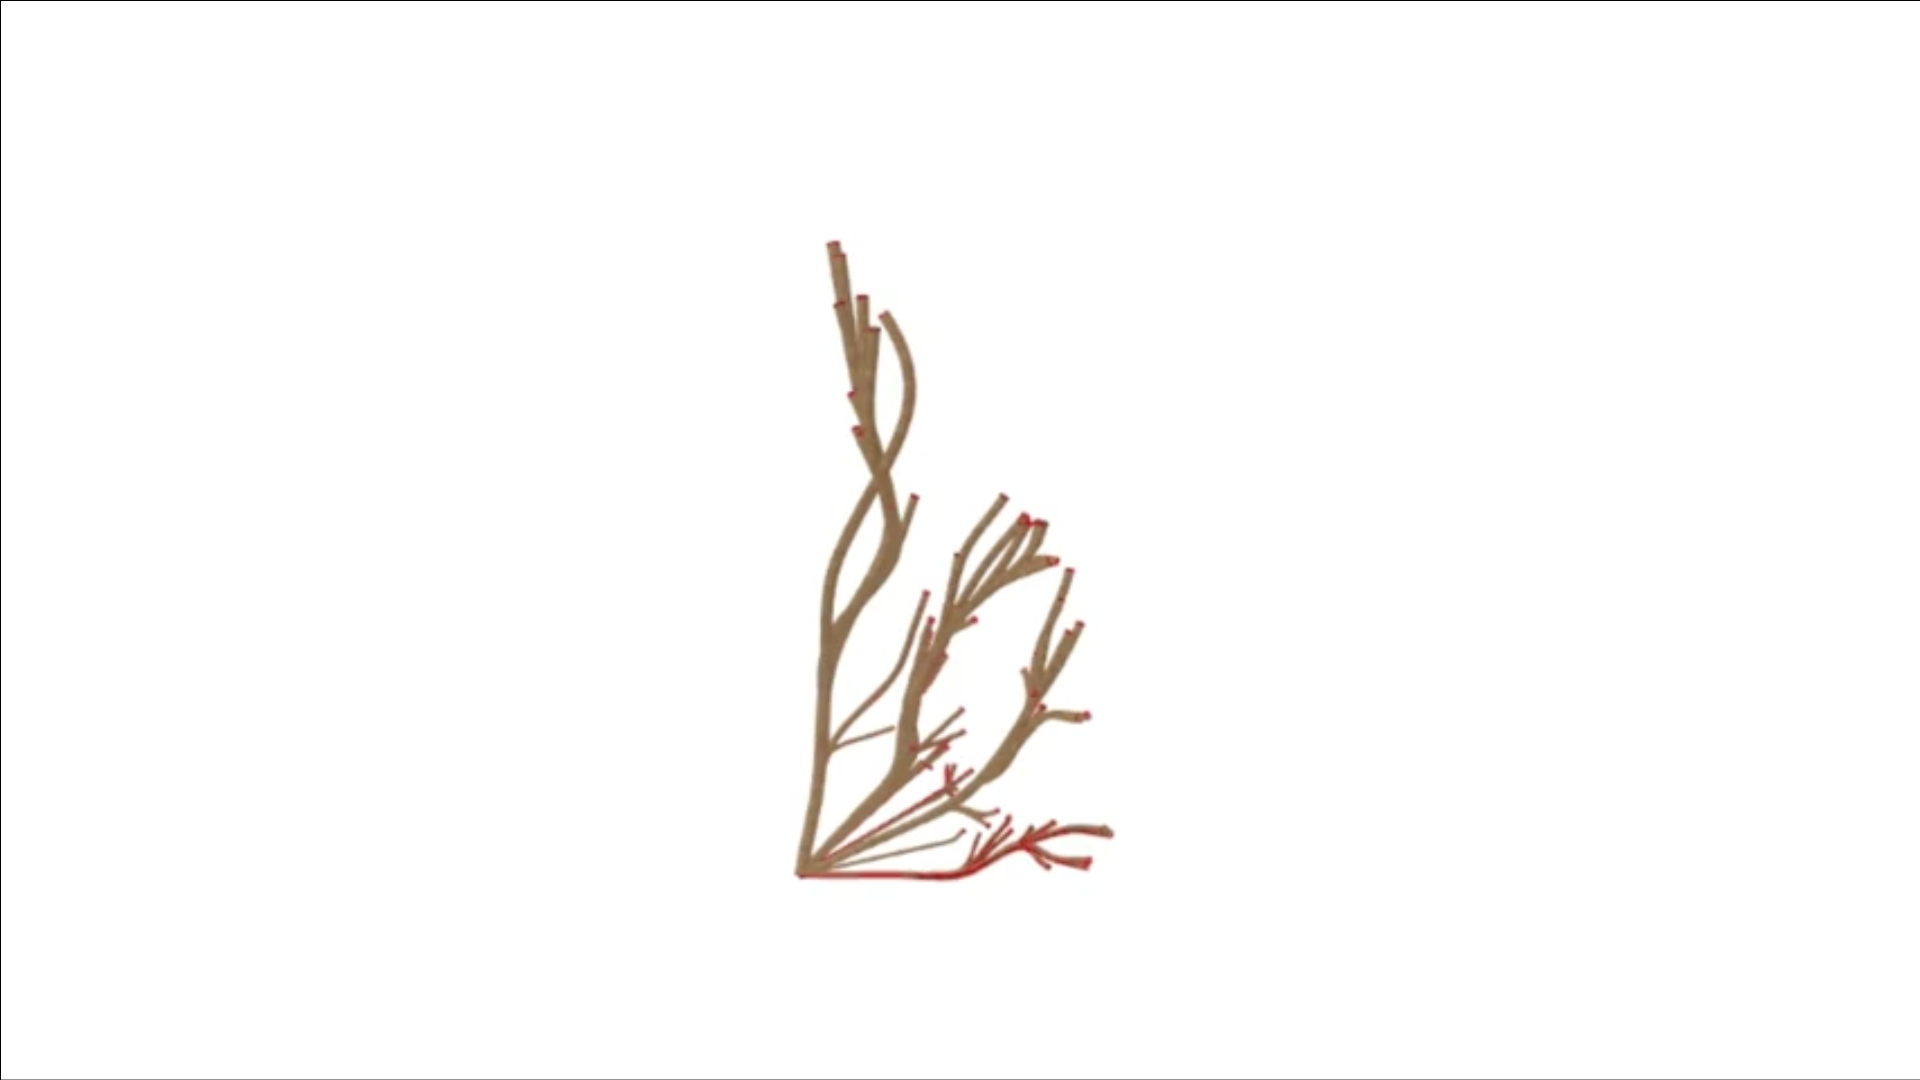
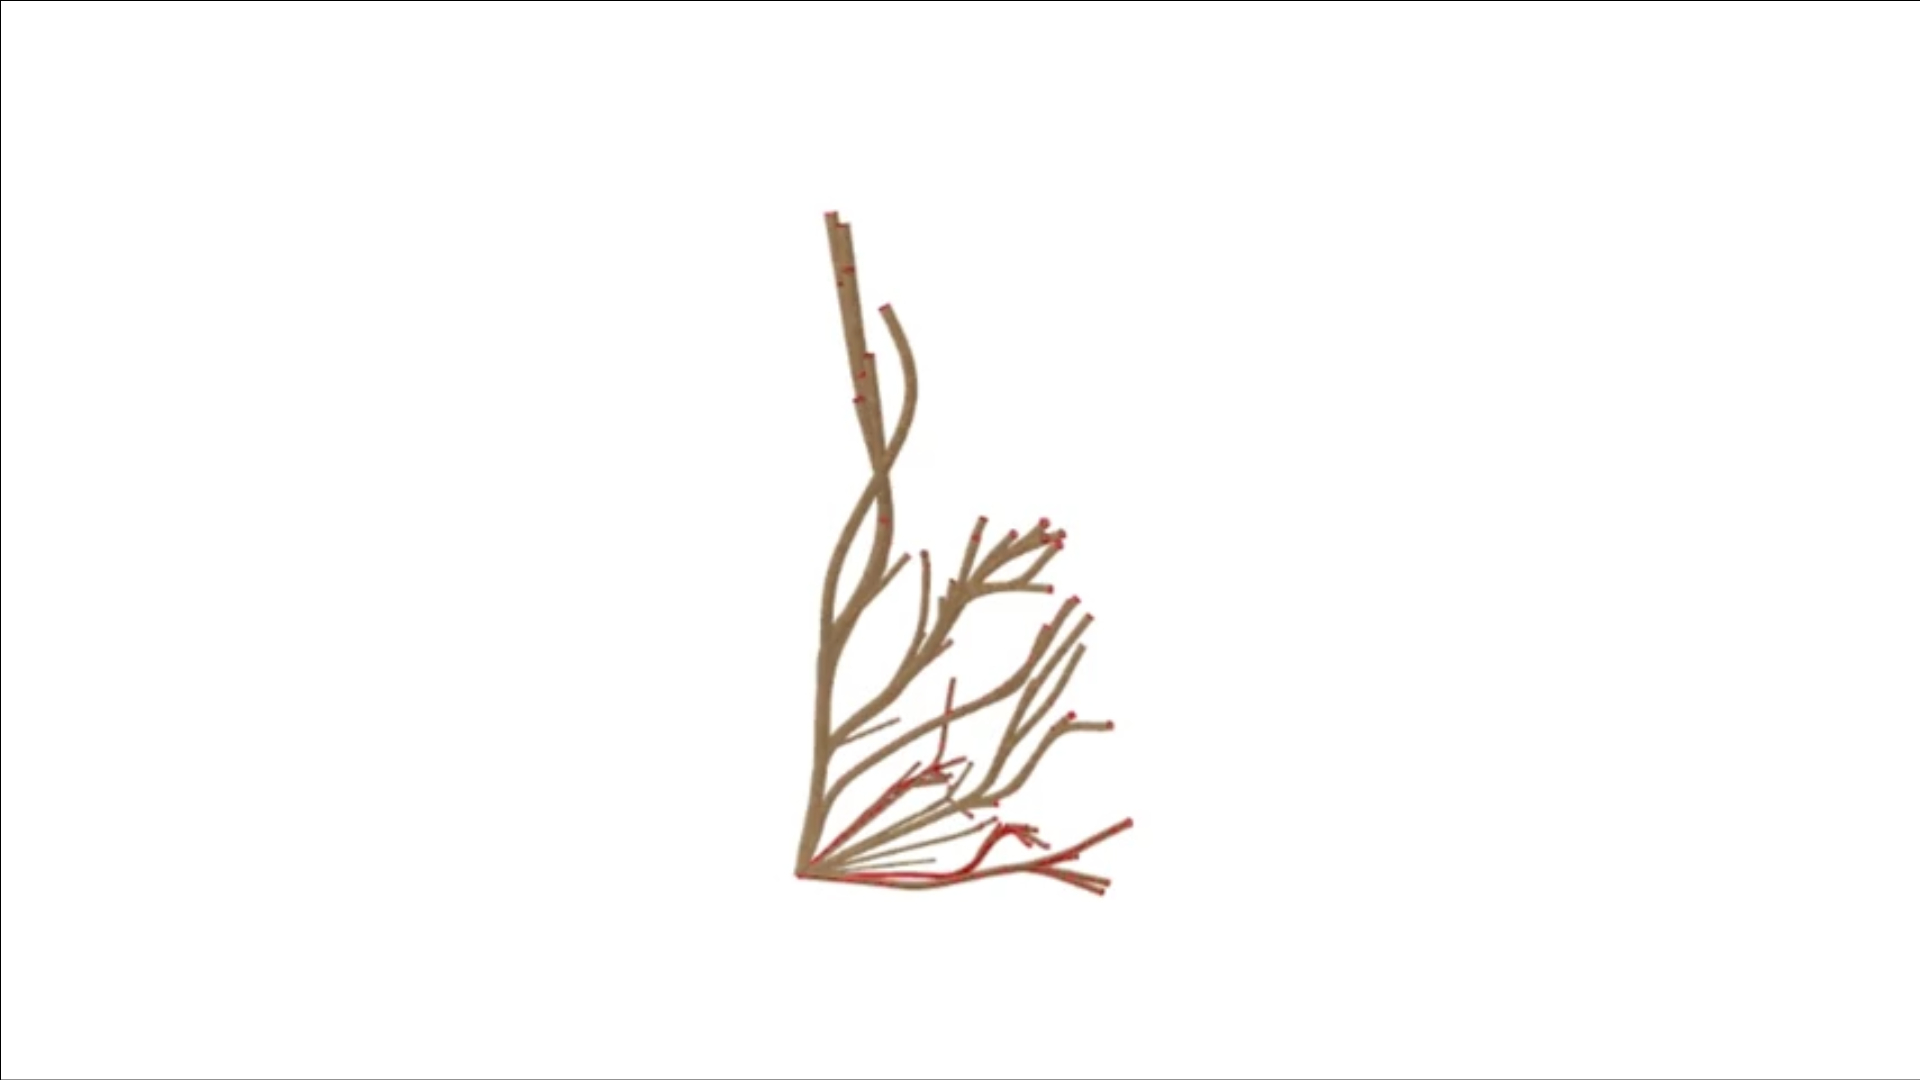
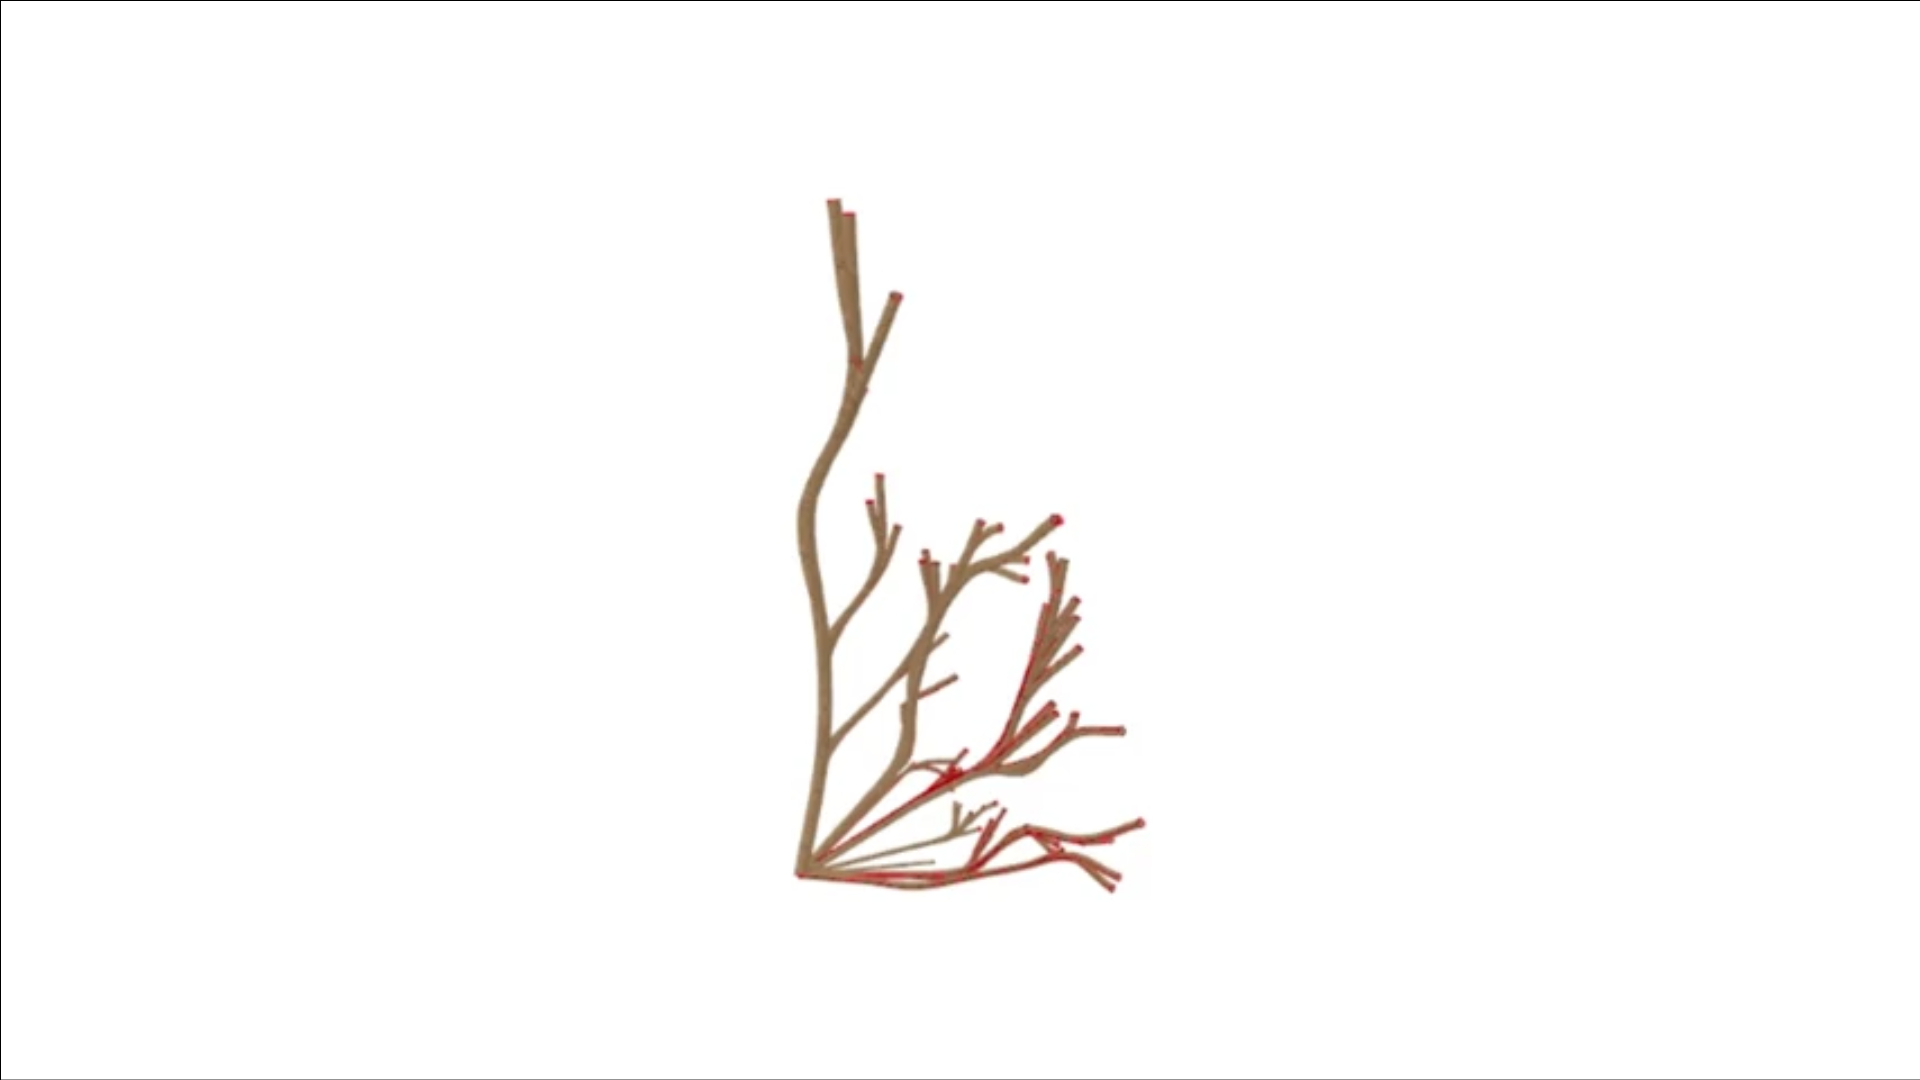
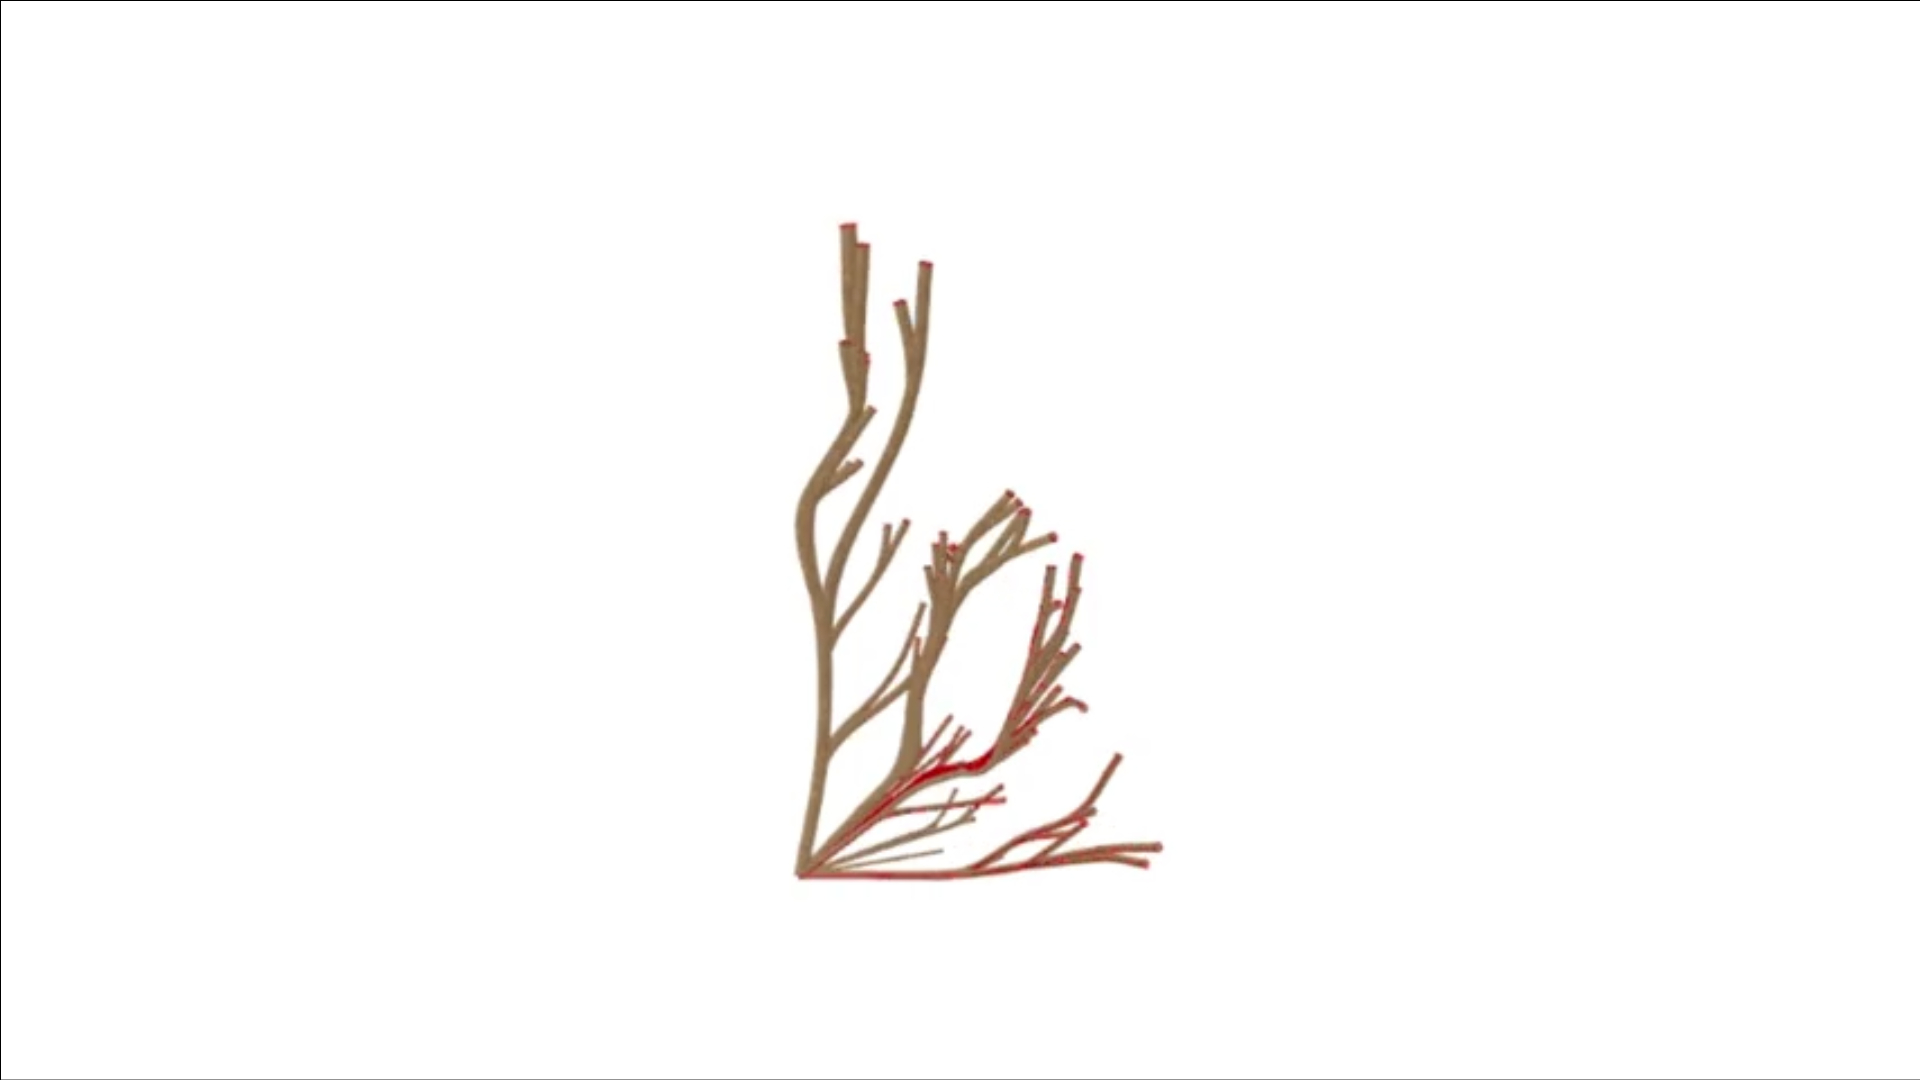
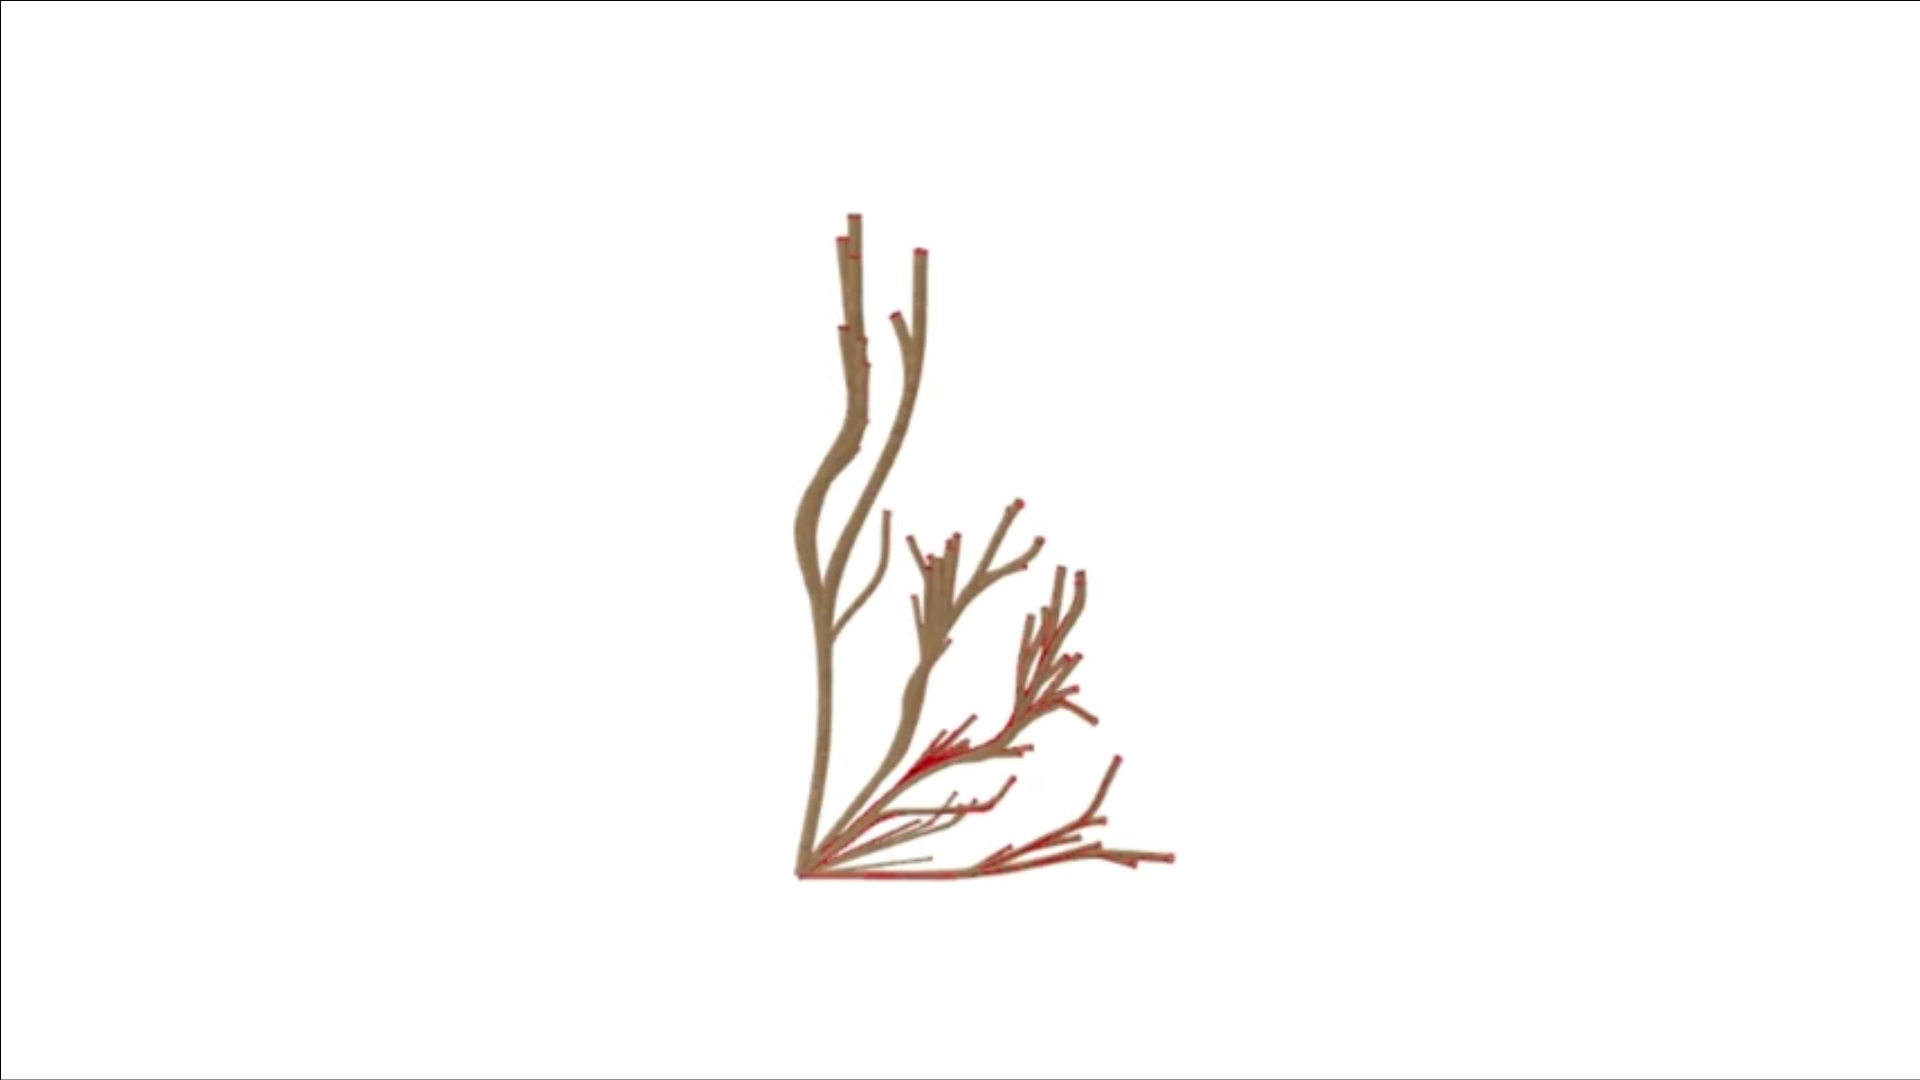
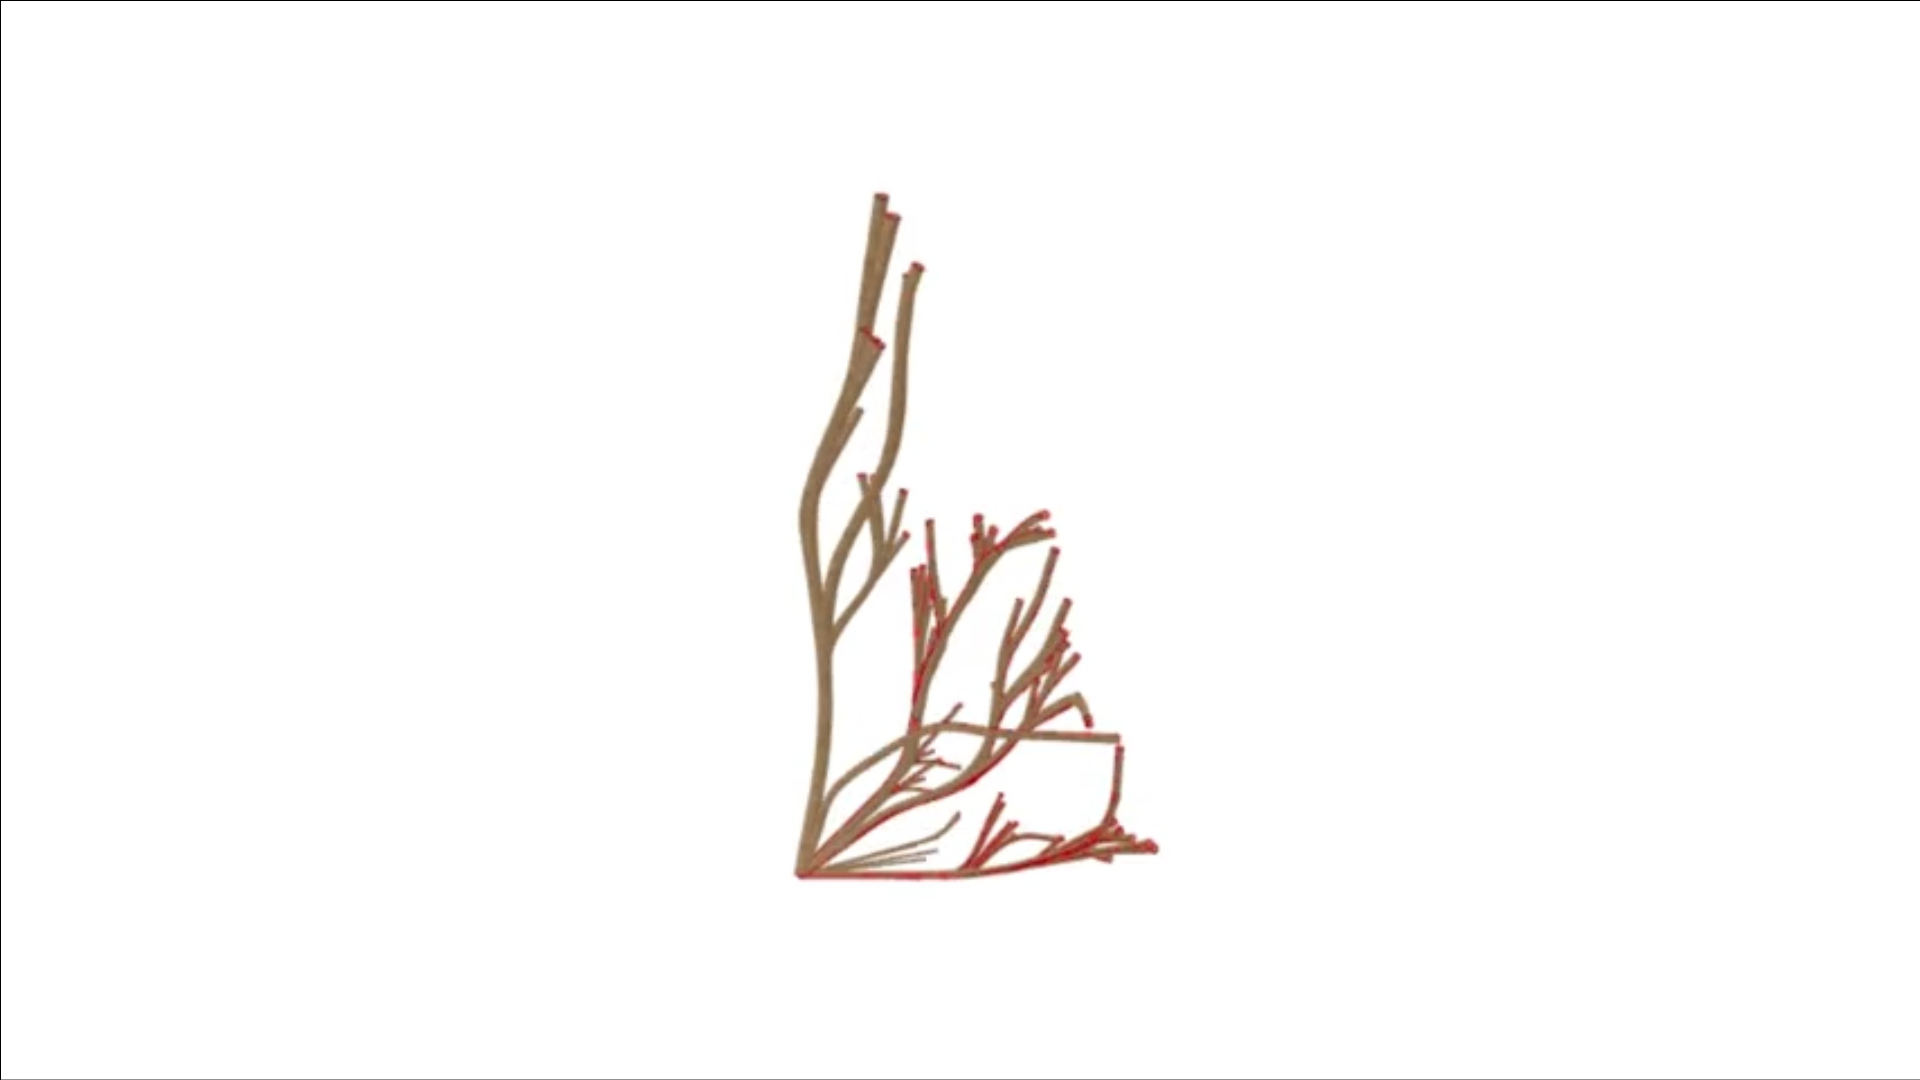
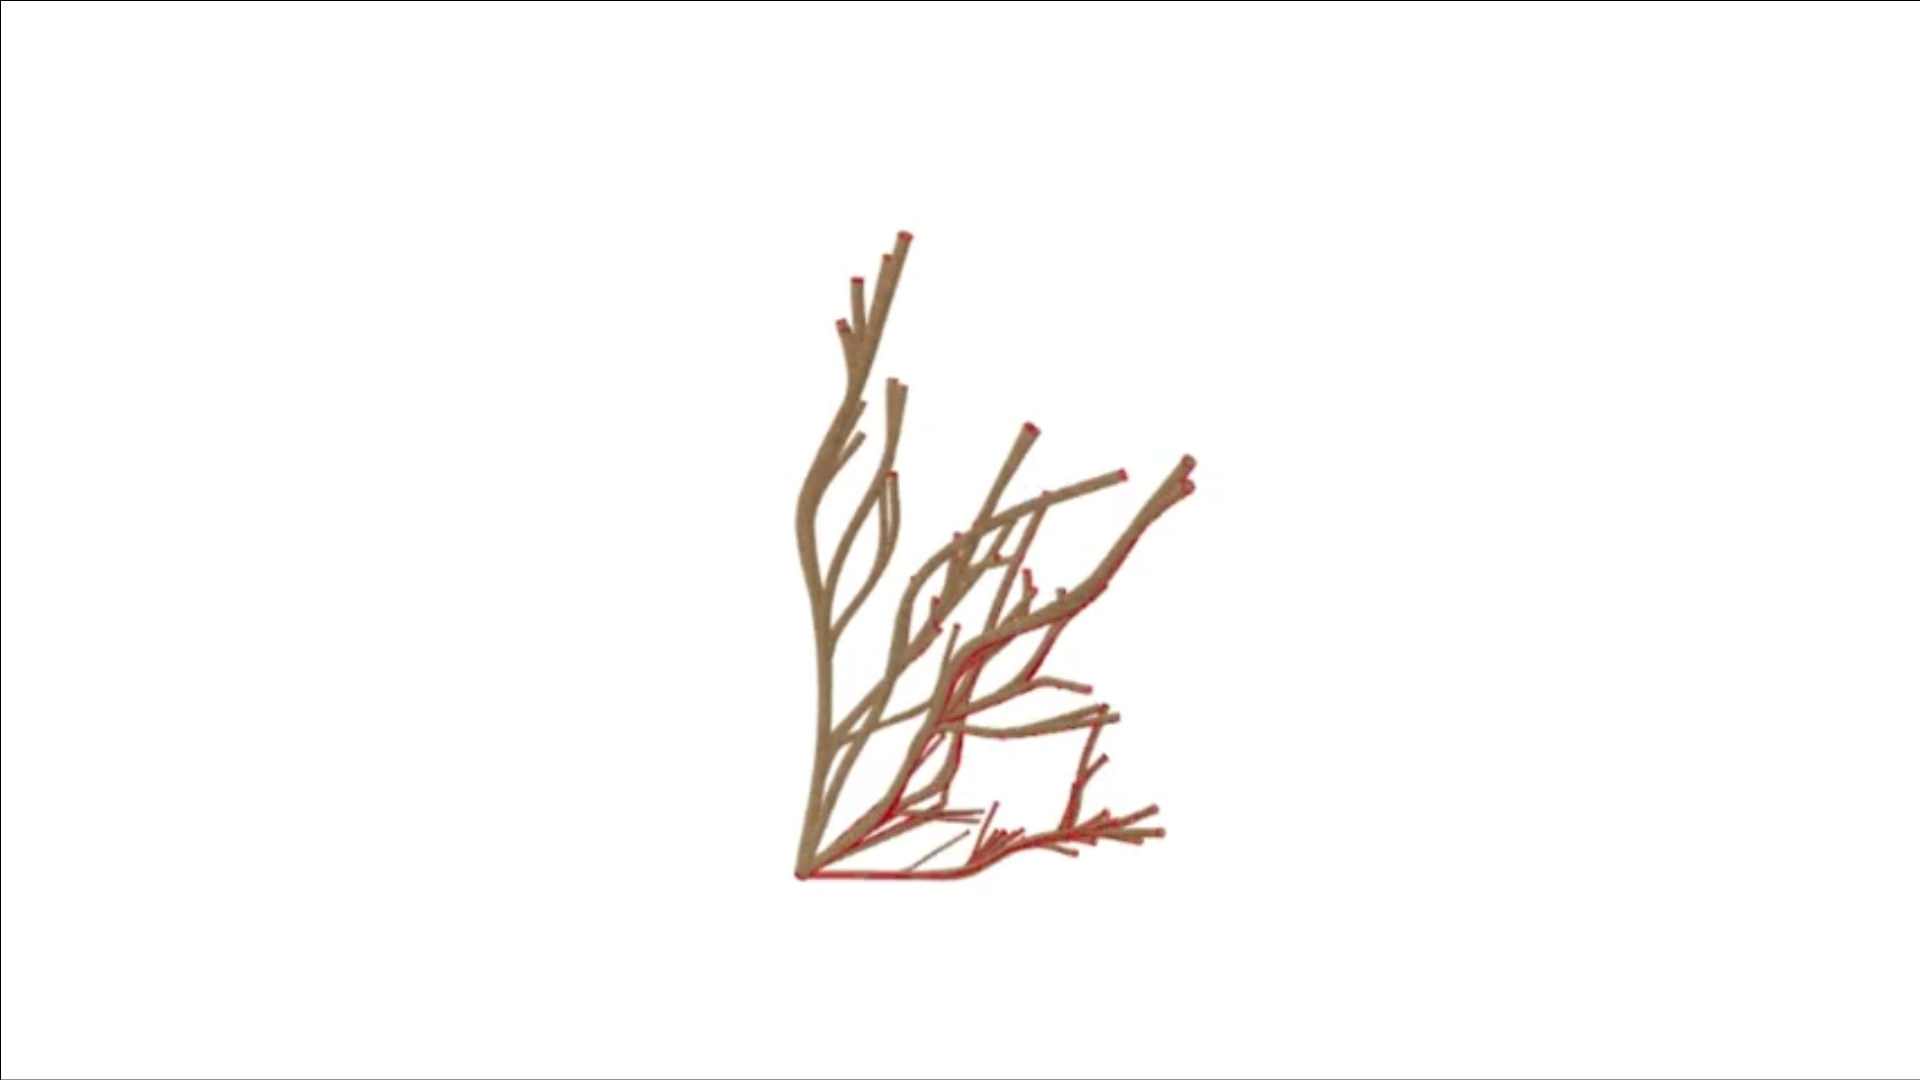
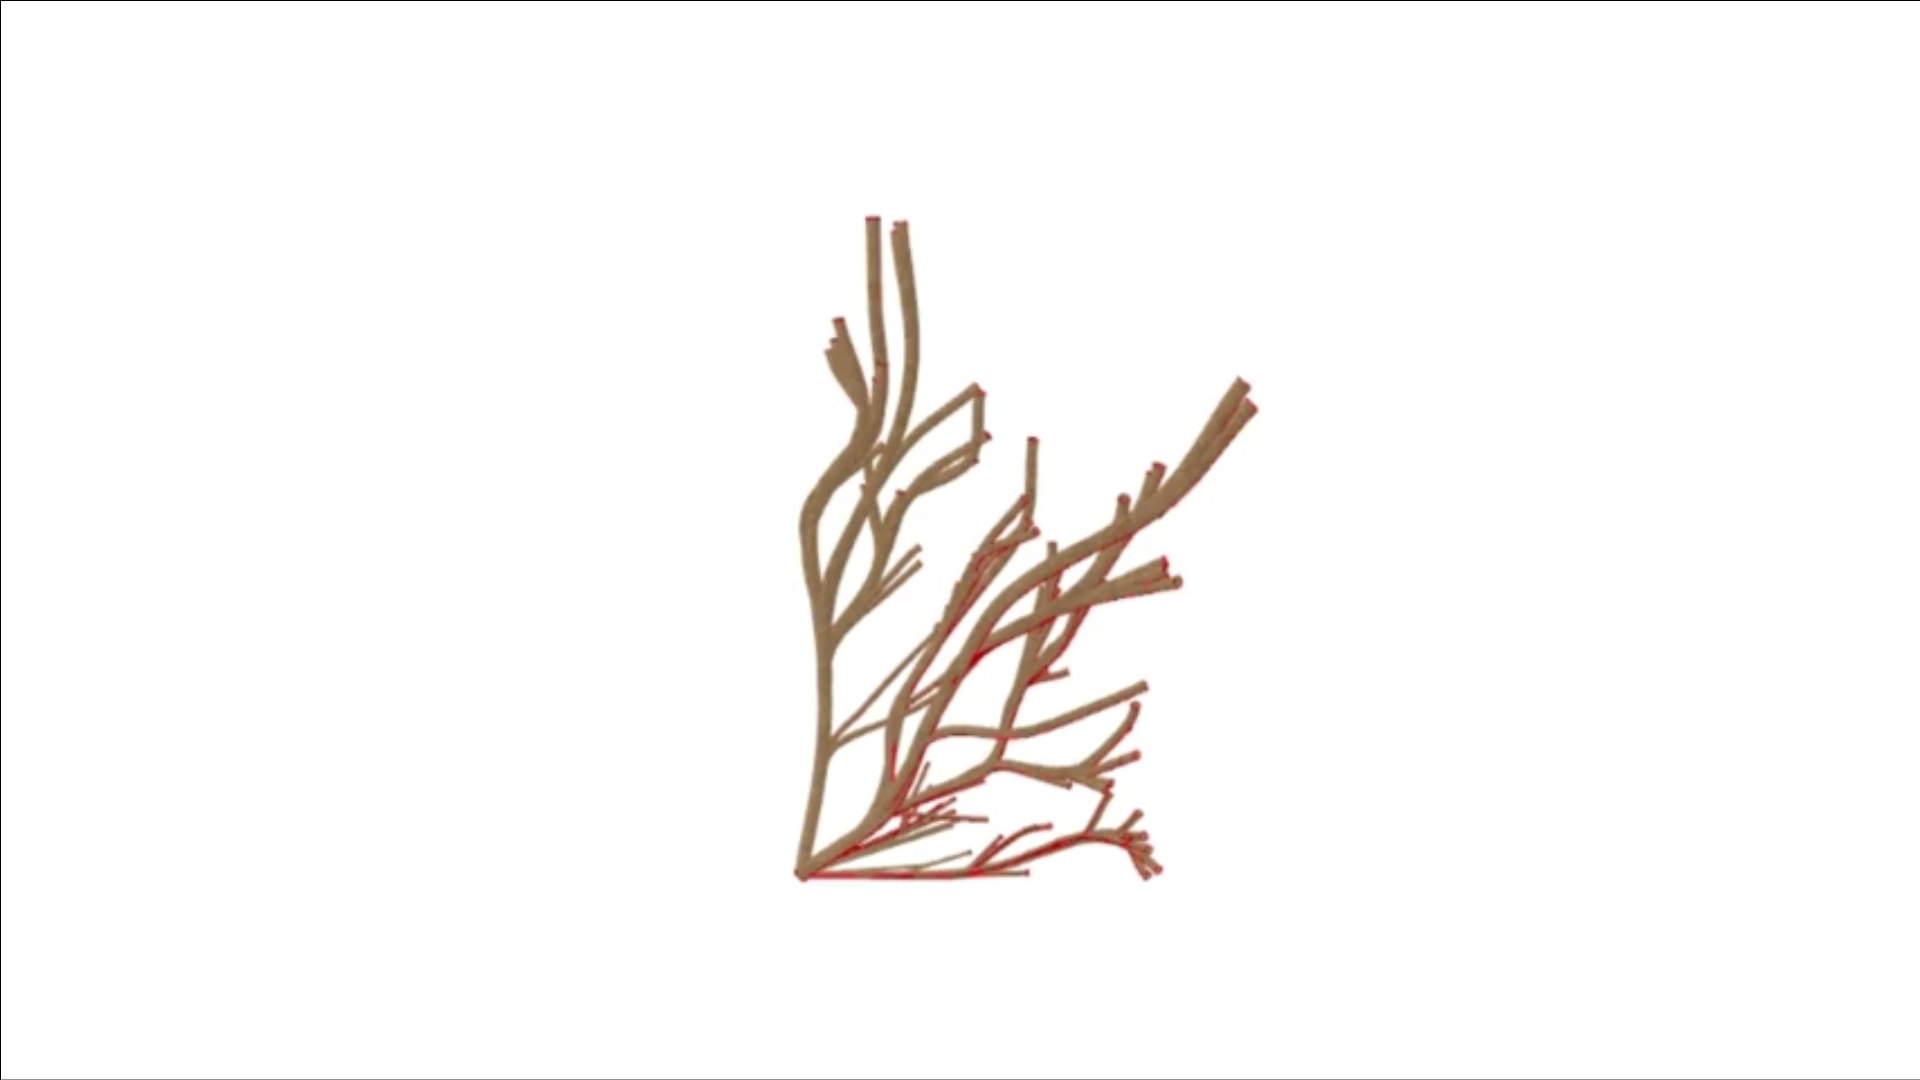
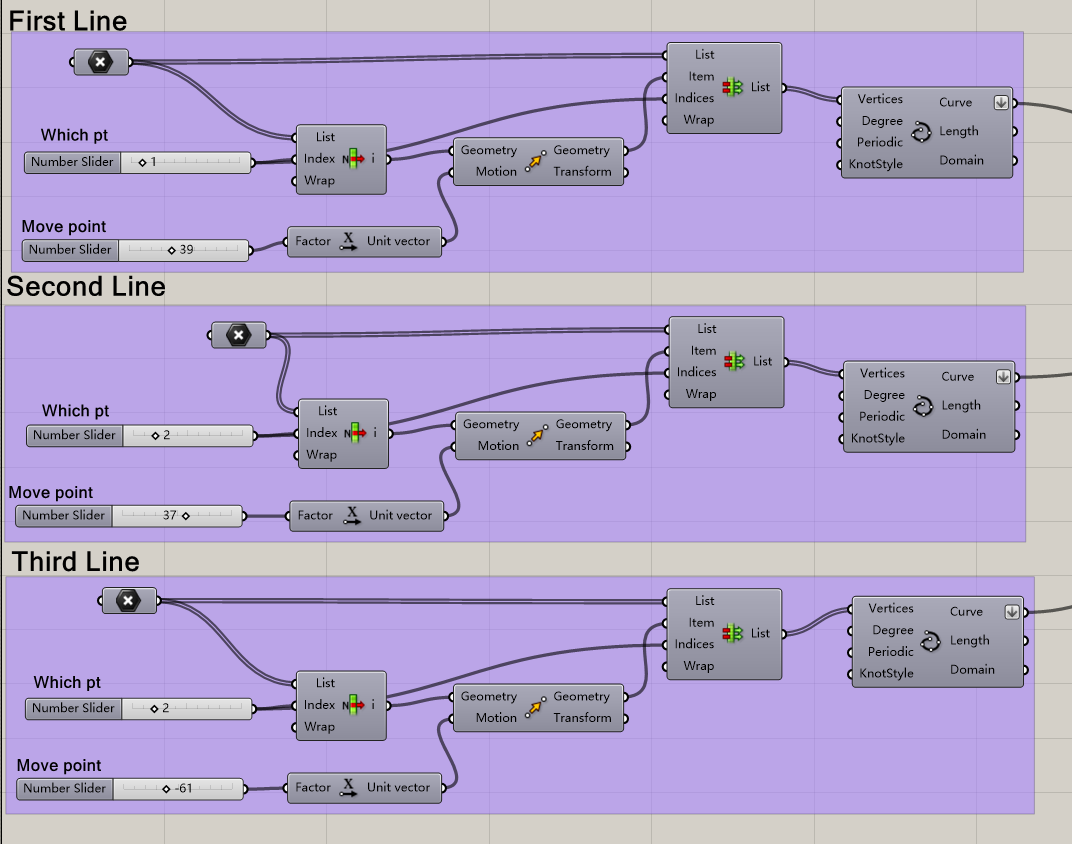
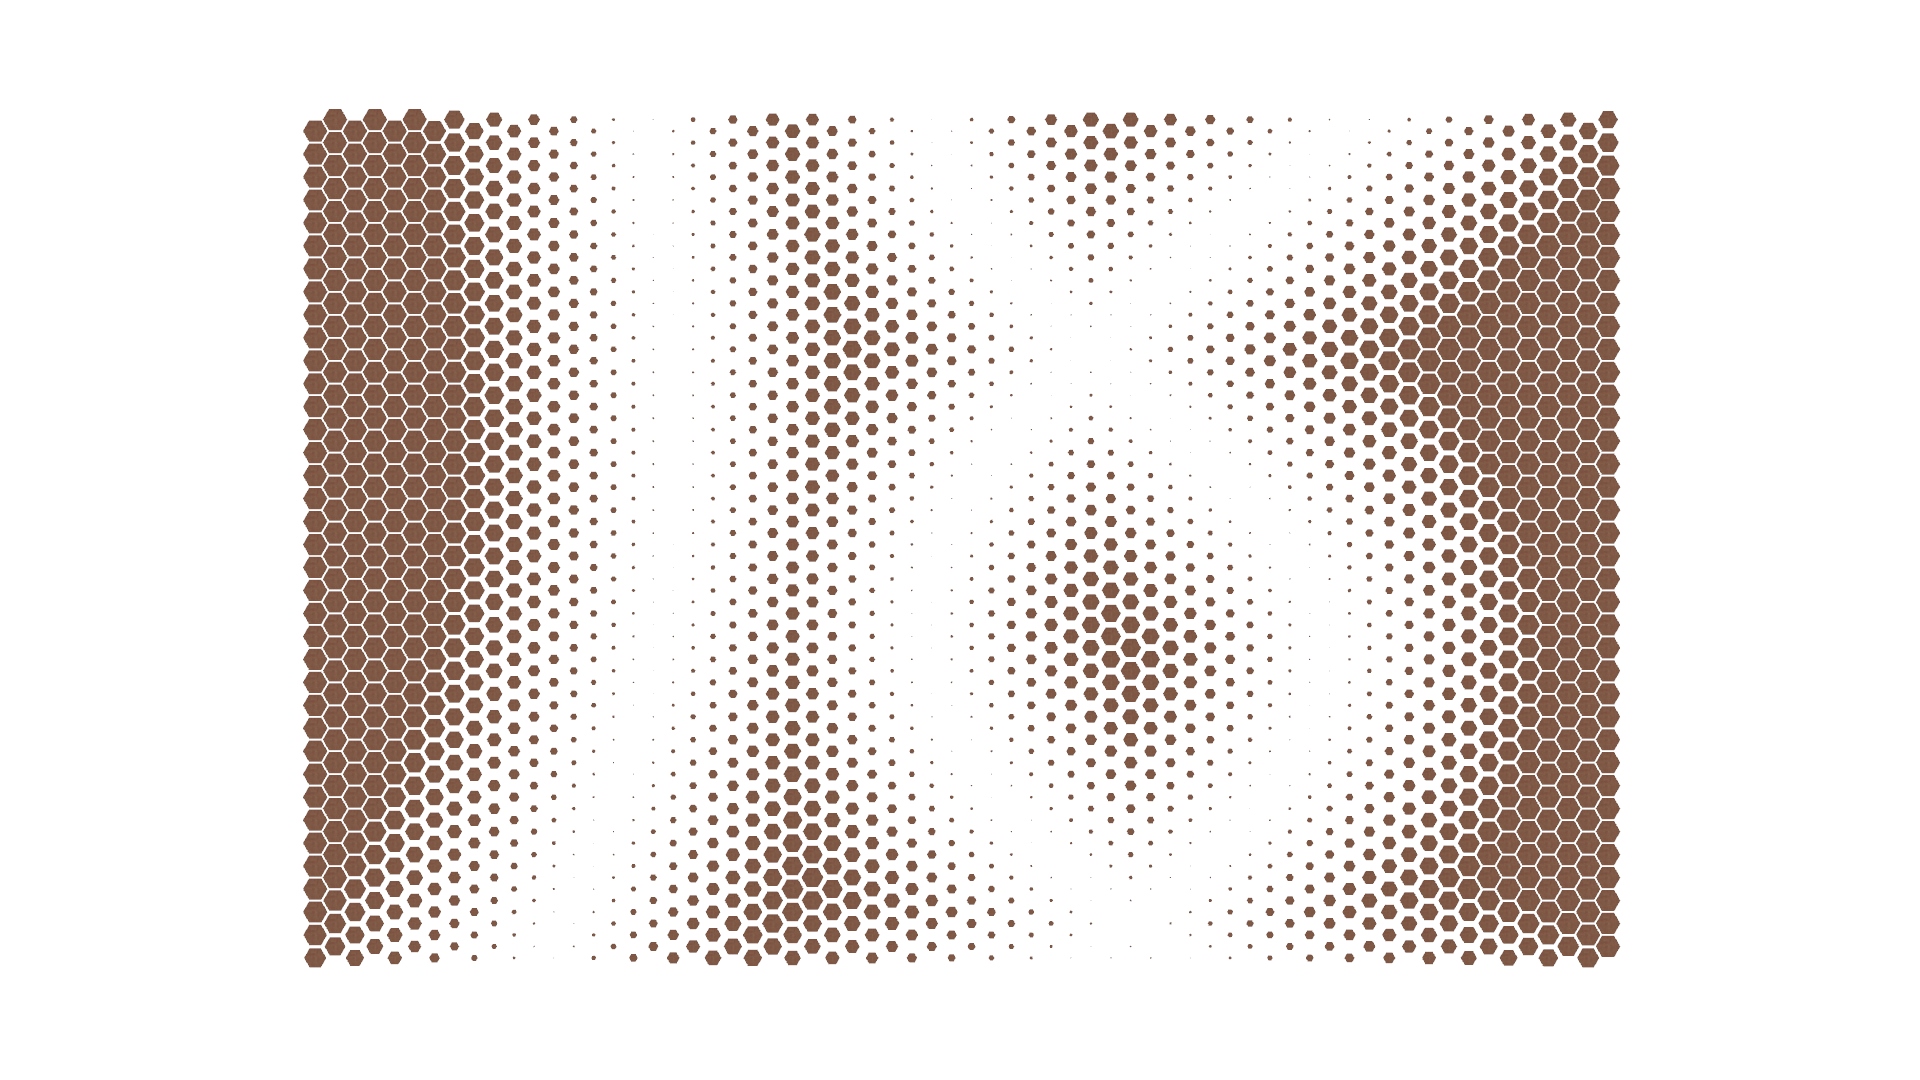
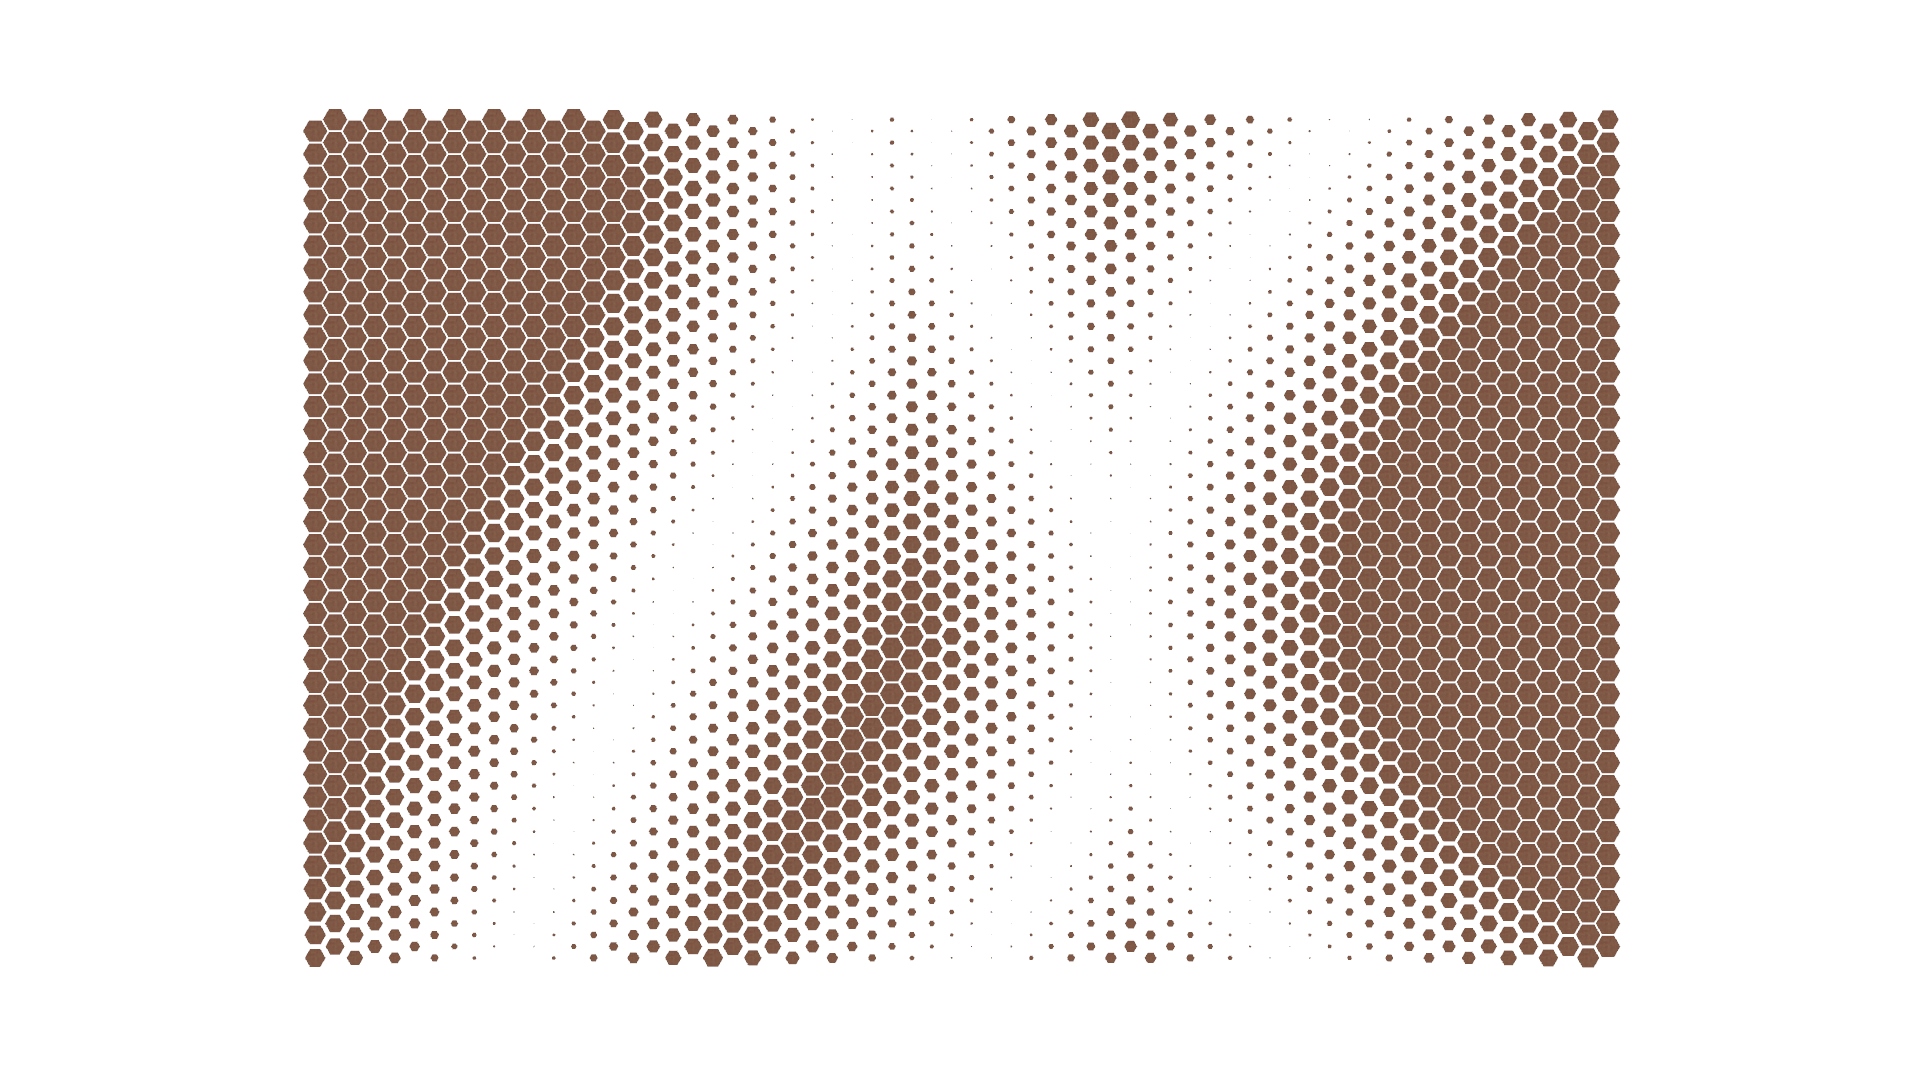
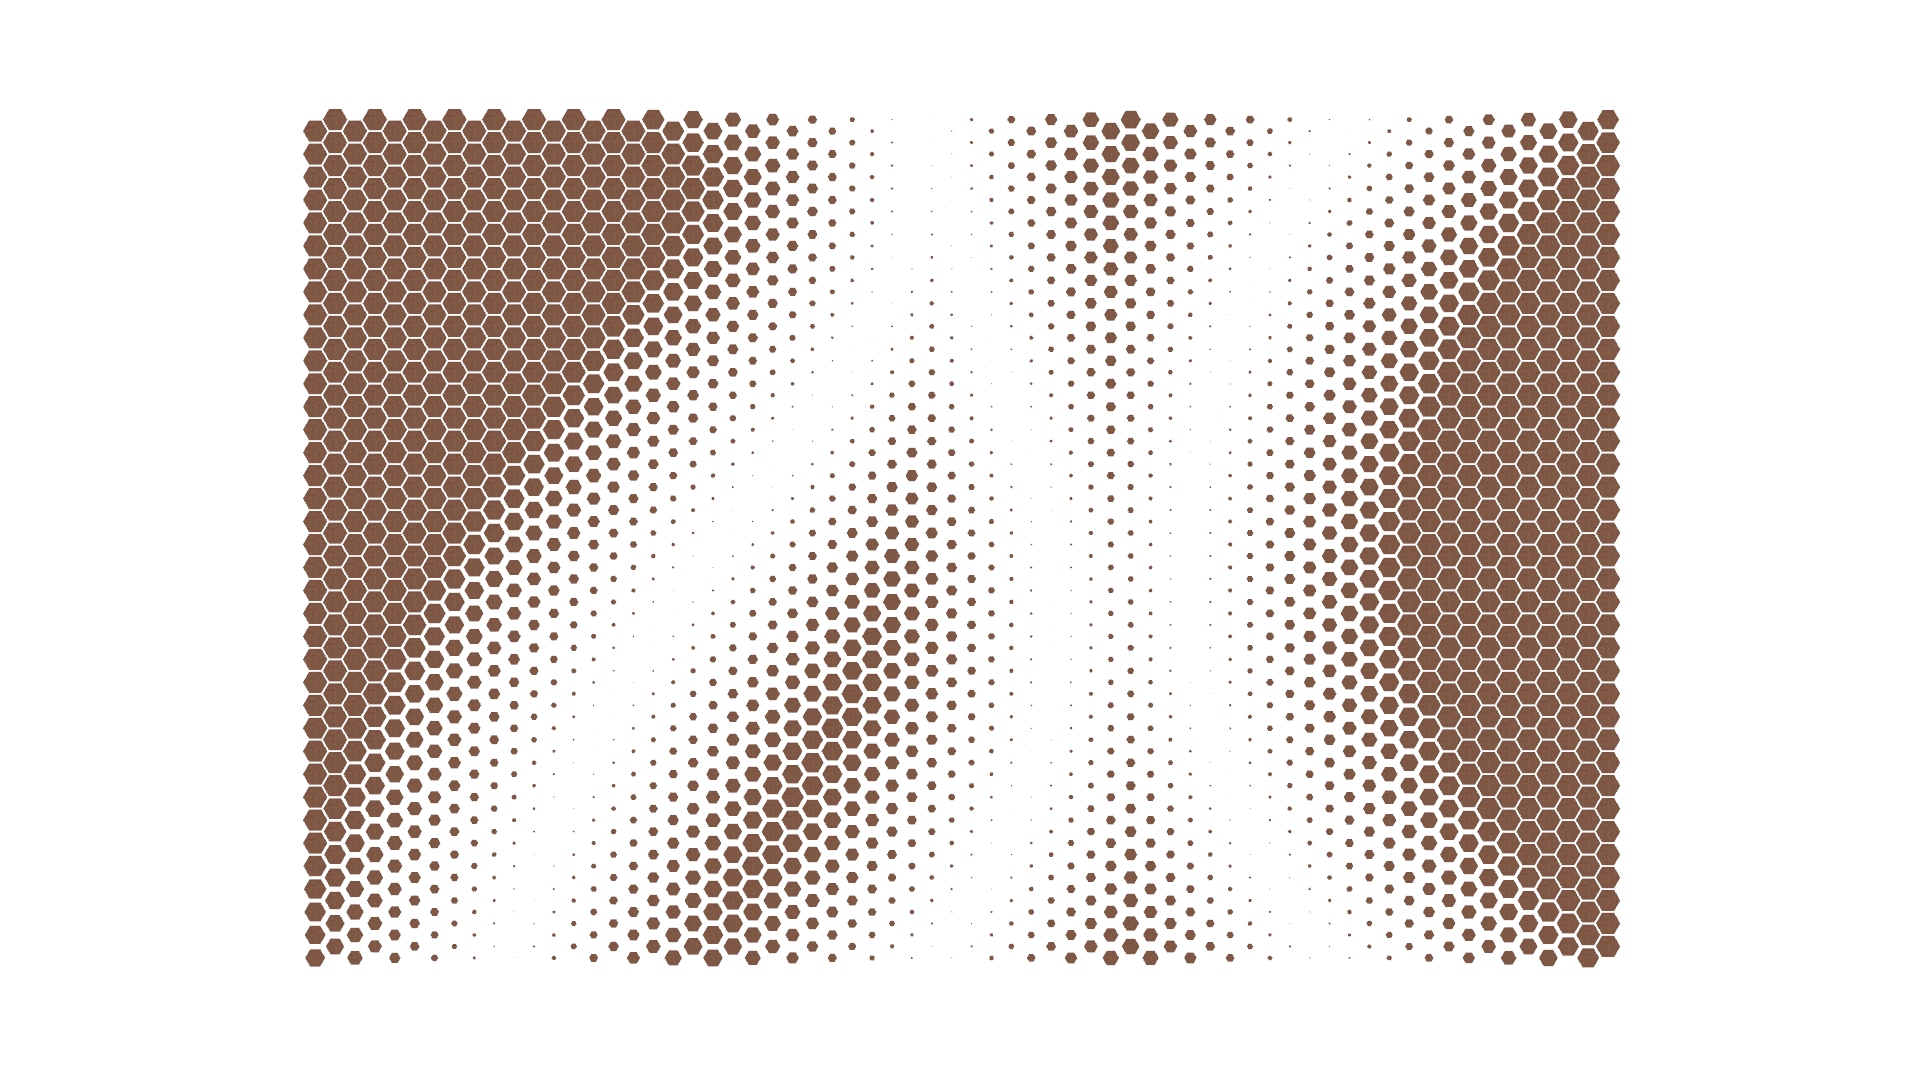
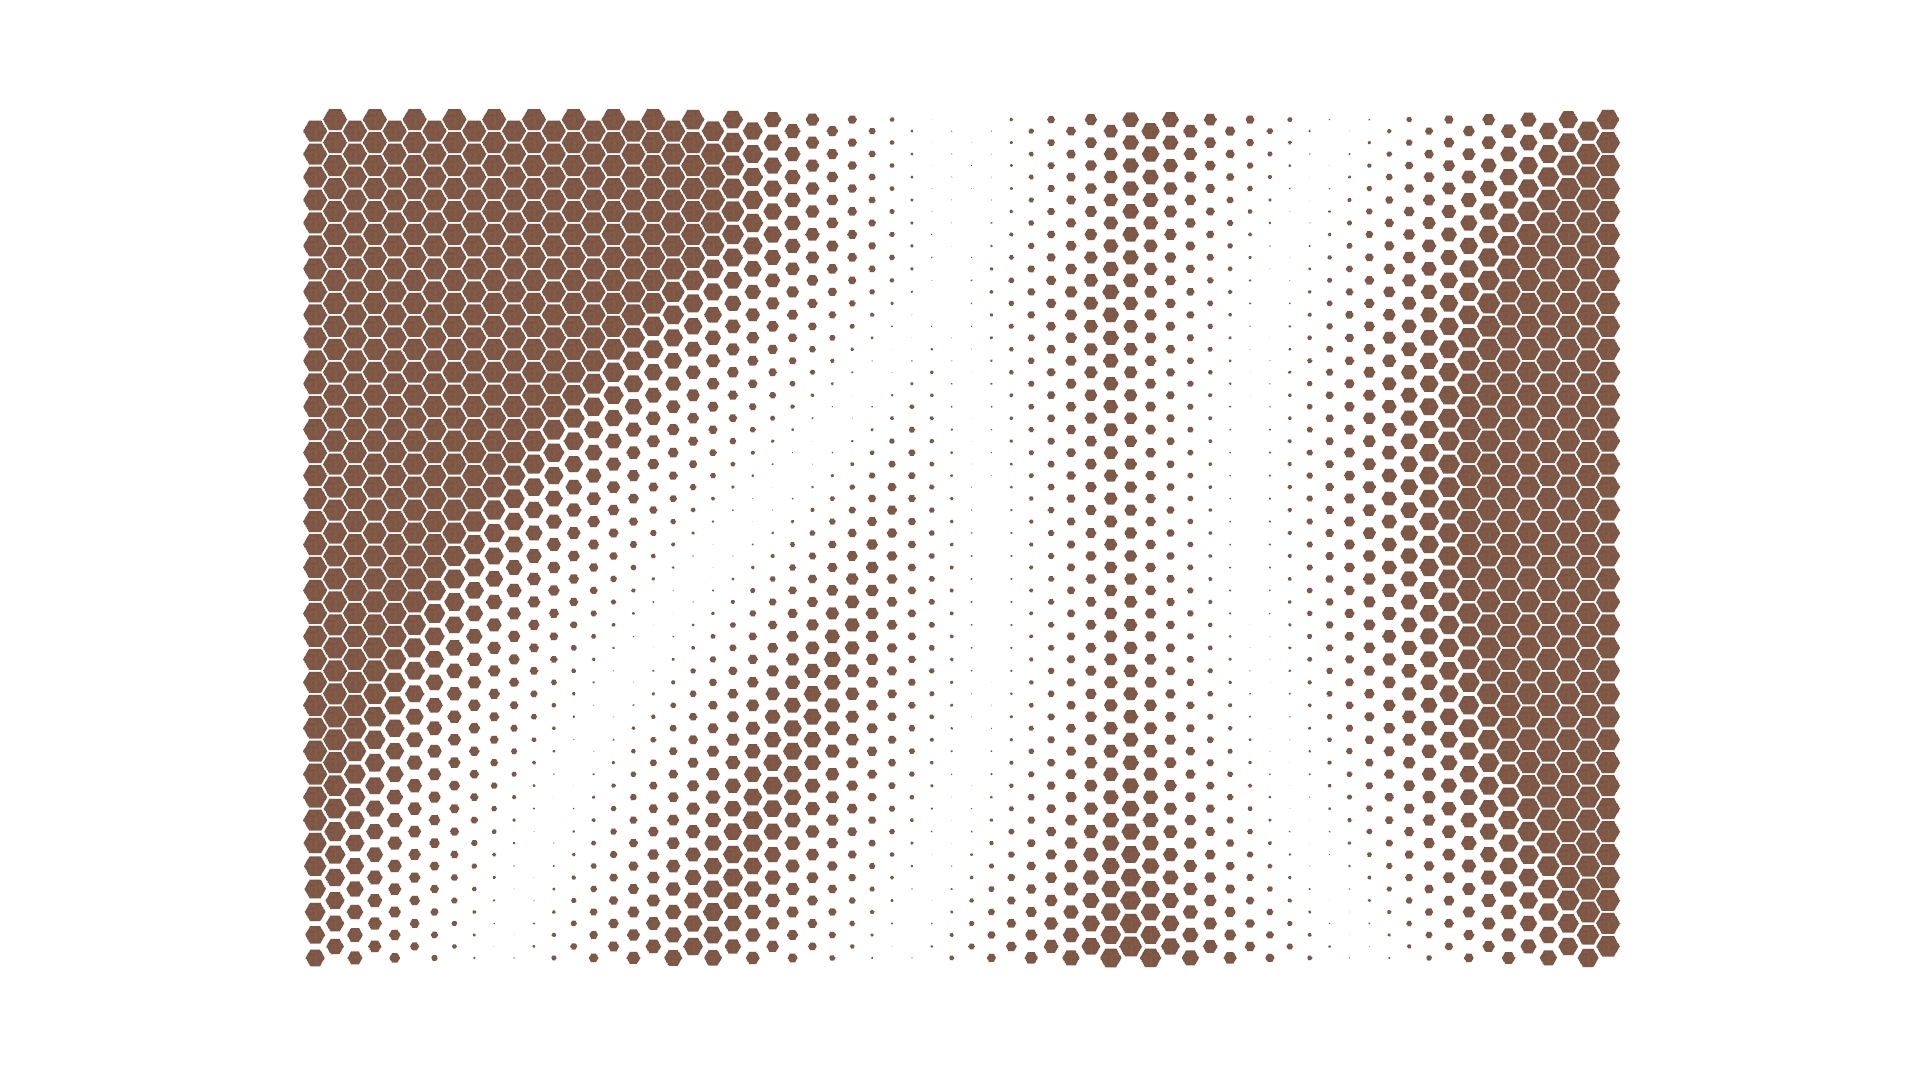
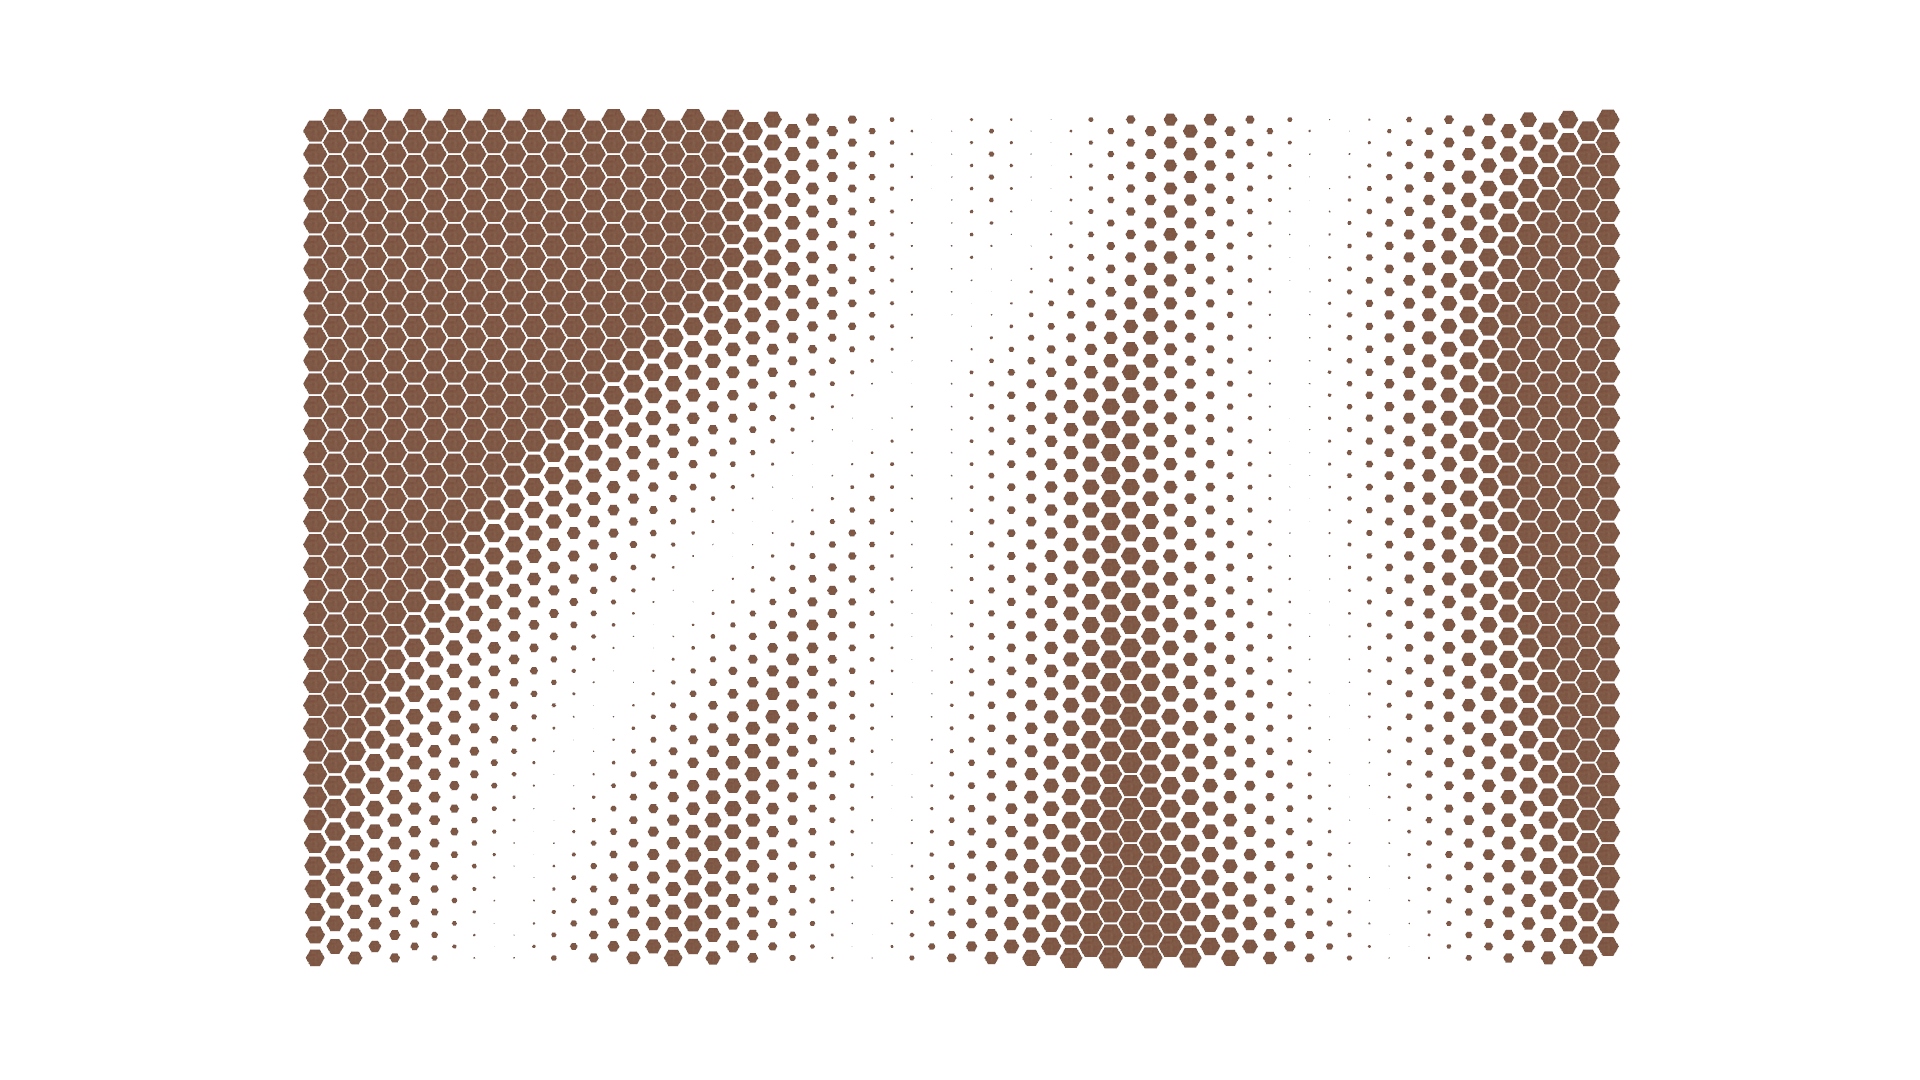
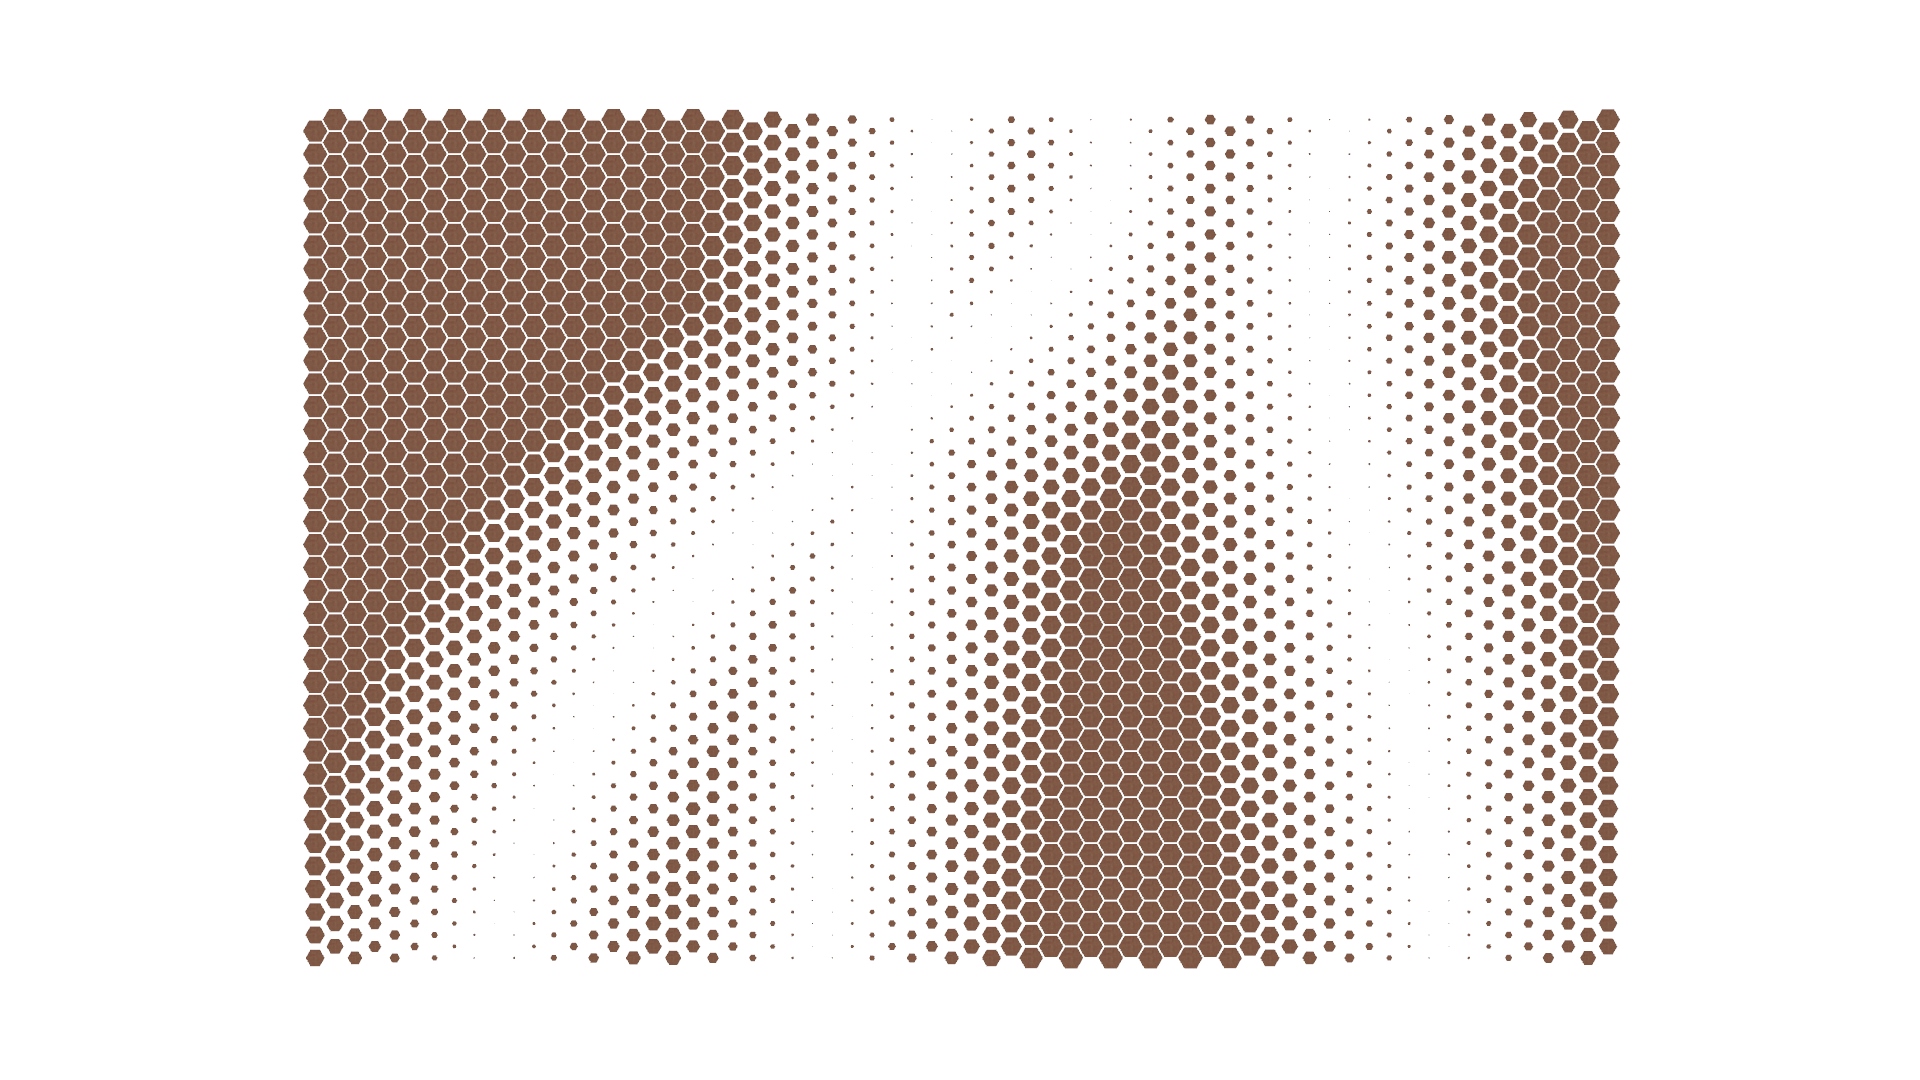
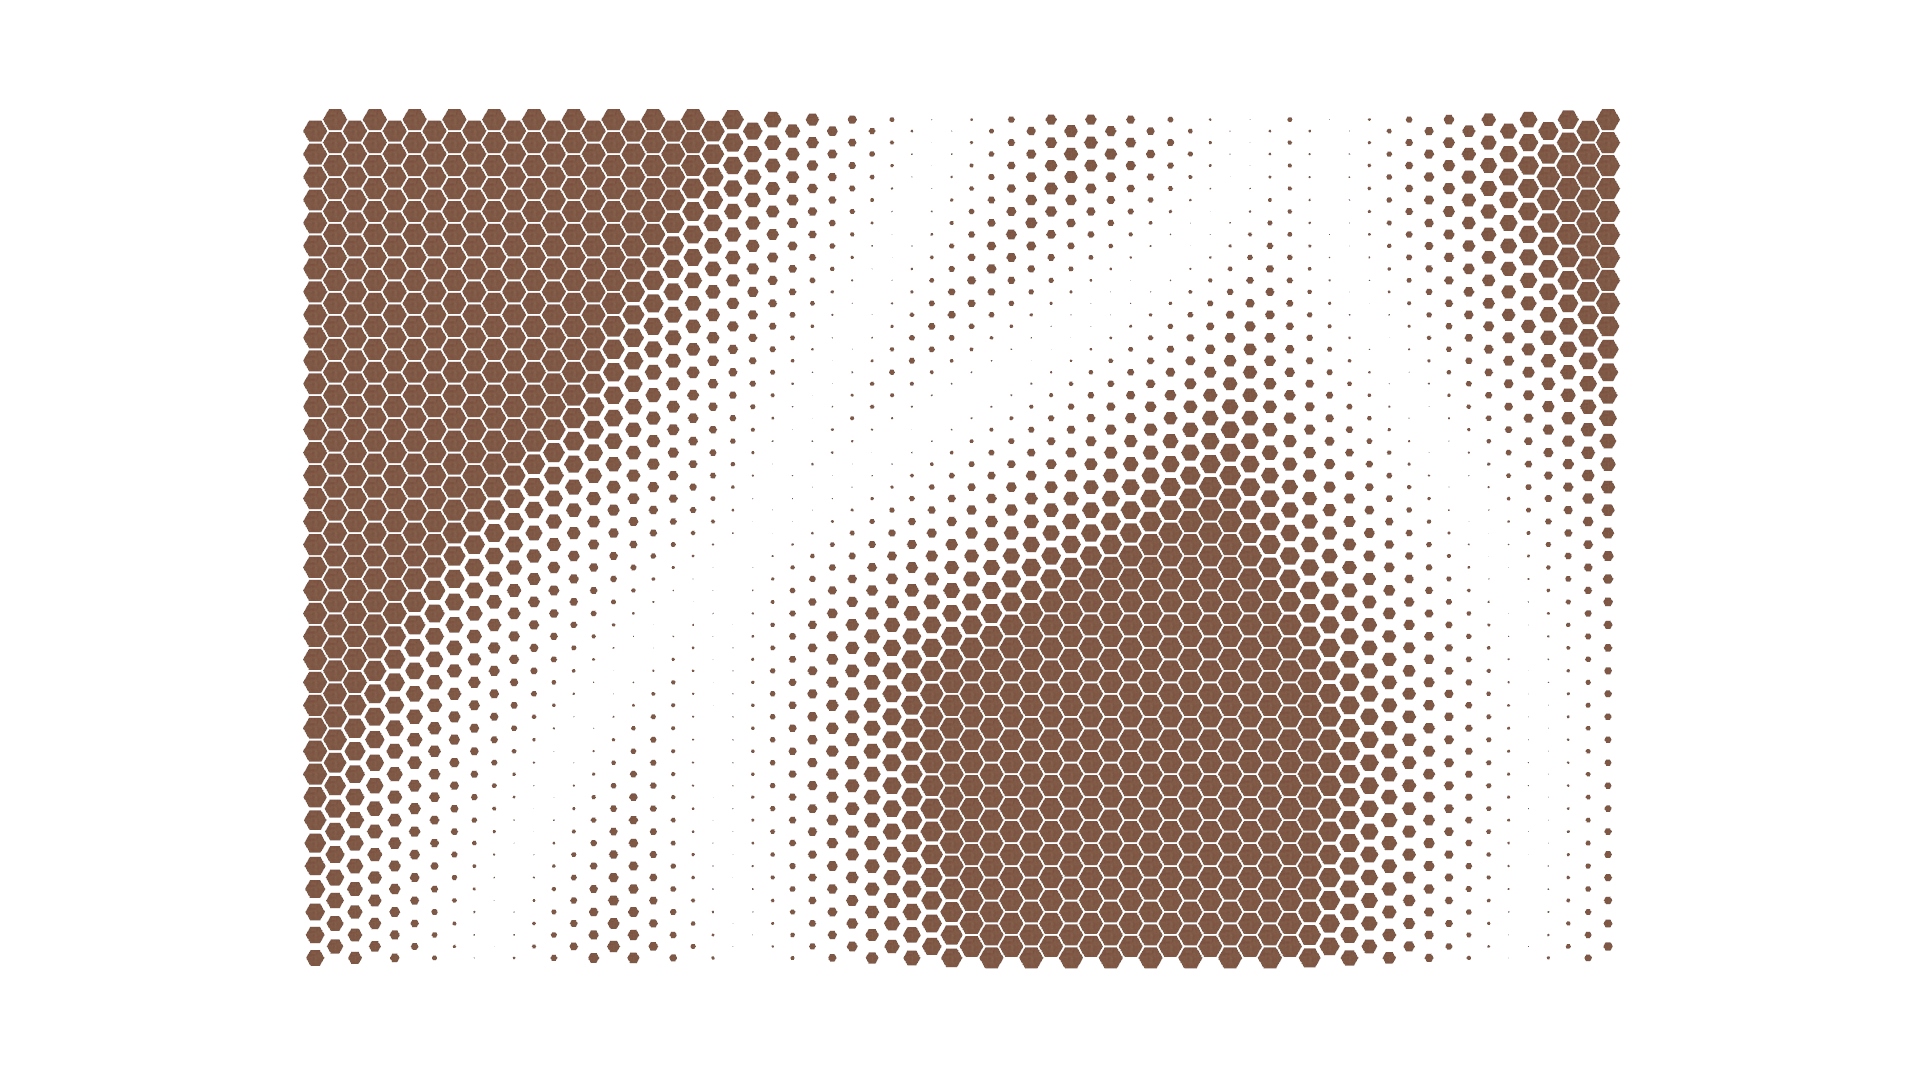
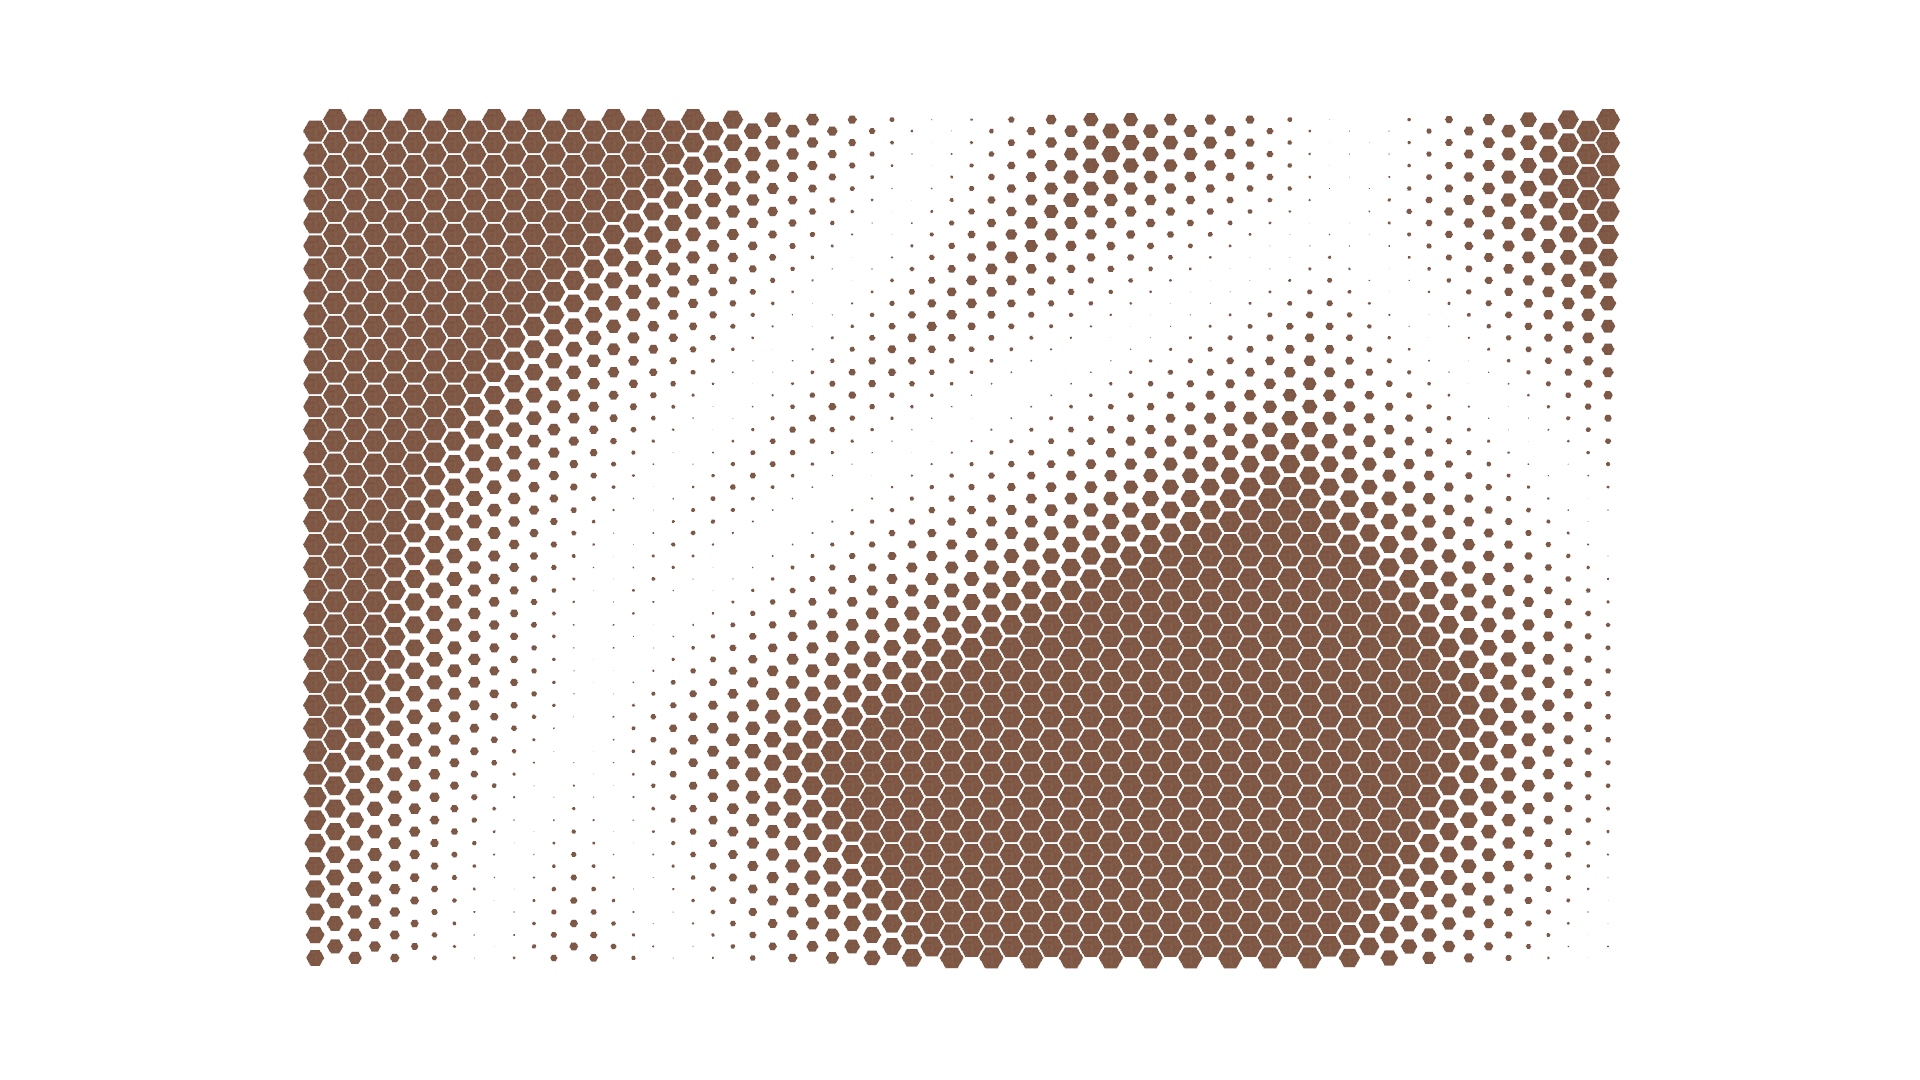
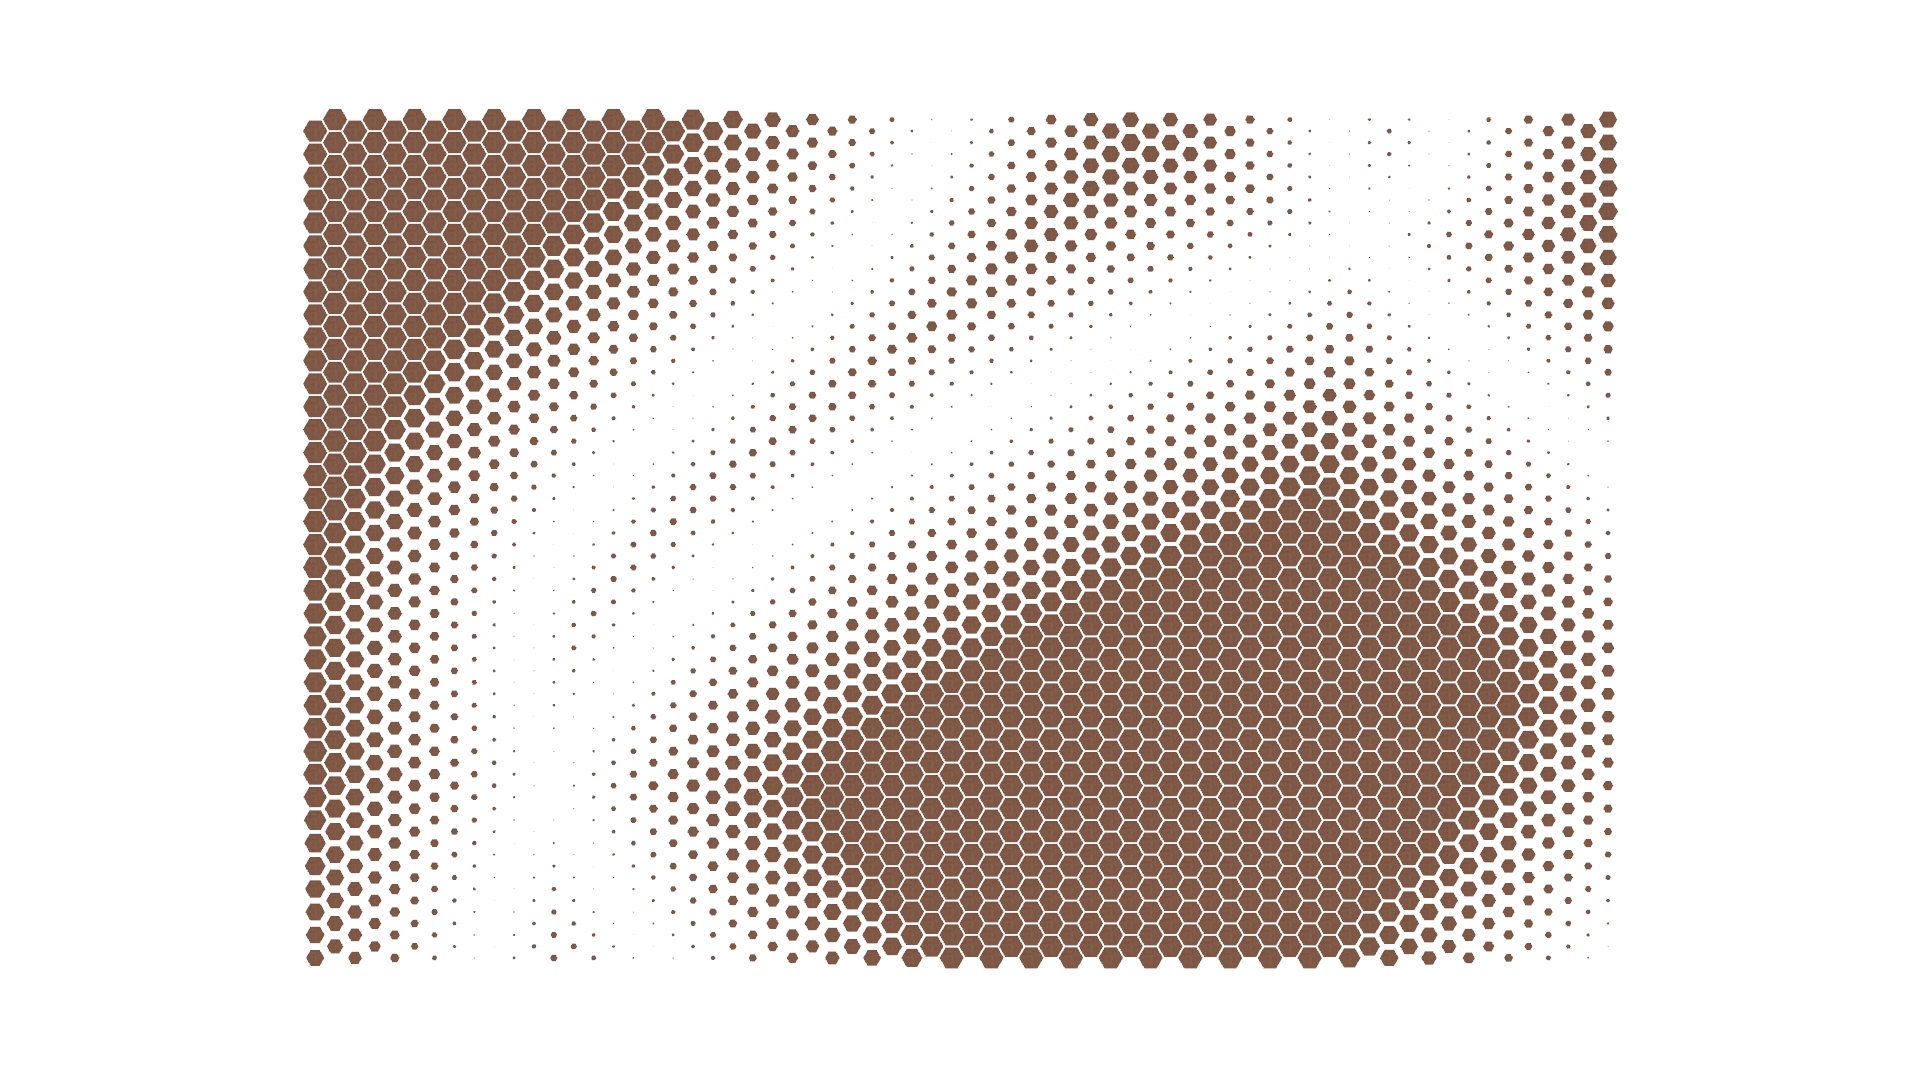
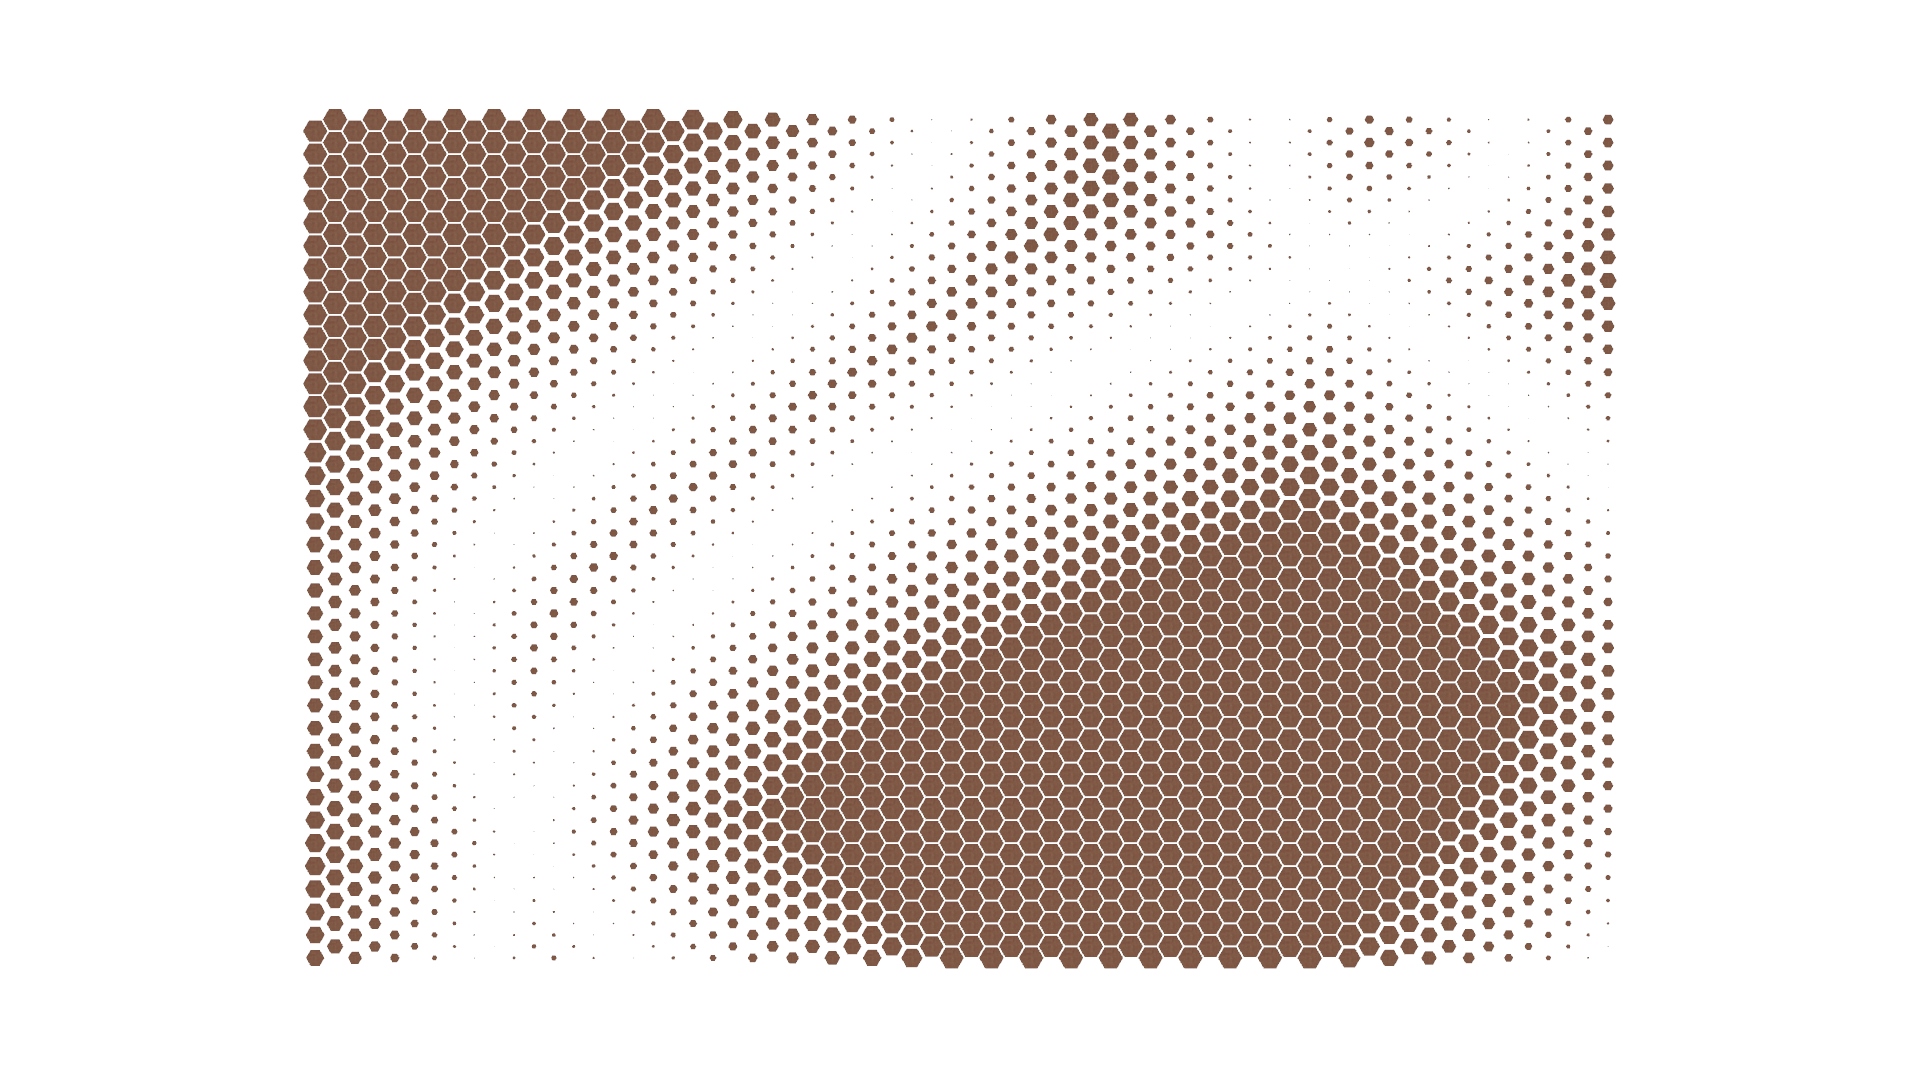
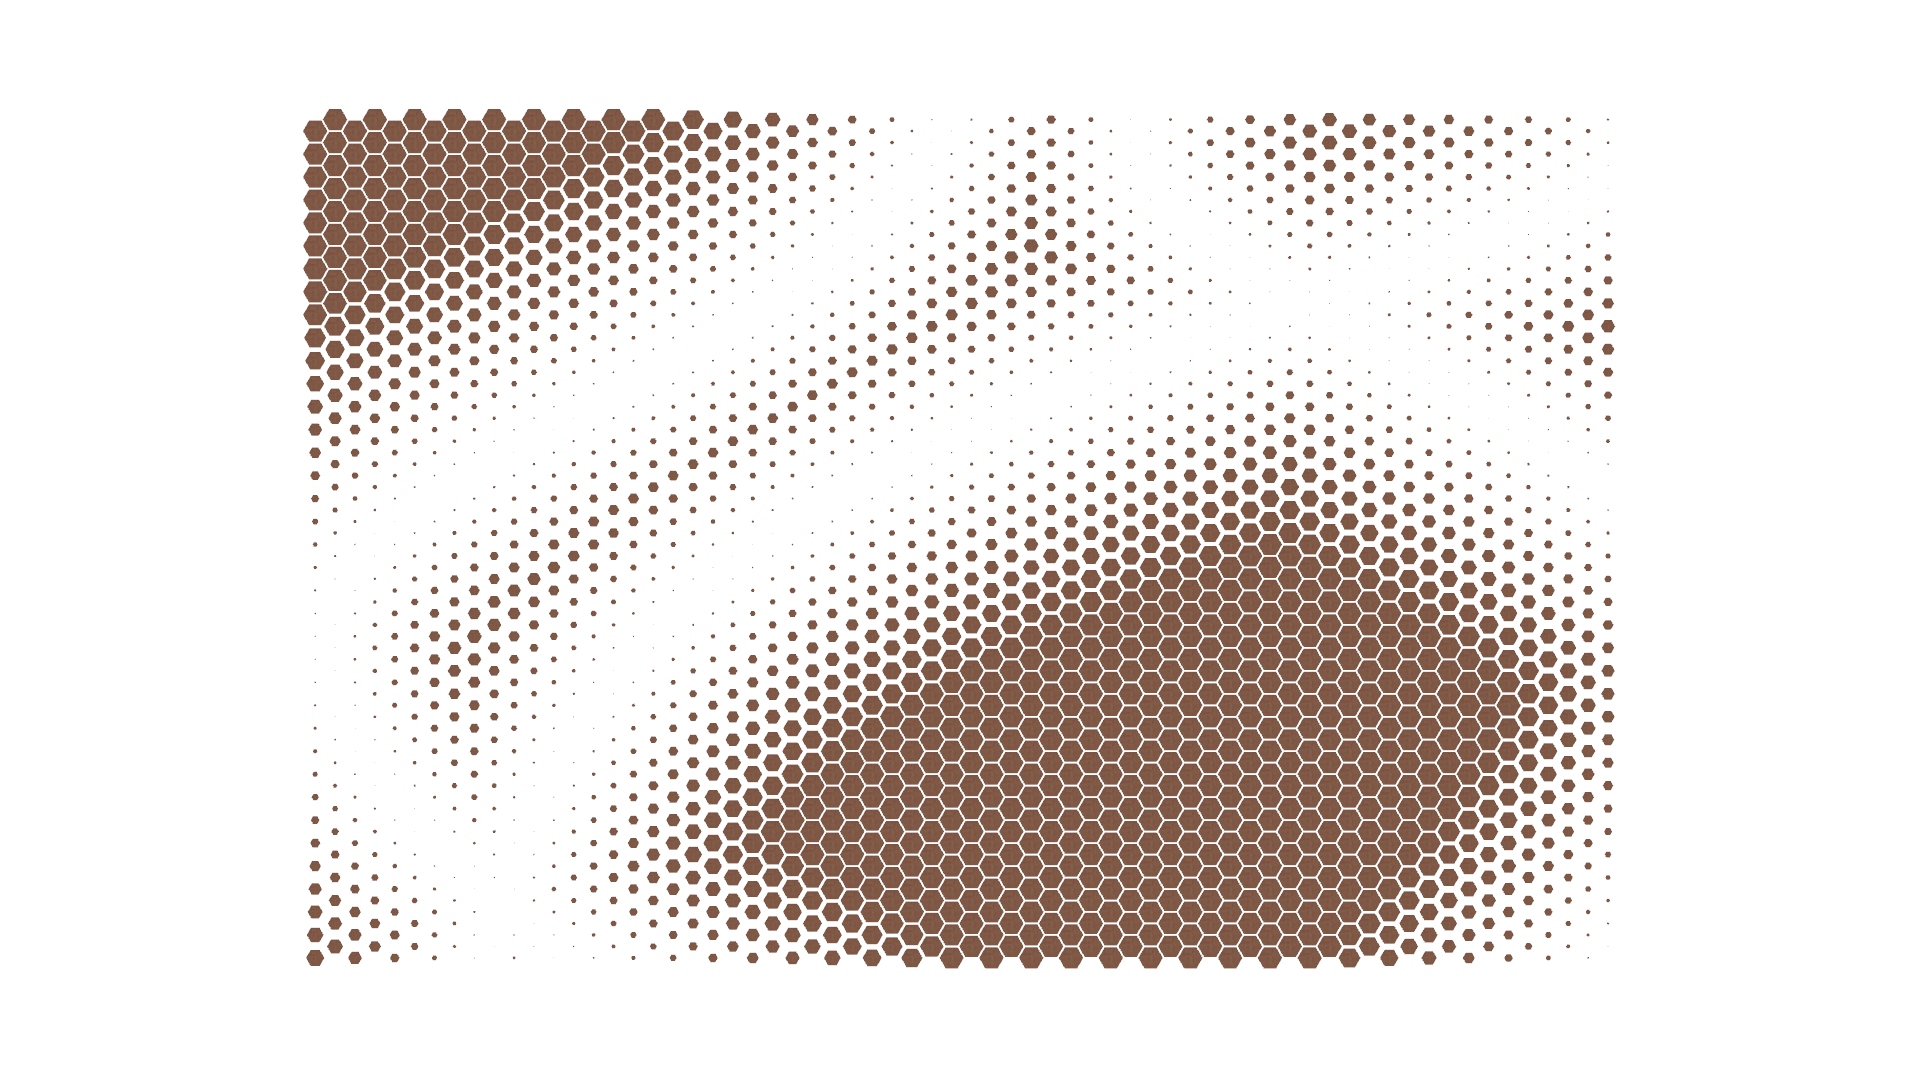
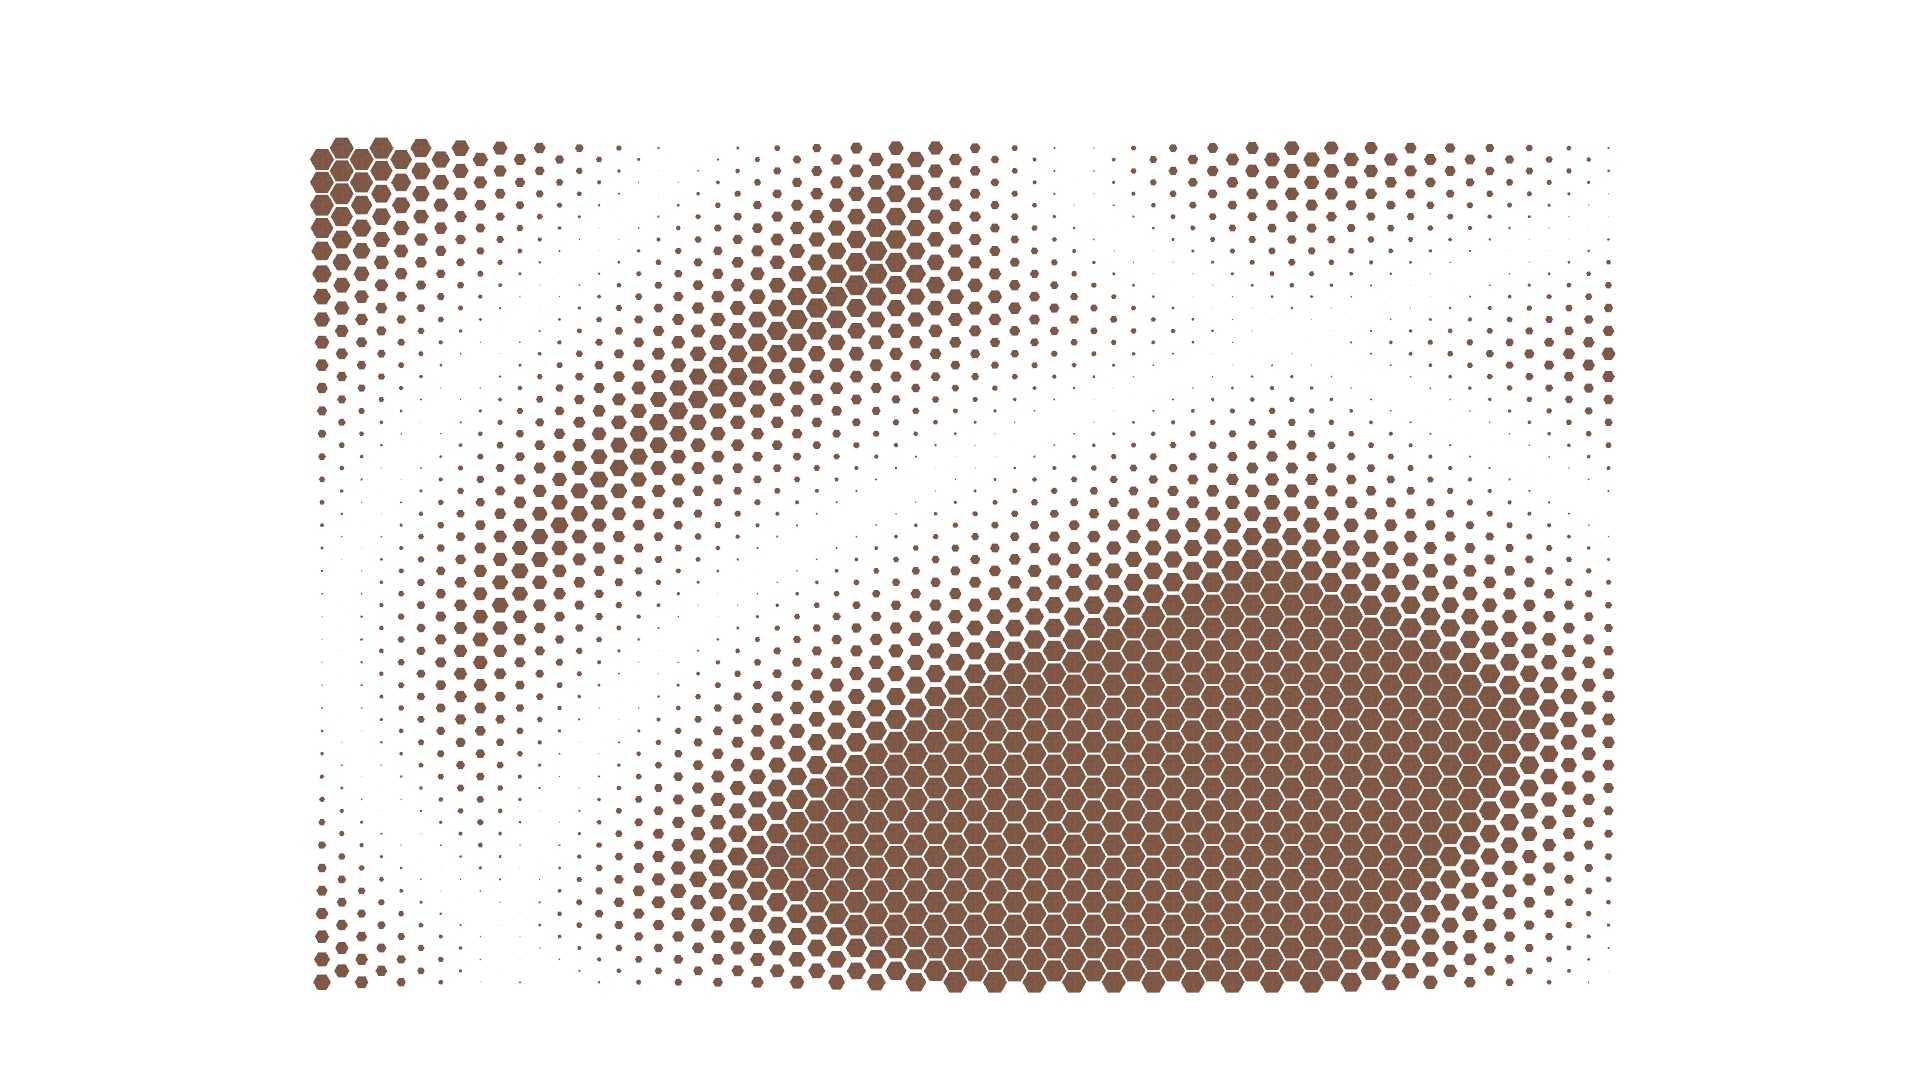
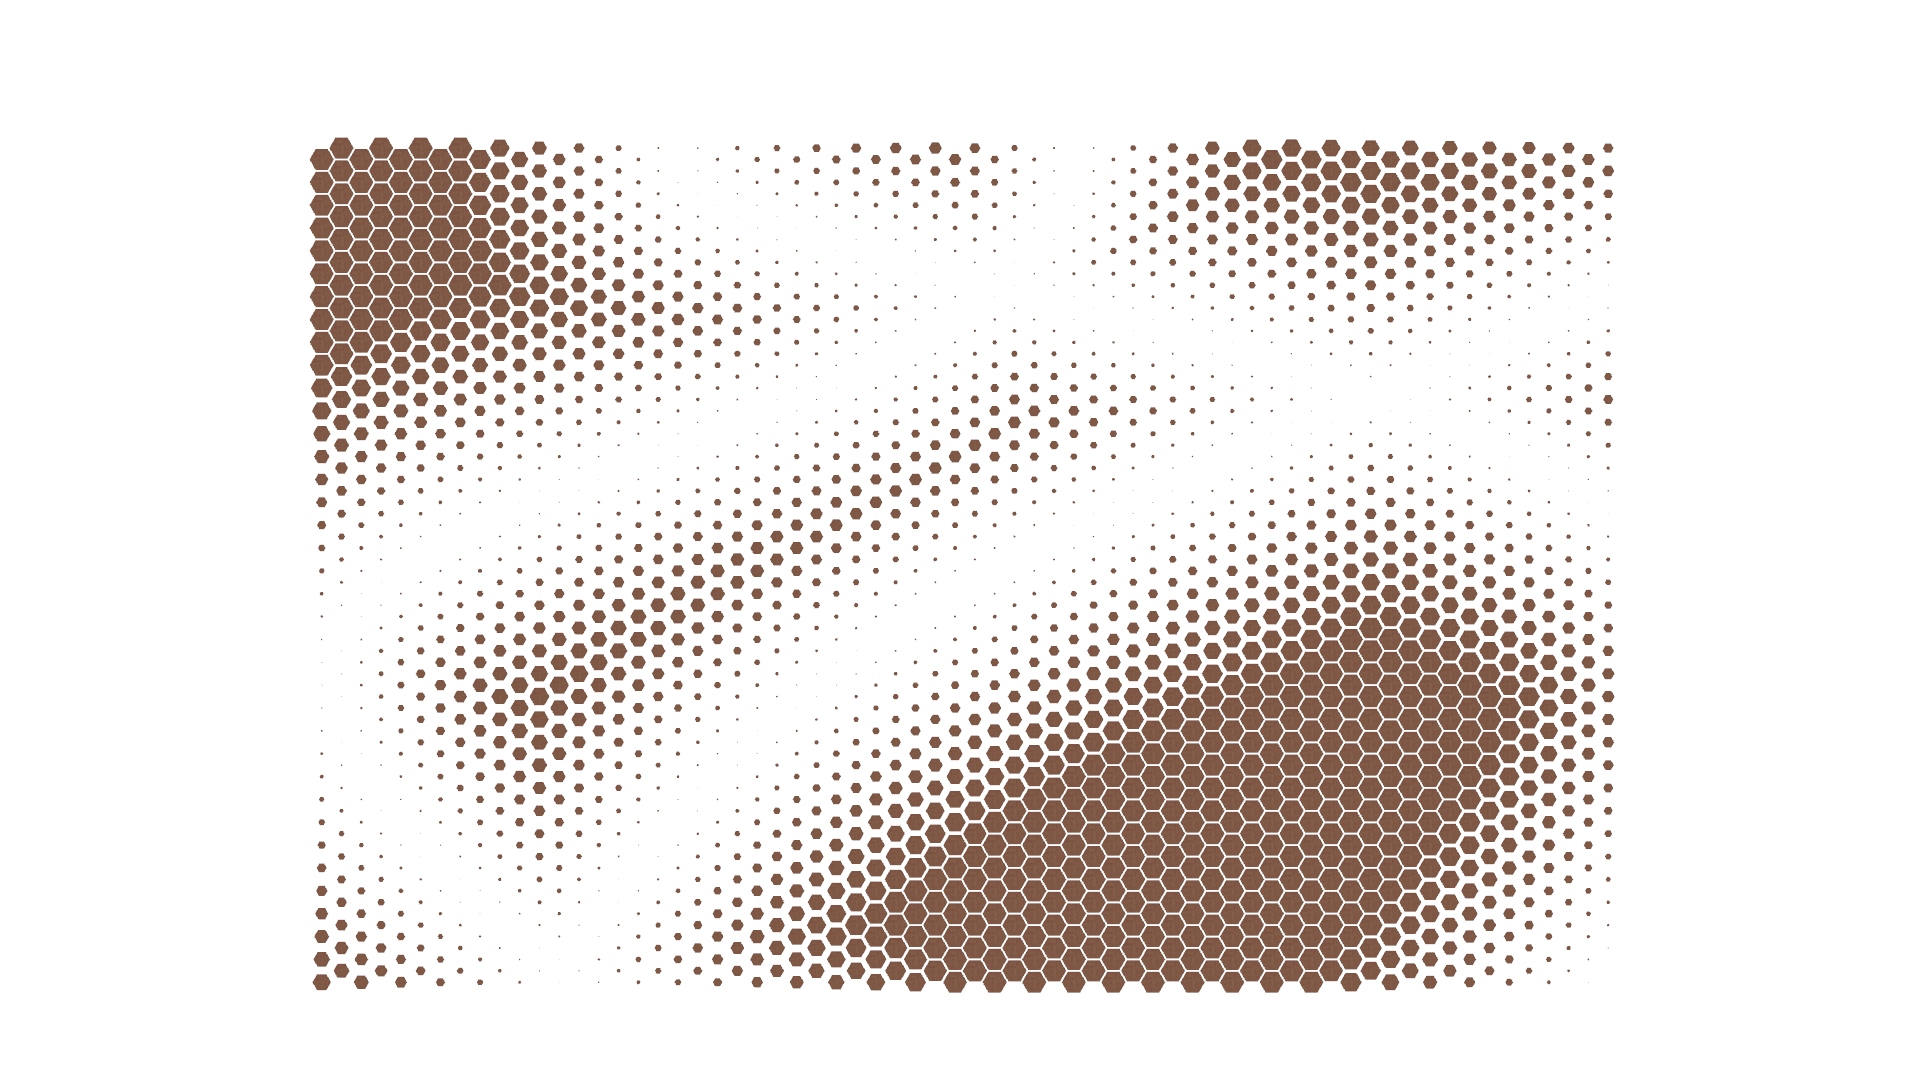
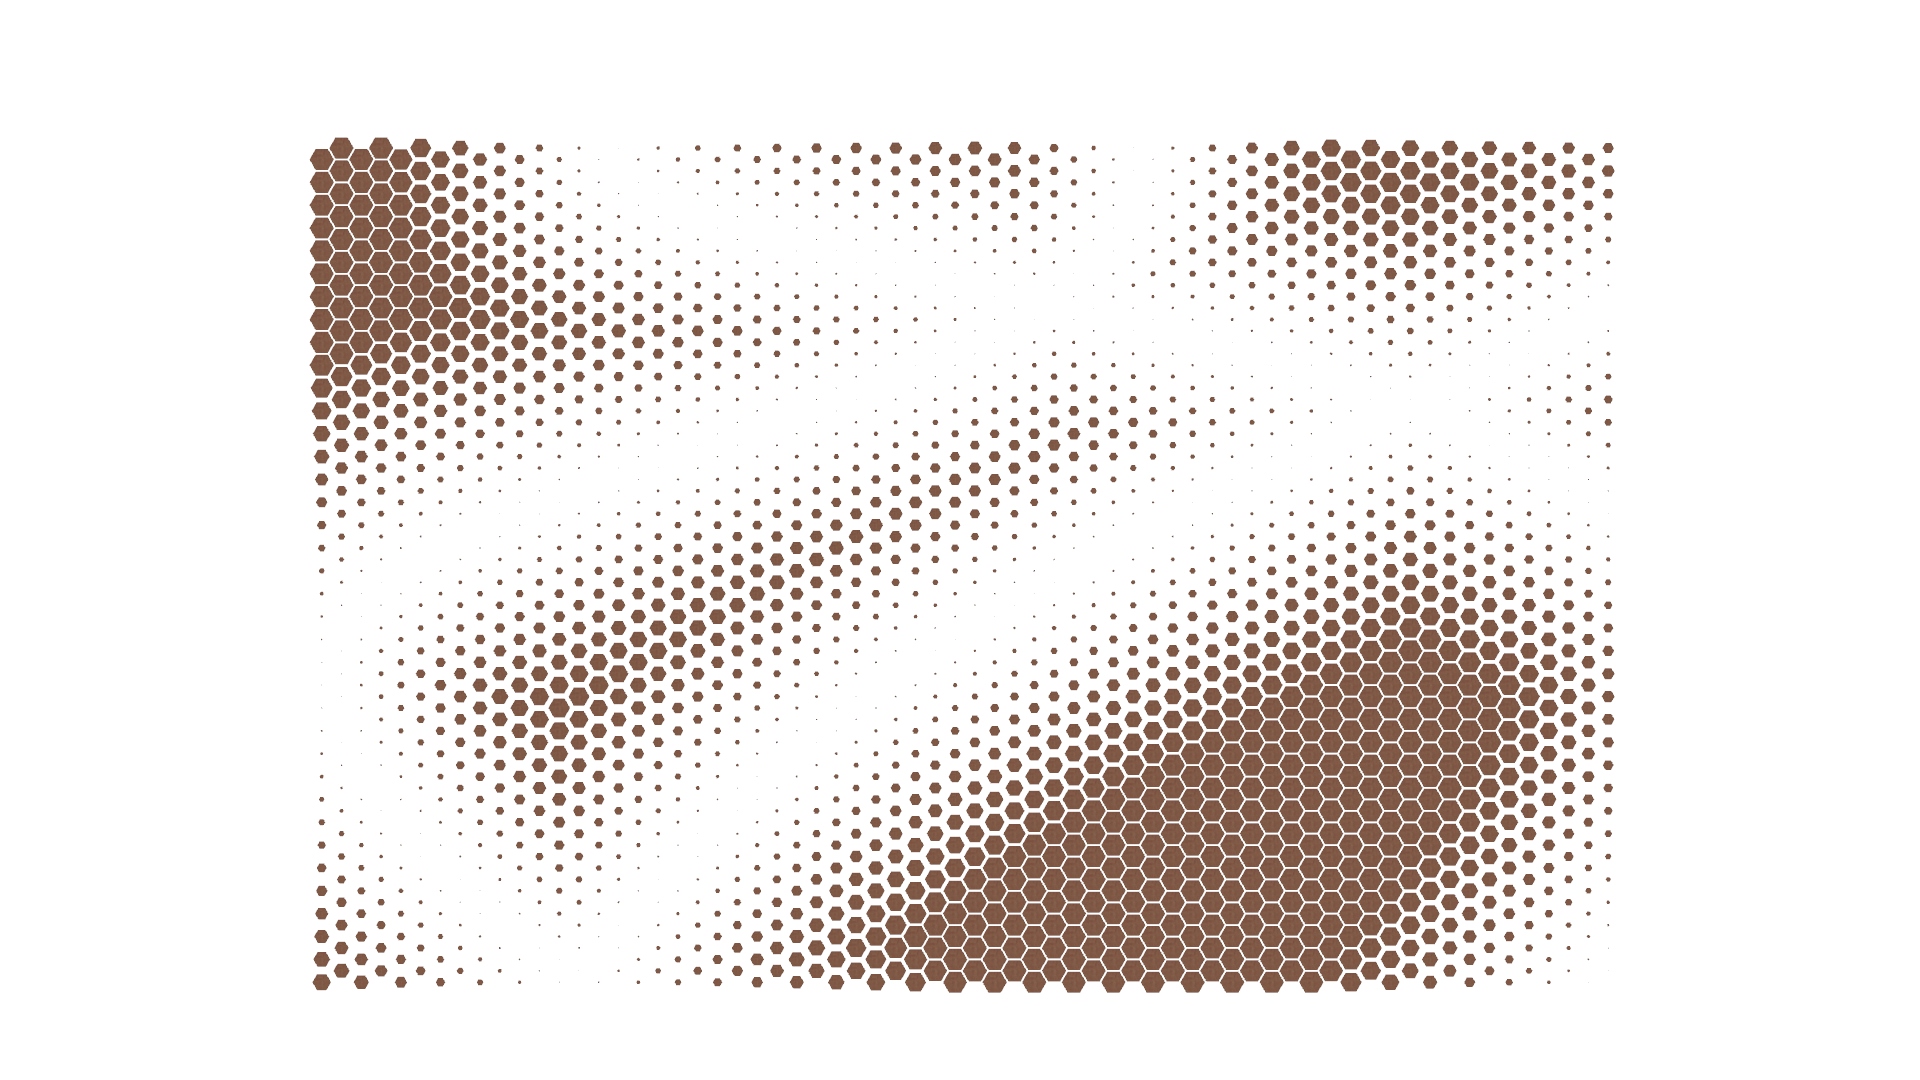
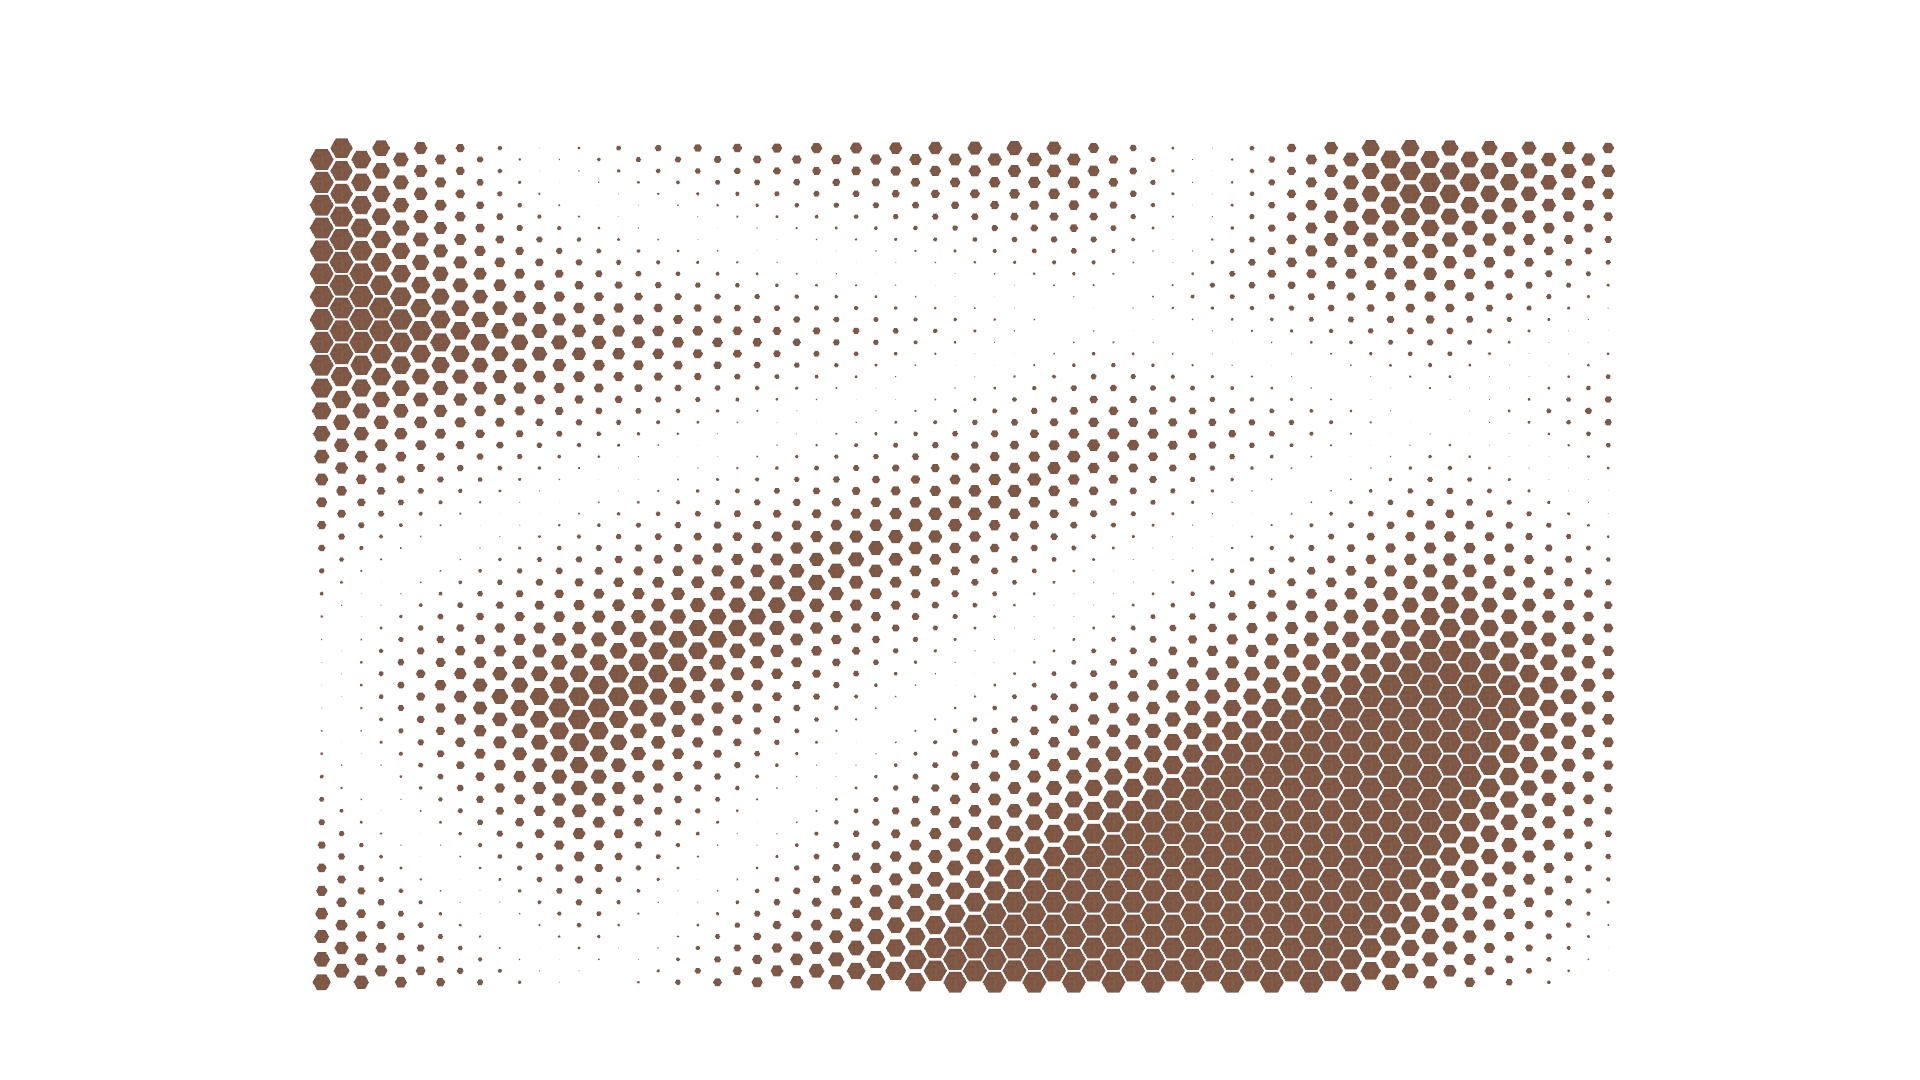
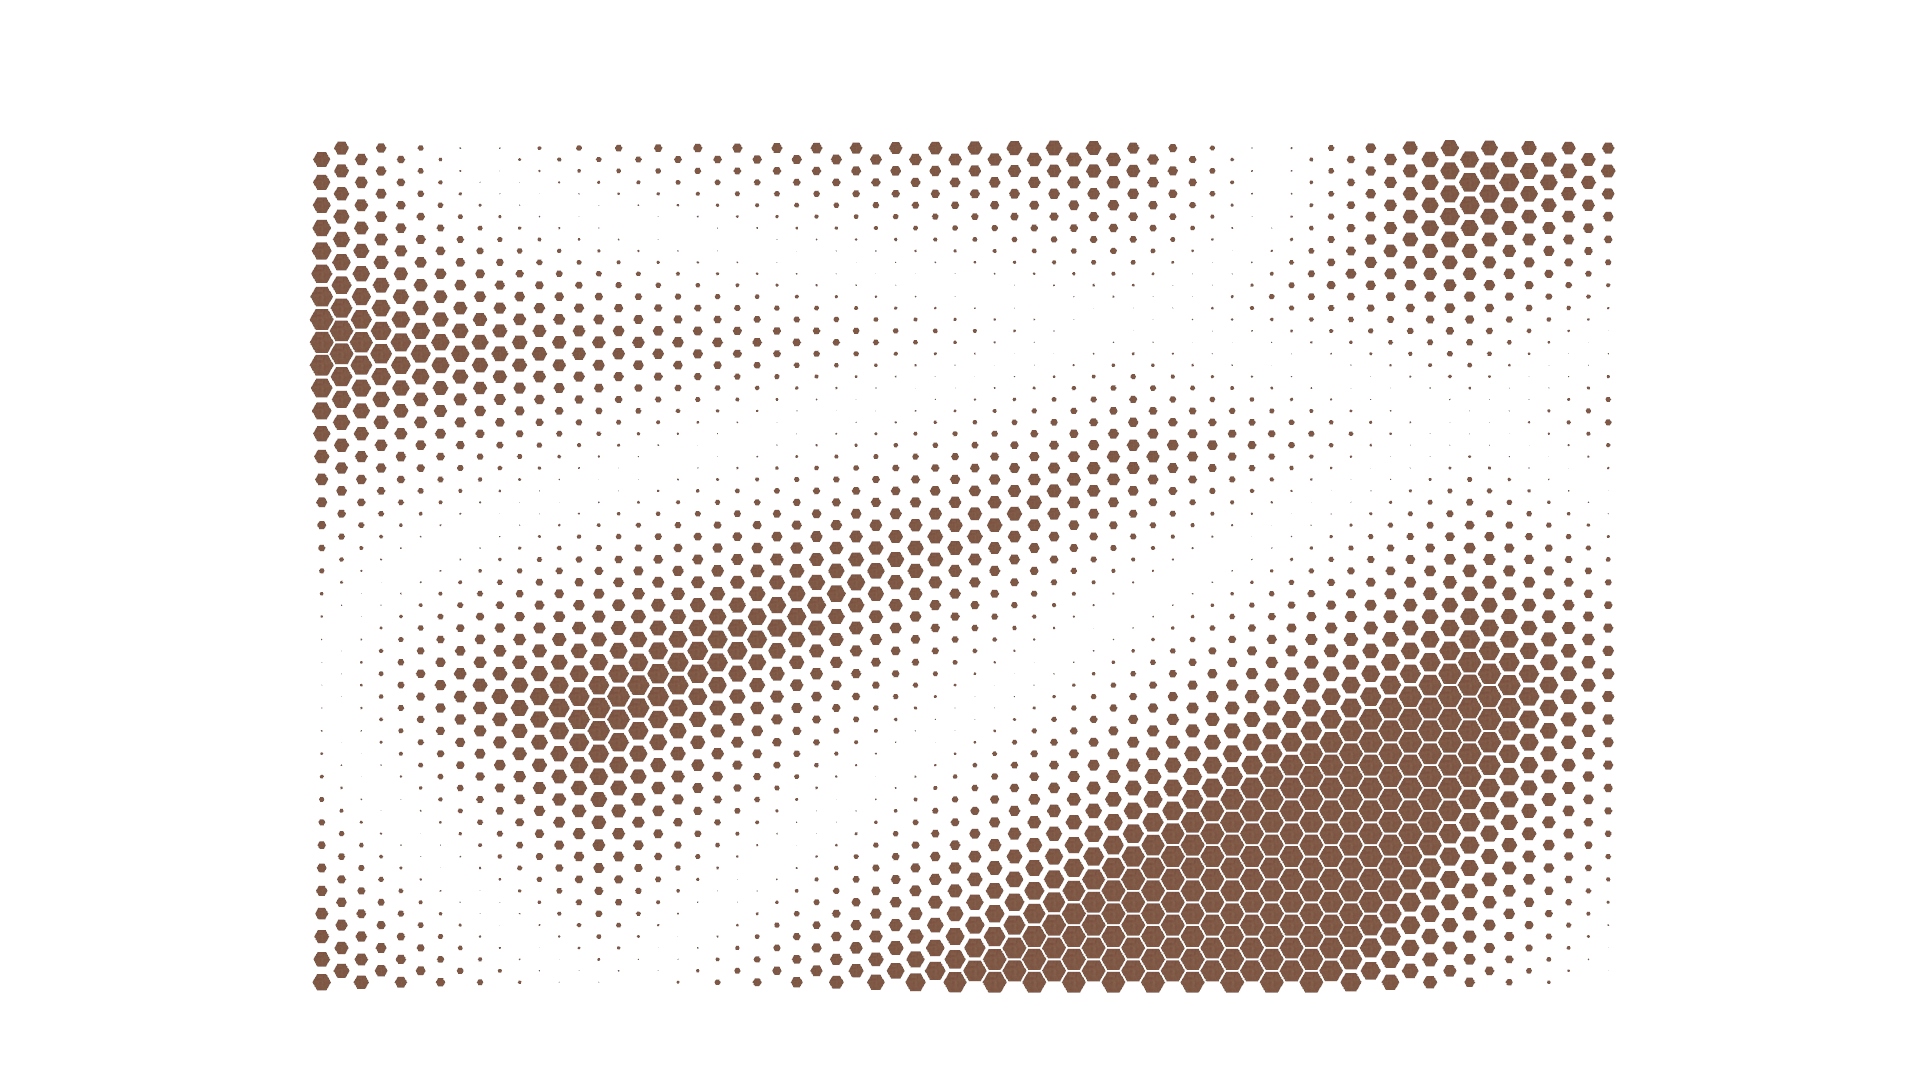
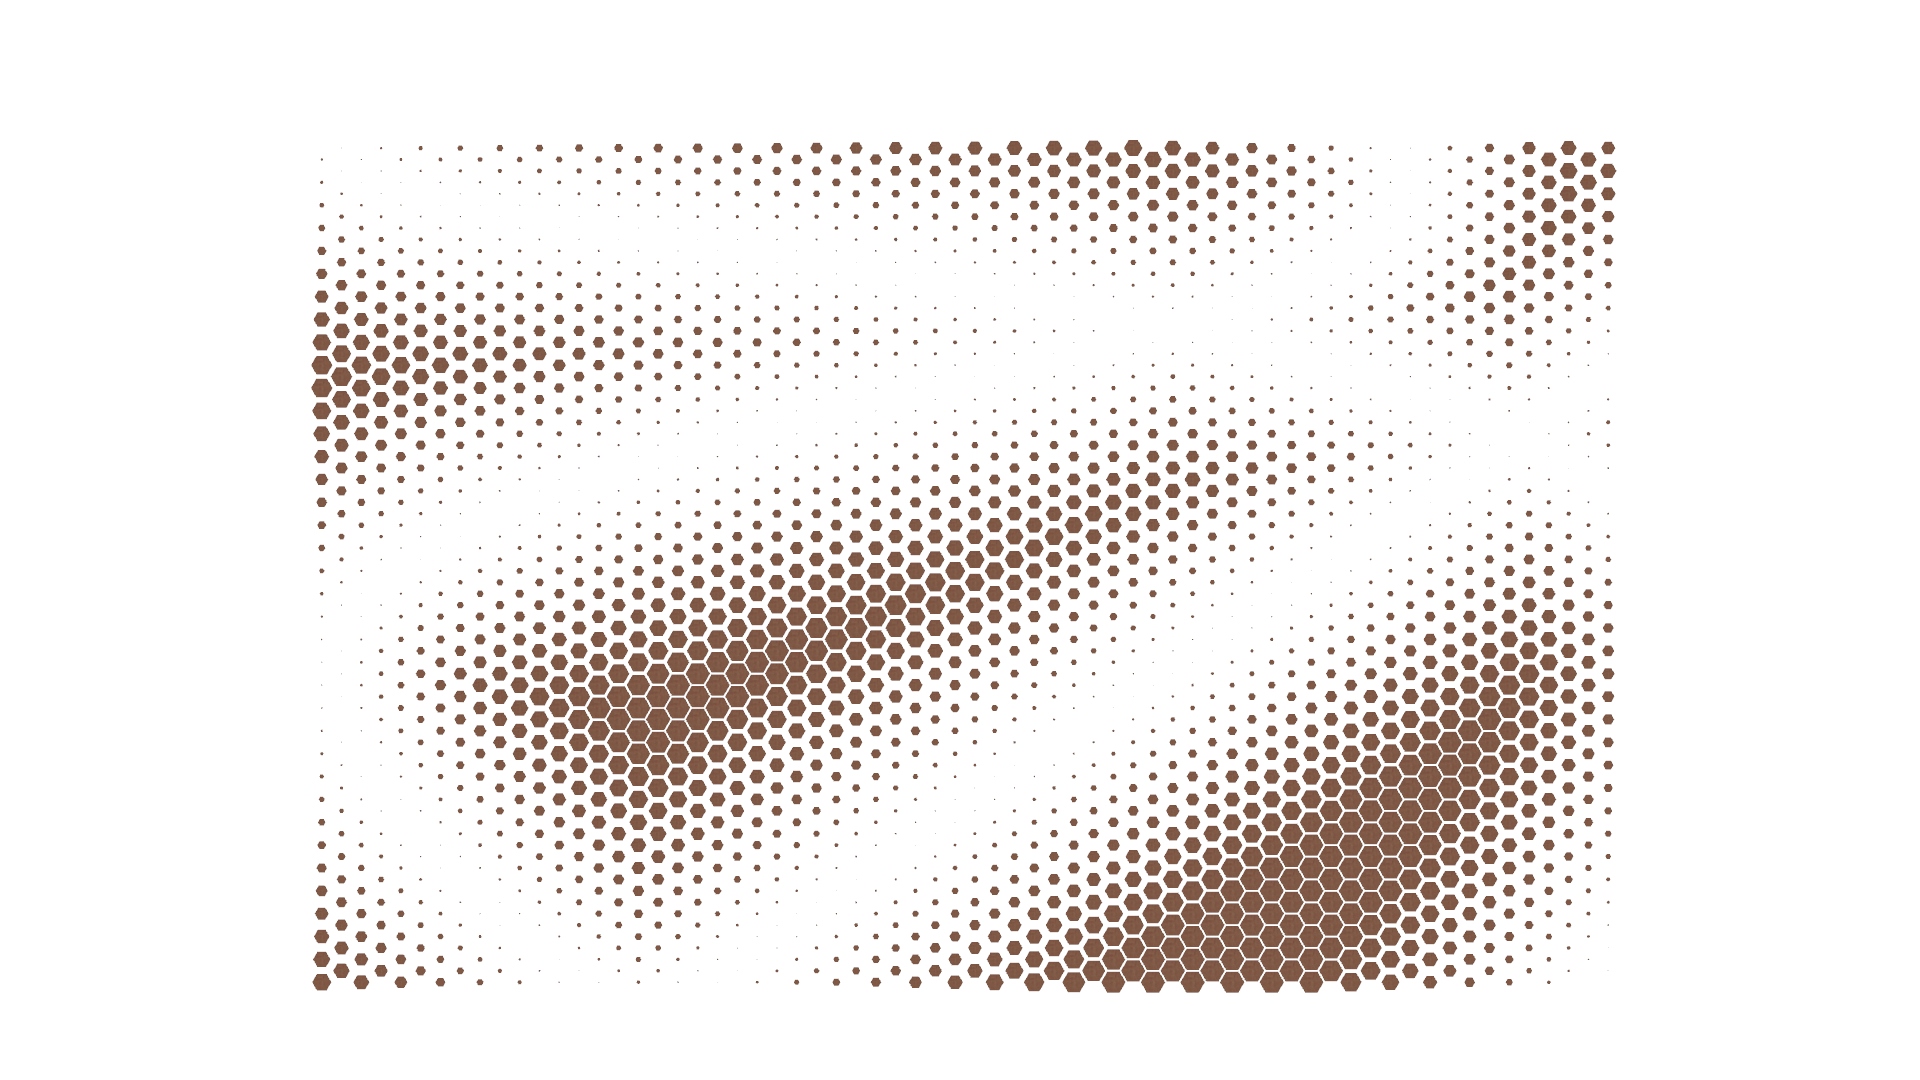
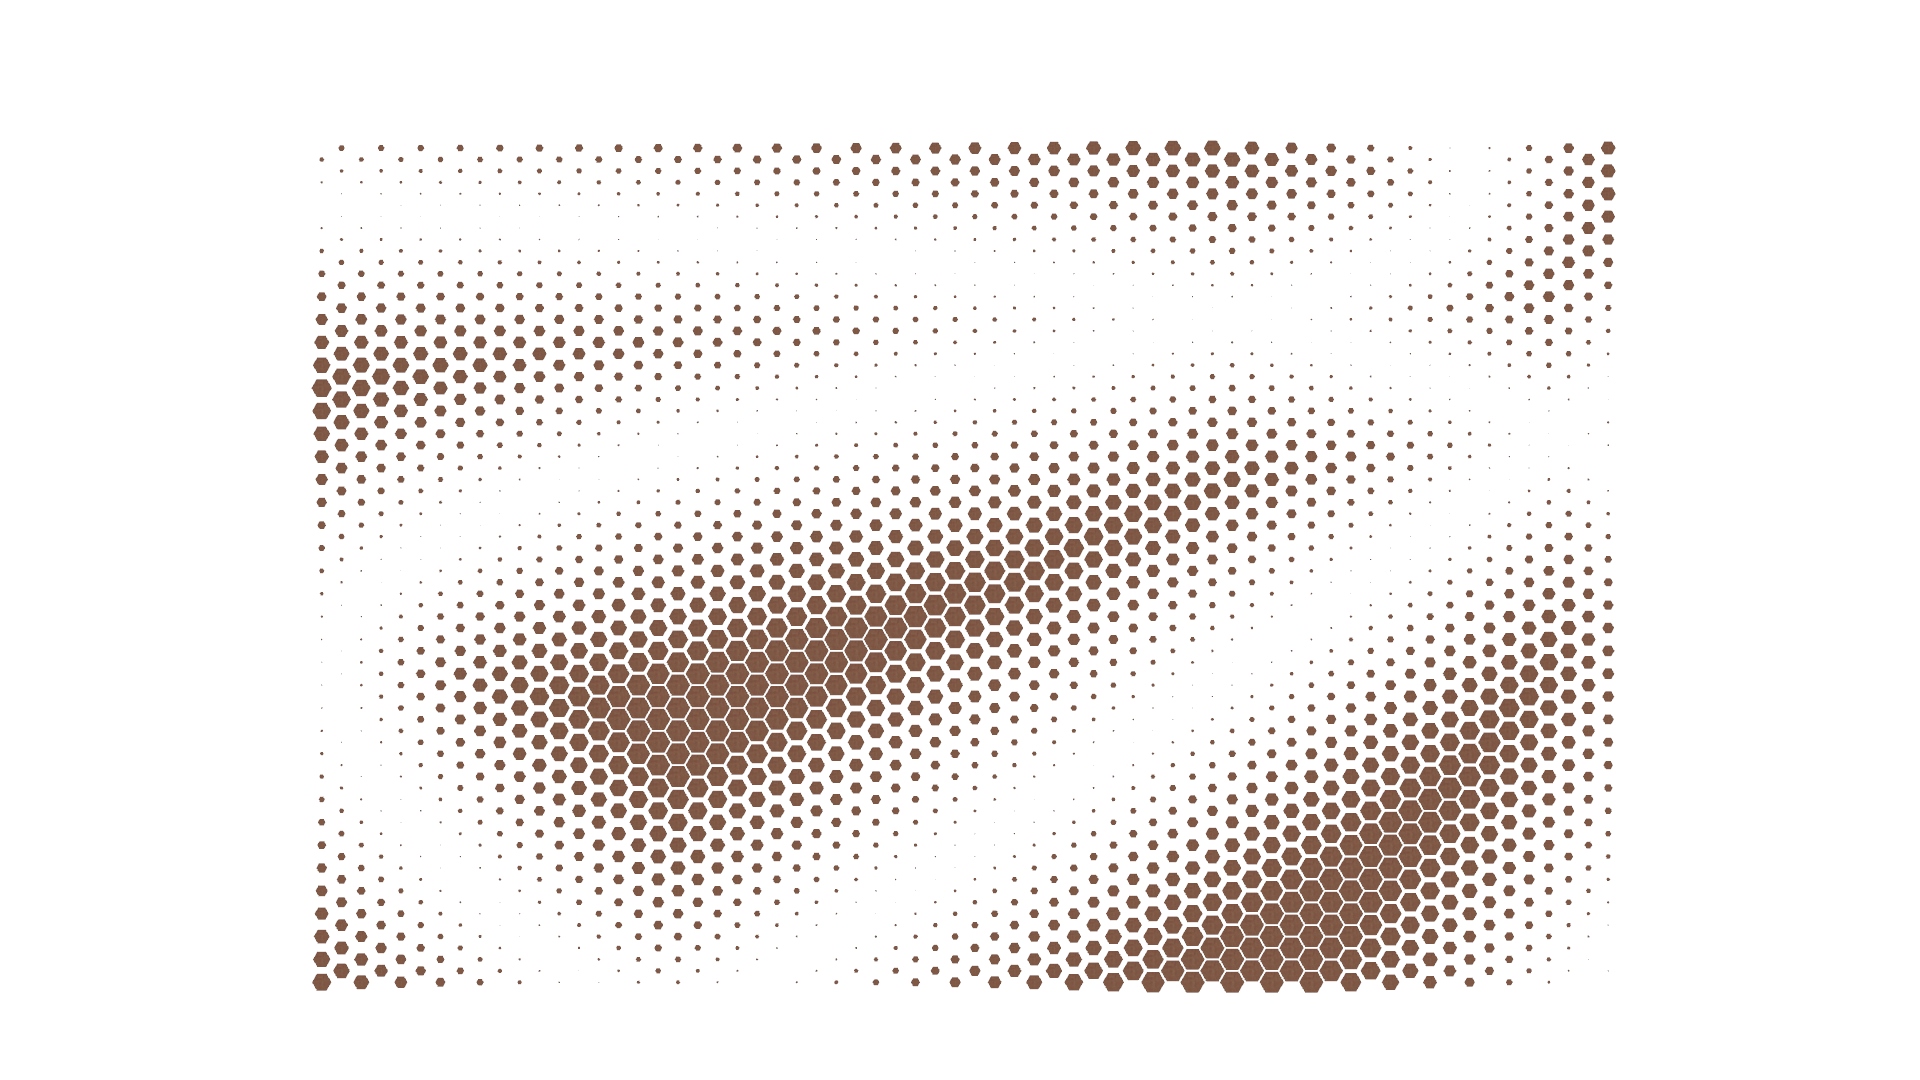
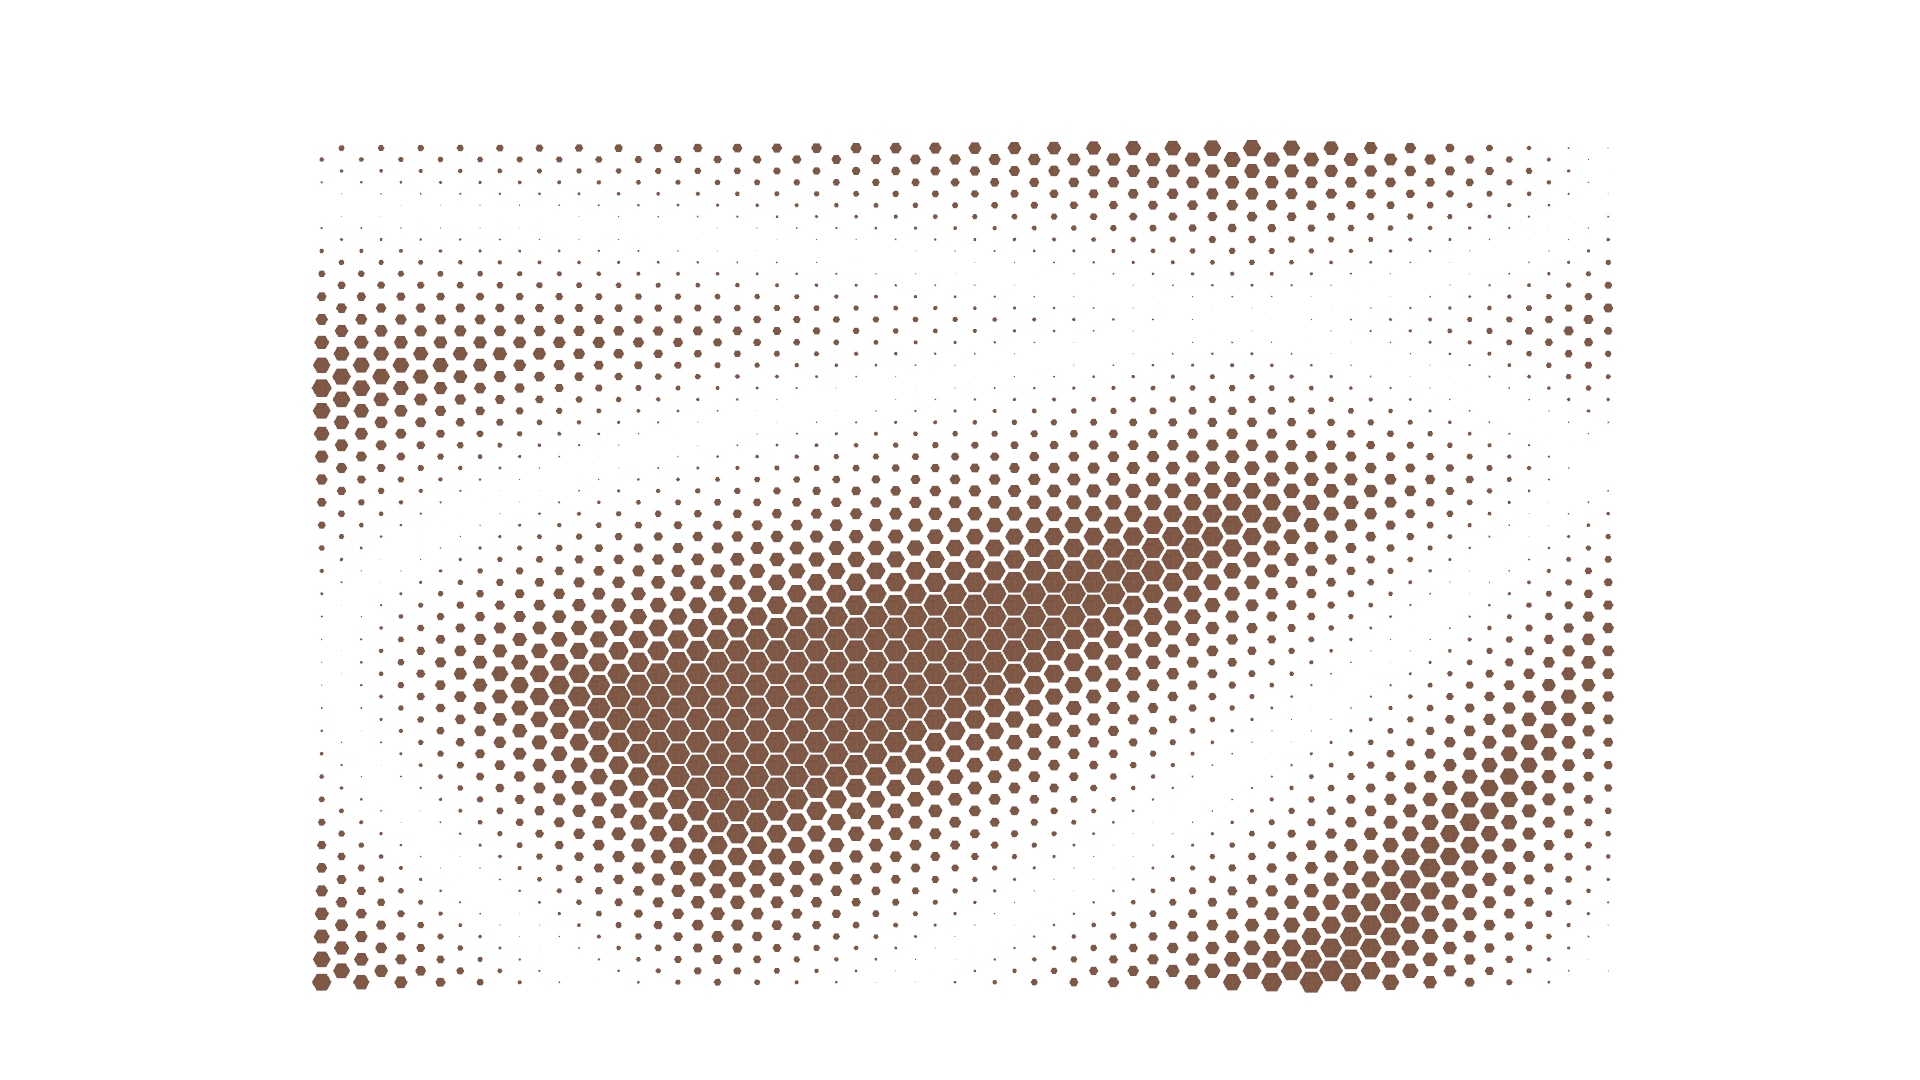
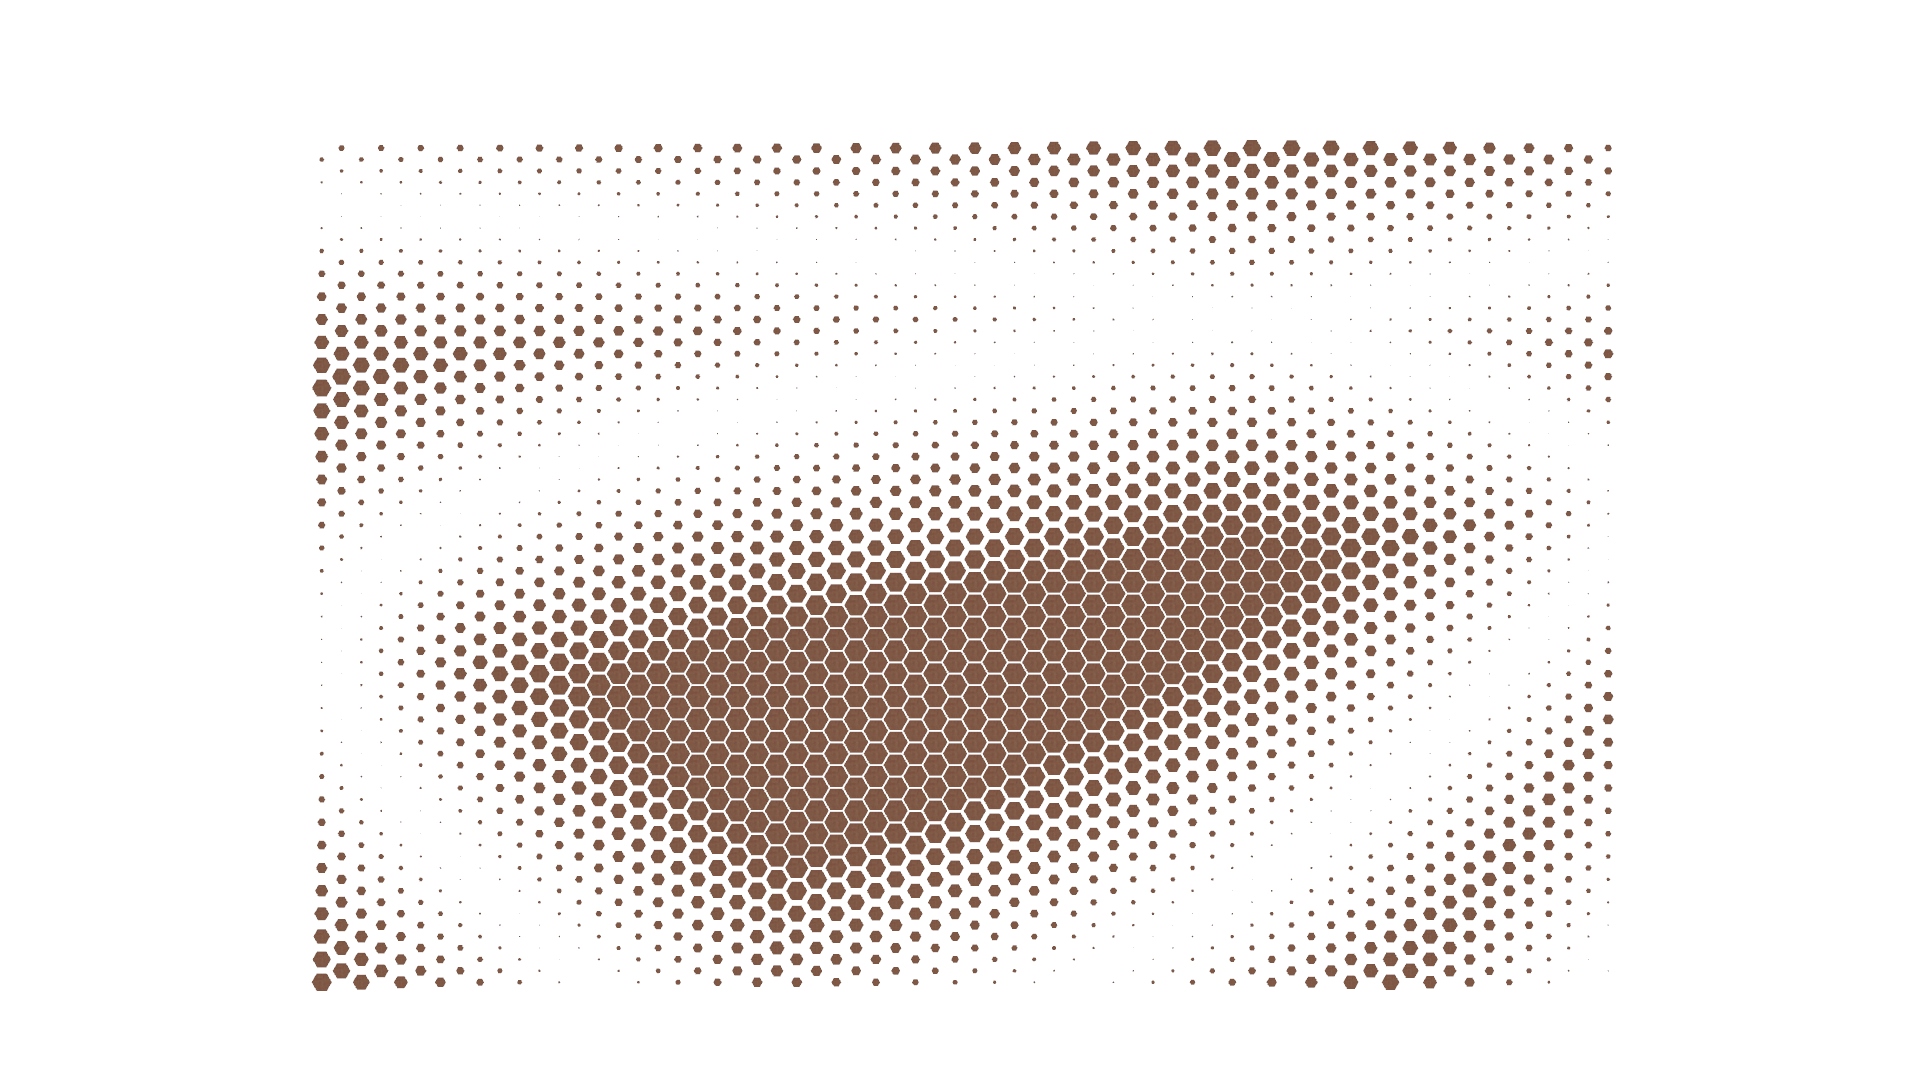
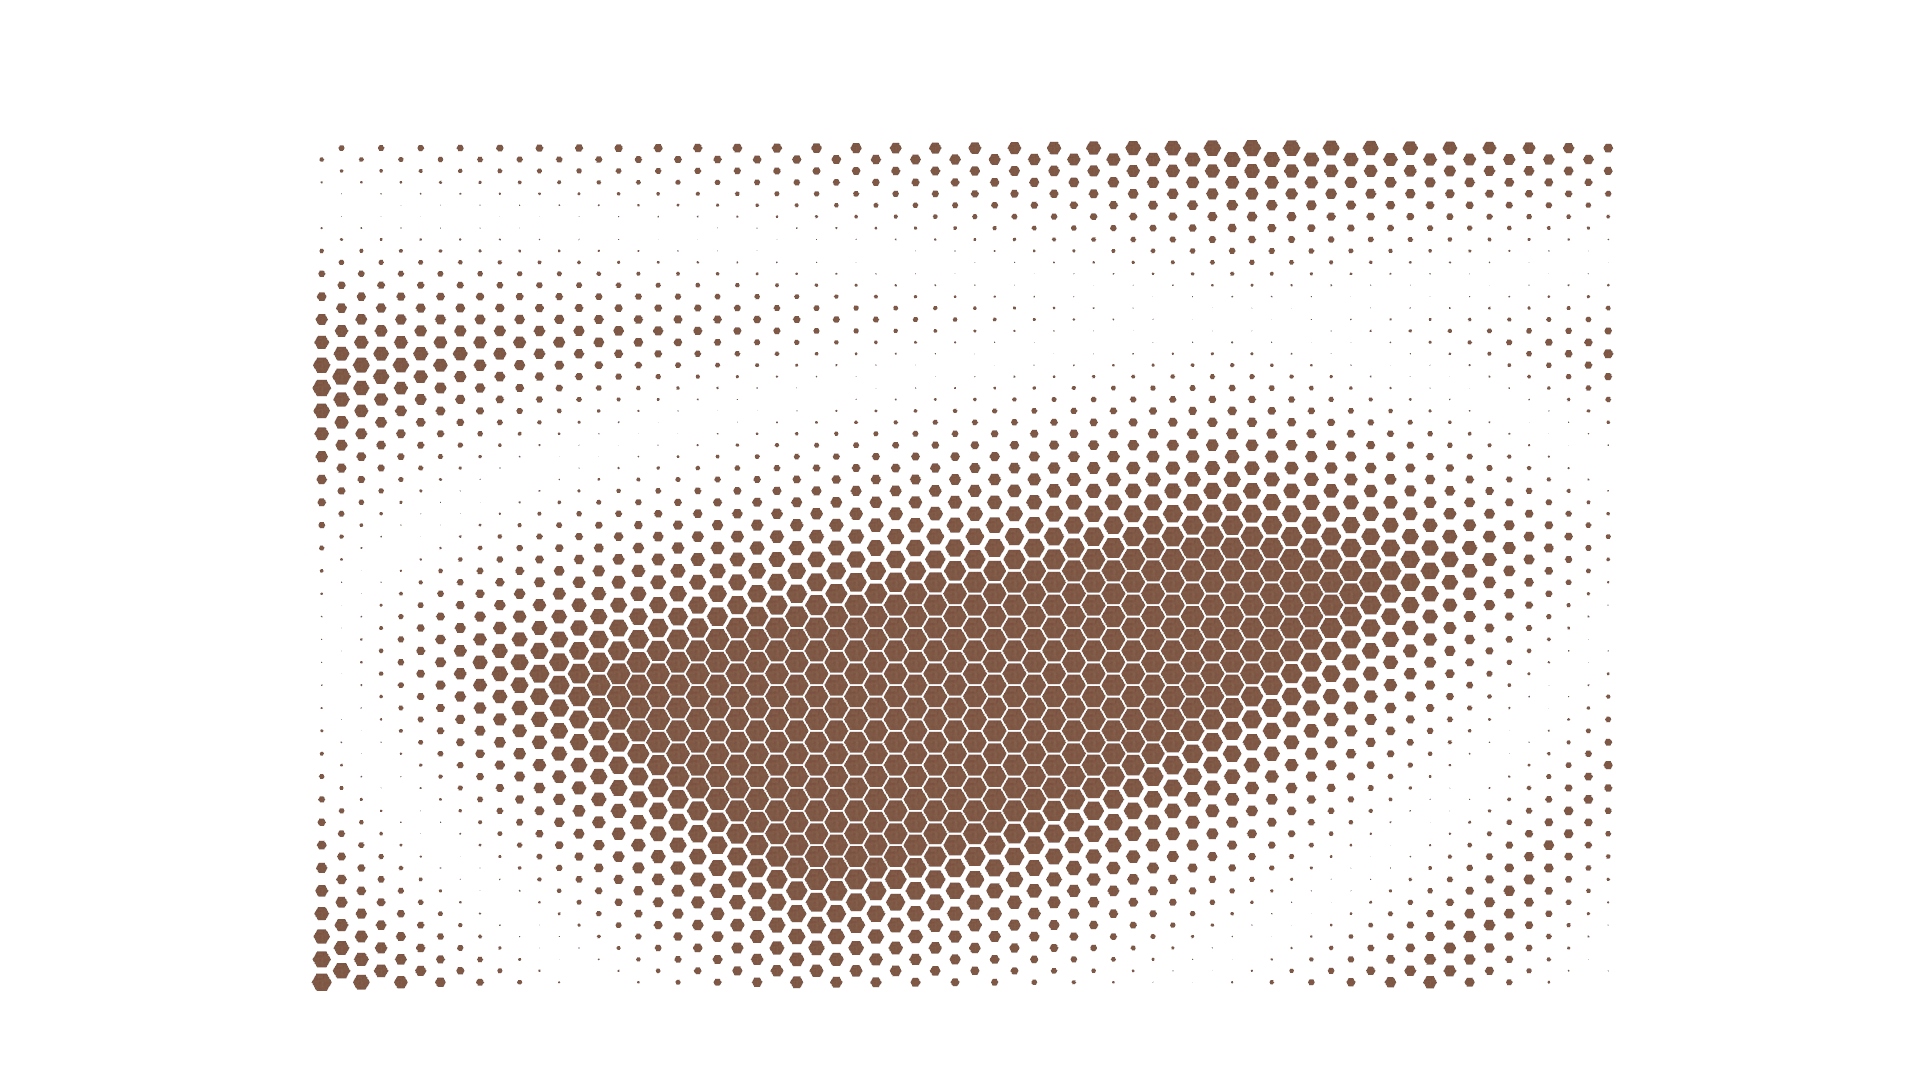
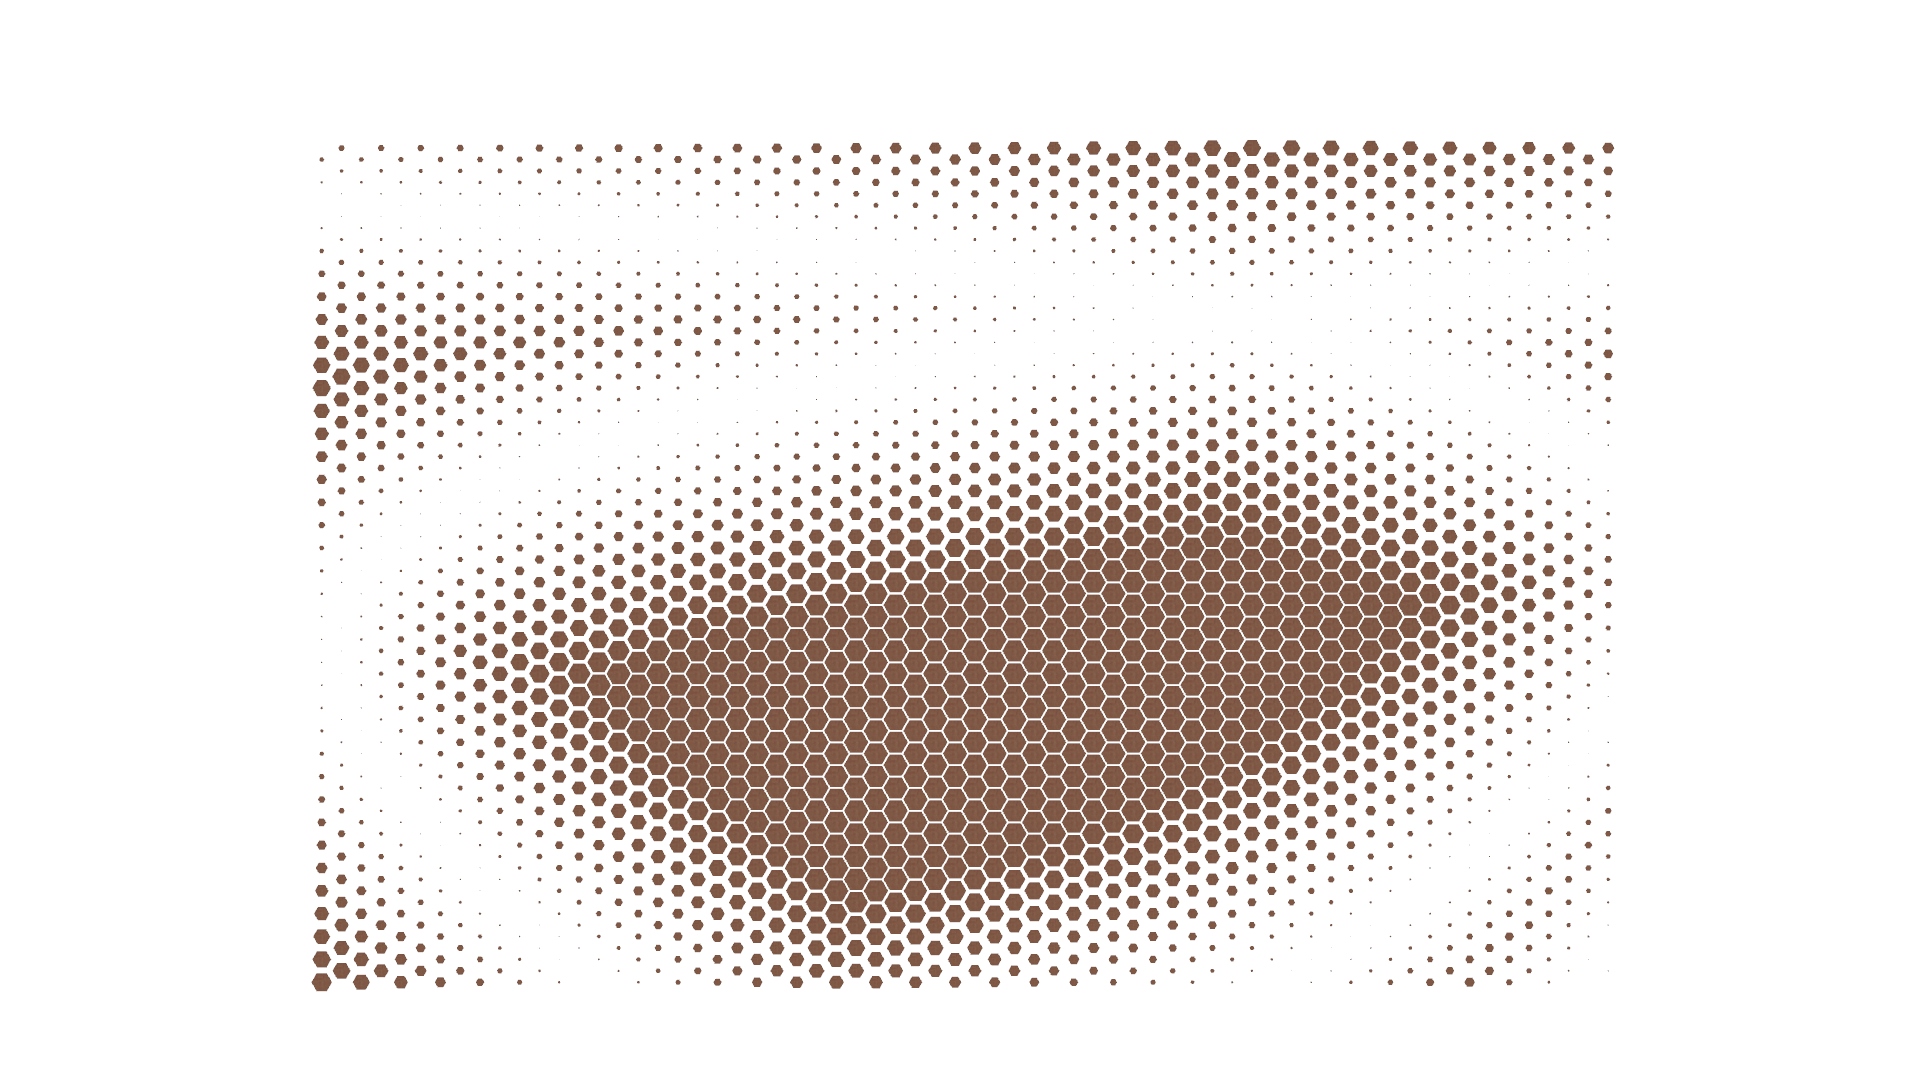
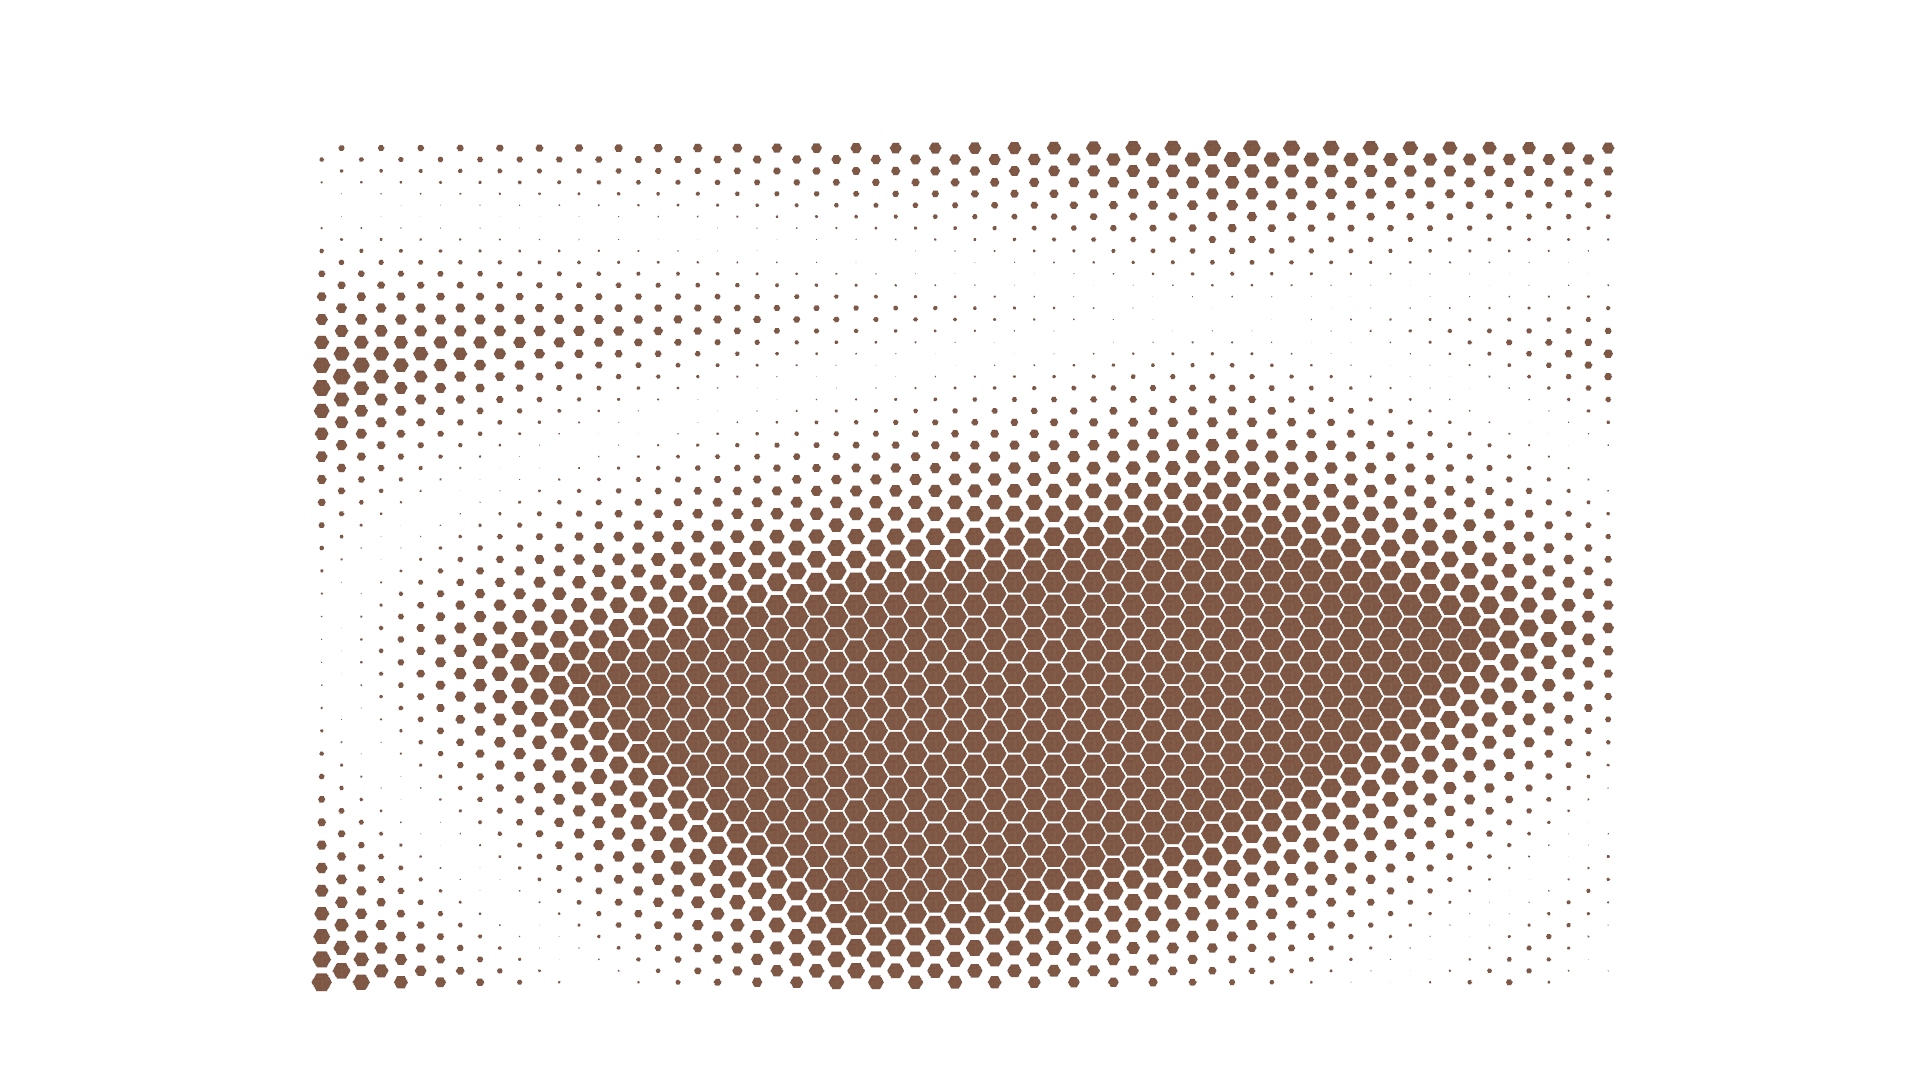
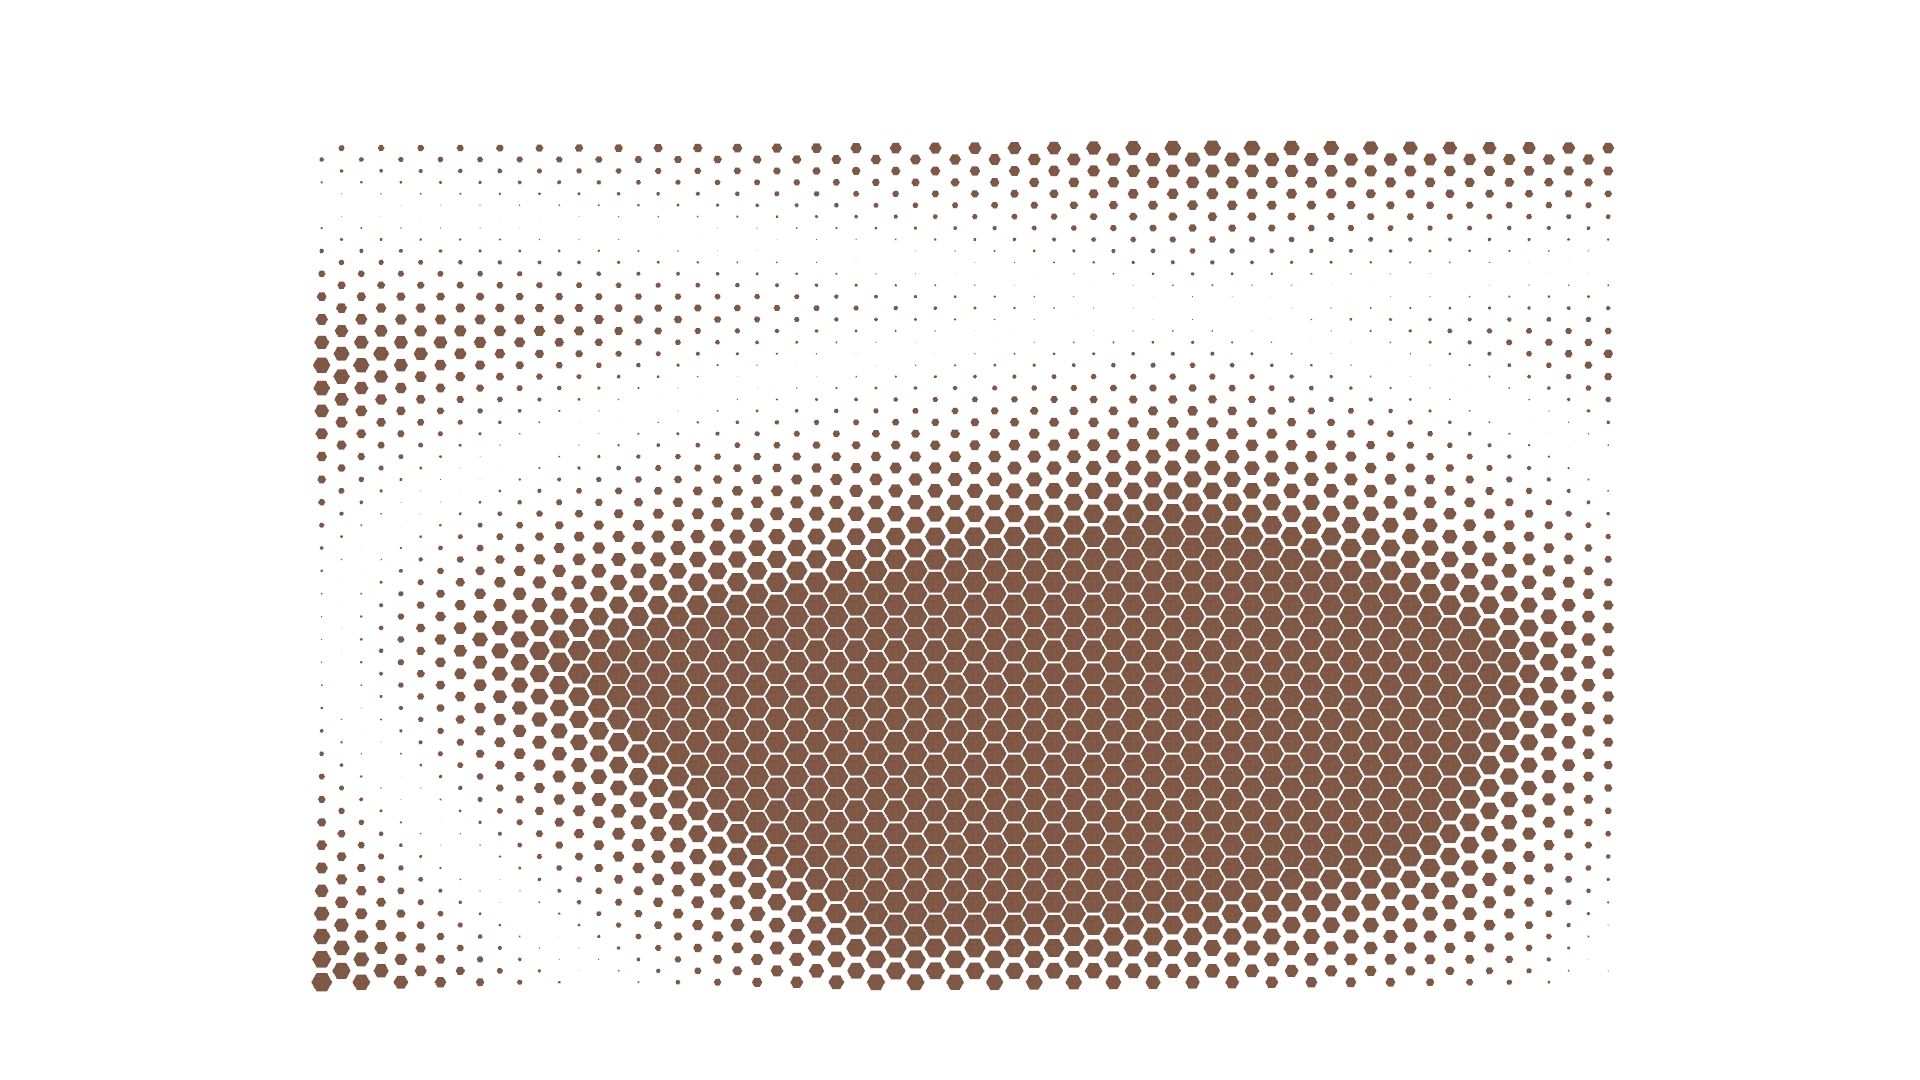
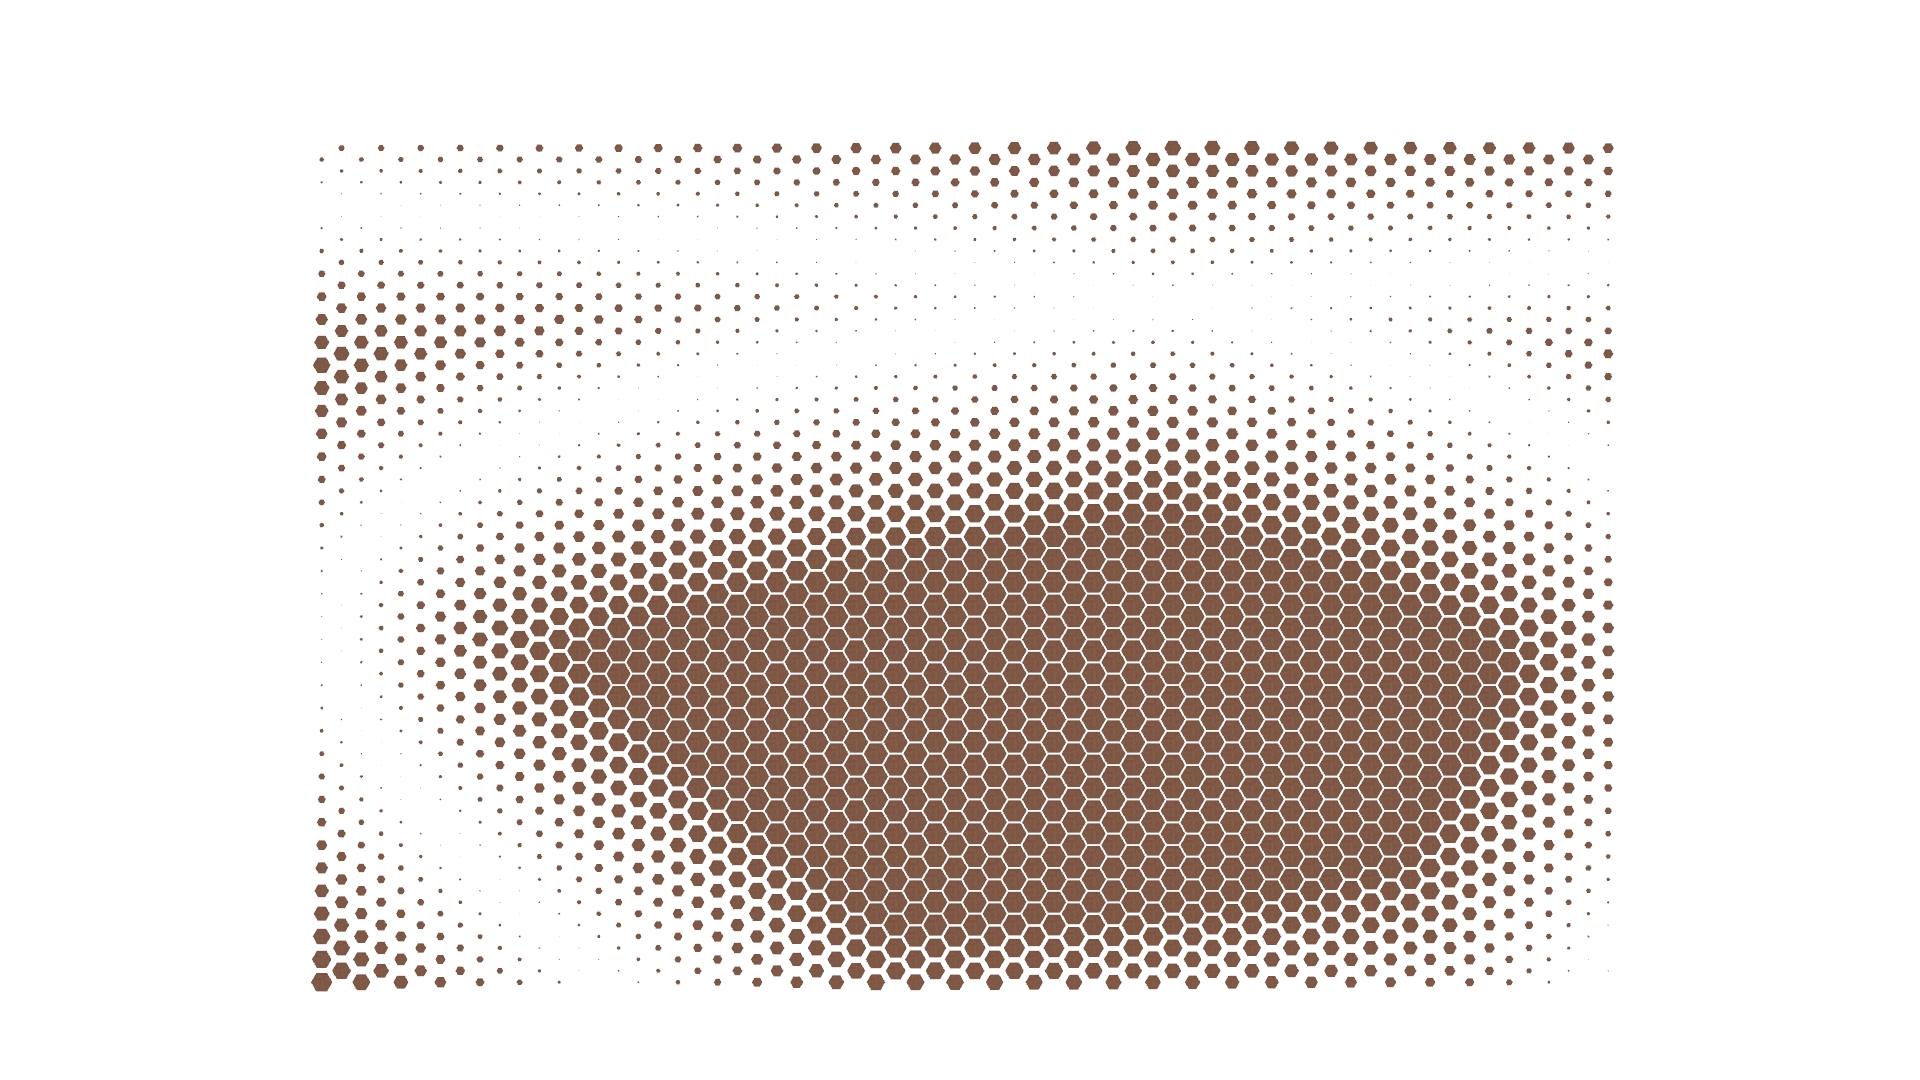
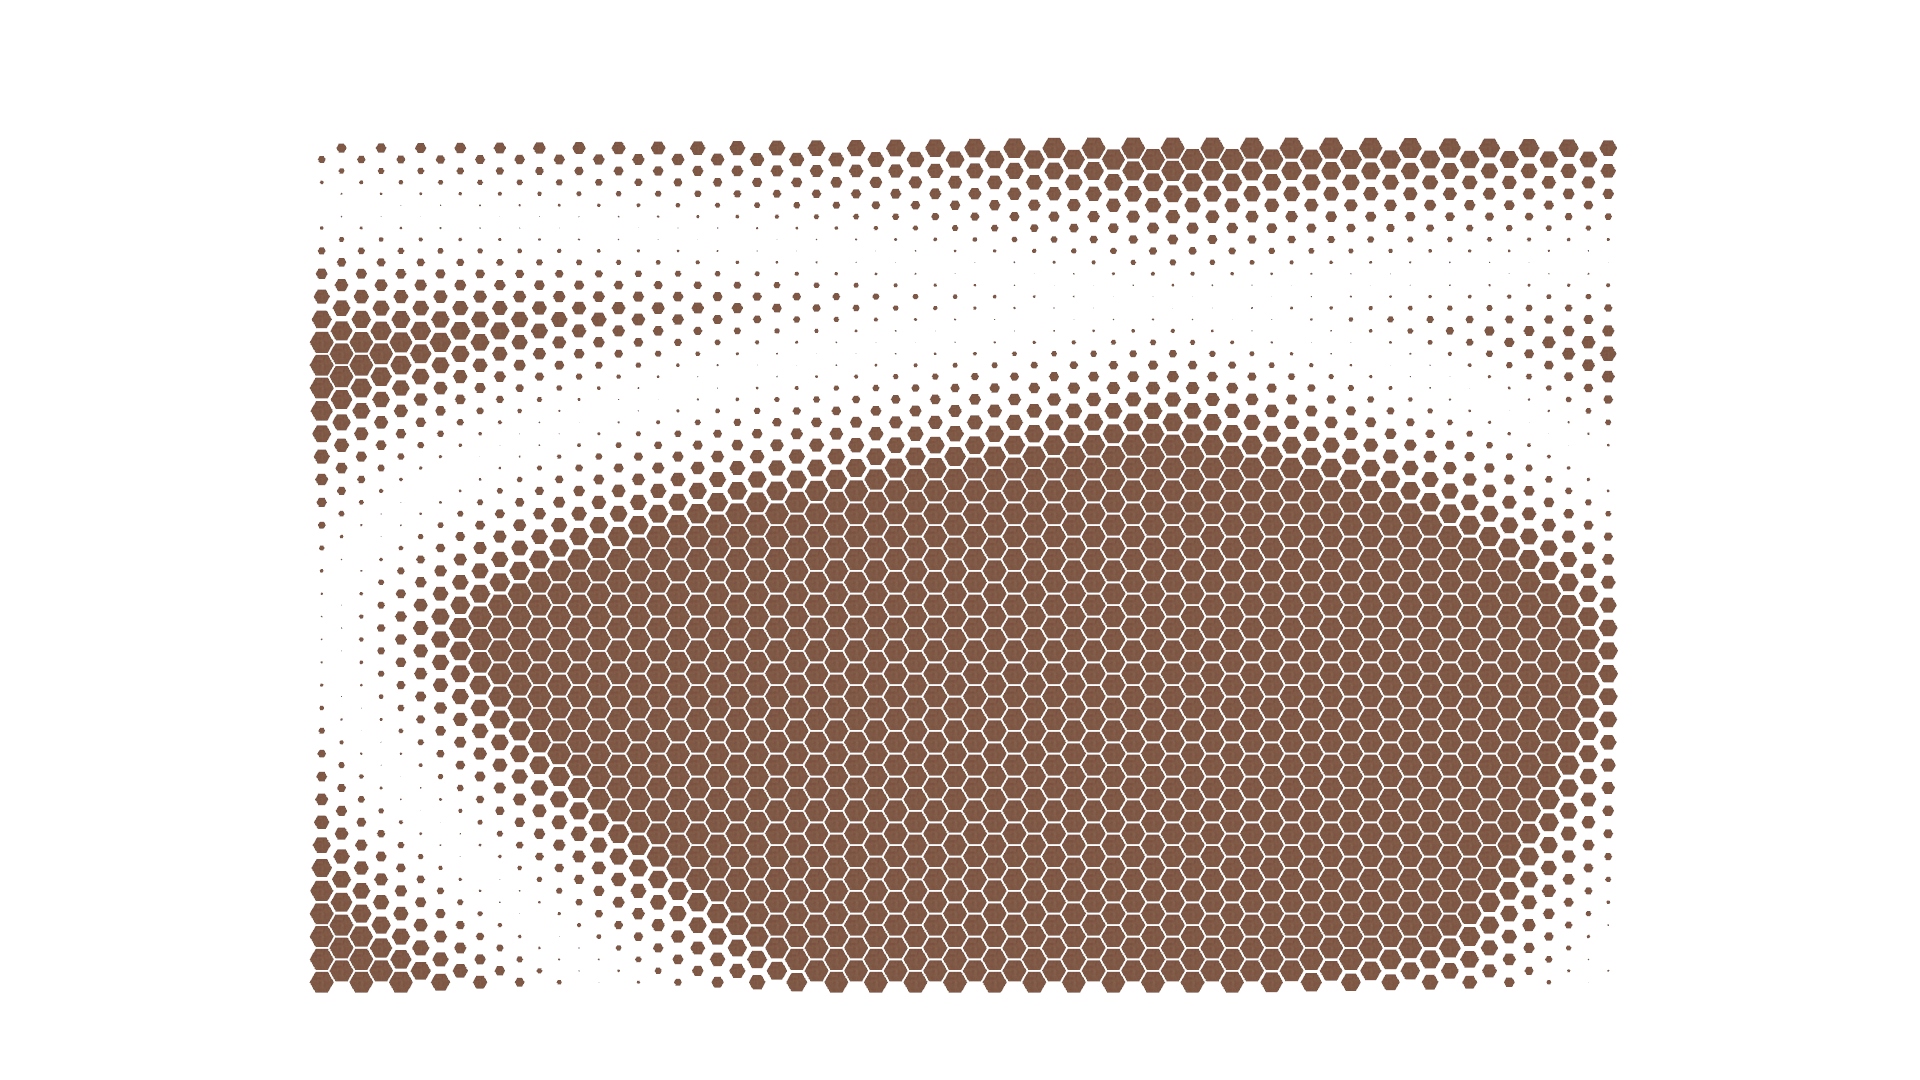
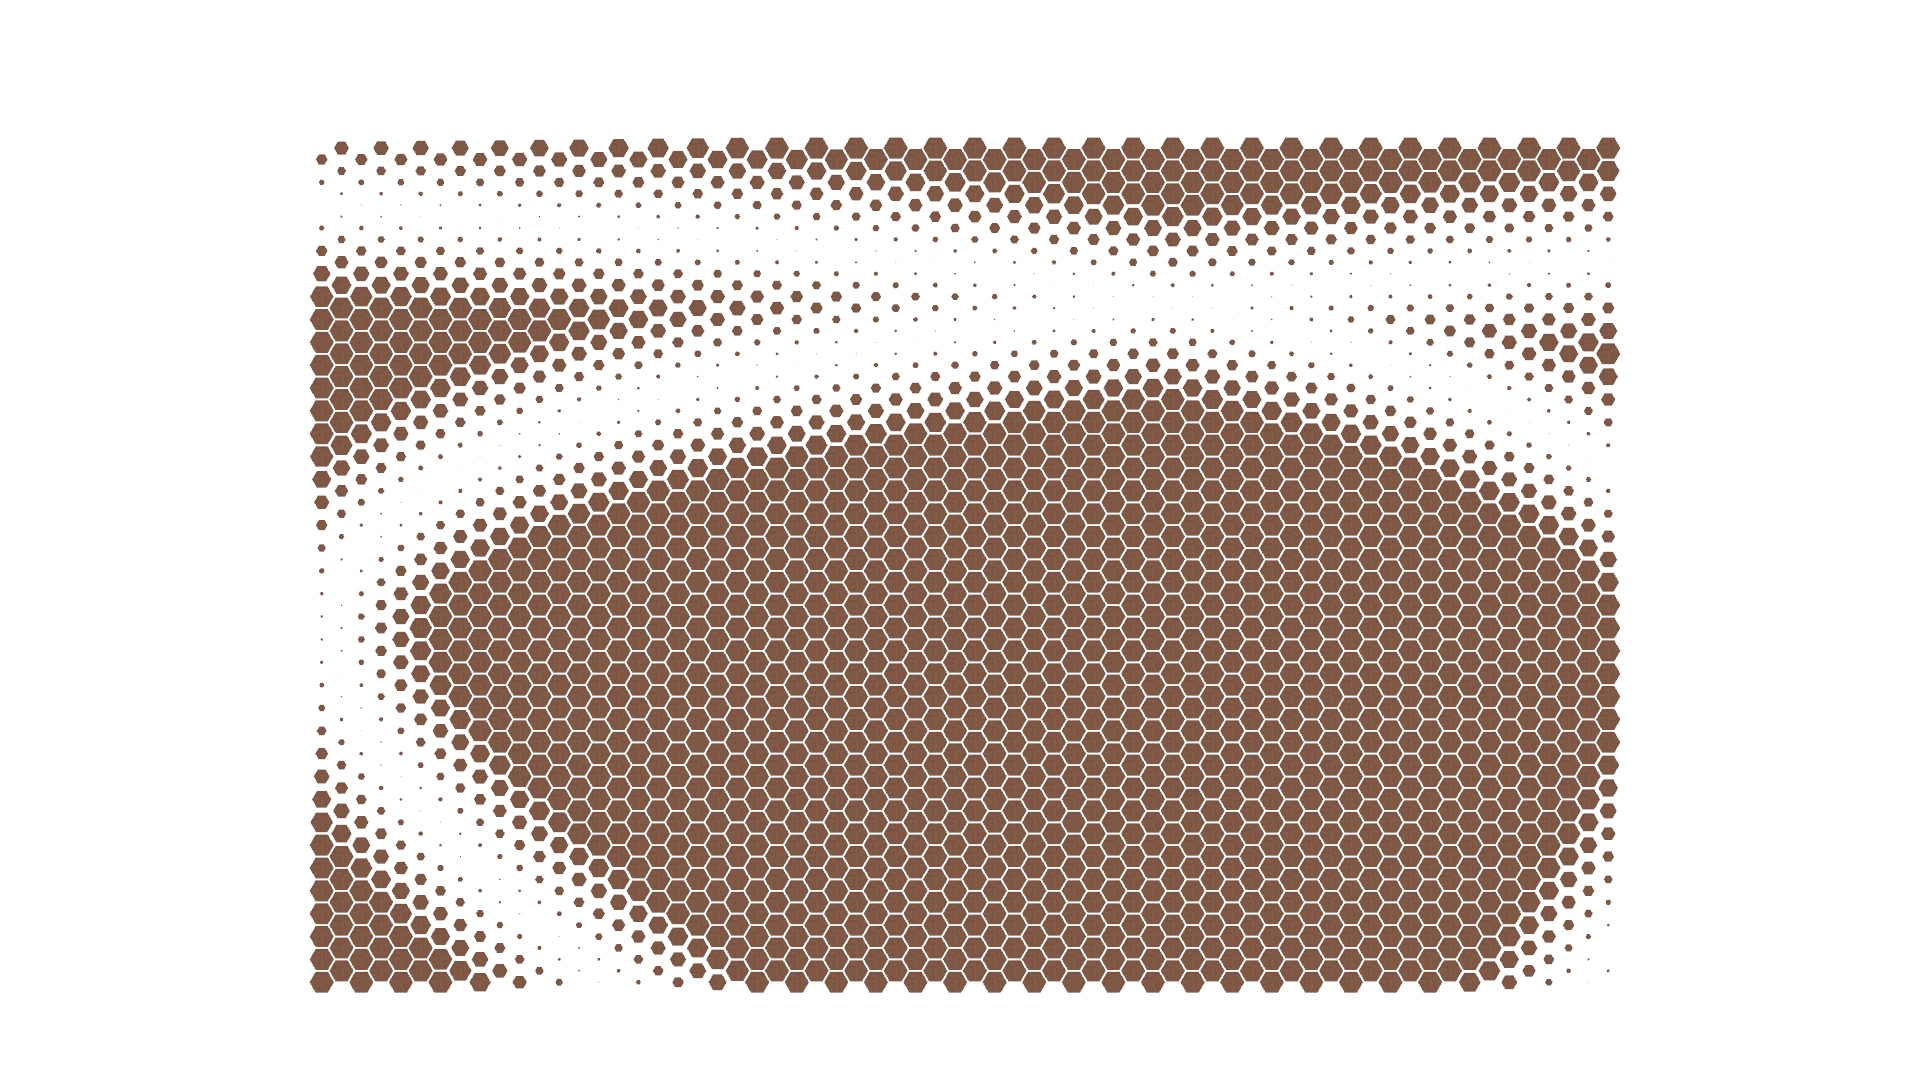
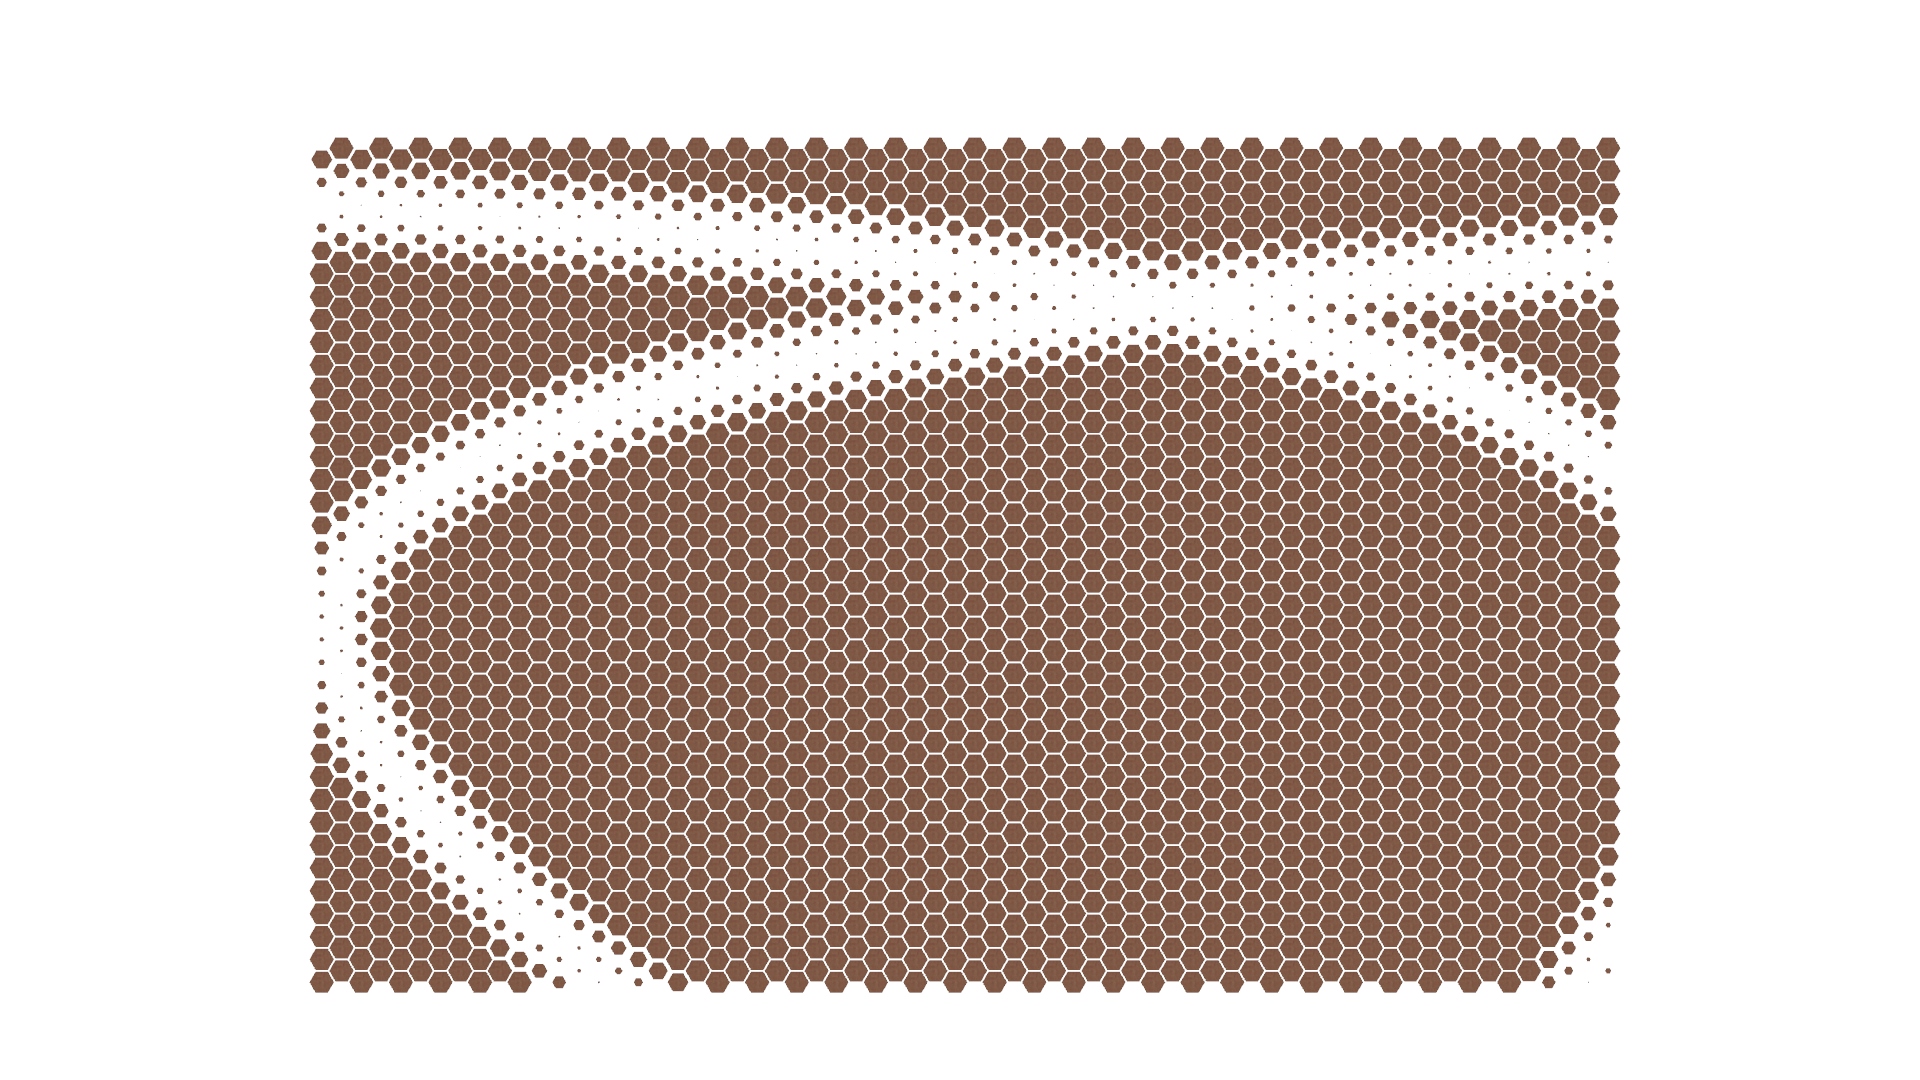
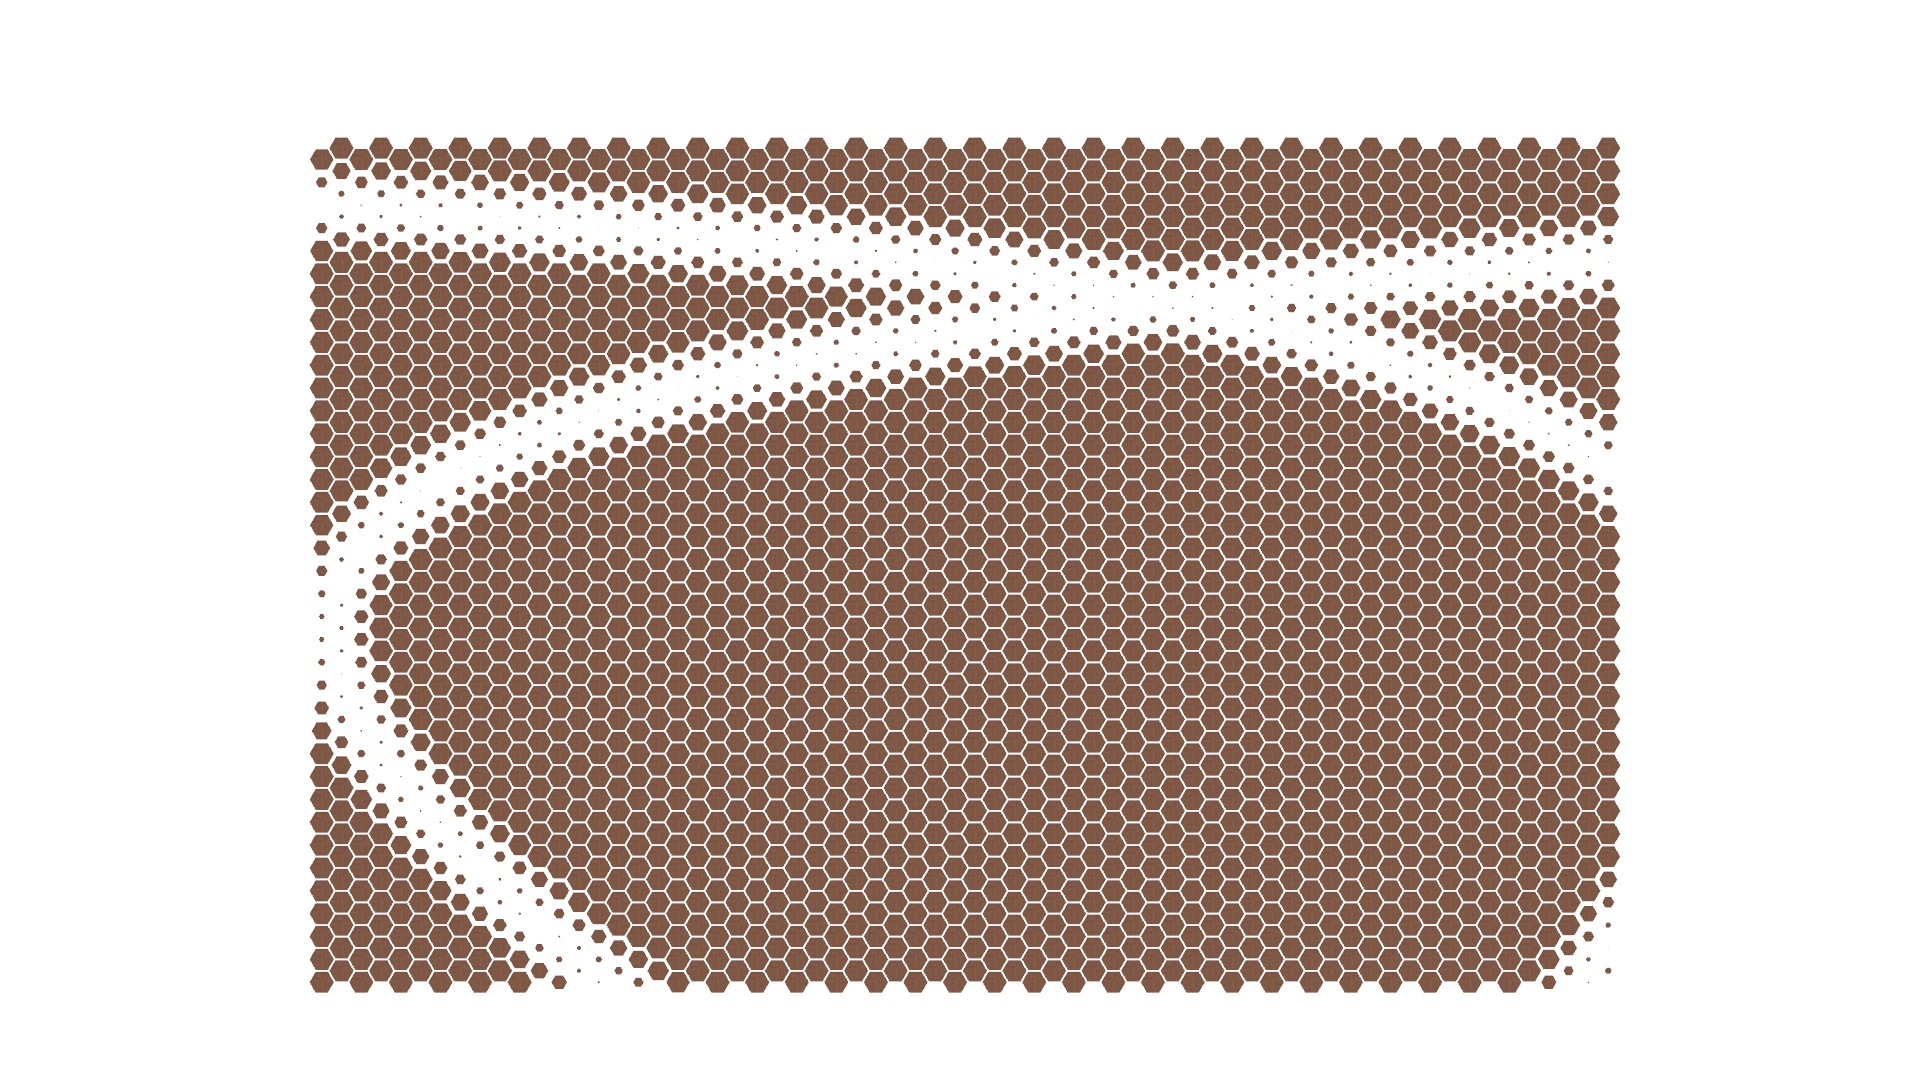
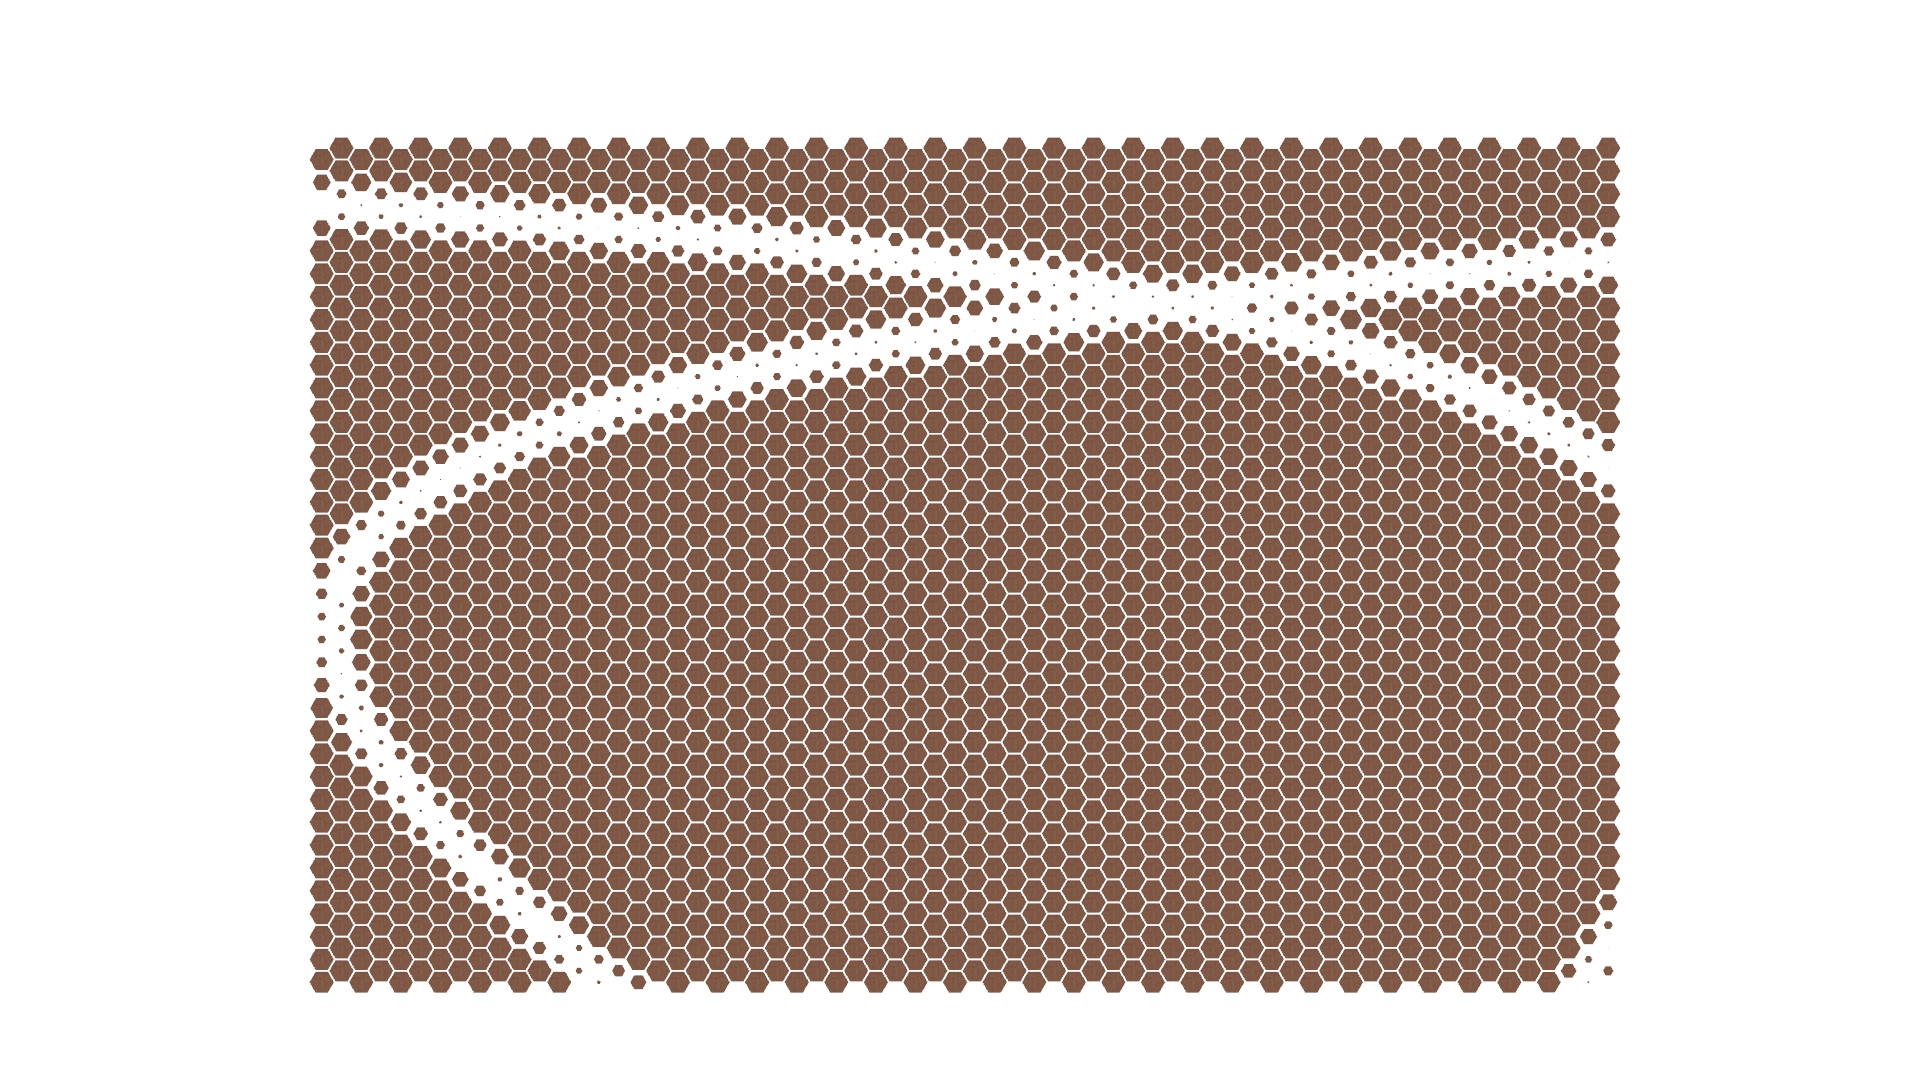
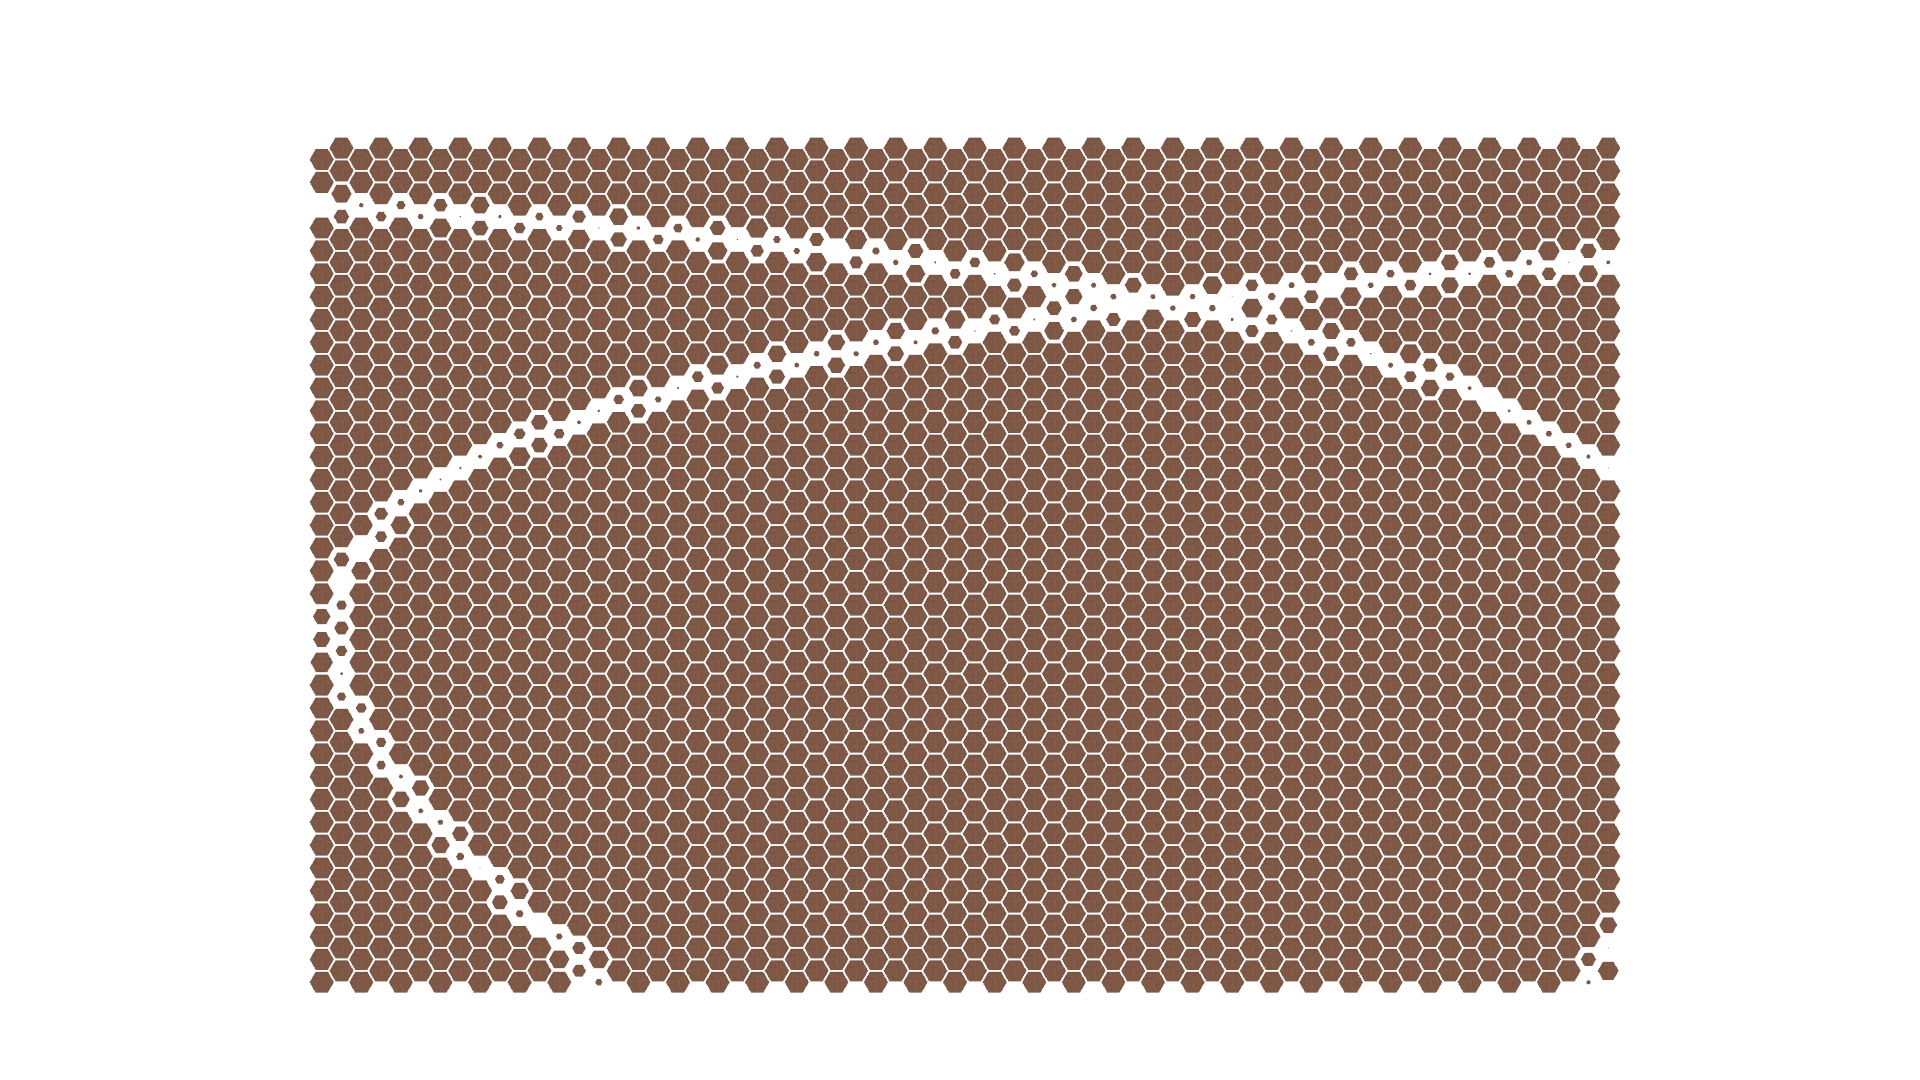
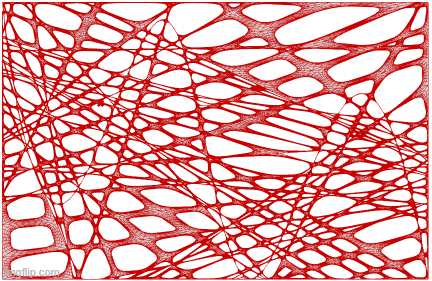
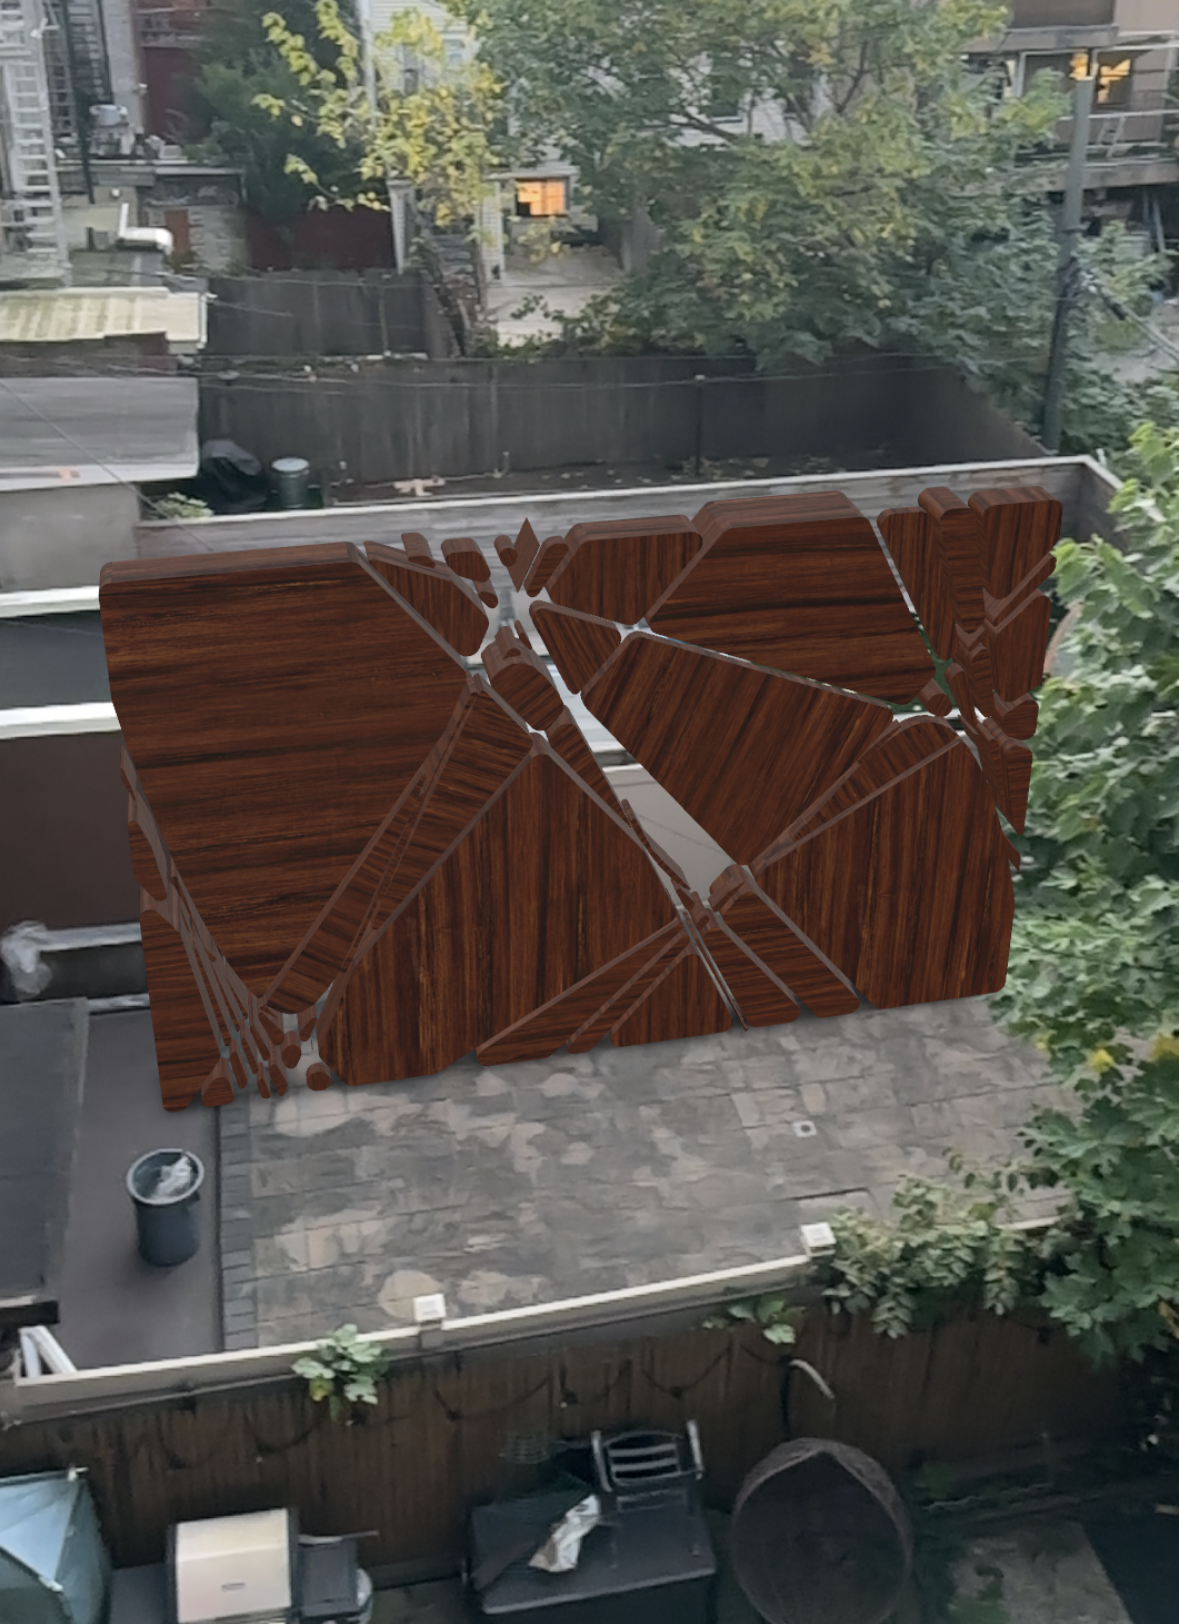
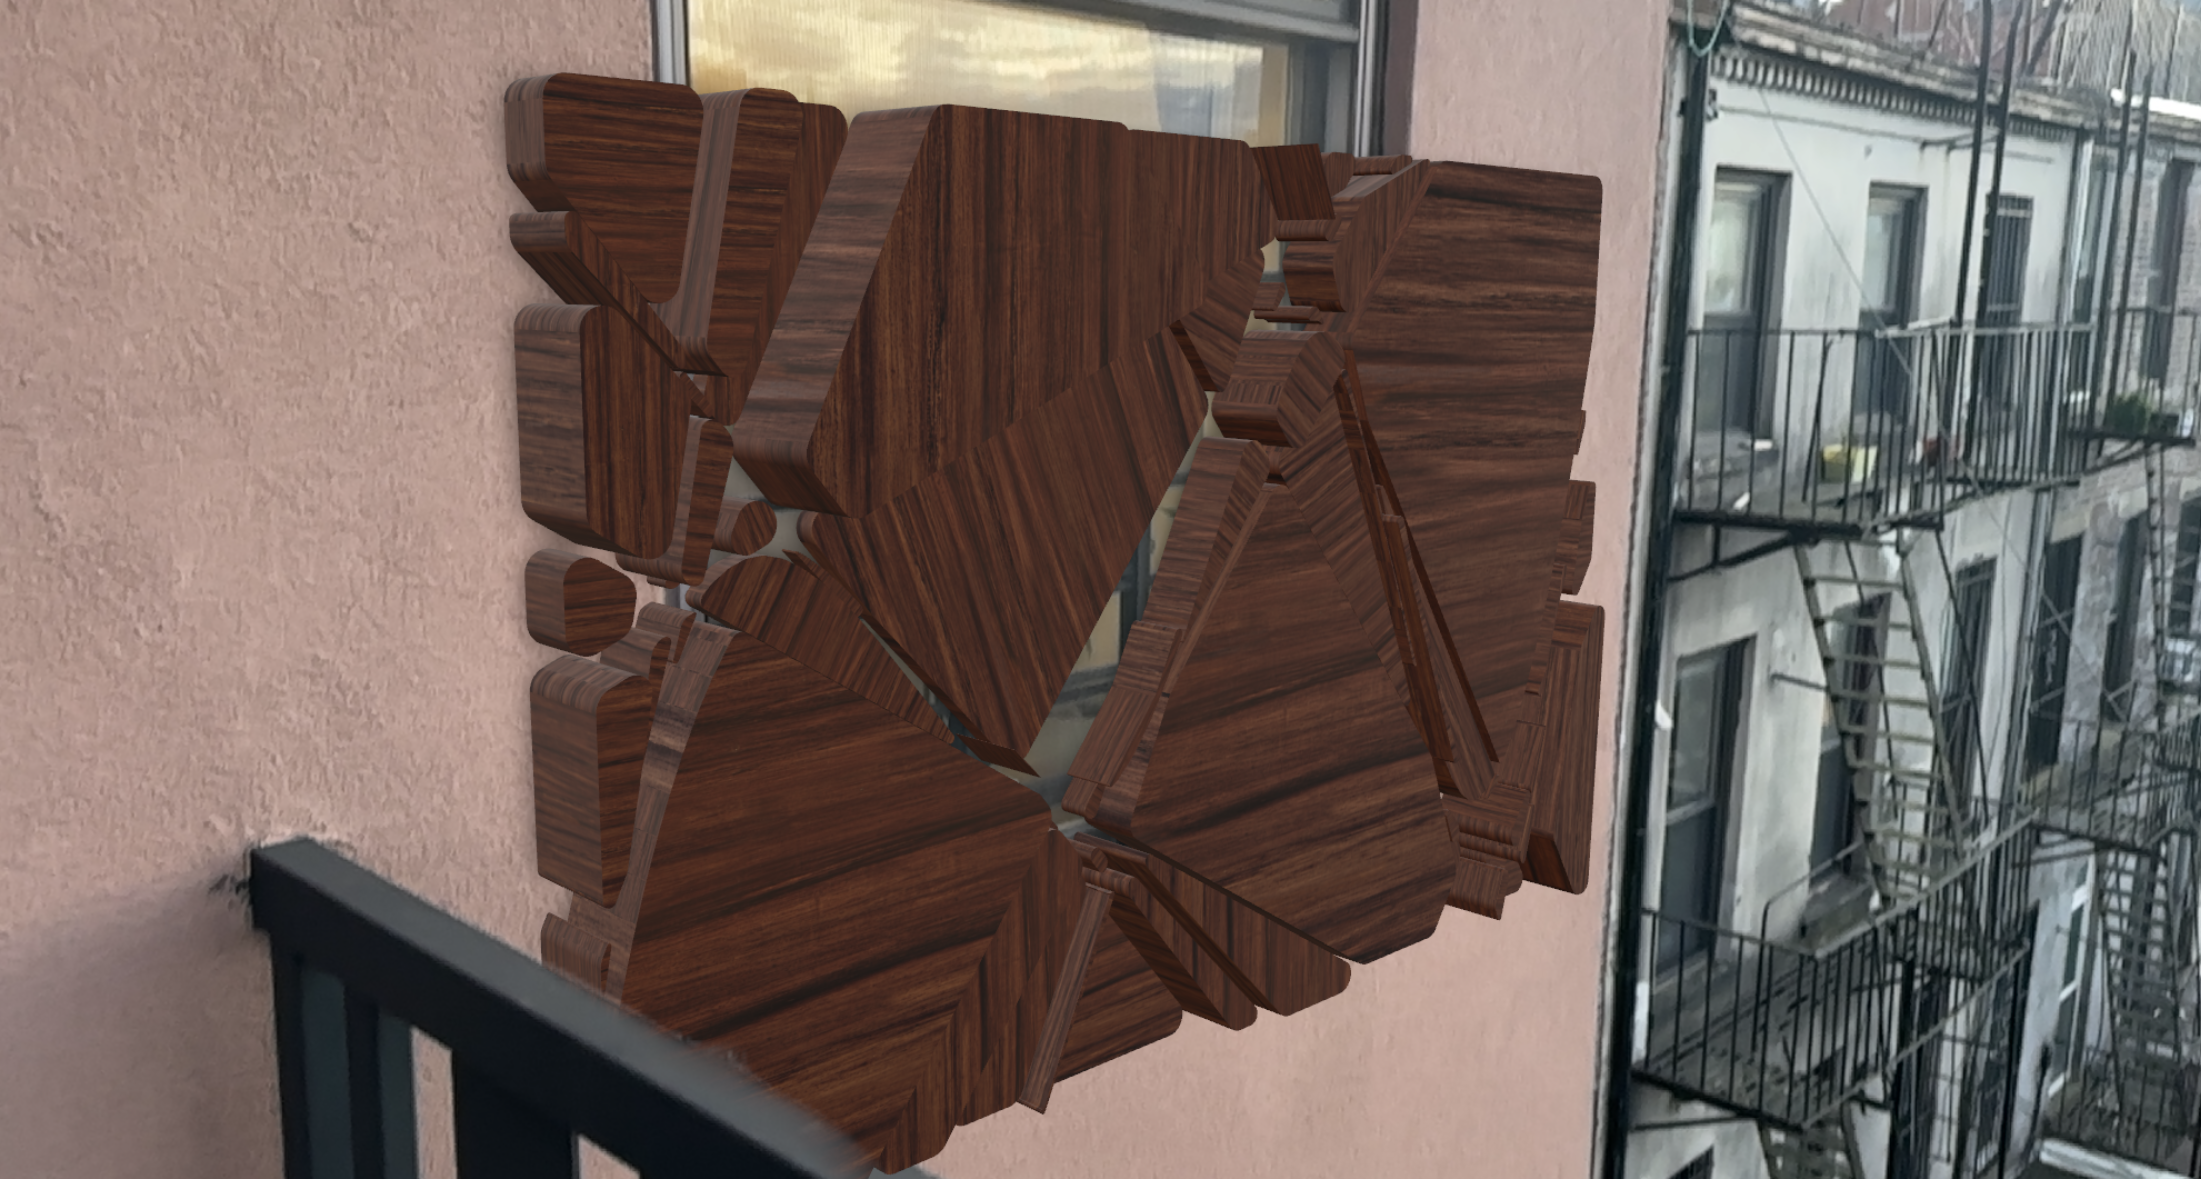
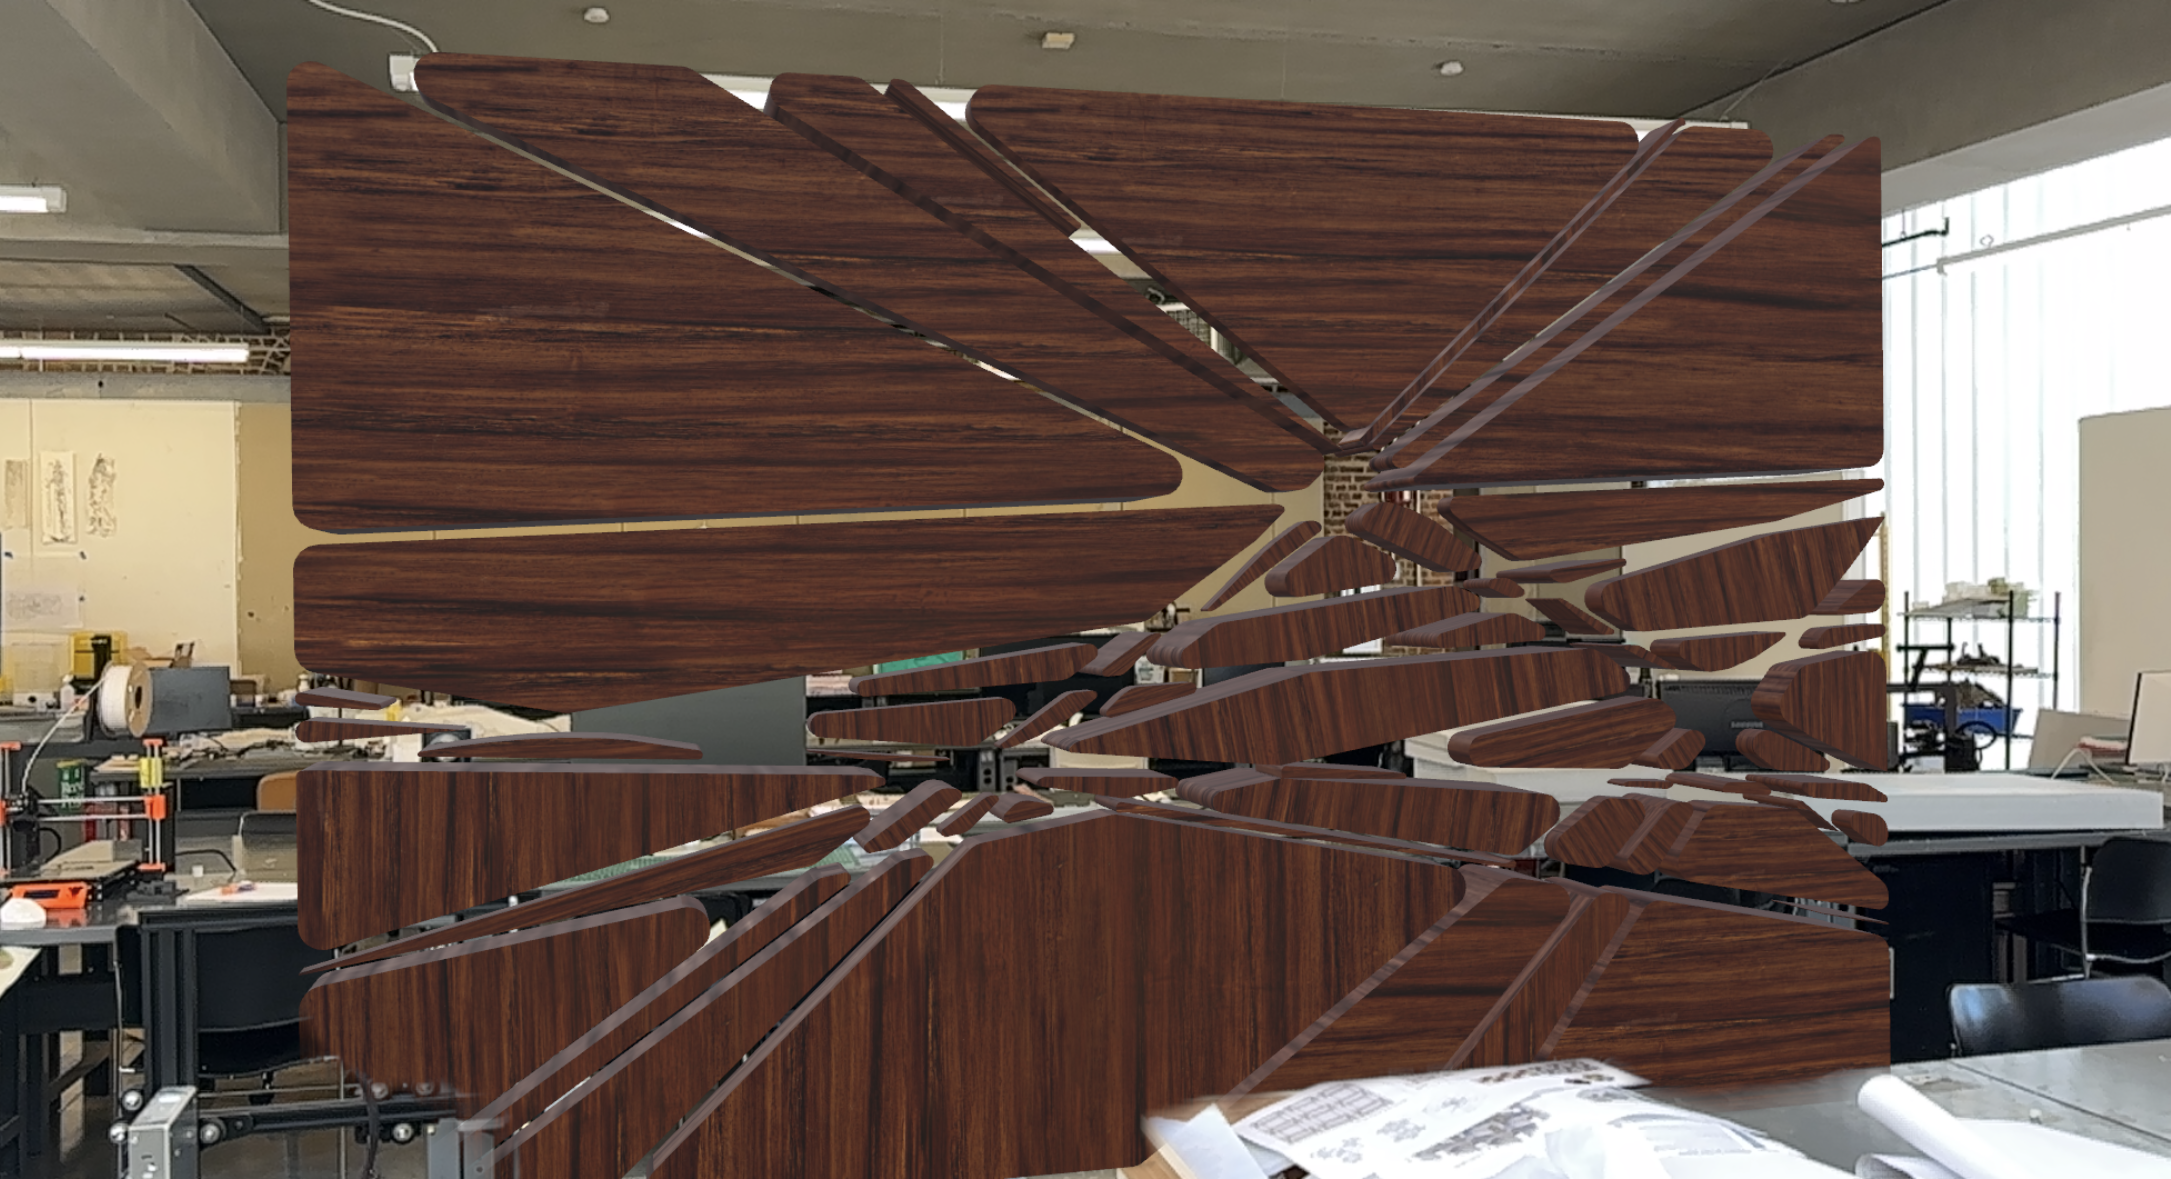
This privacy screen project explores the creation of a privacy screen using an endless weaving pattern. It starts with a simple 2D line geometry that’s multiplied and tiled across a grid, forming a continuous woven pattern. By adding thickness to the lines and incorporating a point attractor, the script controls the thickness of the geometry based on its distance from the attractor point. This creates areas where the pattern opens up or closes off, balancing transparency and privacy.
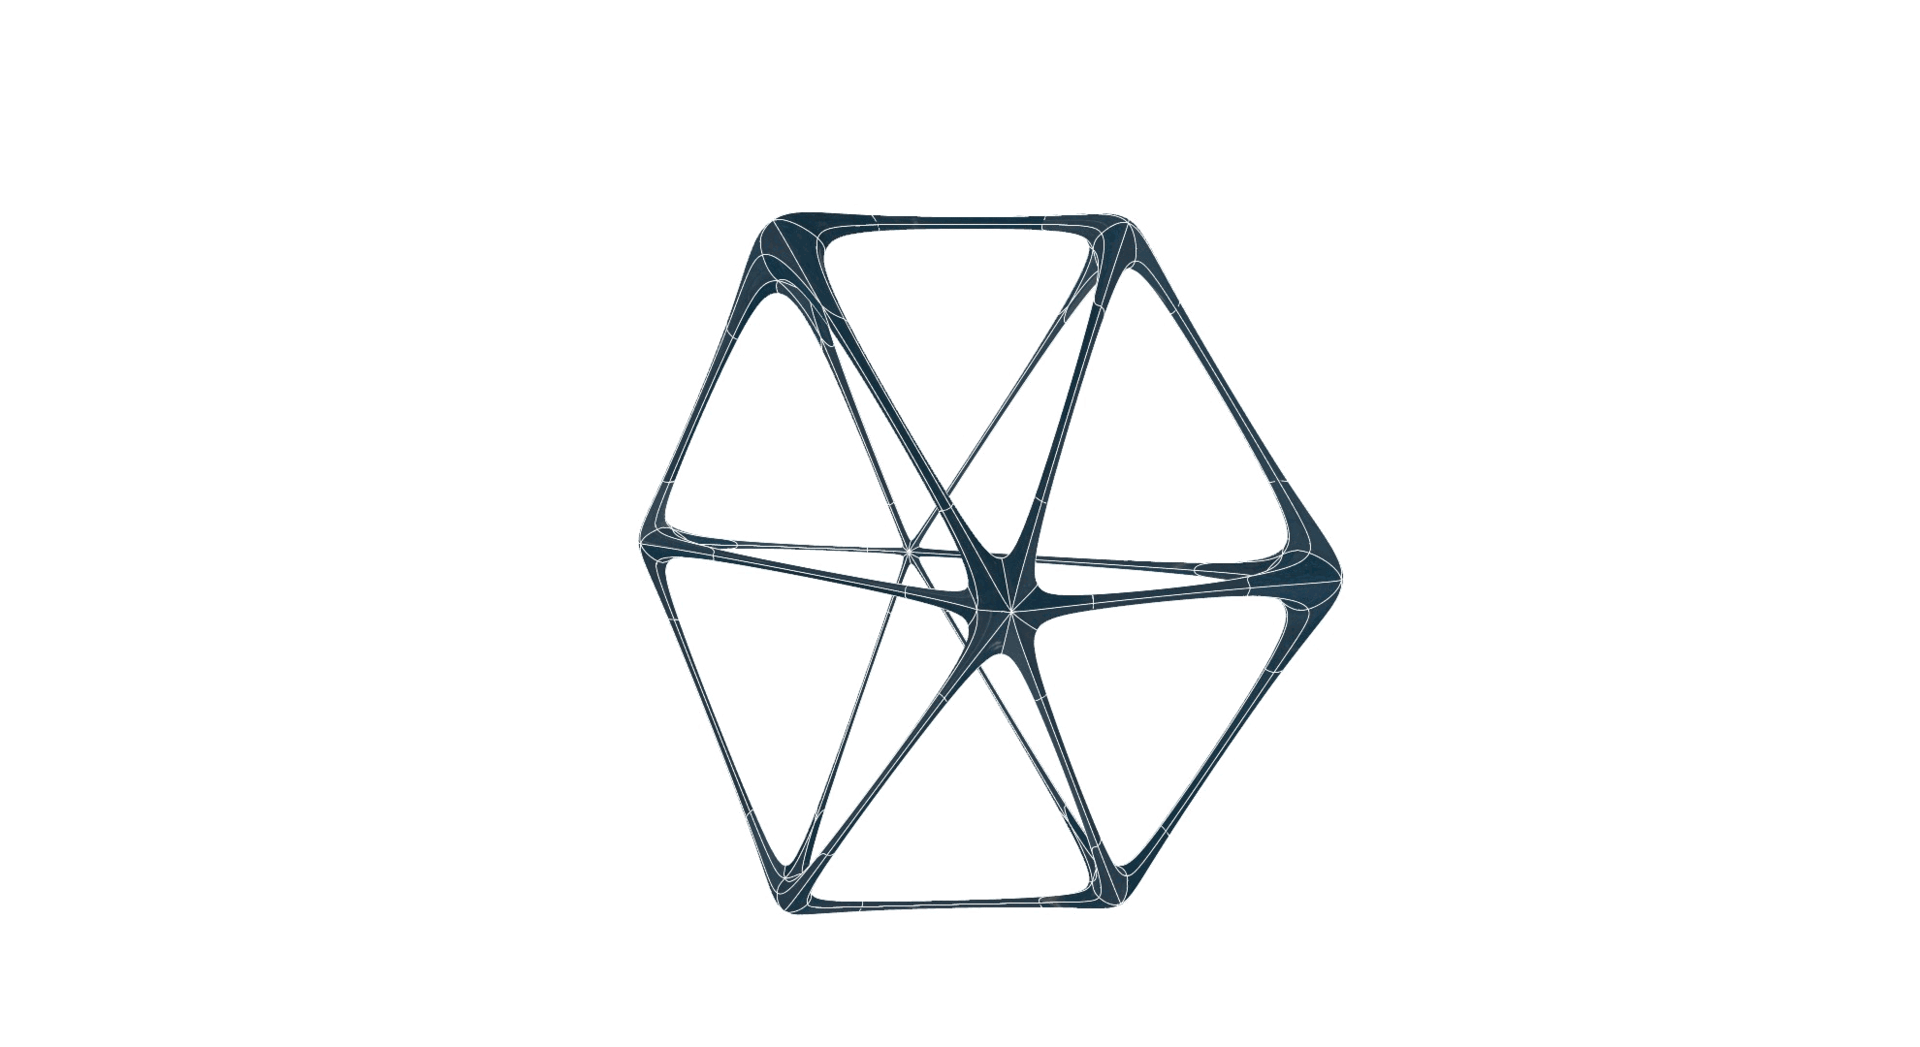
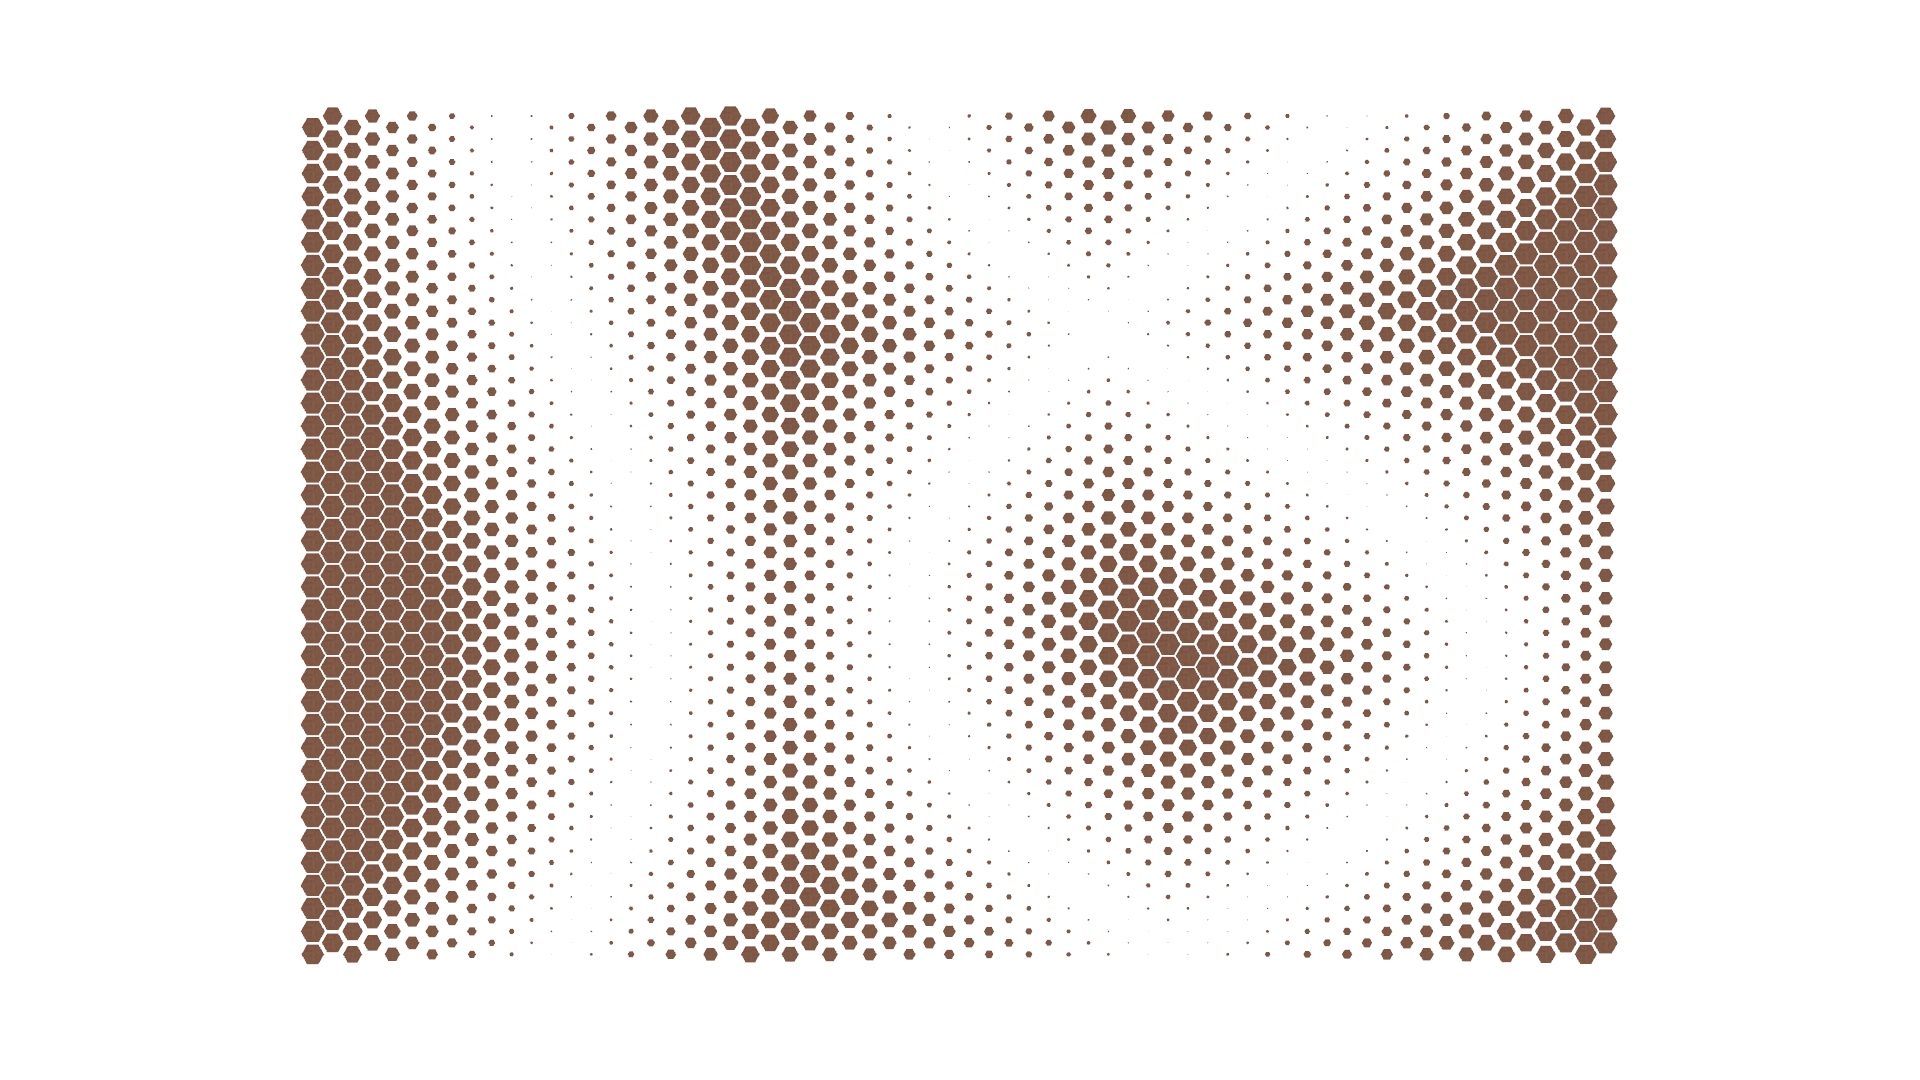
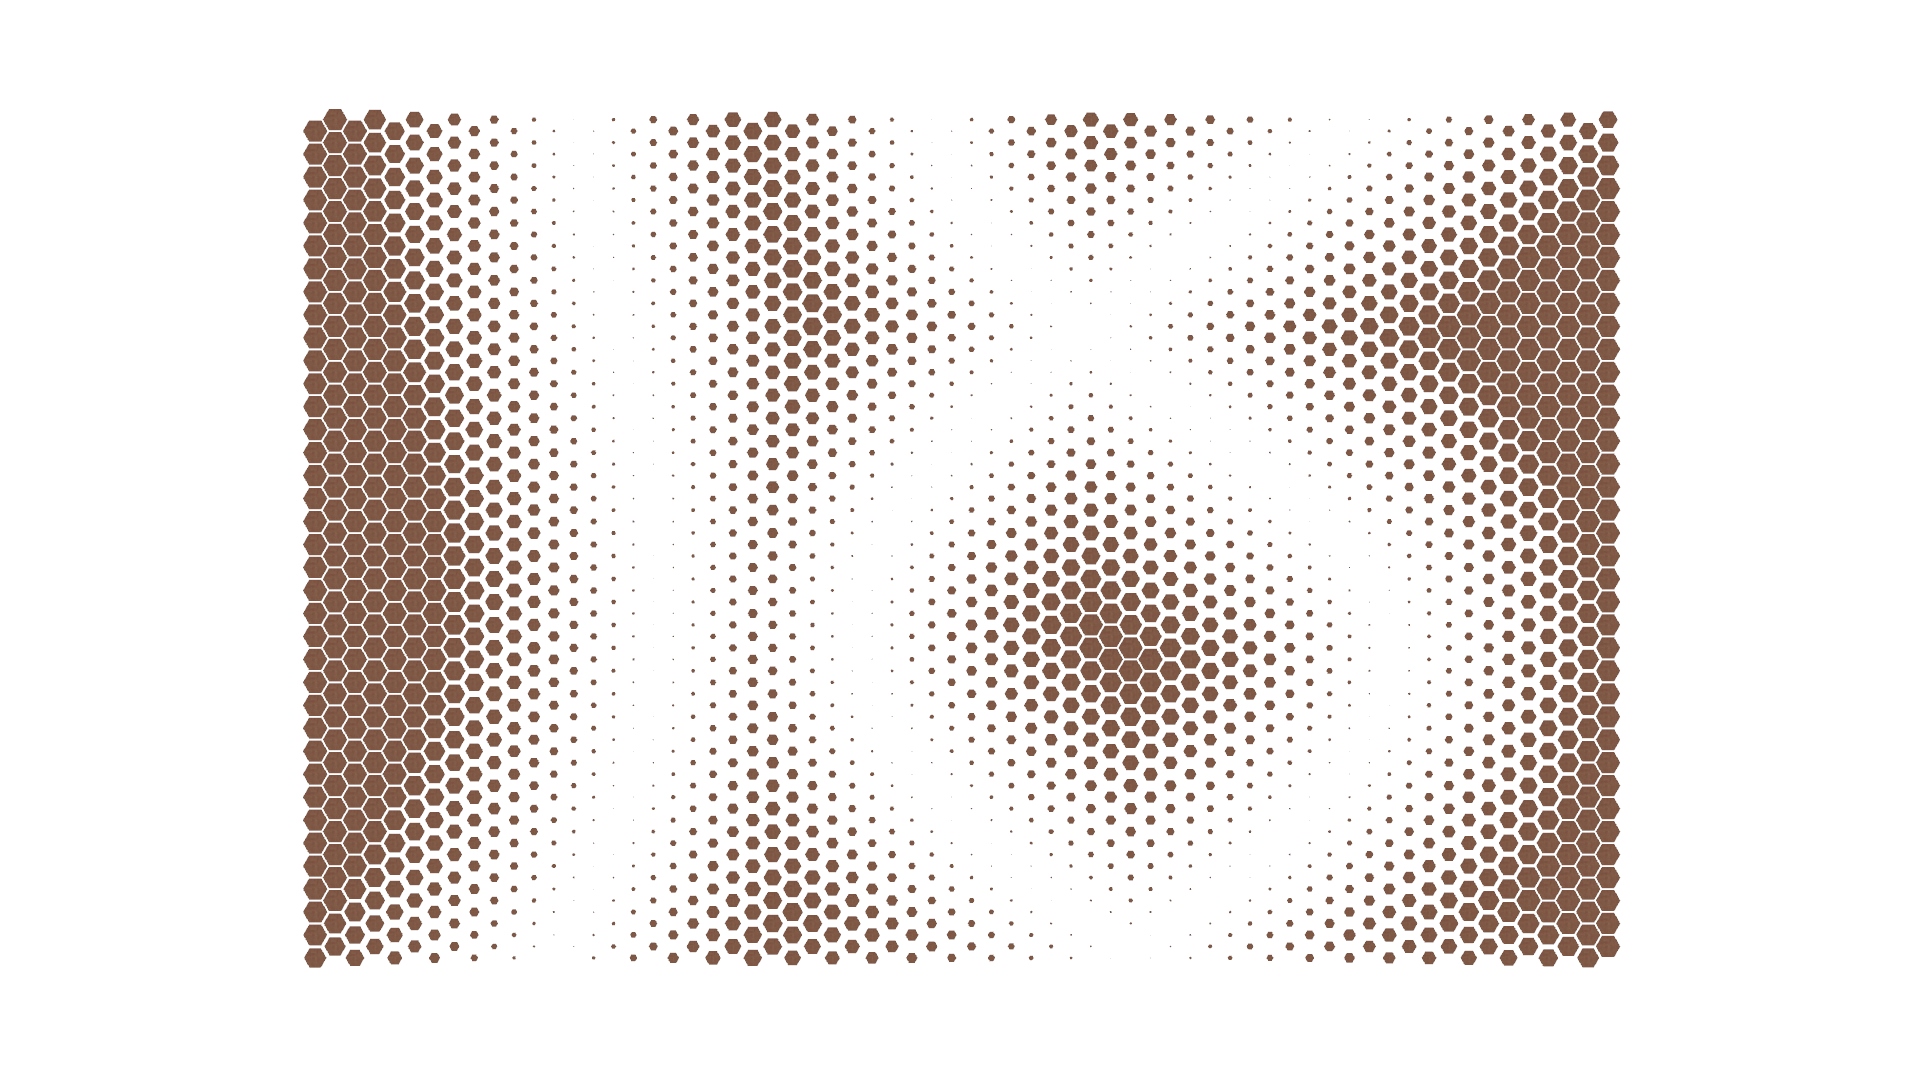
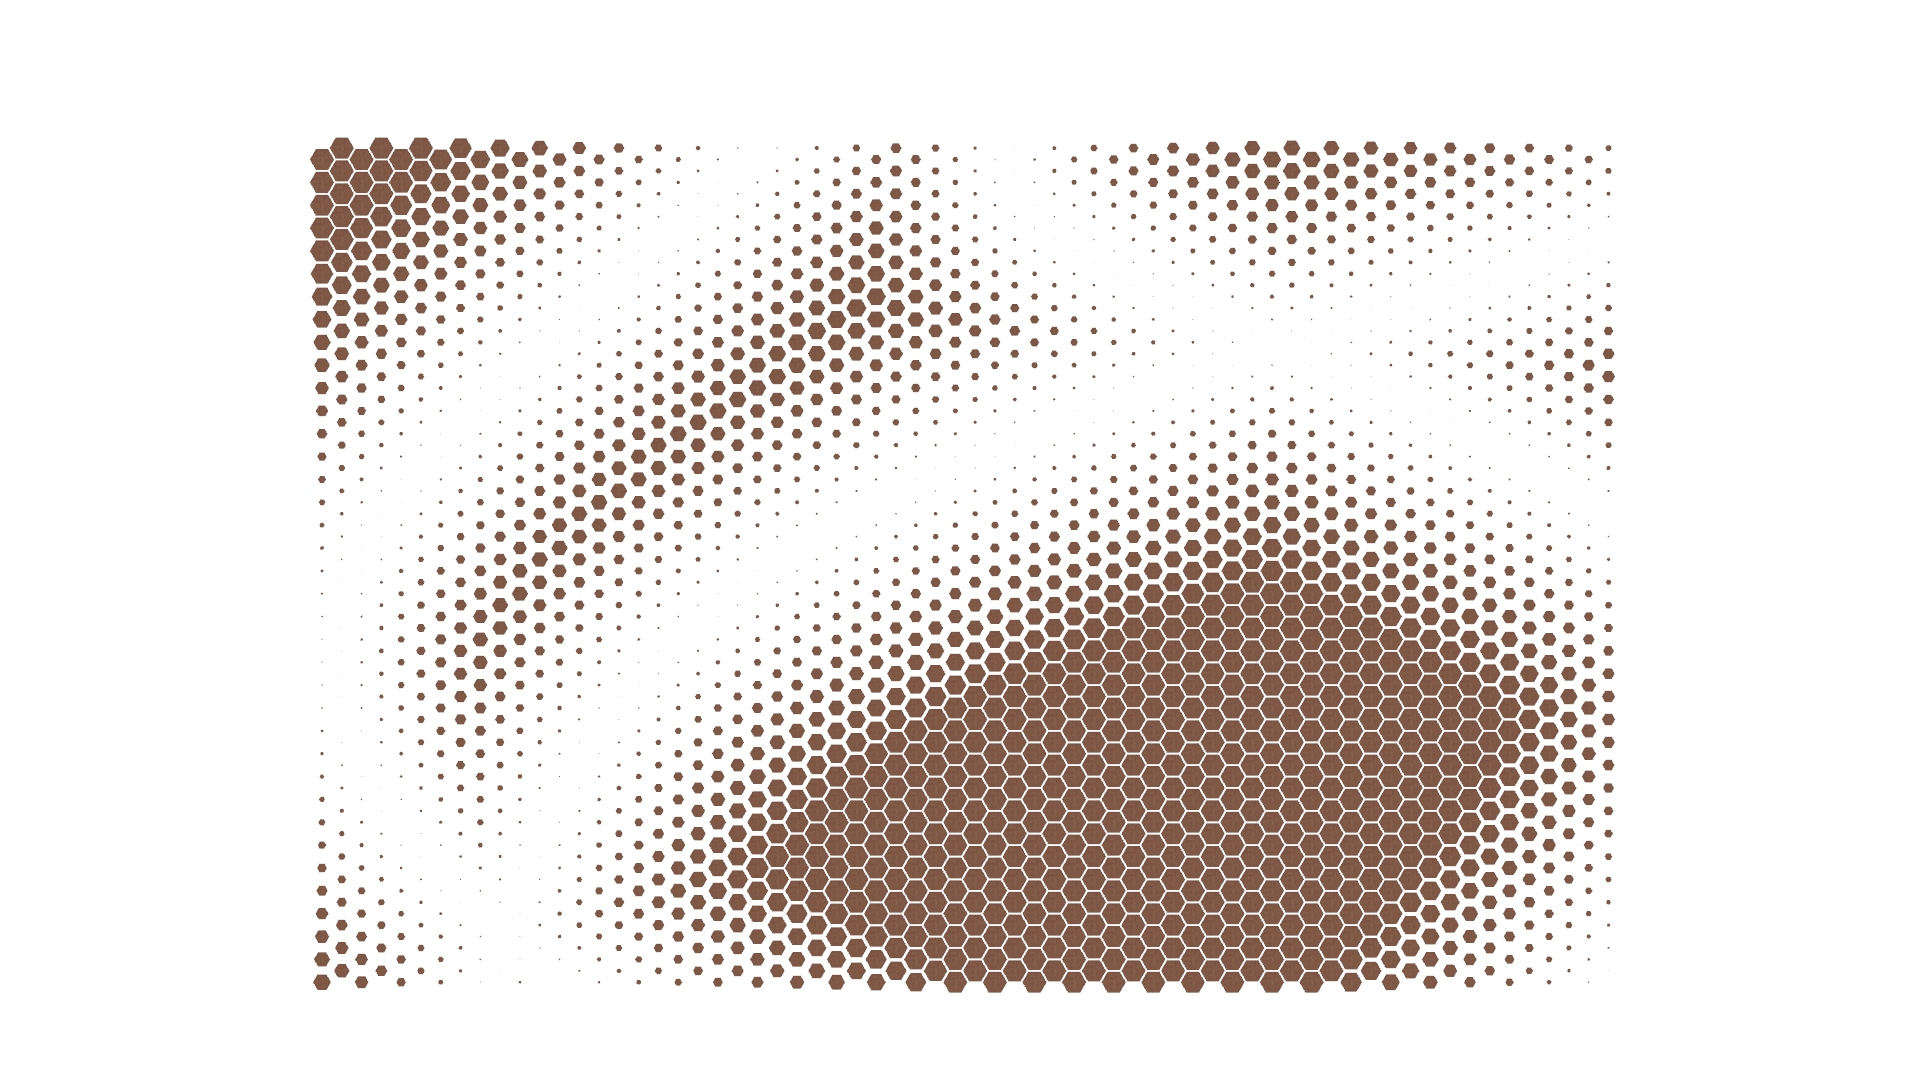
Hexagonal Count
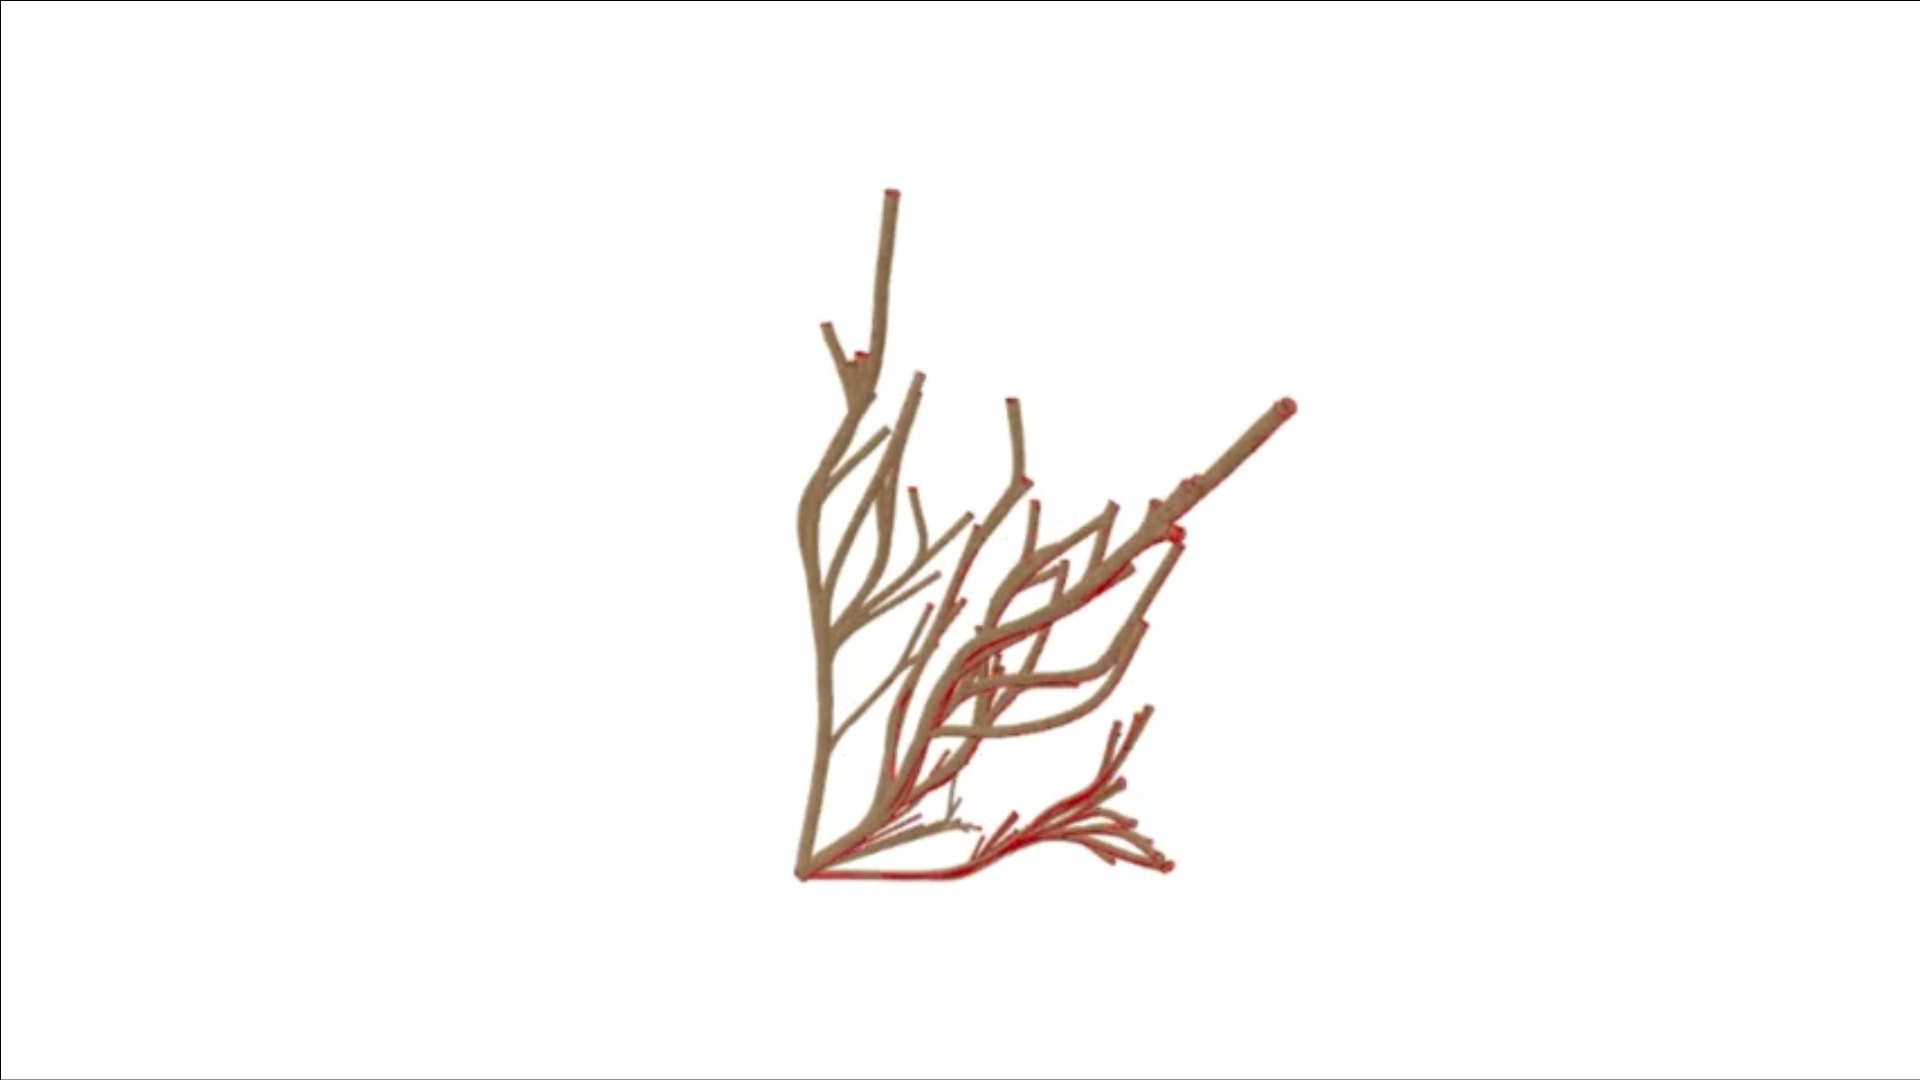
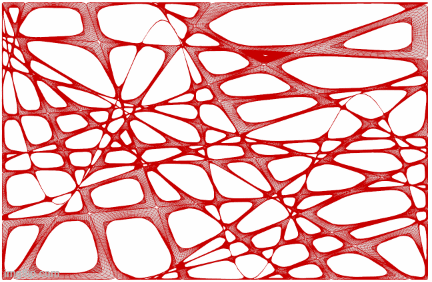
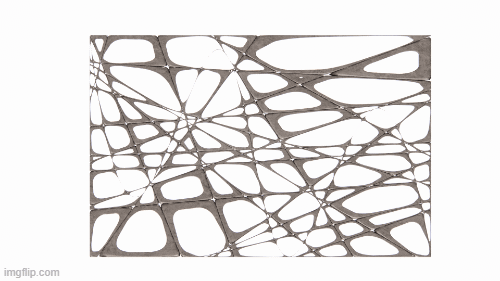
To take it further, a curvy surface was added to the script, and the pattern was oriented to follow the shape of the surface. This step demonstrates how the weaving pattern can adapt to different geometries, opening up possibilities for use on a variety of forms, like curved walls, facades, or even freestanding sculptural installations. The adaptability of the pattern highlights its potential for creative applications in both interior and exterior spaces.
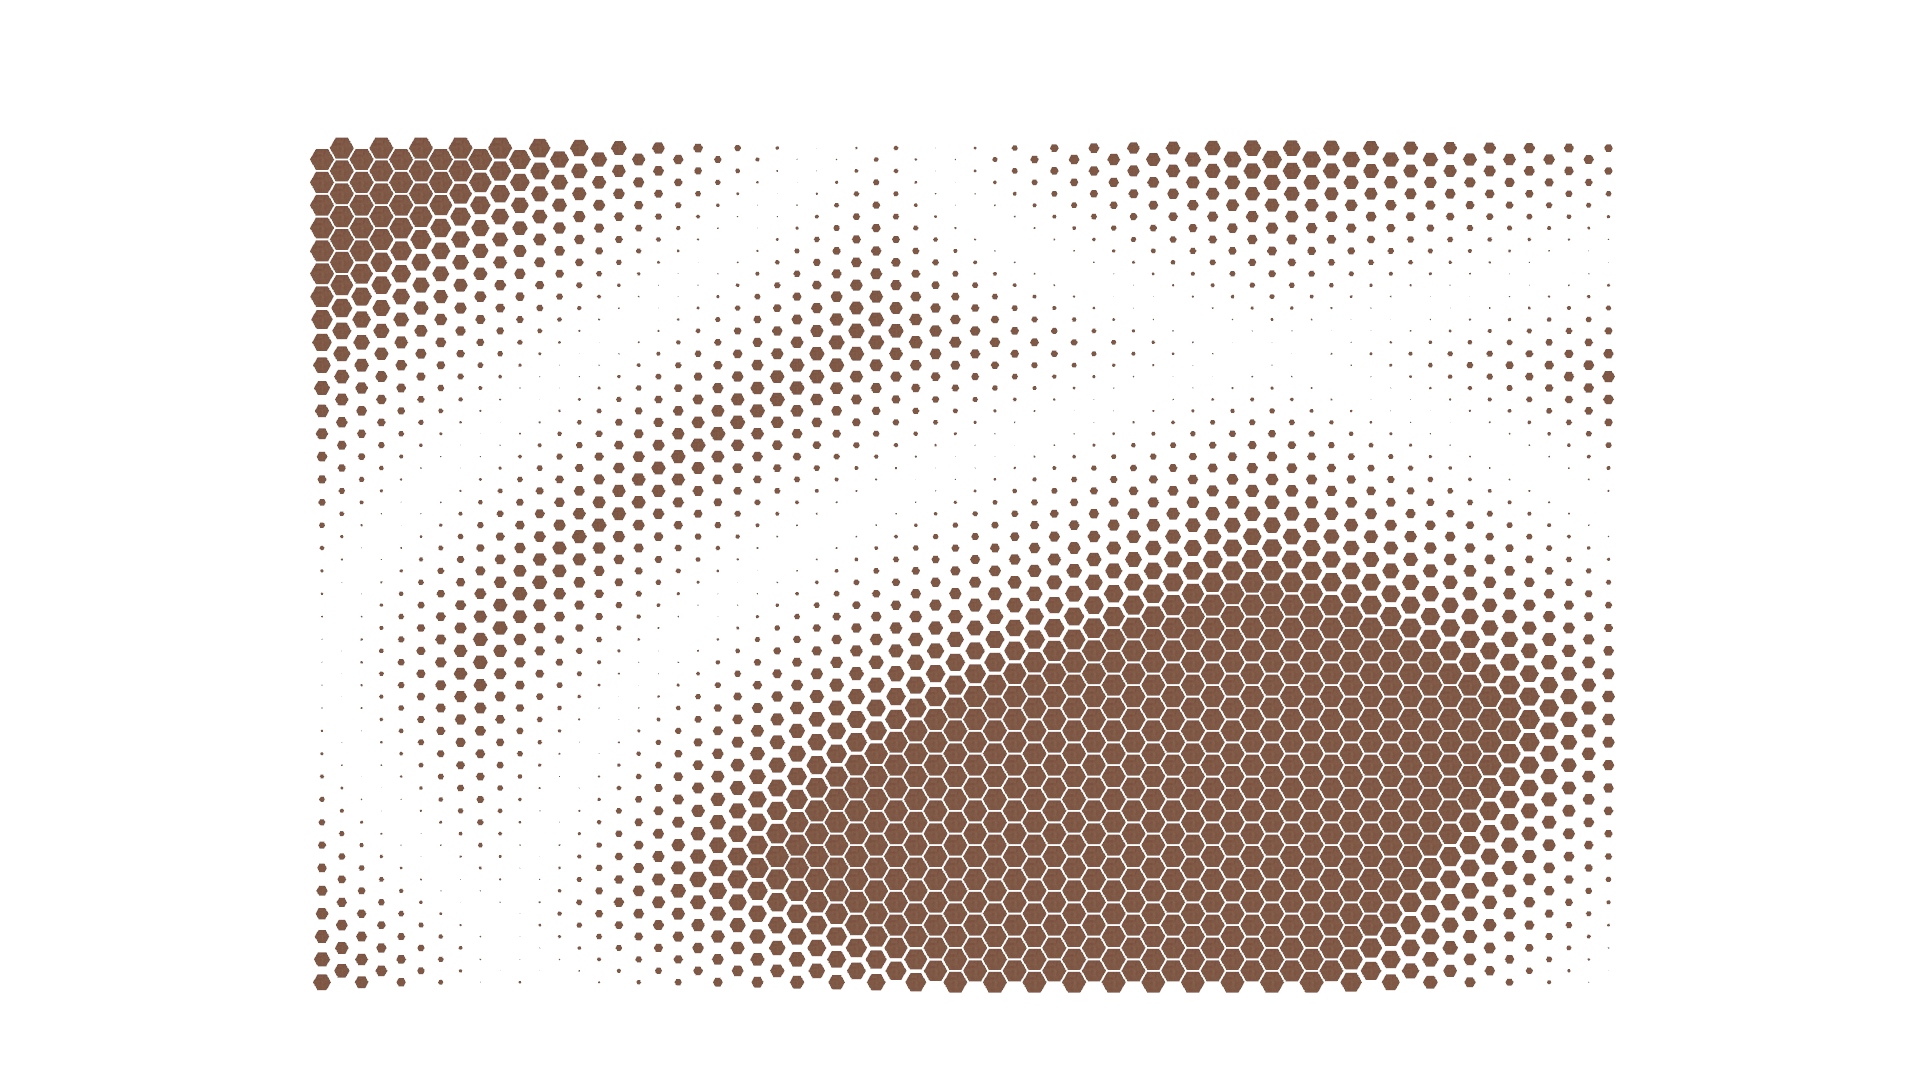
Thickness
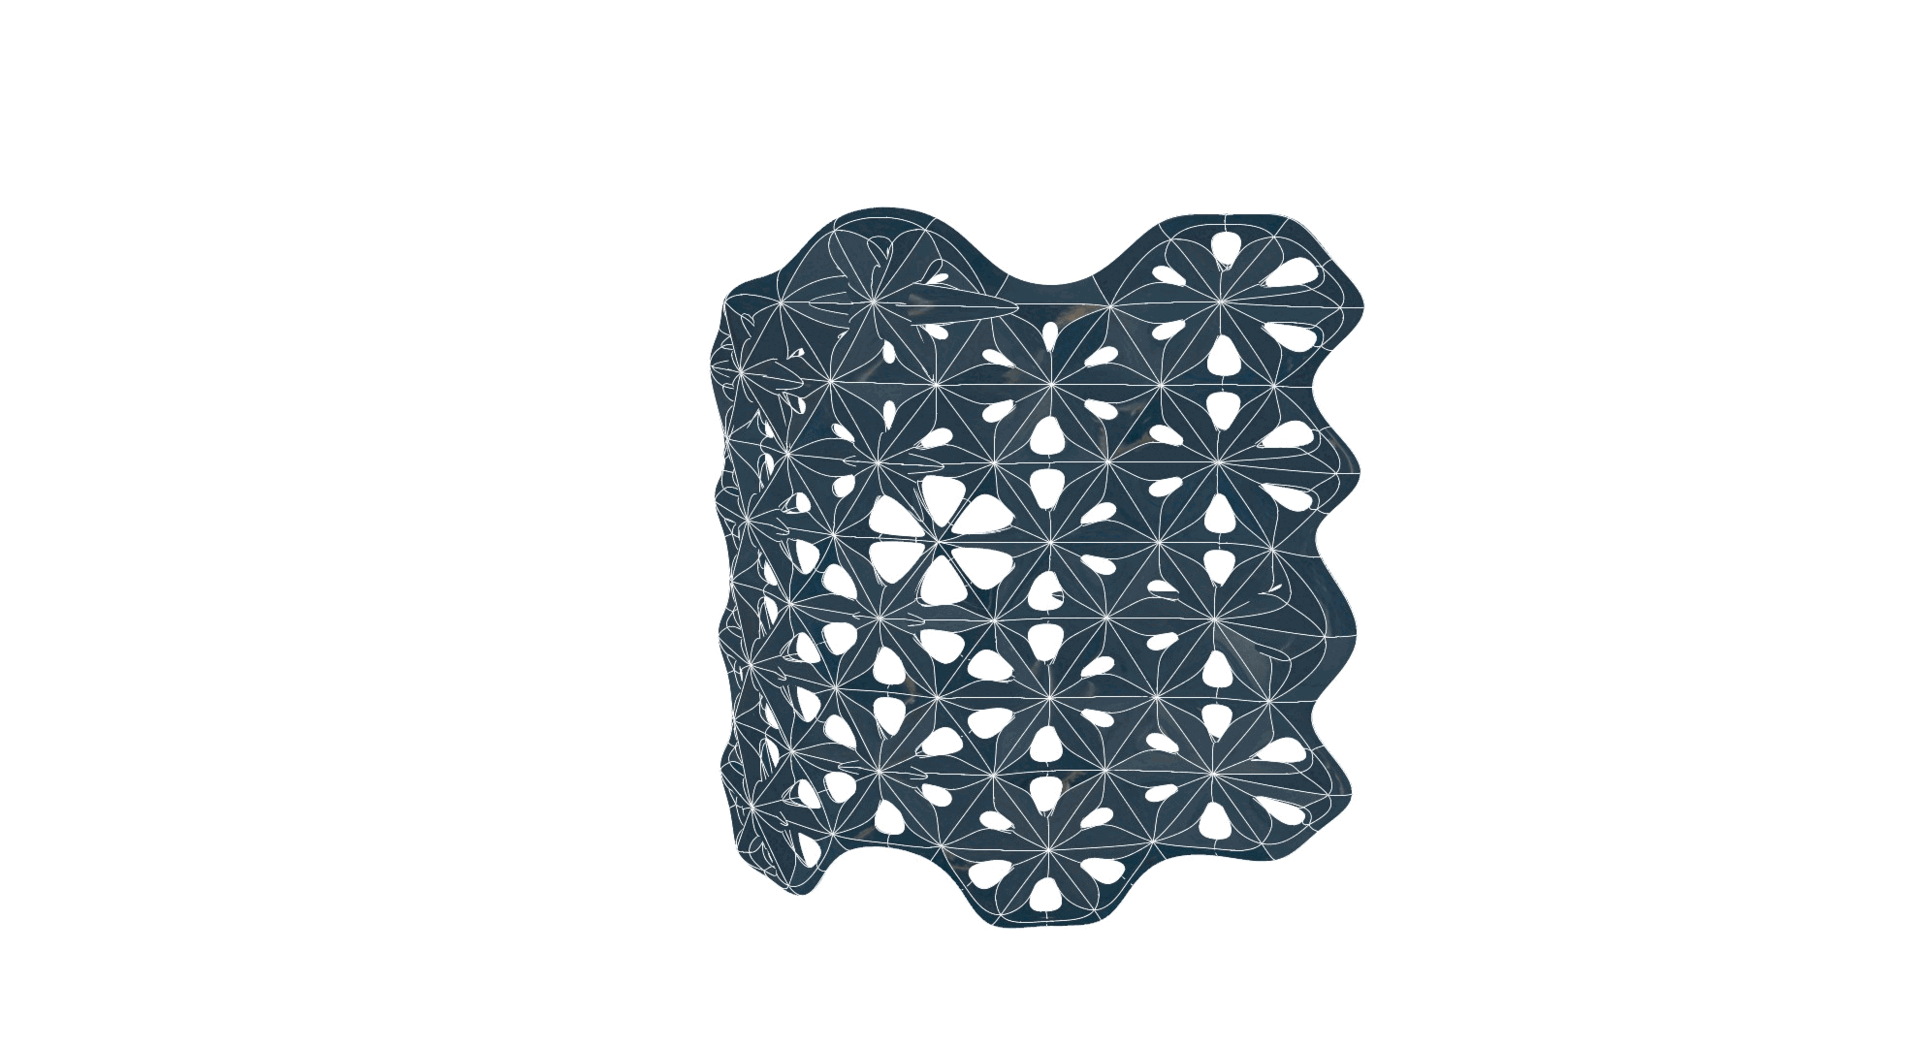
The design blends traditional weaving techniques with computational tools, resulting in a piece that is both functional and visually striking. The thinner, more open parts of the pattern allow light and air to pass through, while the denser areas offer privacy and enclosure.
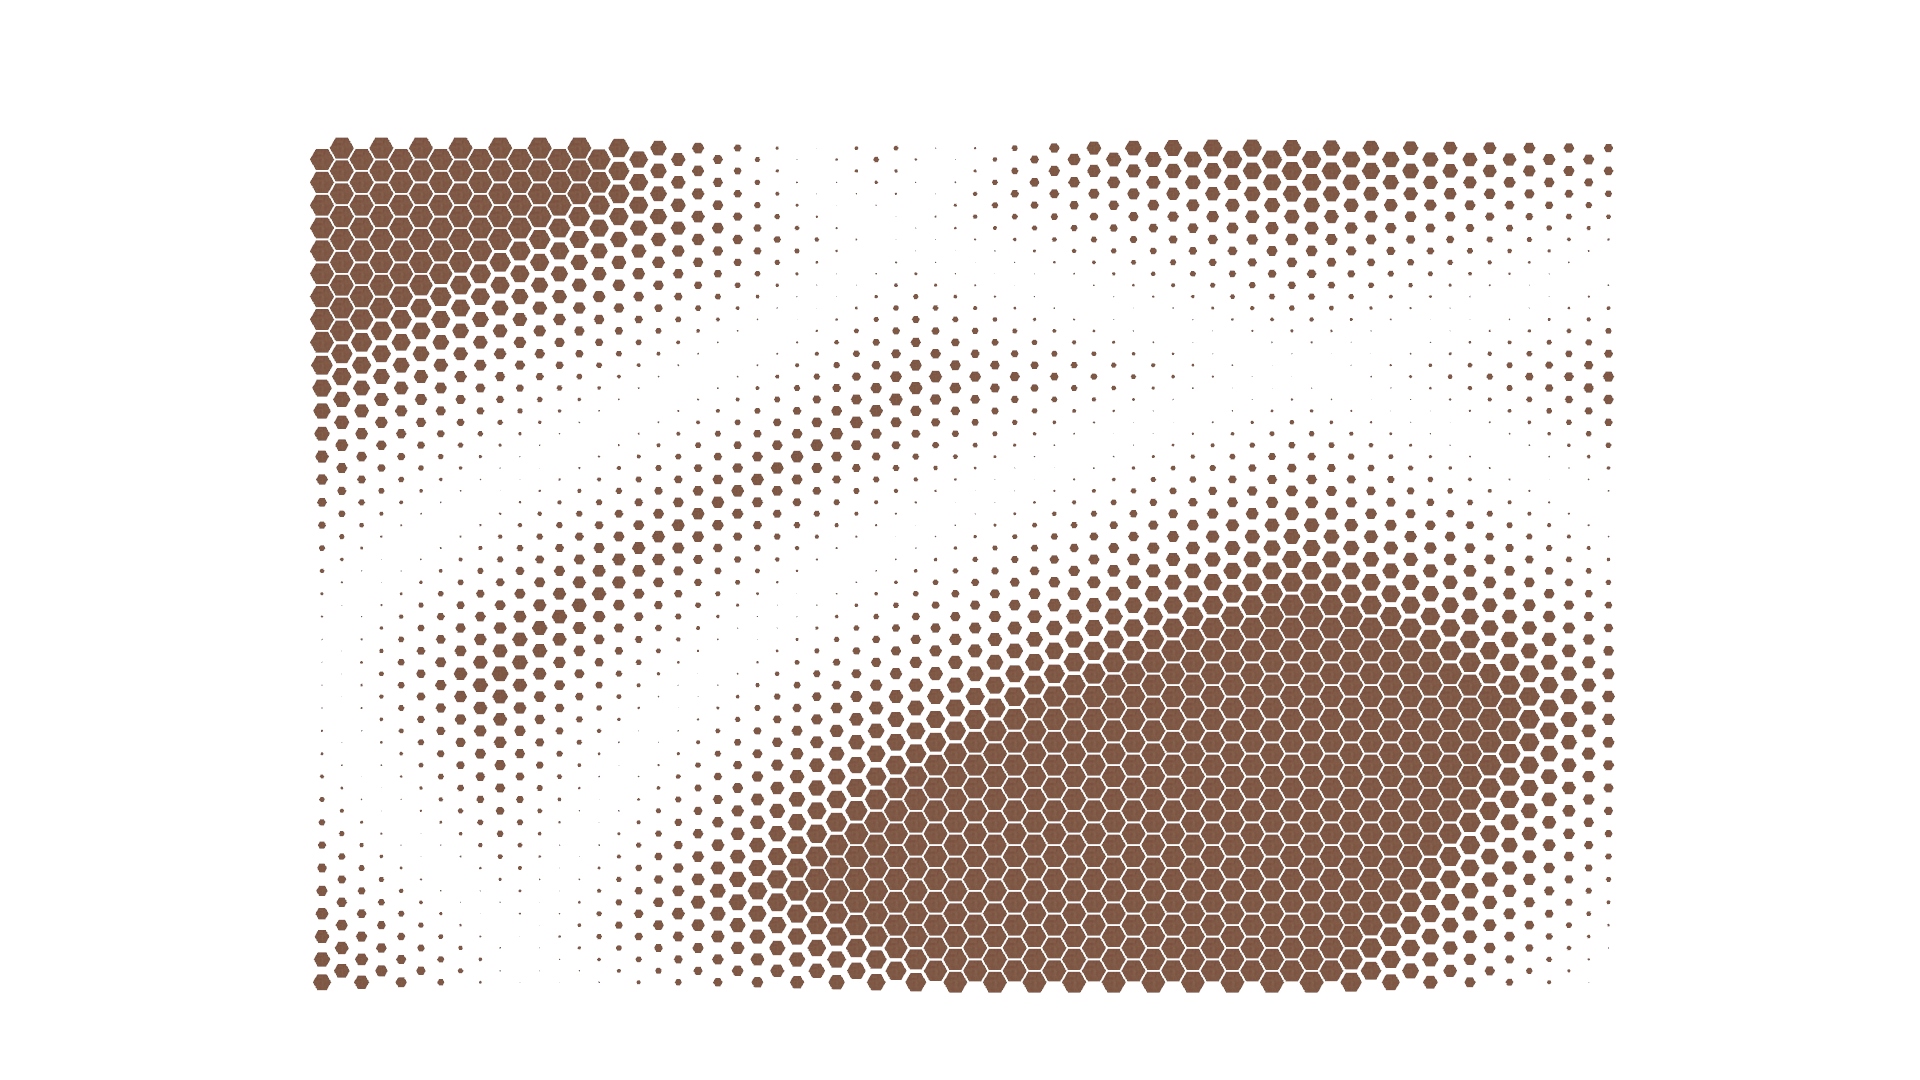
Node Size
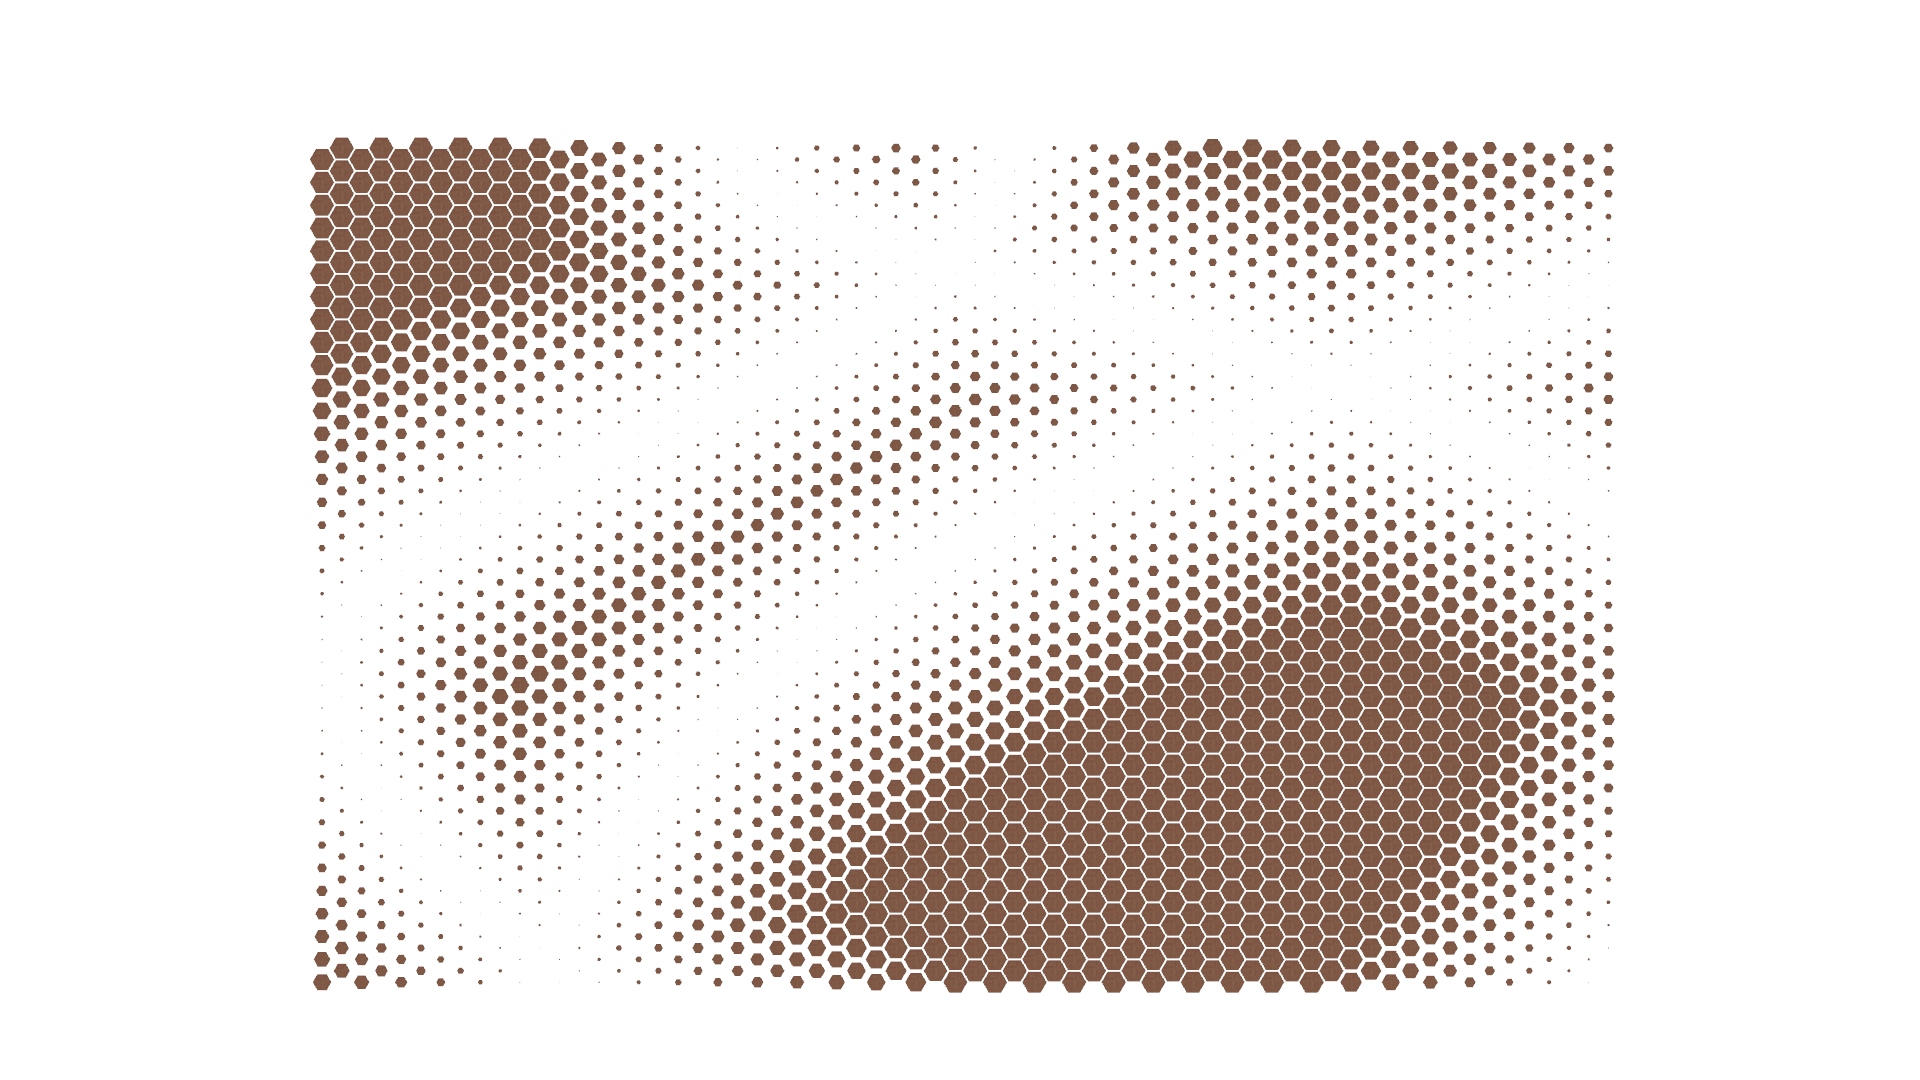
Strut Size
This project showcases how parametric design can transform simple ideas into dynamic, flexible solutions. By combining artistic inspiration with digital tools, it reimagines privacy screens as adaptable, sculptural elements that enhance and interact with the spaces they occupy.
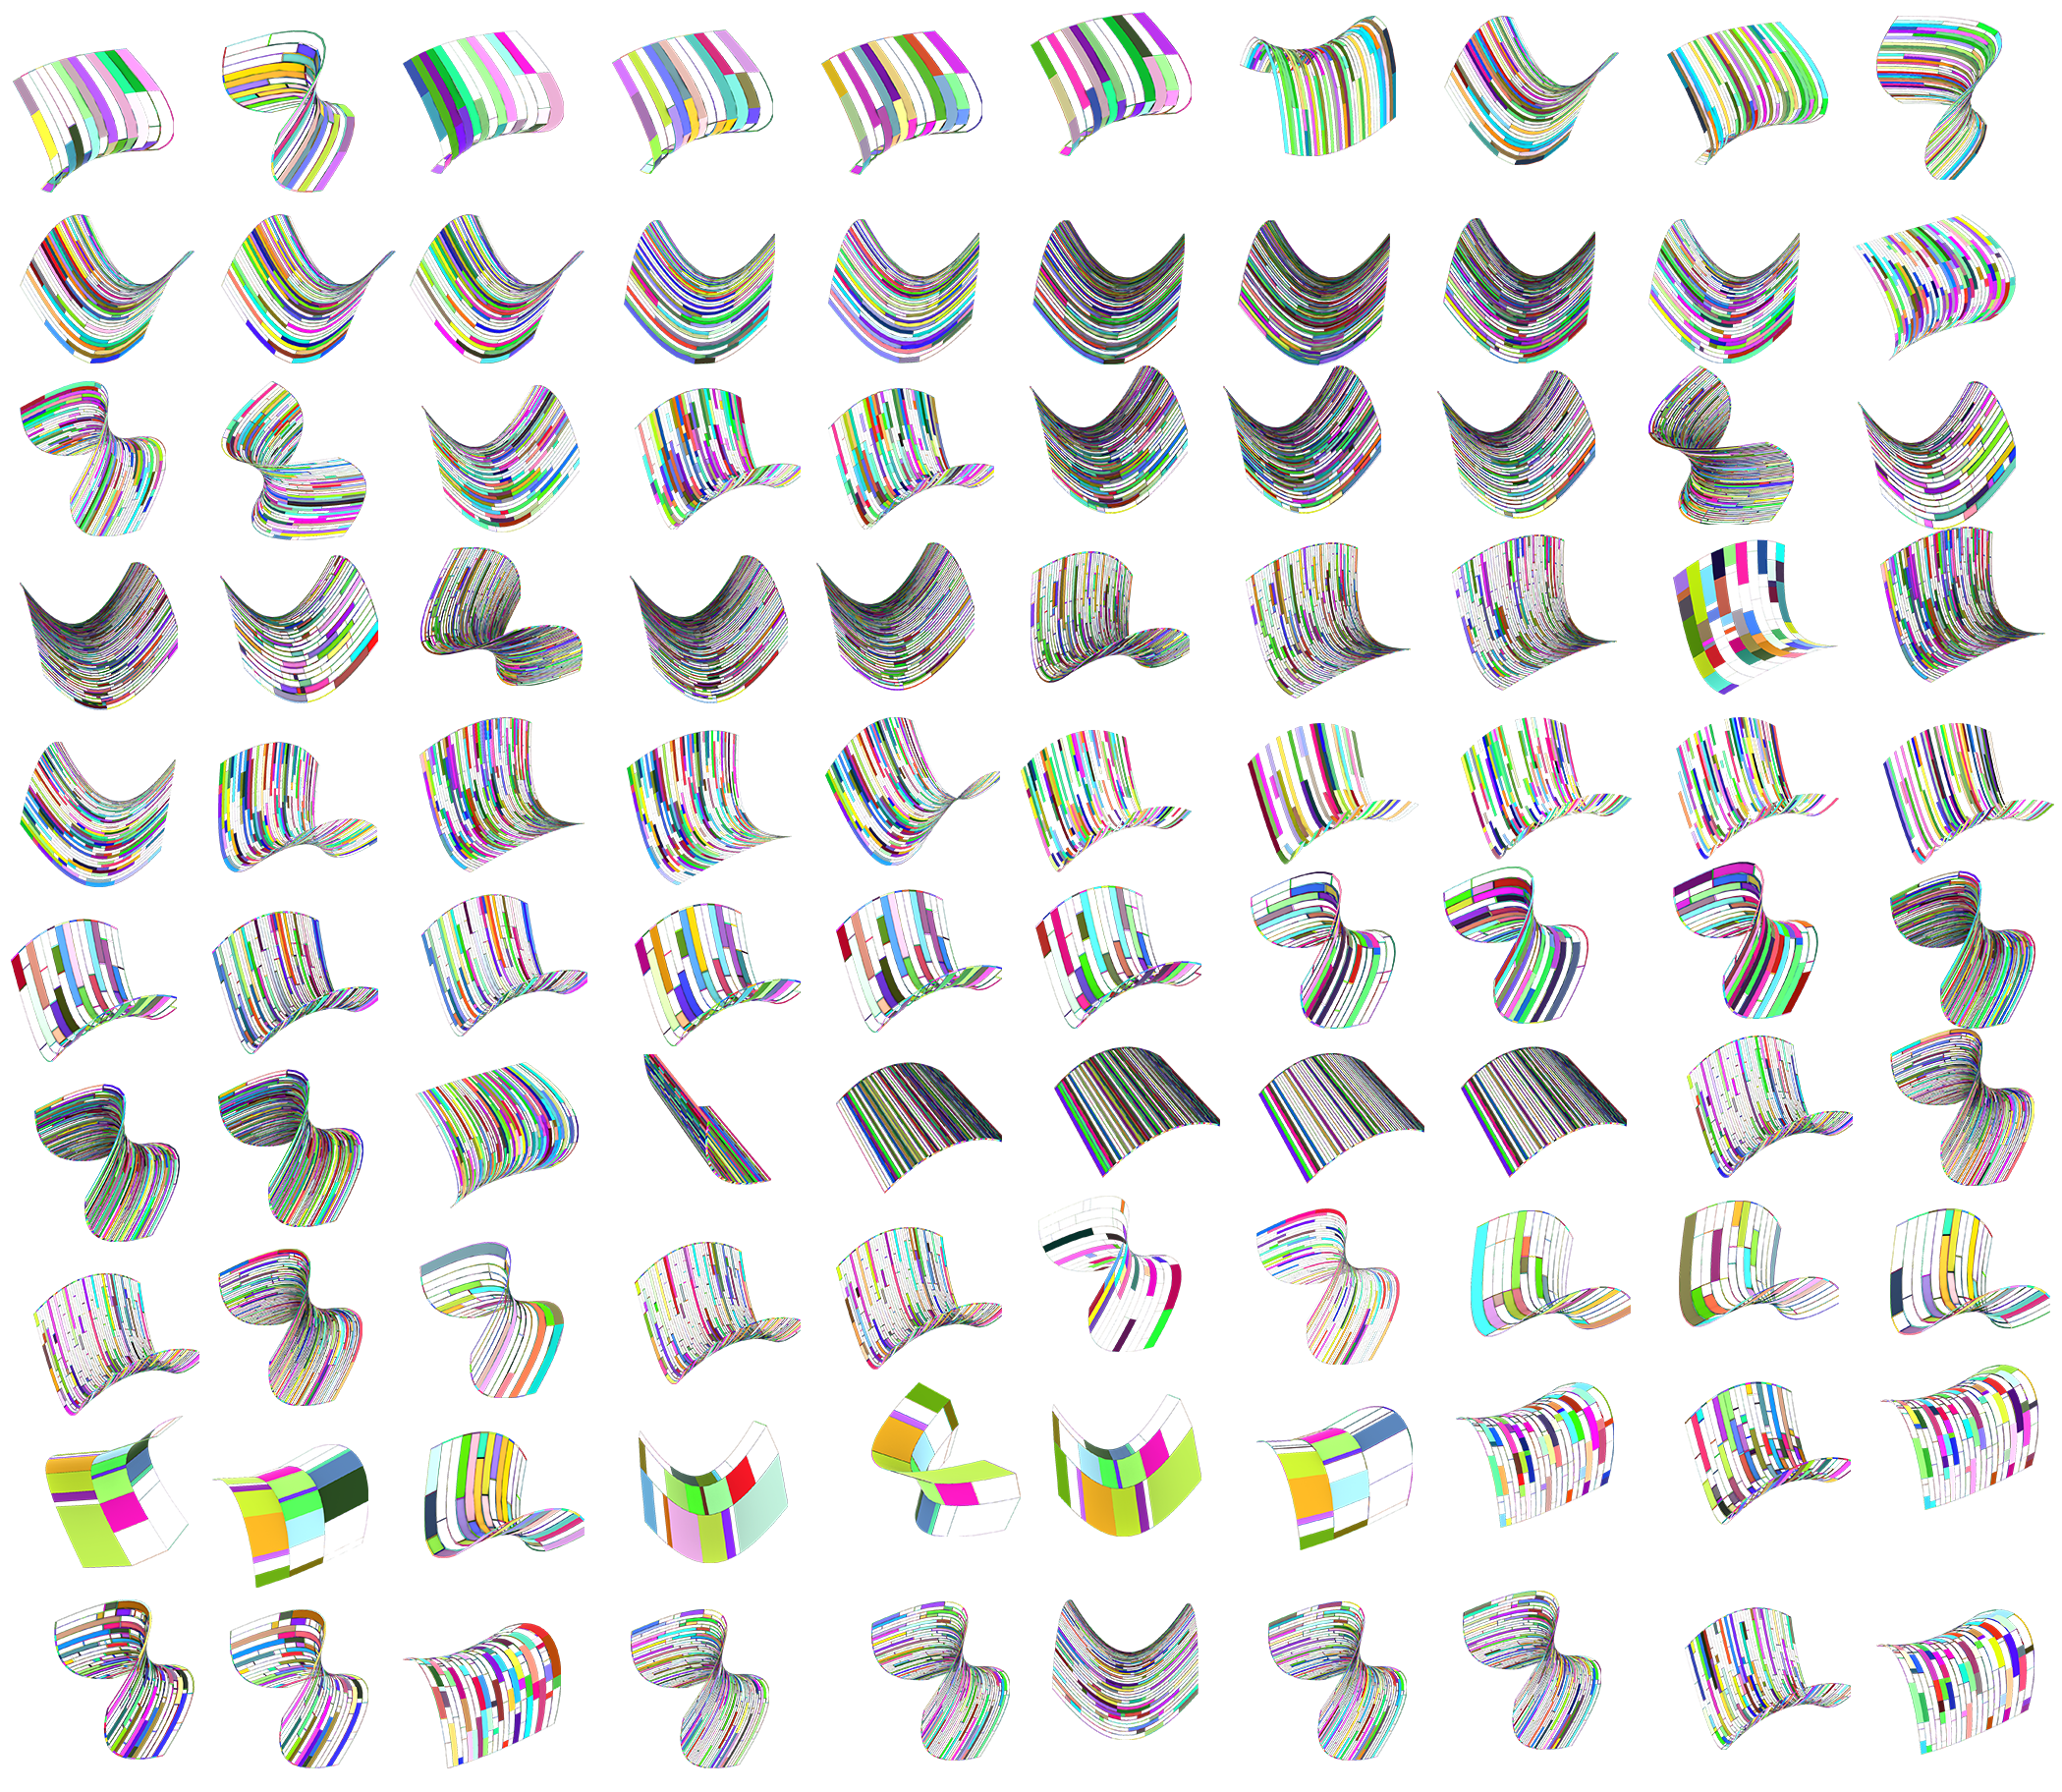
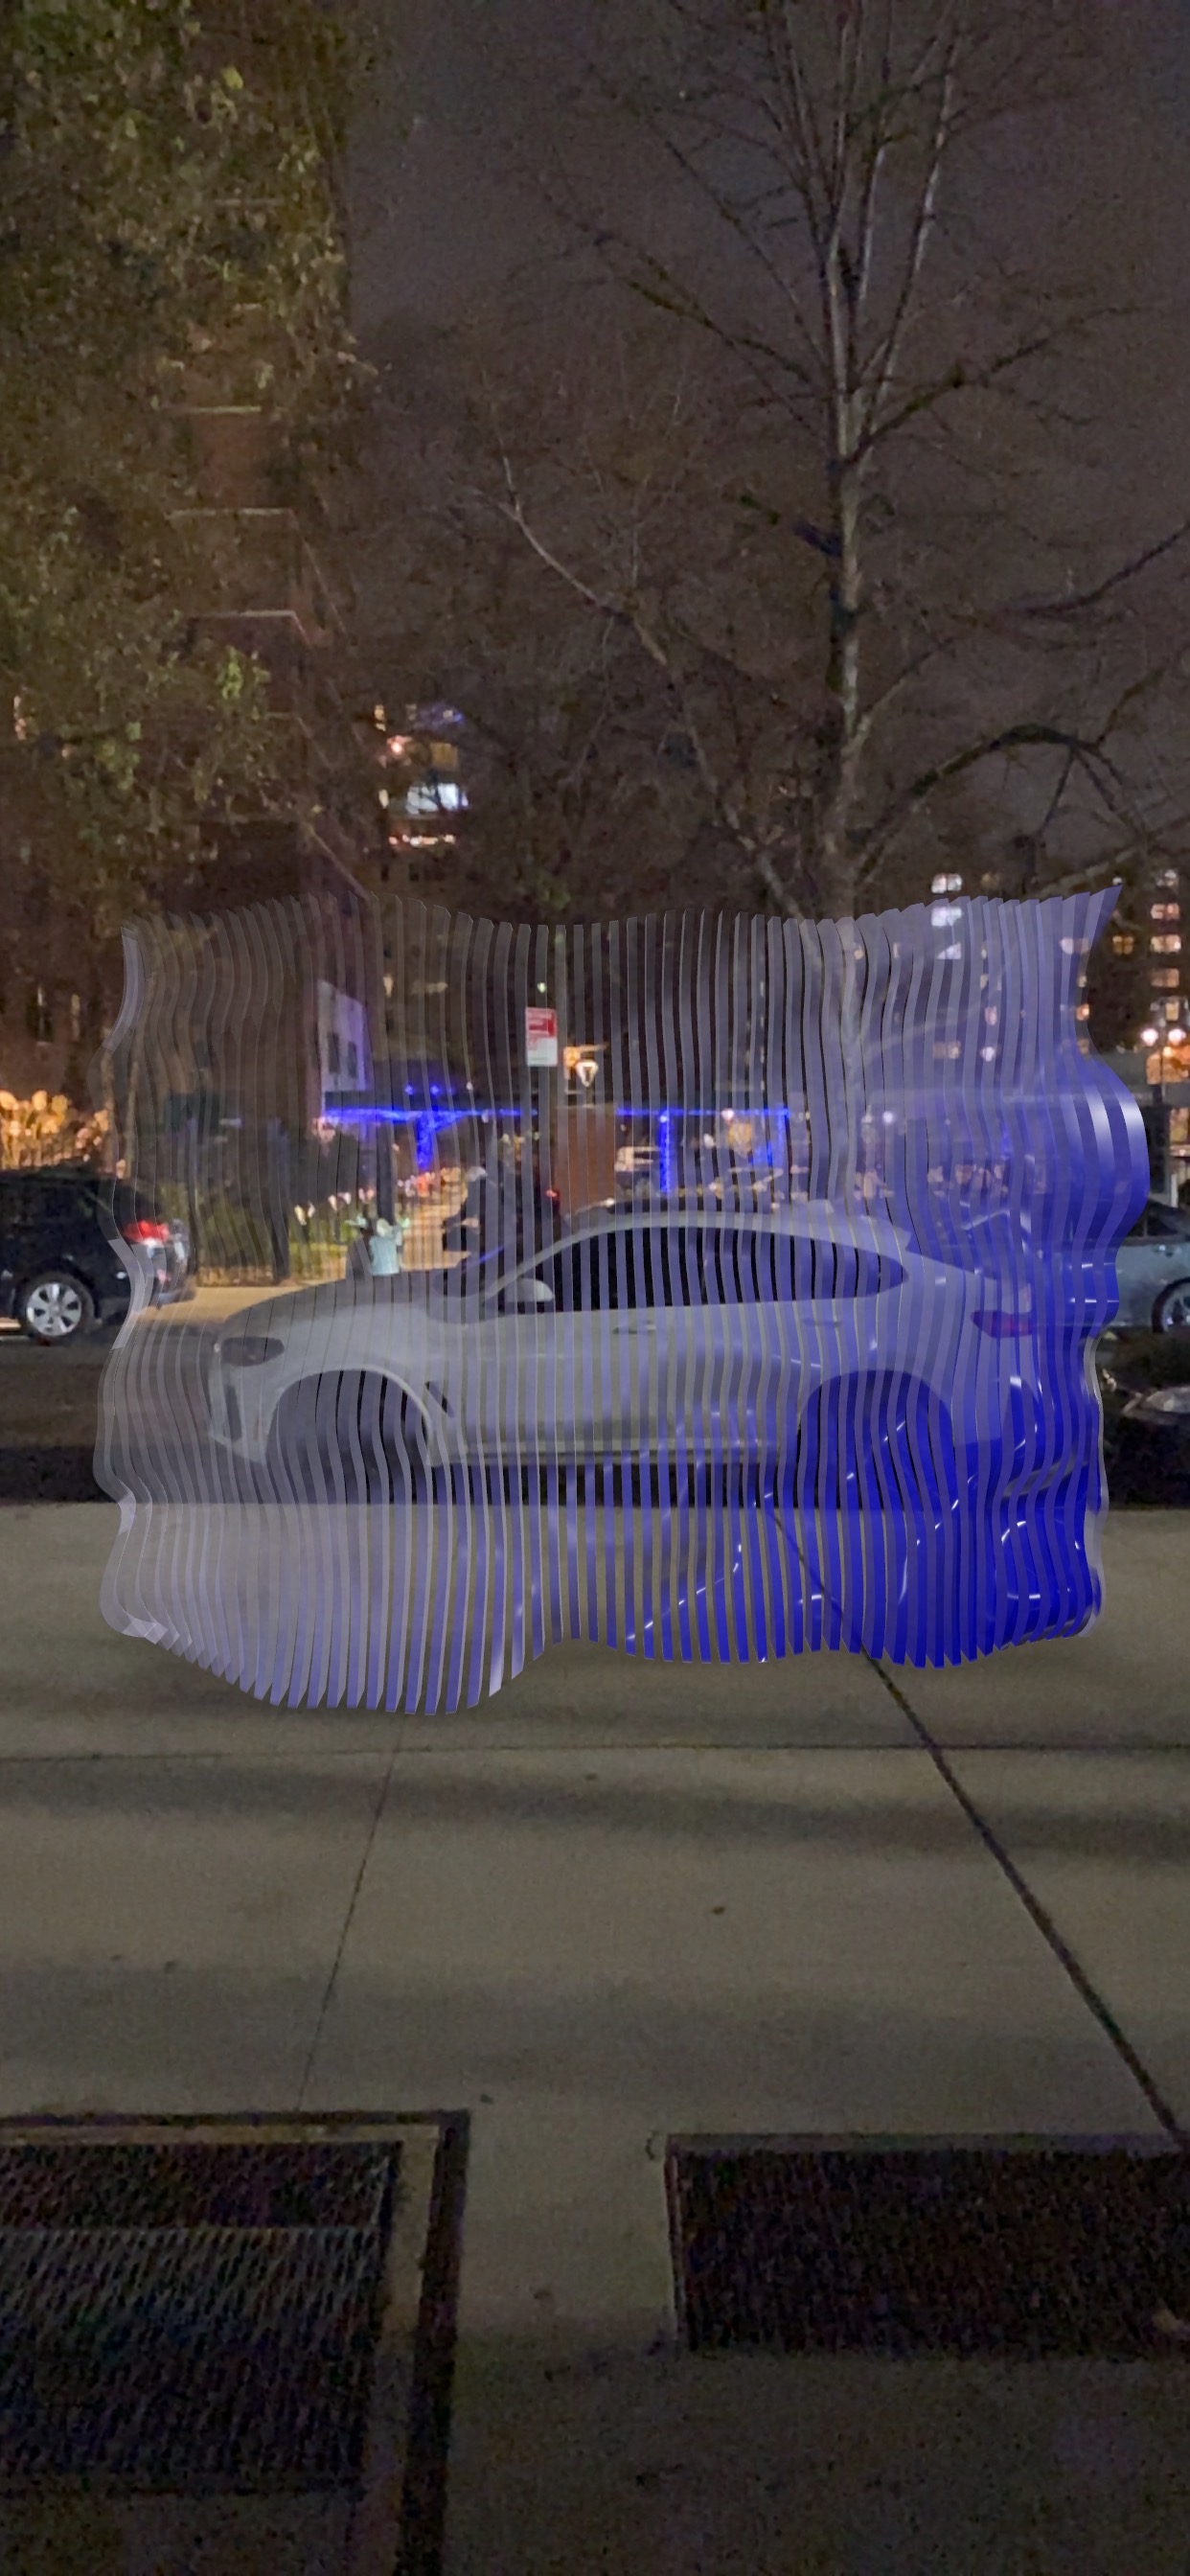
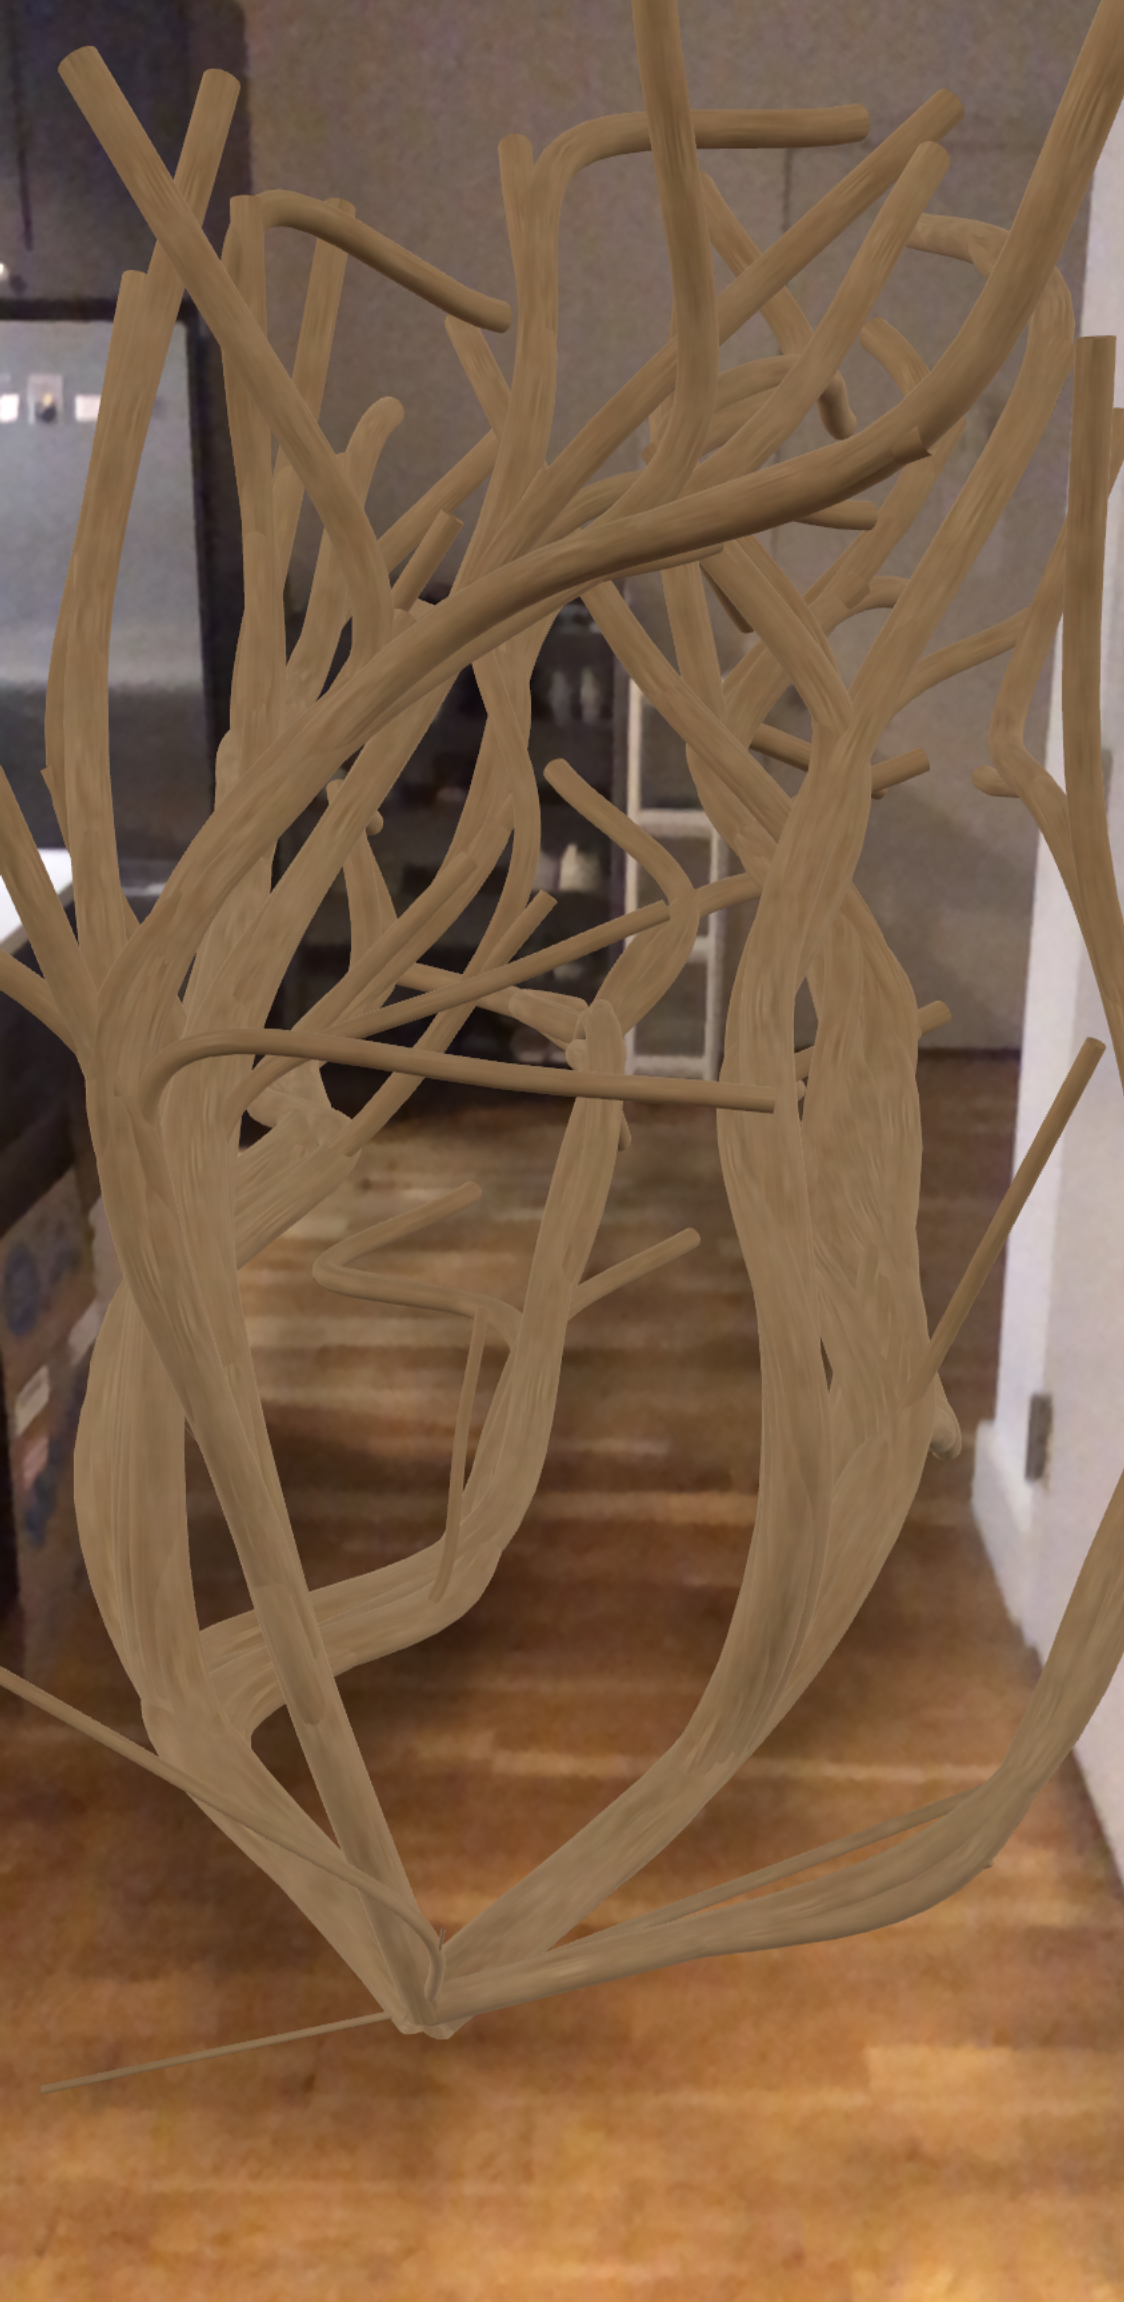
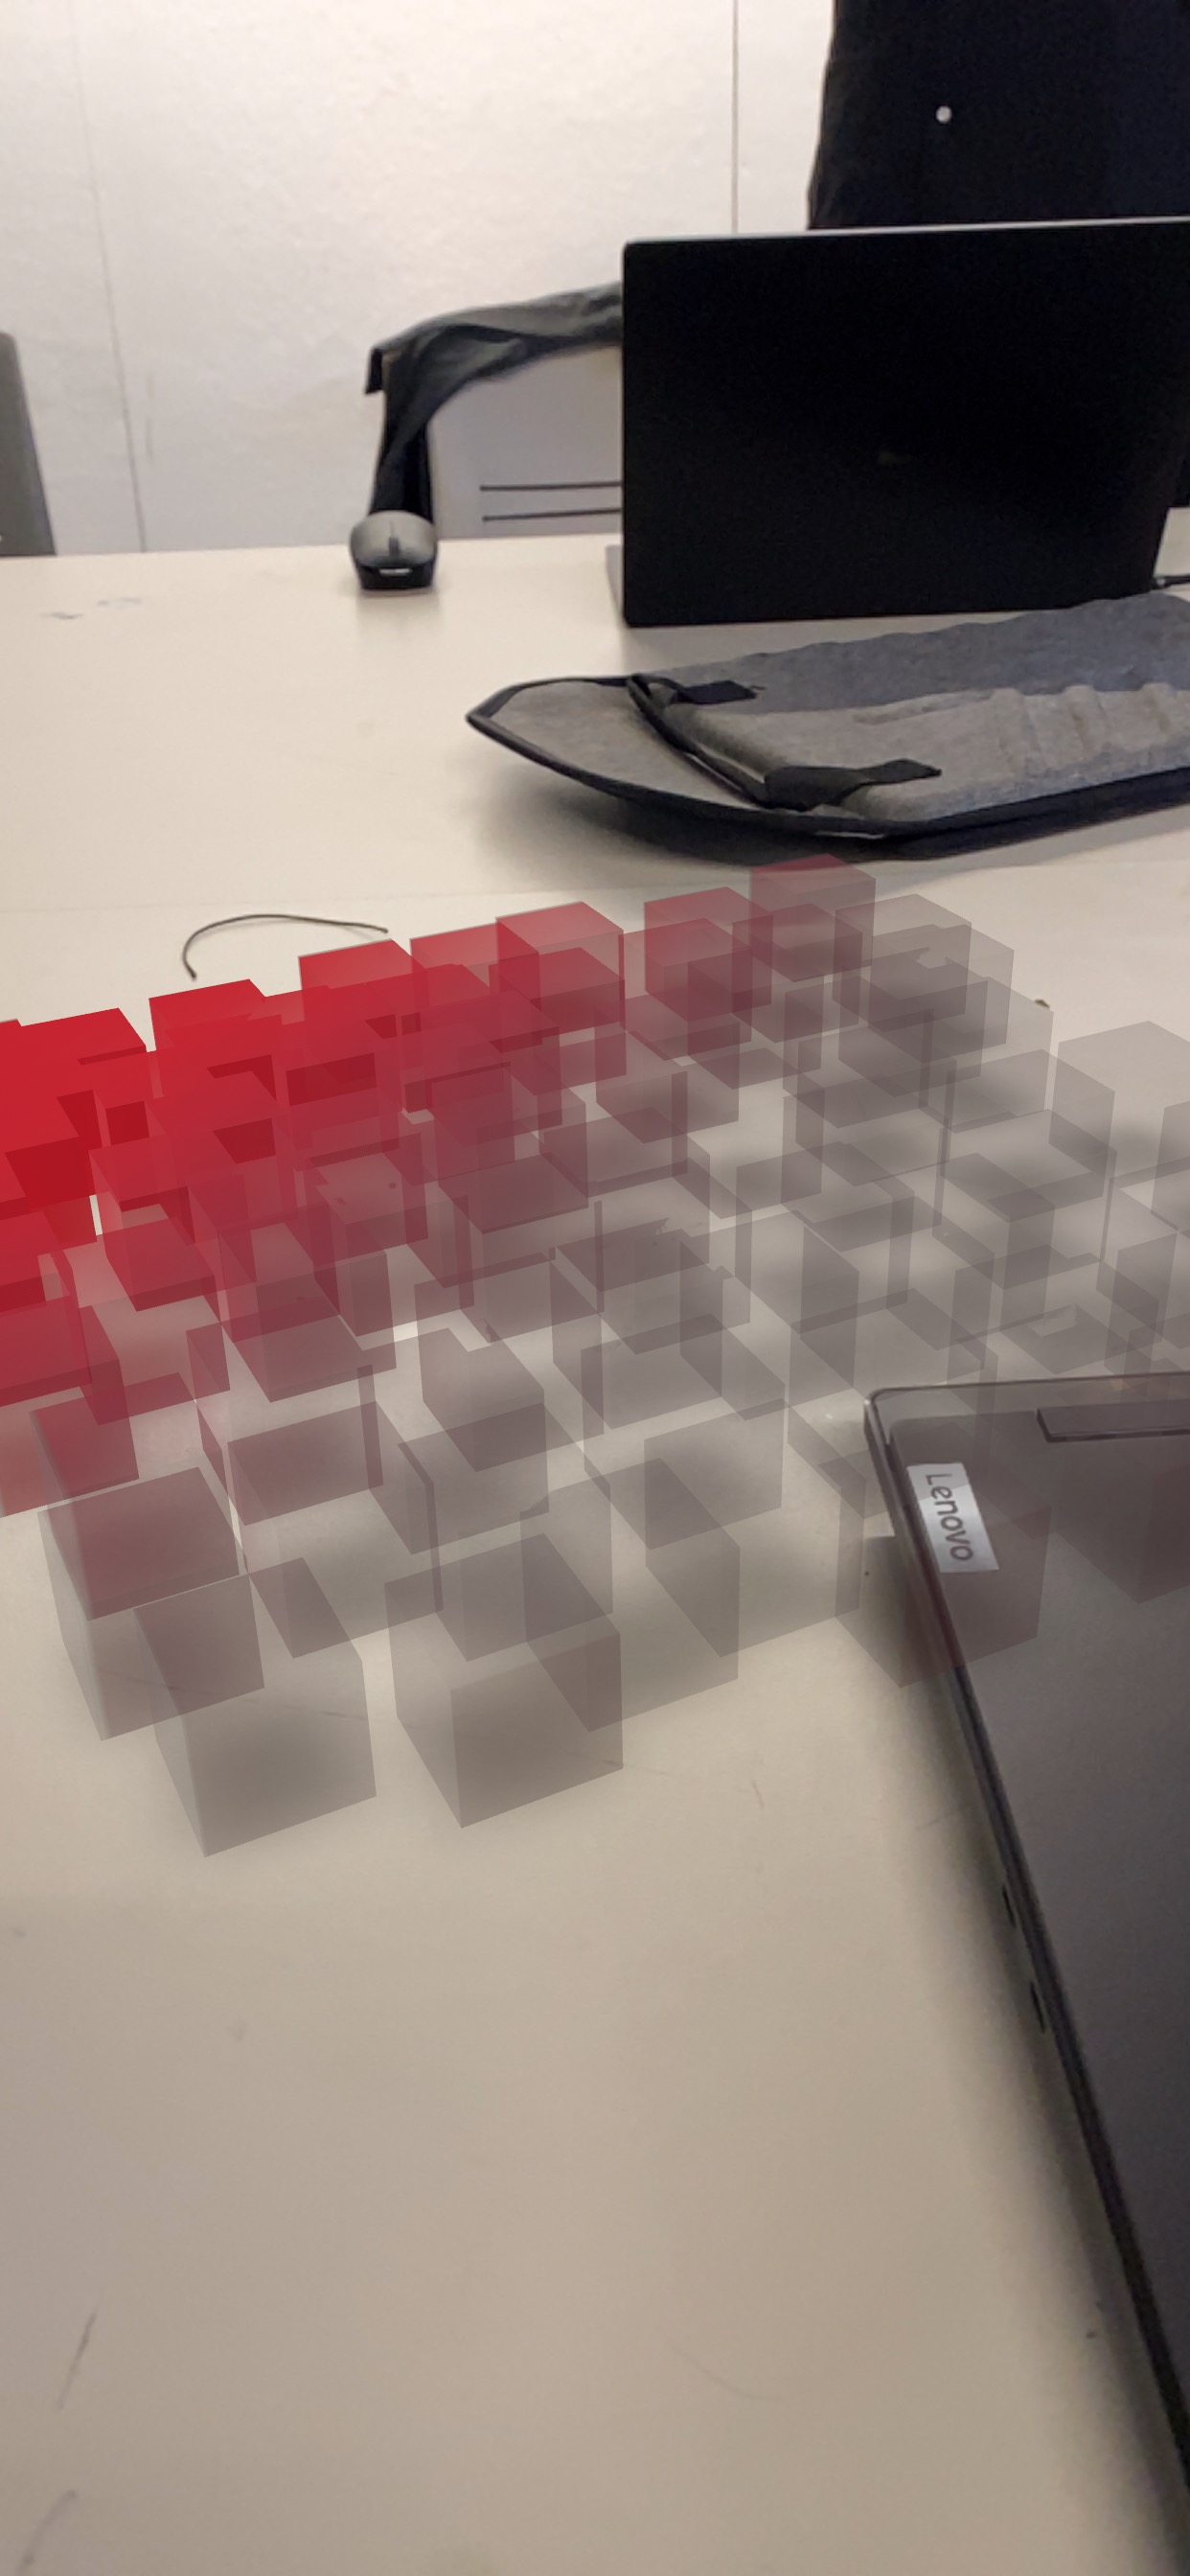
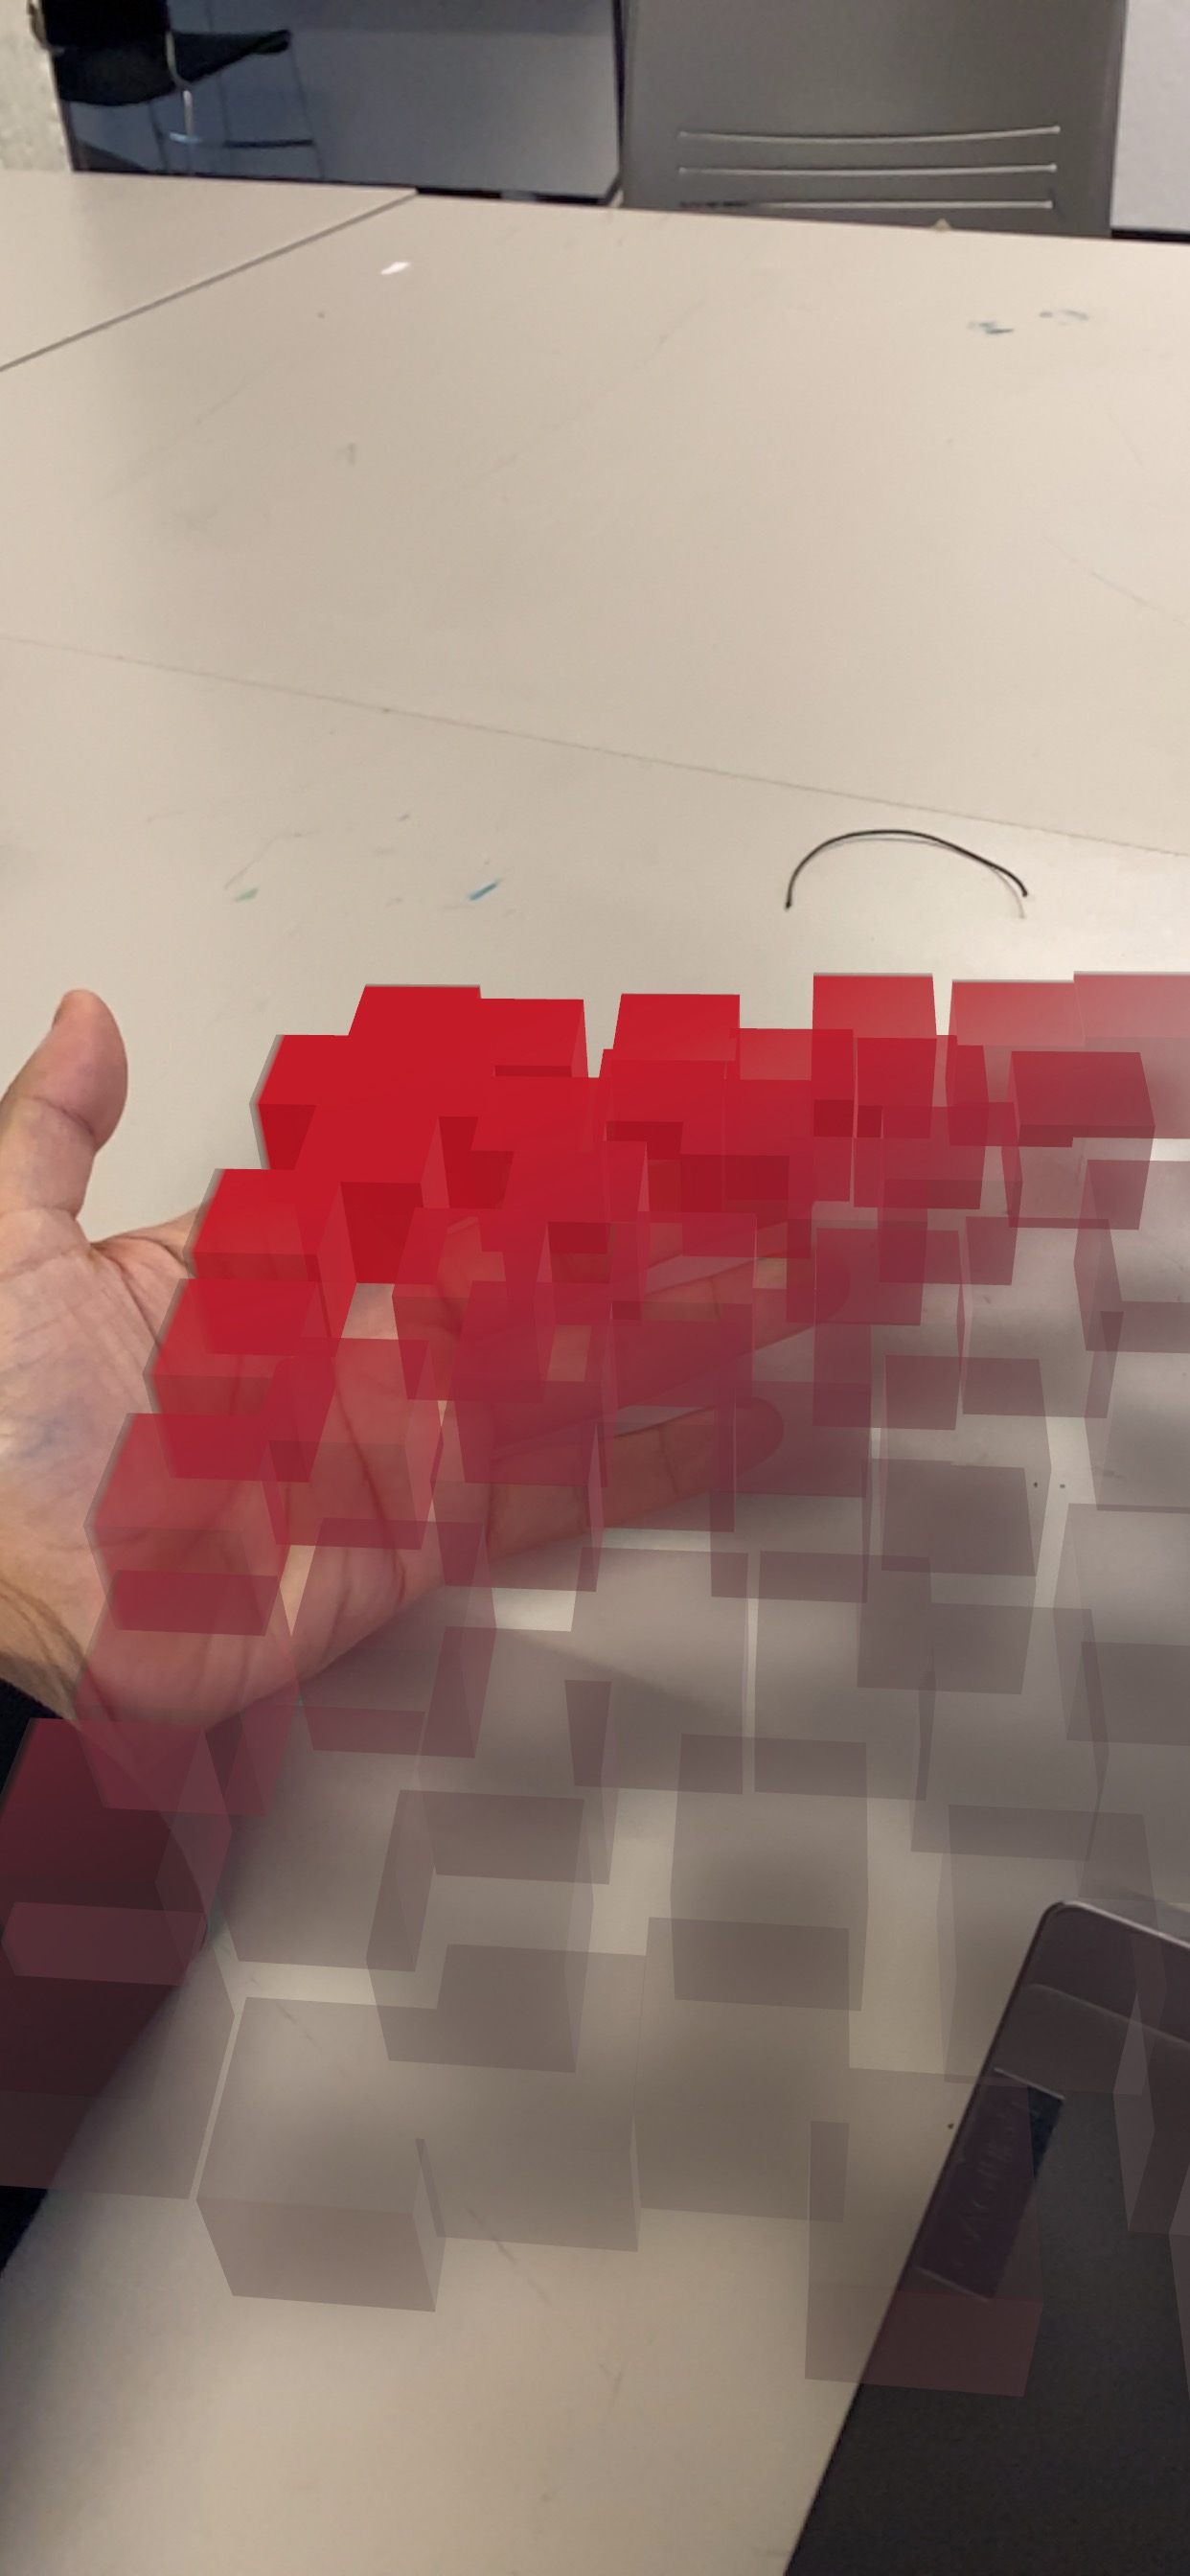
AR Photographs

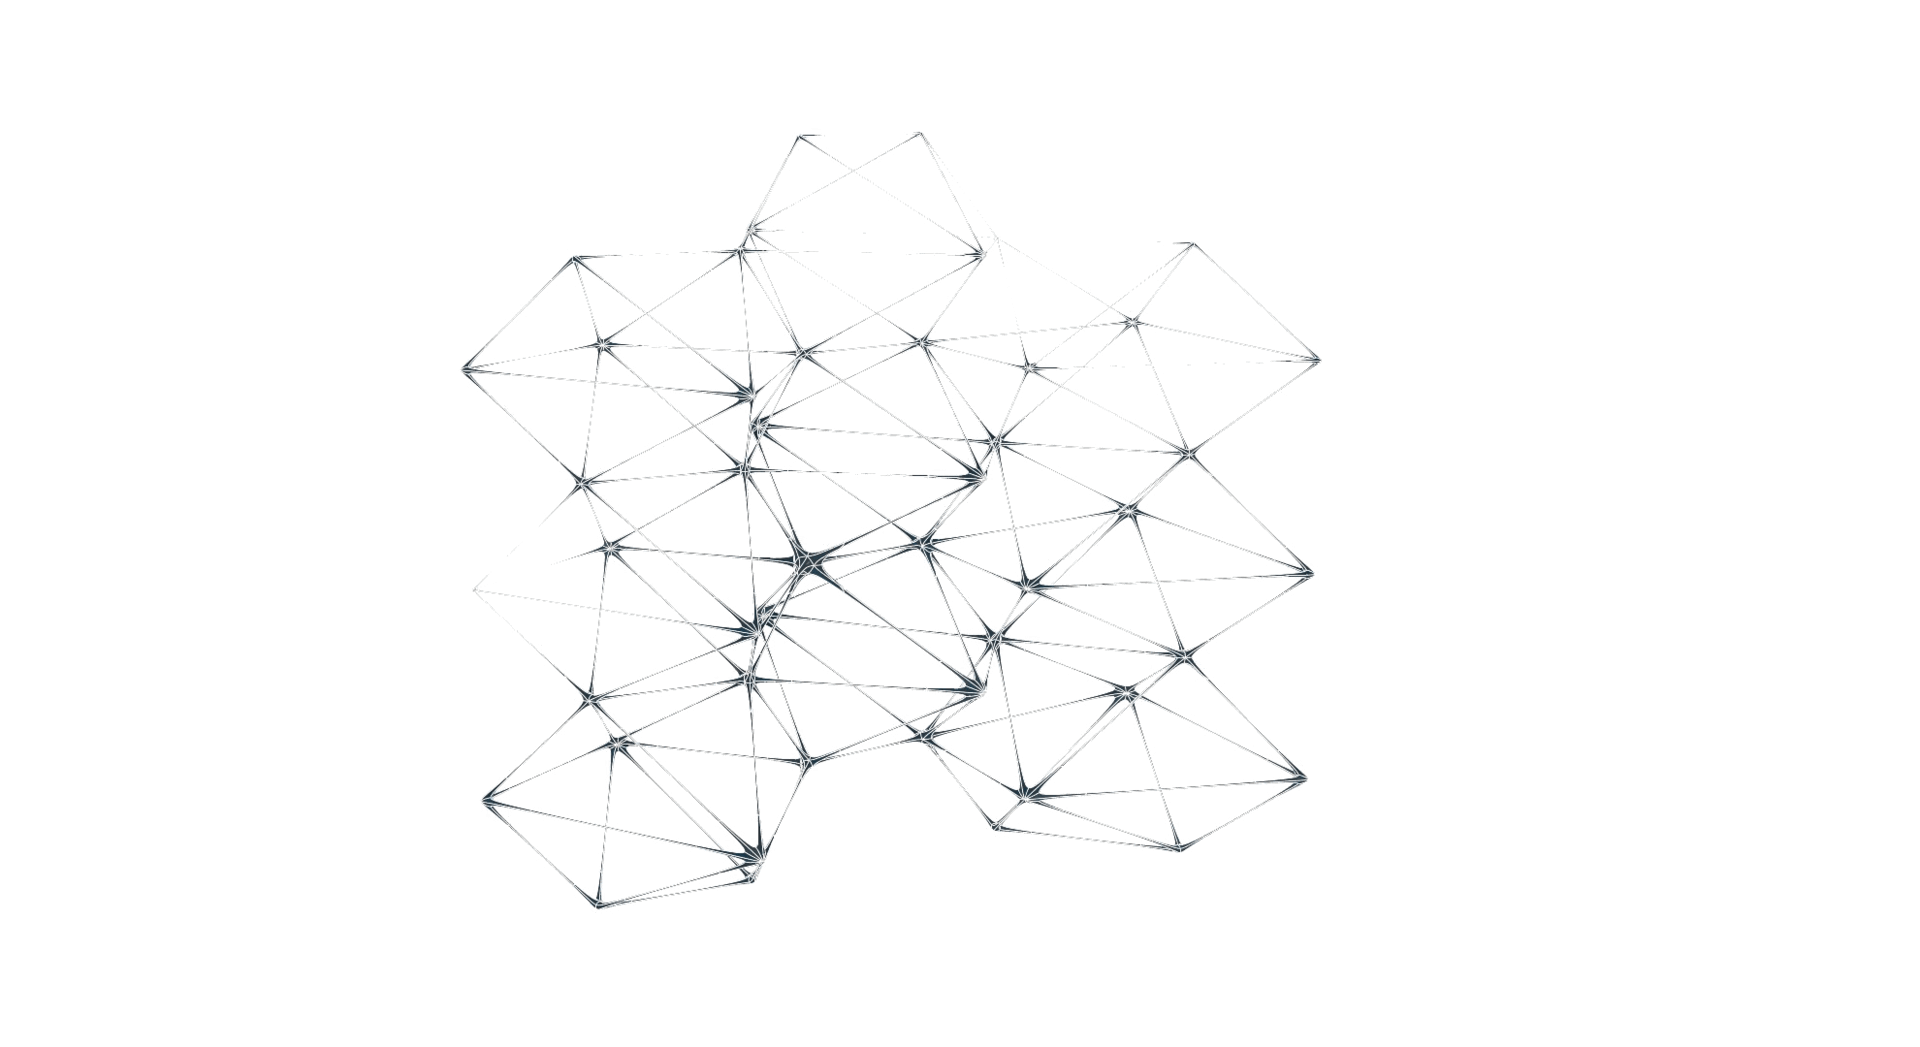
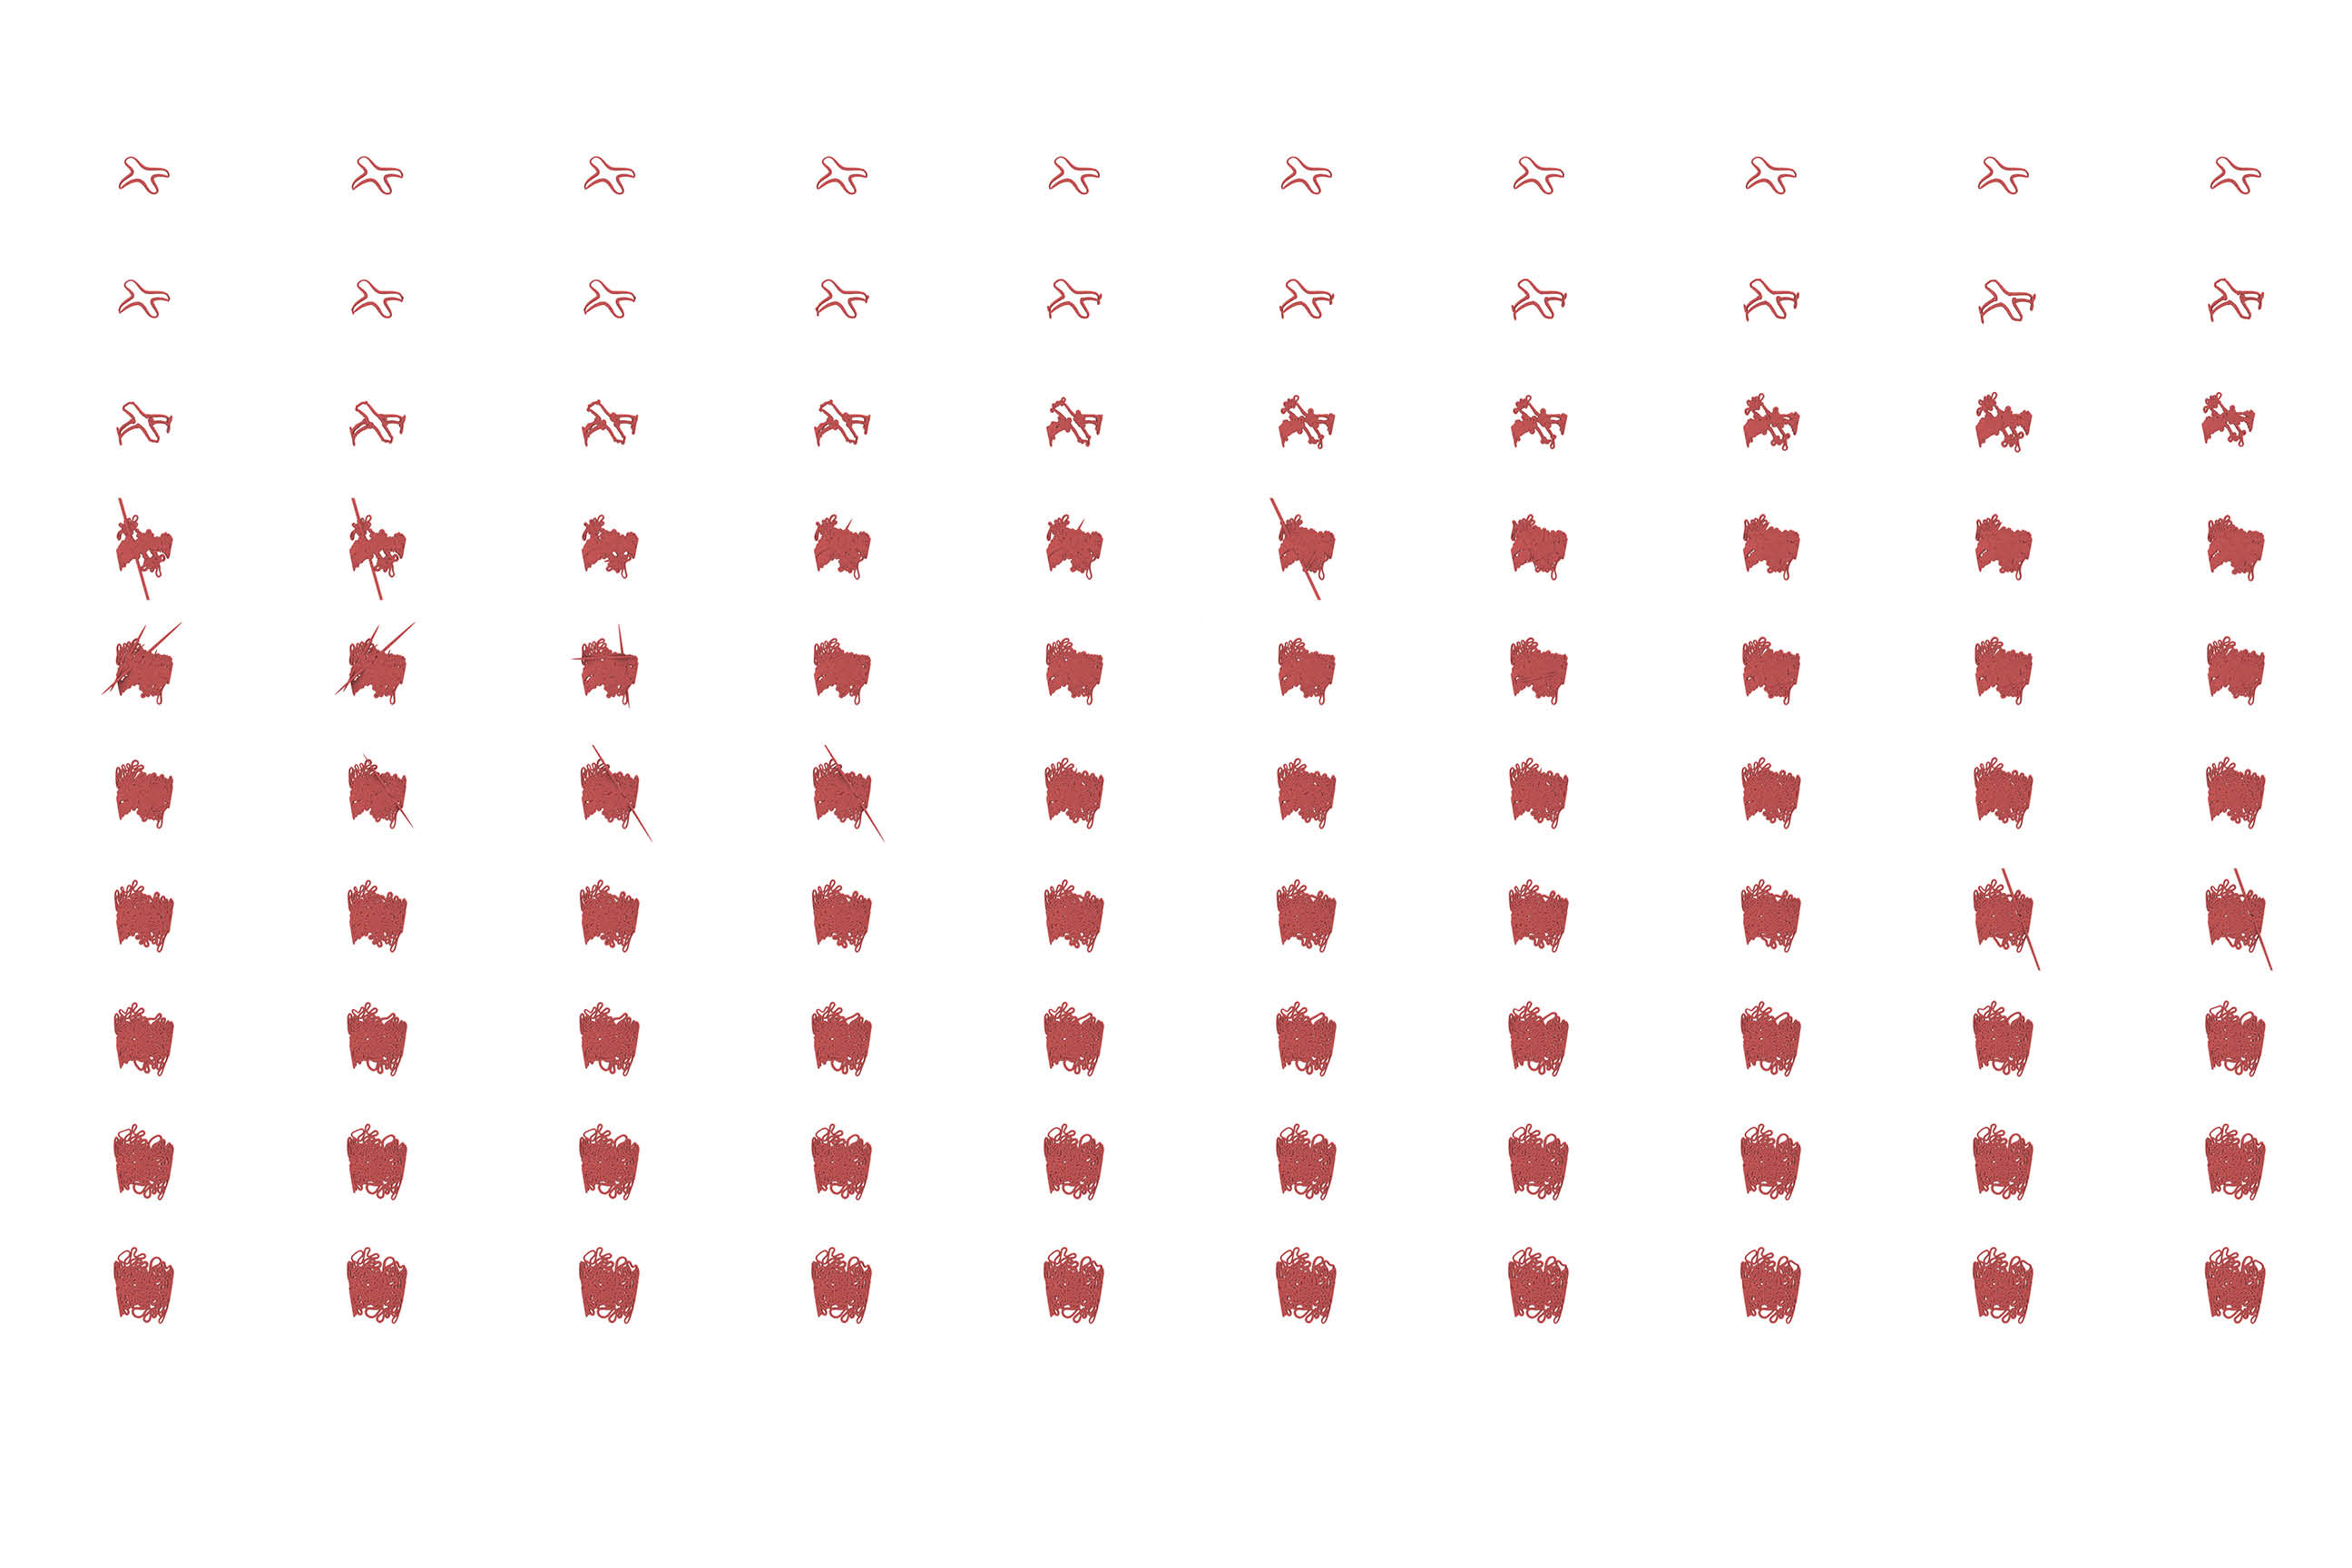
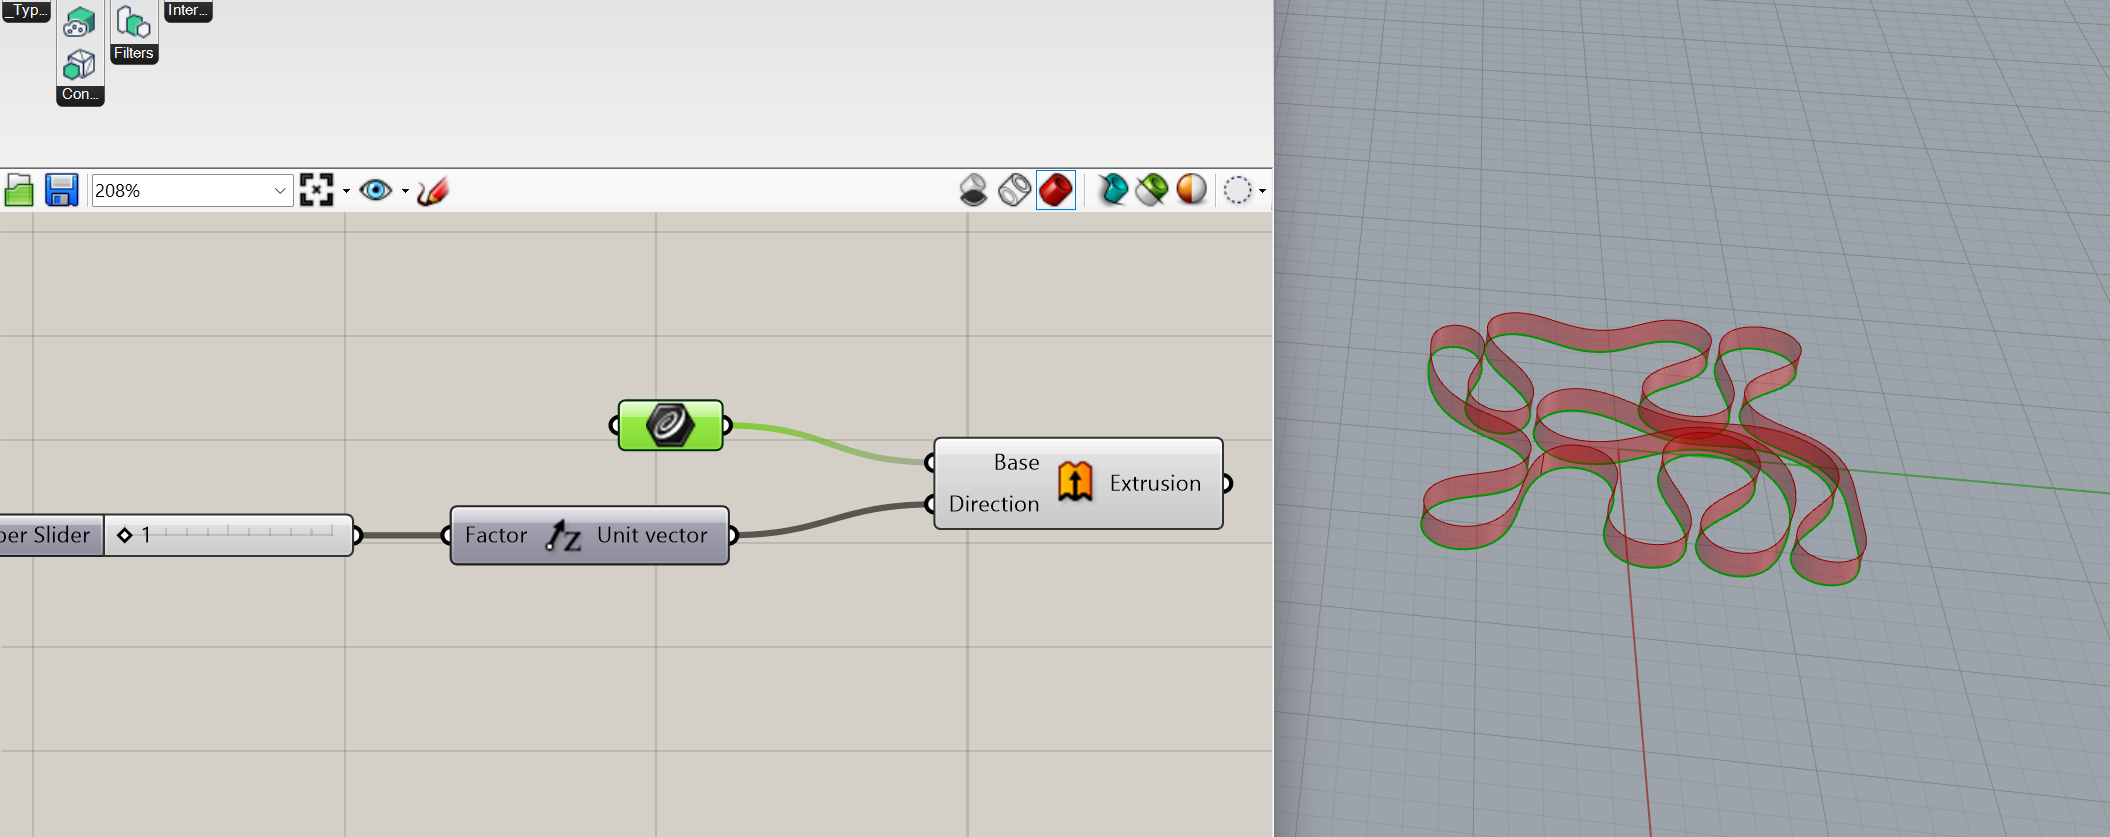
Grasshopper Script

AR QR Code


You must be logged in to post a comment.