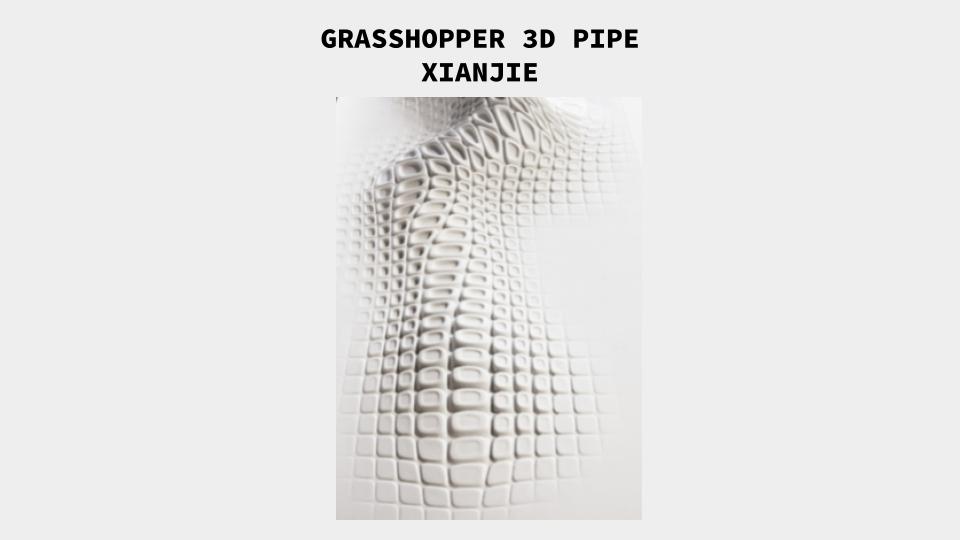
For the 3D idea, I try to explore about the pipe way from SubD or Mesh.
Tutorial Video for Morph to Twisted Box: https://grasshopperdocs.com/components/pufferfish/morphToTwistedBox.html


For the 3D idea, I try to explore about the pipe way from SubD or Mesh.
Tutorial Video for Morph to Twisted Box: https://grasshopperdocs.com/components/pufferfish/morphToTwistedBox.html
(Updates Oct 29, 2023)
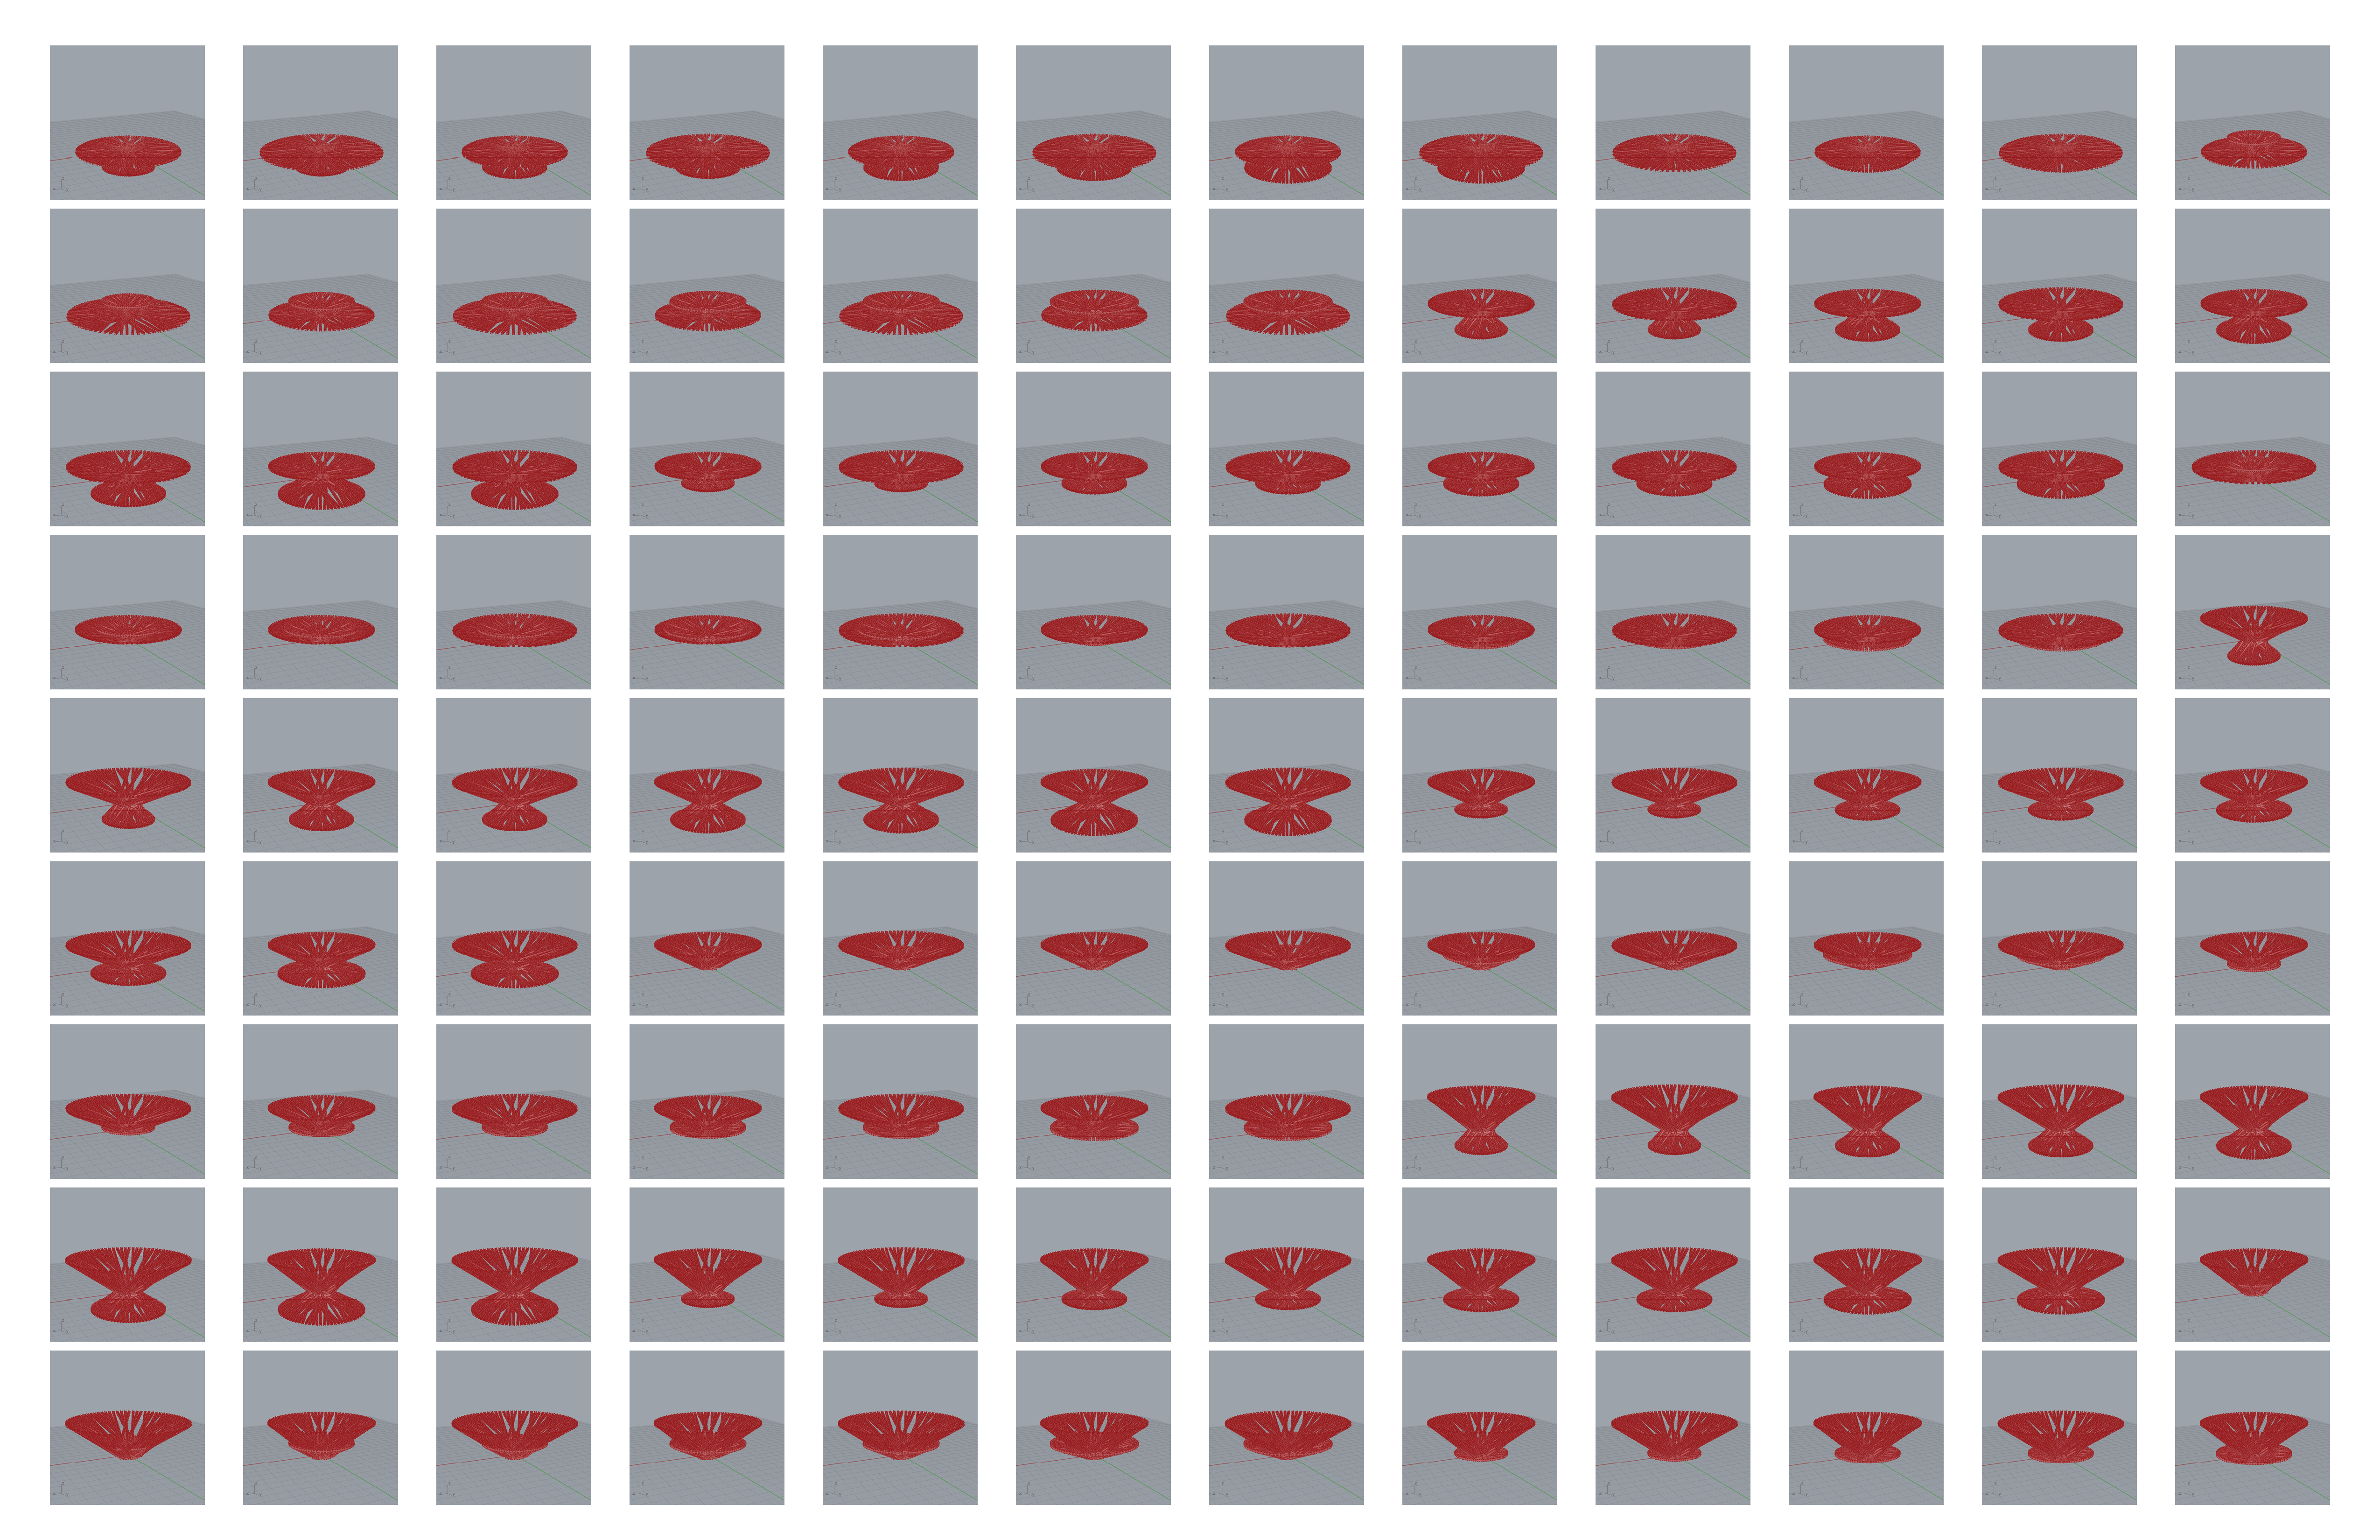
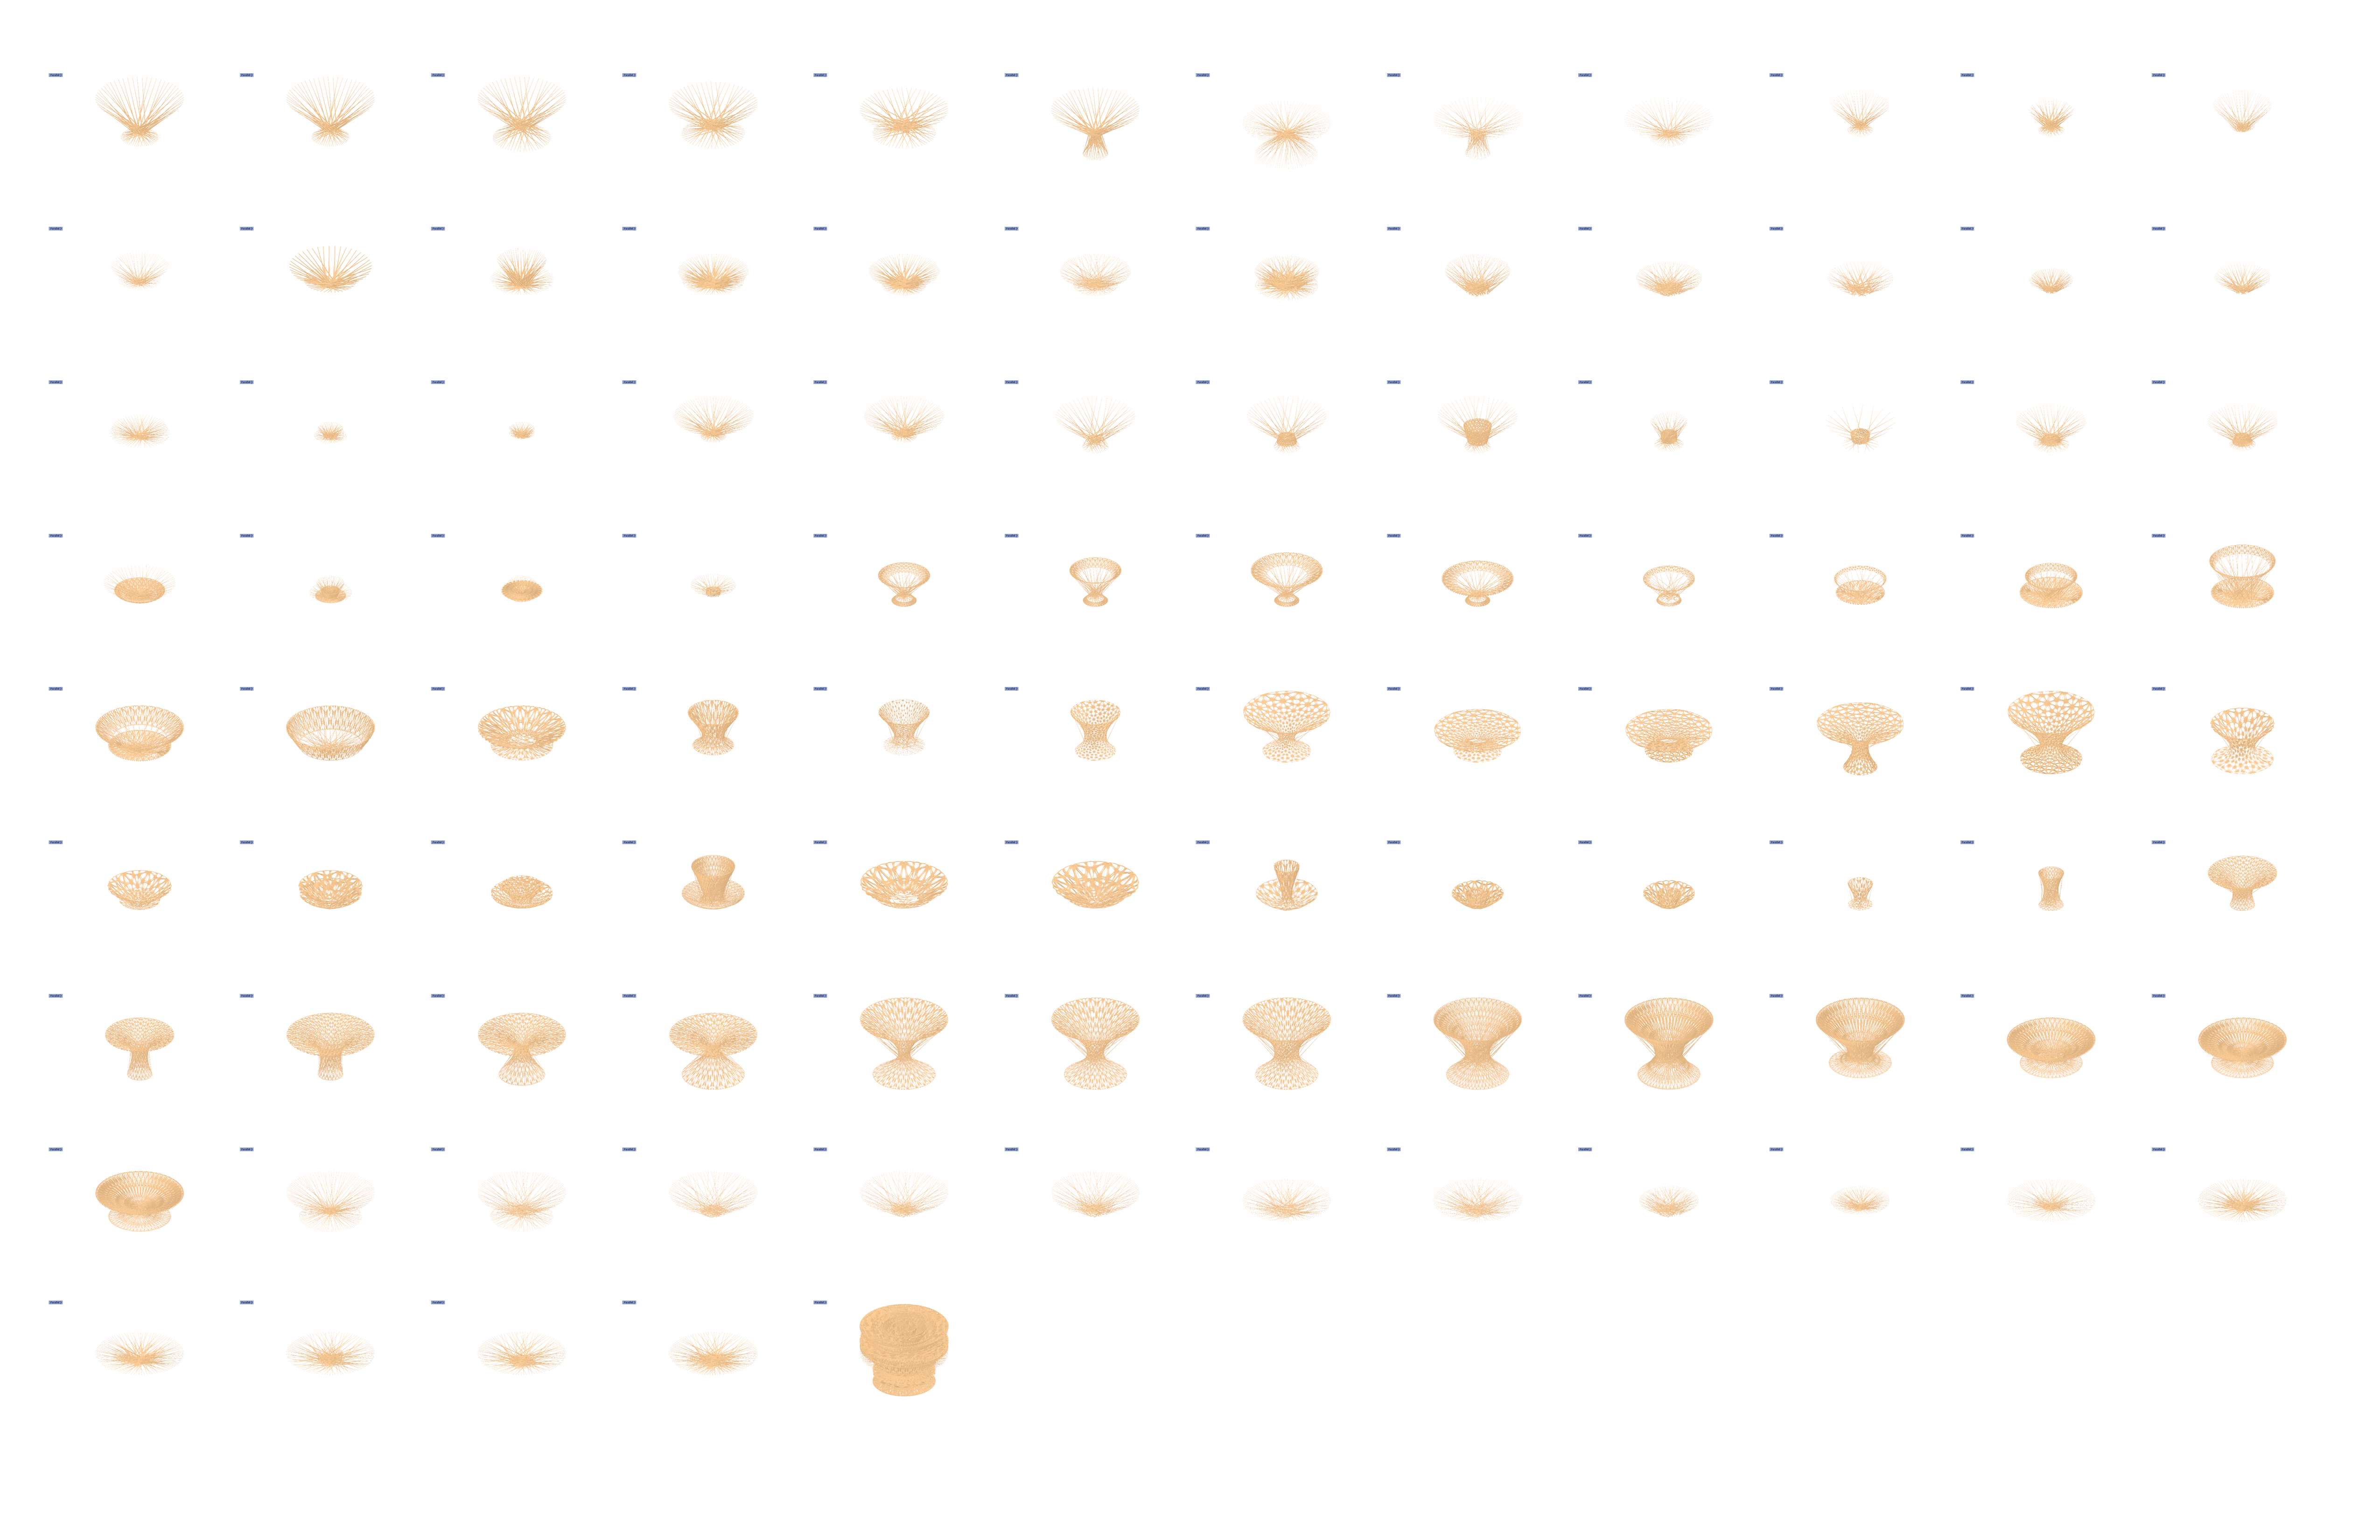
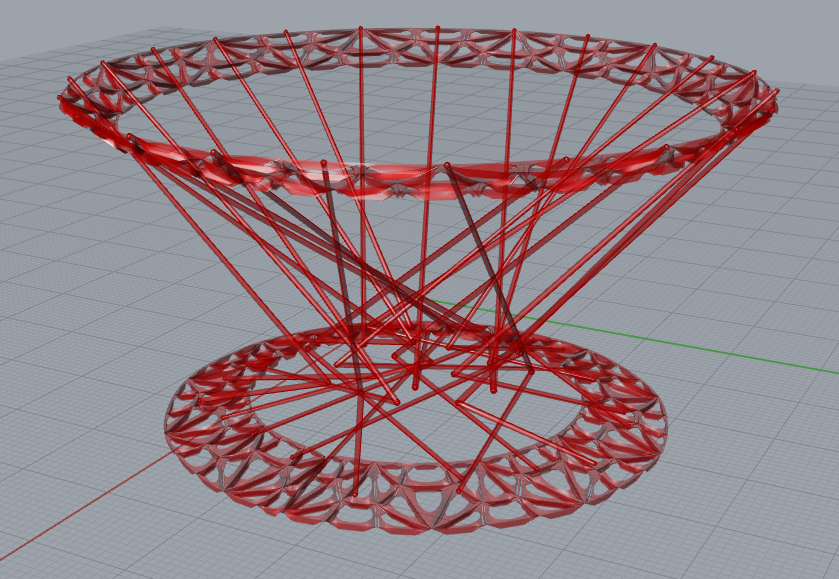
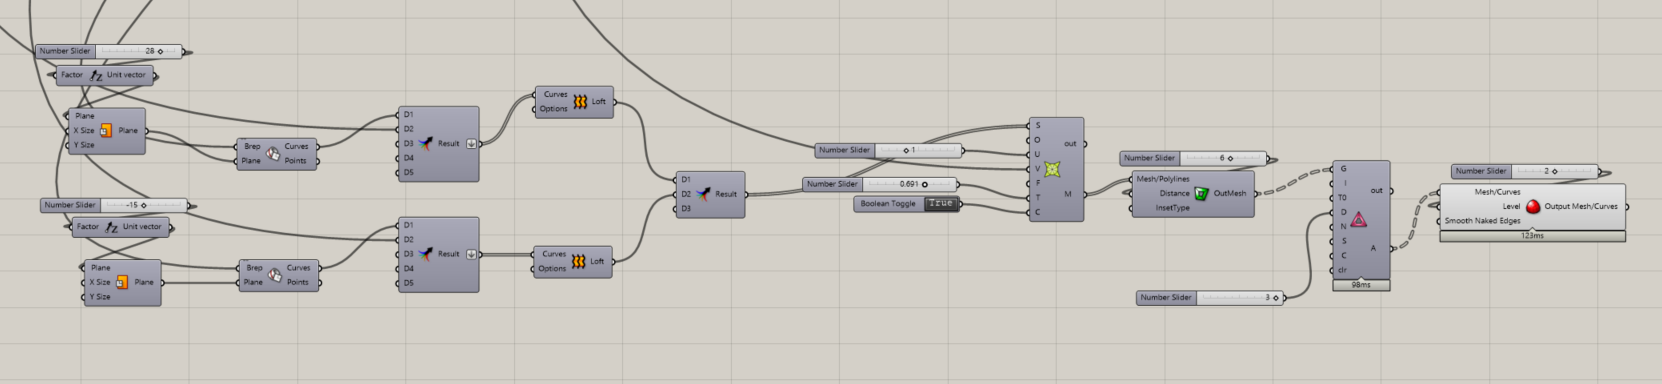
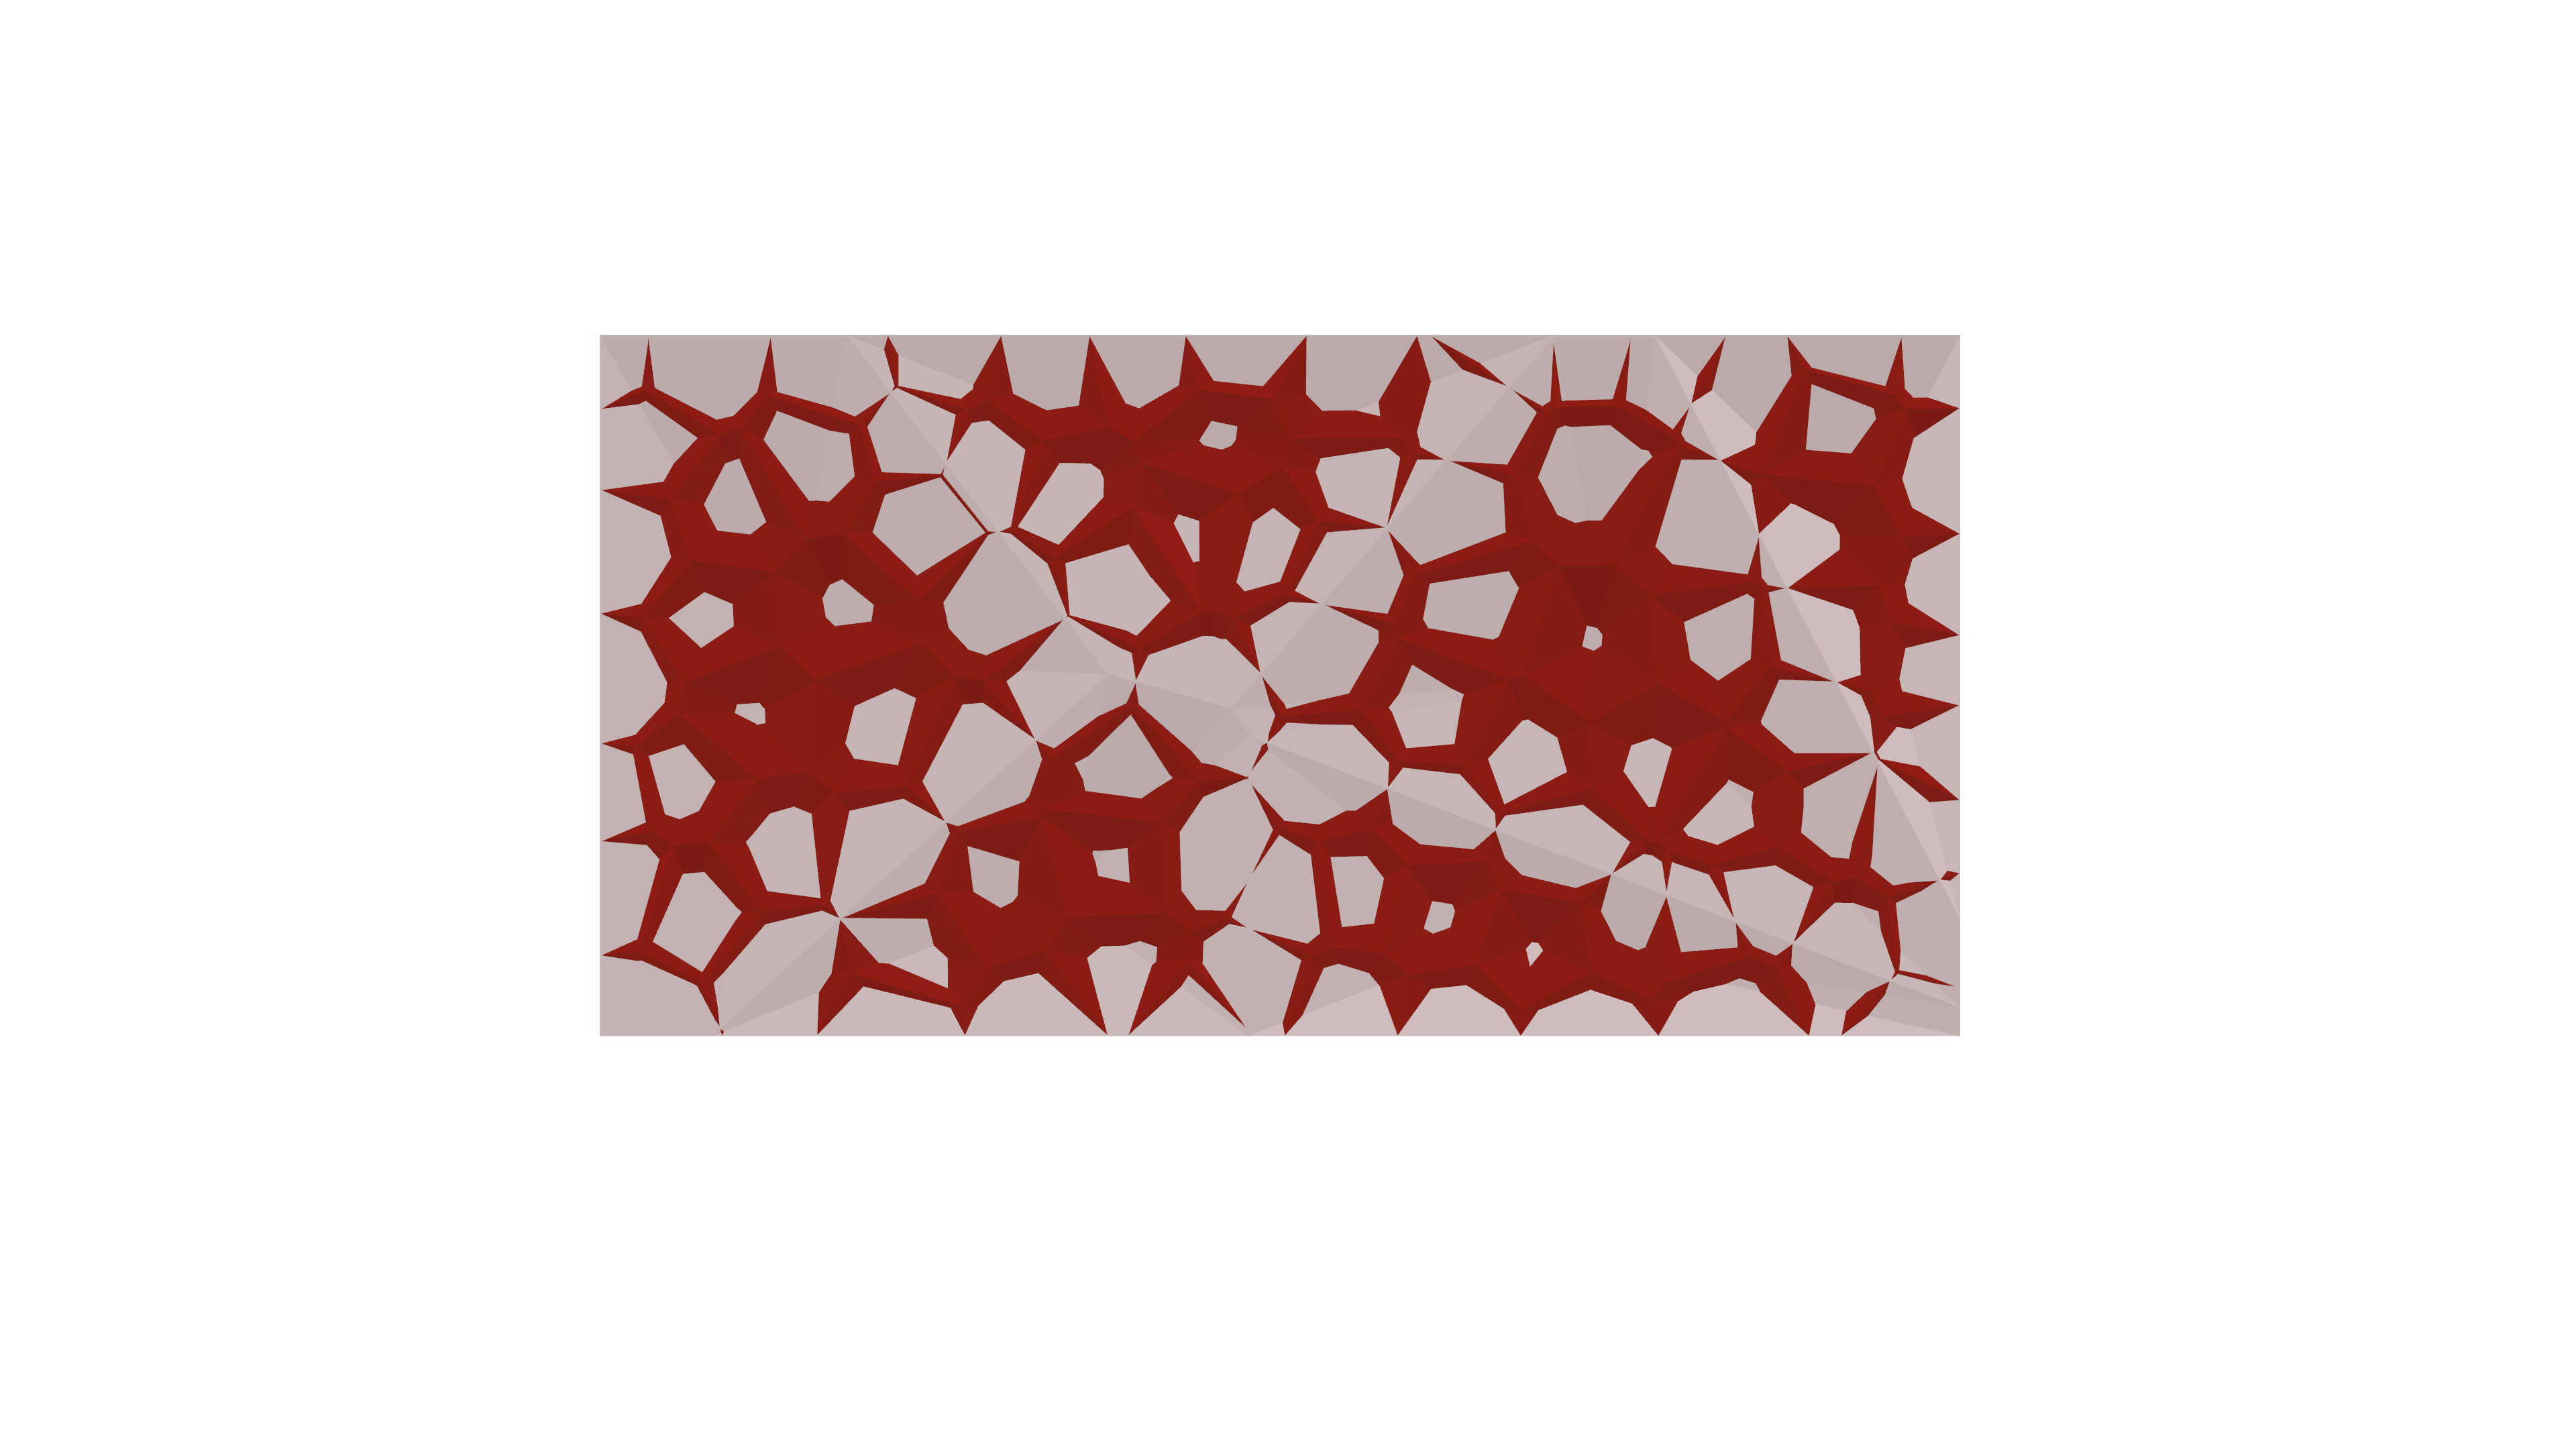
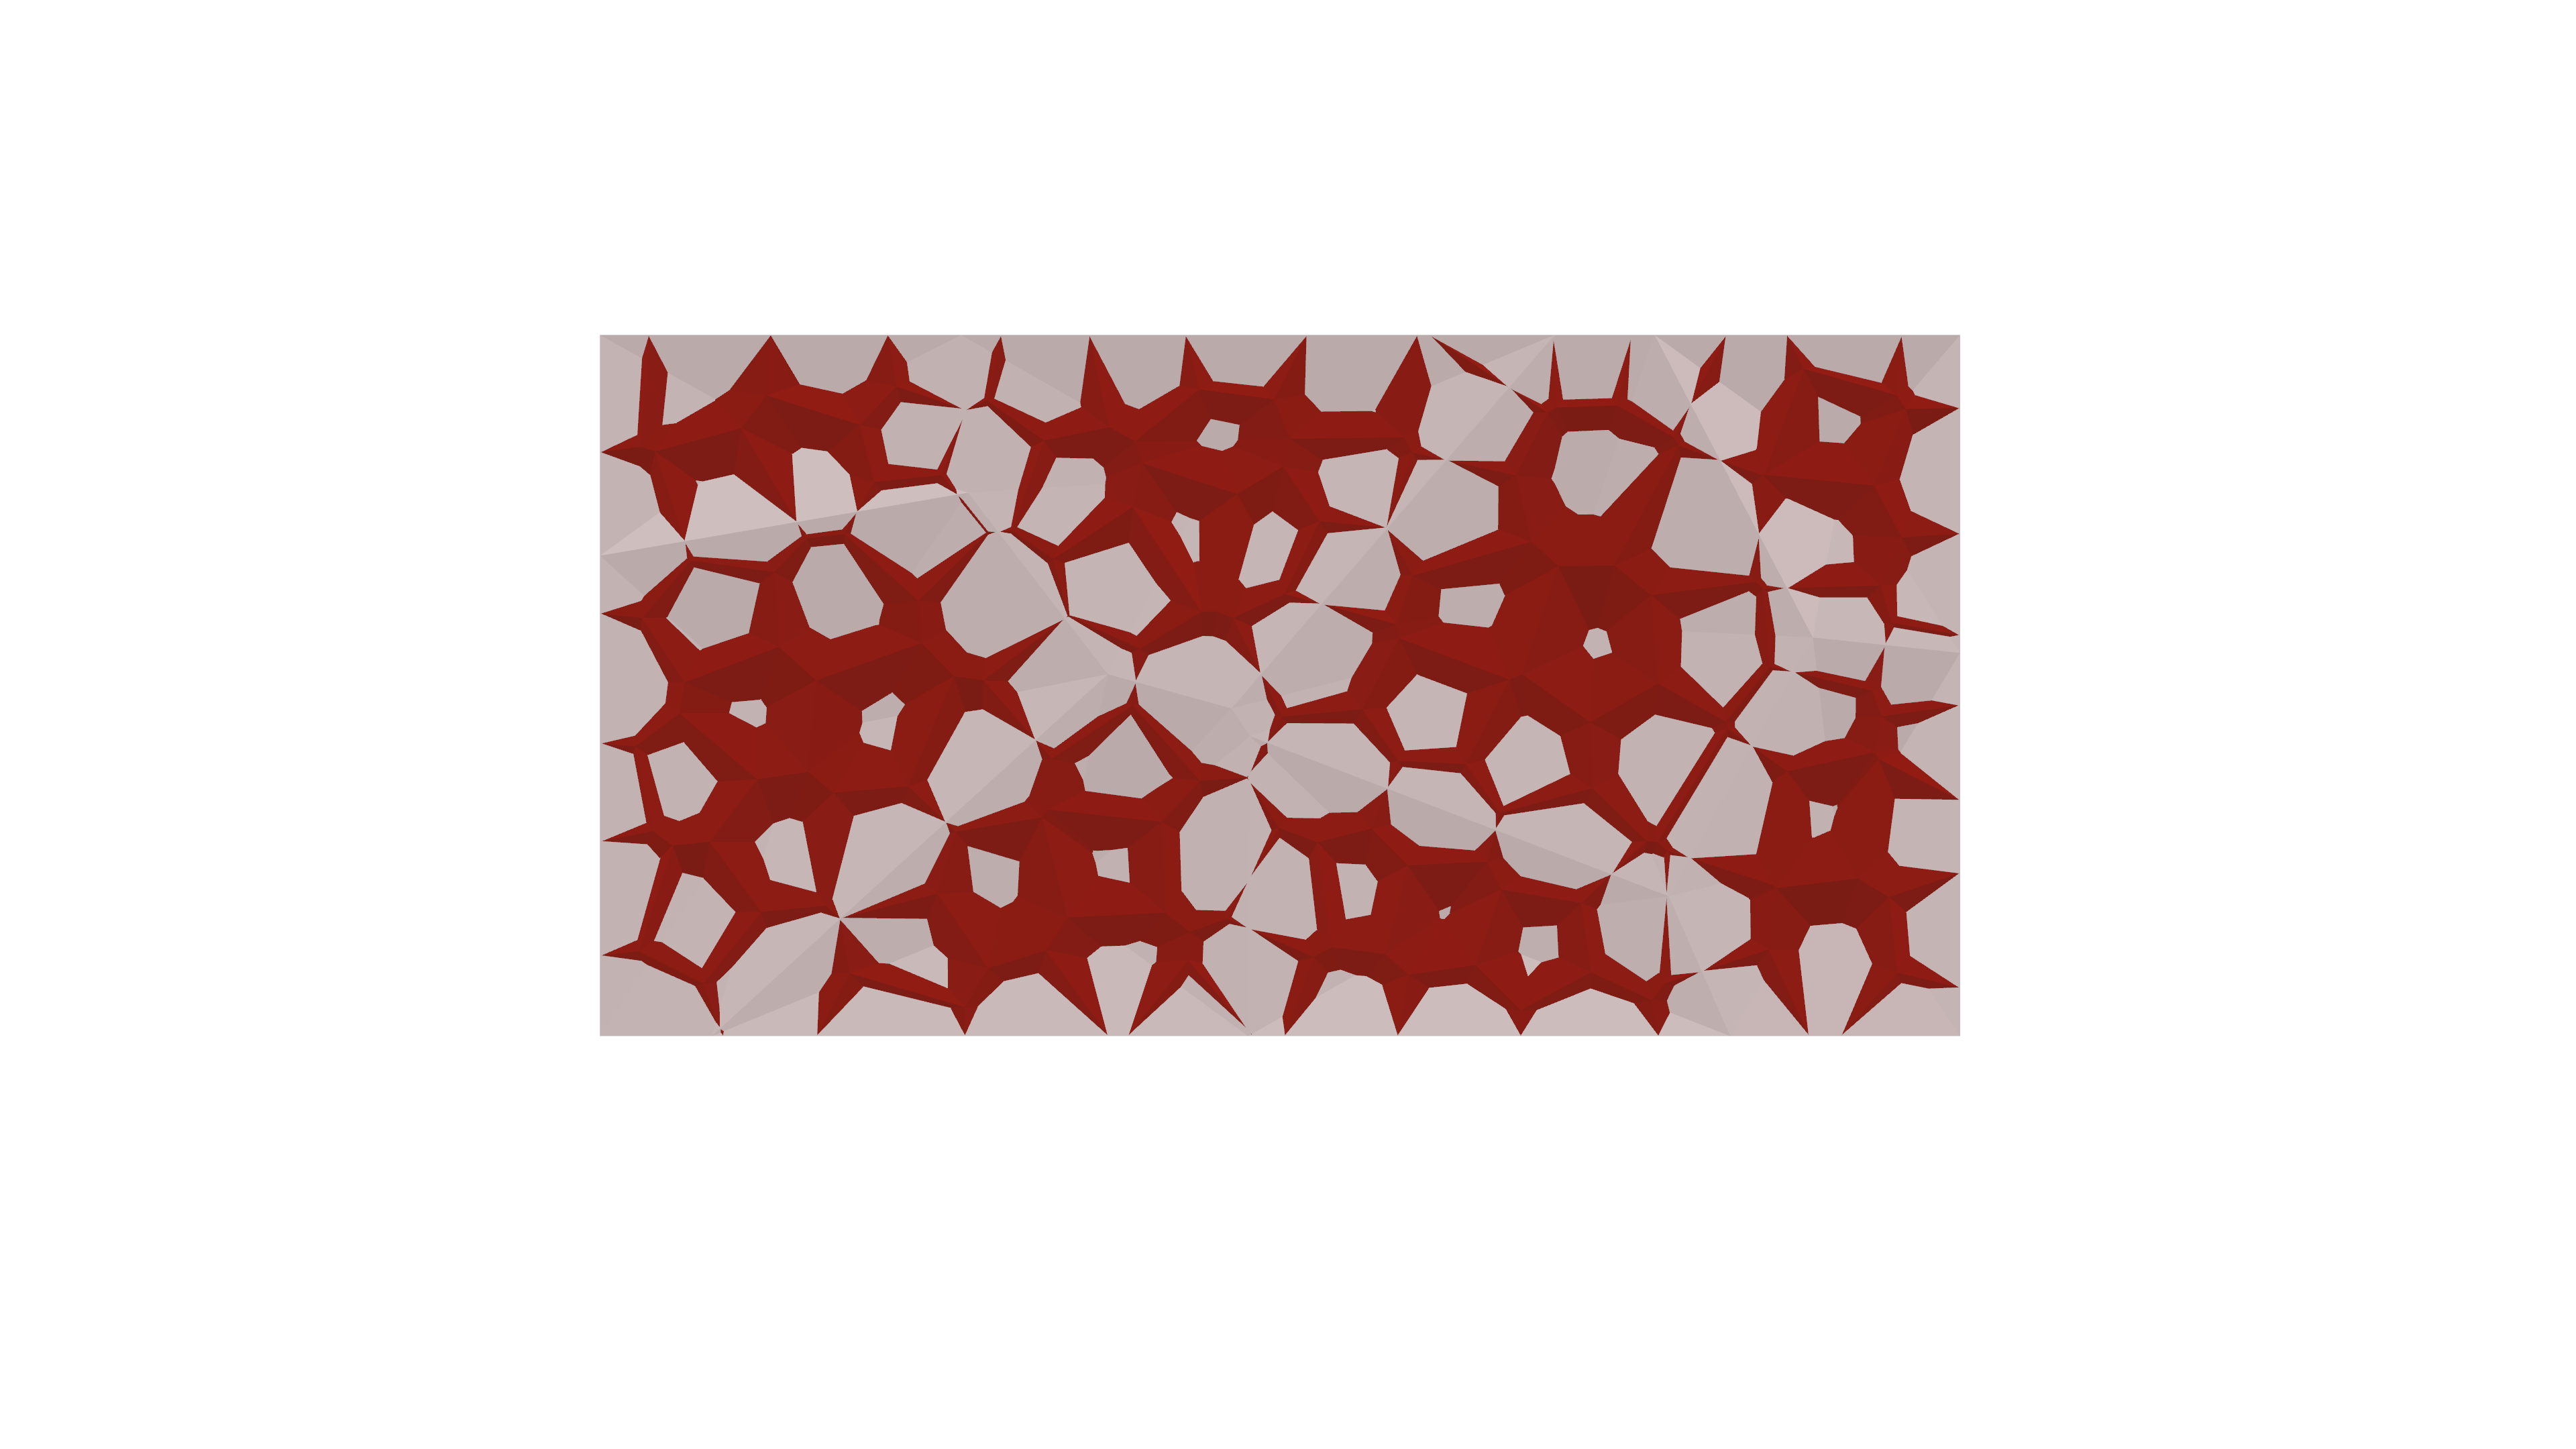
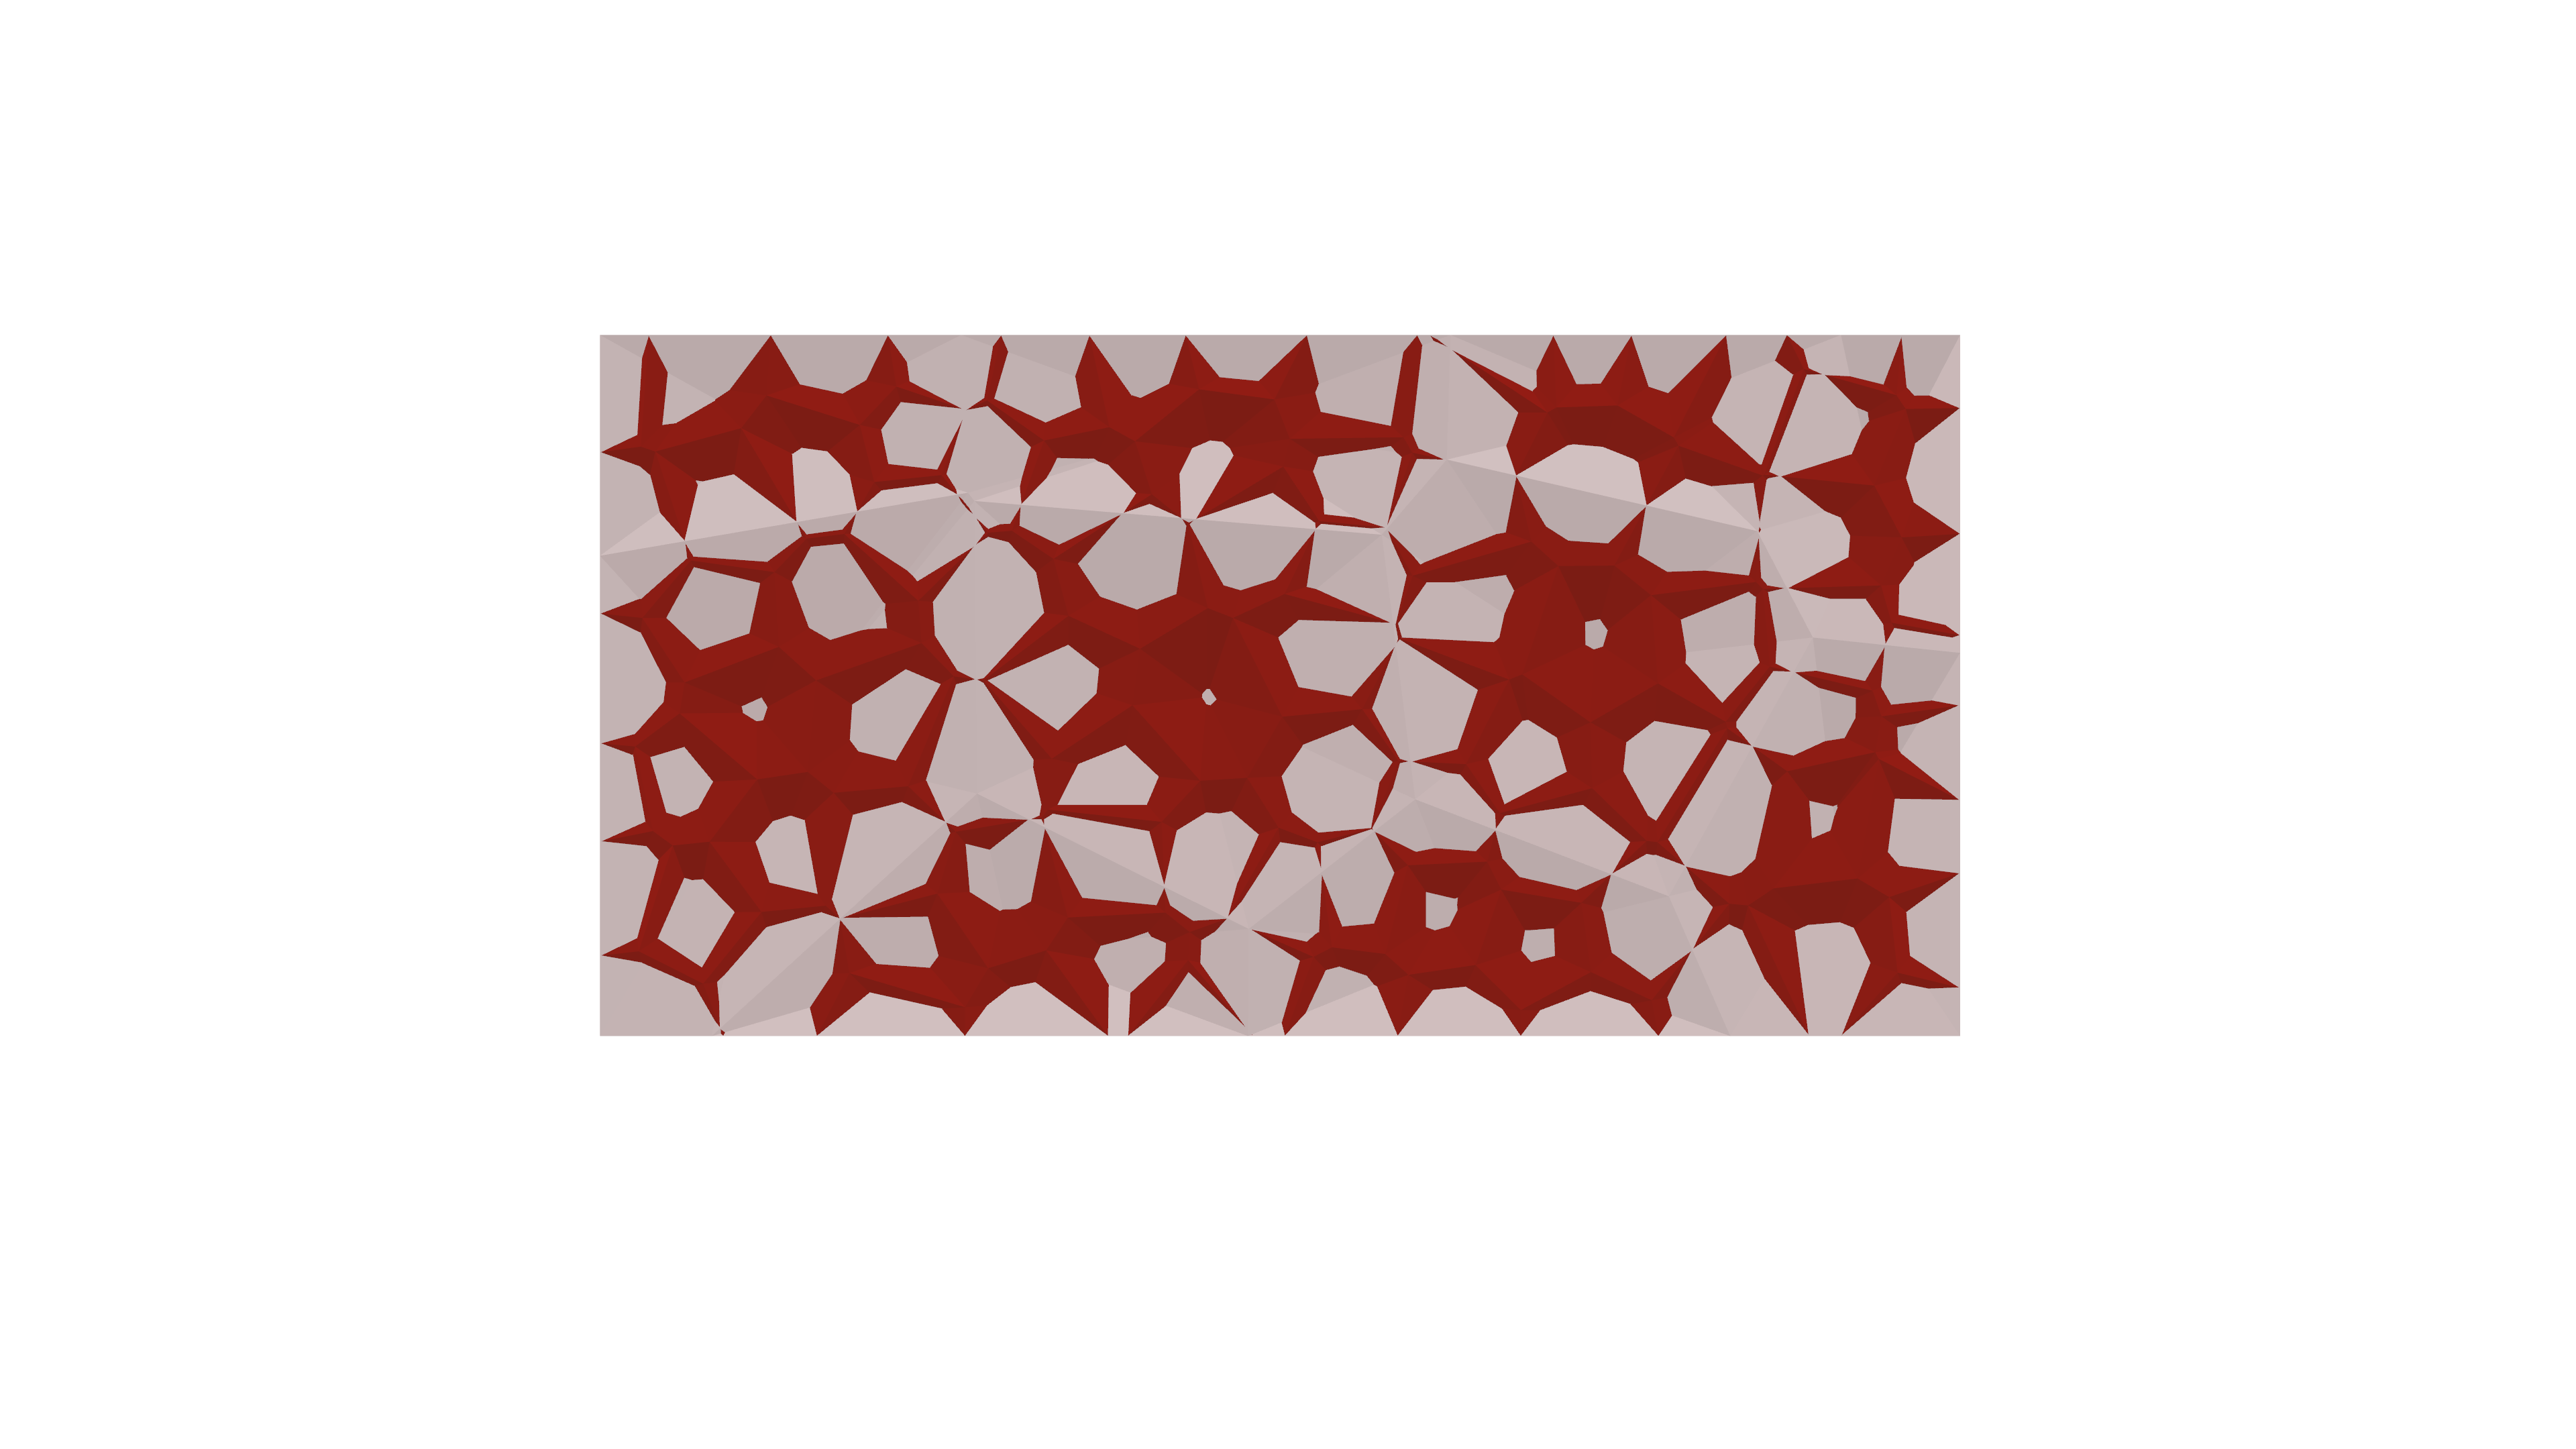
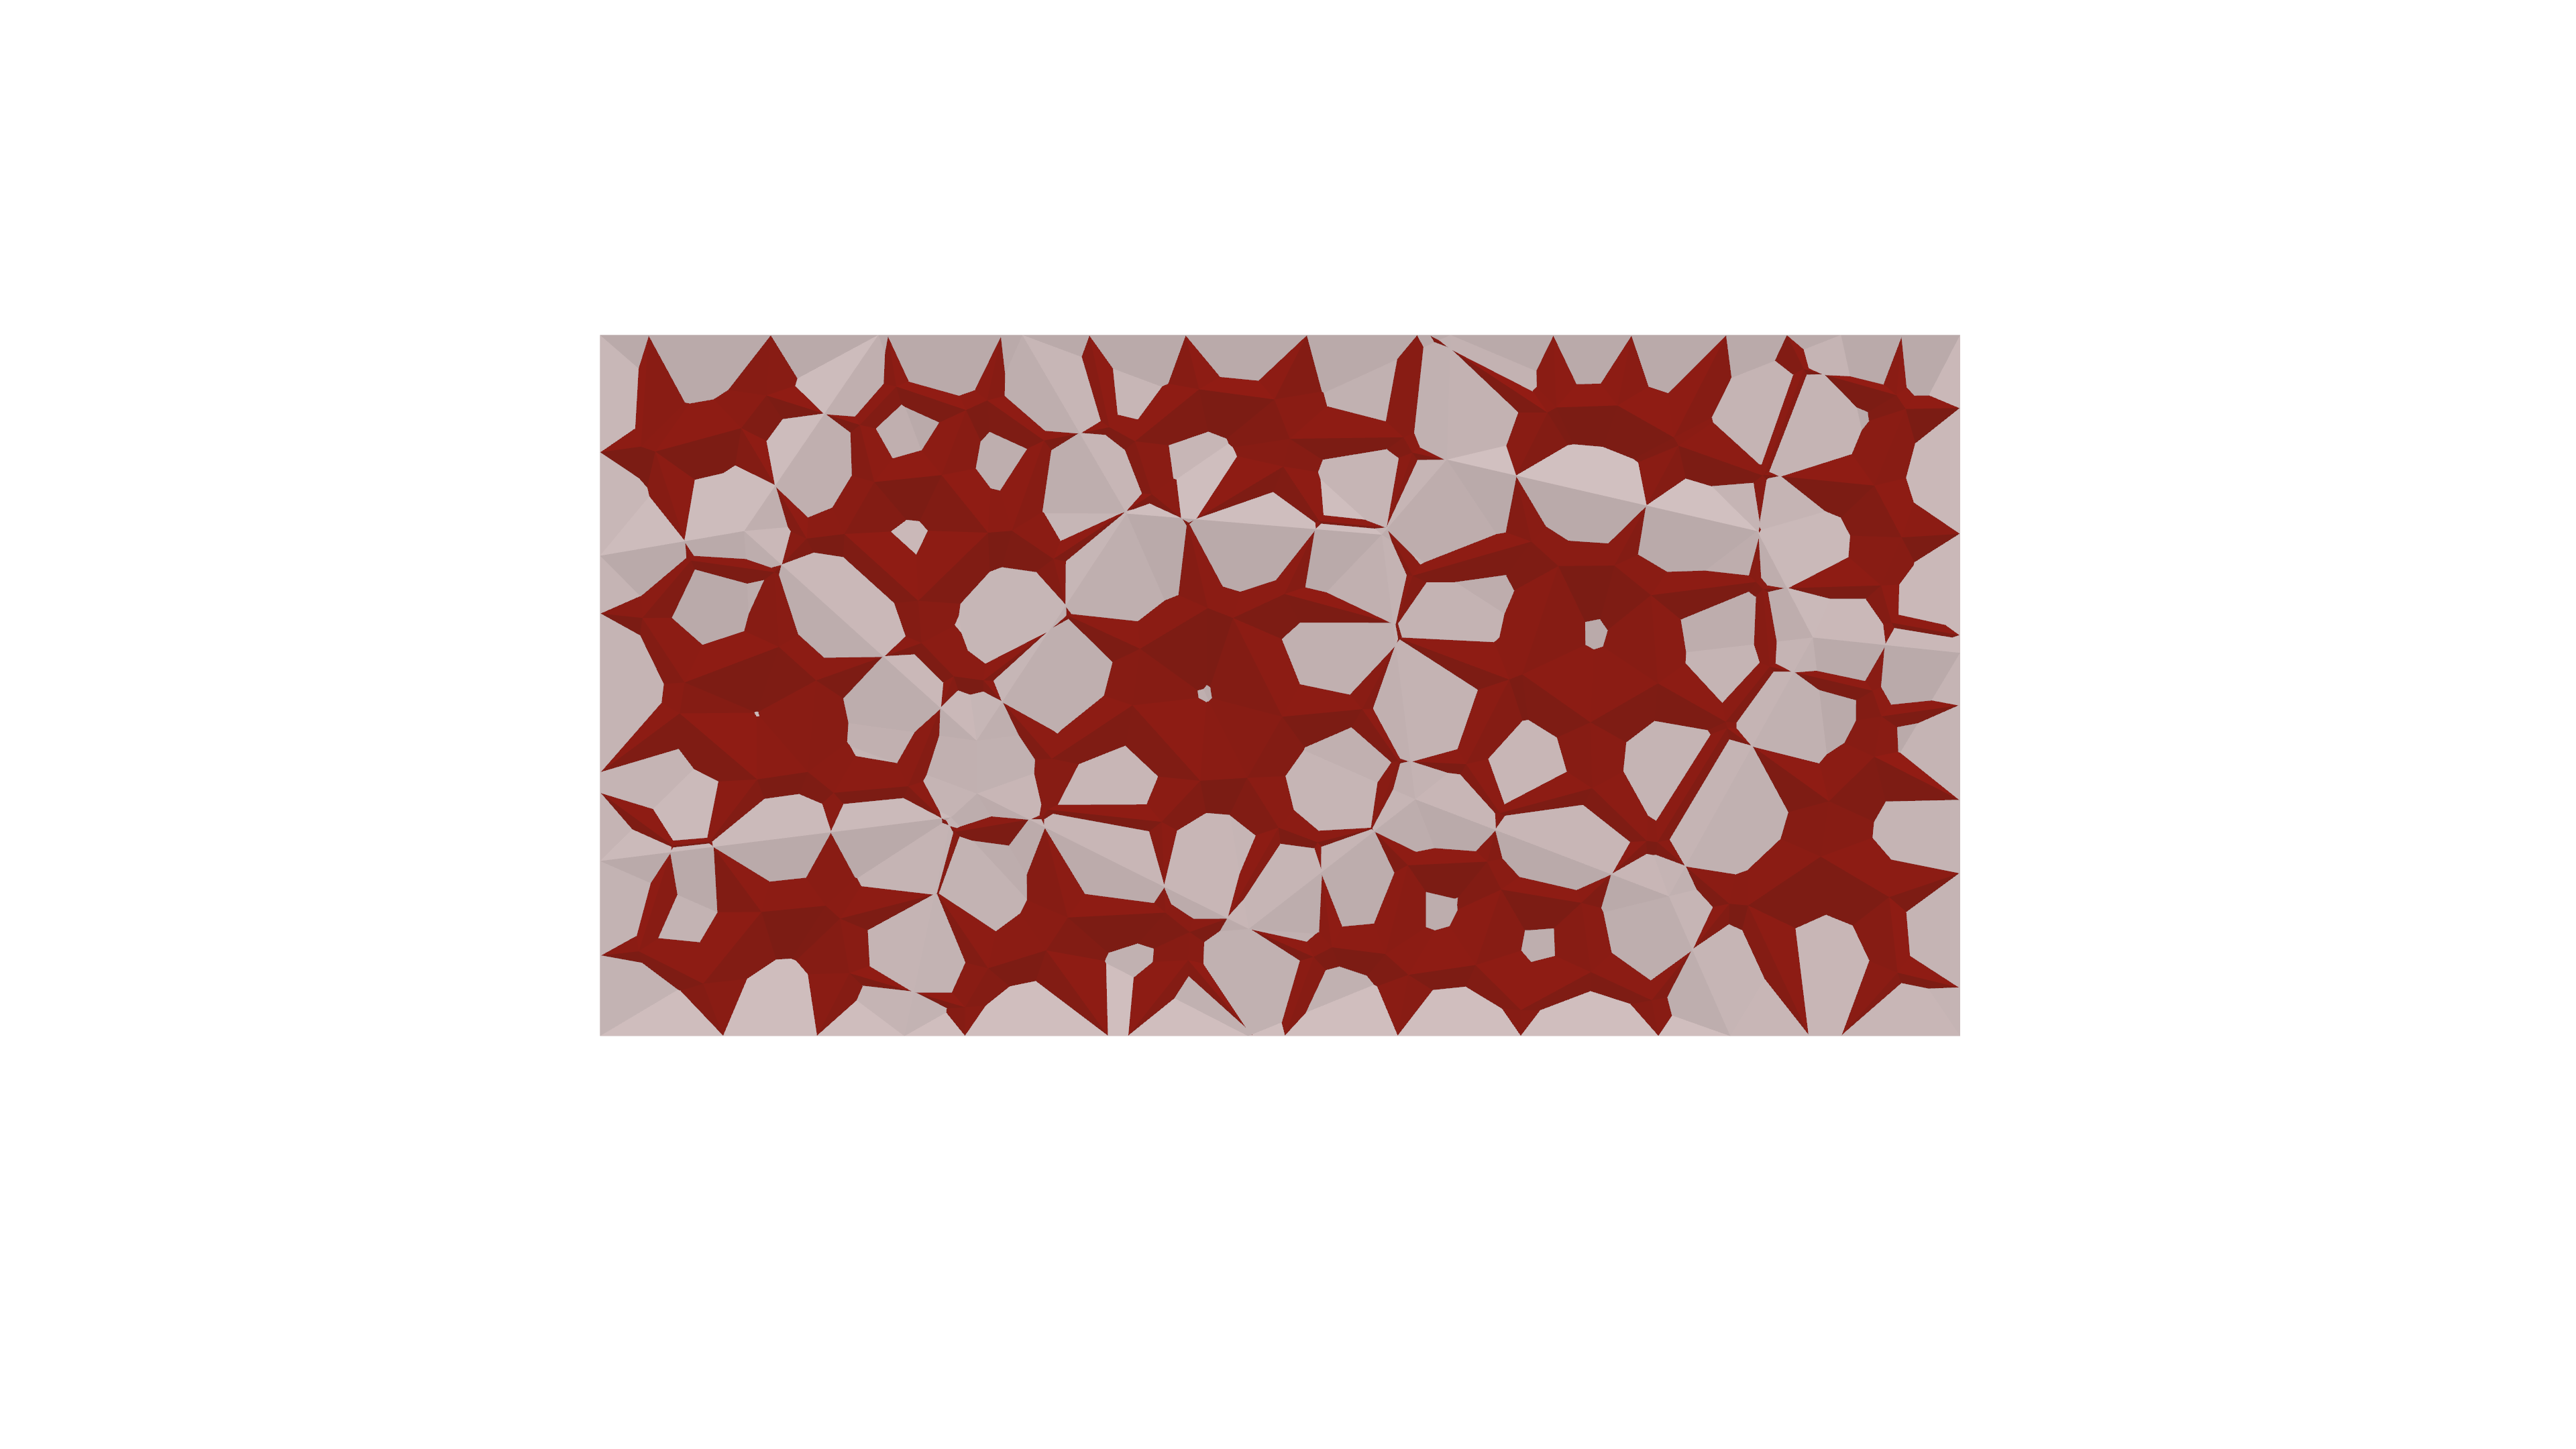
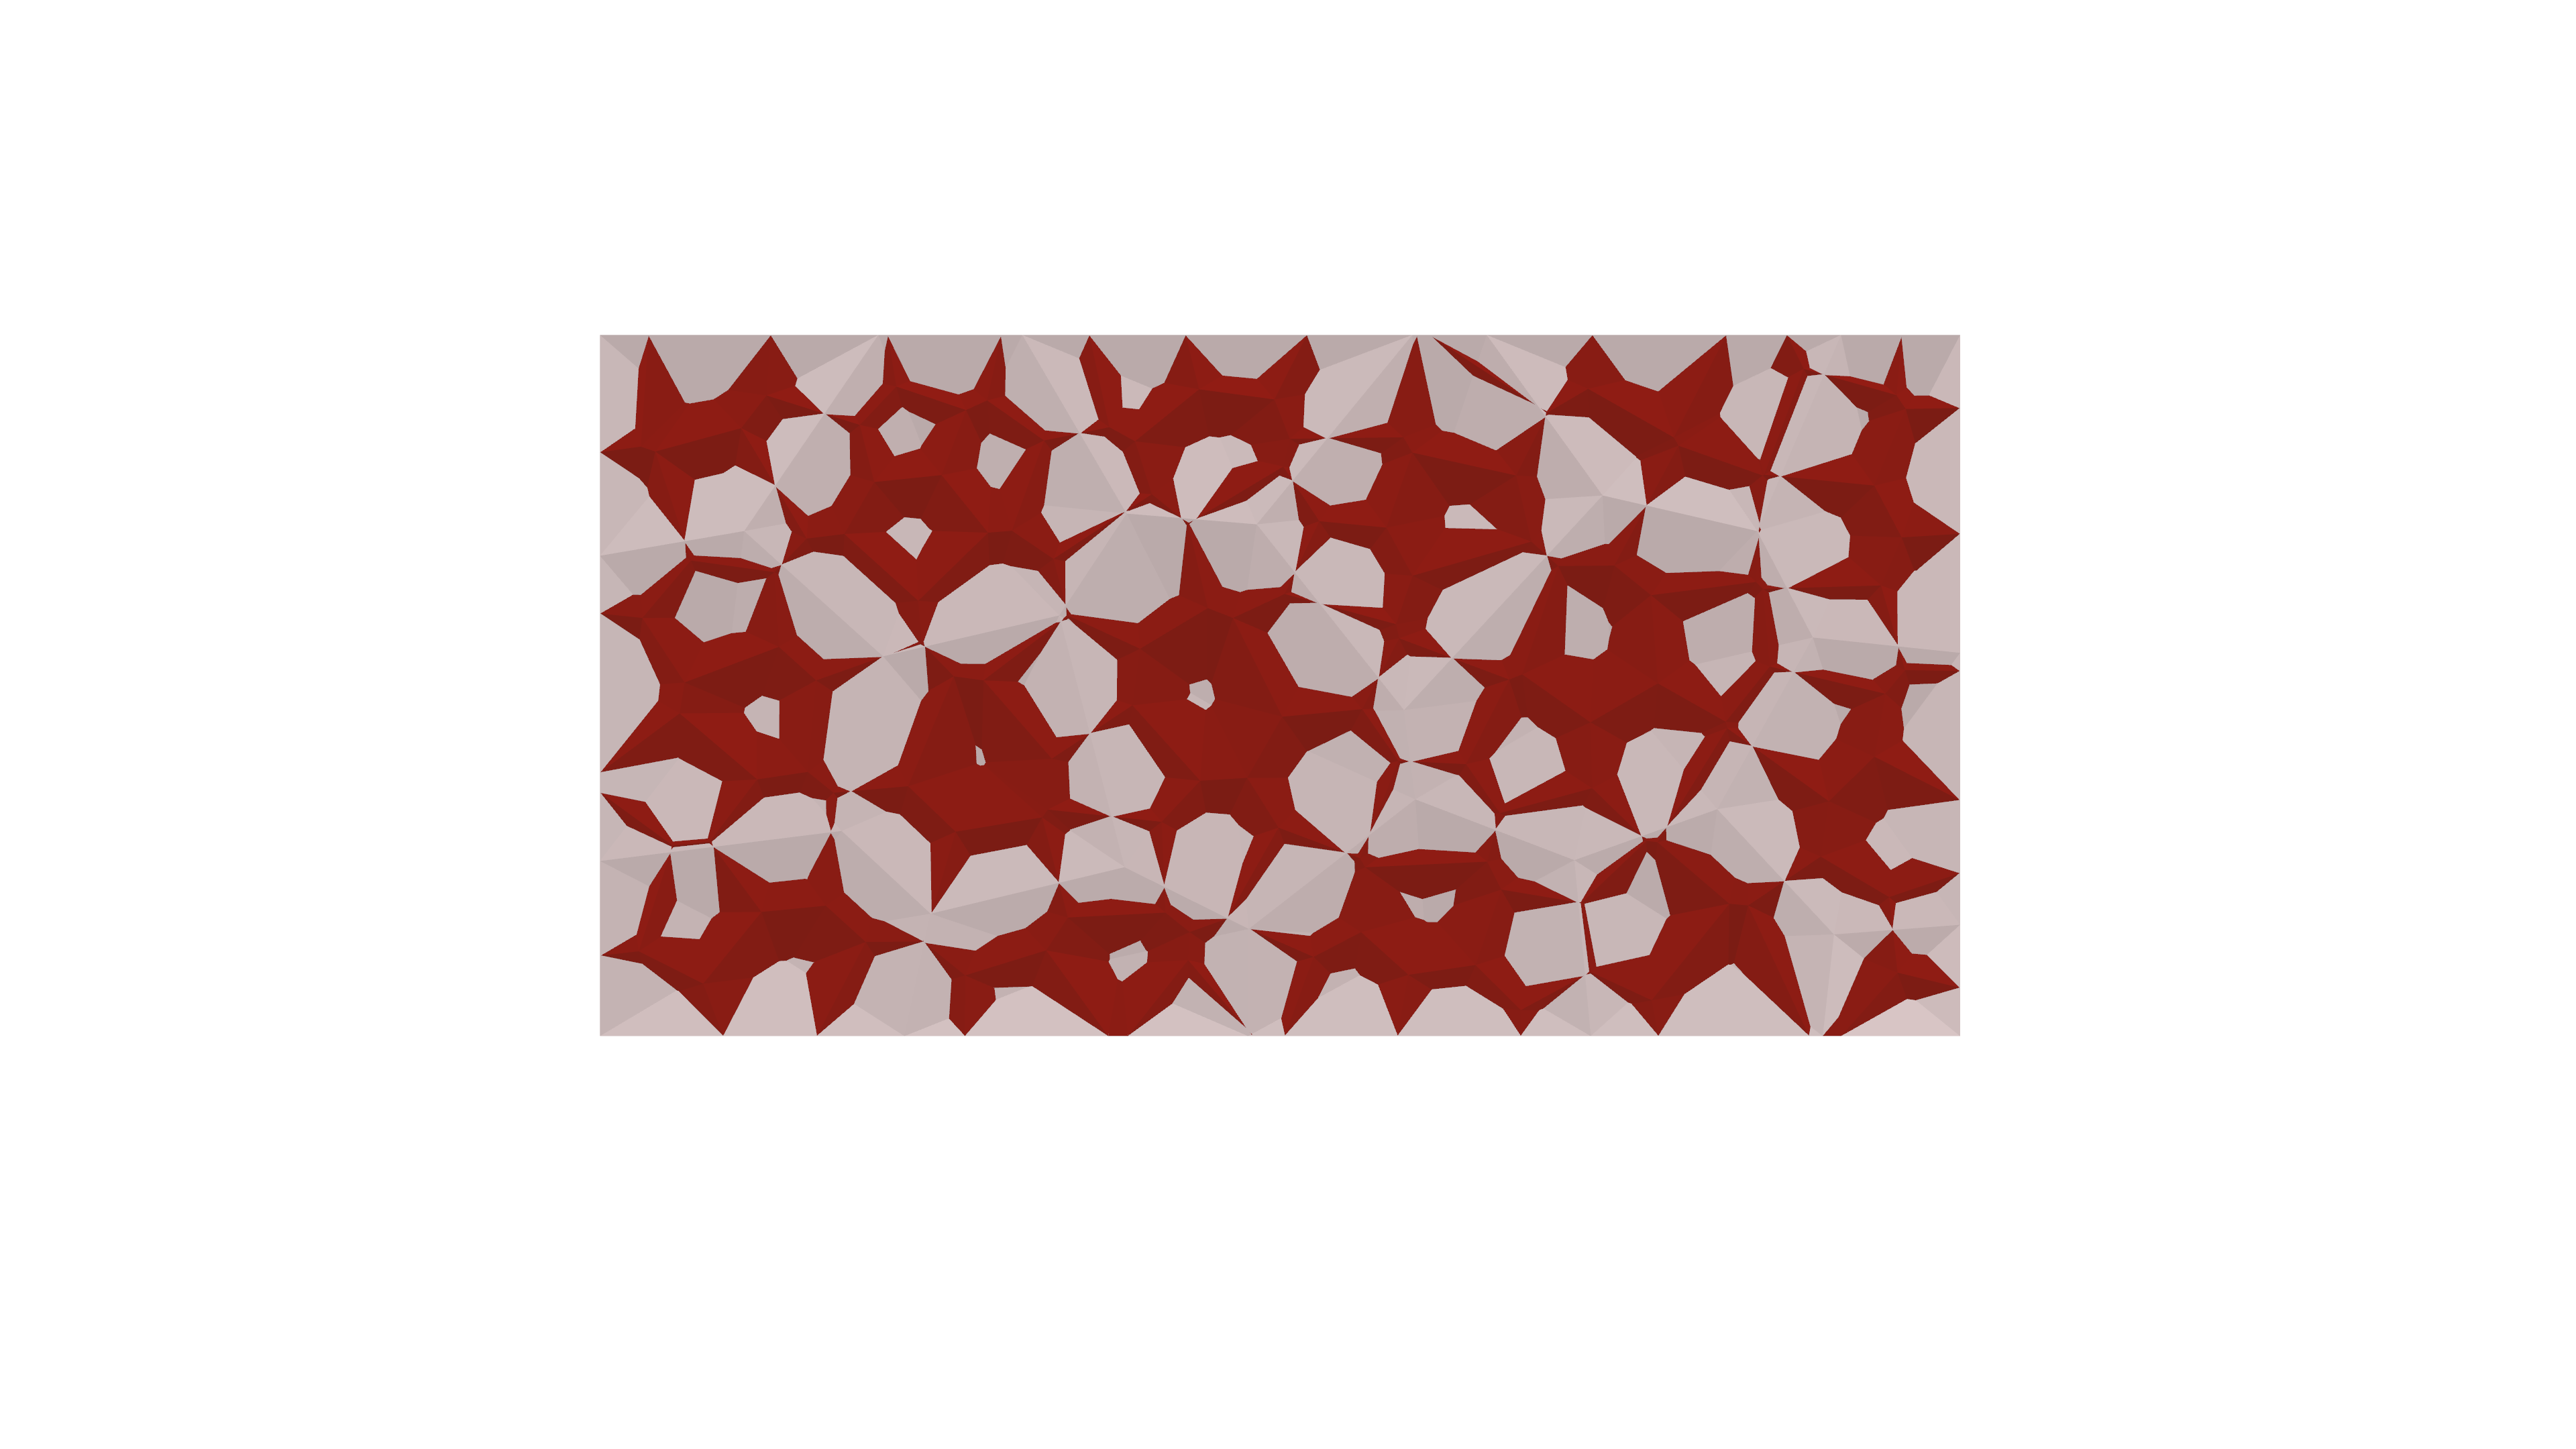
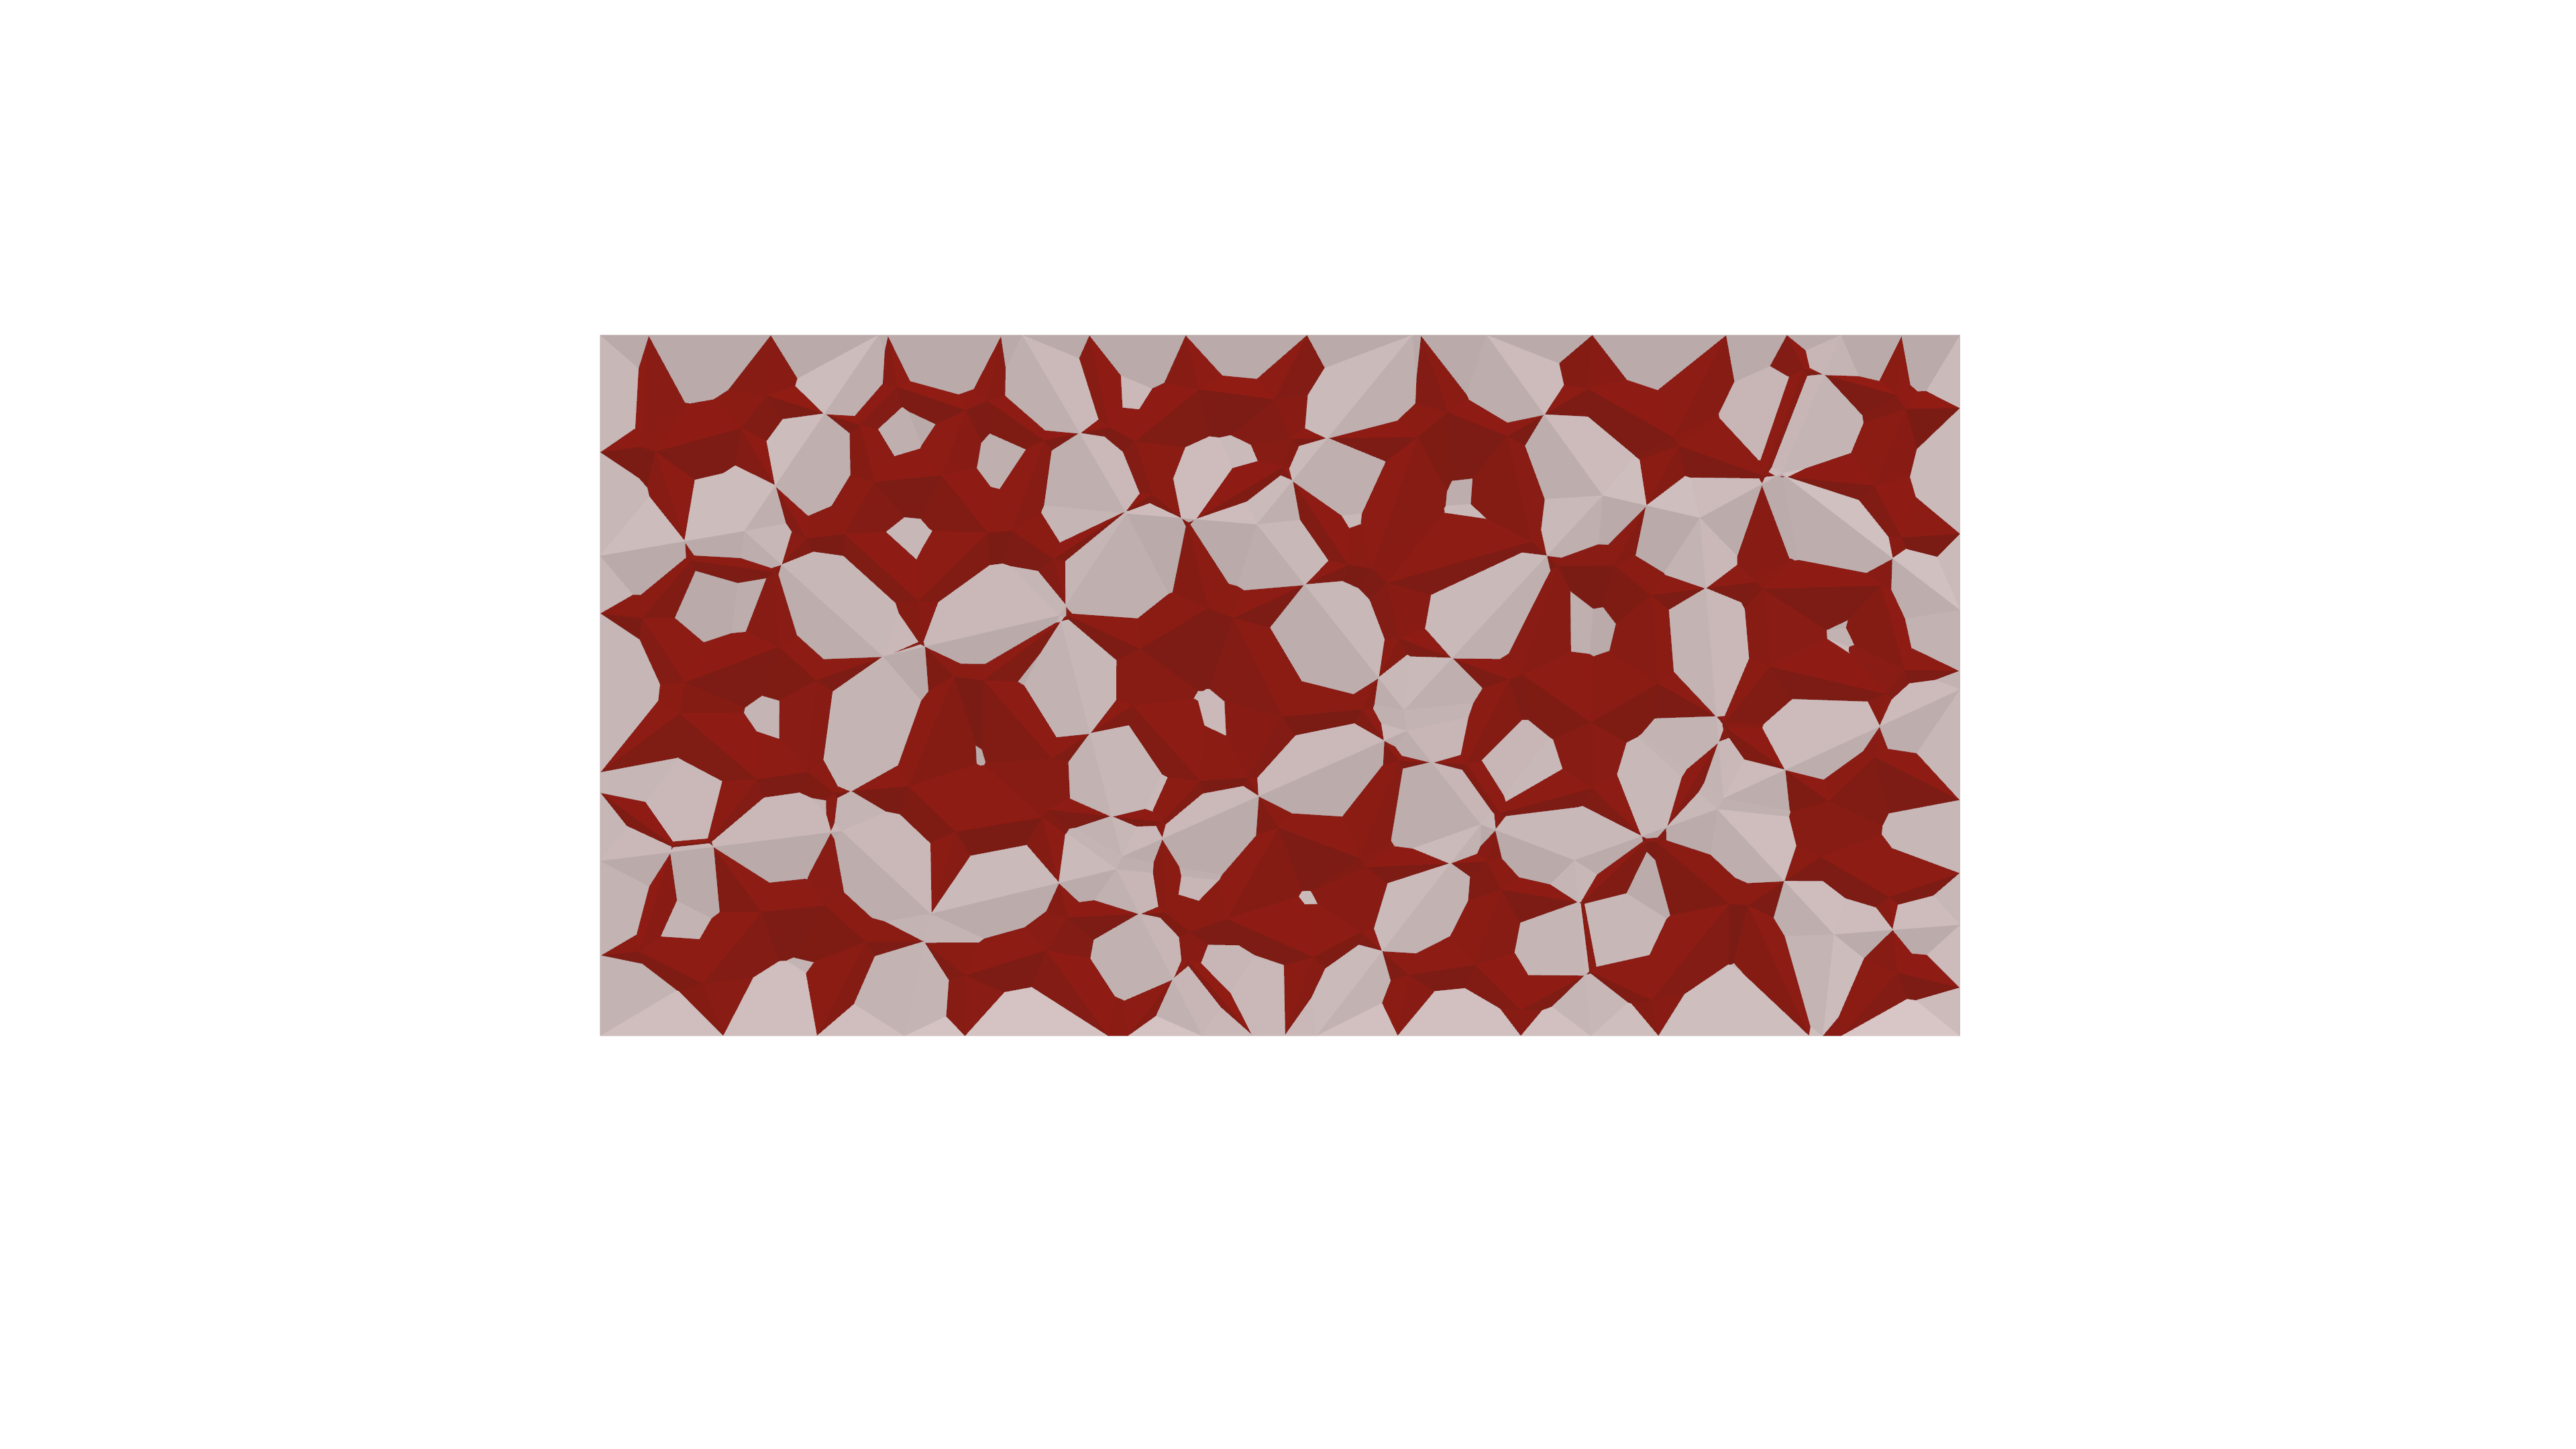
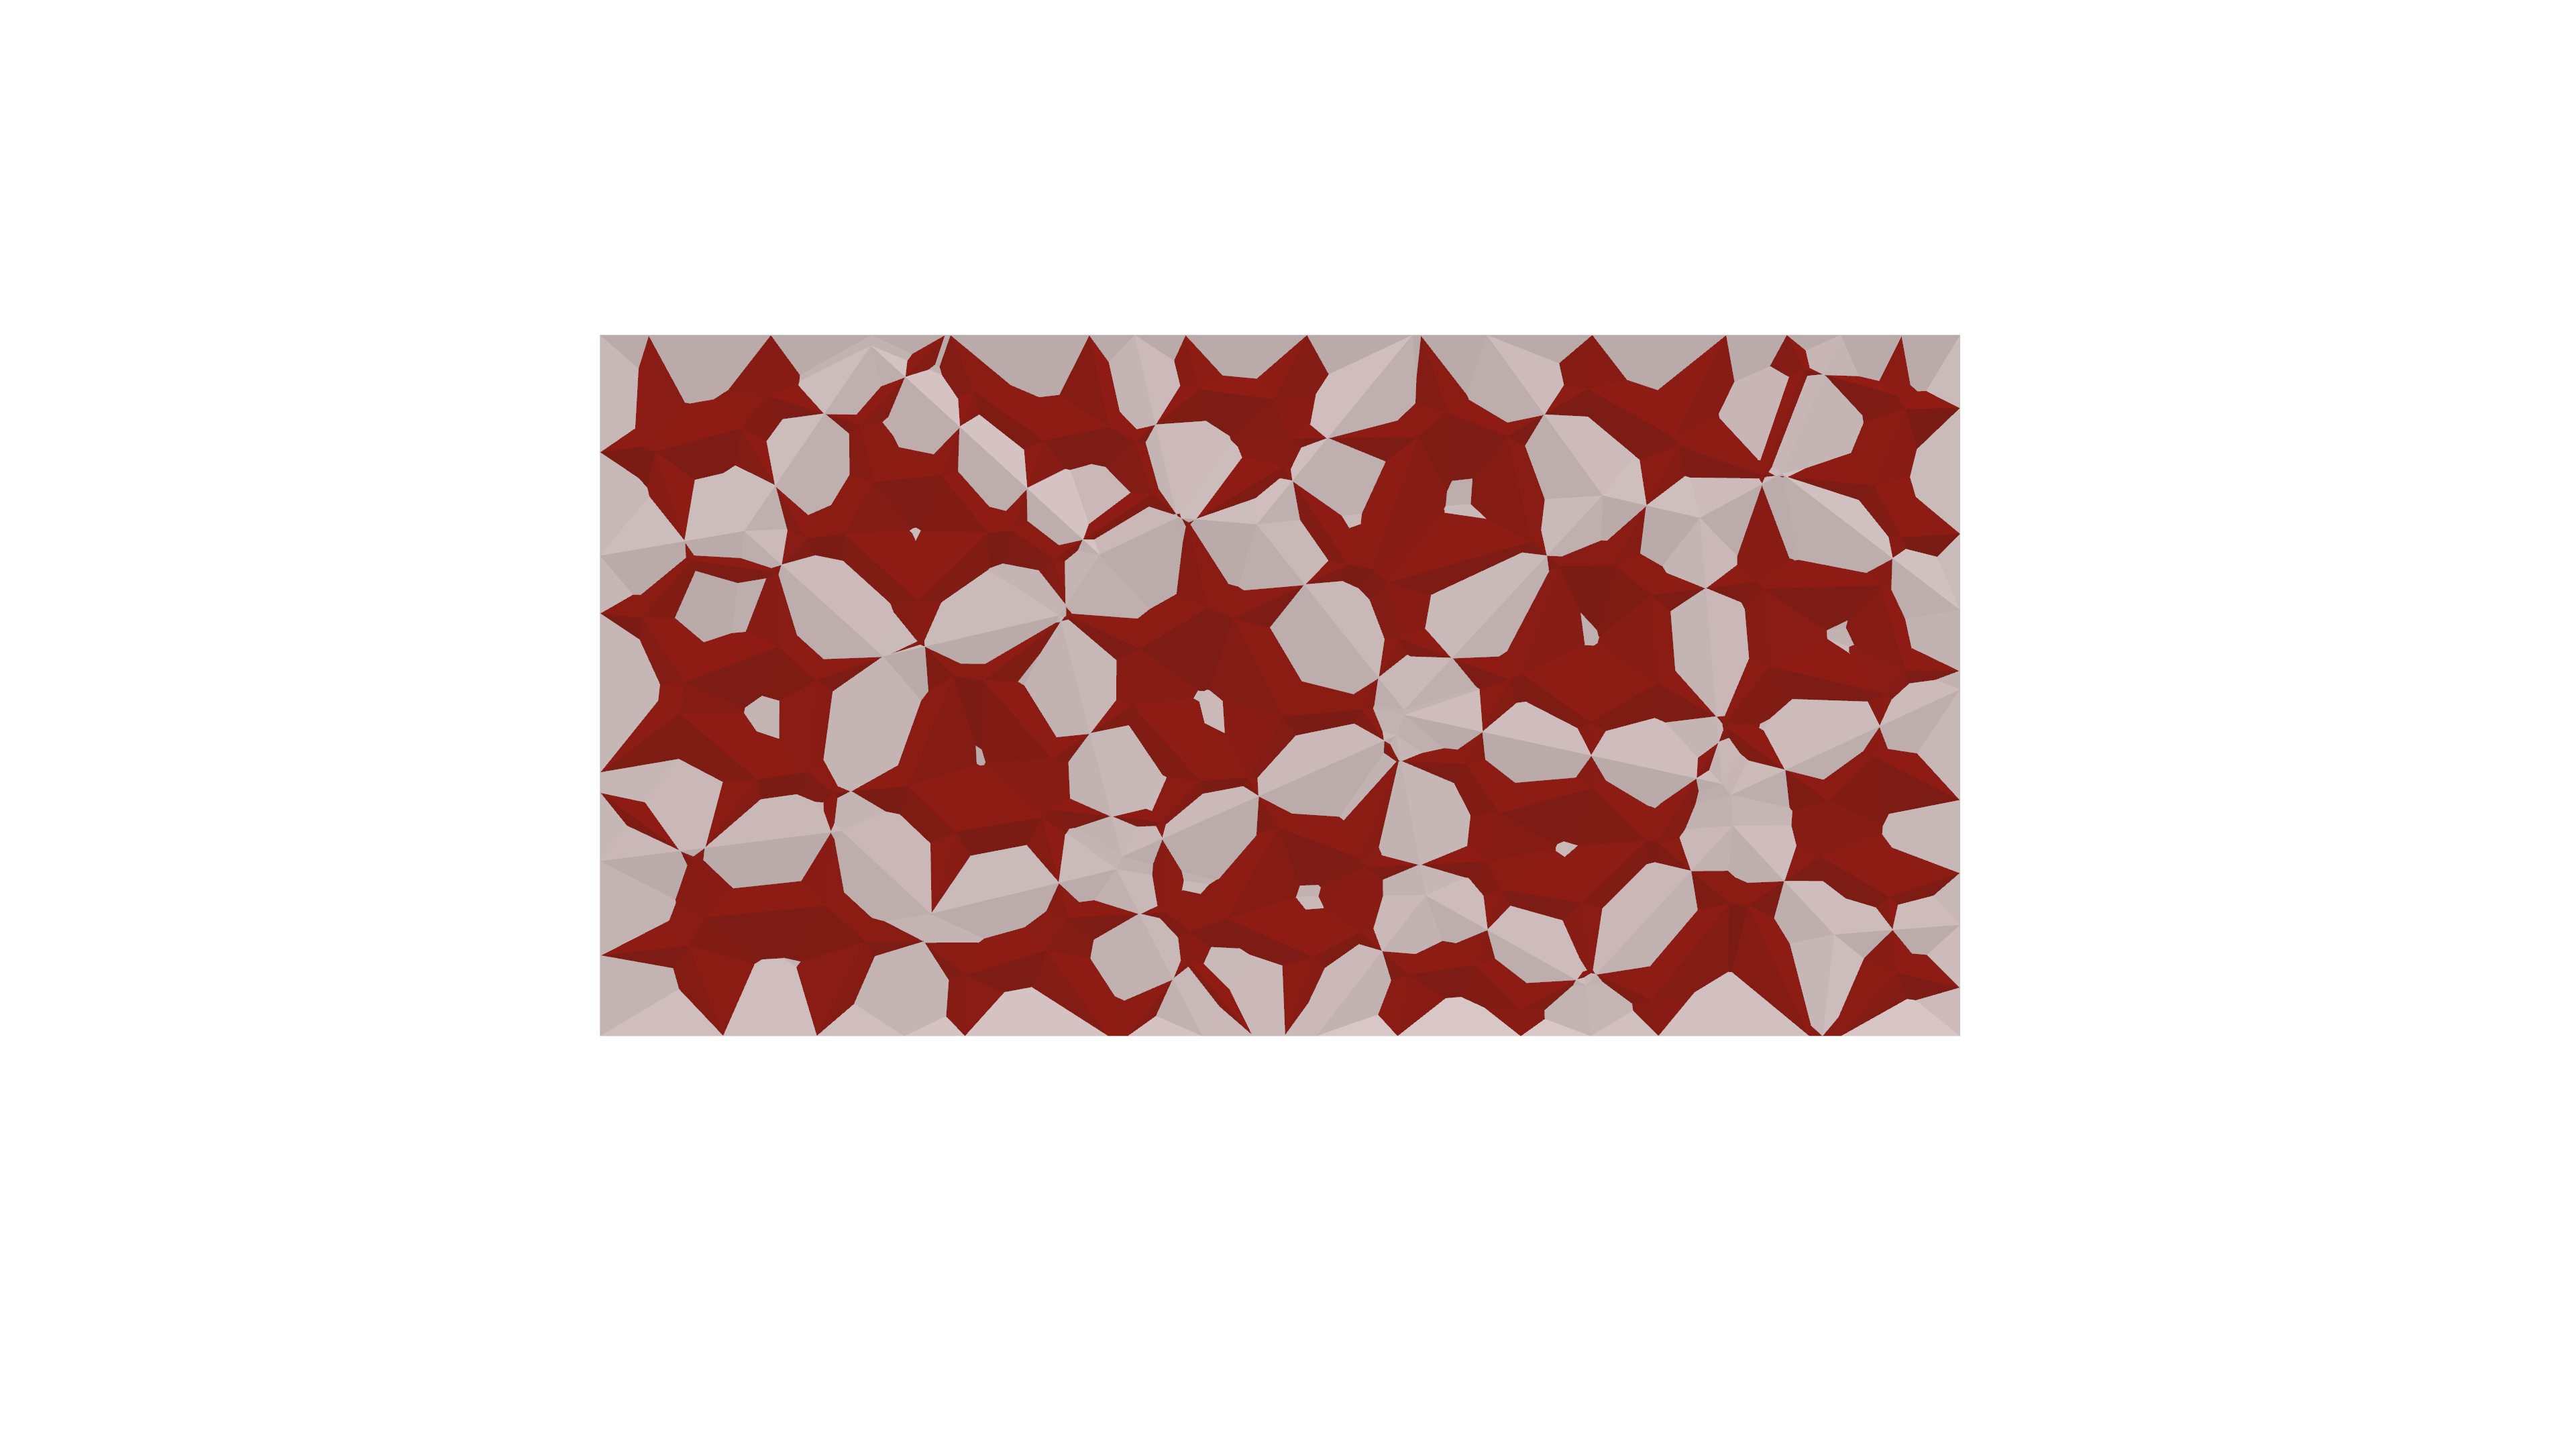
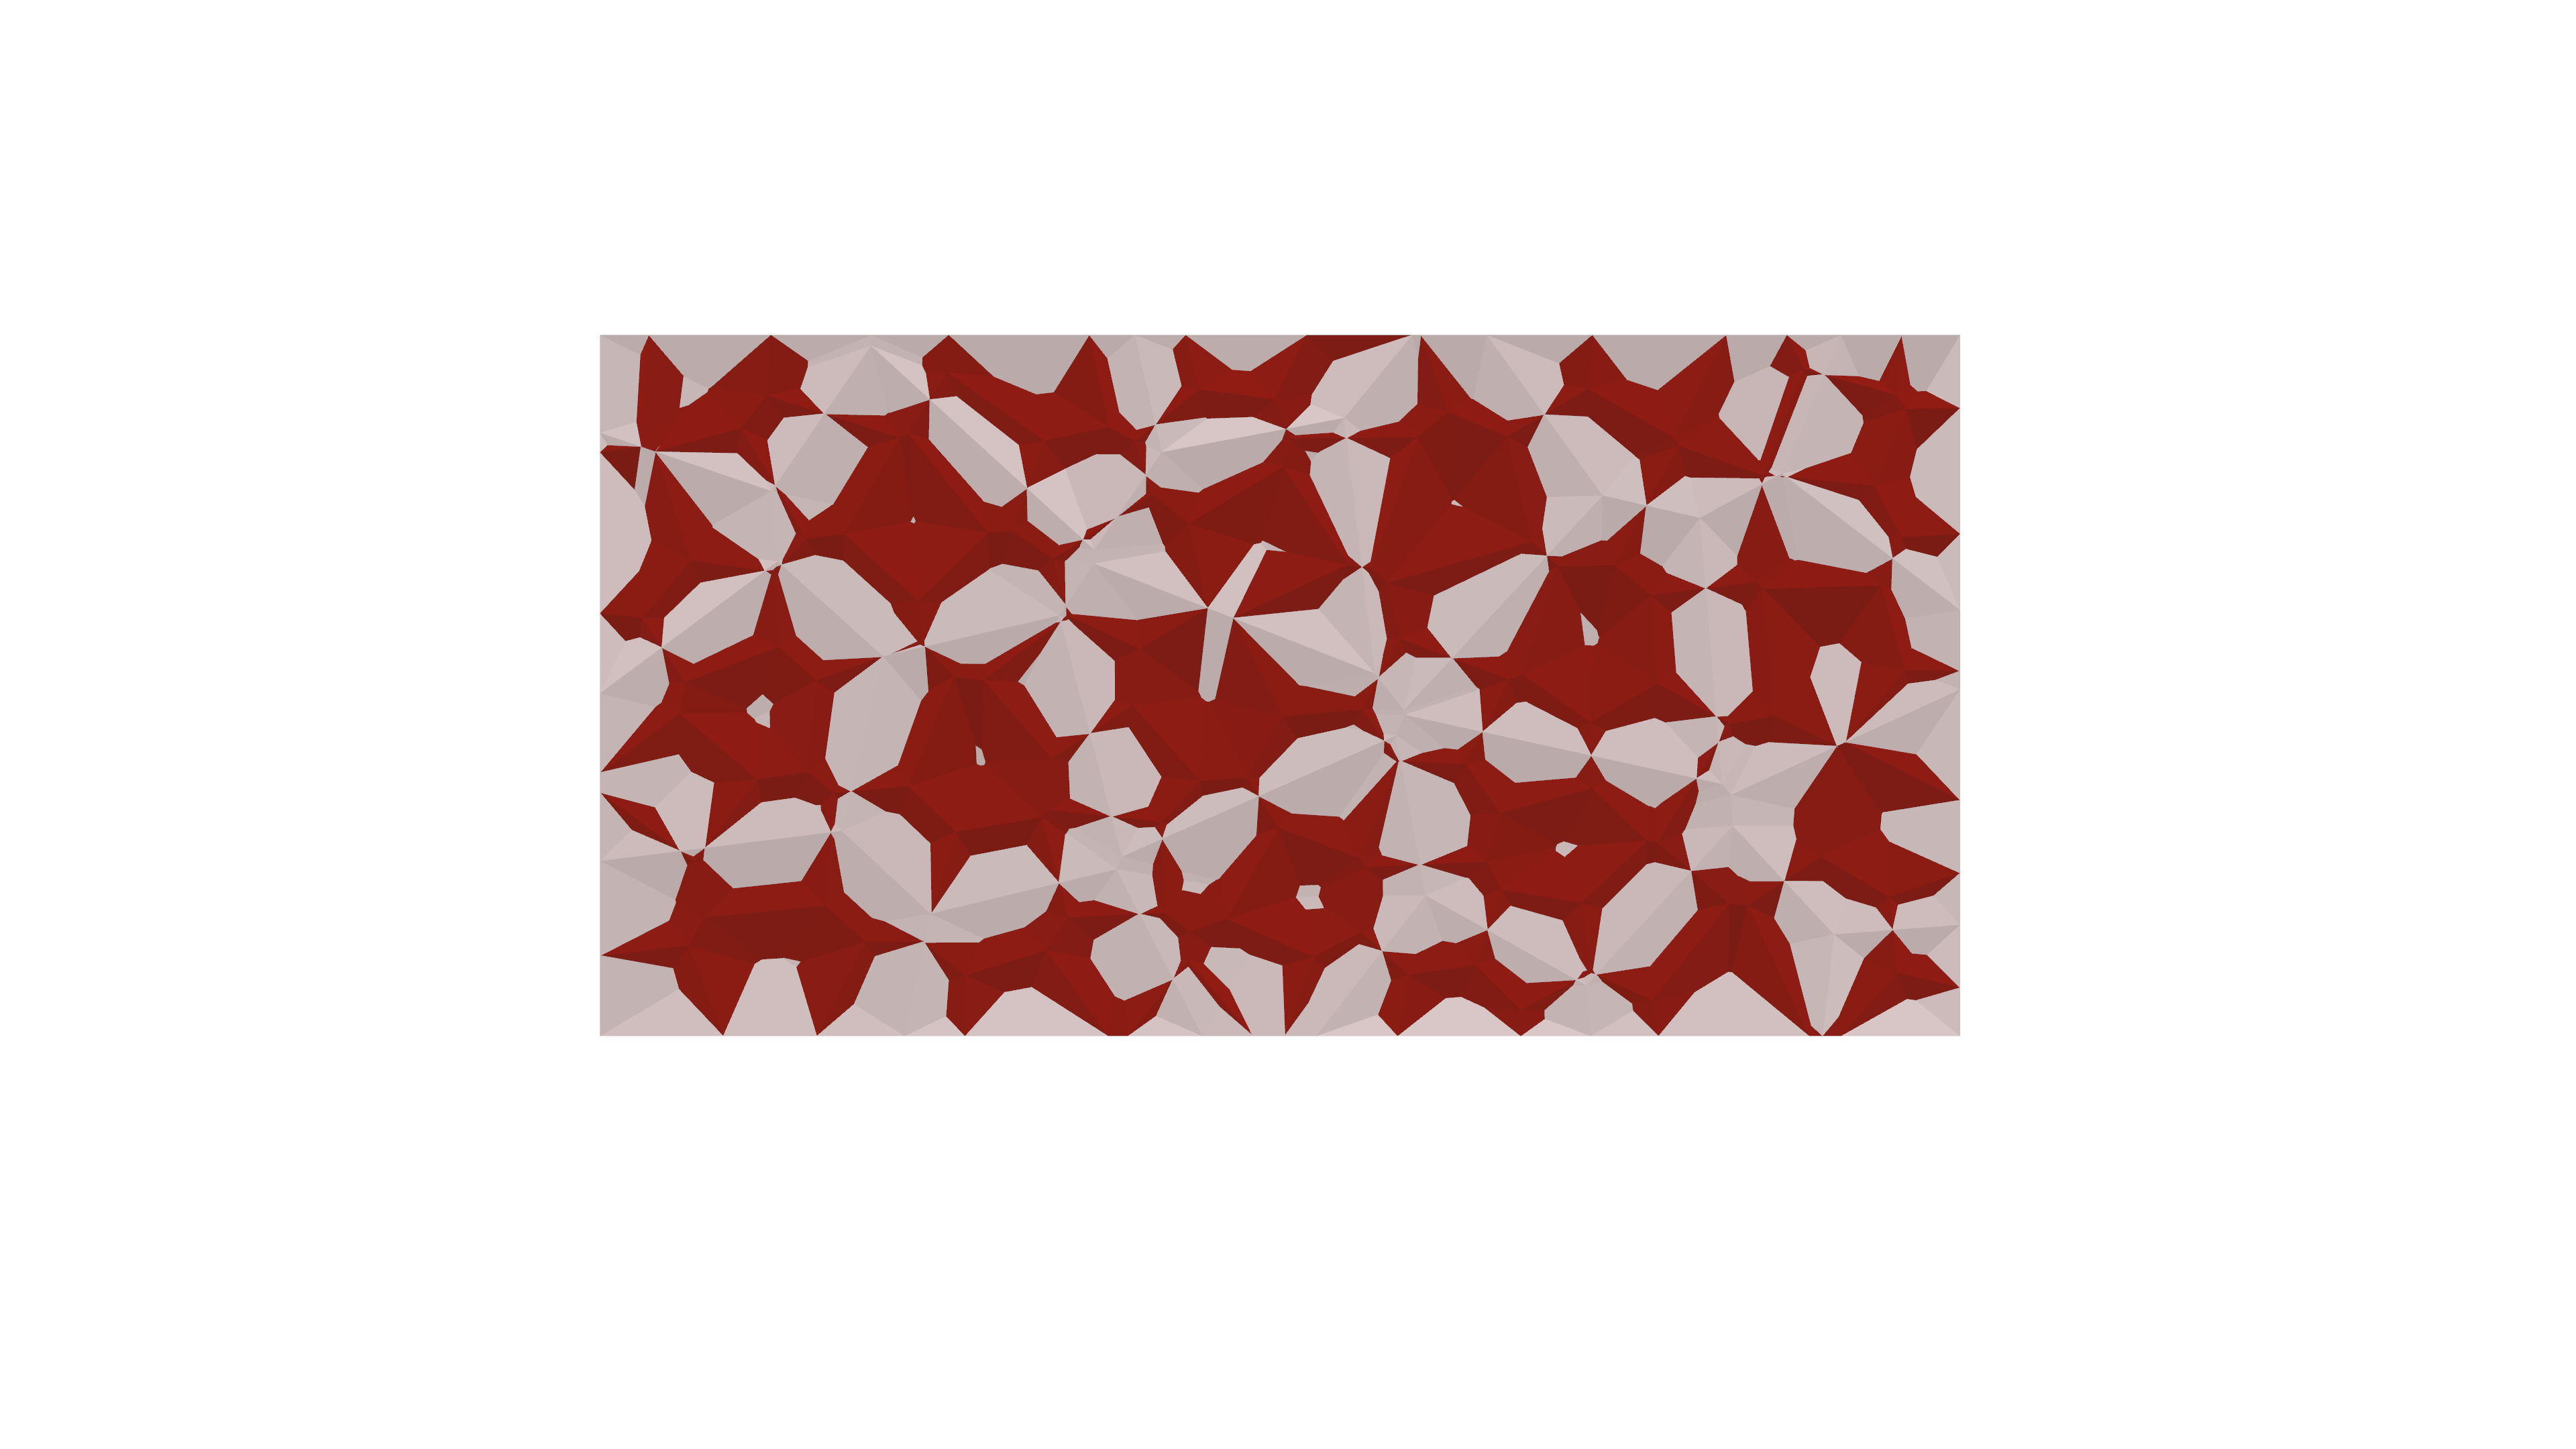
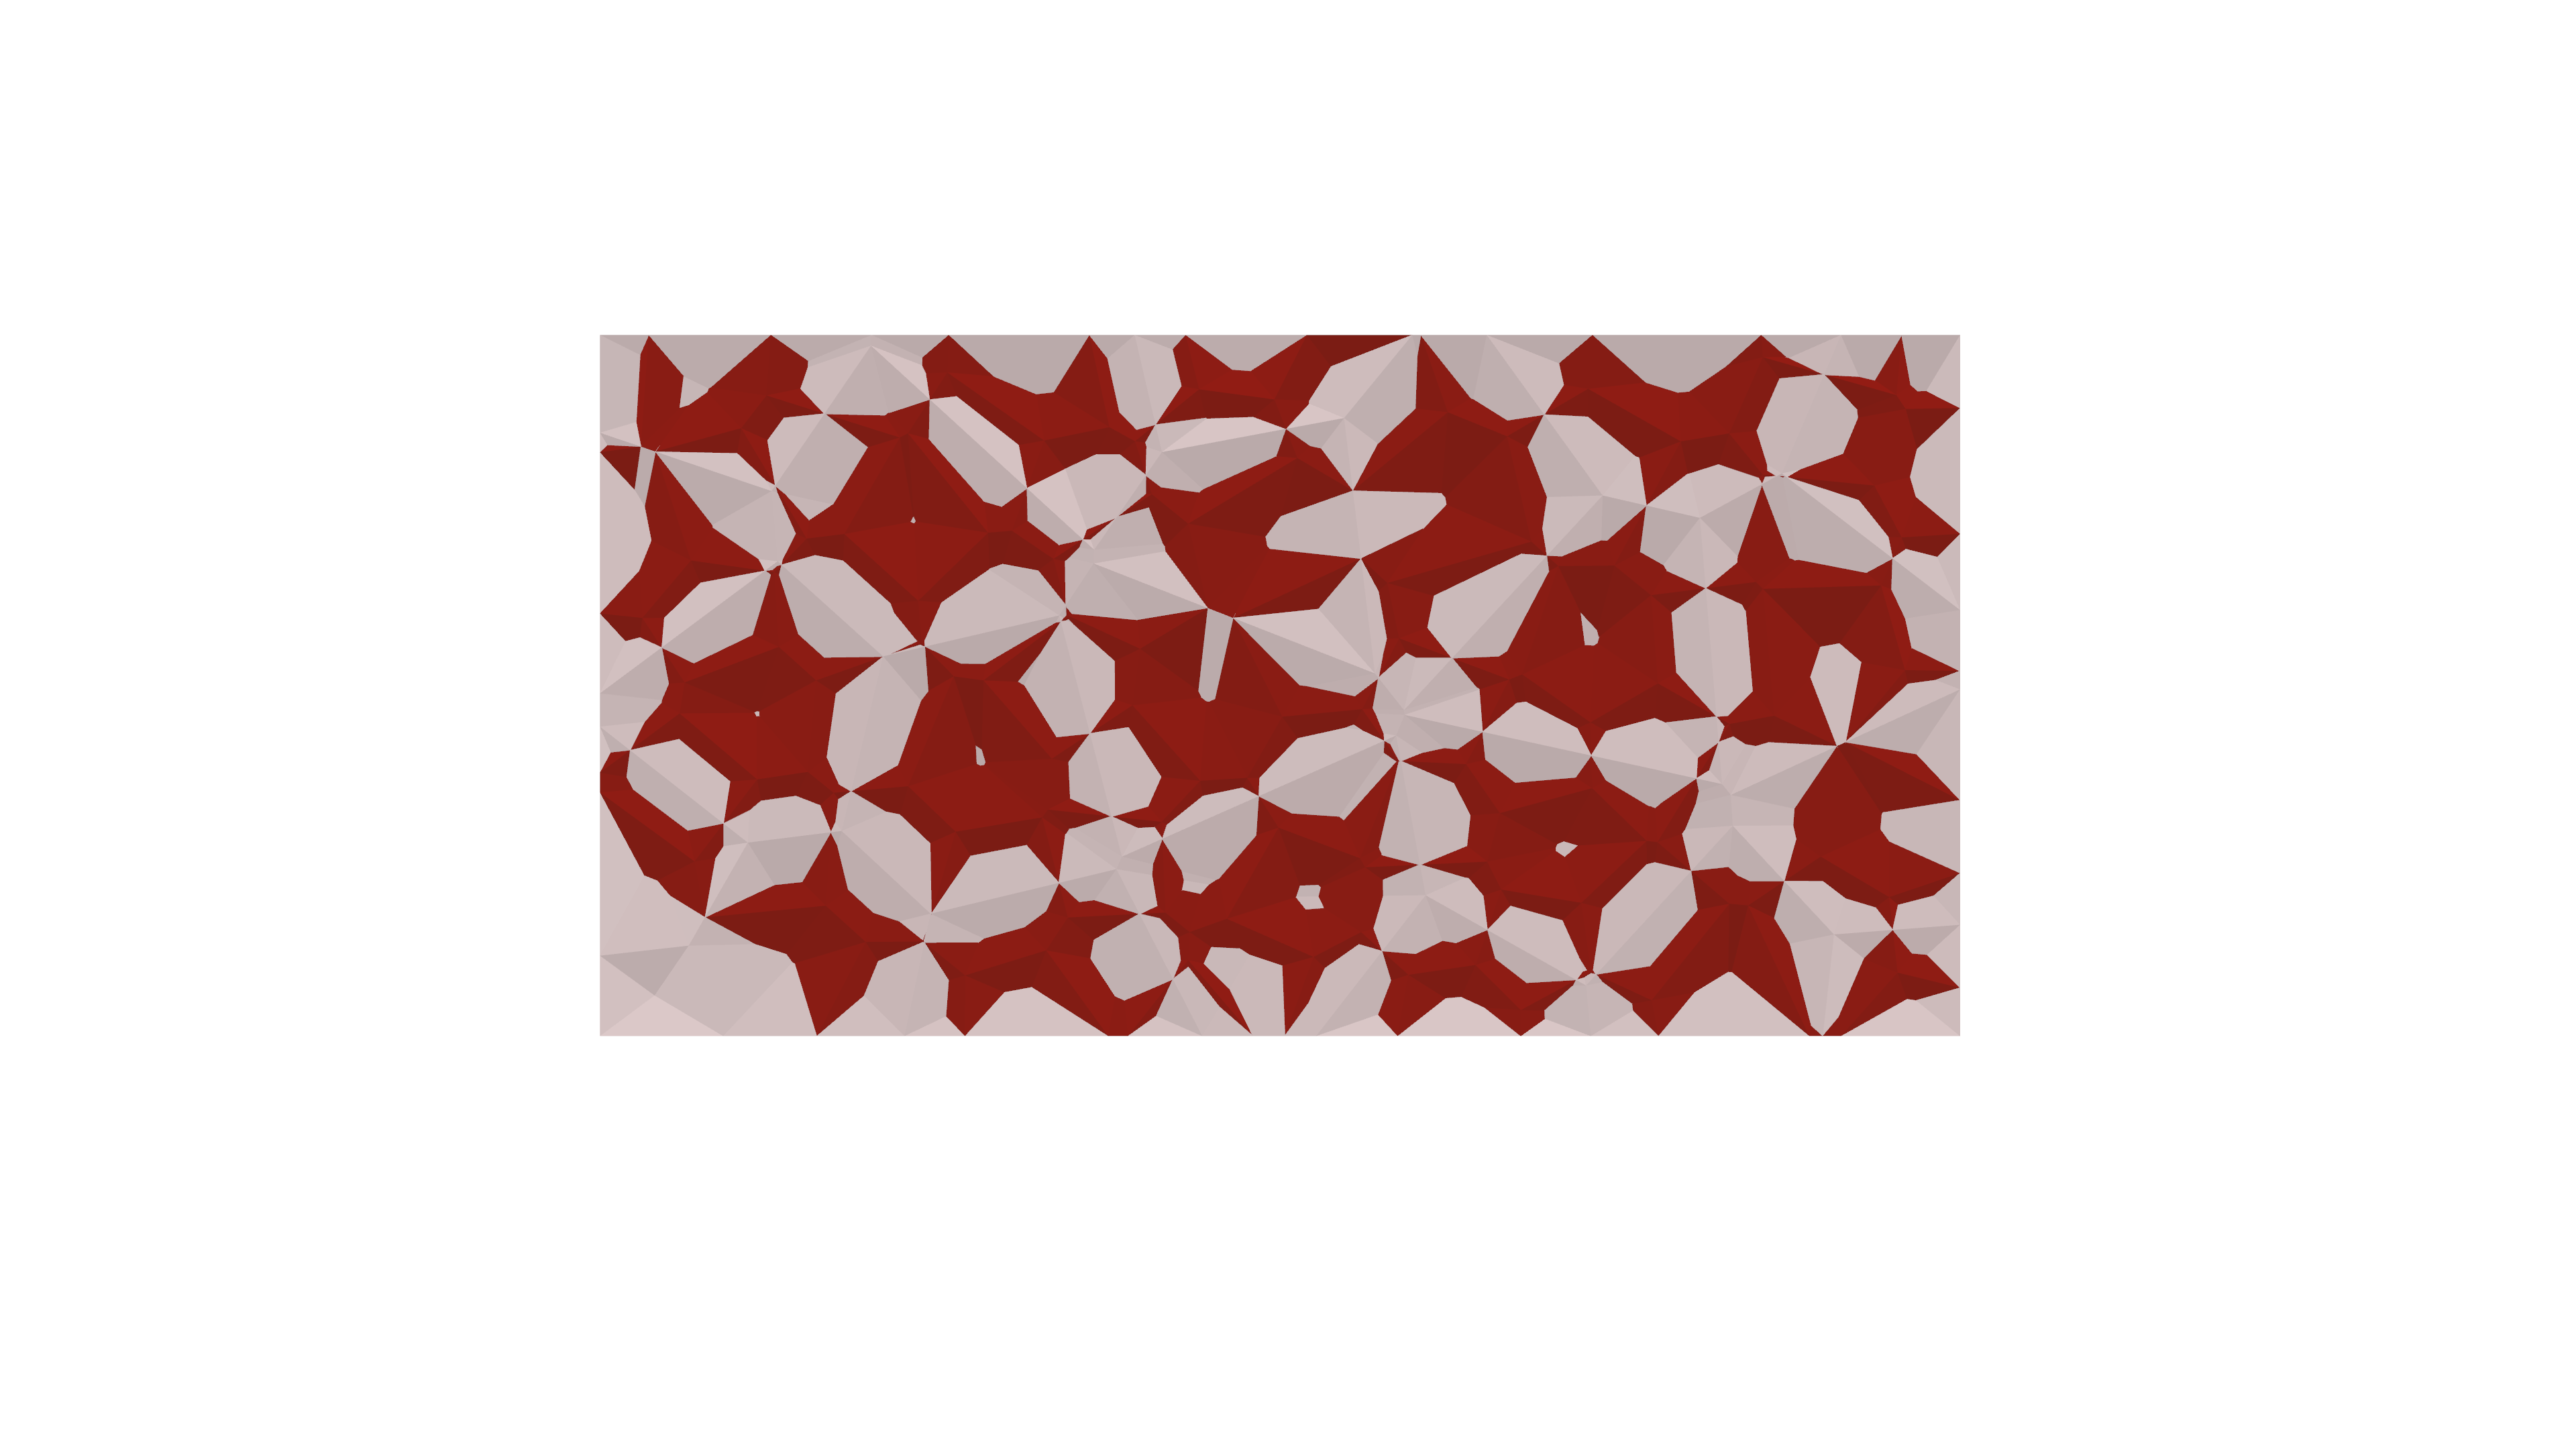
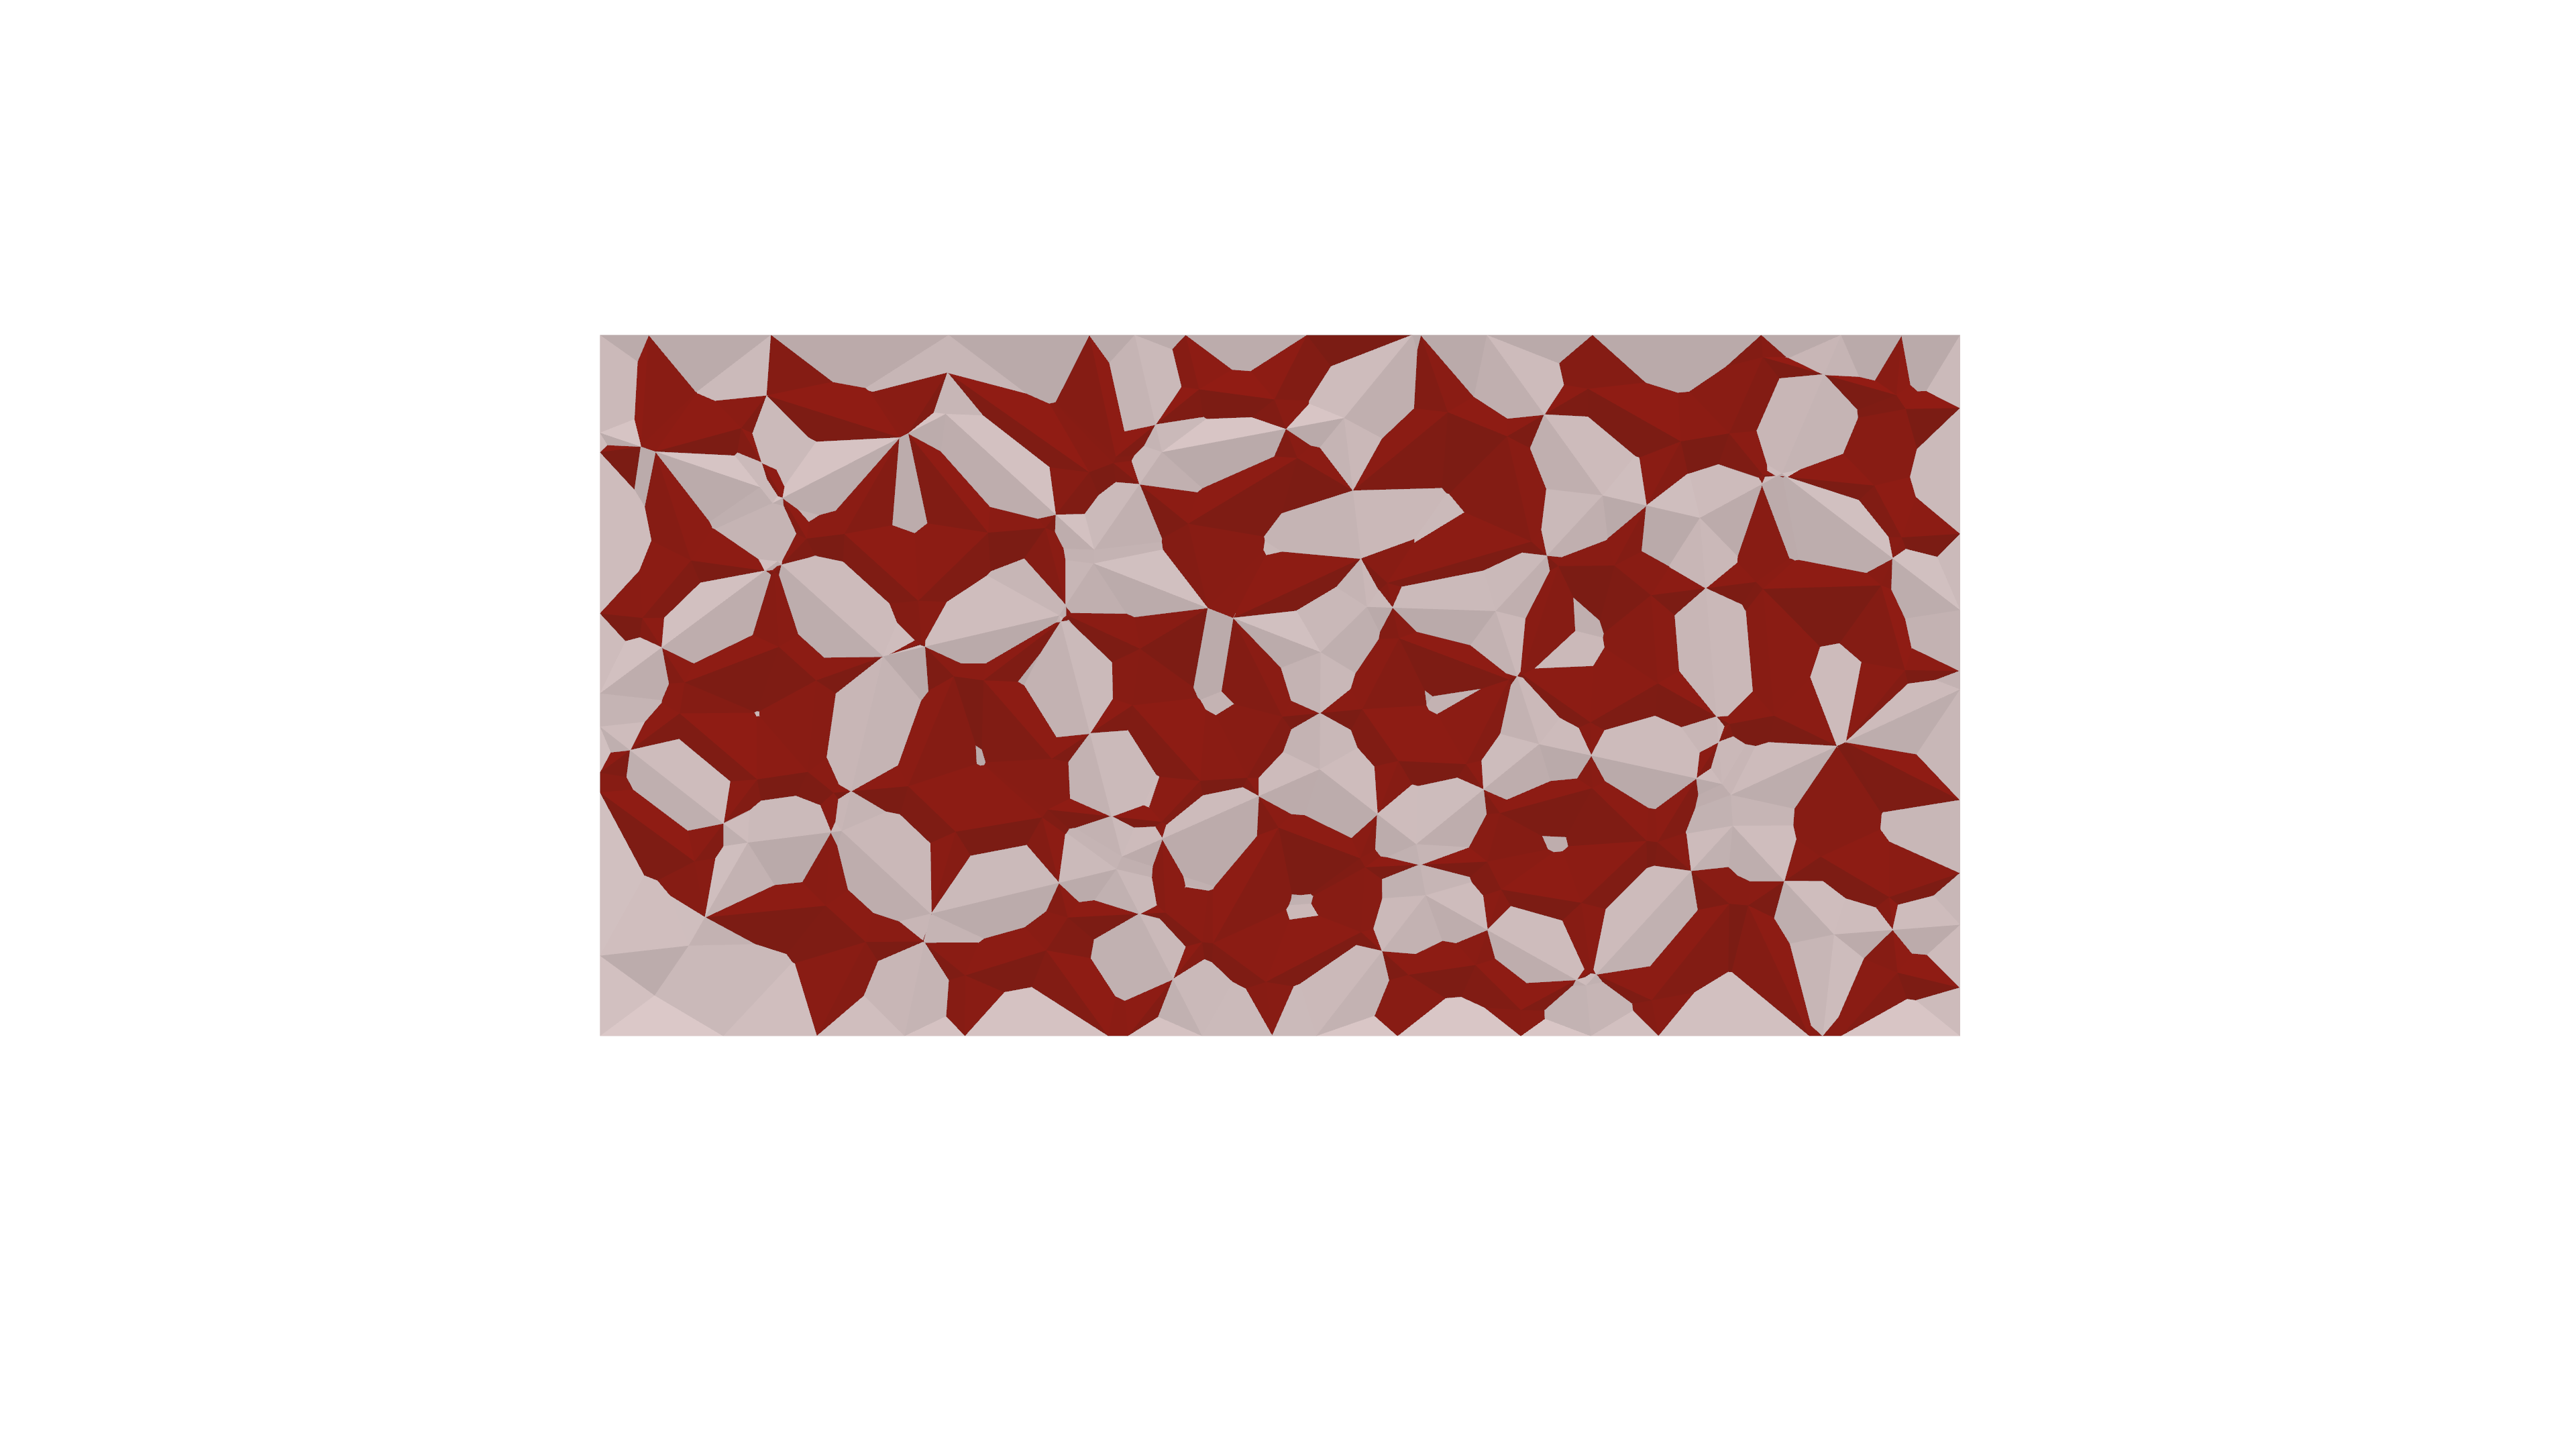
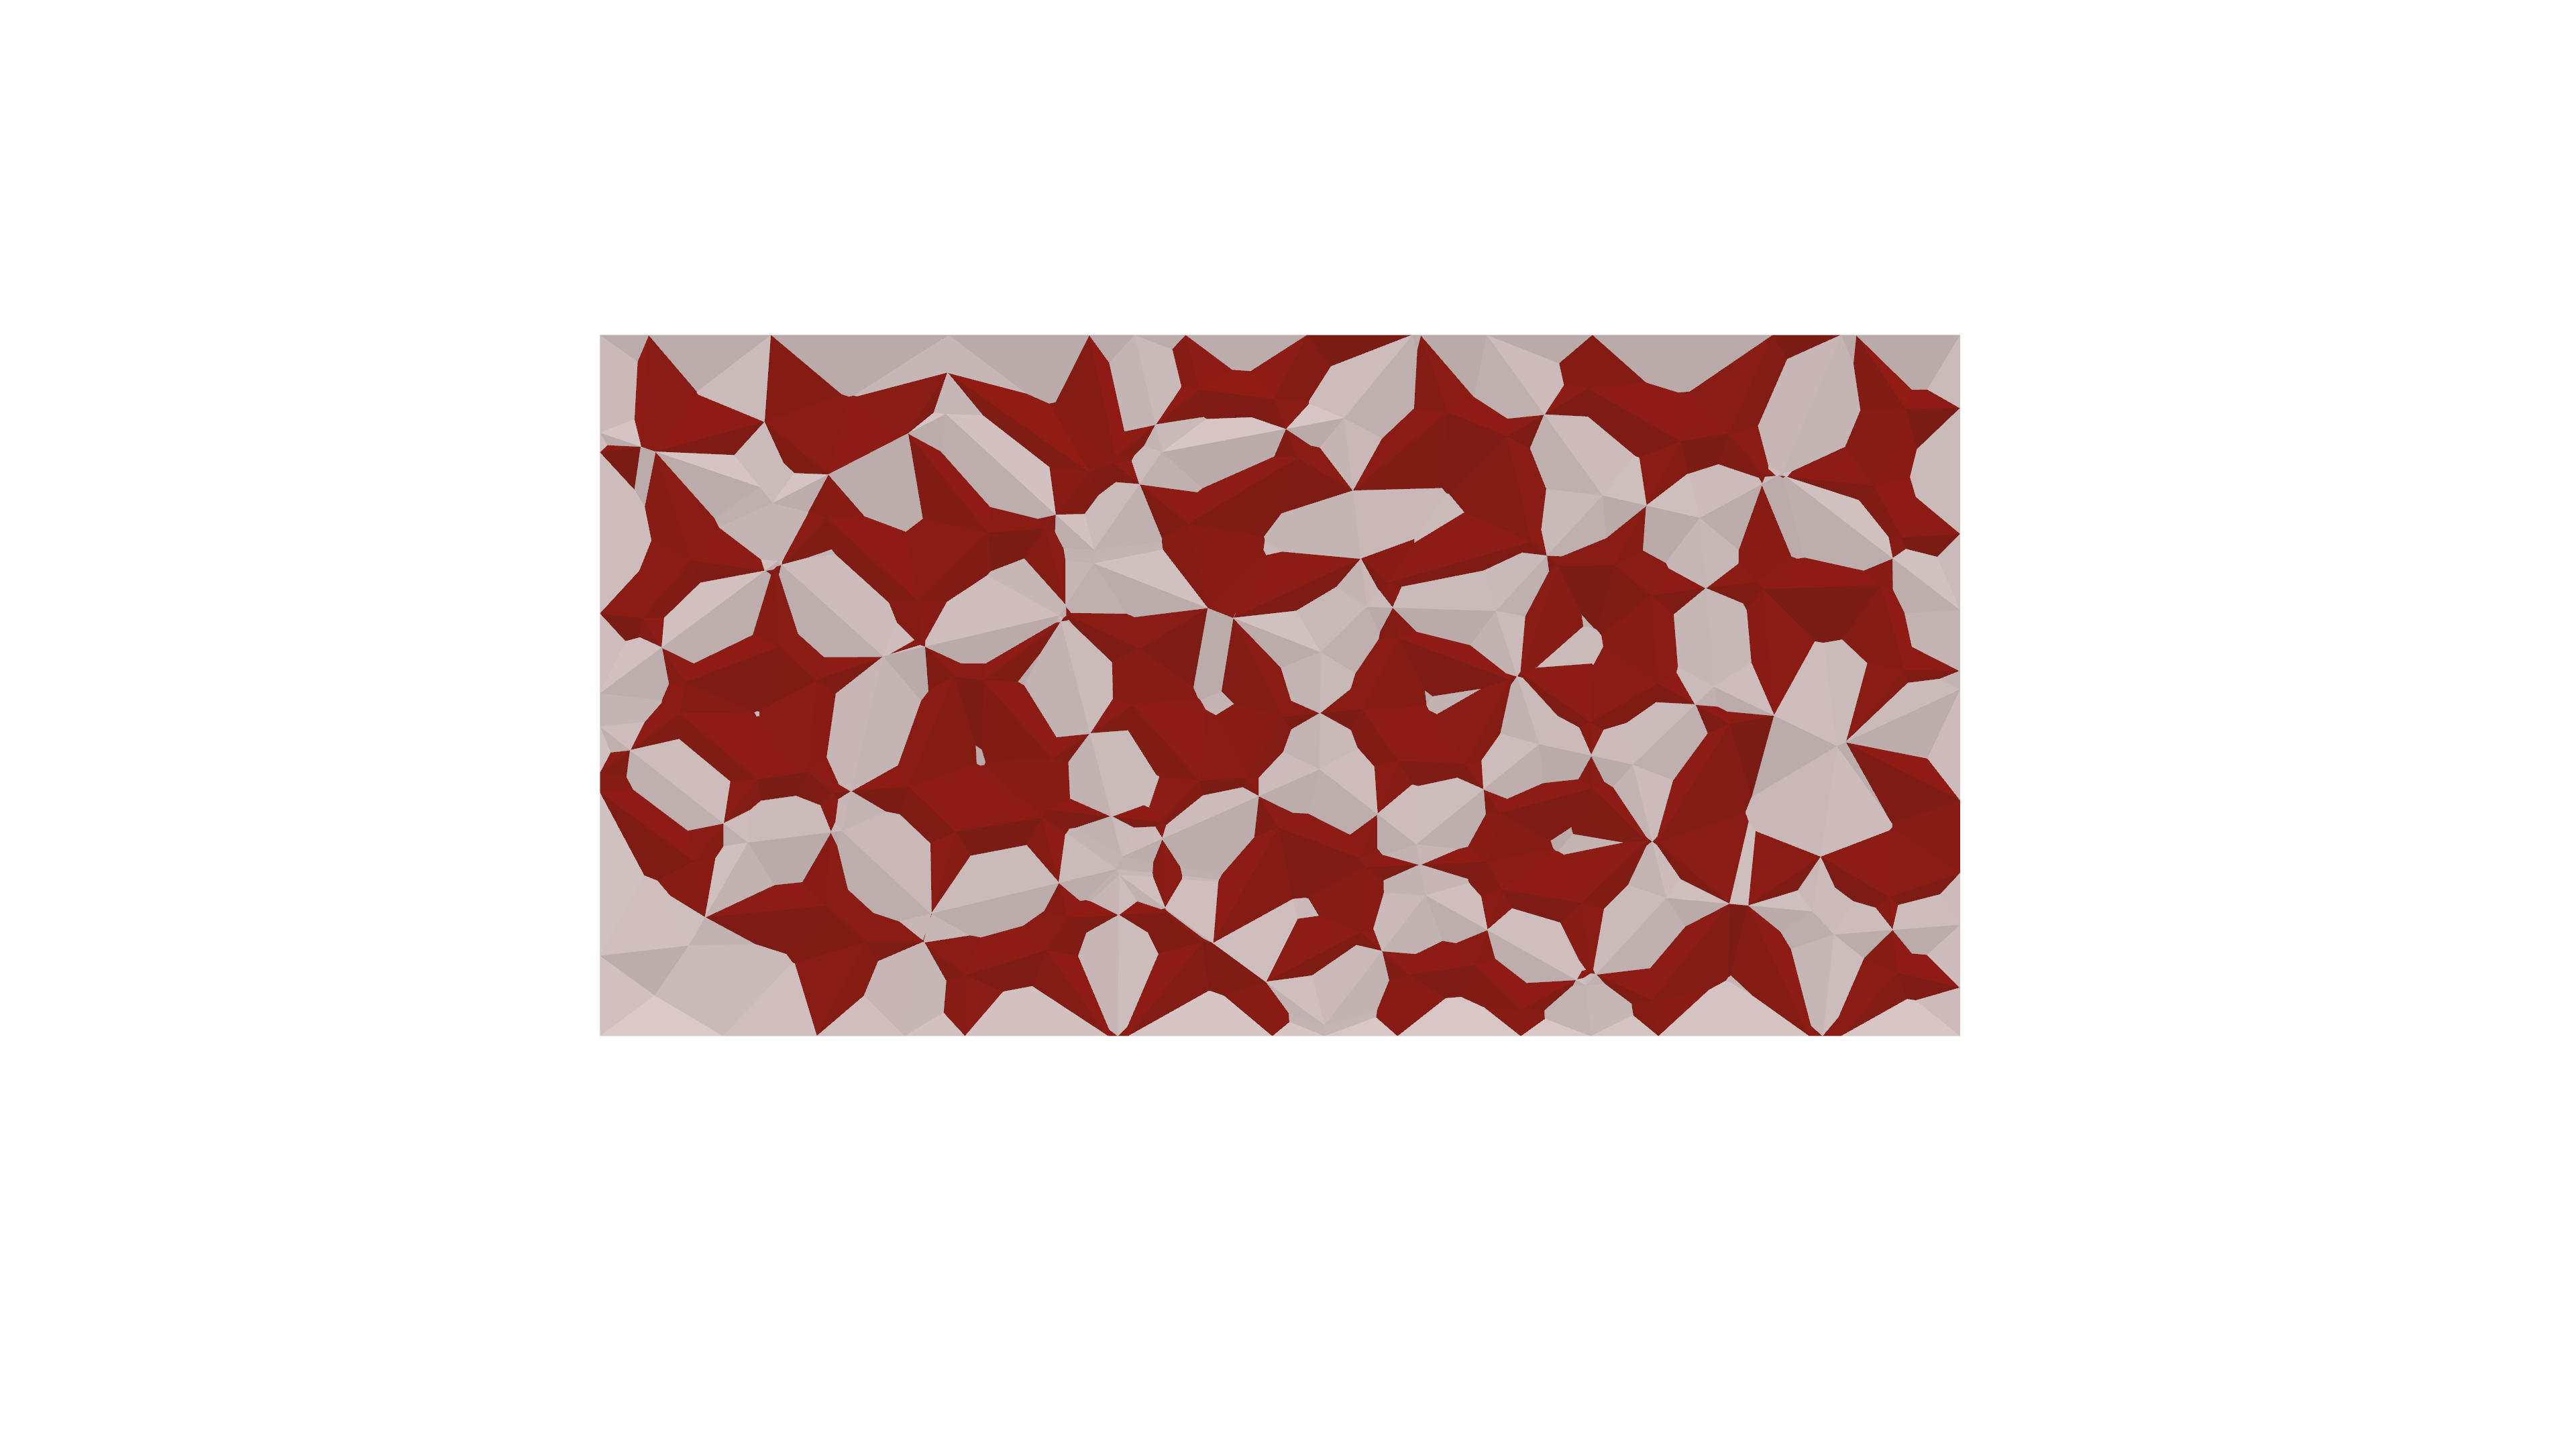
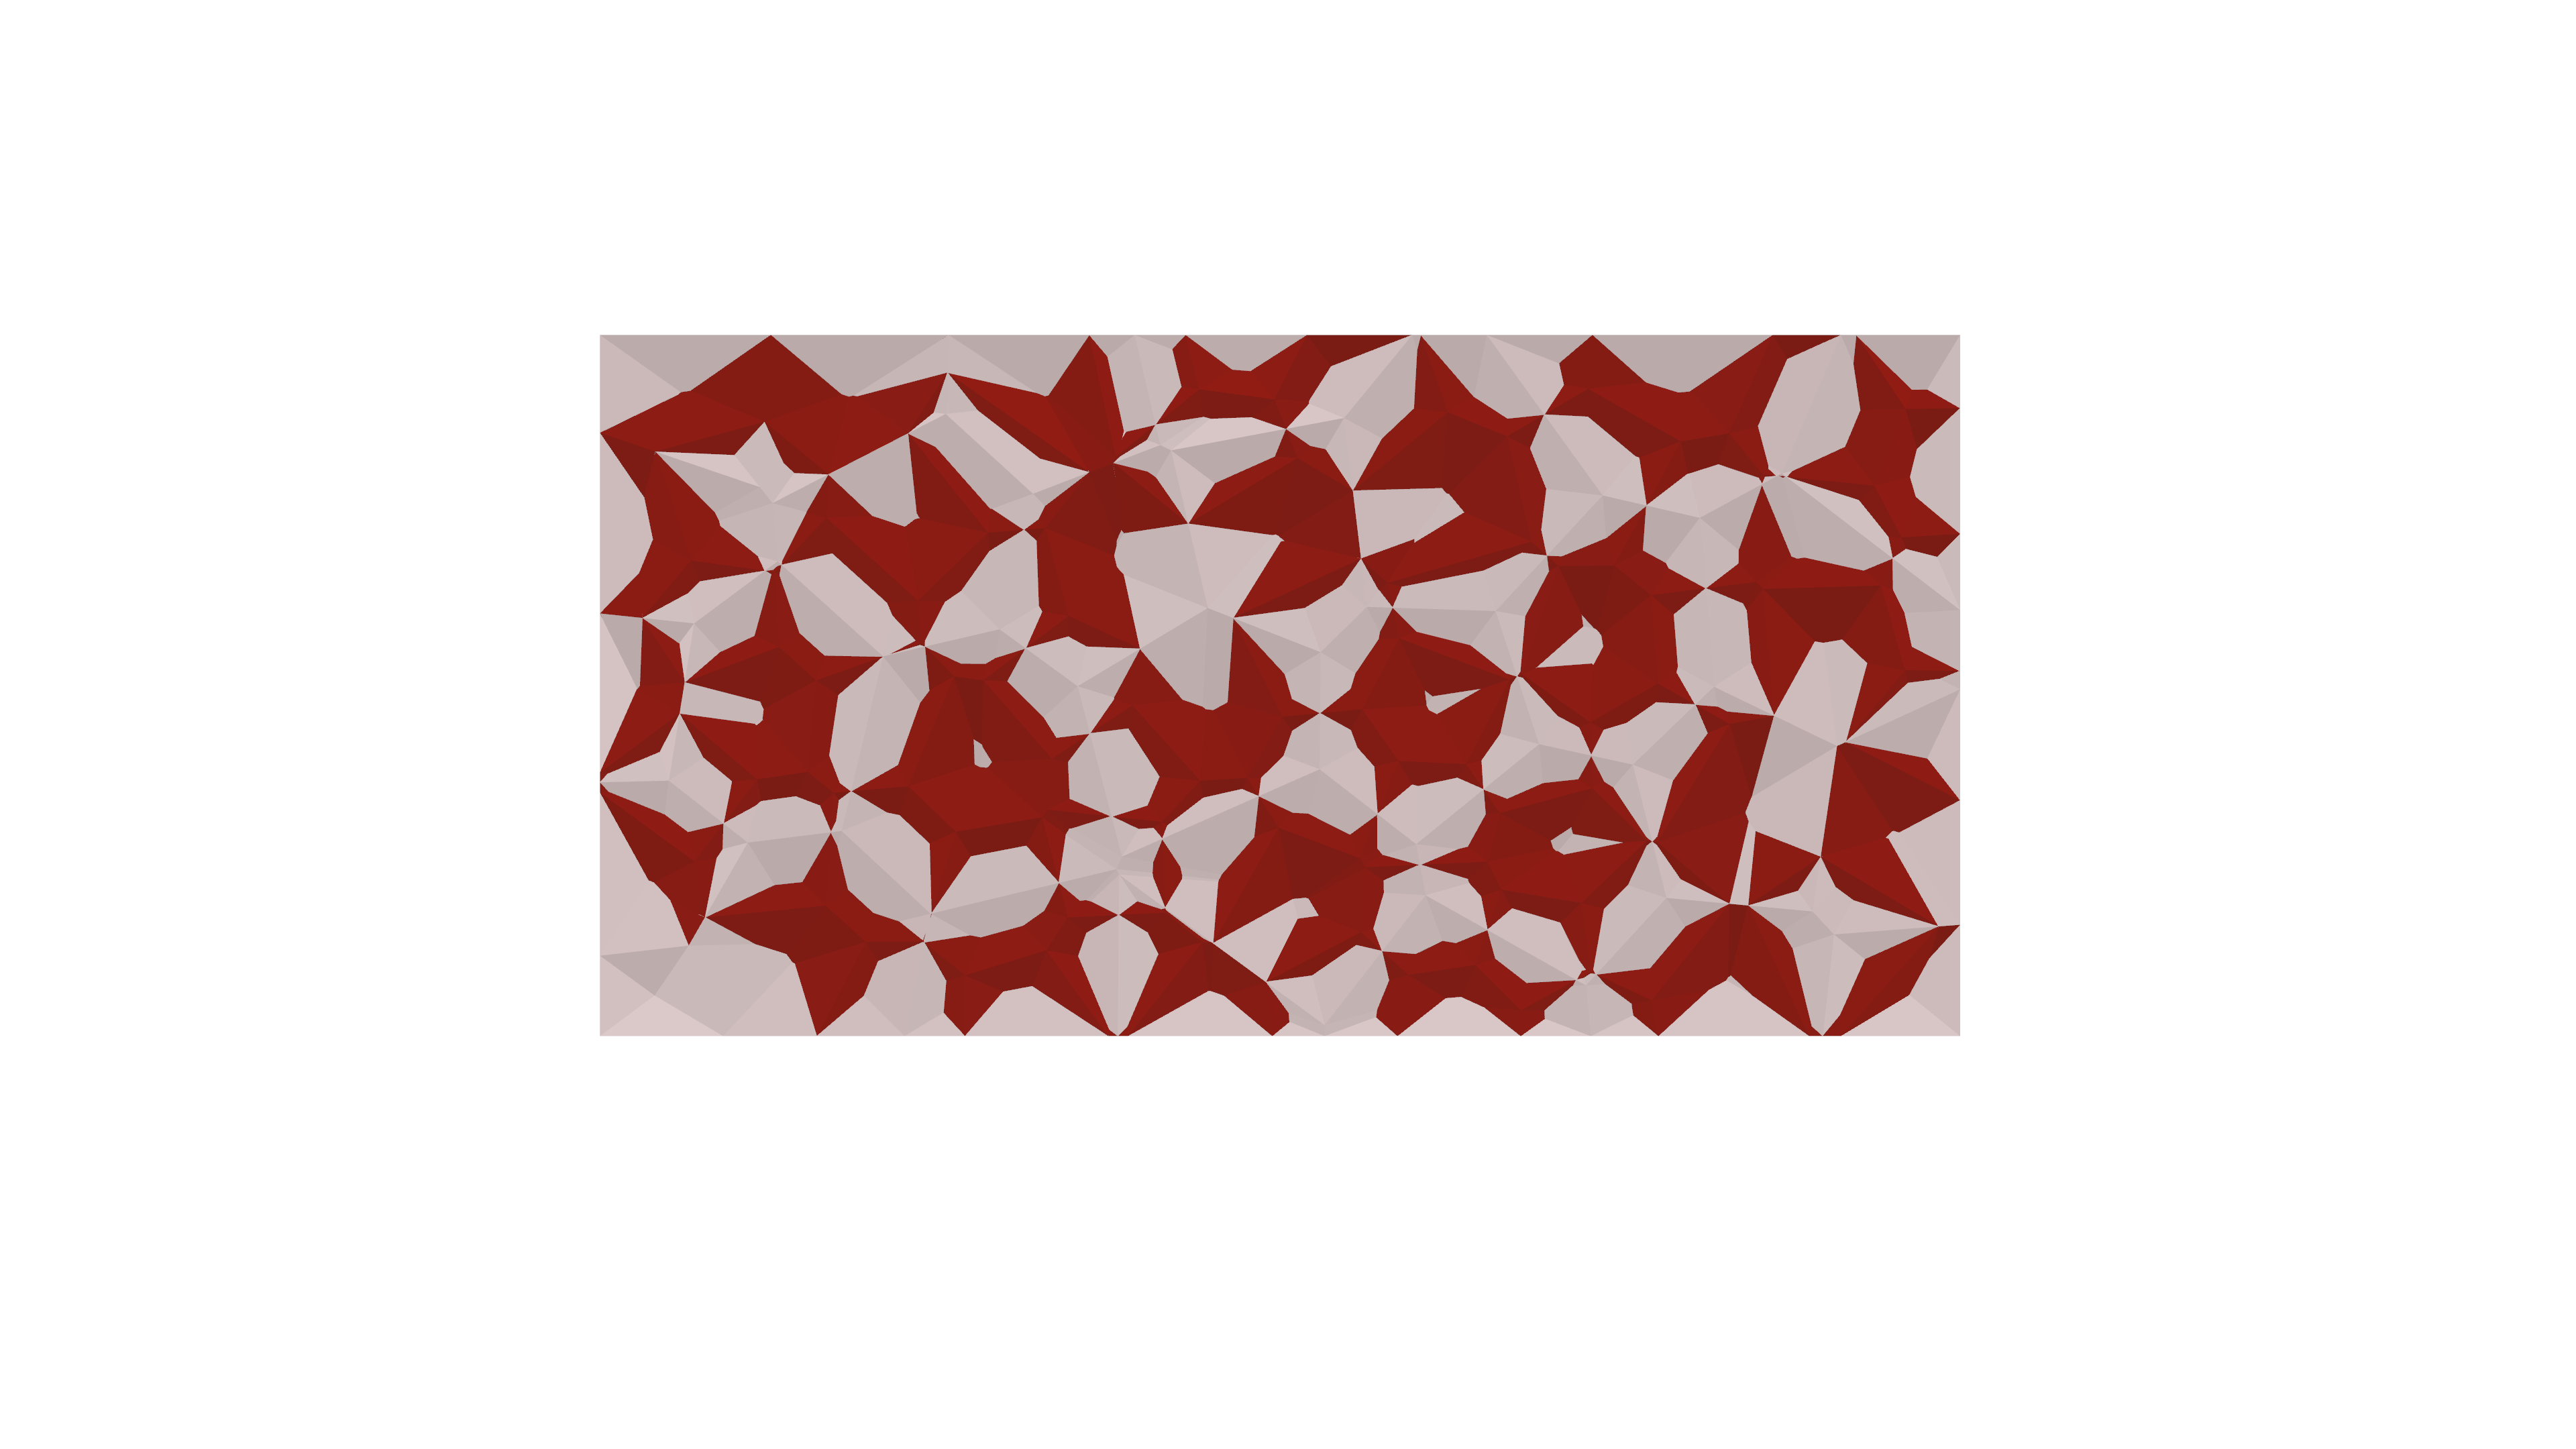
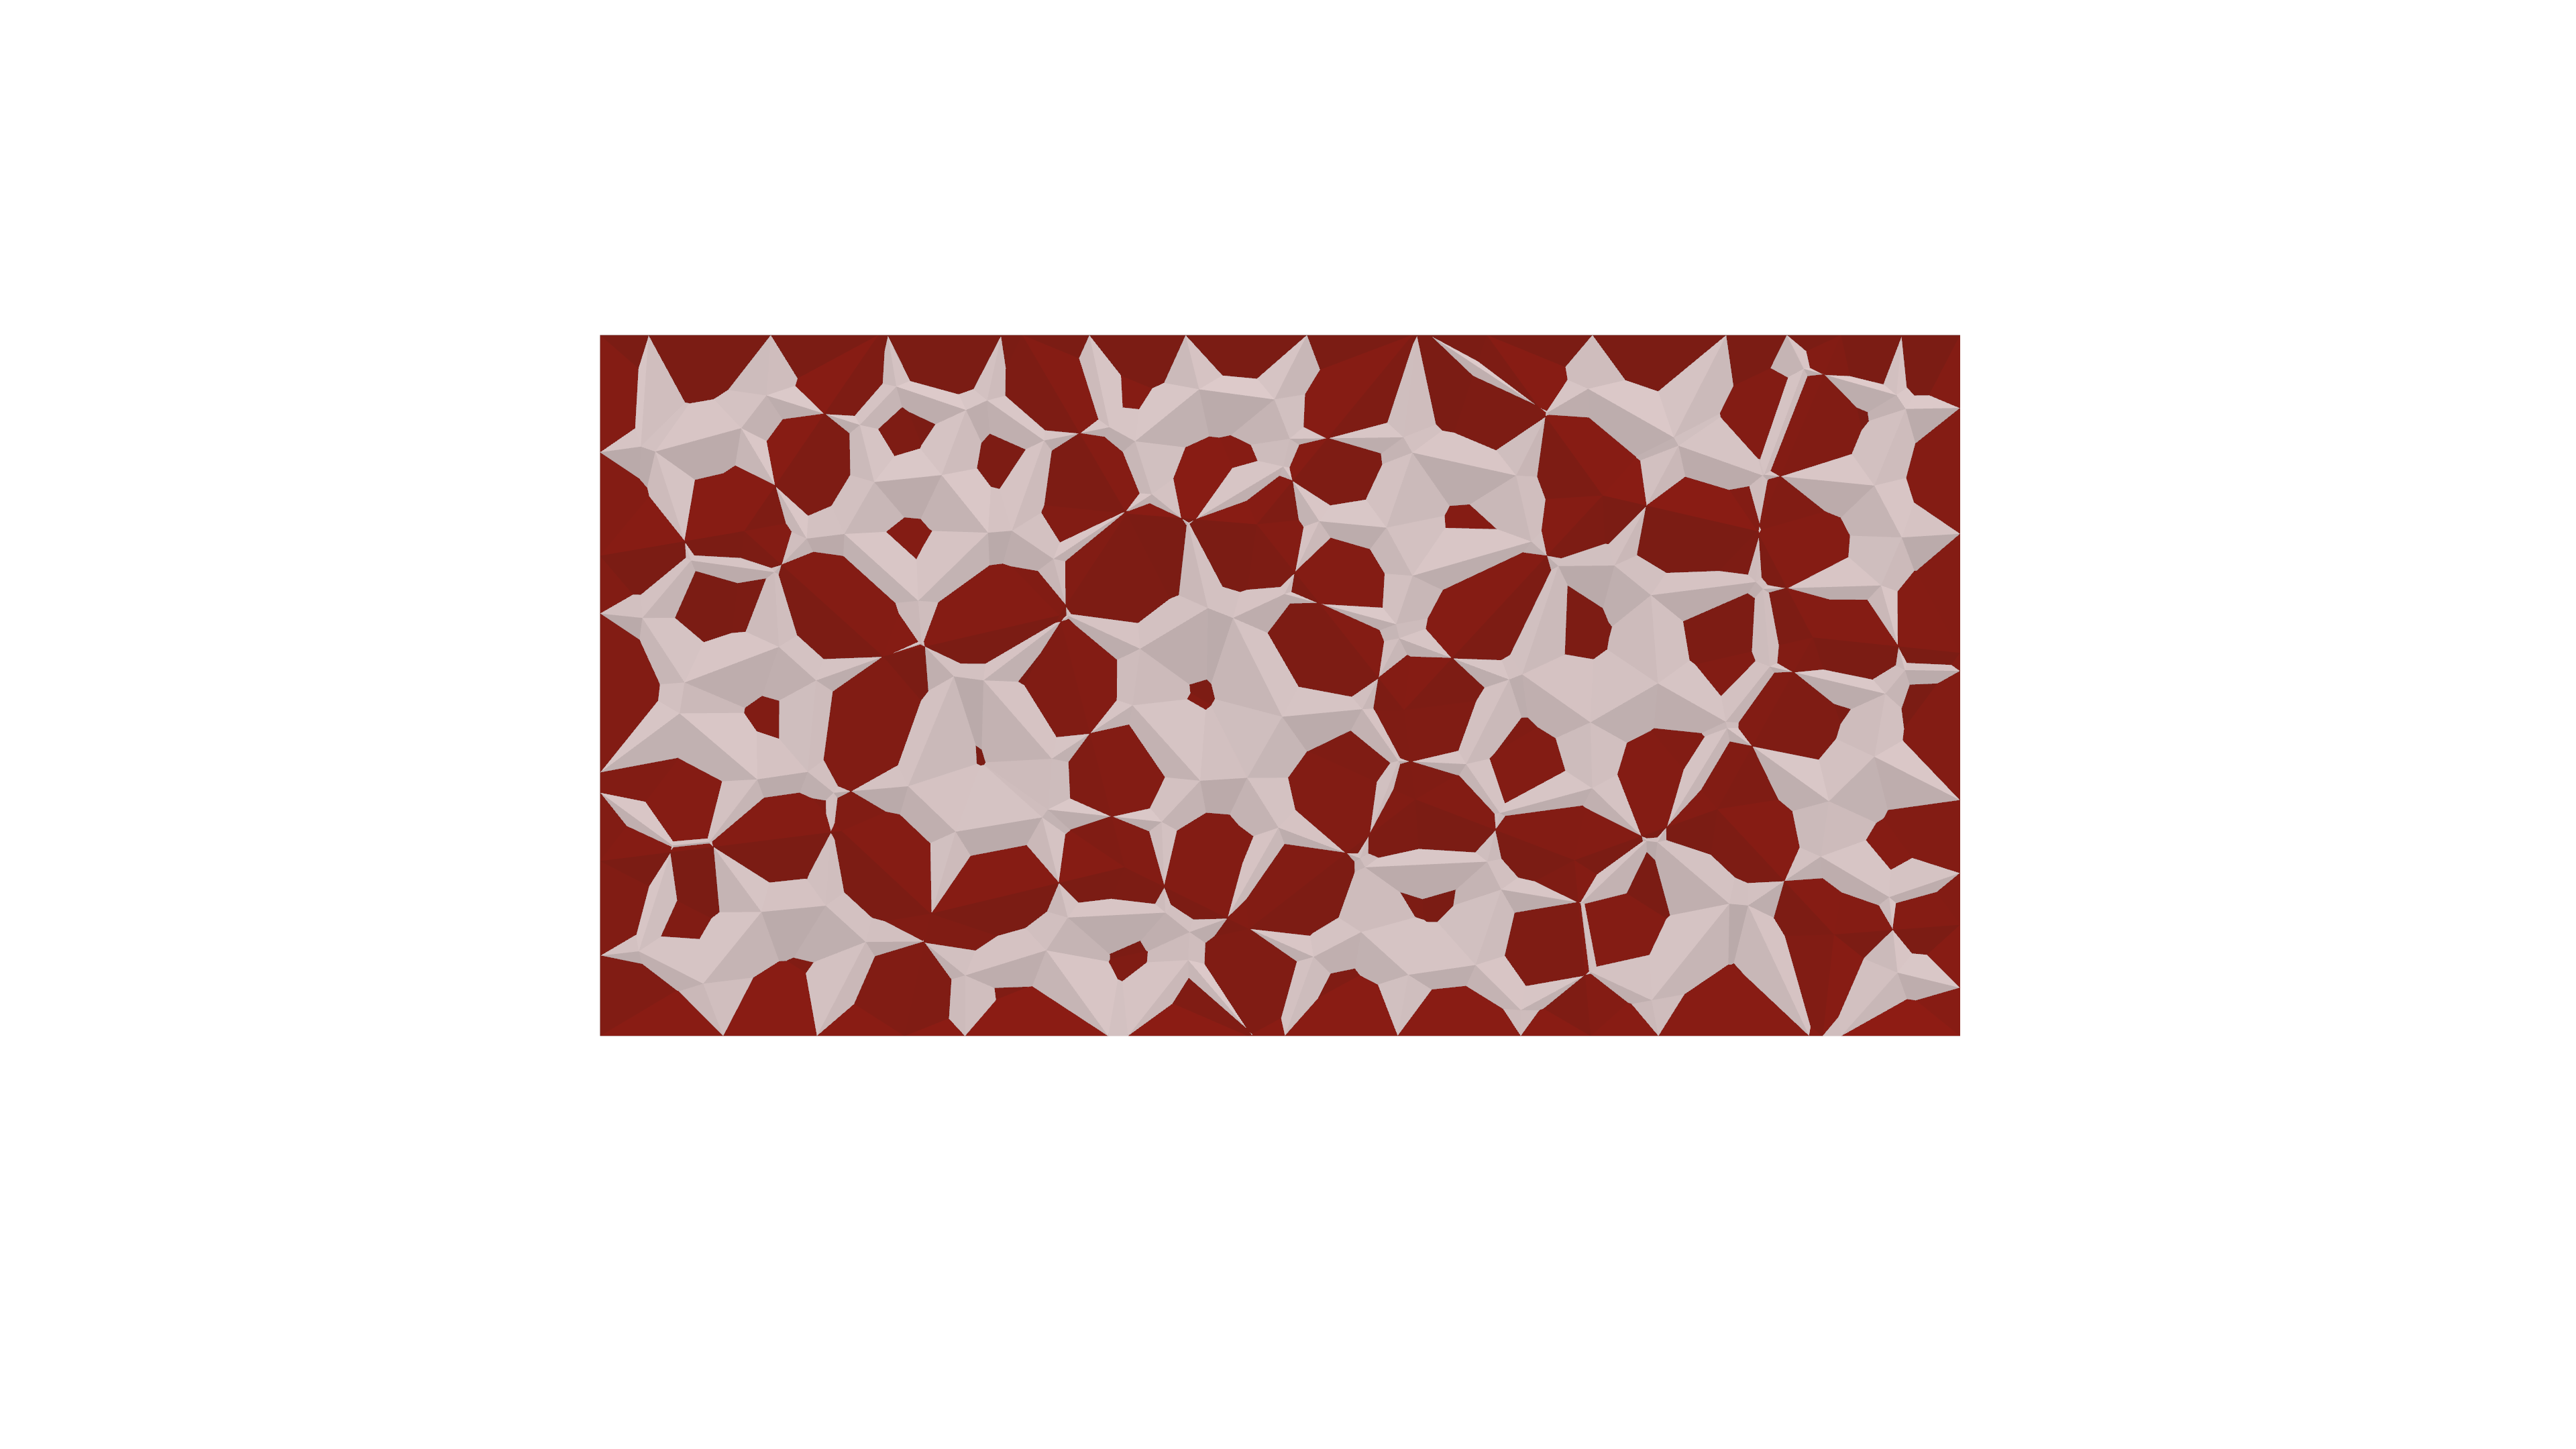
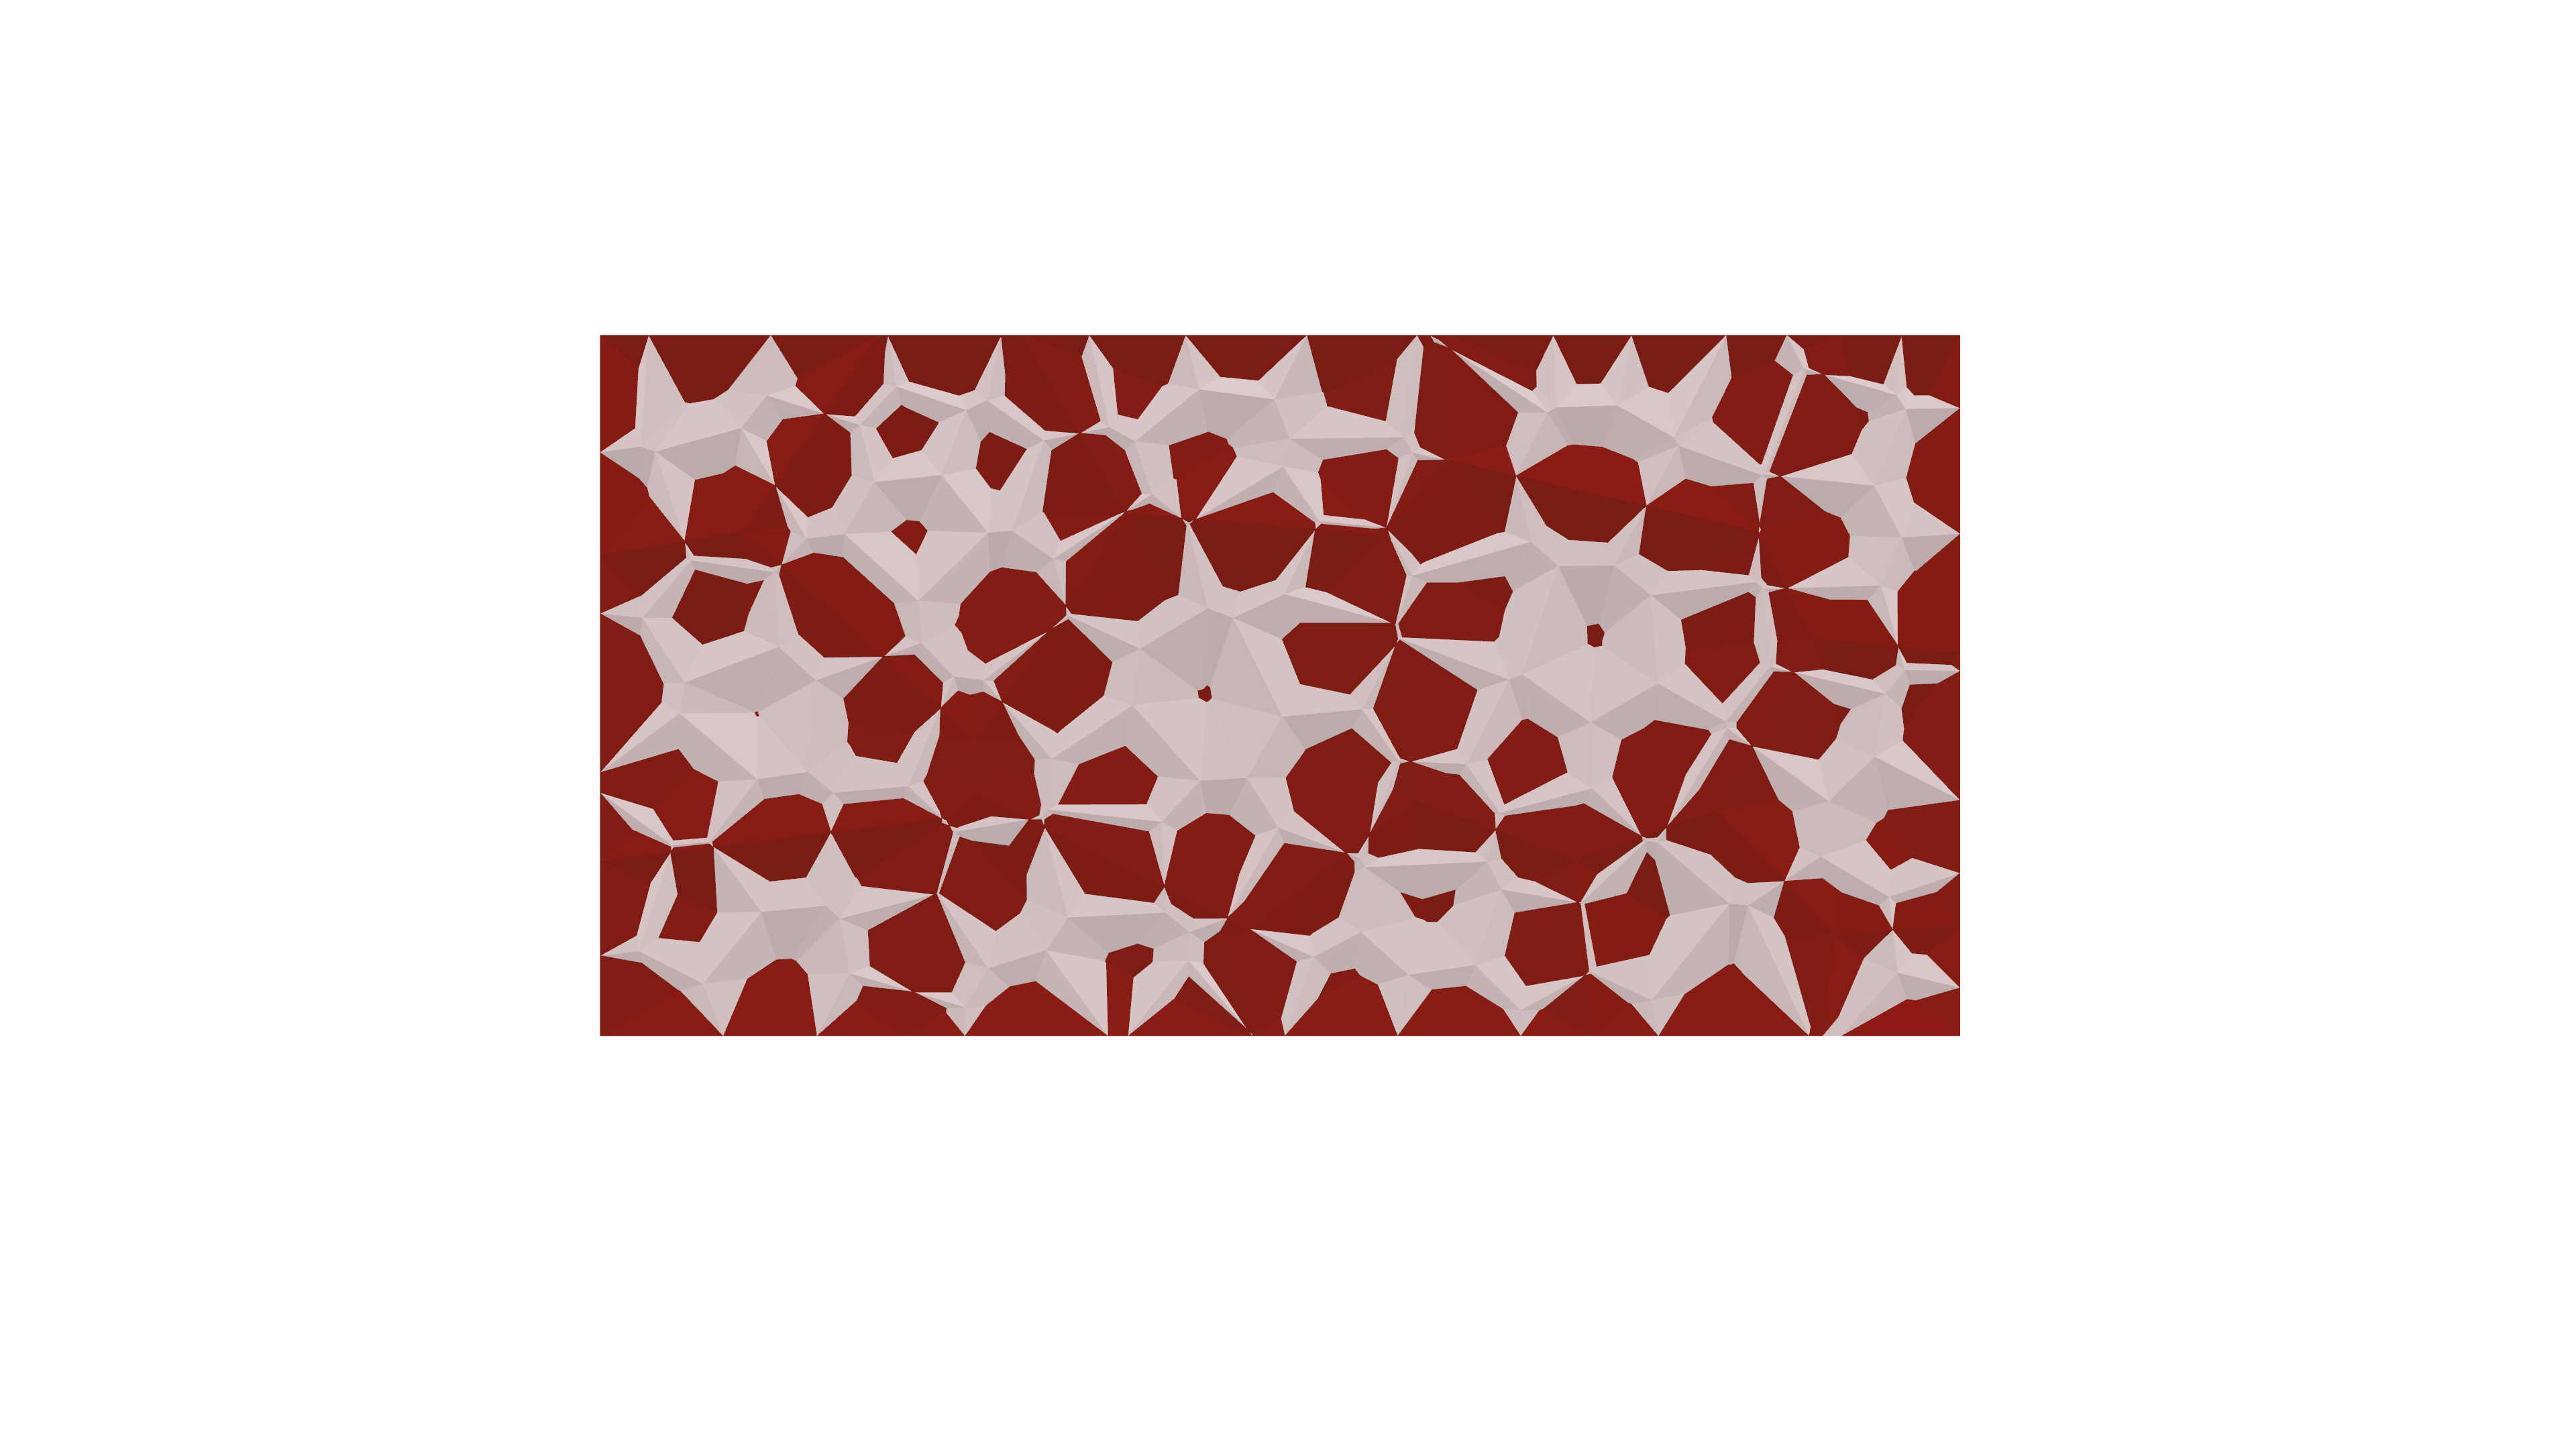
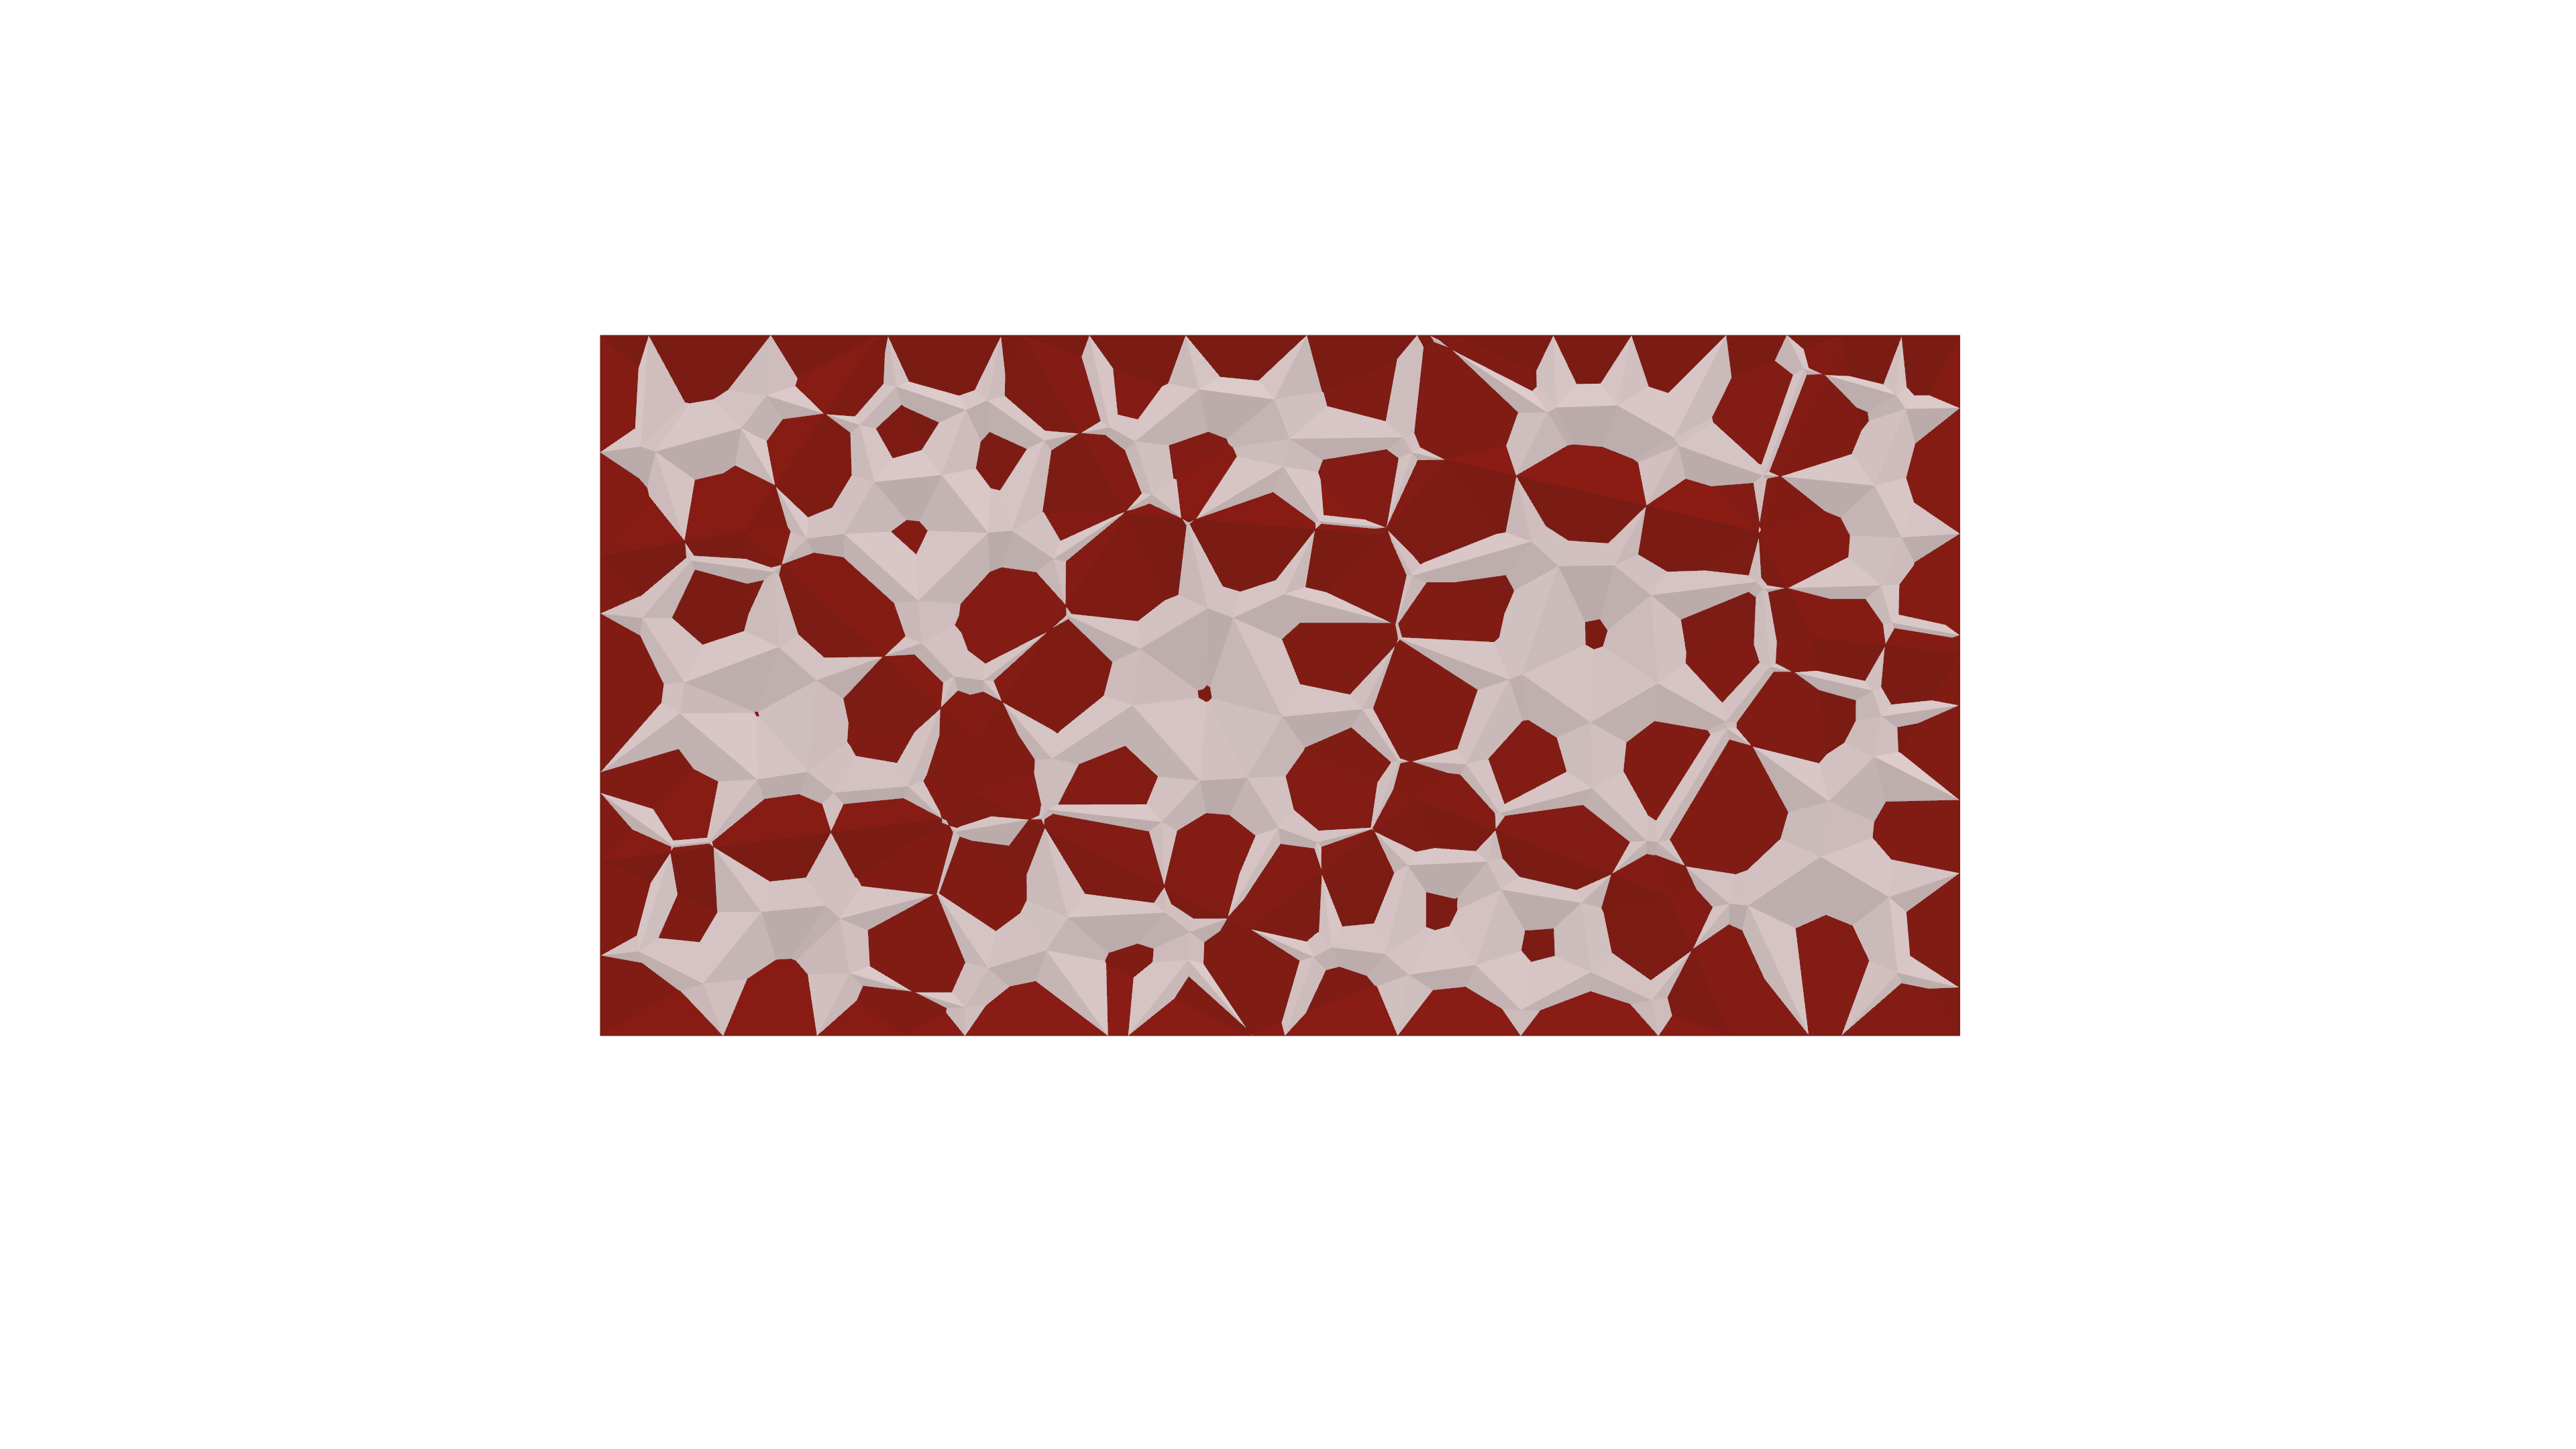
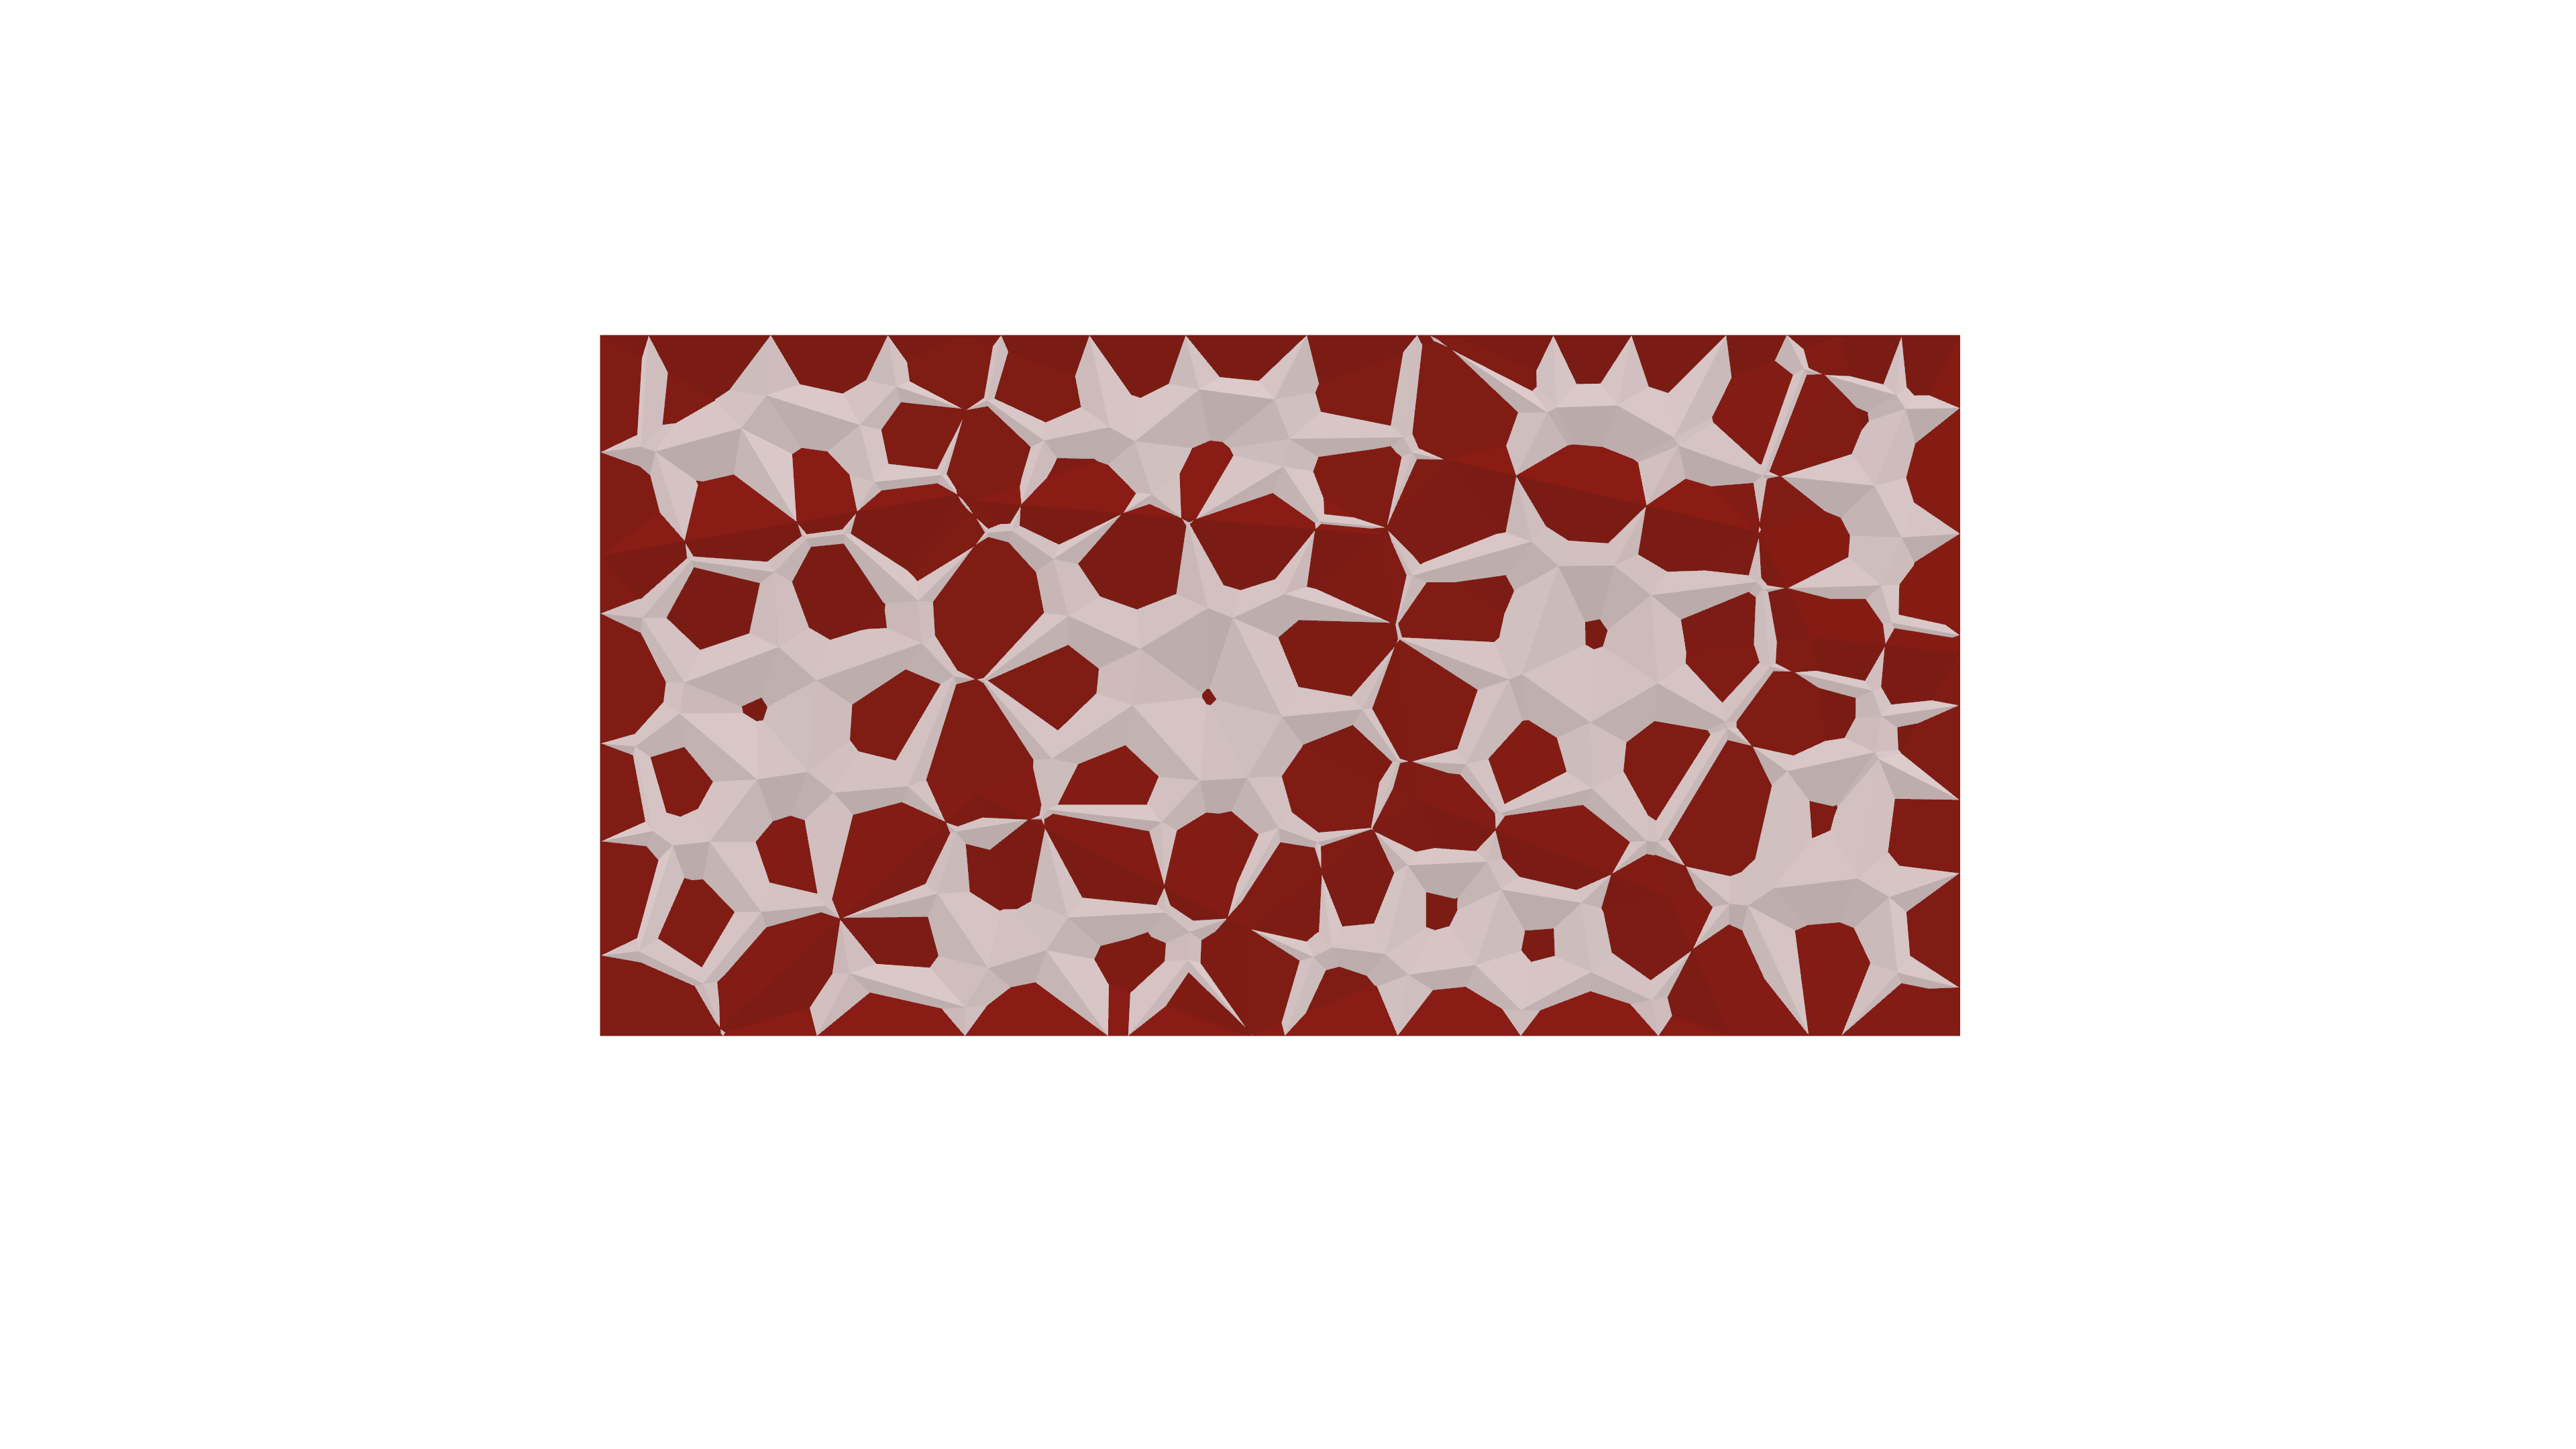
I simplified my previous design using Dendro, and ran various simulations through Colibri. Here is my updated script & results:

(Original Post Below)
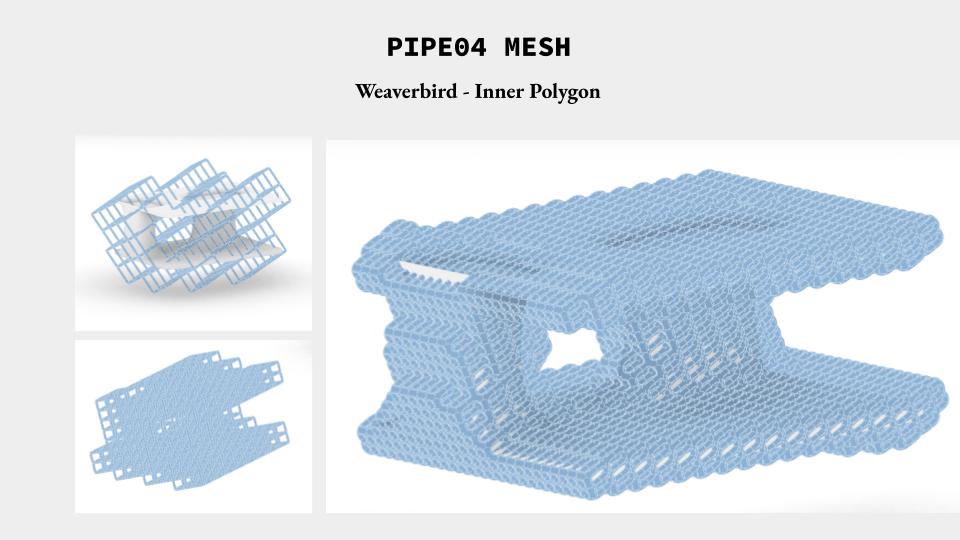
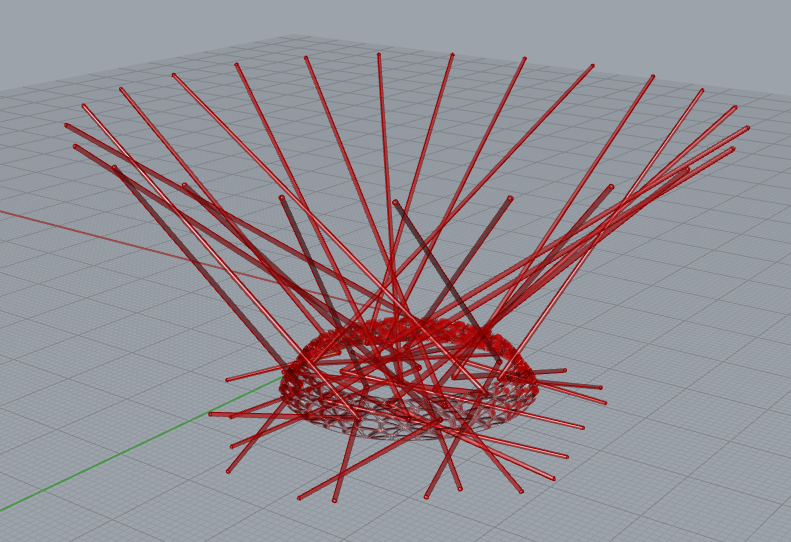
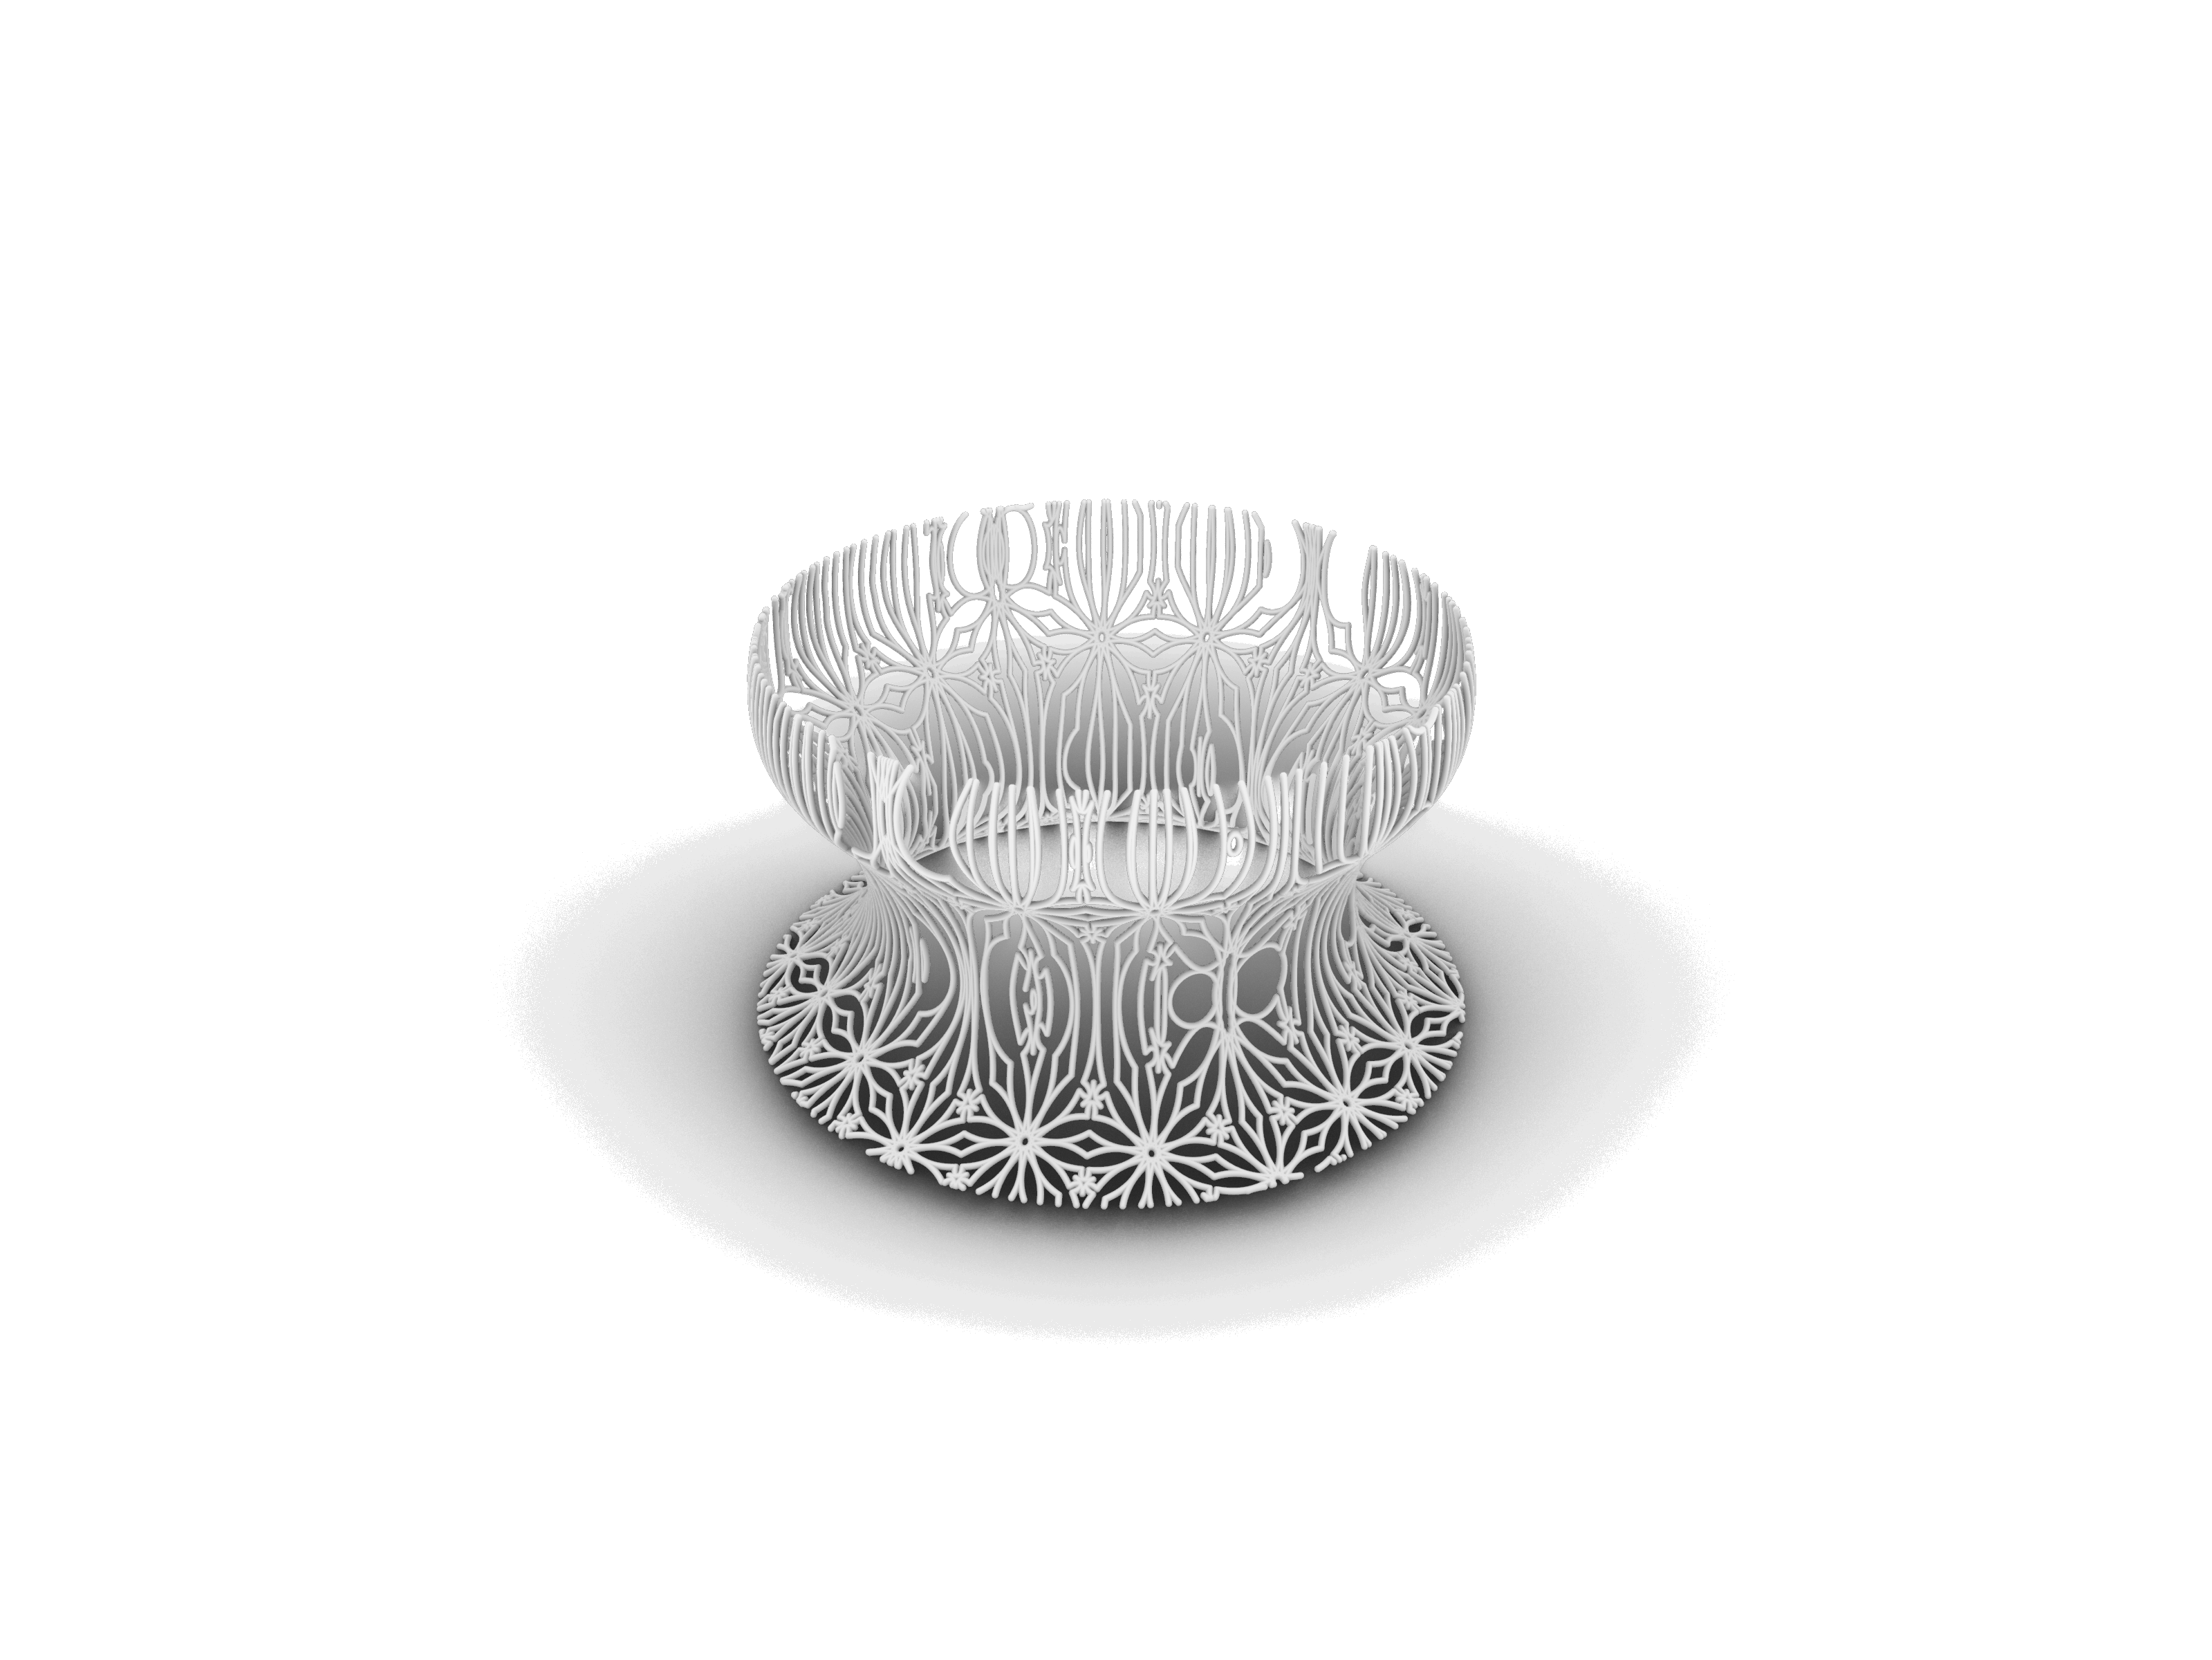
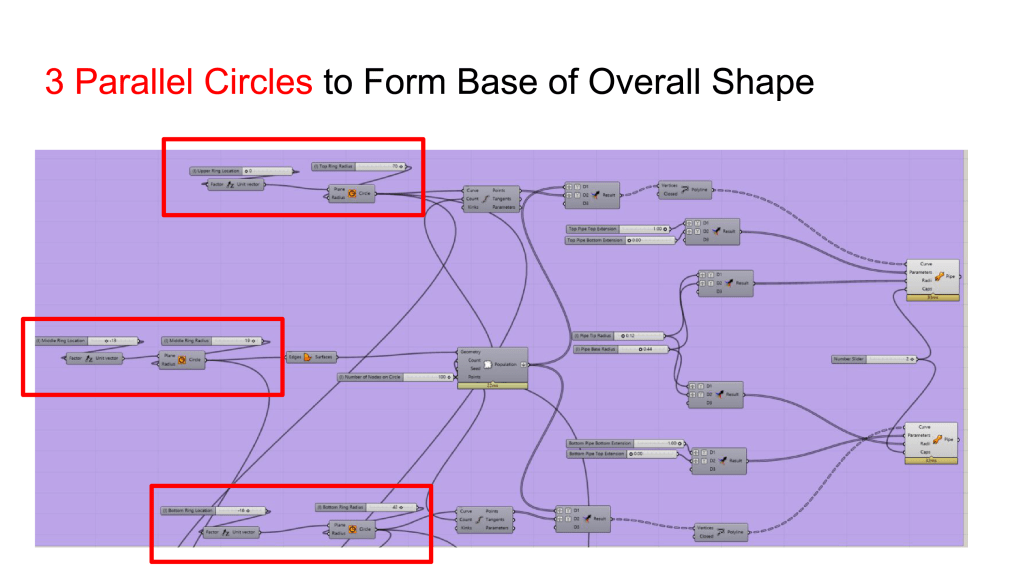
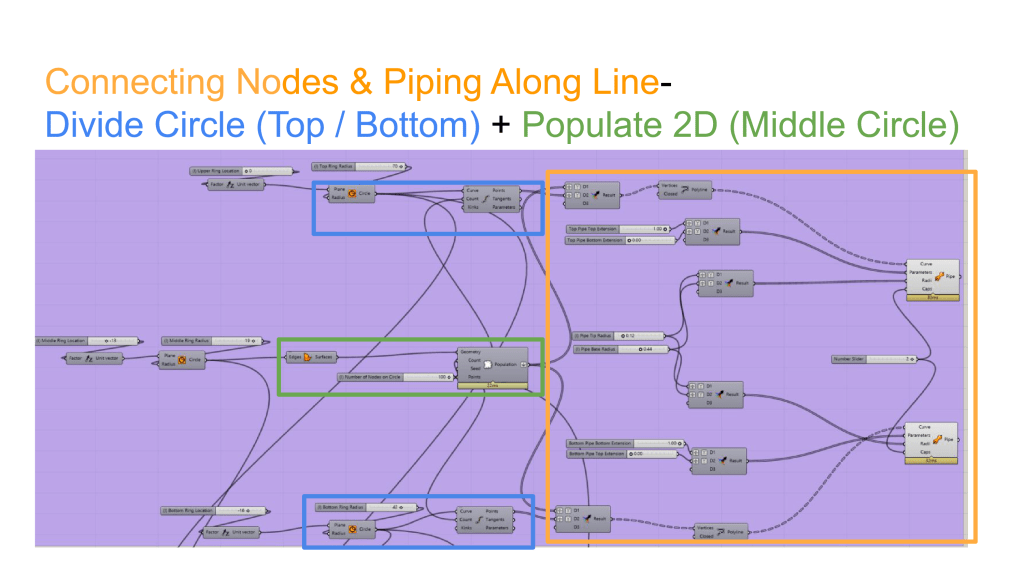
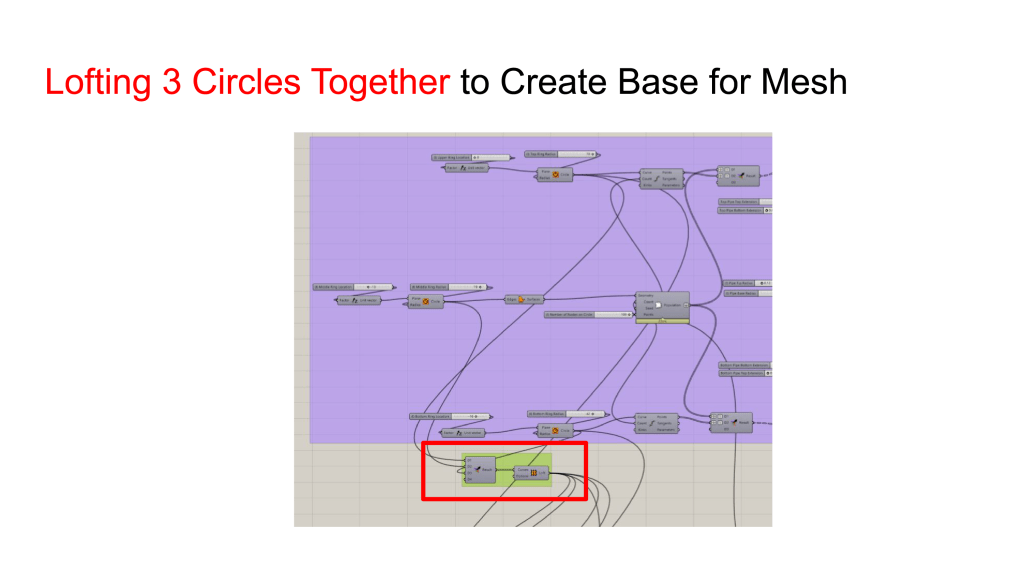
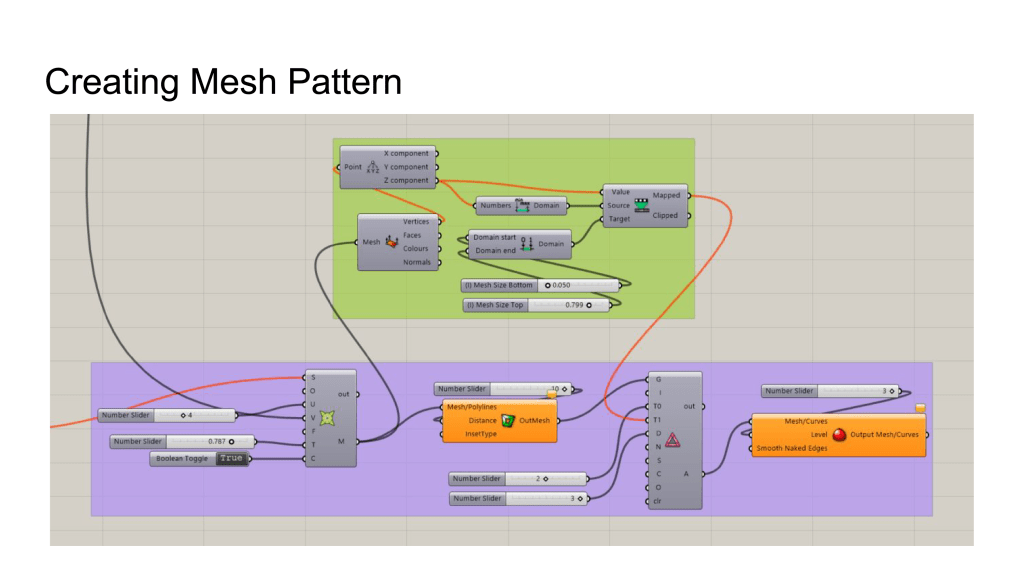
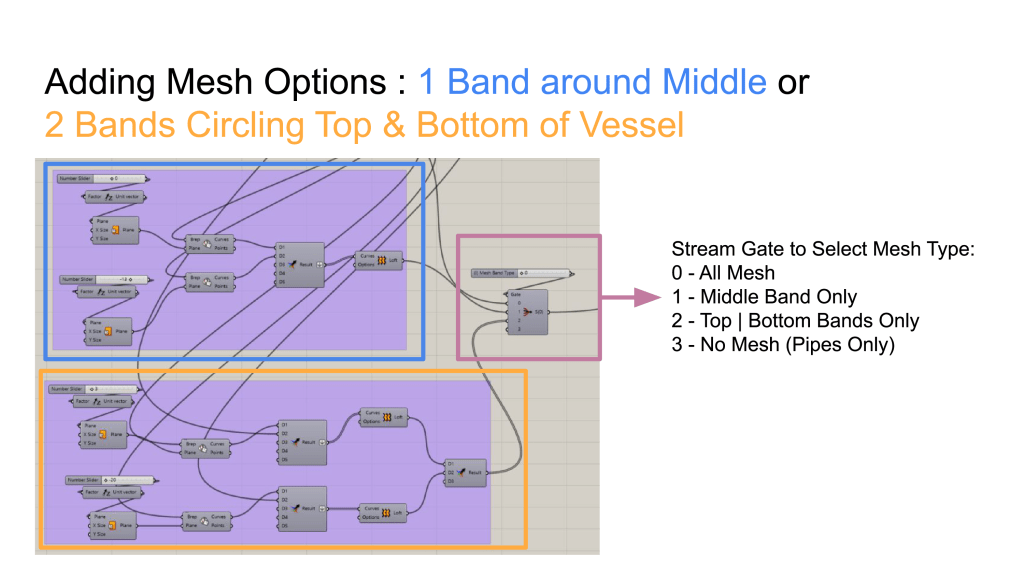
This product family’s overall shape is controlled by the radii and offset distance from main plane of 3 parallel circles, with pipes that connect nodes on all three circles to form a container. Mesh bands are added to the shape to connect pipes together.
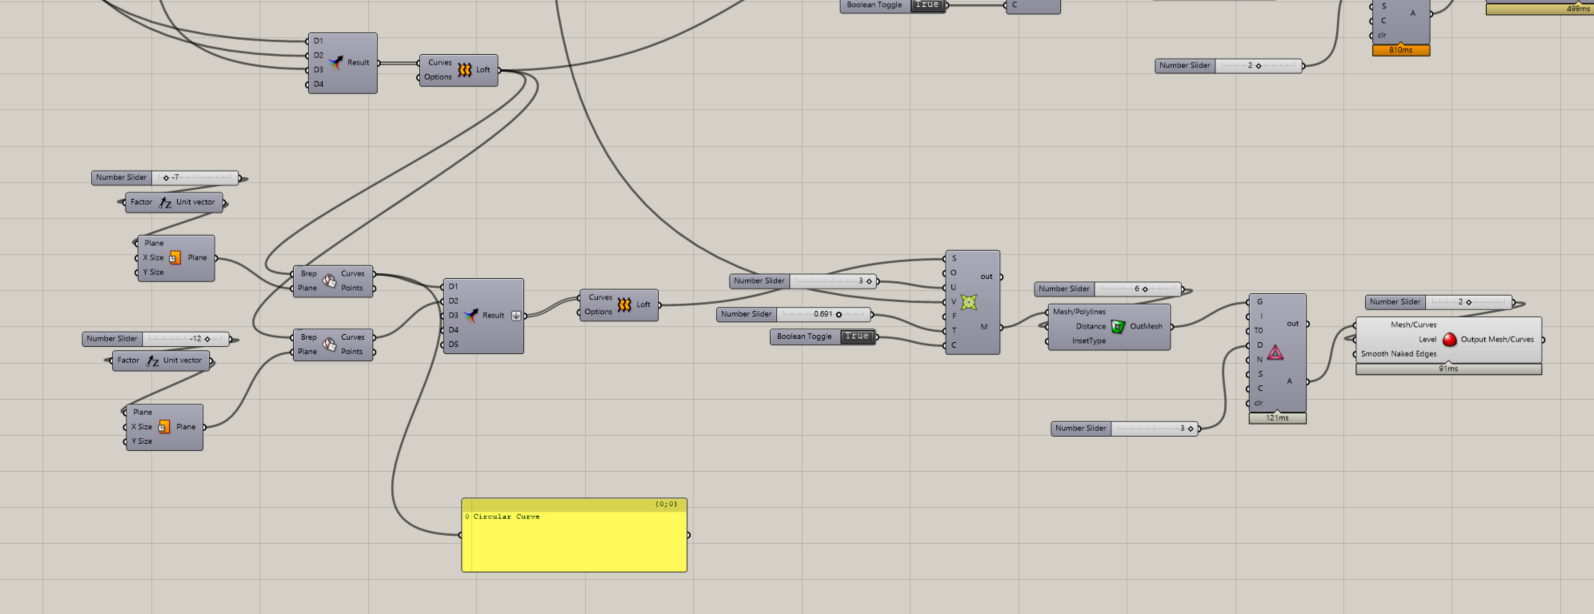
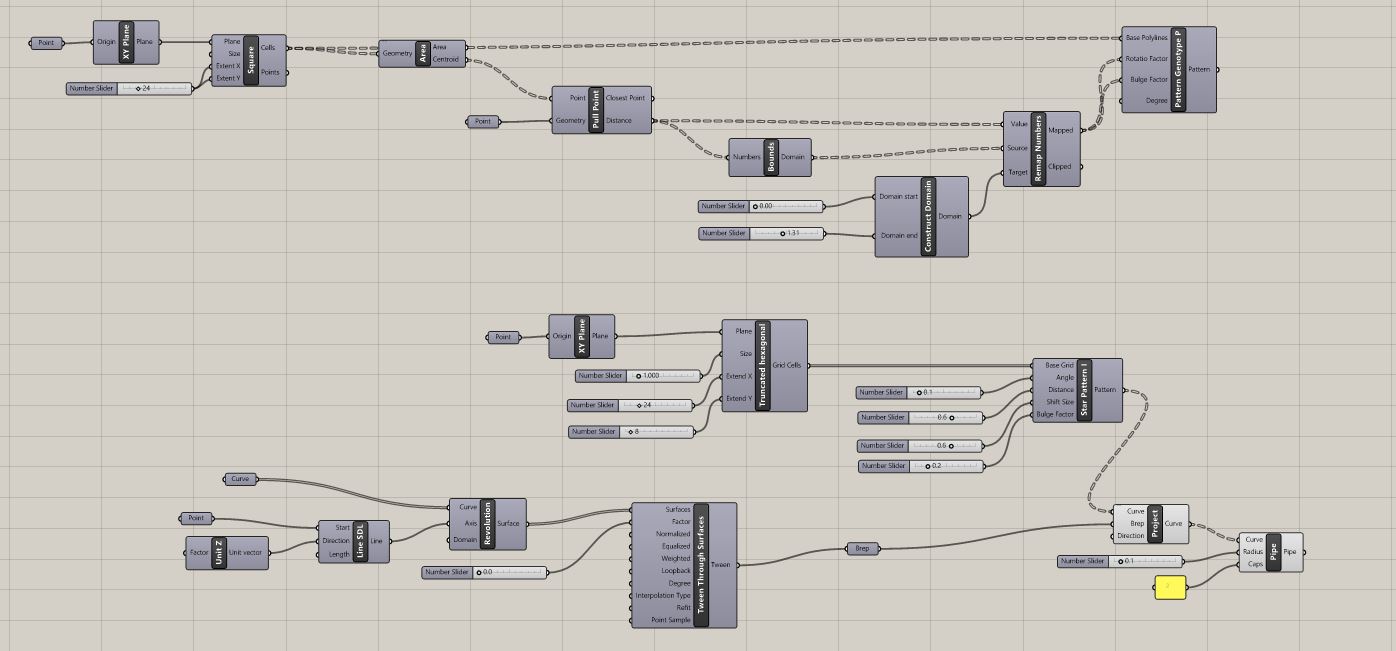
My Script:
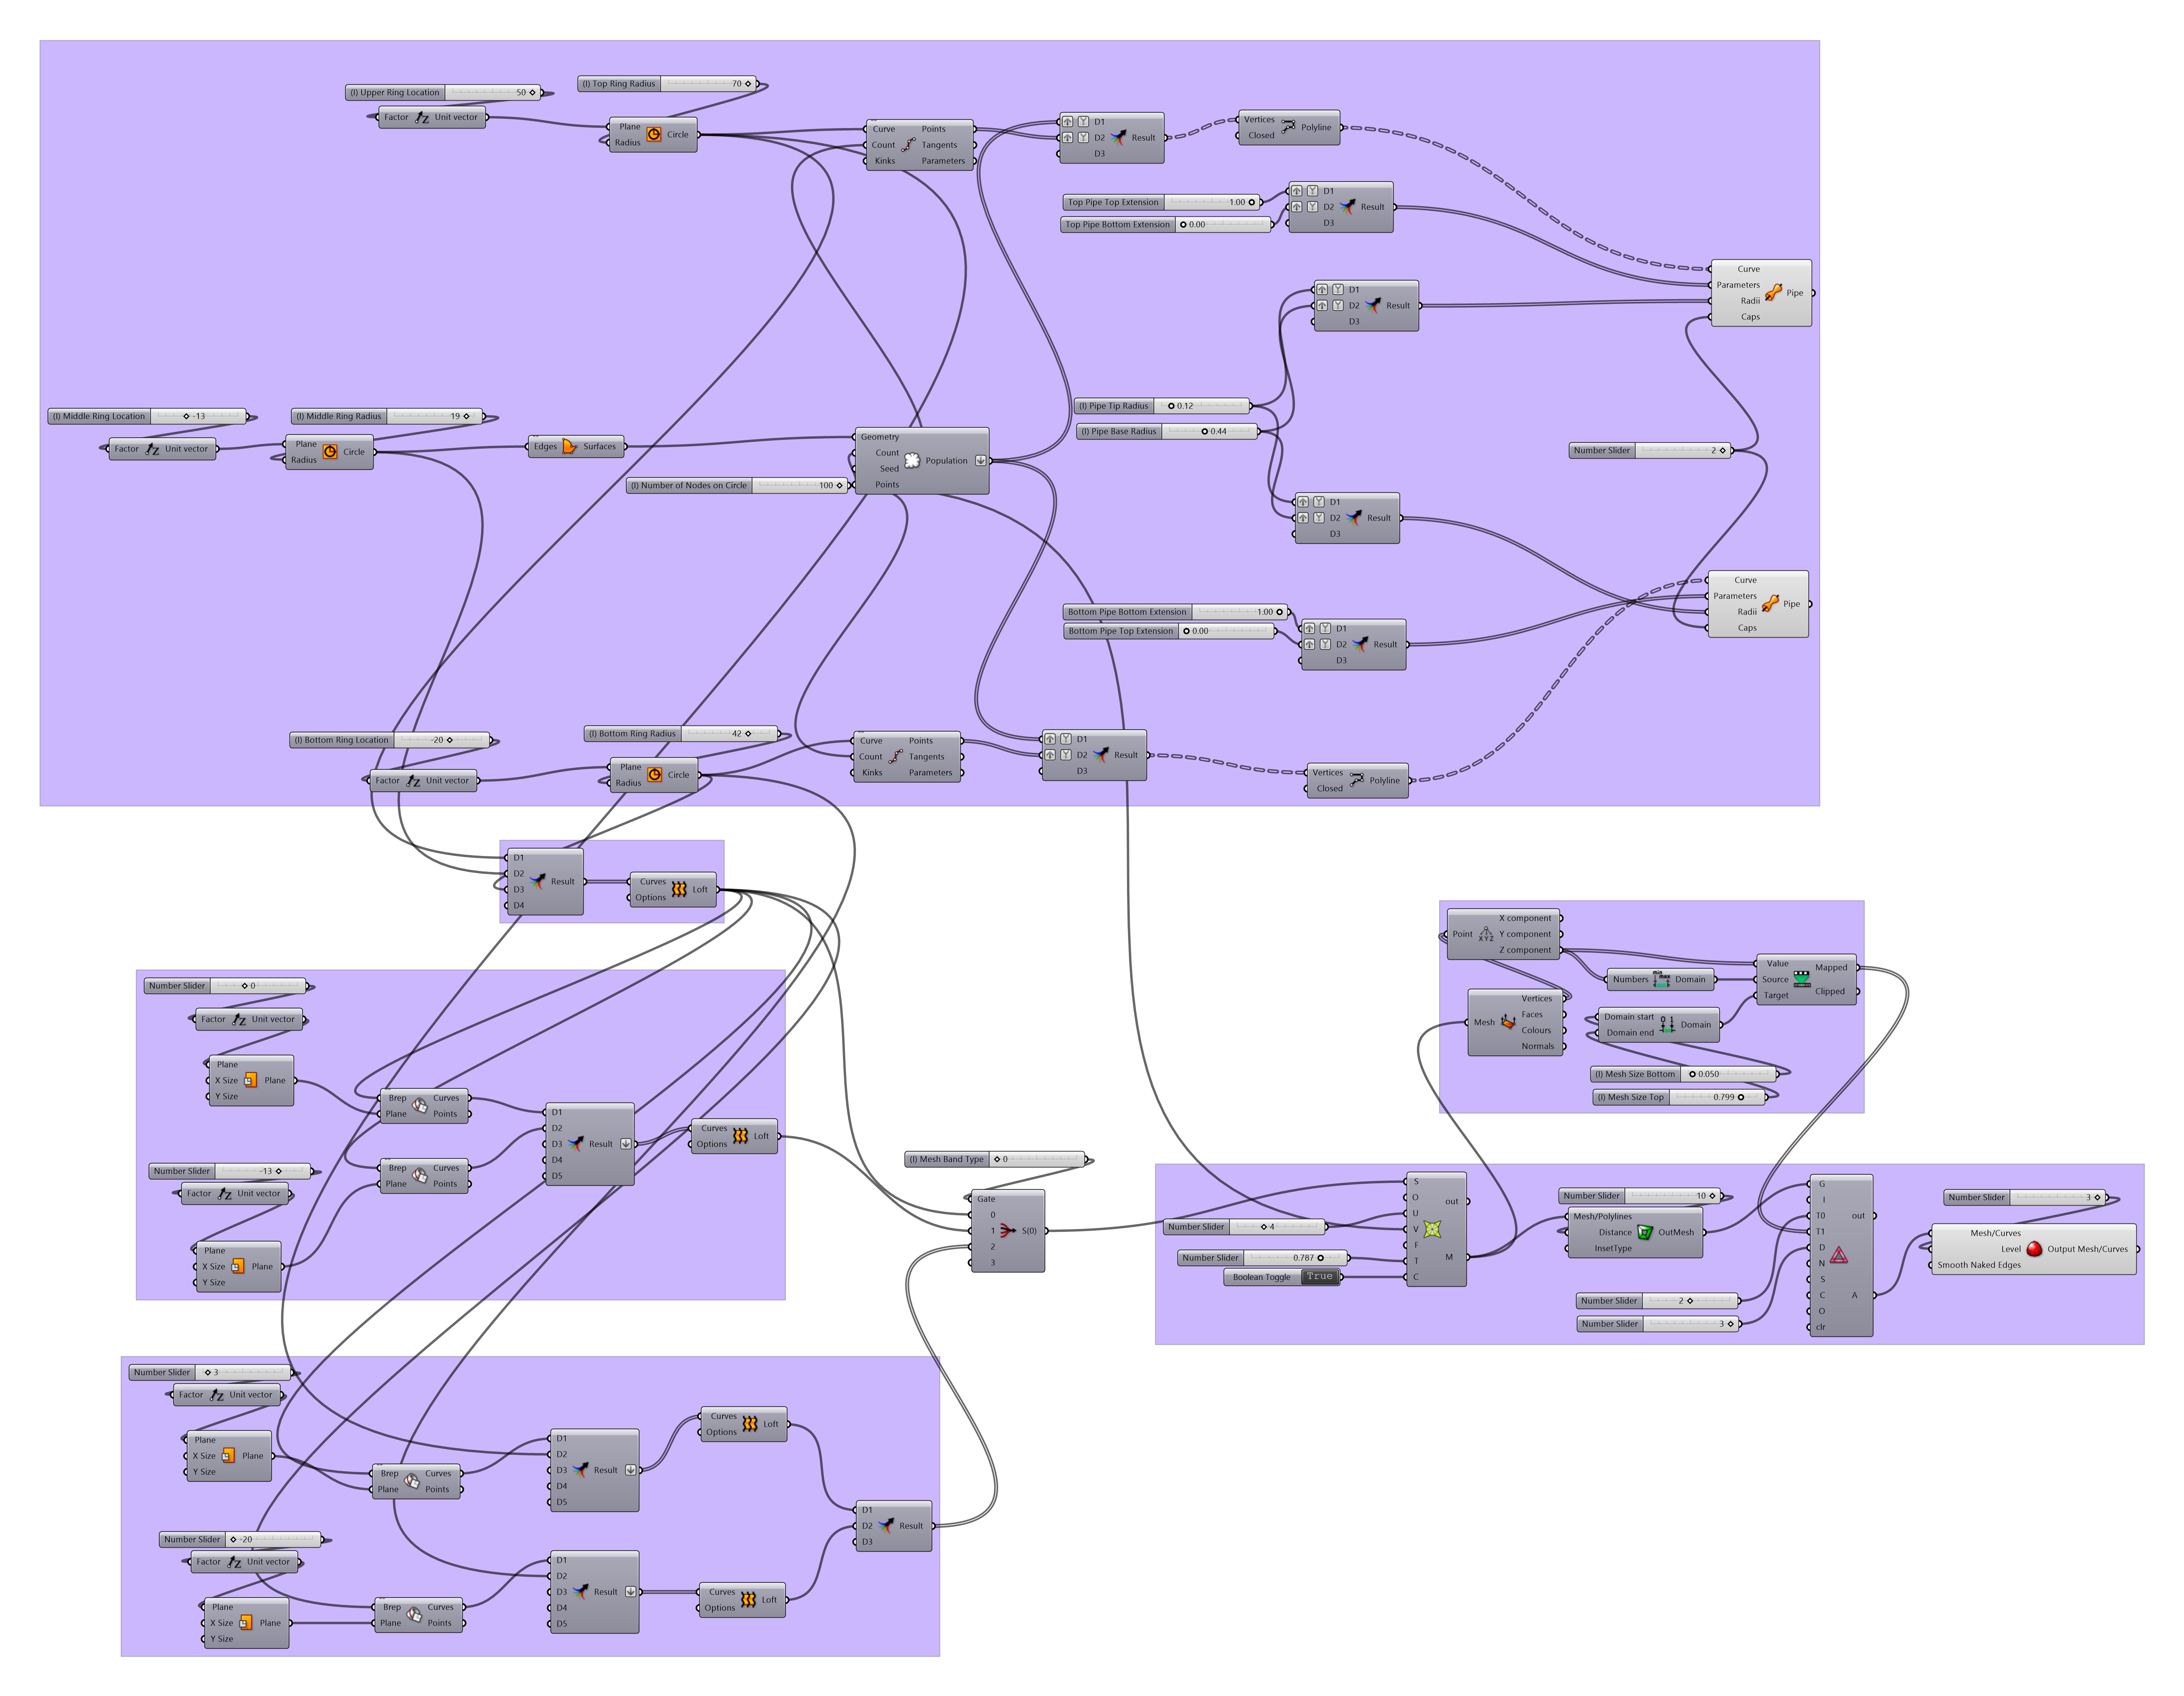
Refer to following slides for script details:
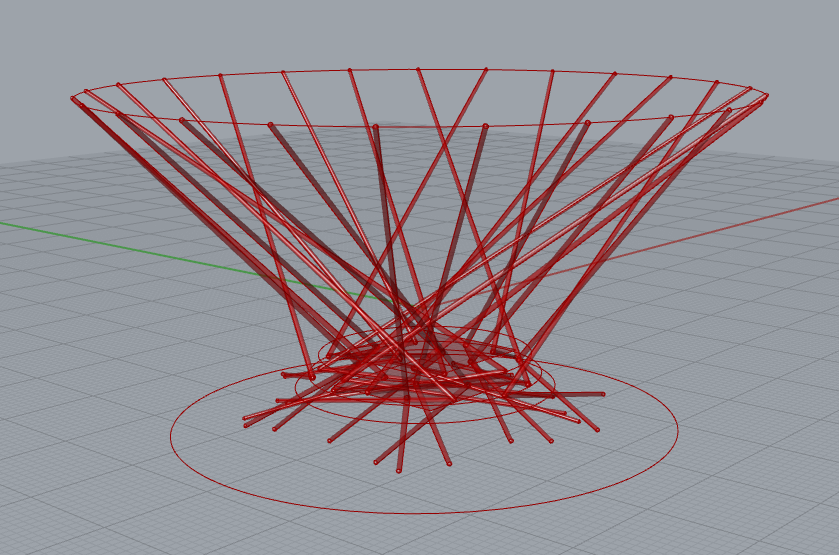
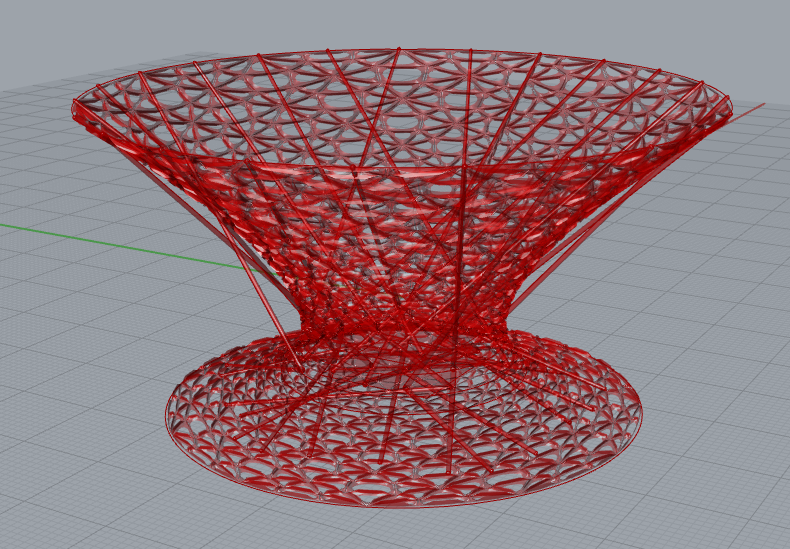
I plan to have produce a set of vessels that forms from random crisscrossing sticks. Some support might be needed, so a band of mesh will be added around parts of the crisscrossing elements to add stabilization .


This week, I’m continue working on the 3D printing project. Since my thesis topic is about ornamentation, so I want to experiment the subject using grasshopper. Please refer to the below process: )
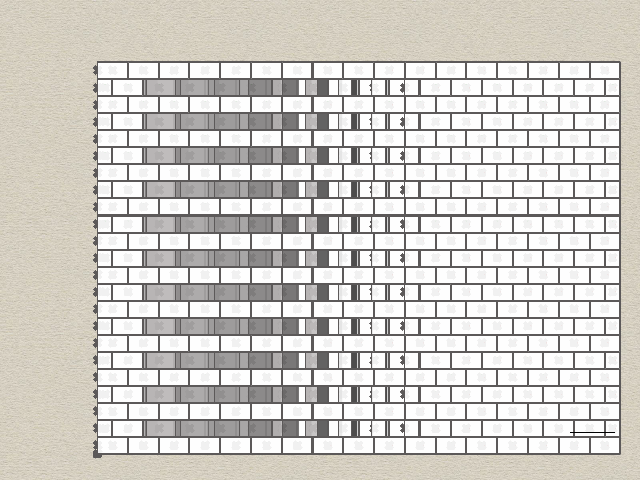
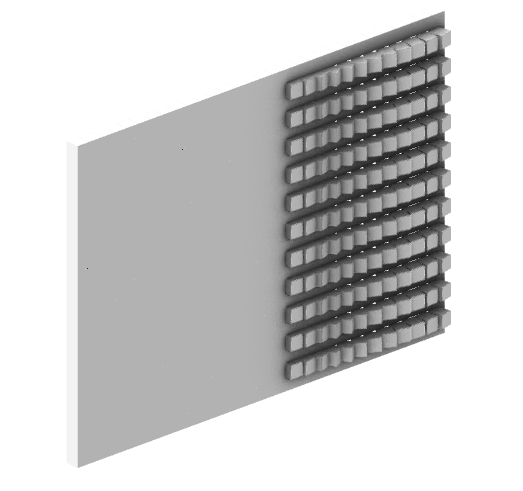
In my current 2D project I’m making a brick wall that can be rotated individually for each column

Grasshopper script


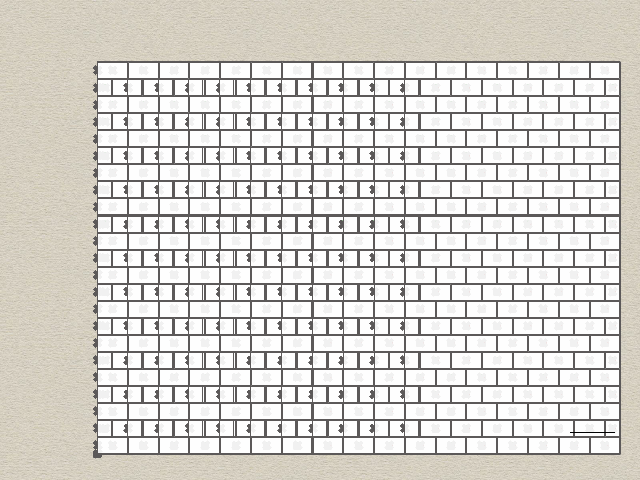
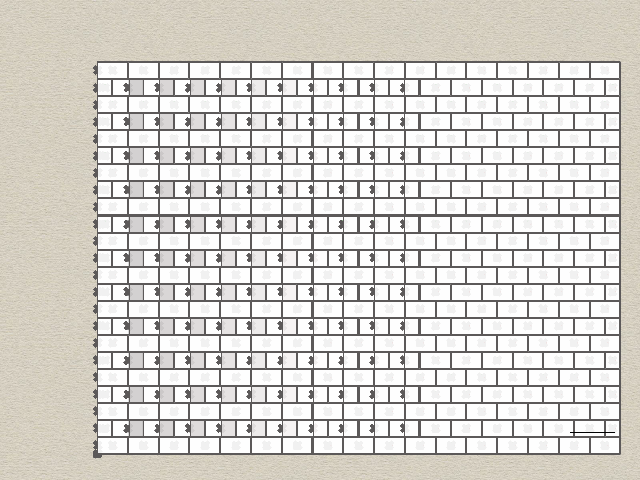
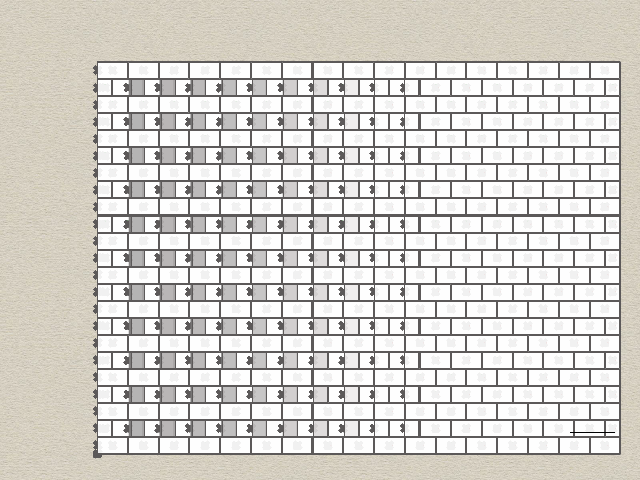
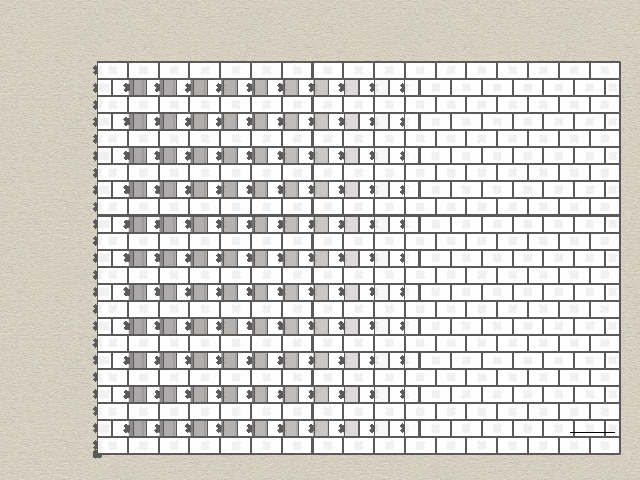
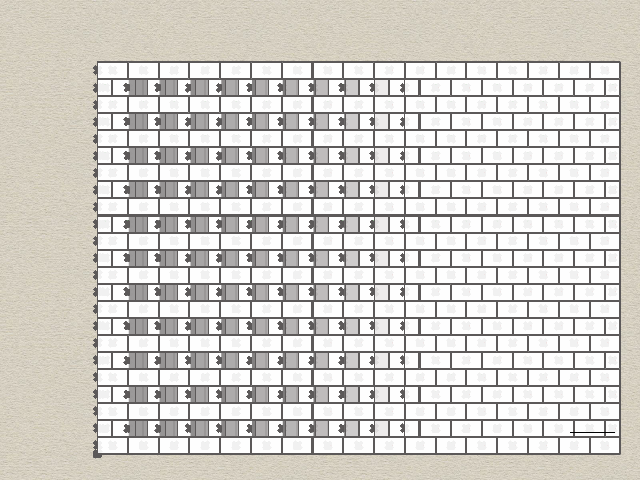
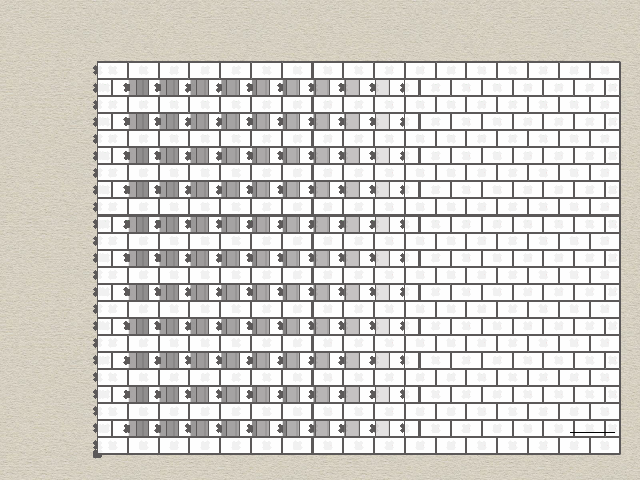

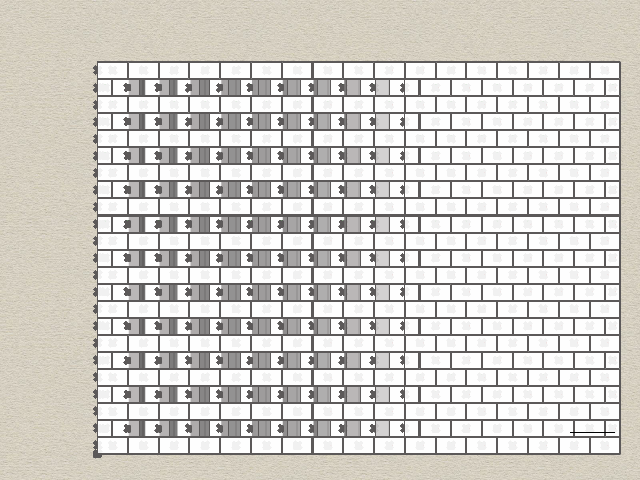
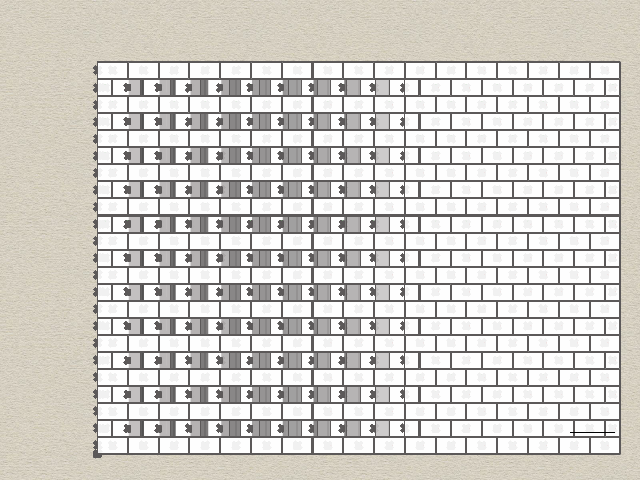
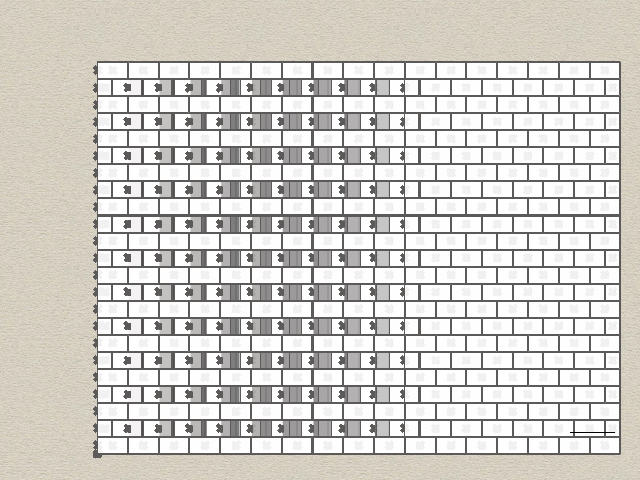

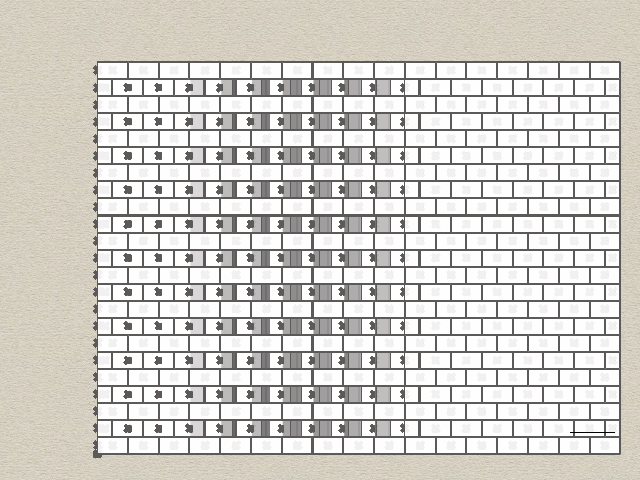

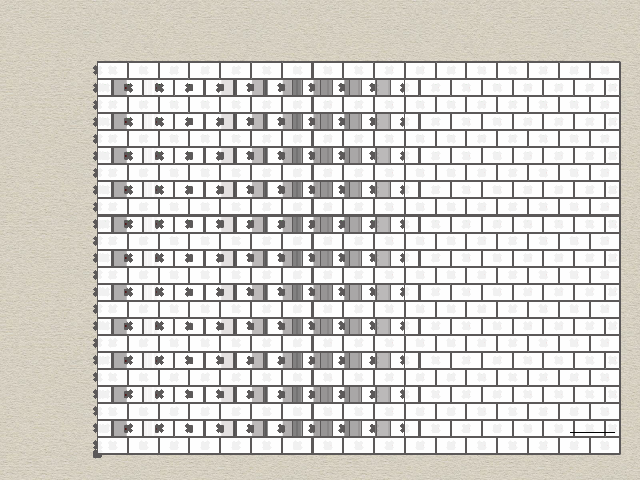
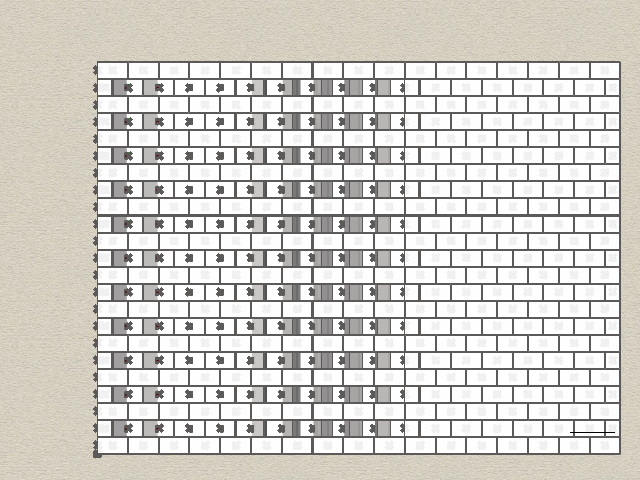

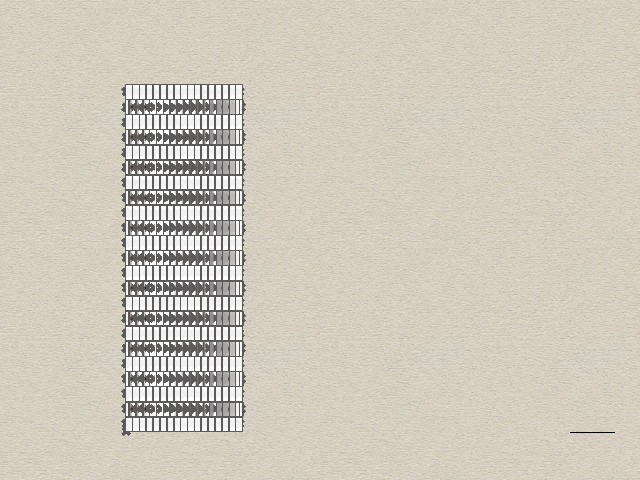
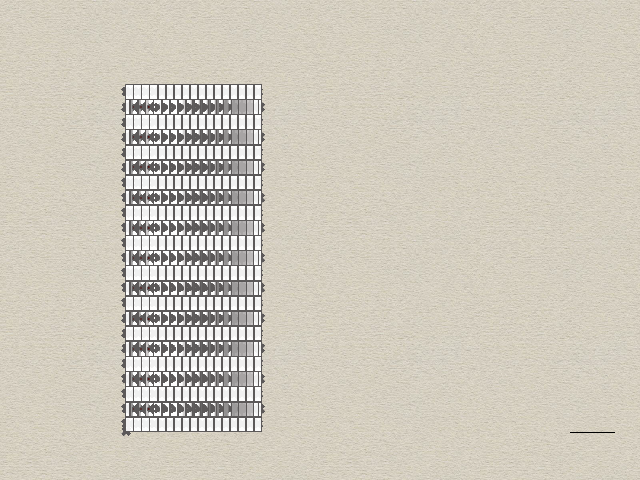
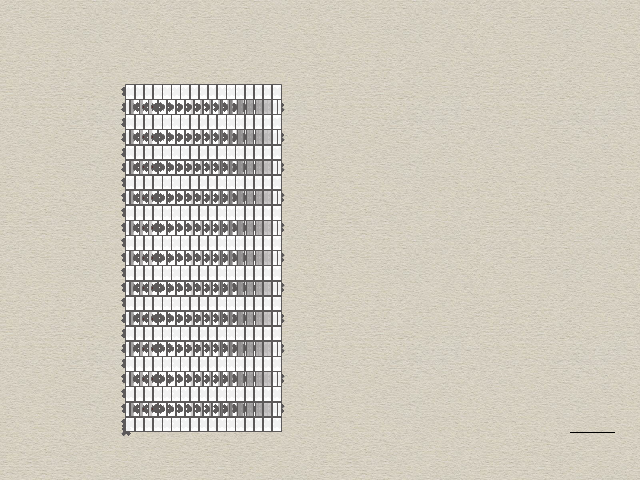

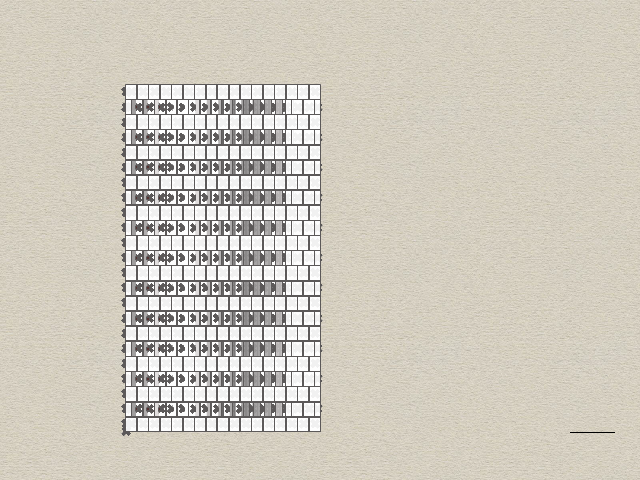
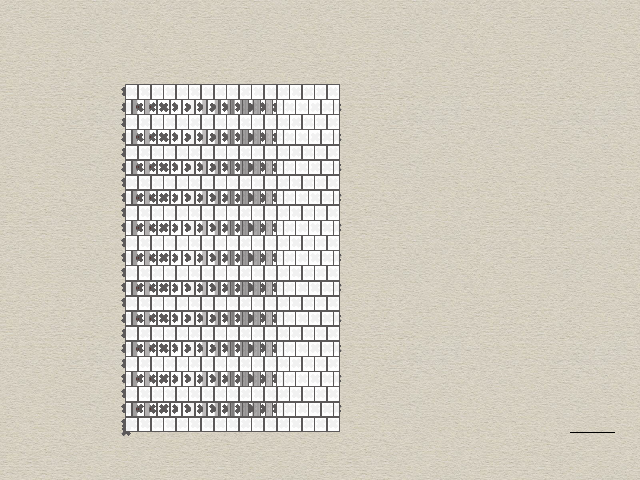
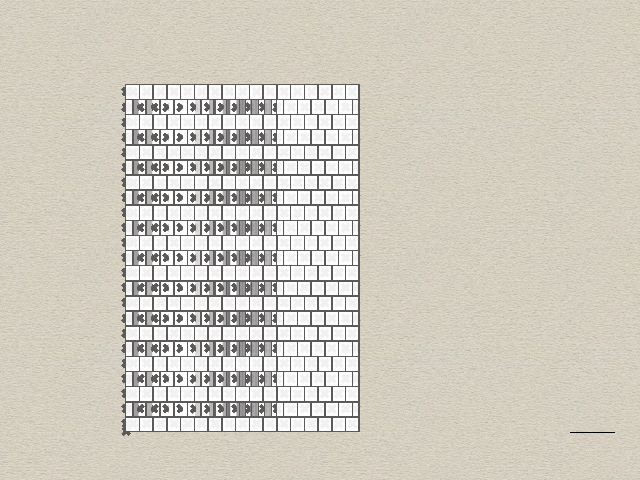

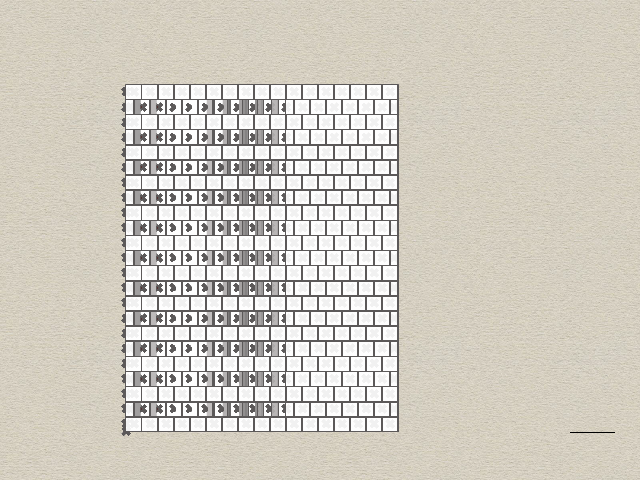
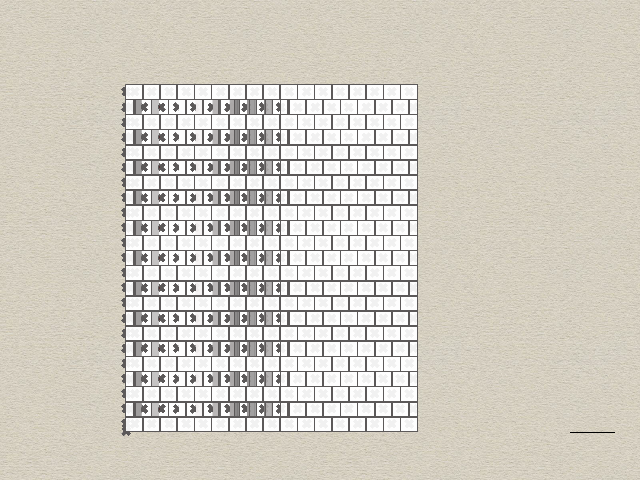
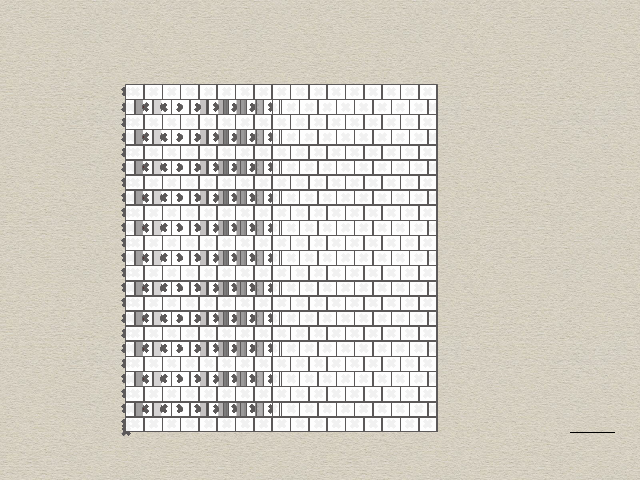

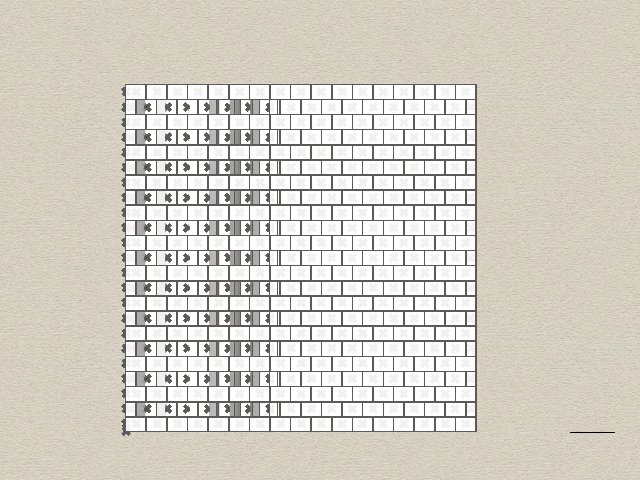
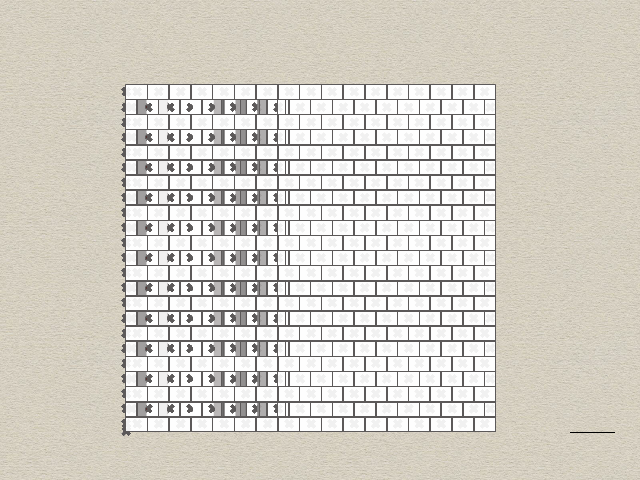
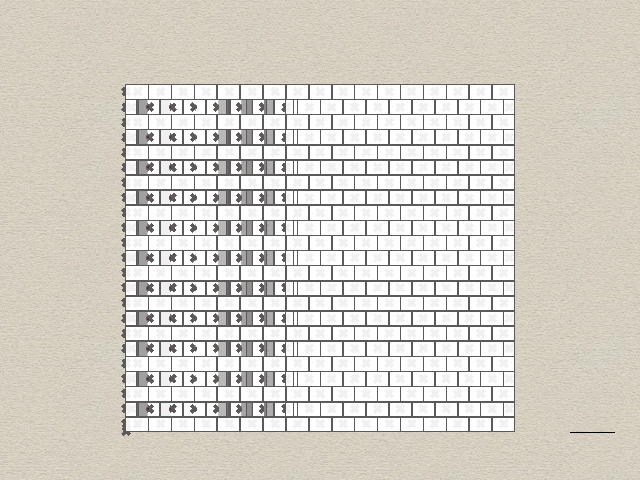
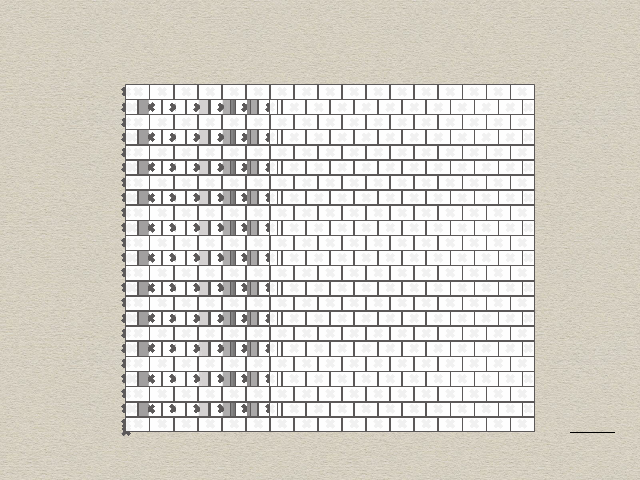
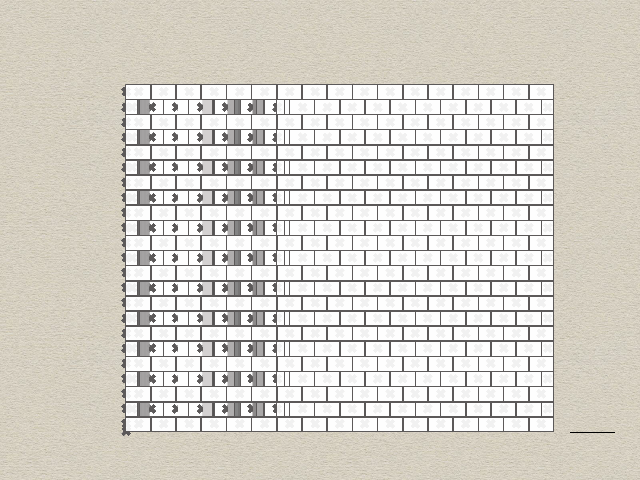
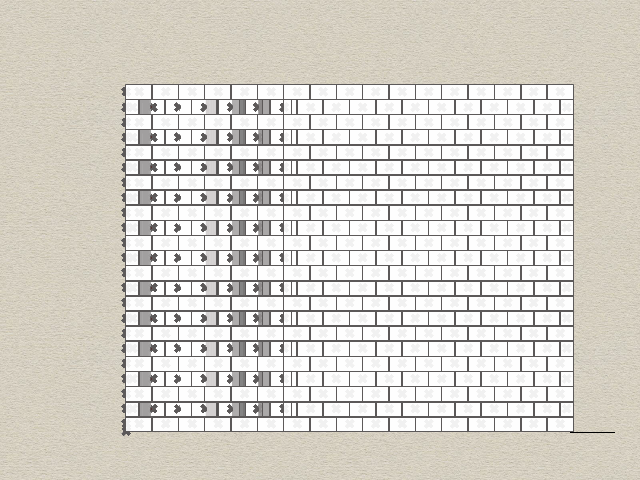
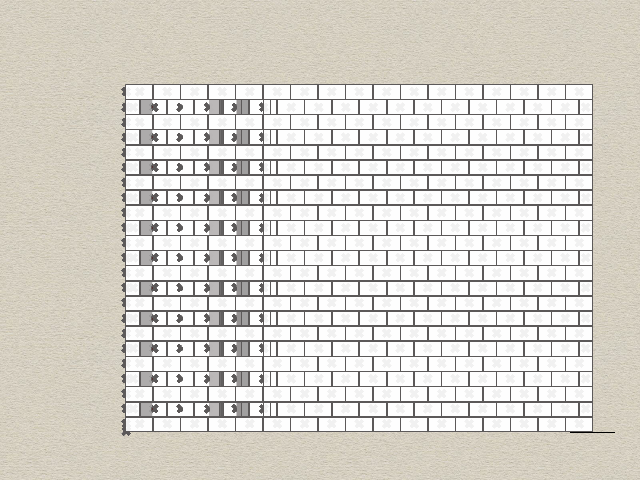
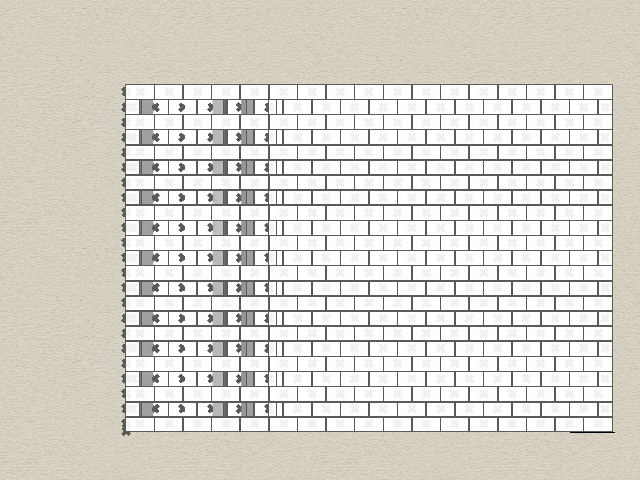

Shape diver QR code
In my current 2 D project, I am crafting a versatile wall panel designed for use as an acoustical element in movie theaters. The process involves transitioning from a basic triangular shape to extracting the central point, thereby generating compelling three-dimensional forms on the wall.


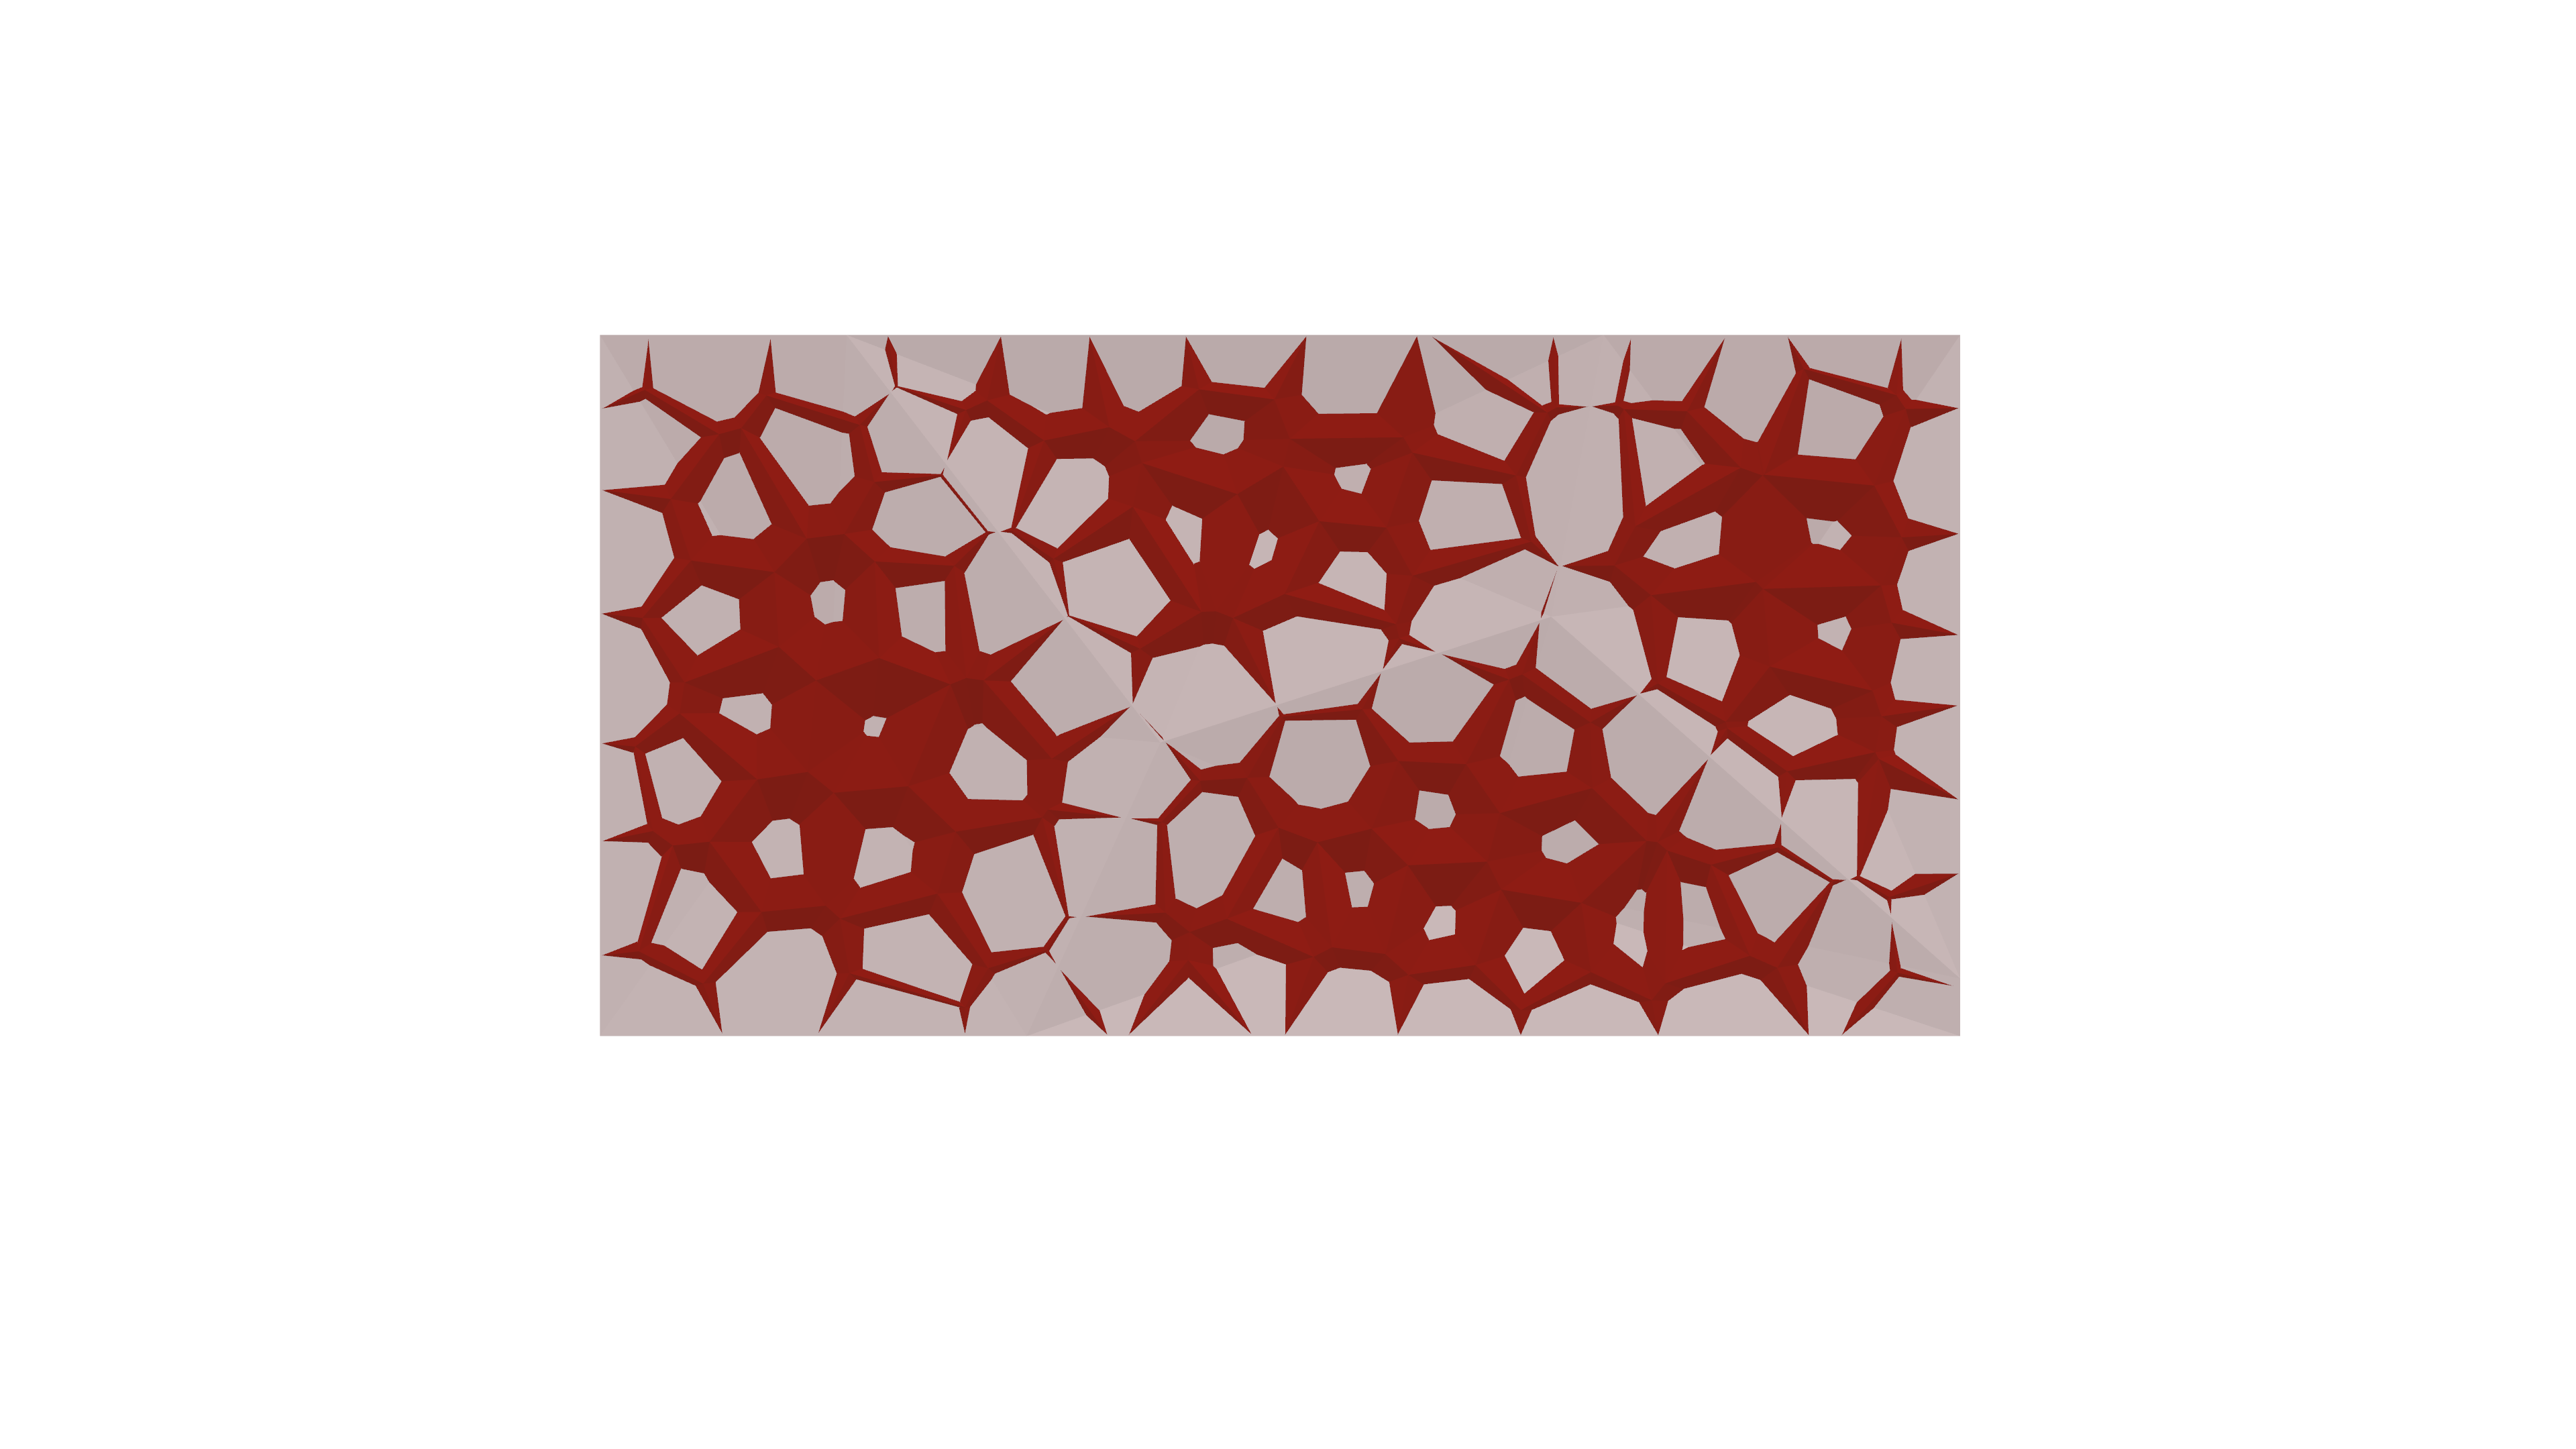


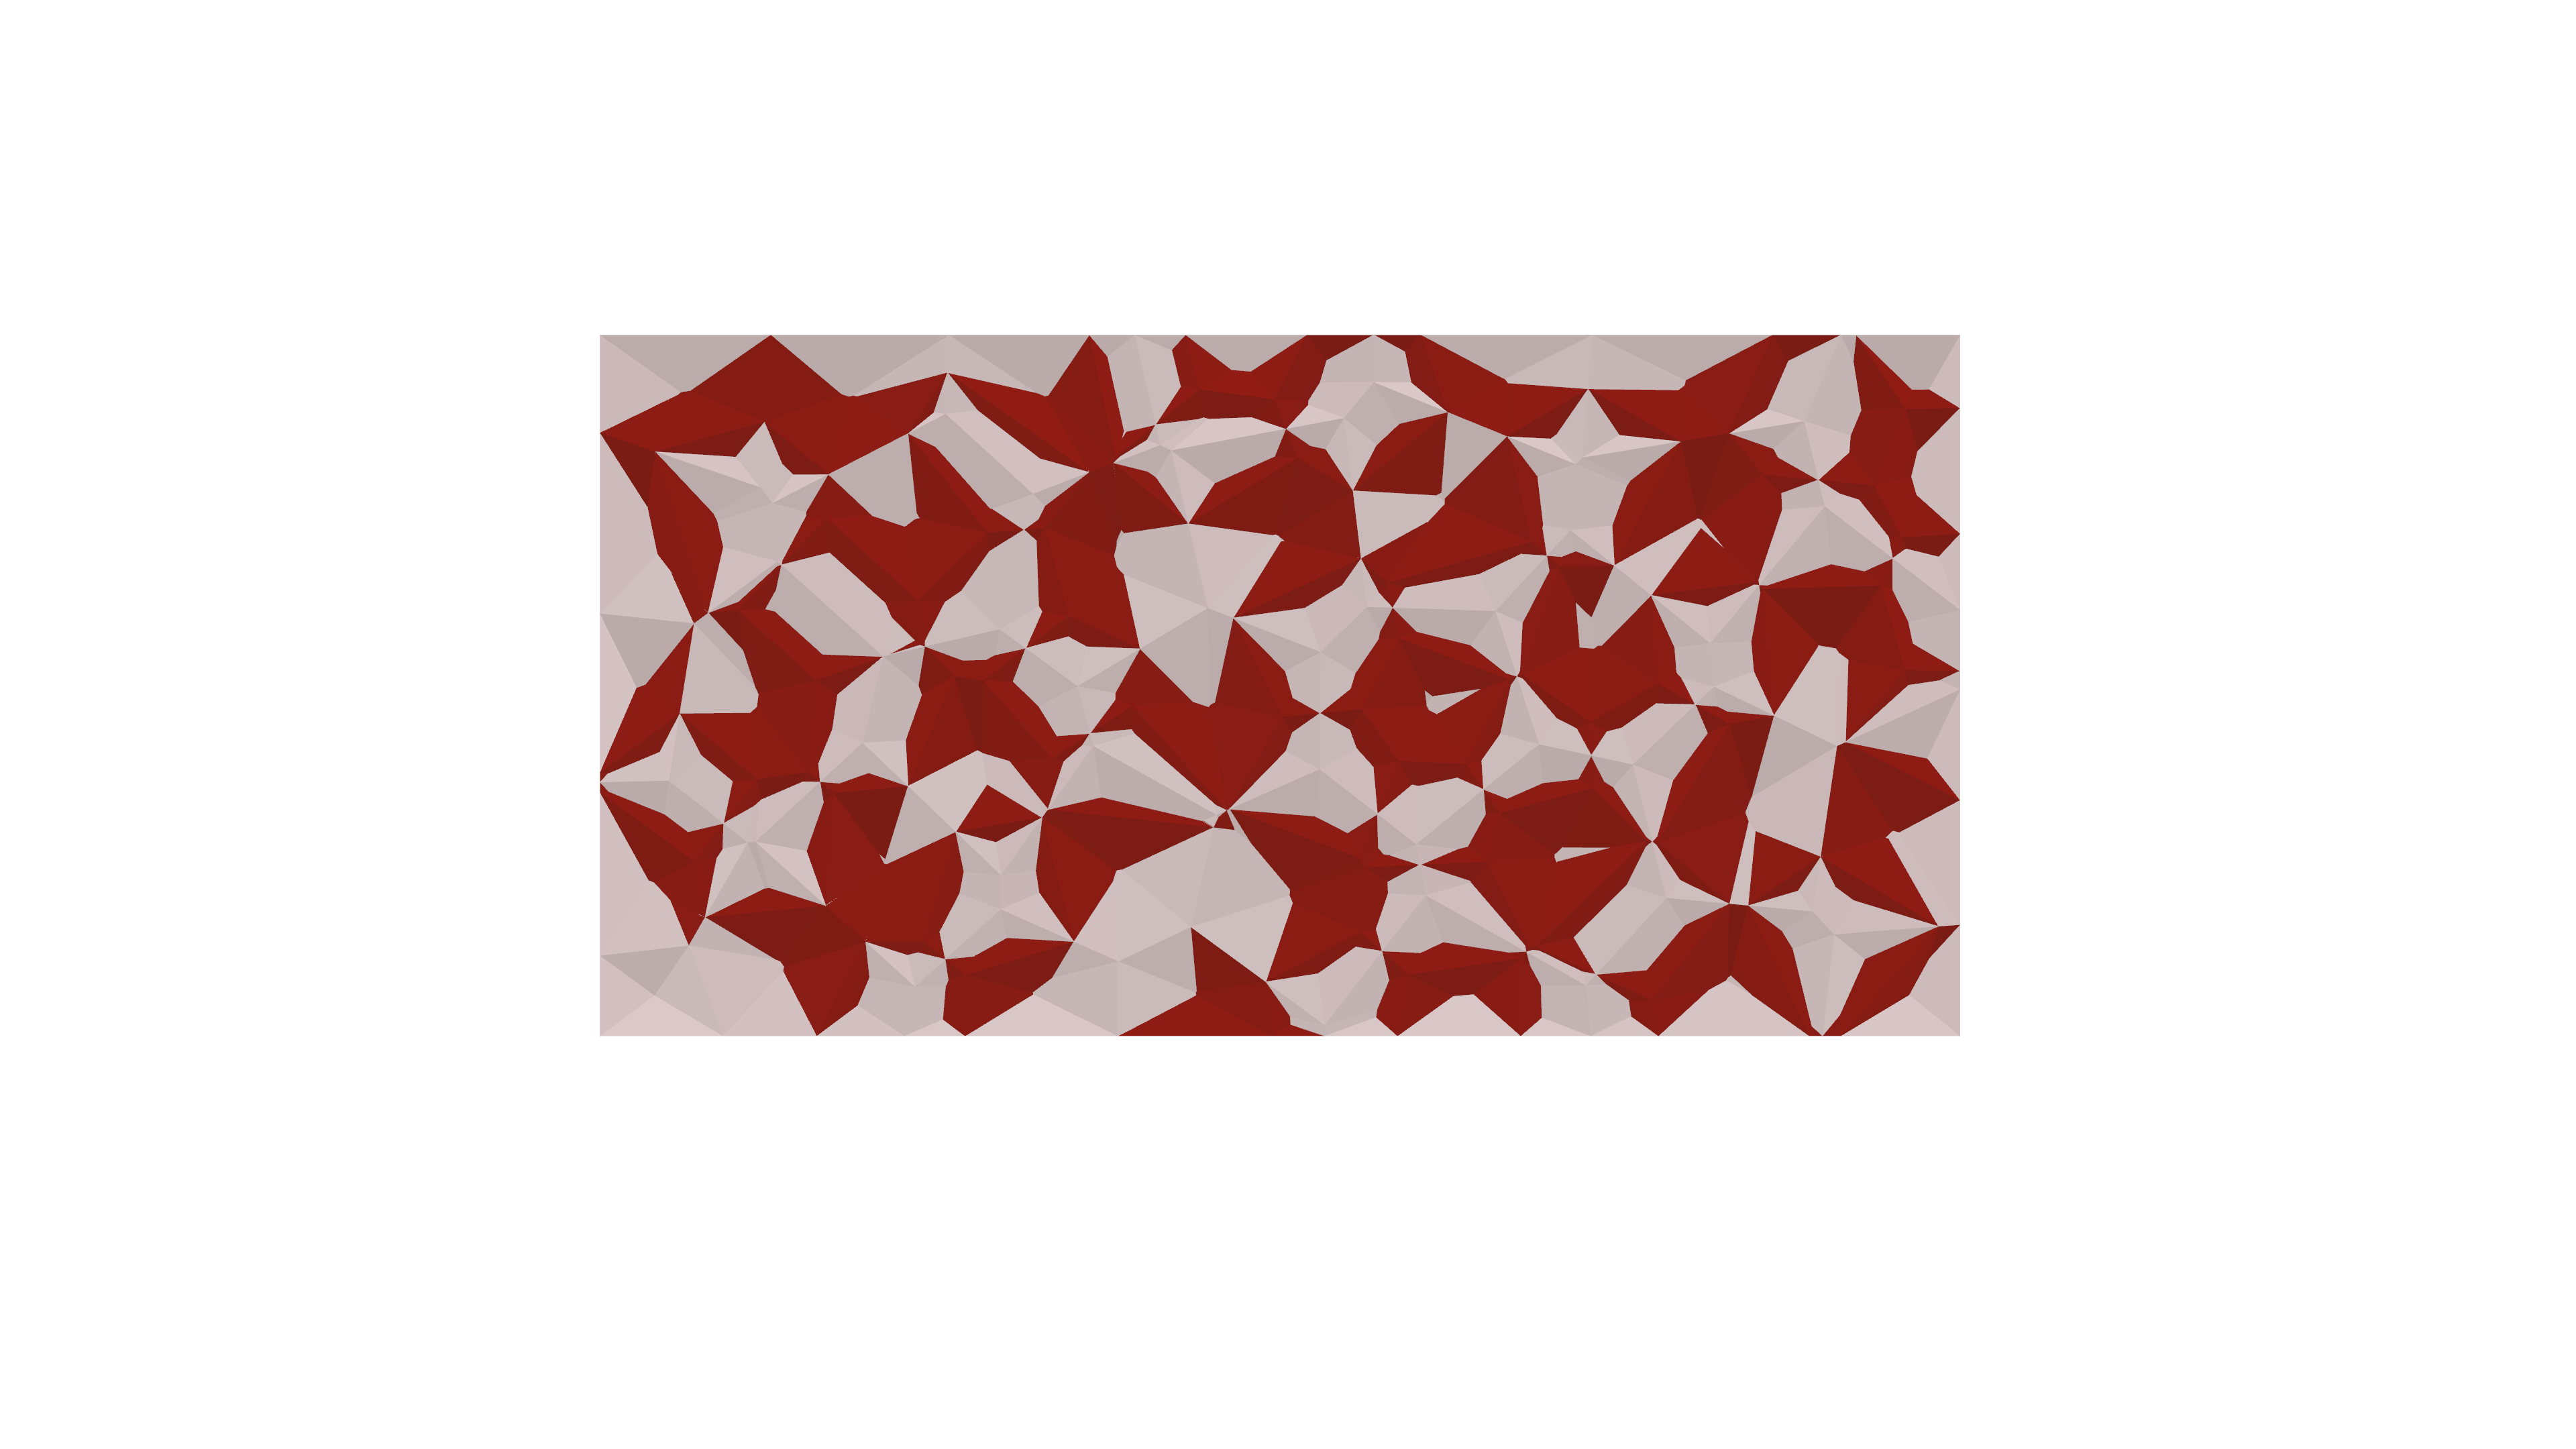
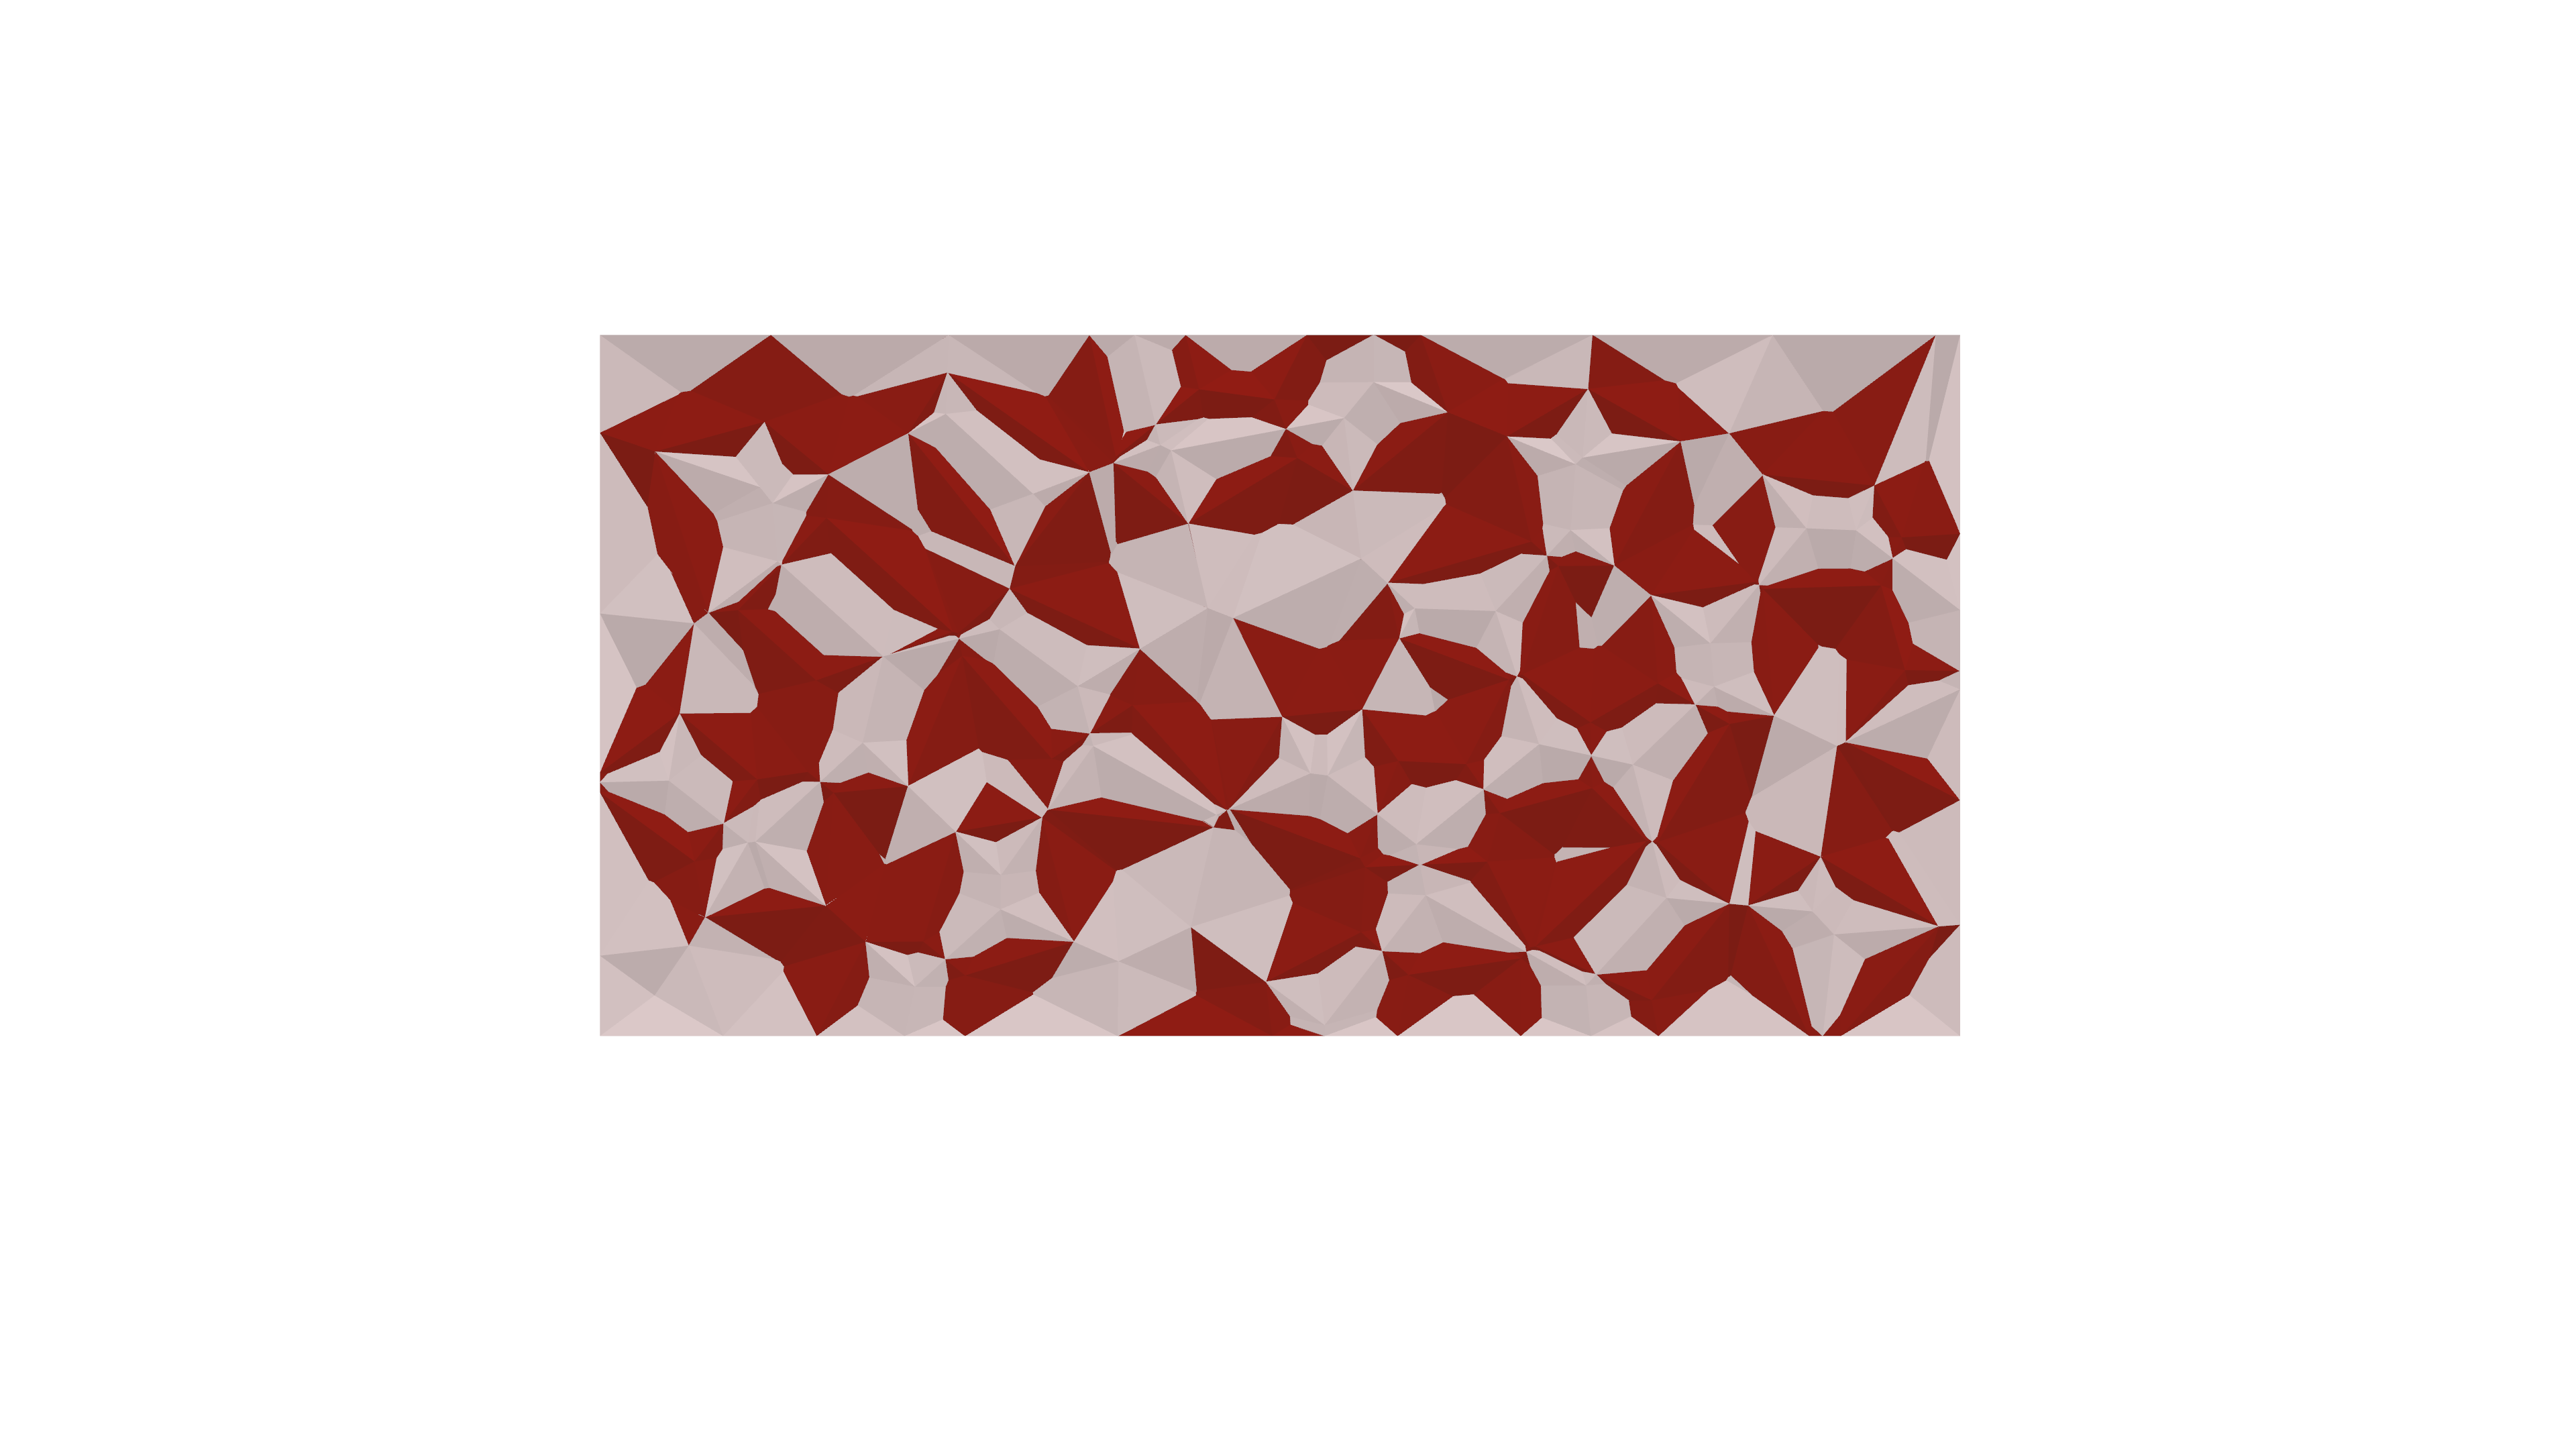
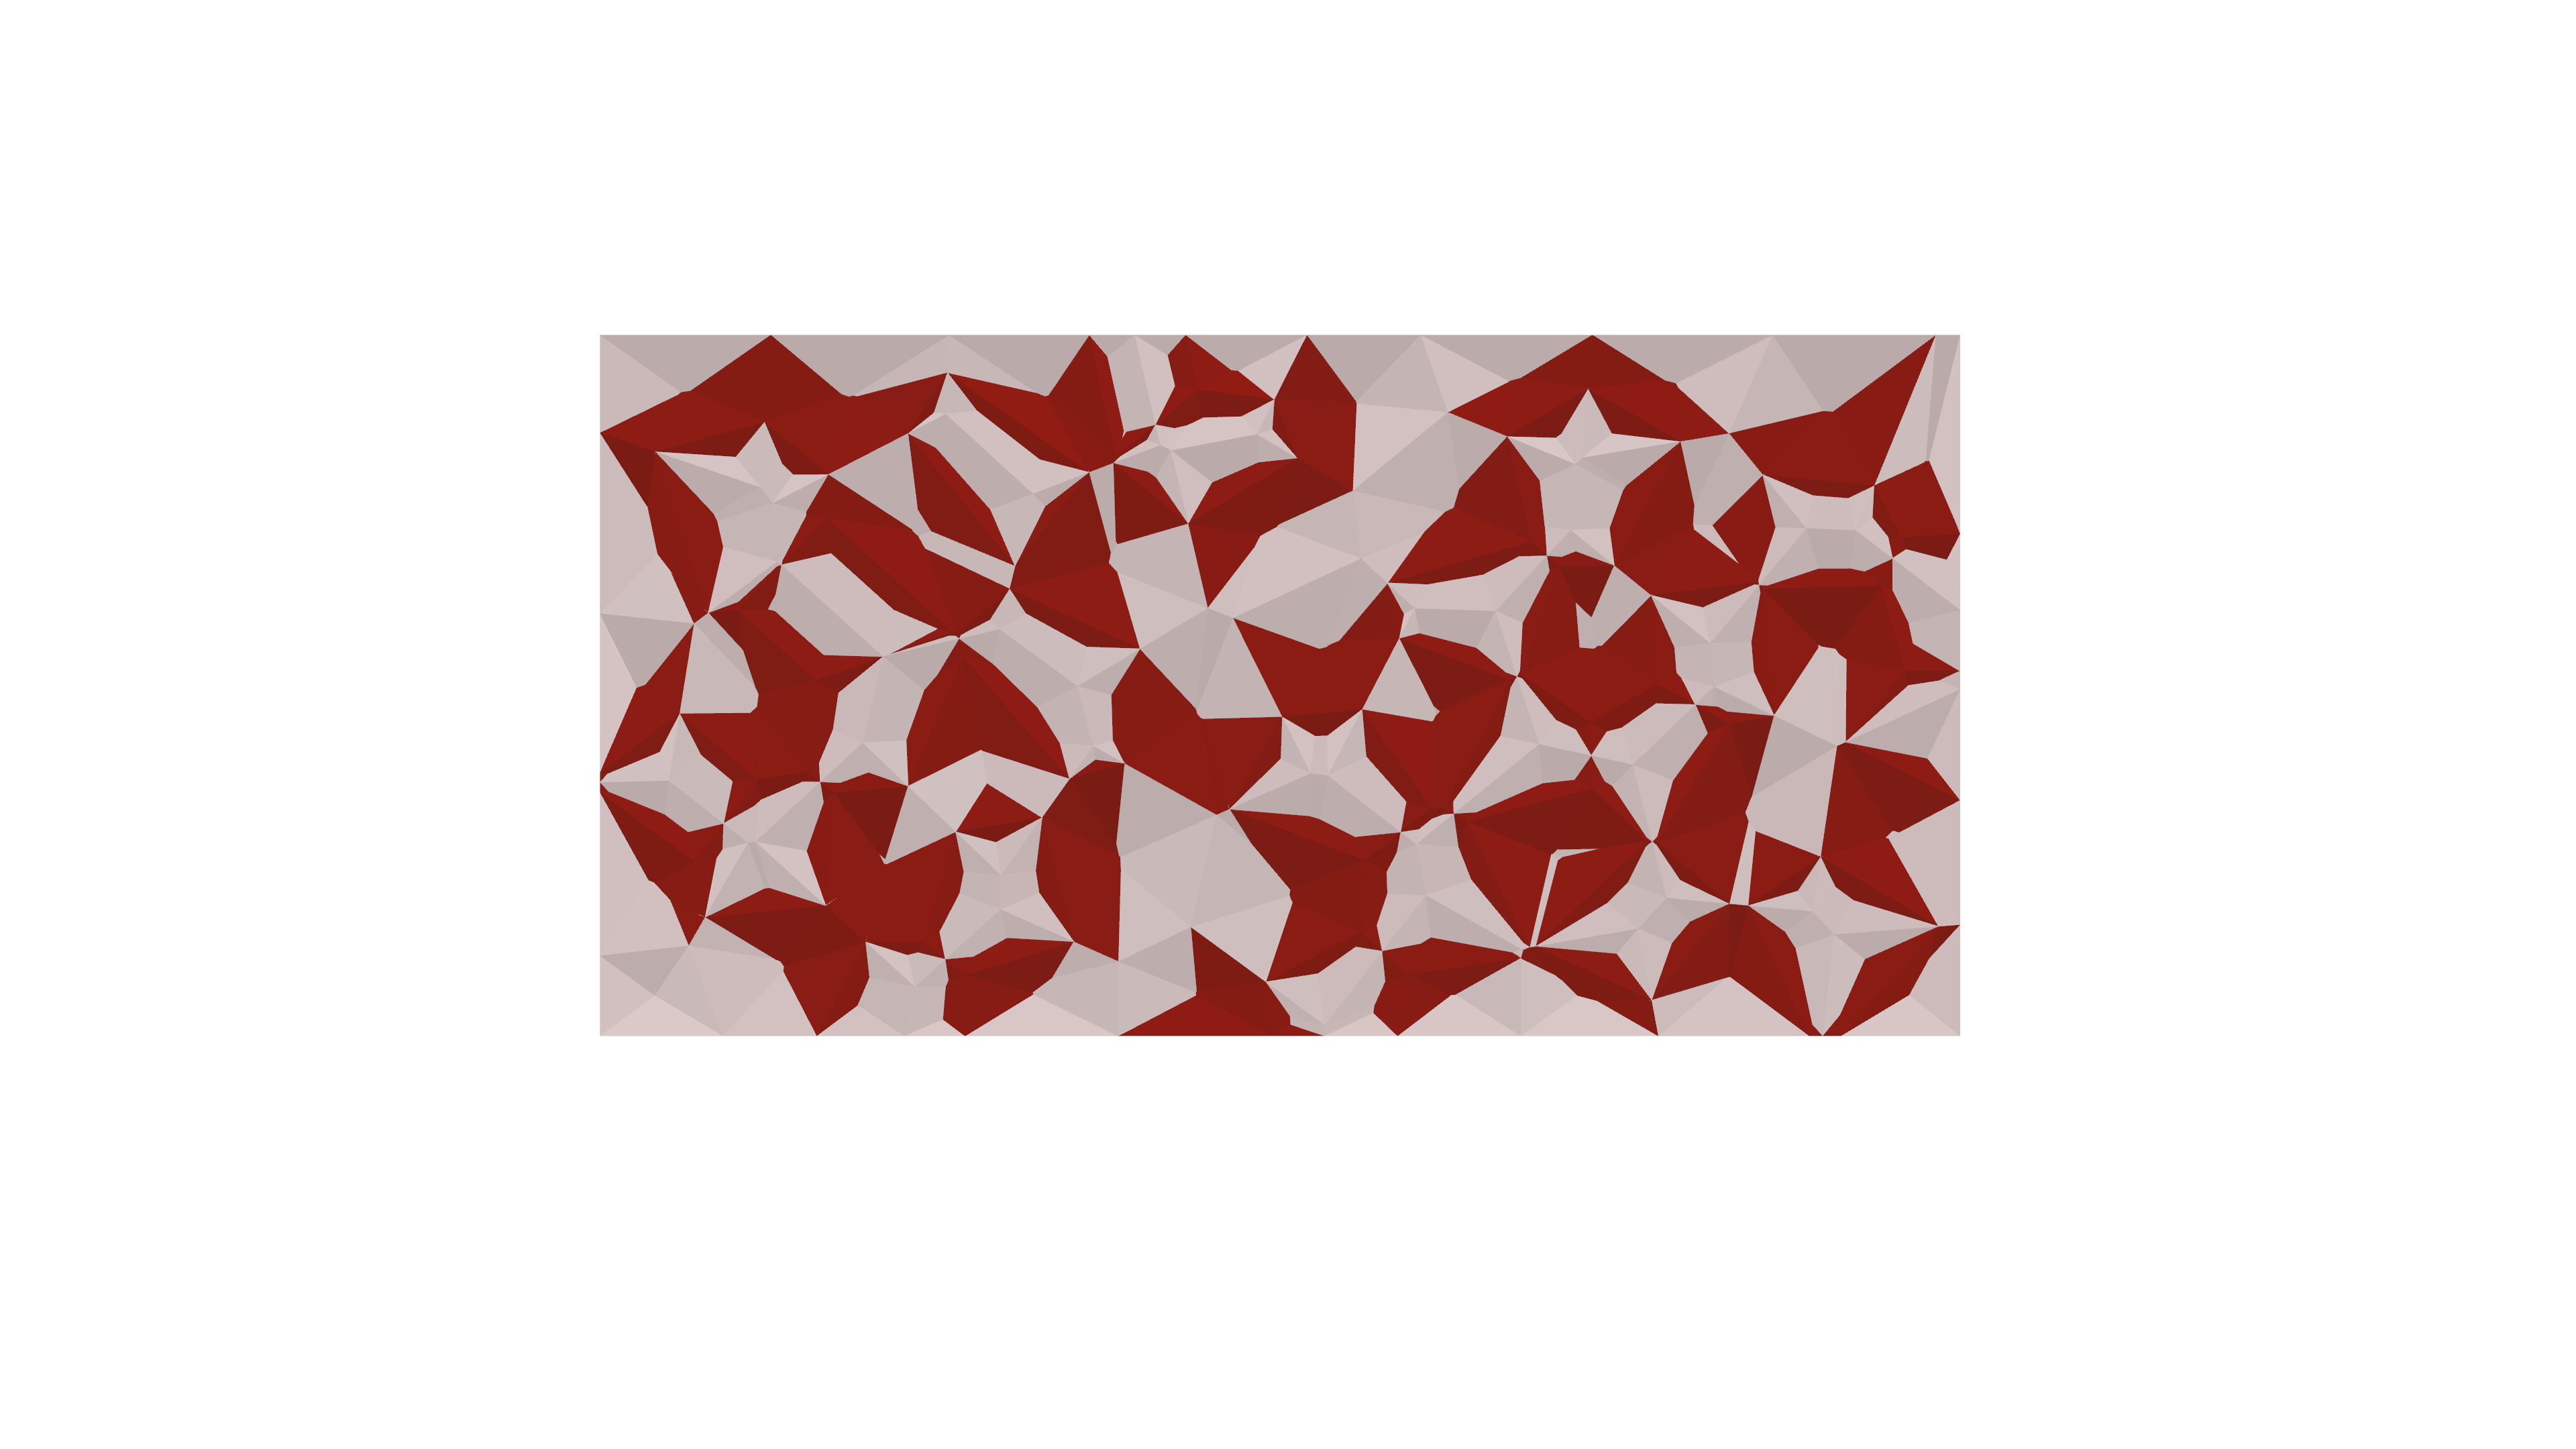
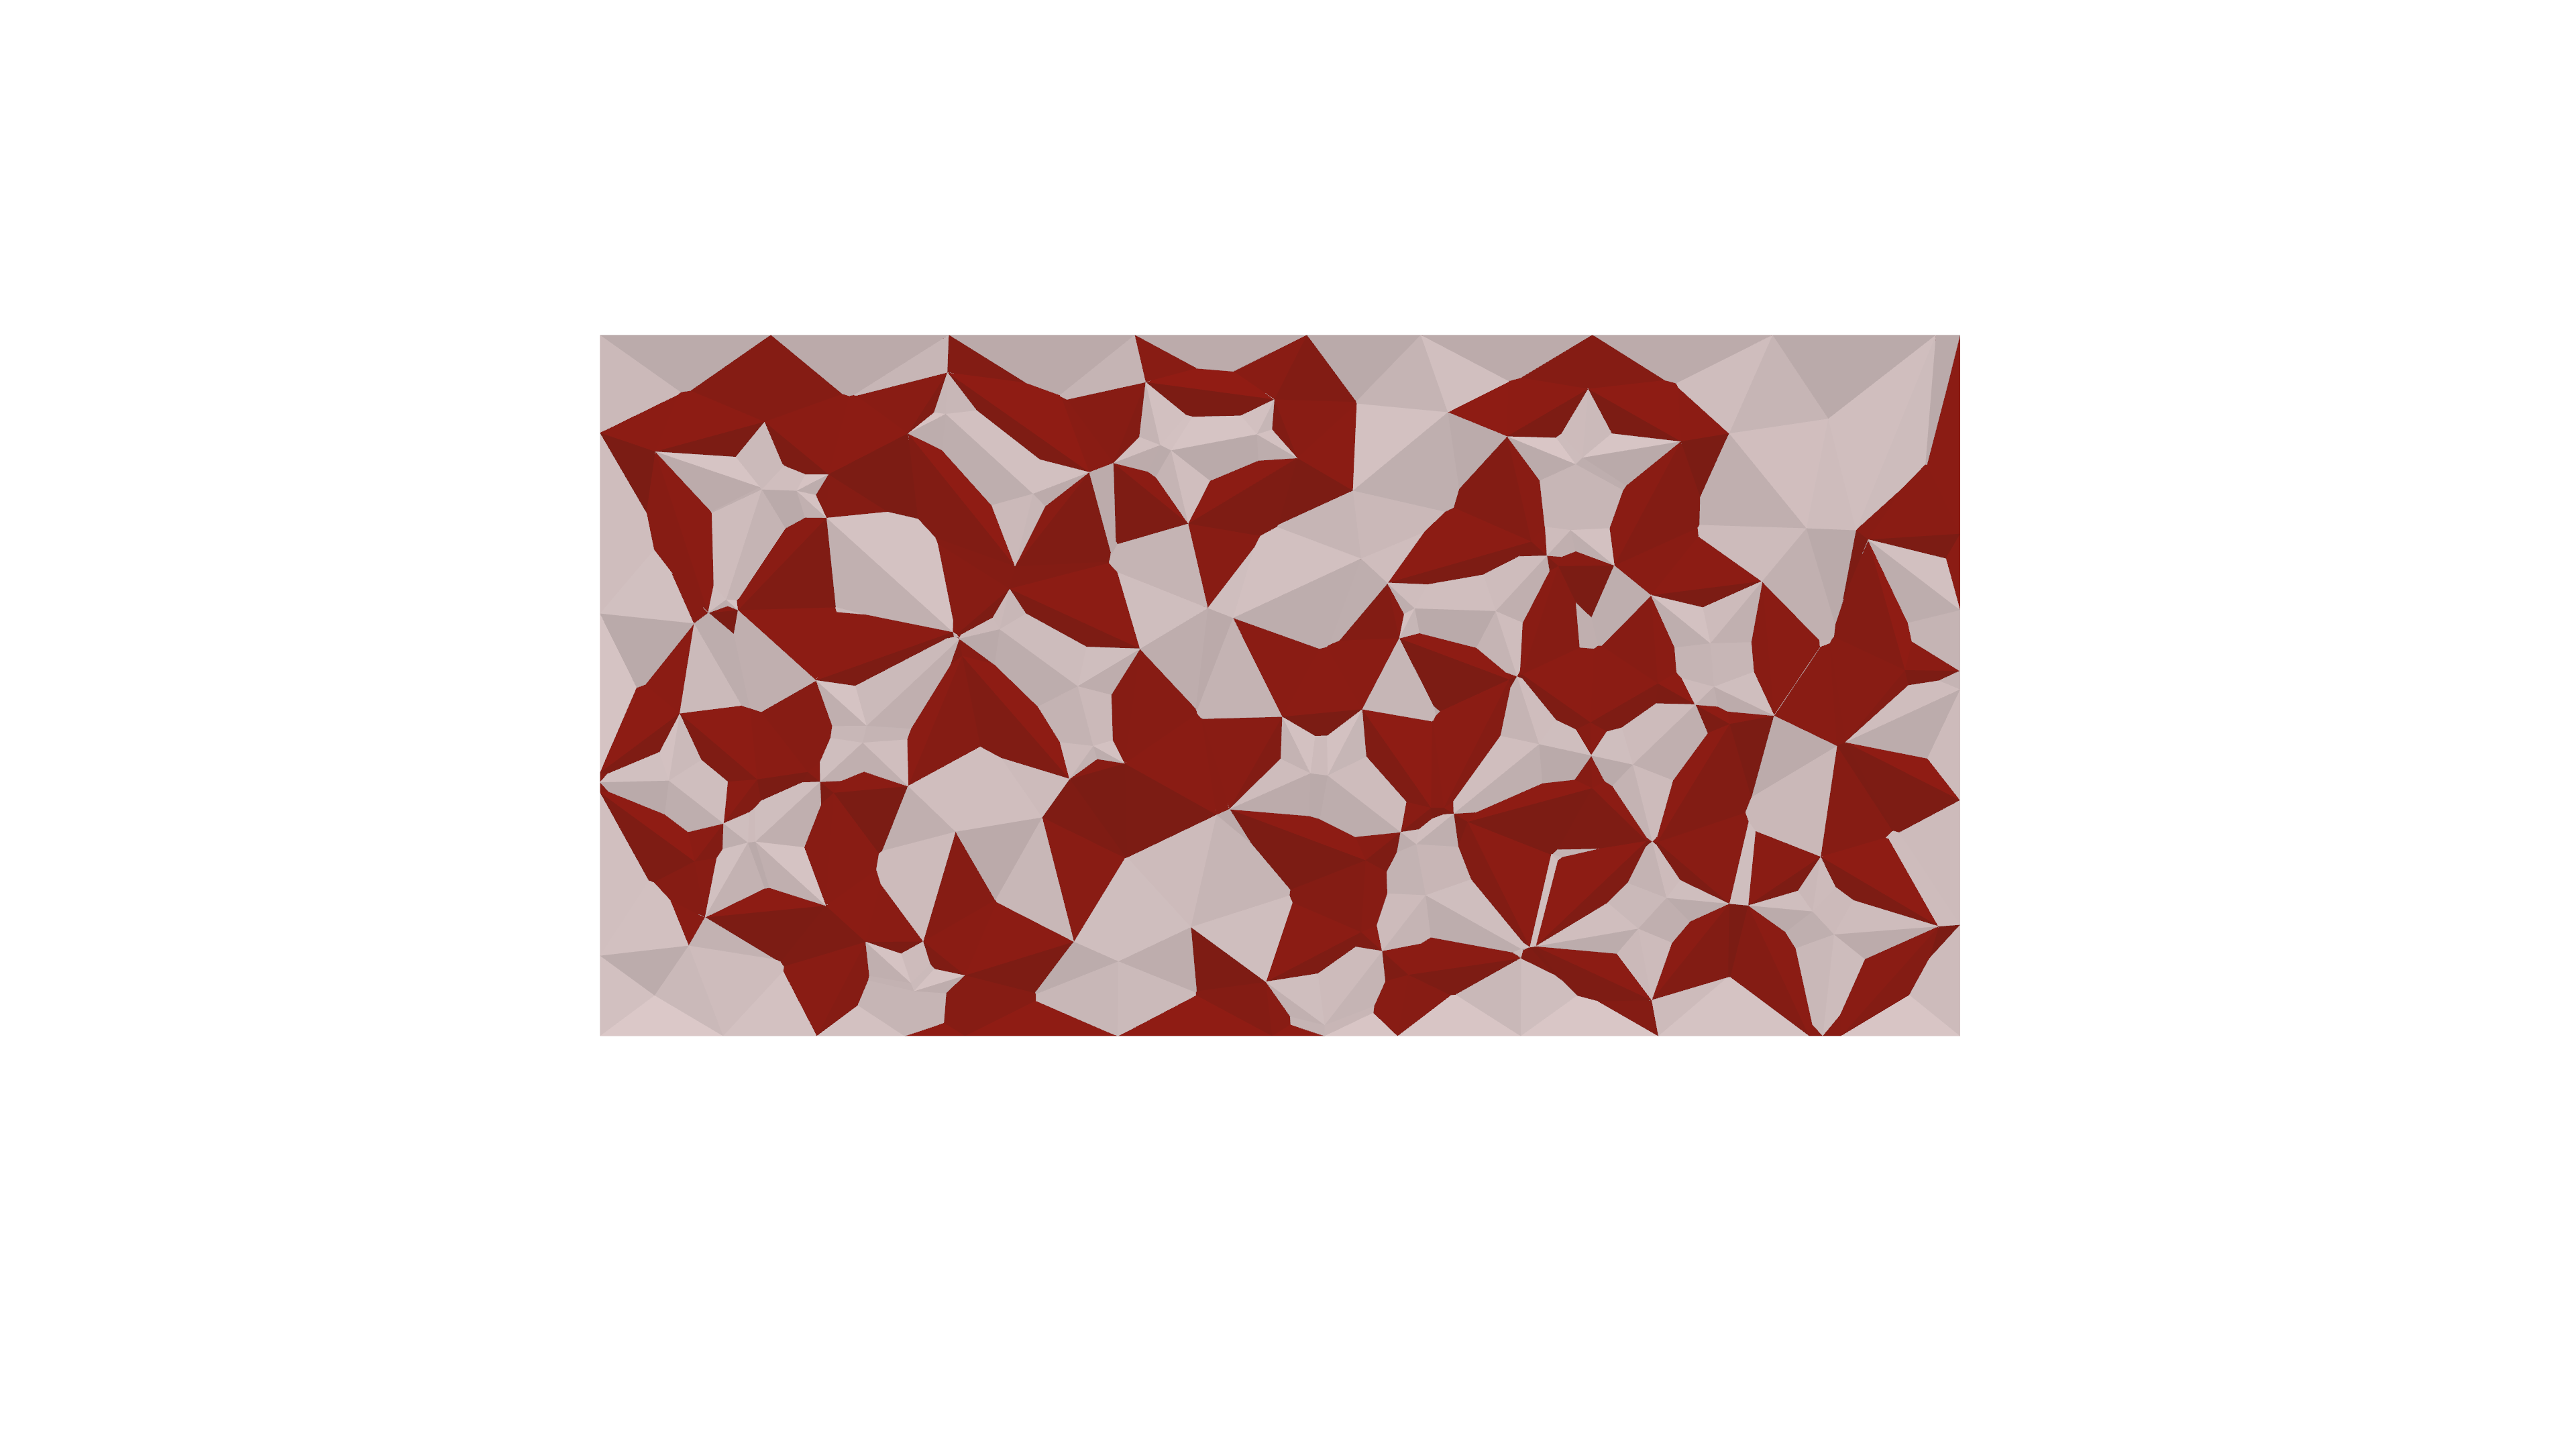


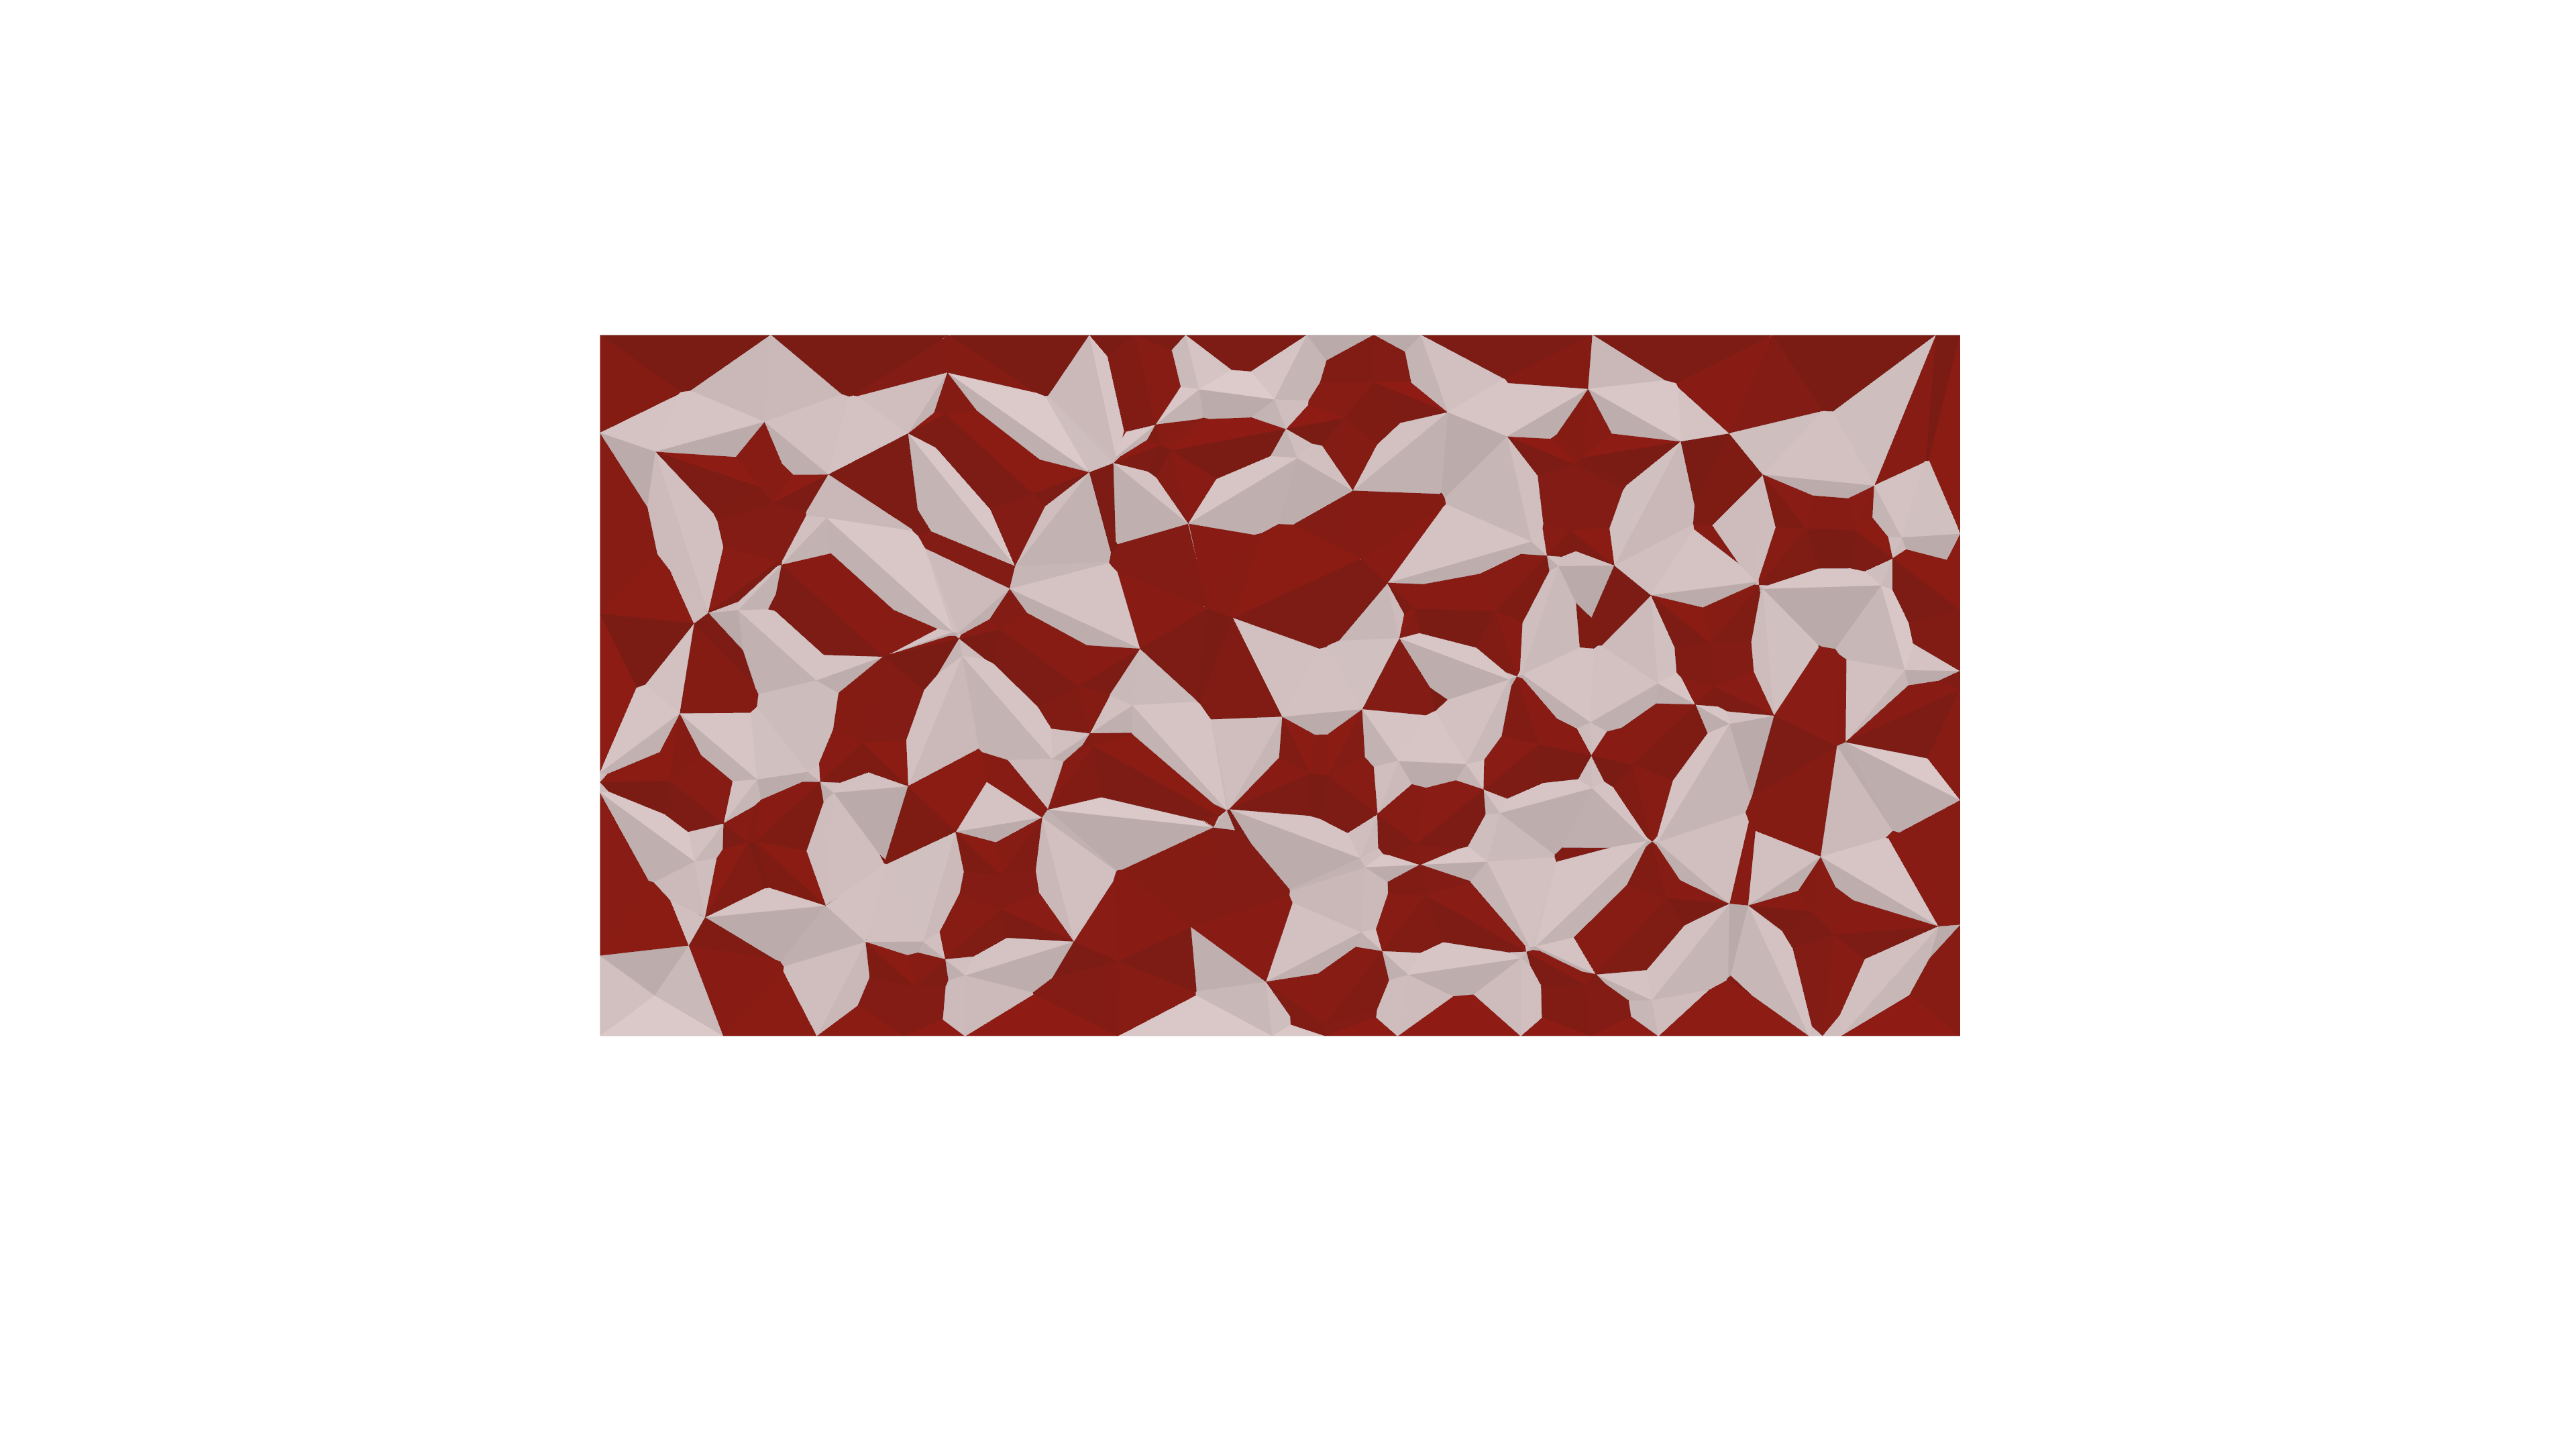

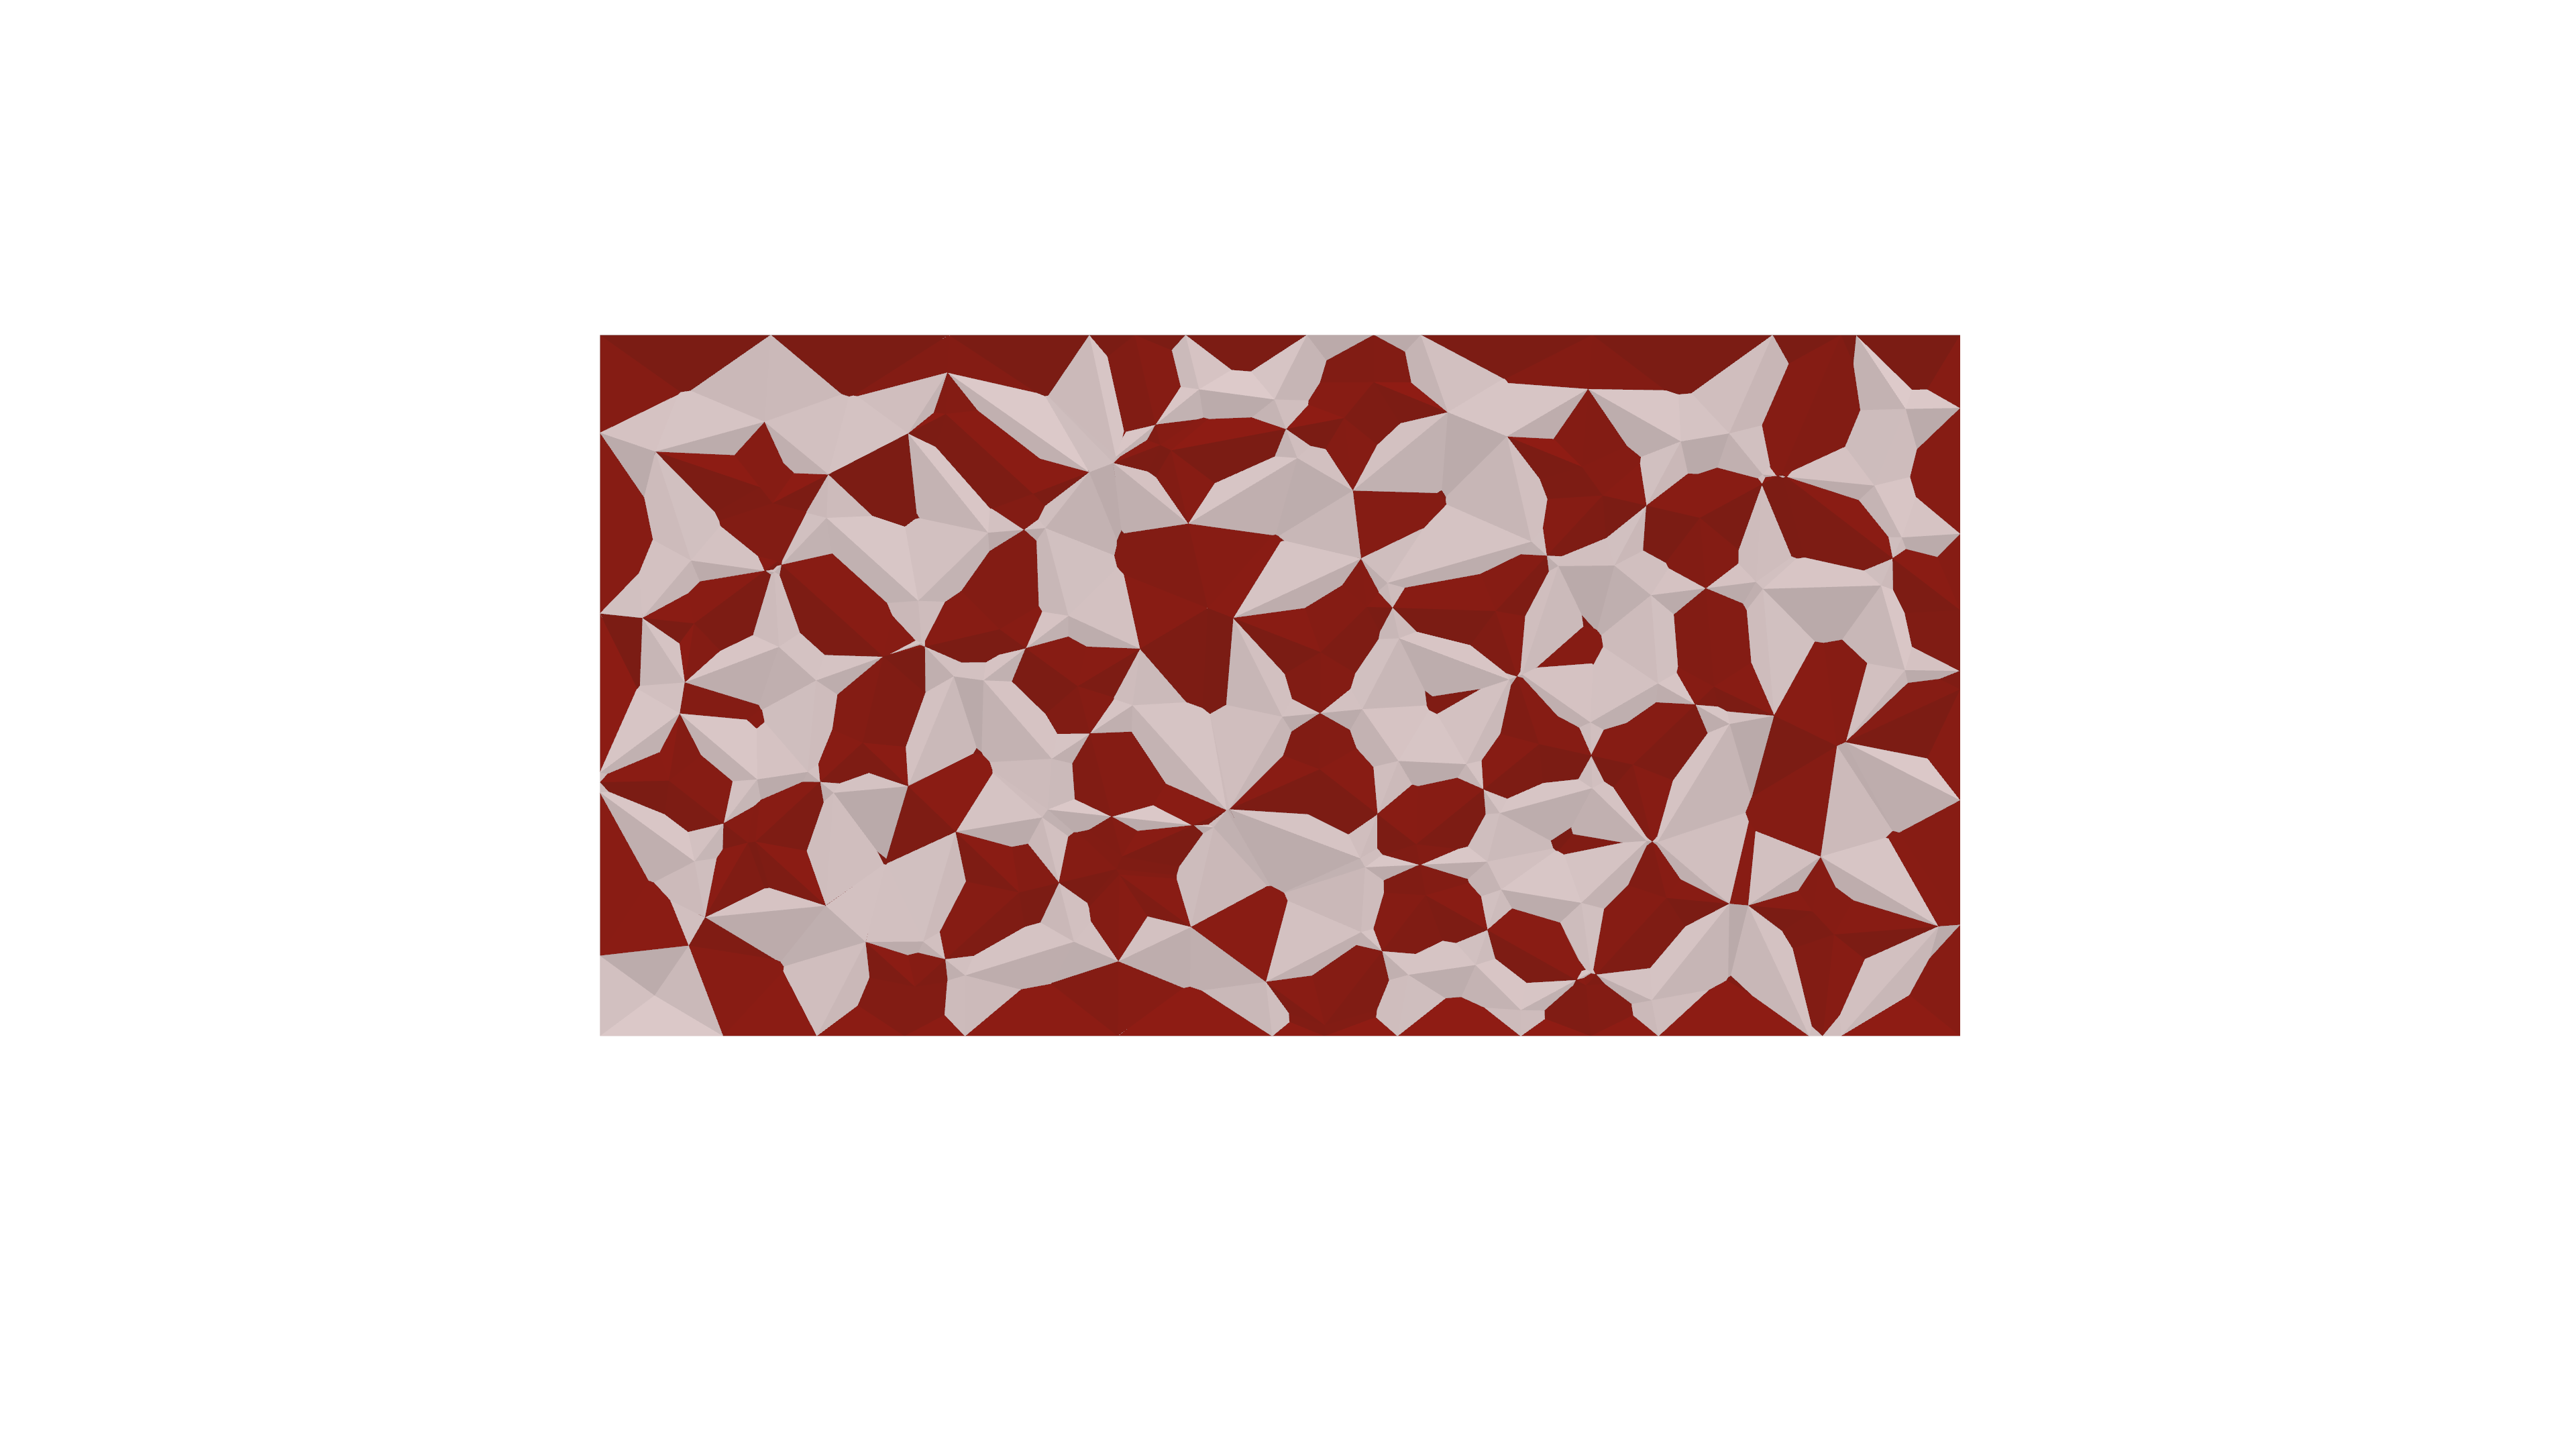
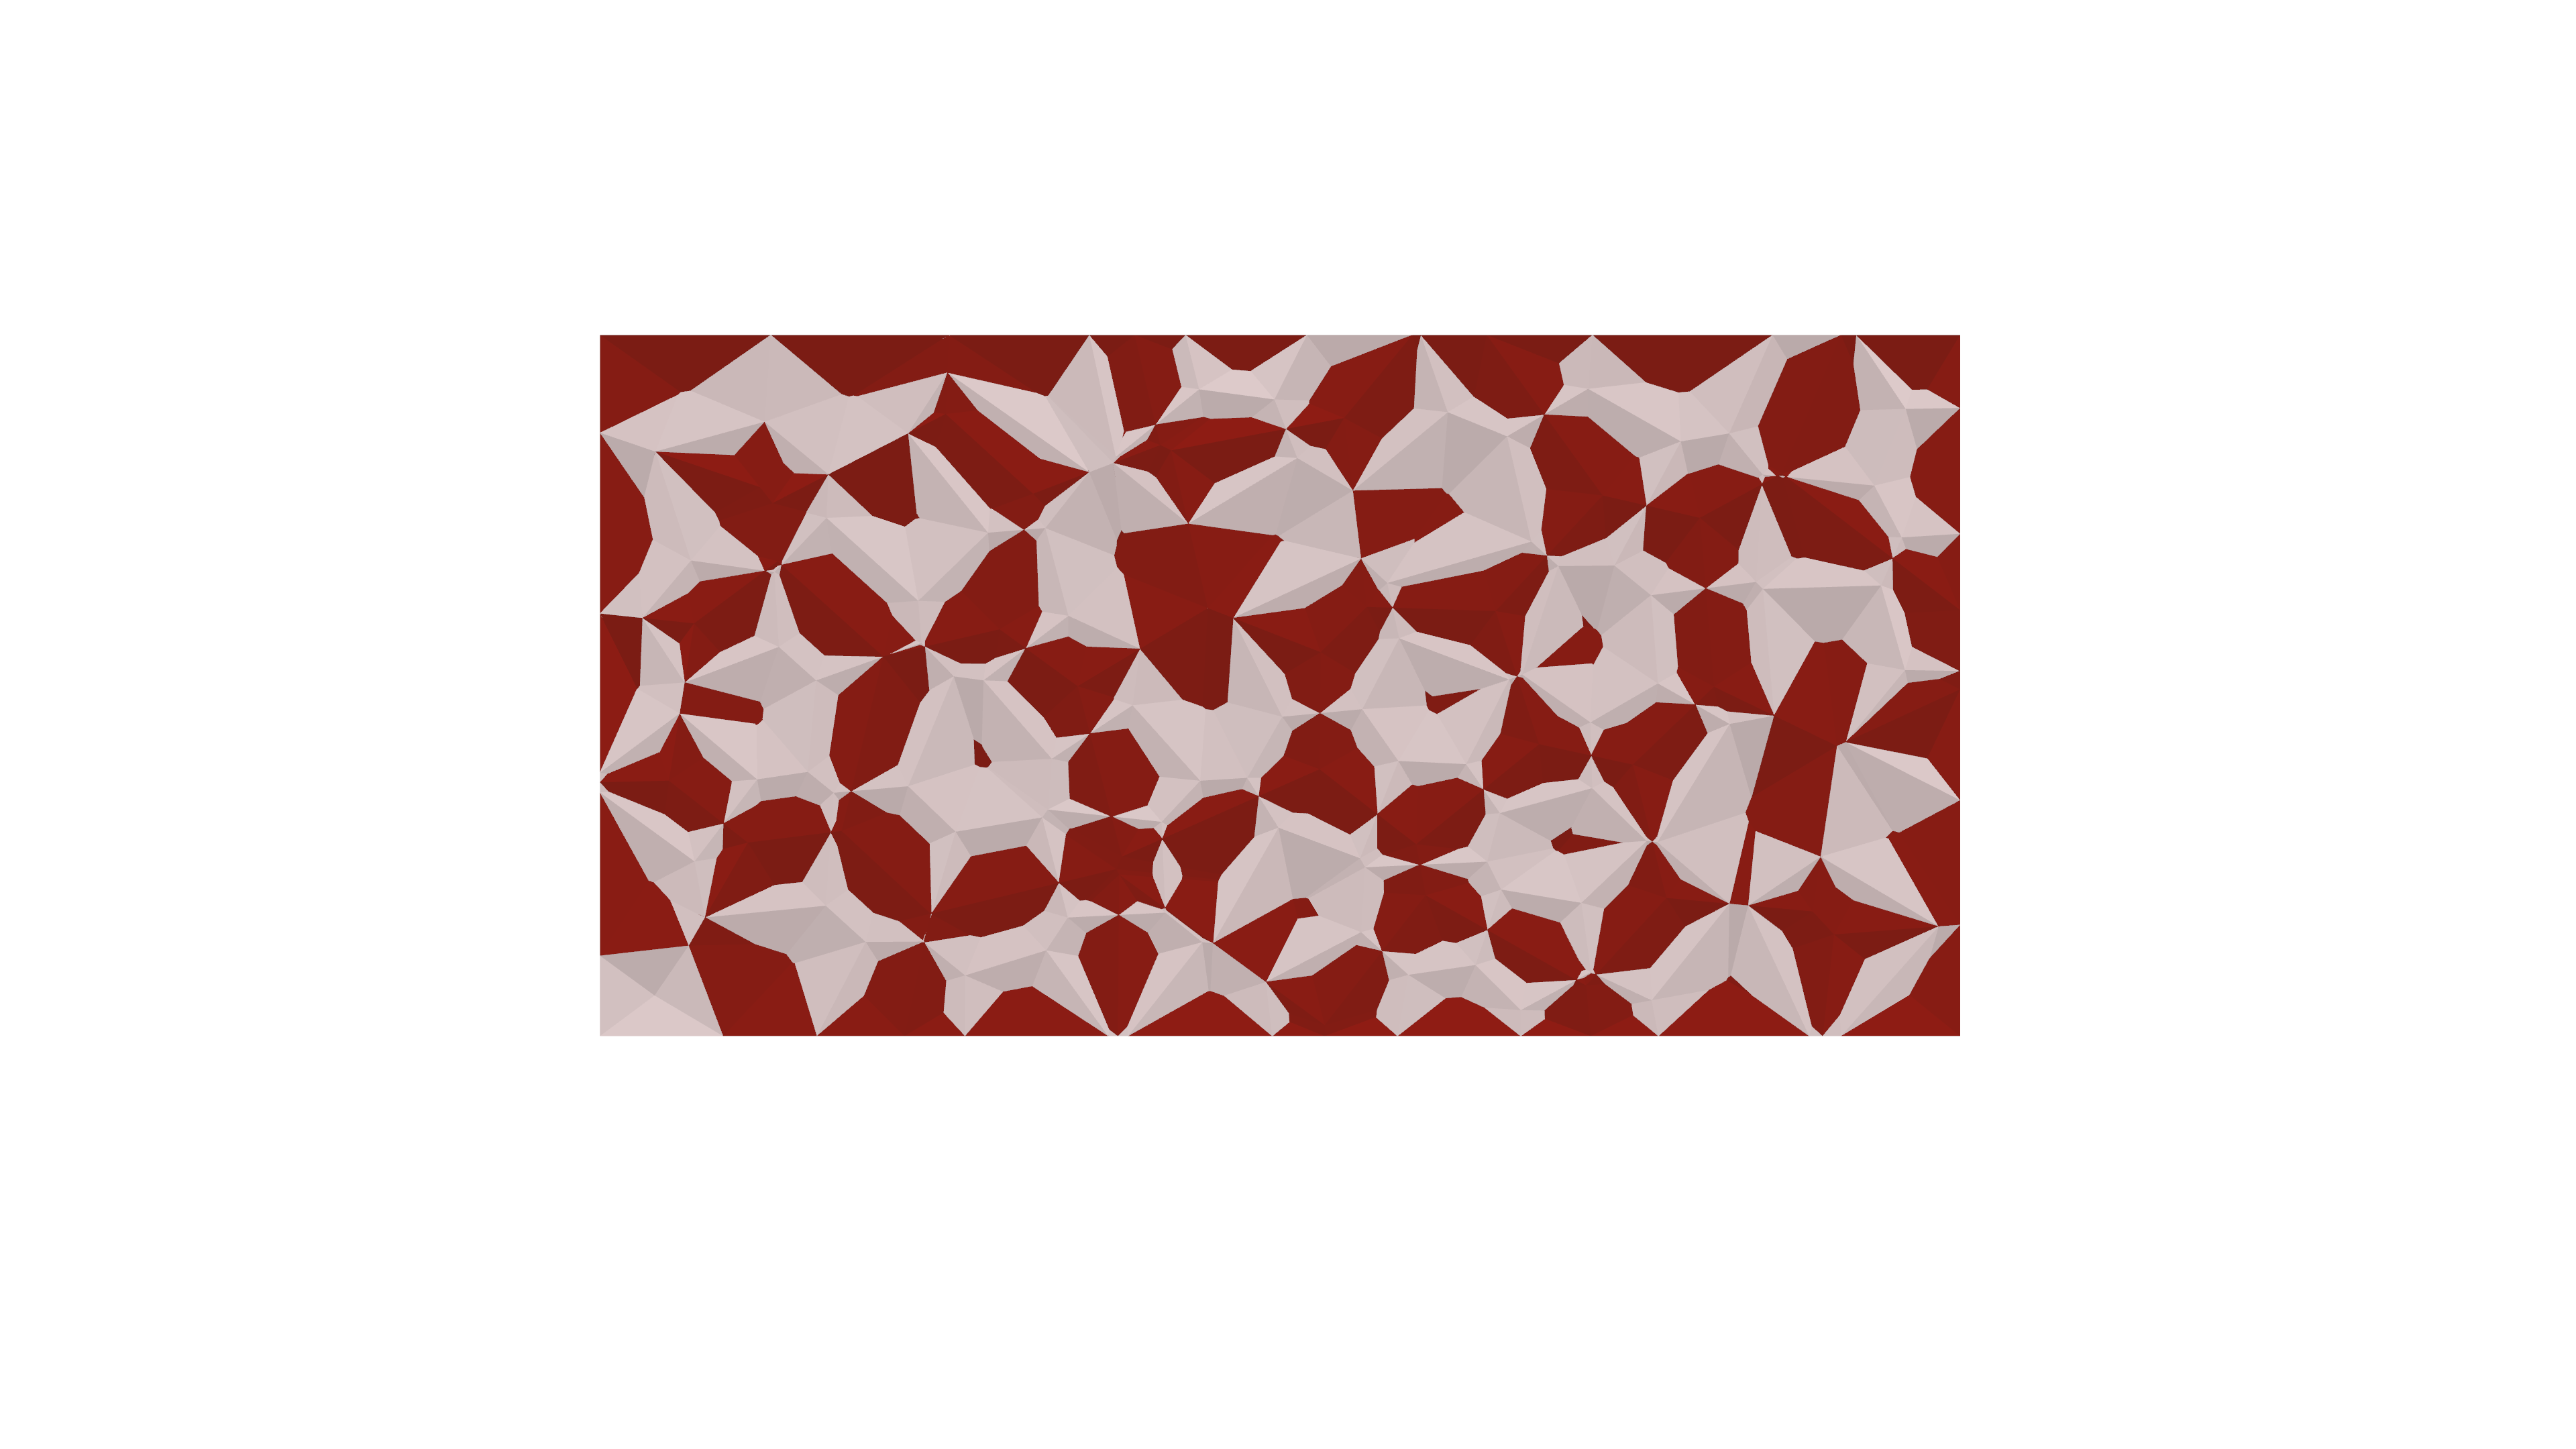

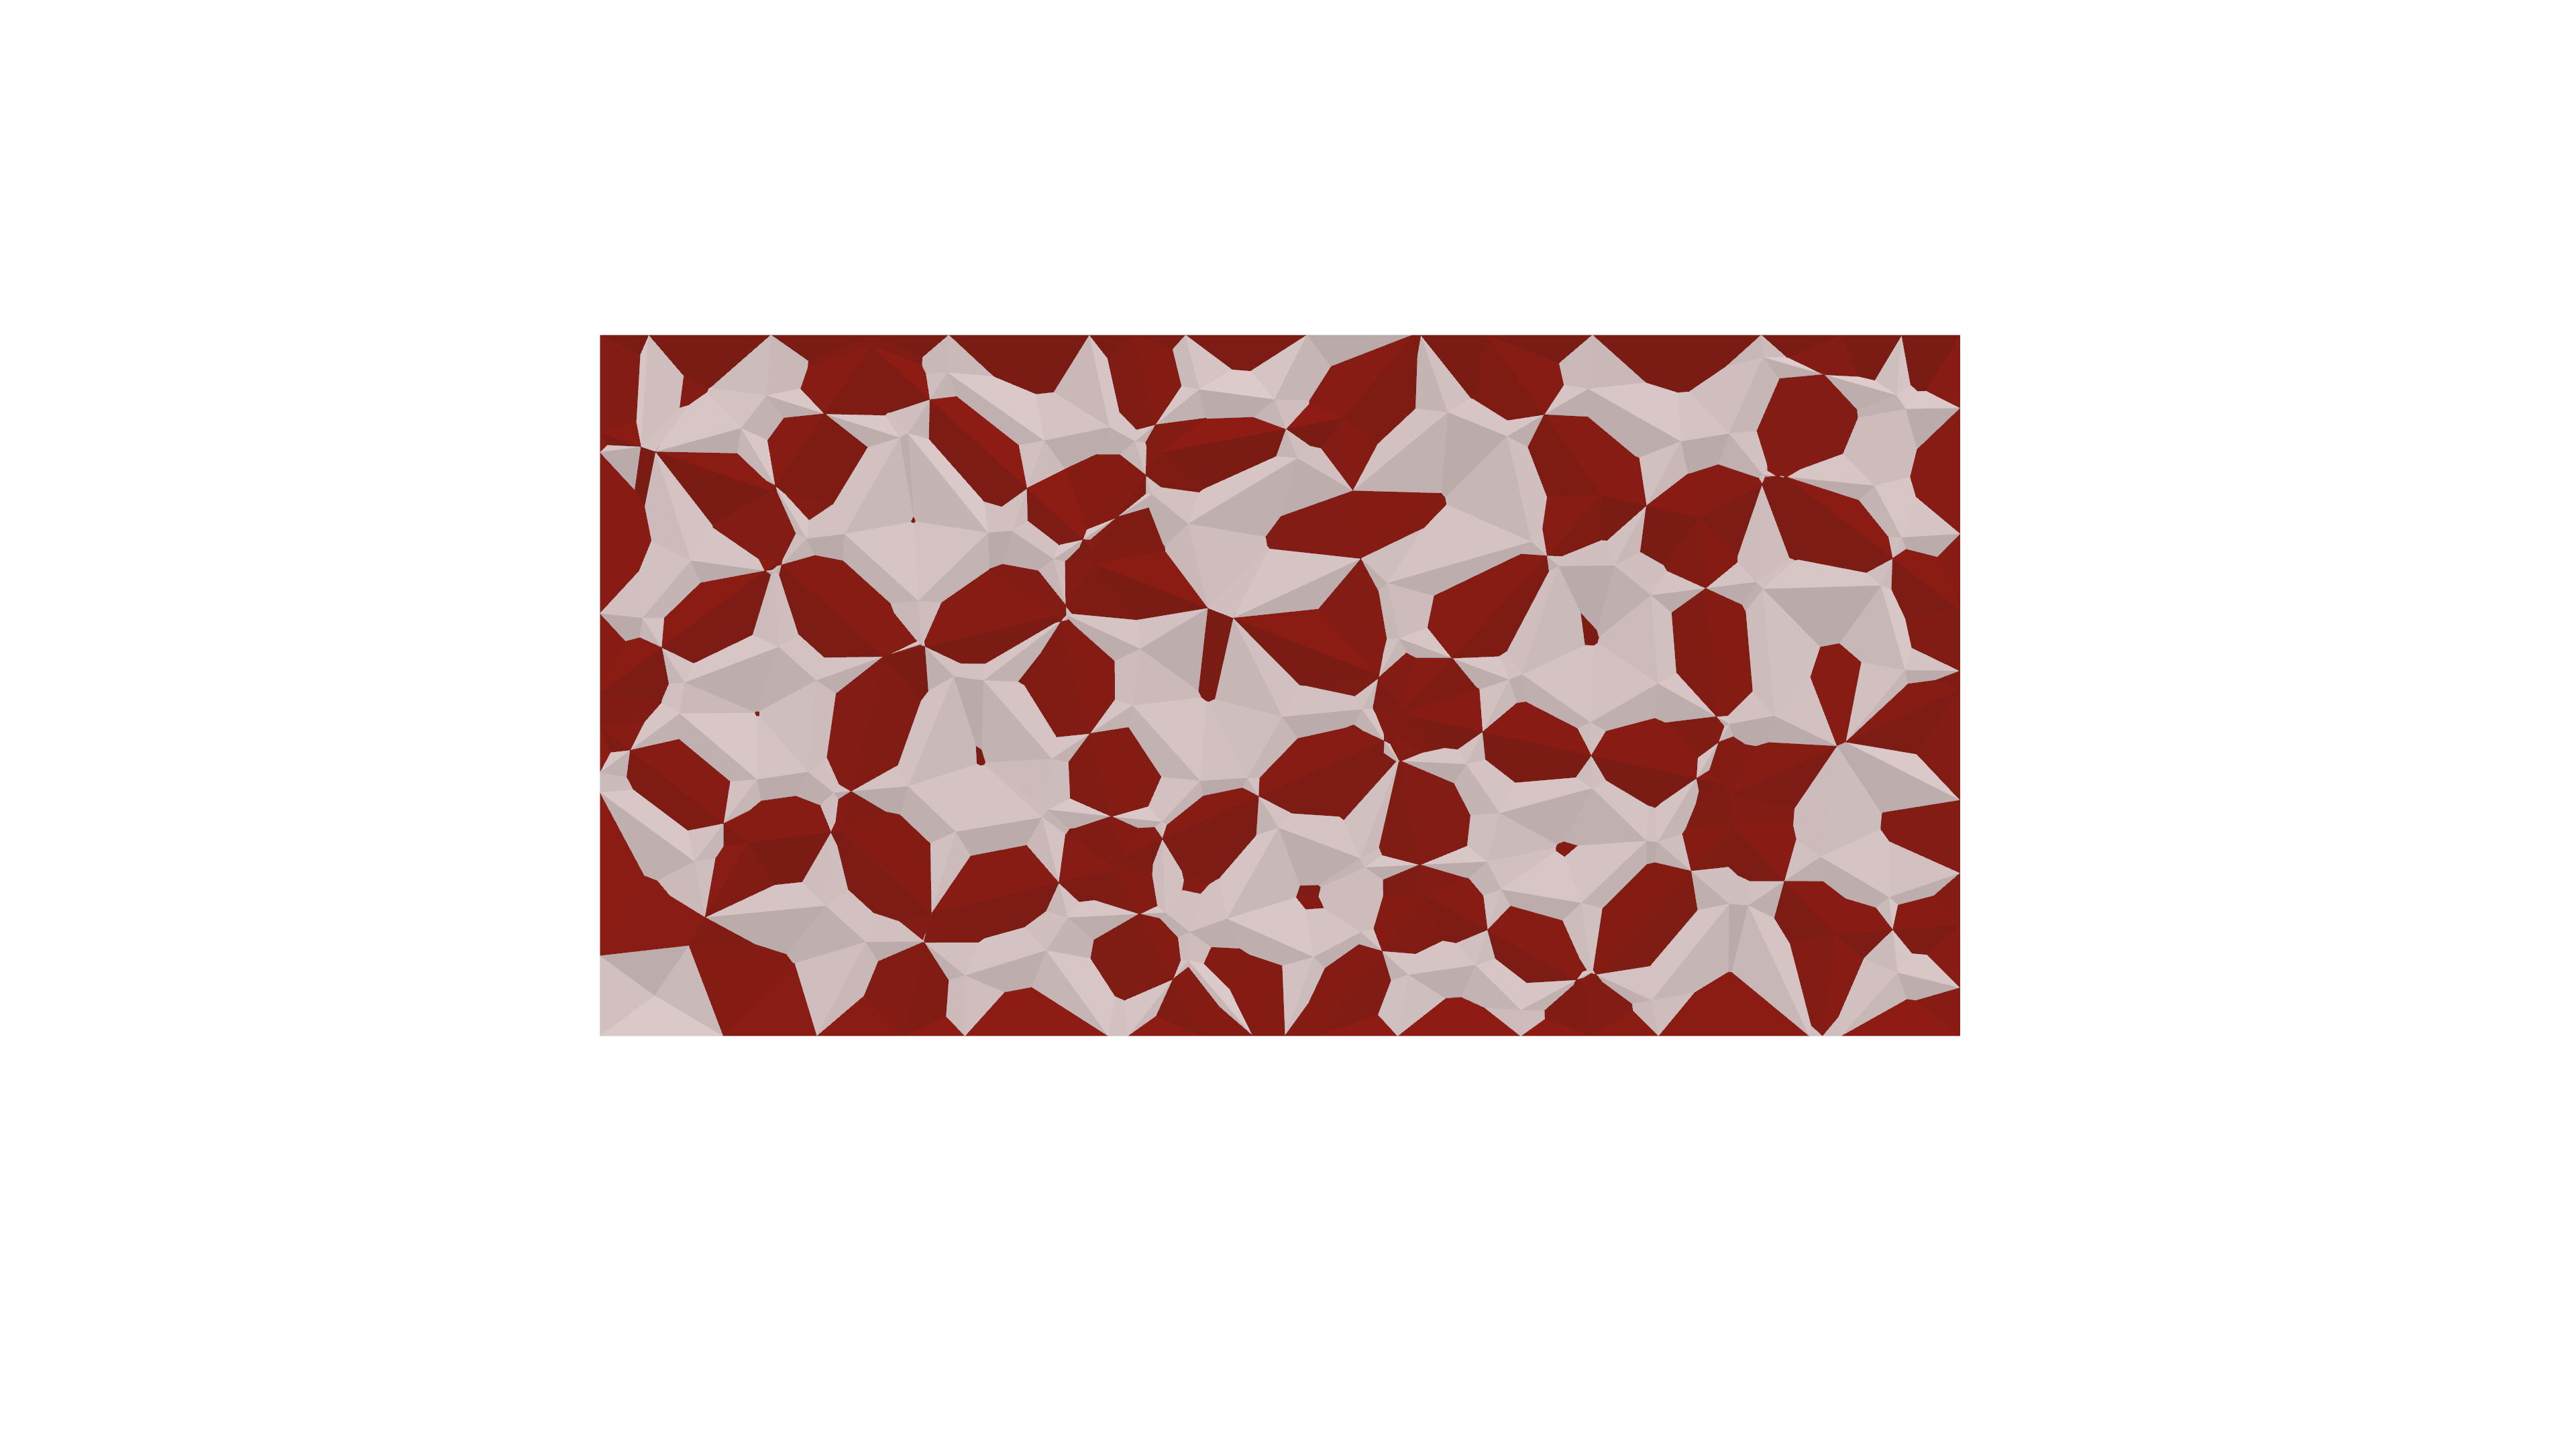
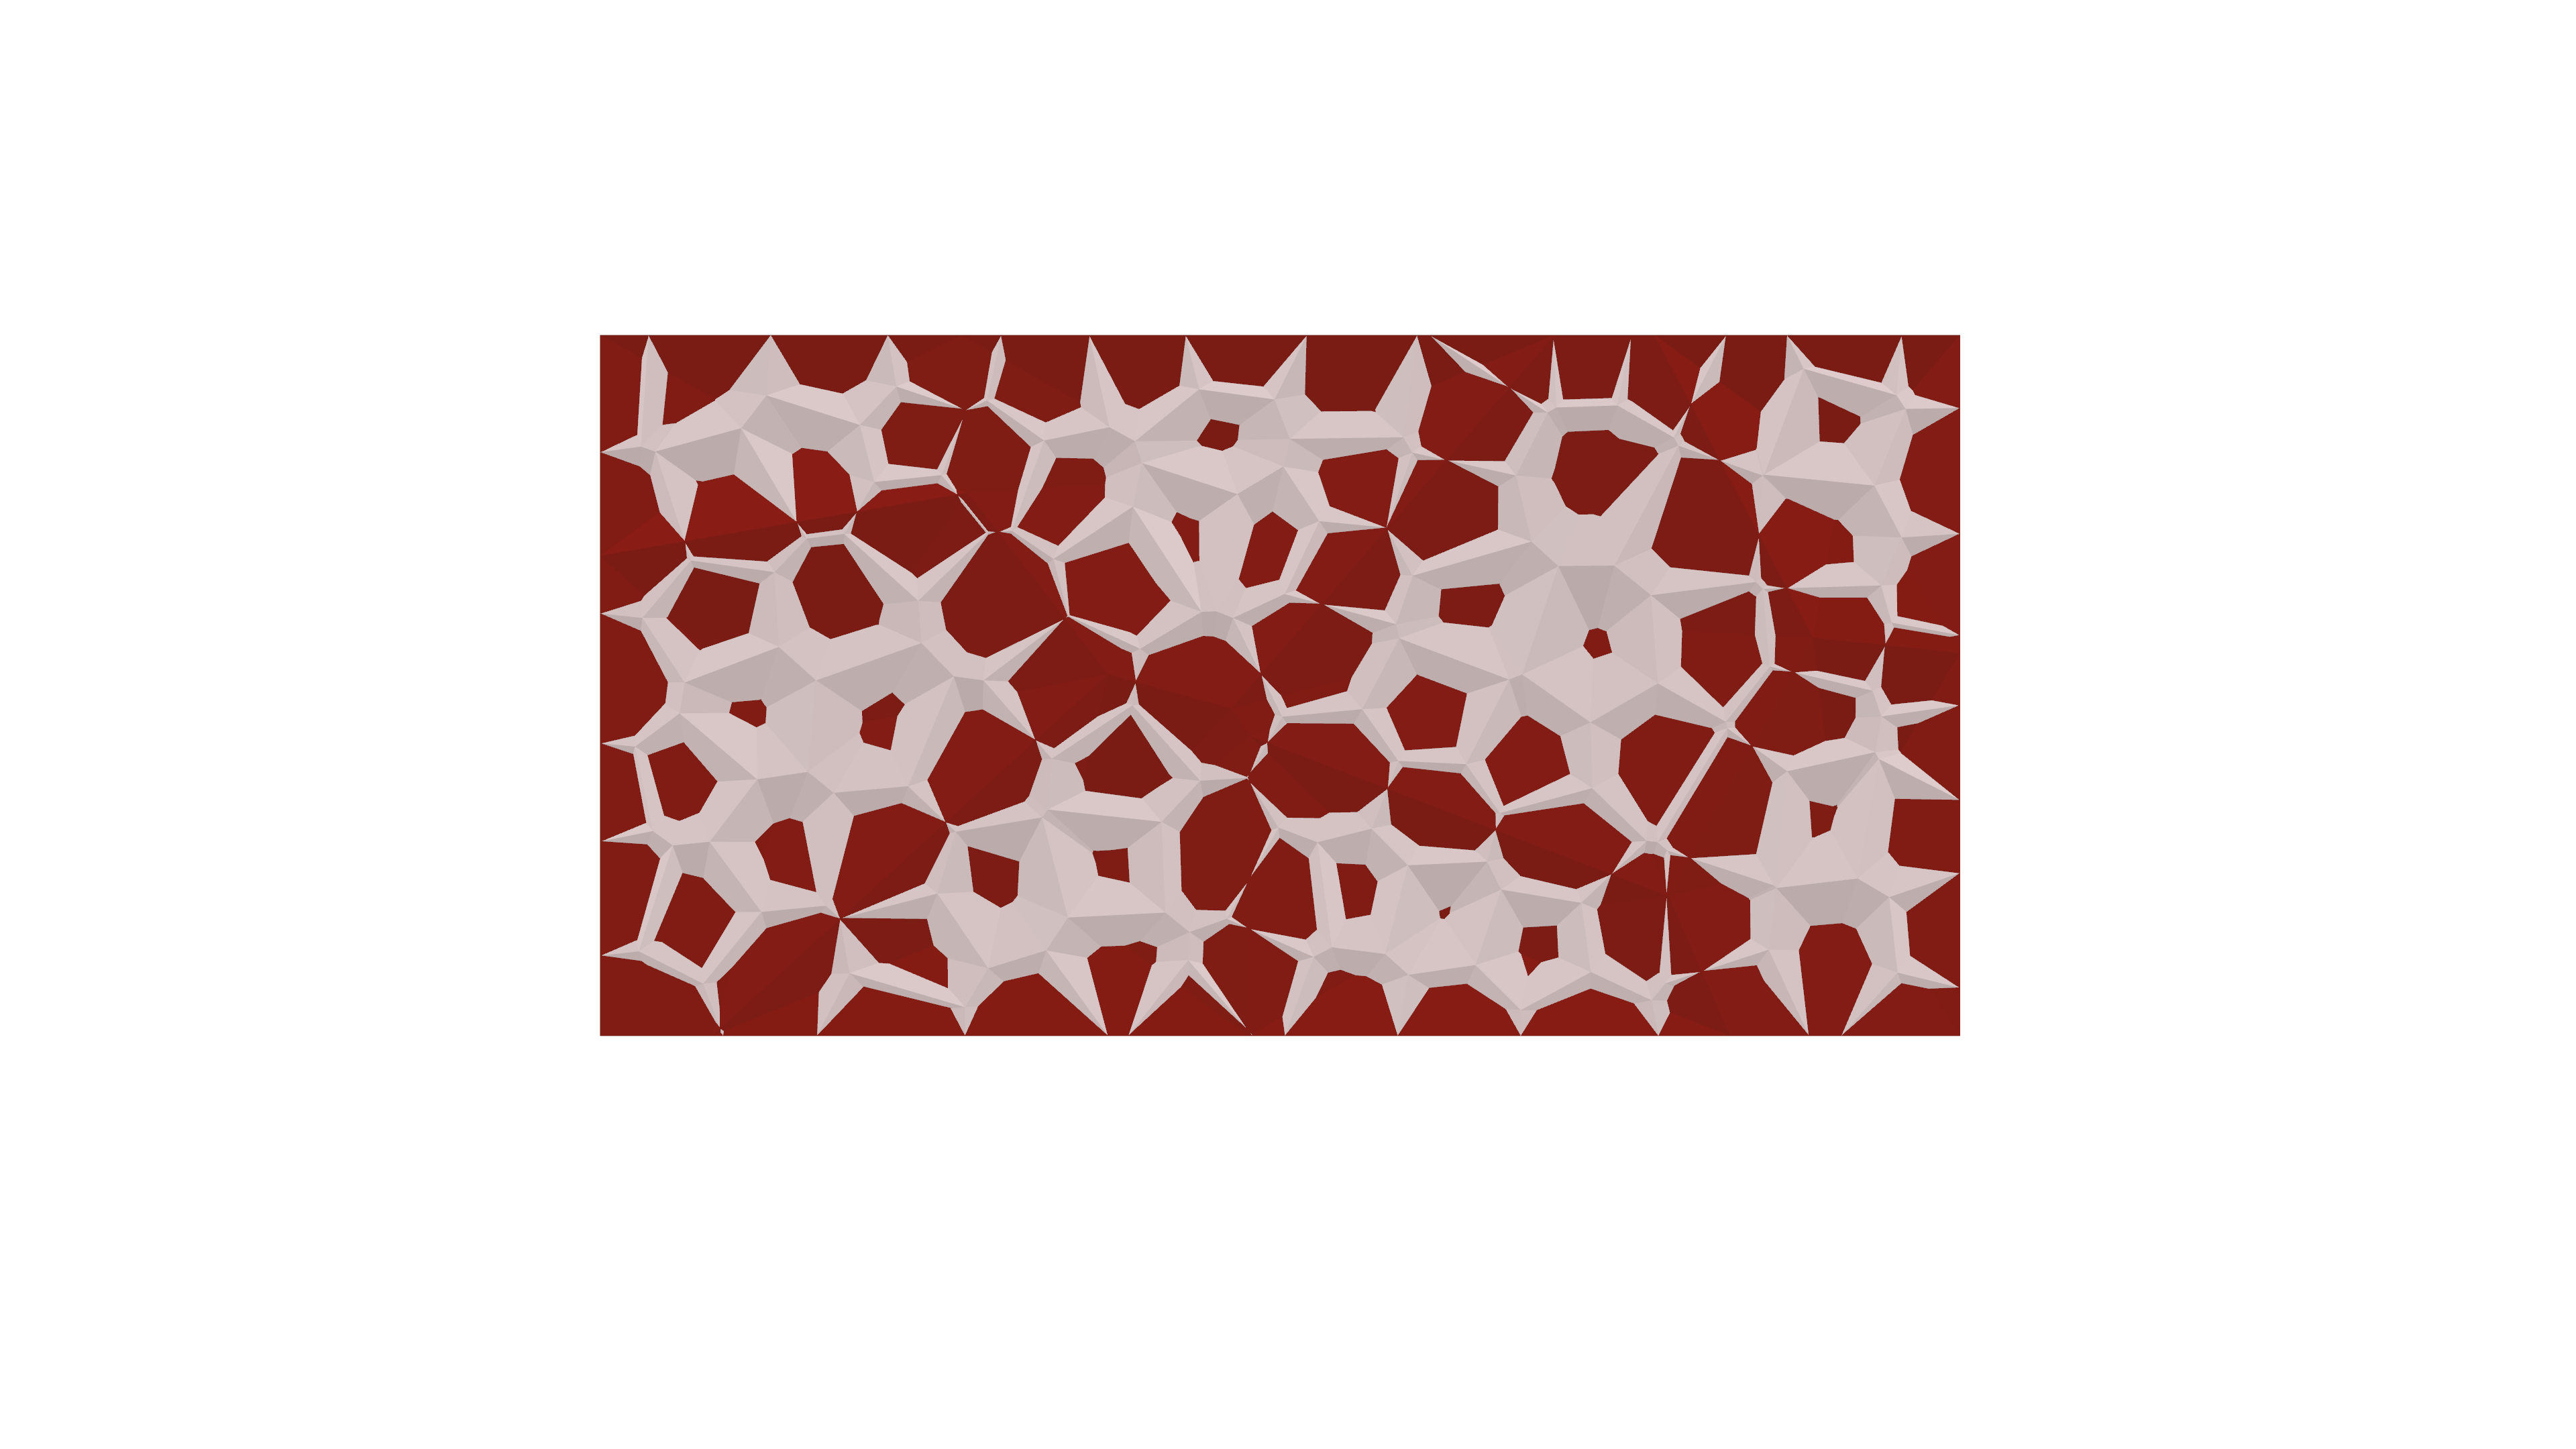
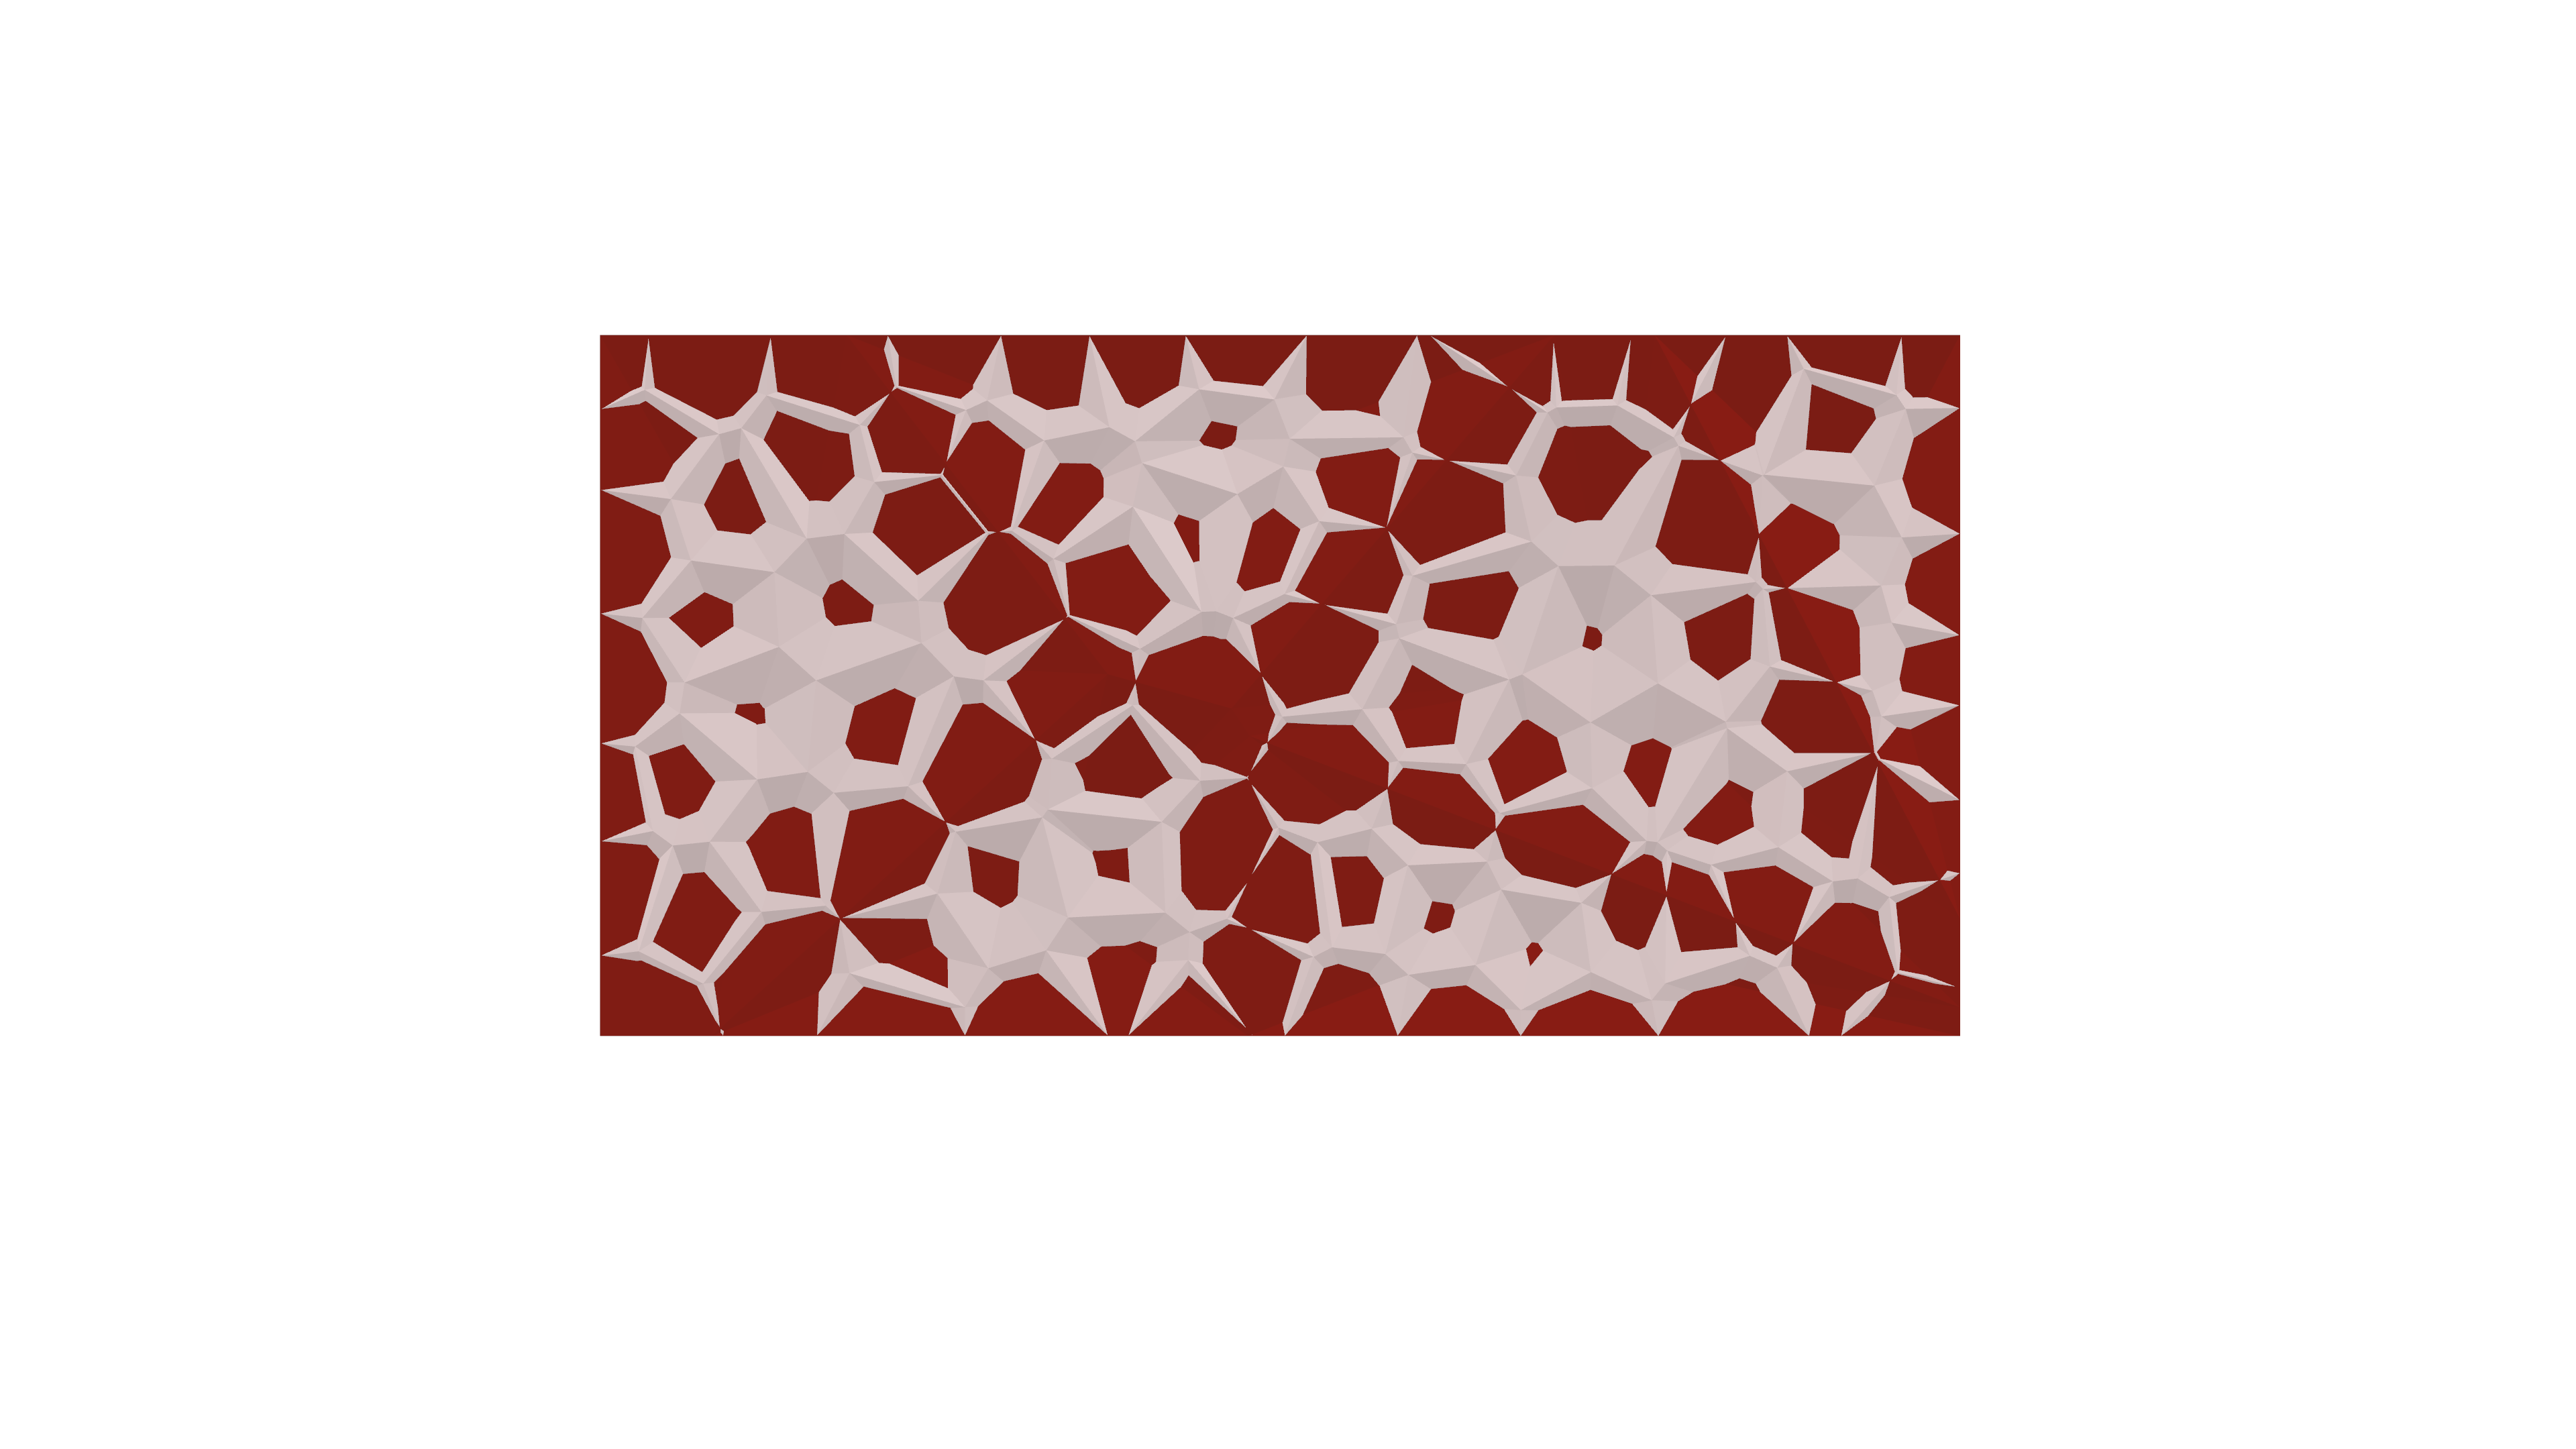
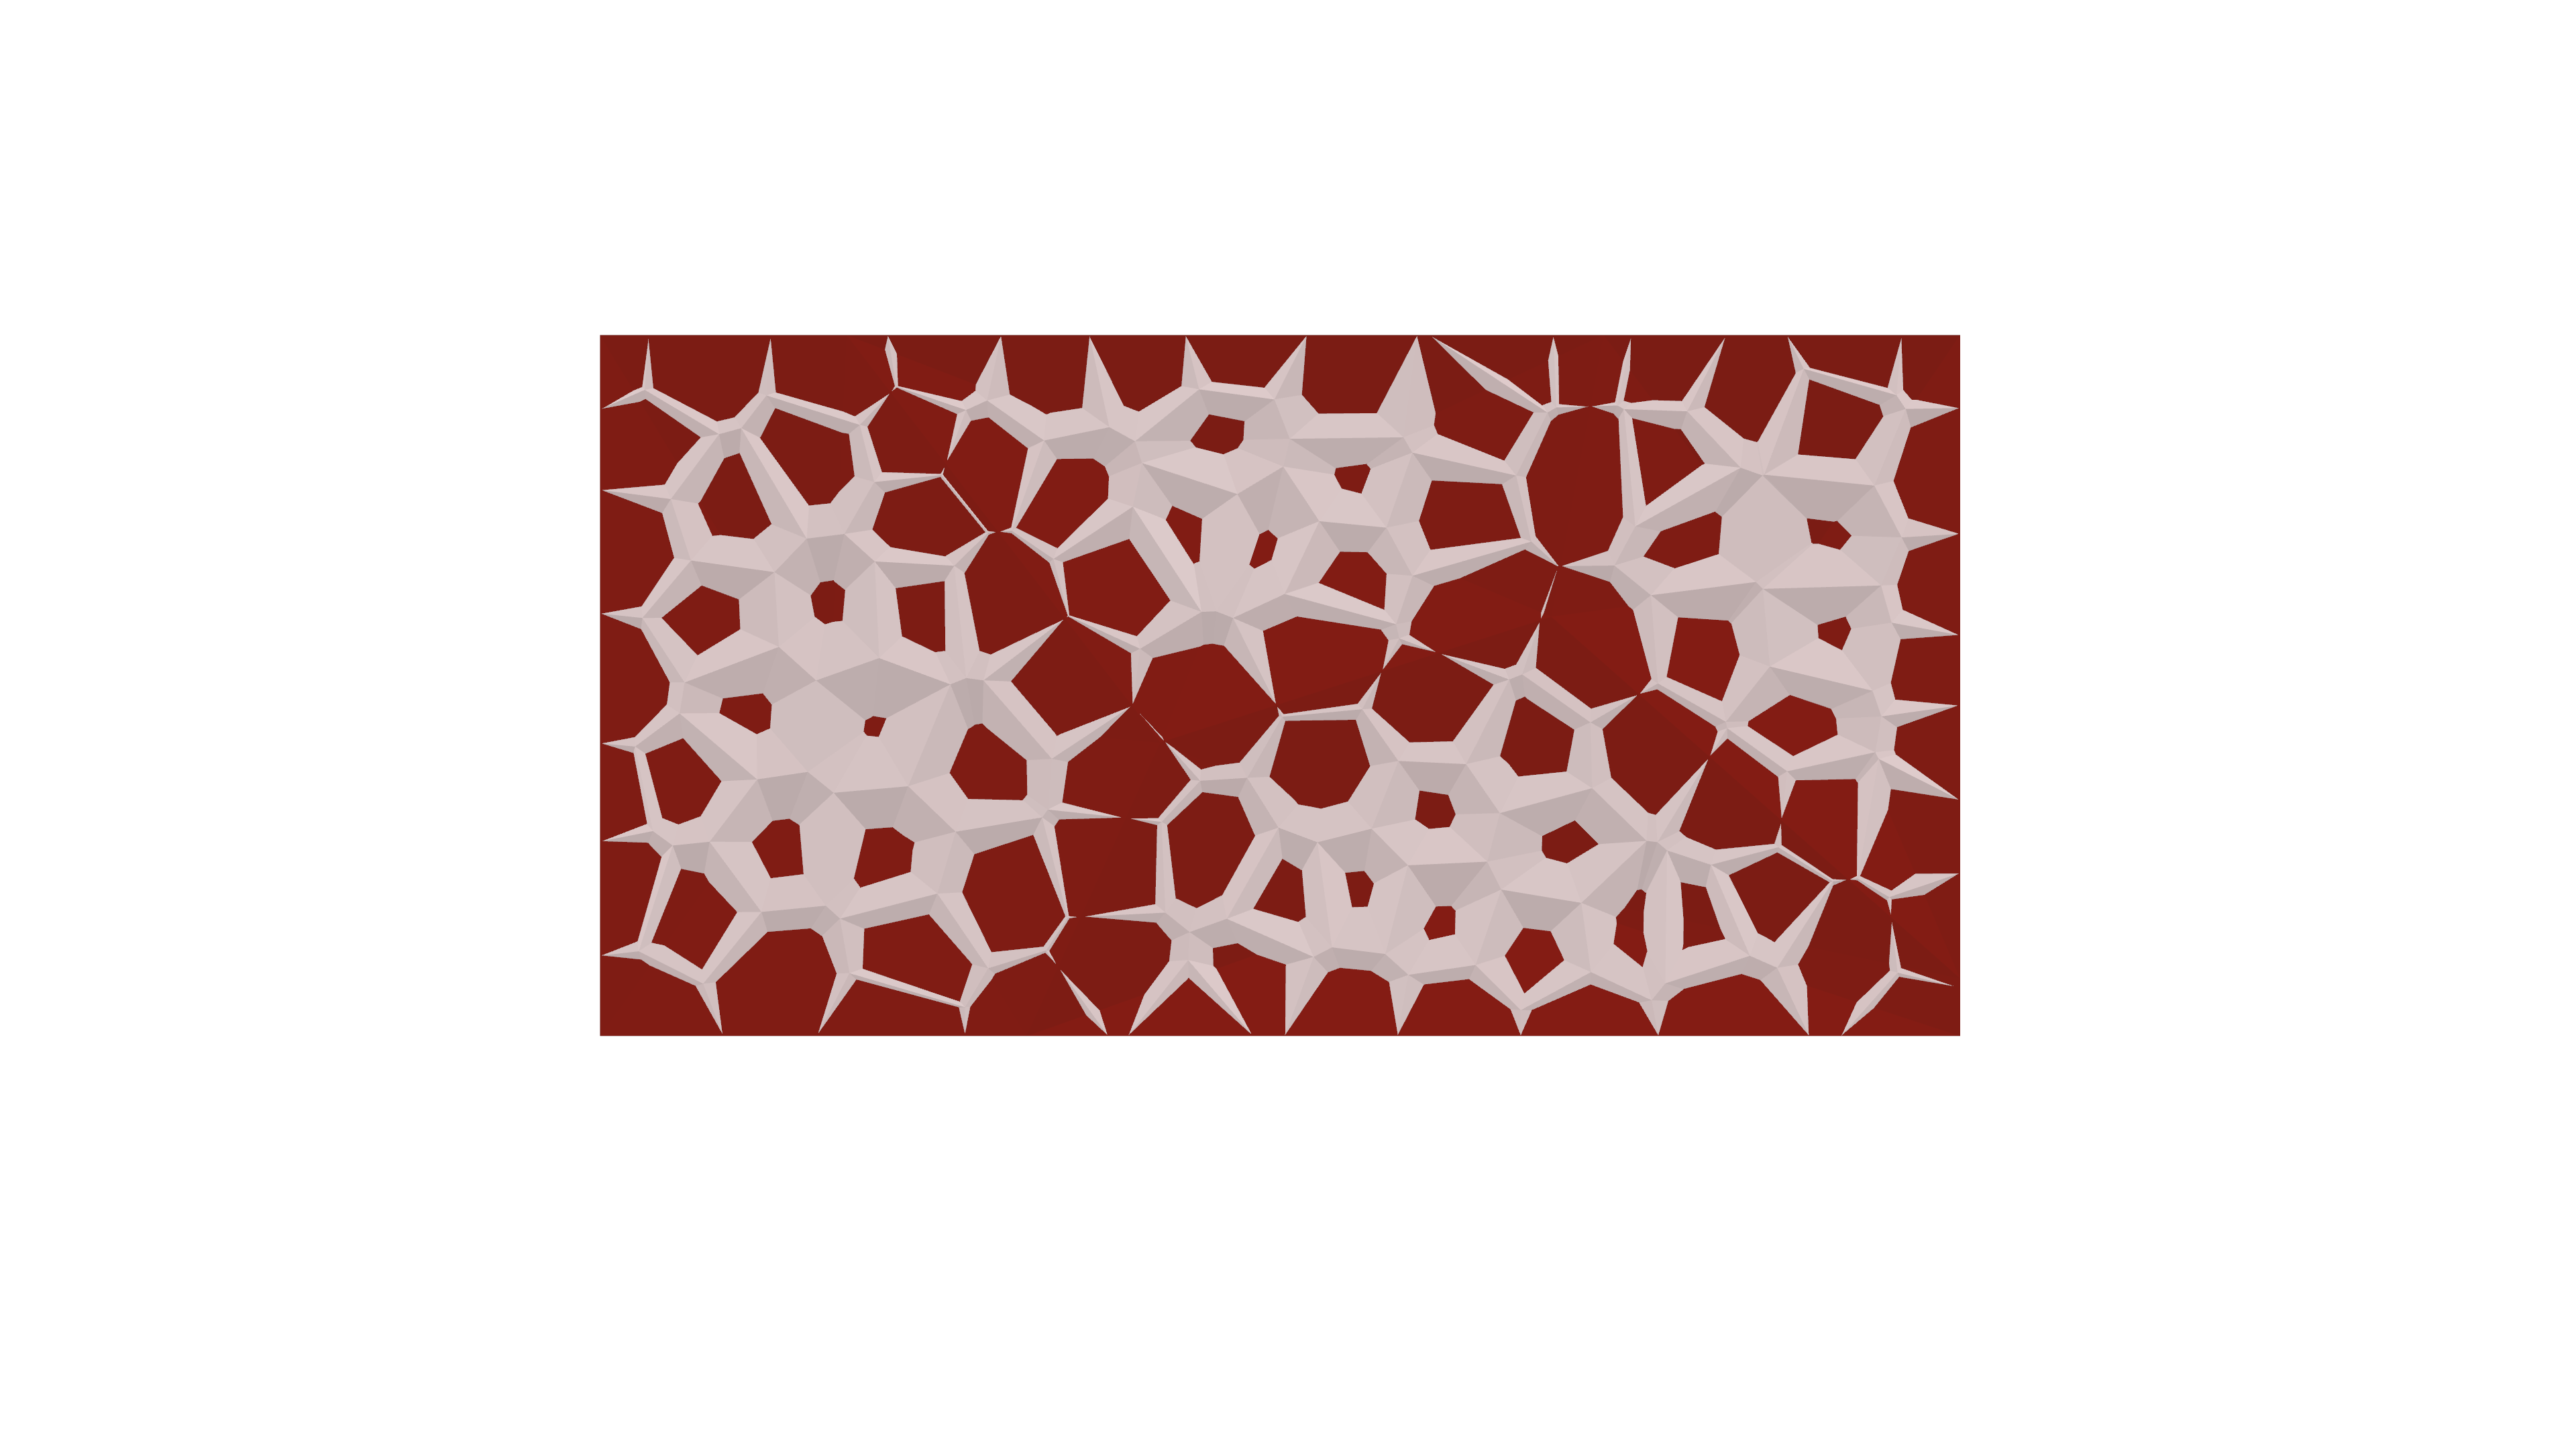

The followings are the steps that I took to reach the final product.
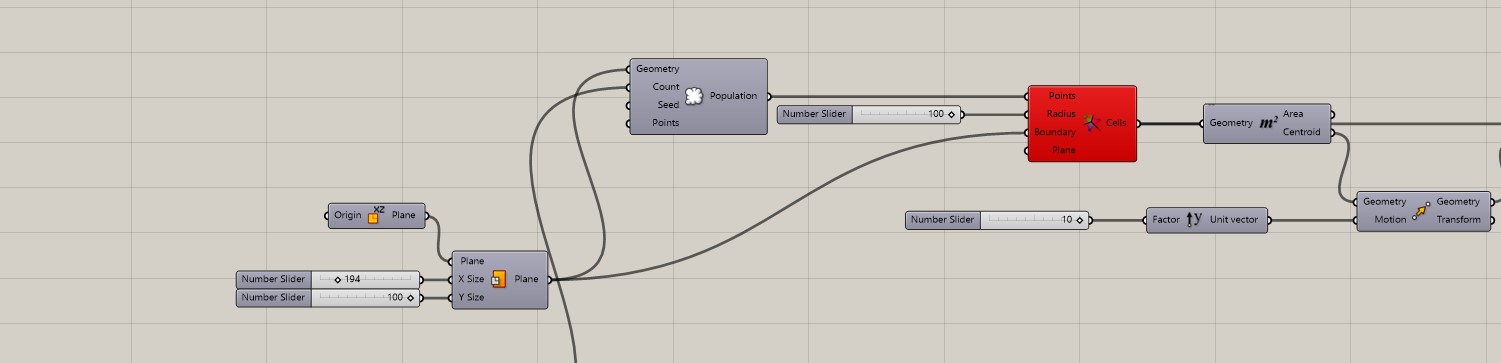
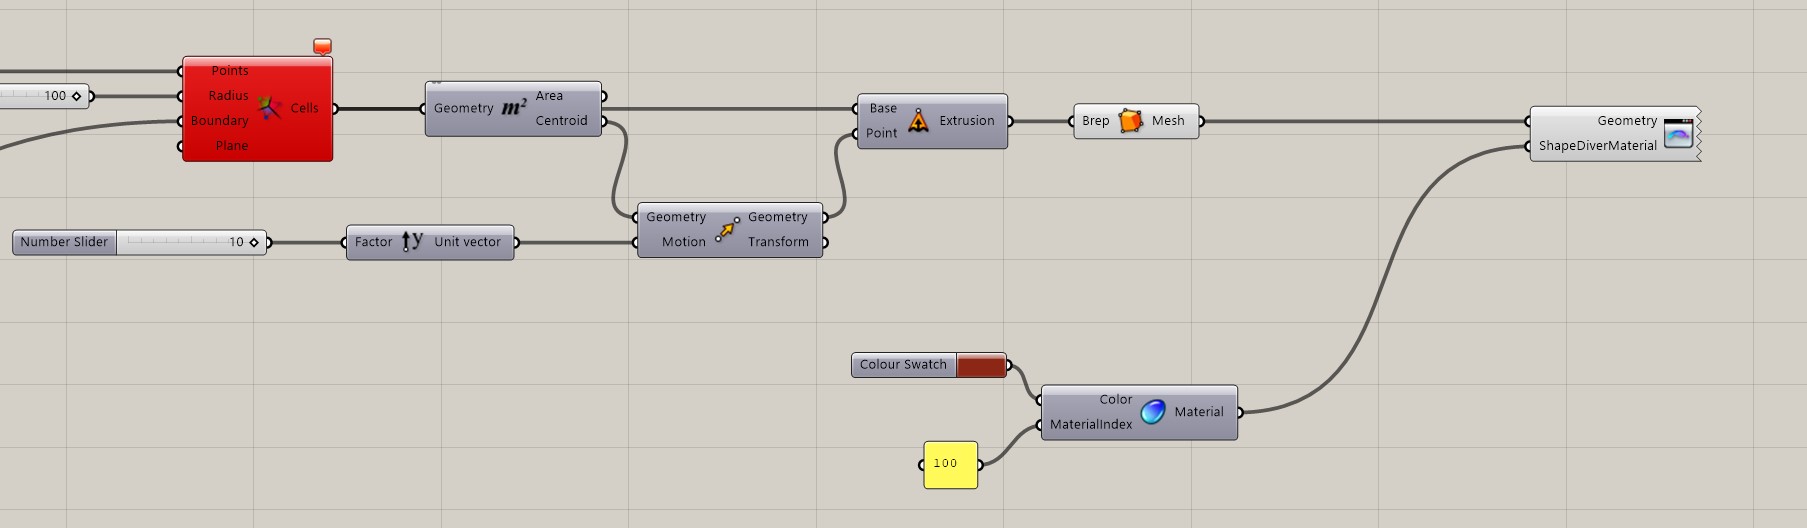


Grasshopper script
Shapediver QR code TWO DIFFERENT SHAPES

Rhino Image and Final product Image
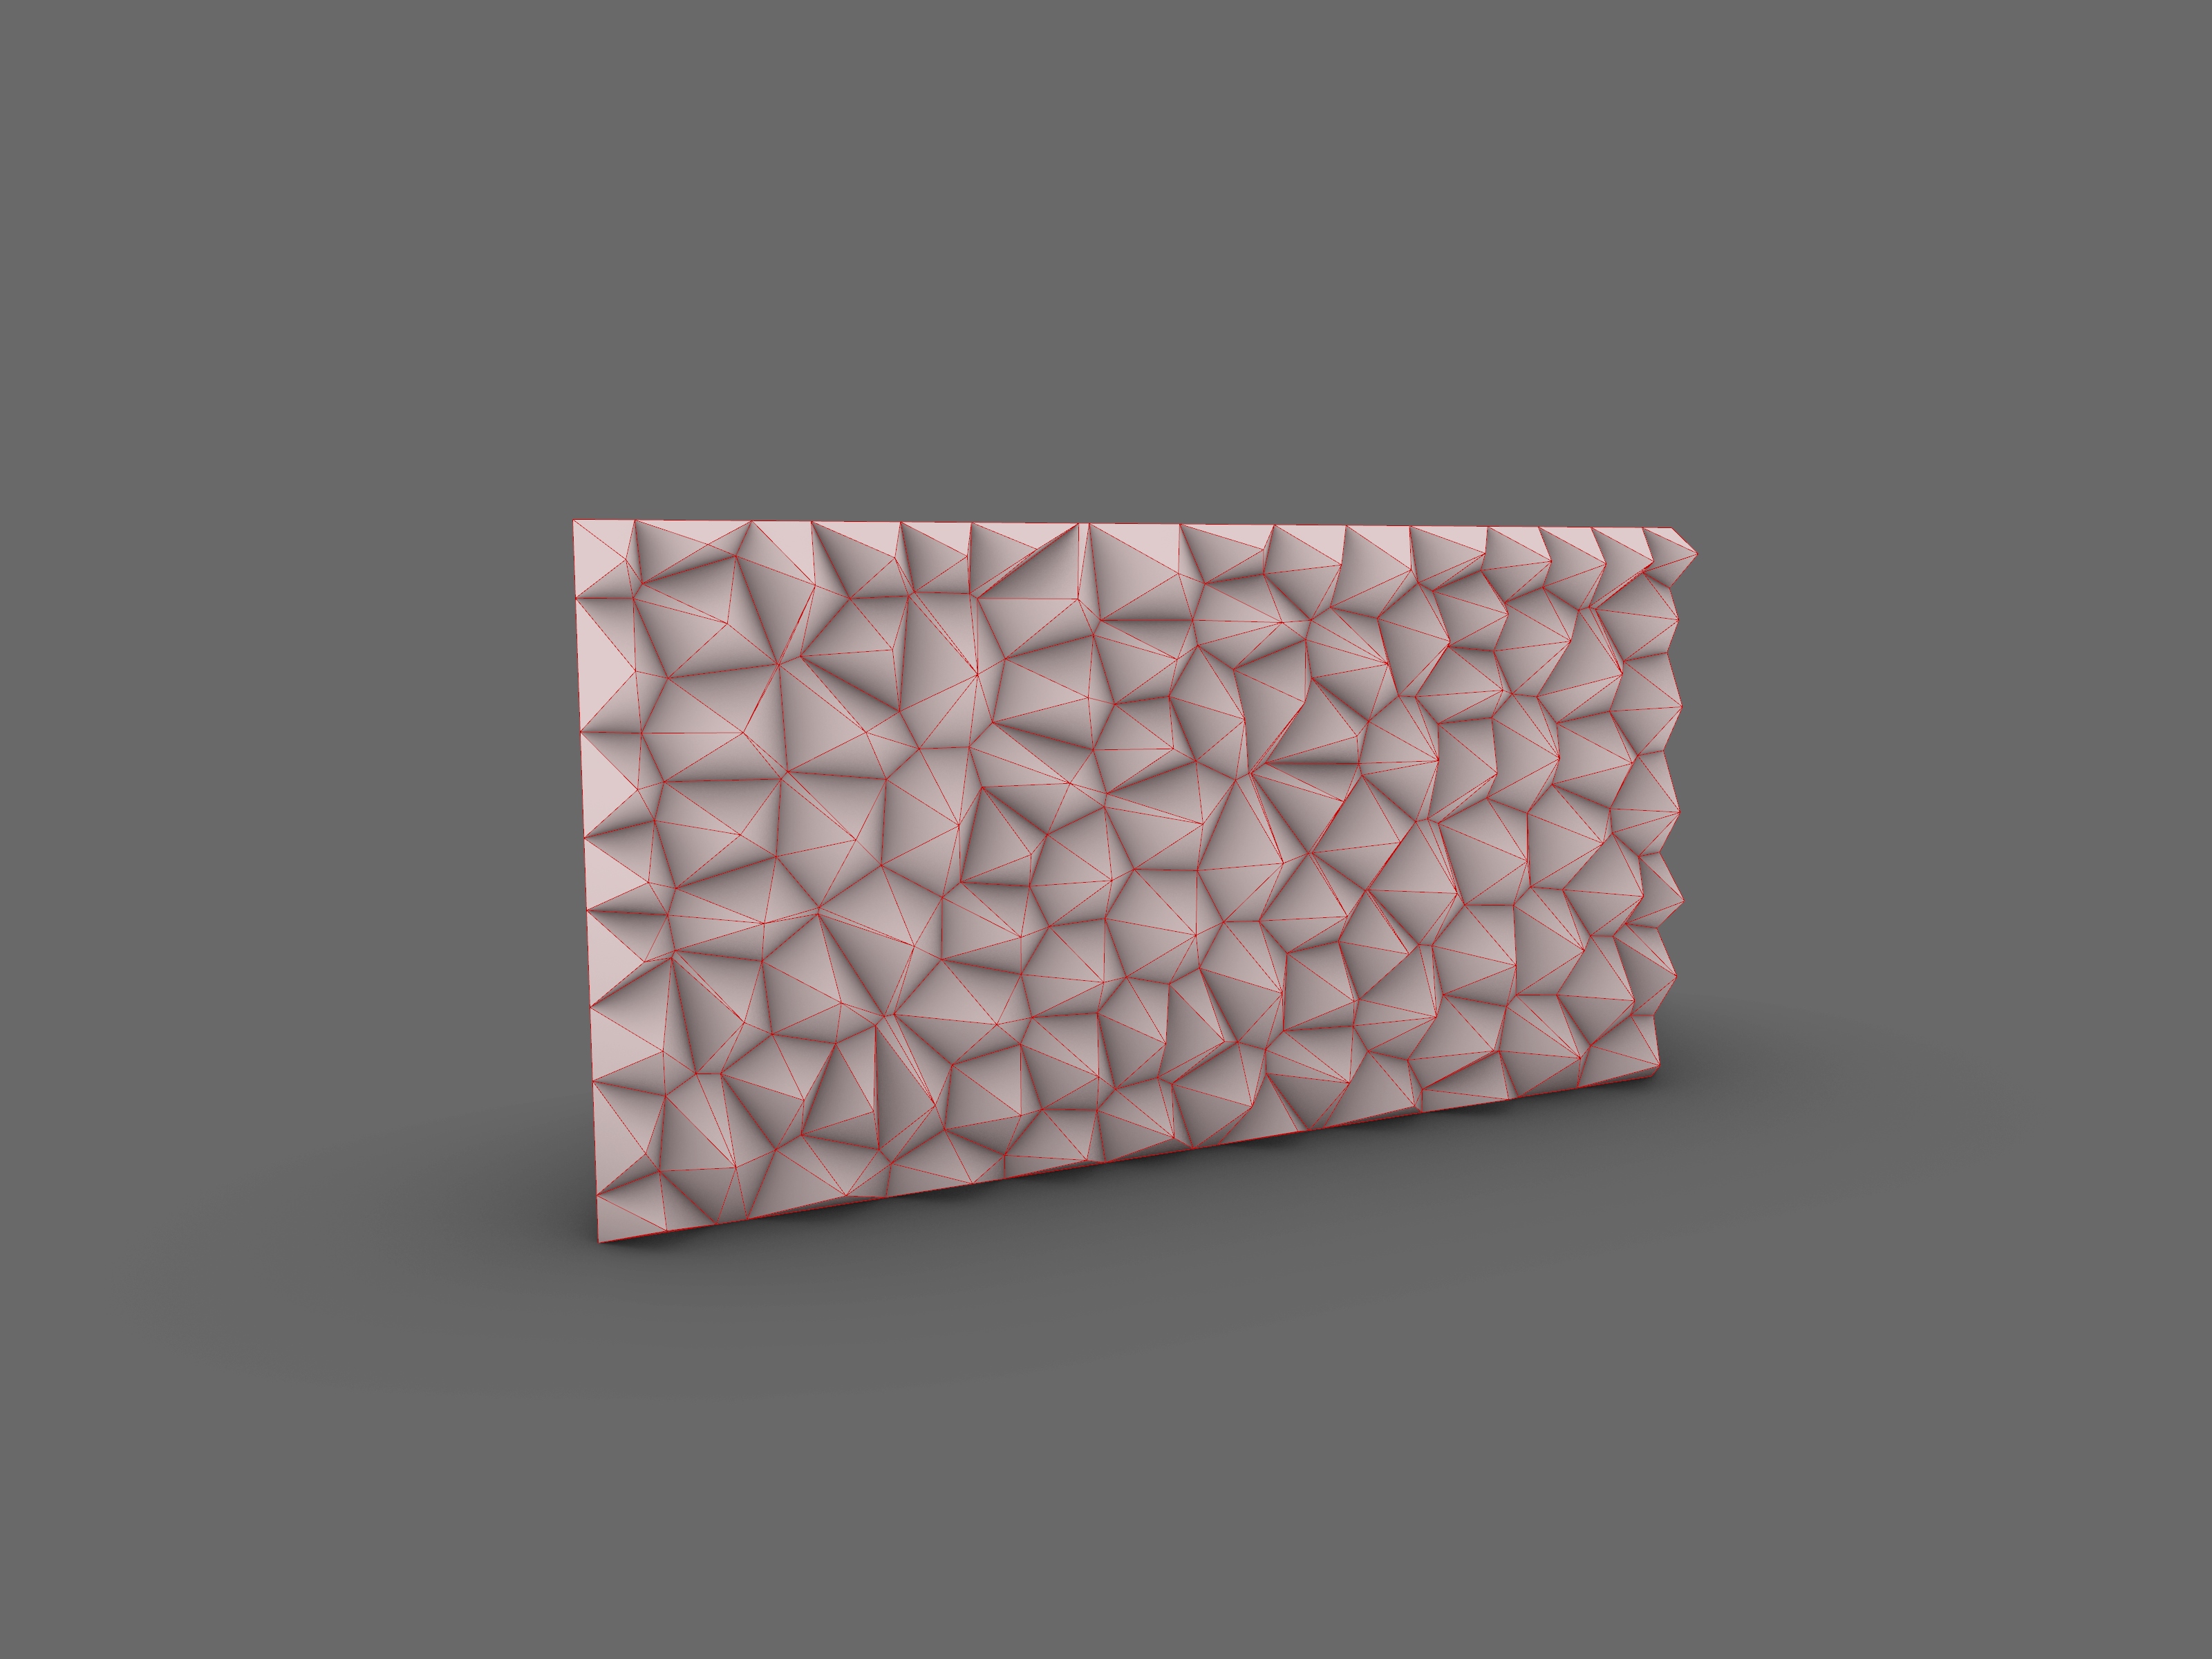
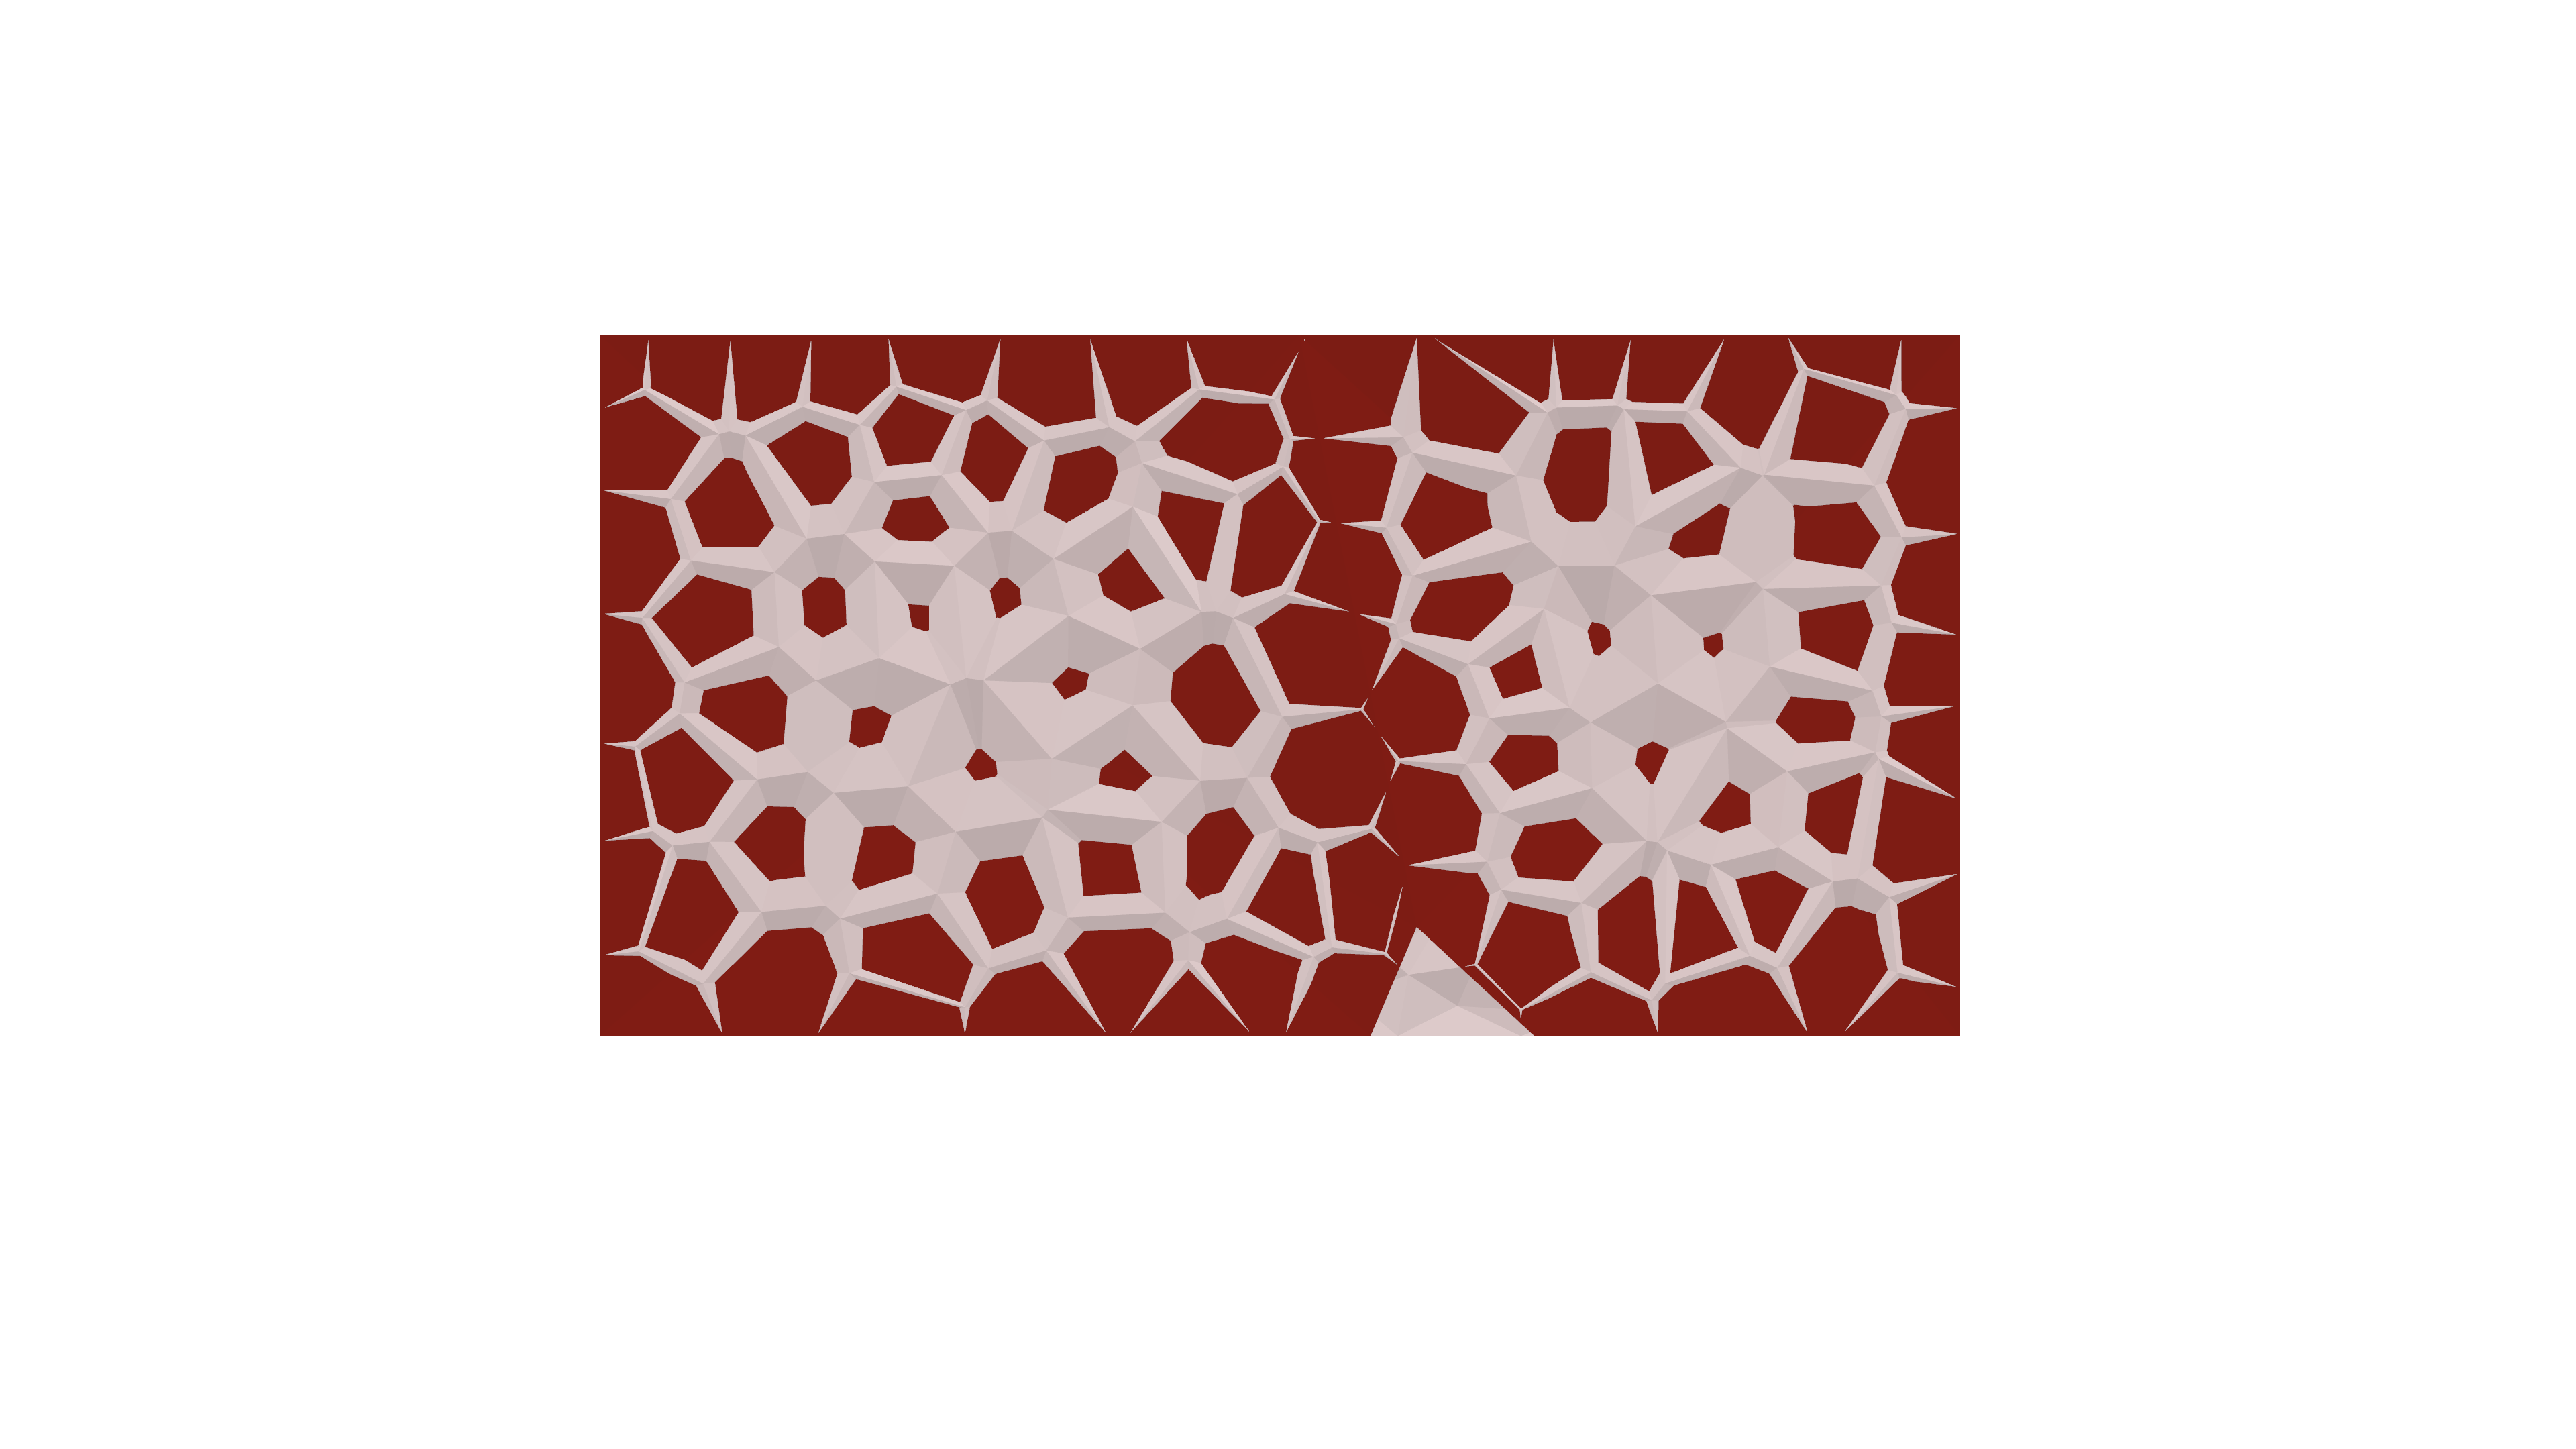


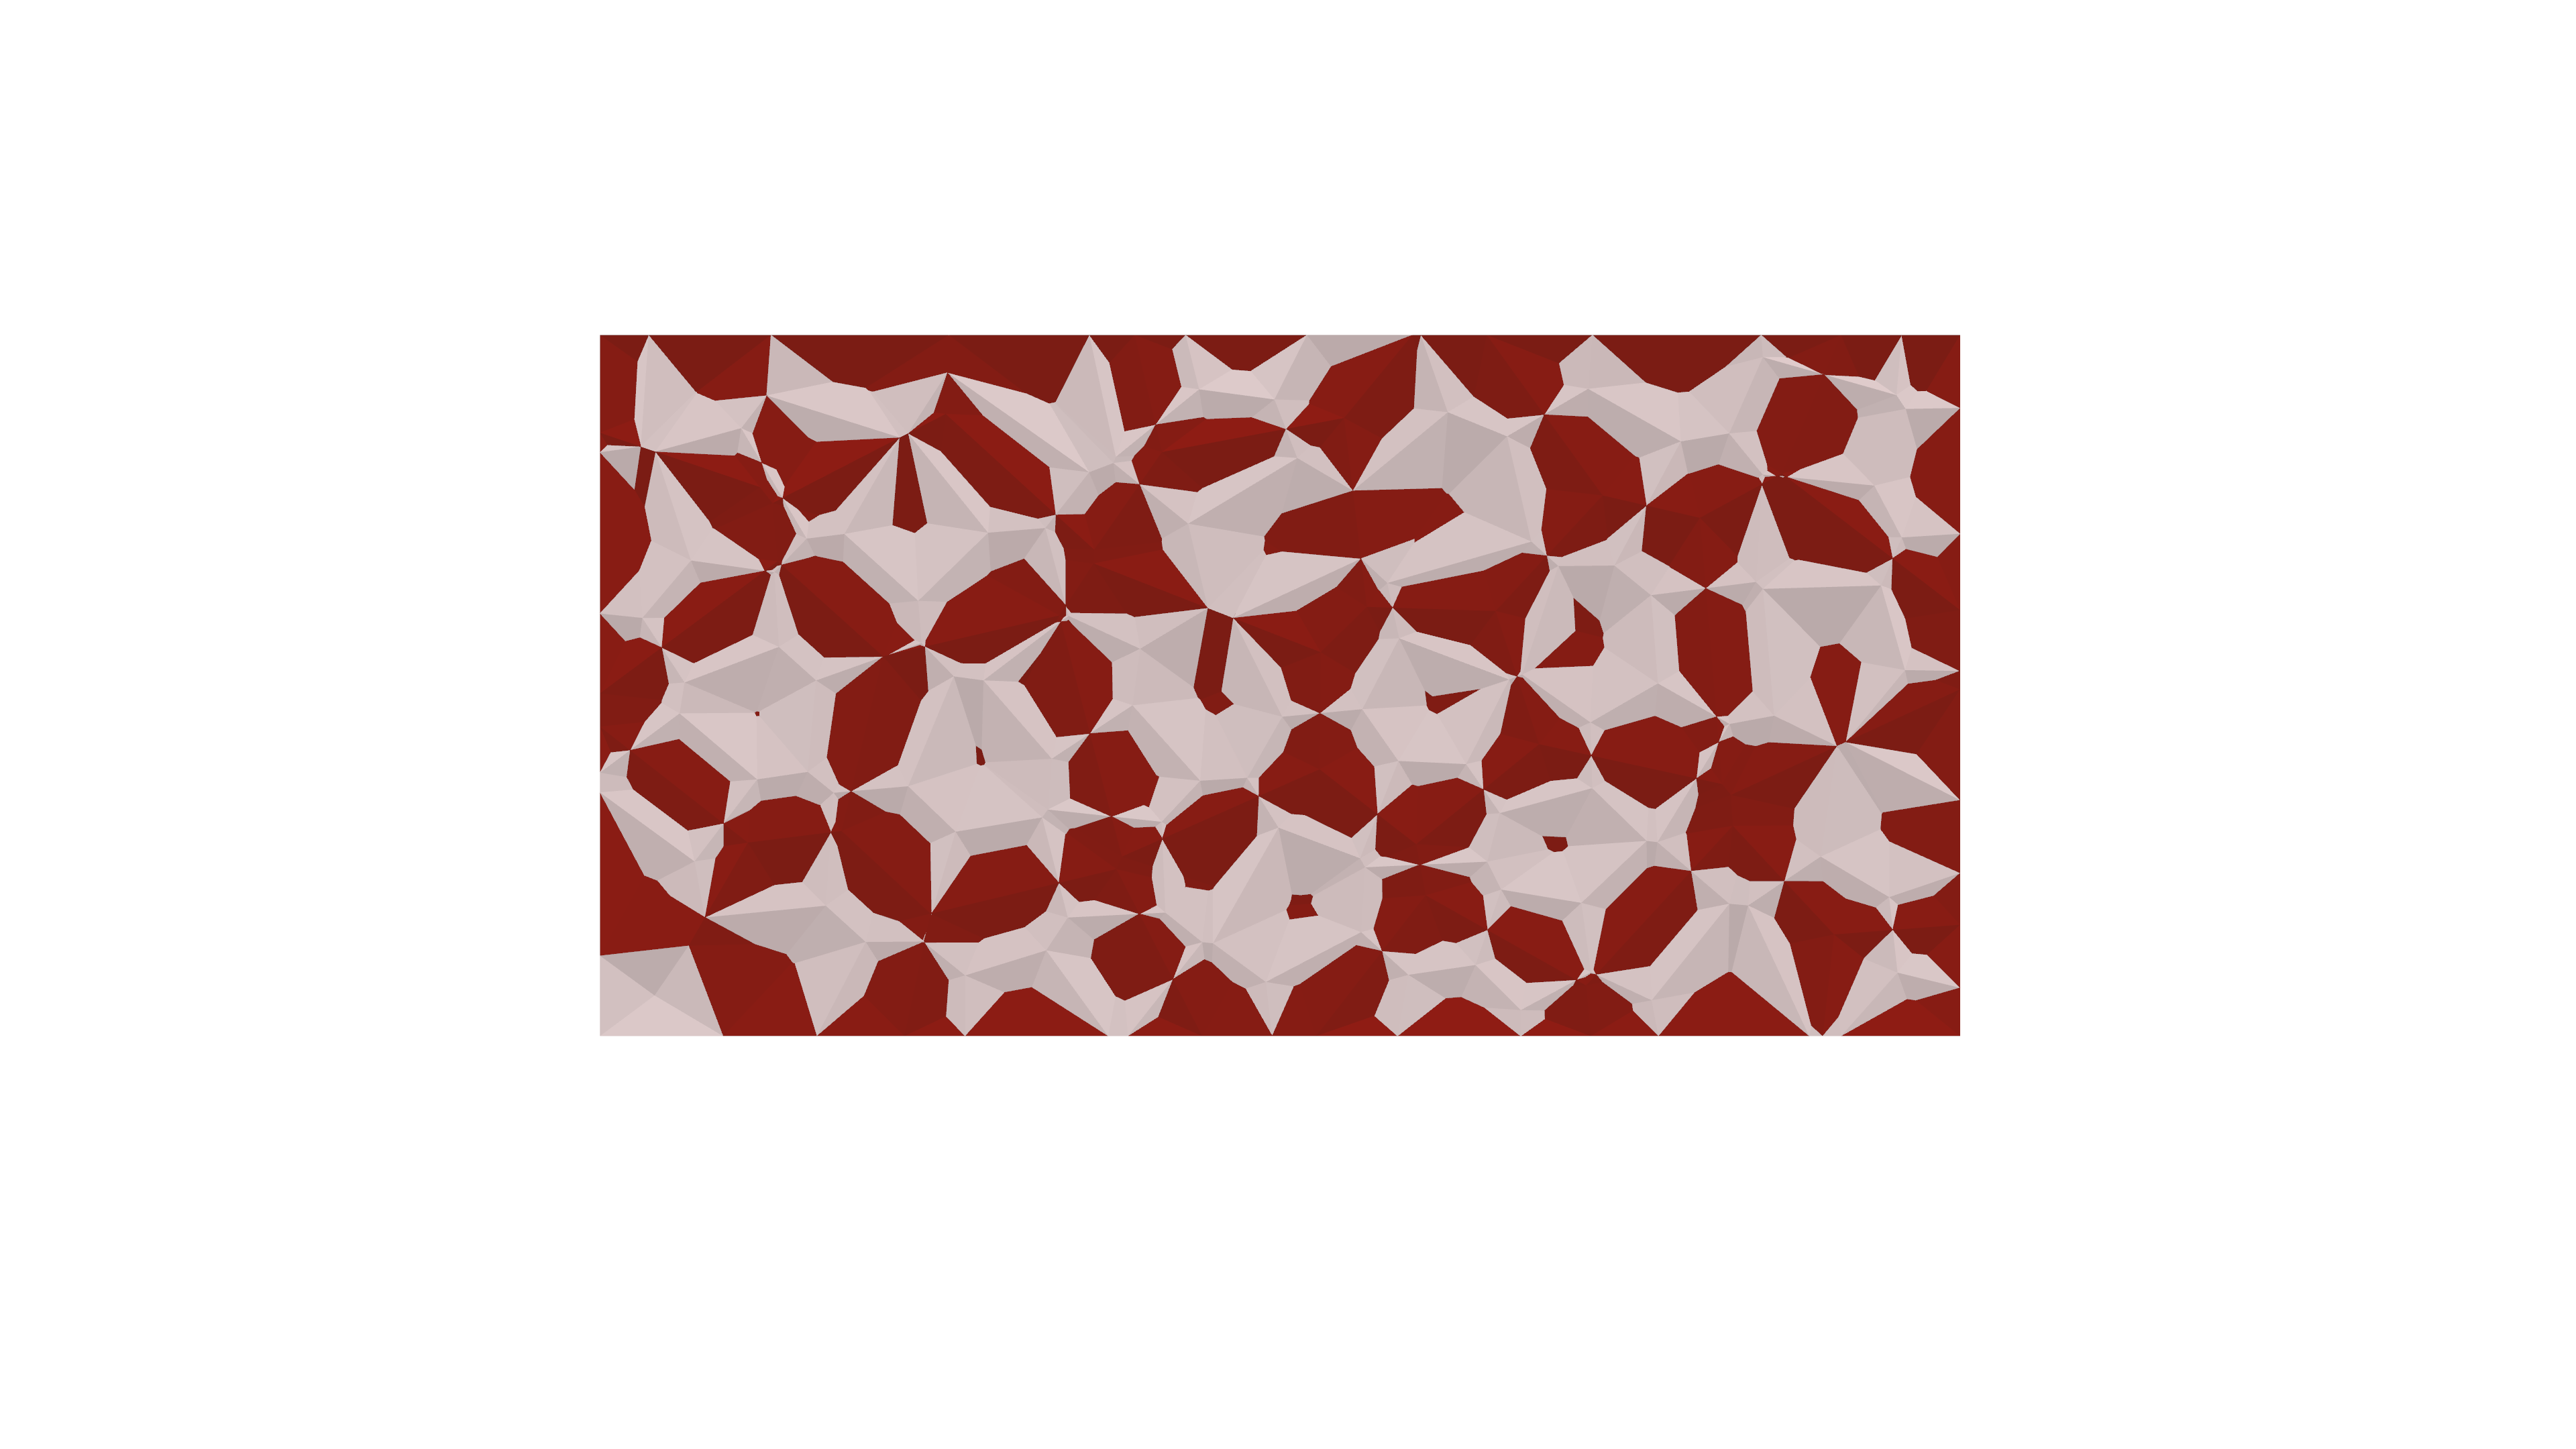
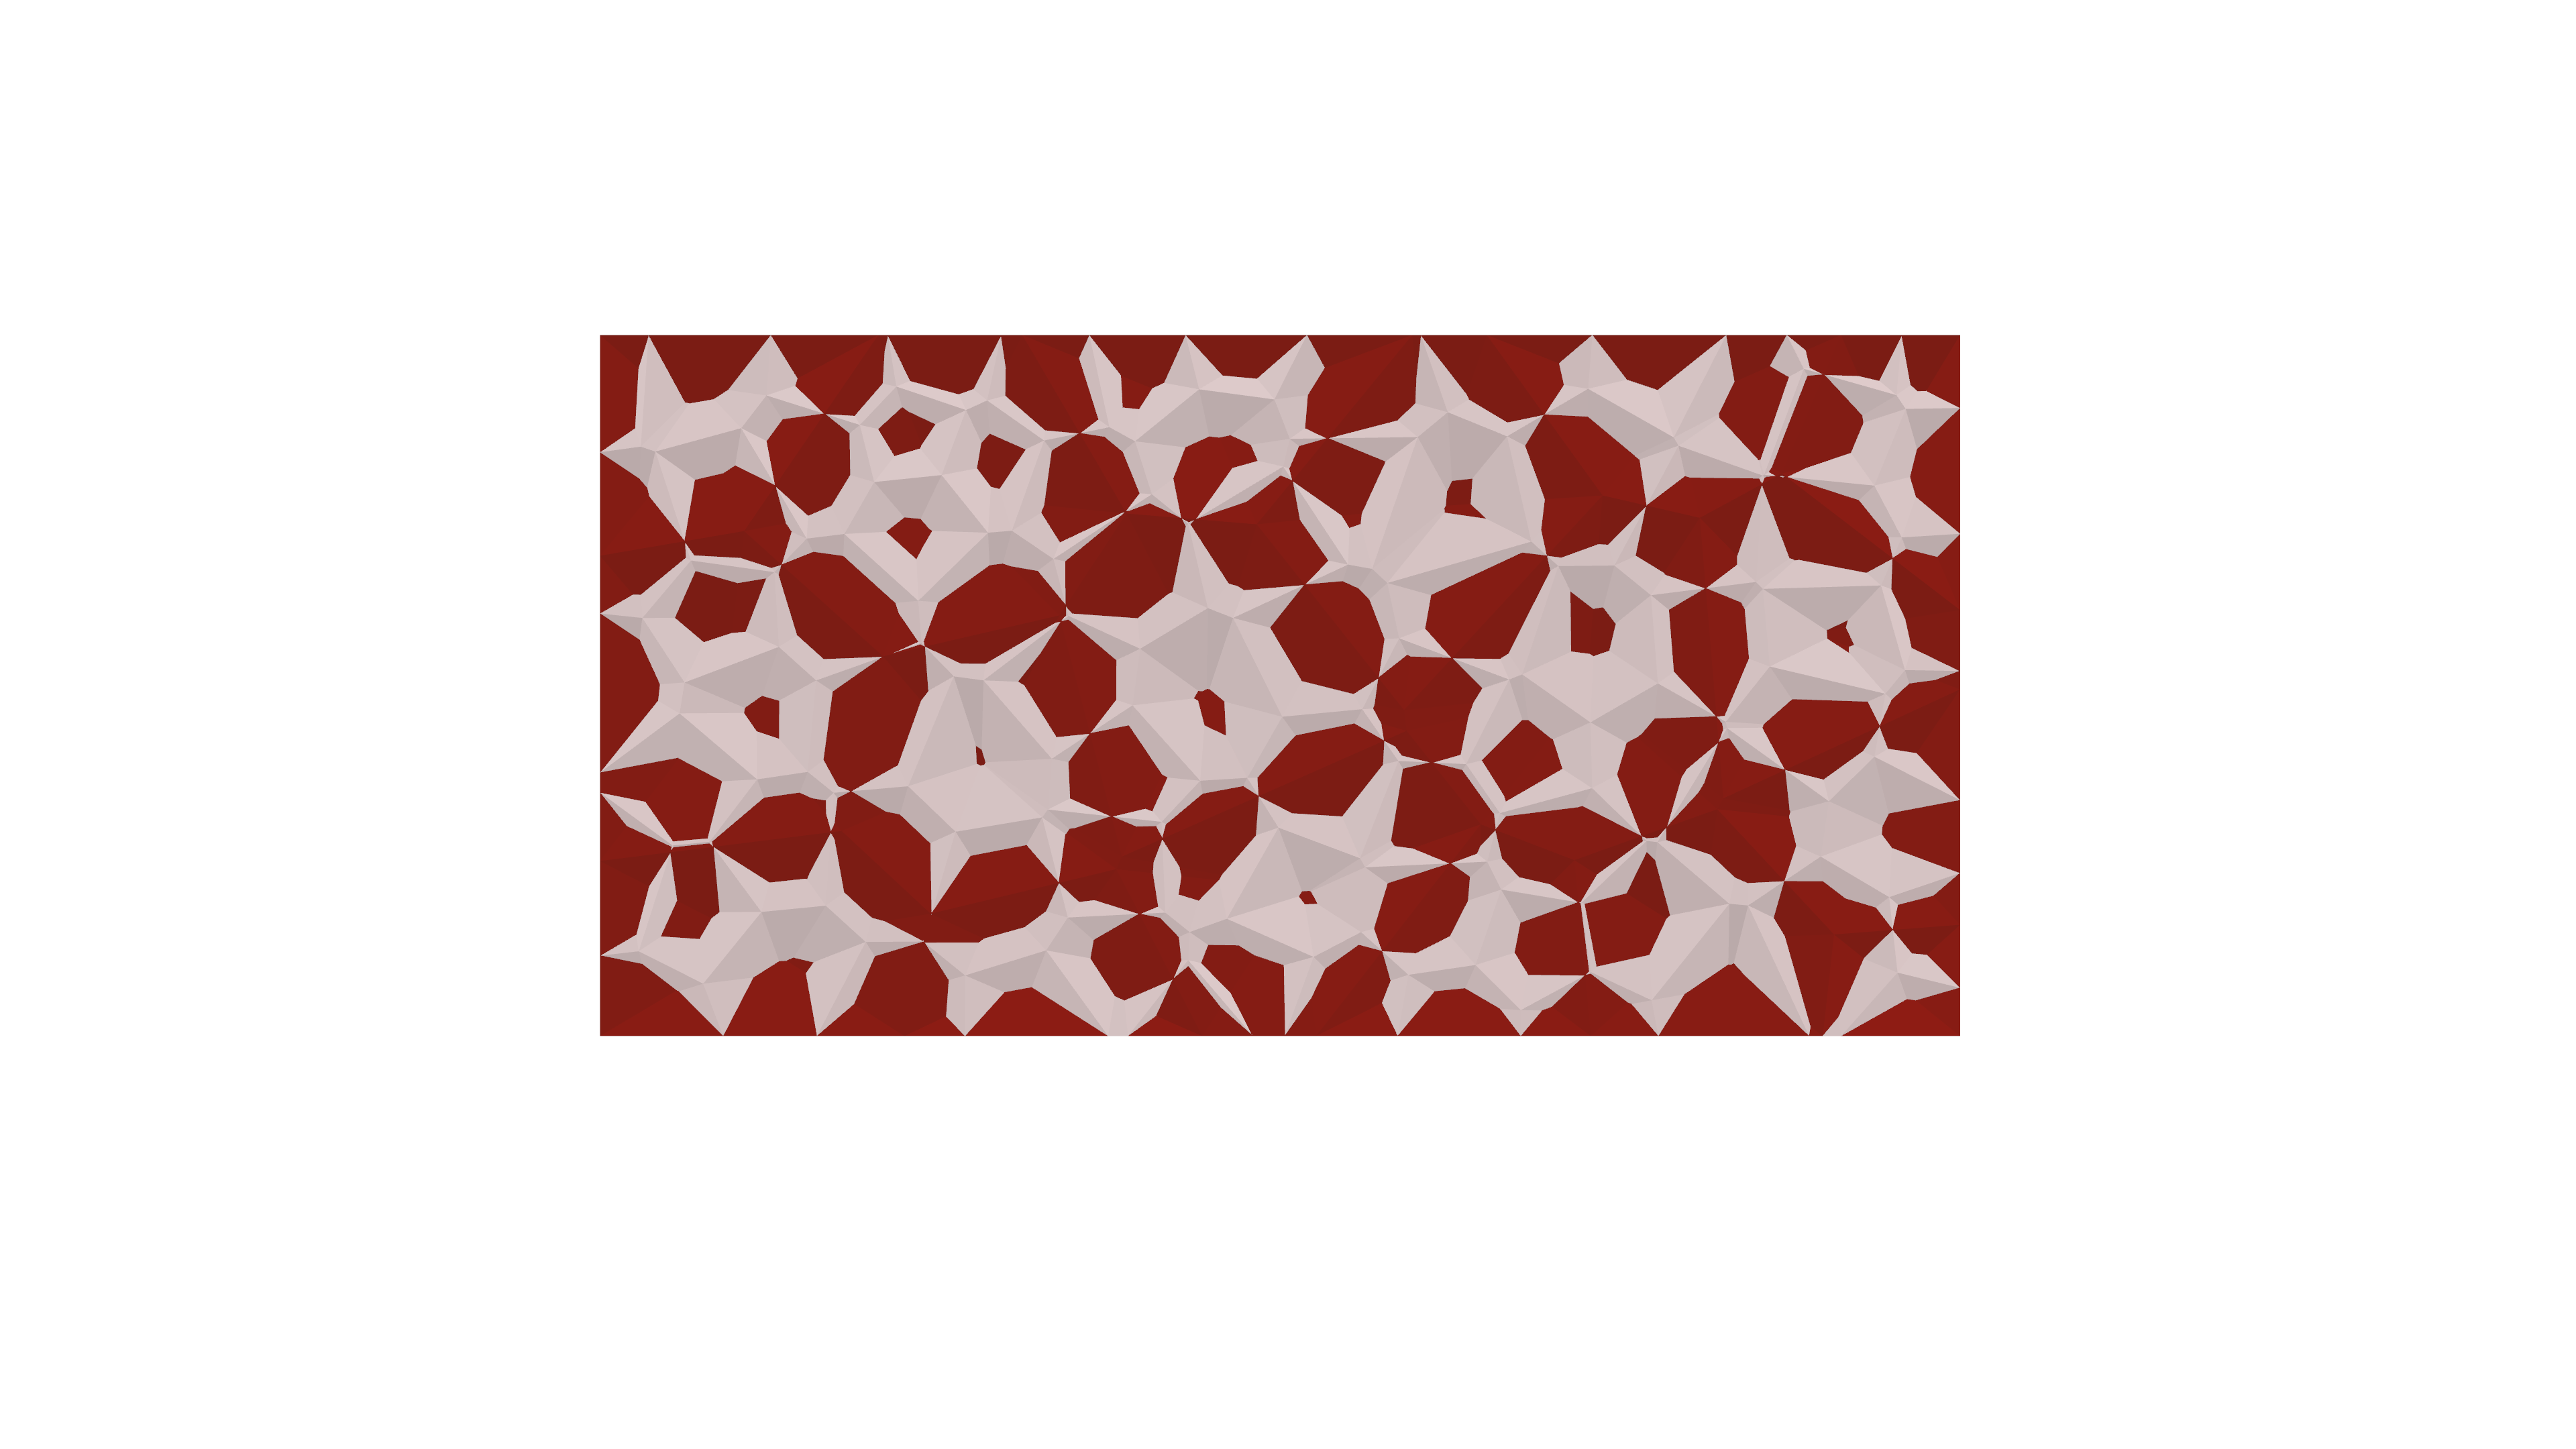
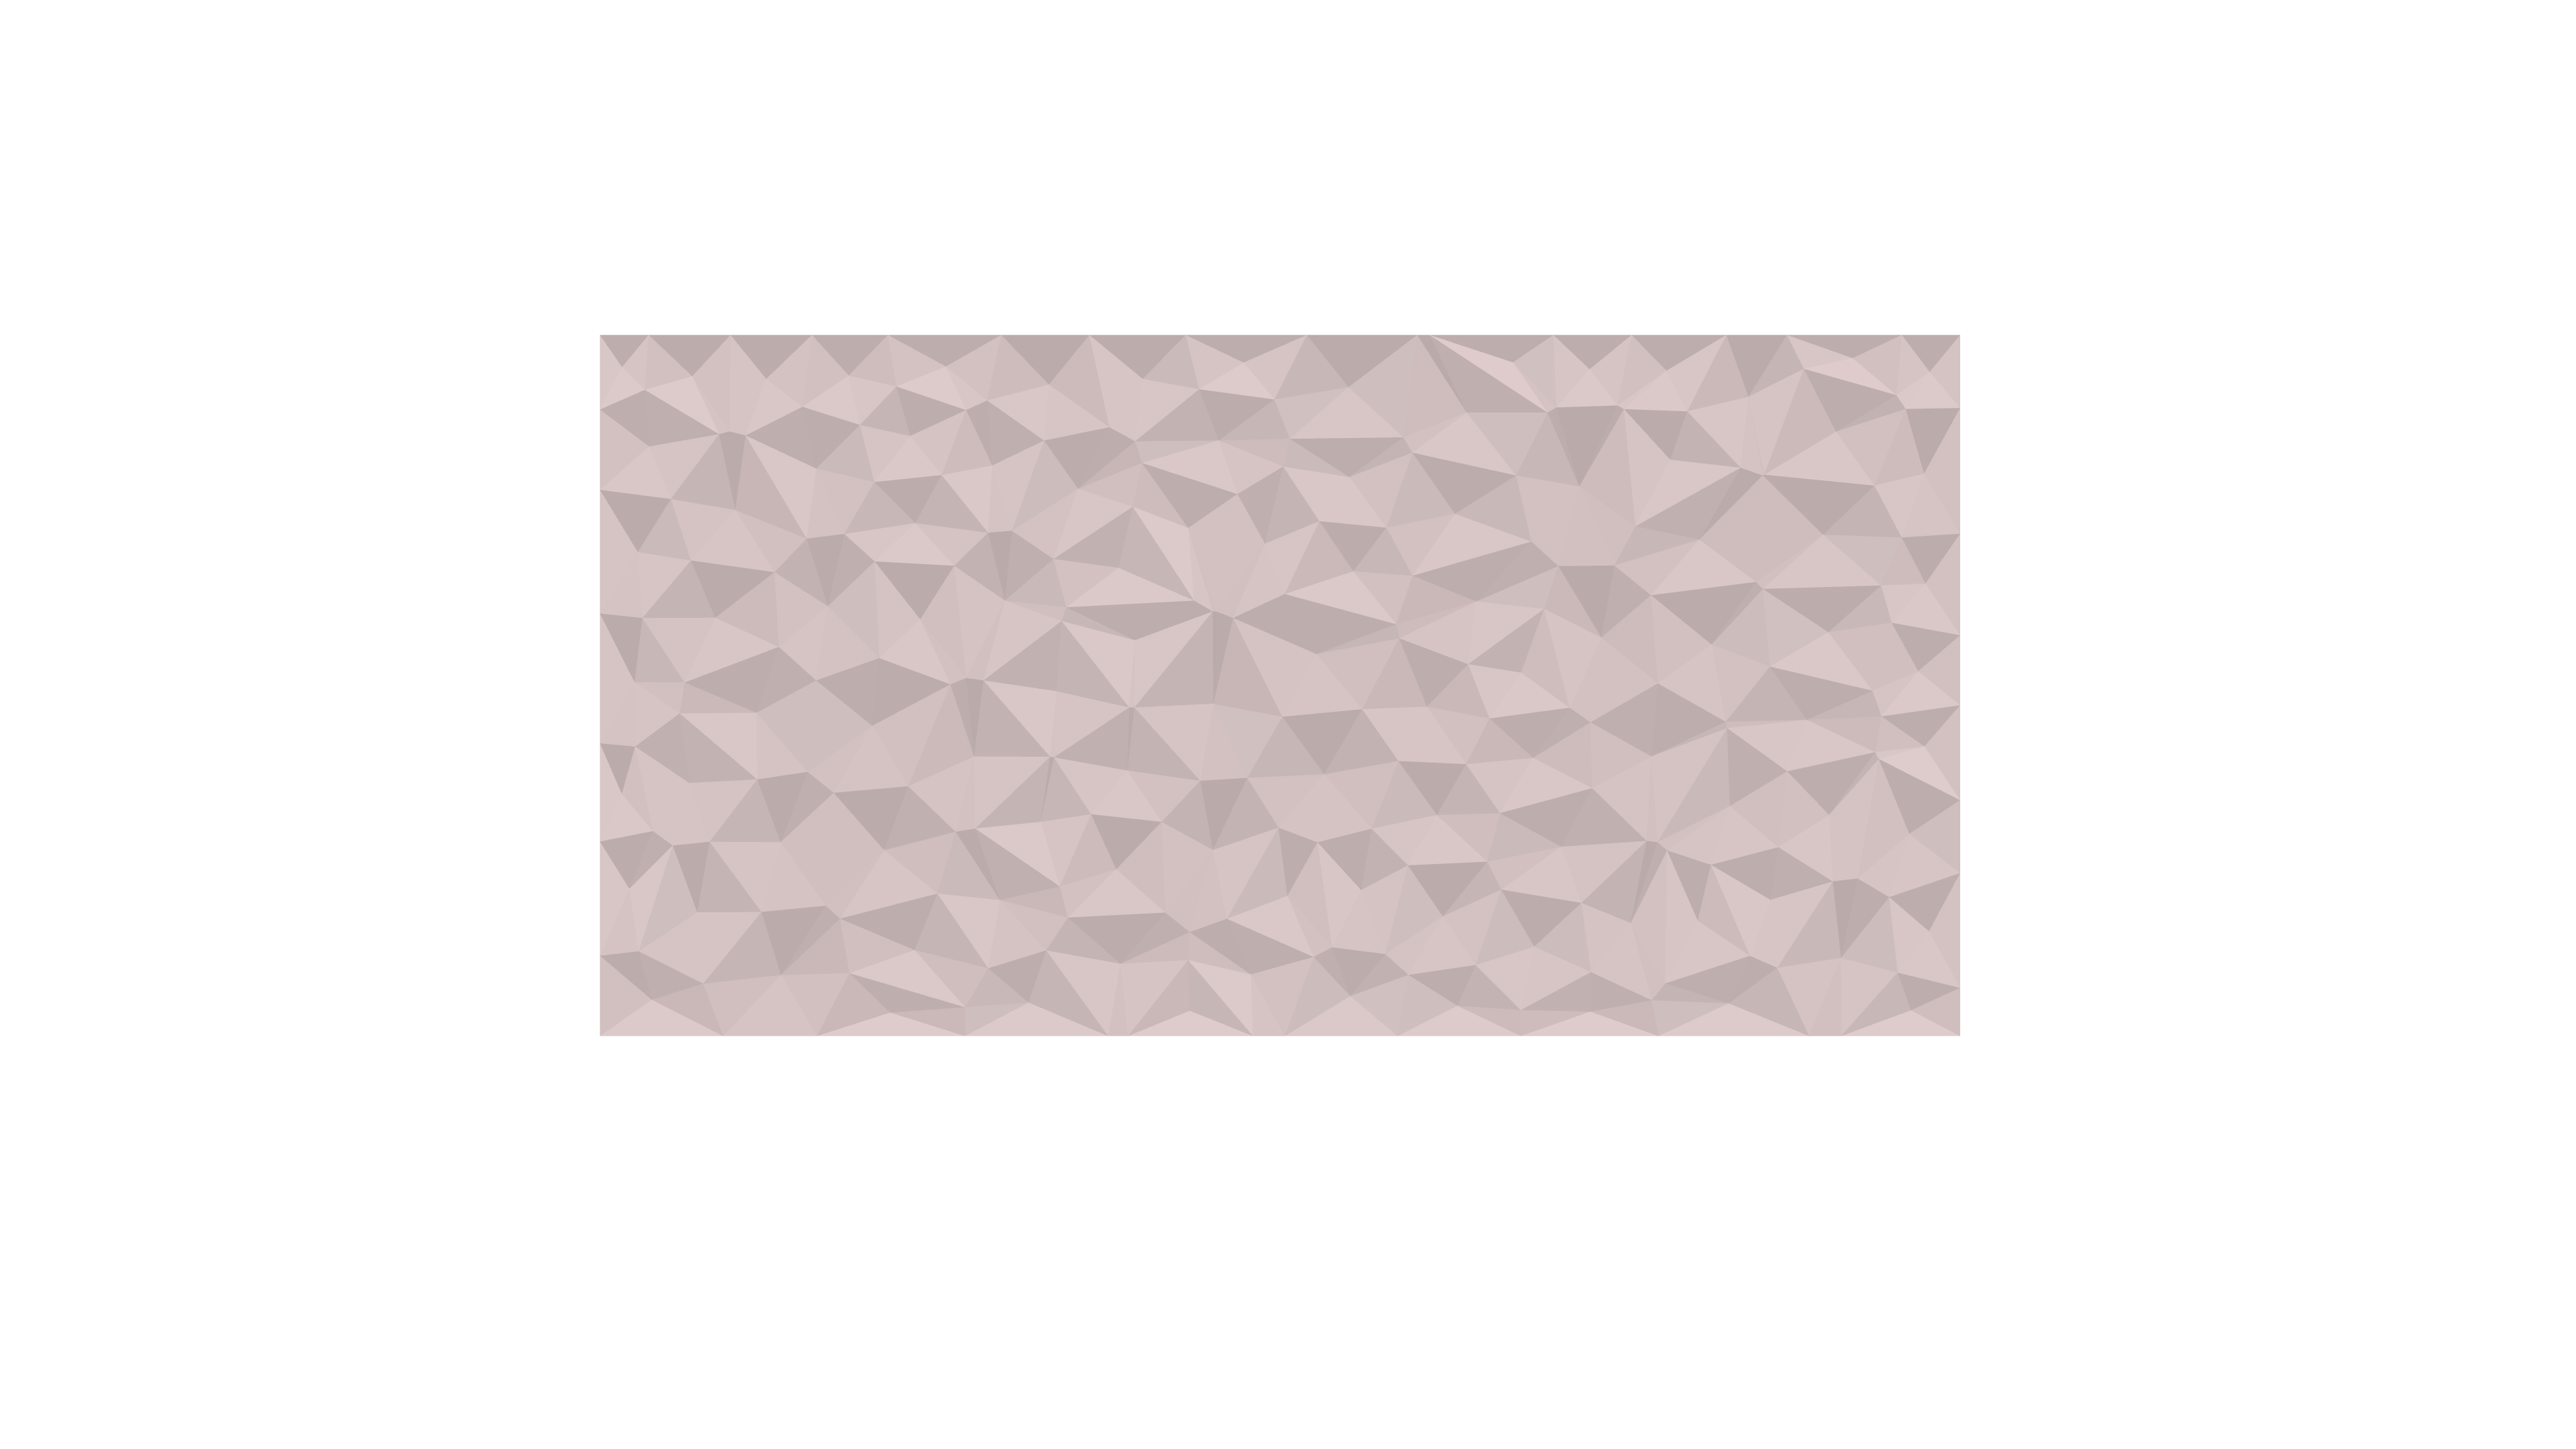
Thank you for tuning in! The script follows a straightforward progression, evolving from a basic grid to a more intricate shape. The fundamental concept here is that every intricate form originates from simple geometries. Stay tuned for upcoming updates, as another exciting project is on the horizon. the following are real life application.
interior application
Hi everyone! My name is Katy O’Connor, and I am a second year graduate interior design student. Right now, my thesis is heavily concerned with textiles, so I’m hoping this class helps me learn to better create patterns, and utilize machines to help cut patterns as well. I lean heavily on my craft, so it would be nice to speed up certain processes wherever possible.
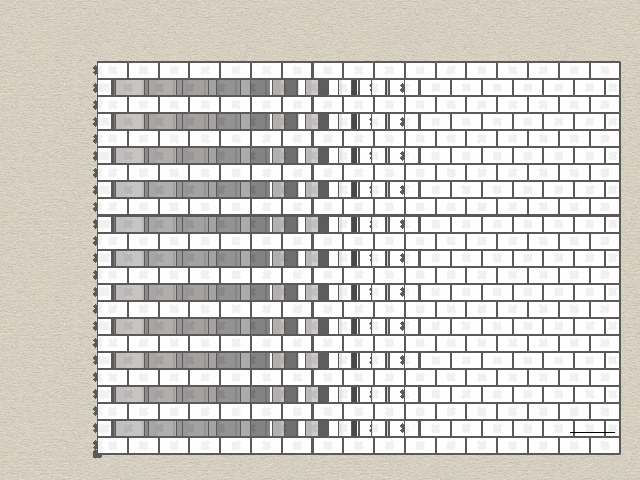
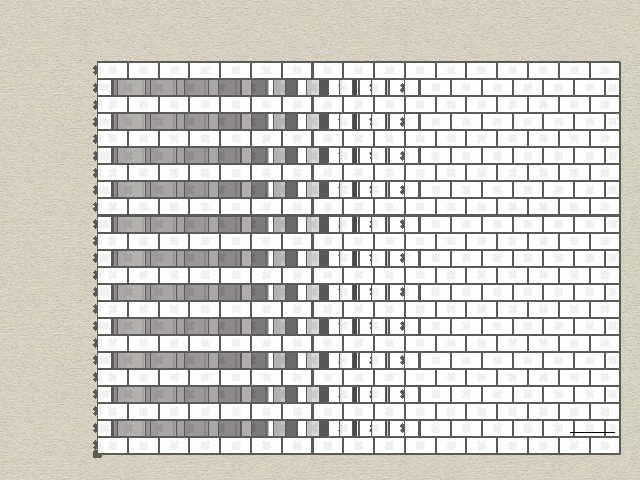
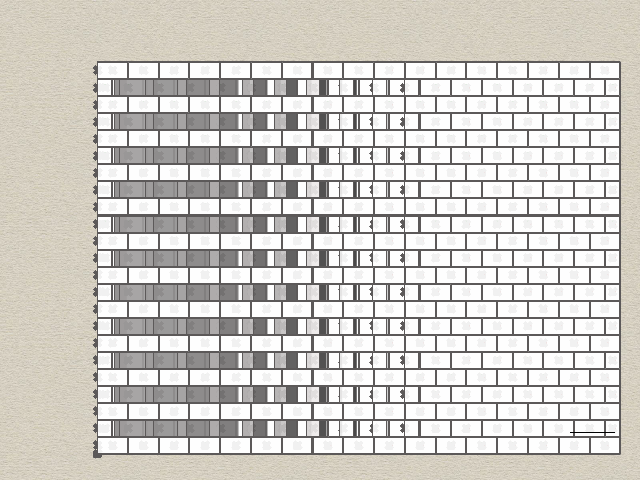
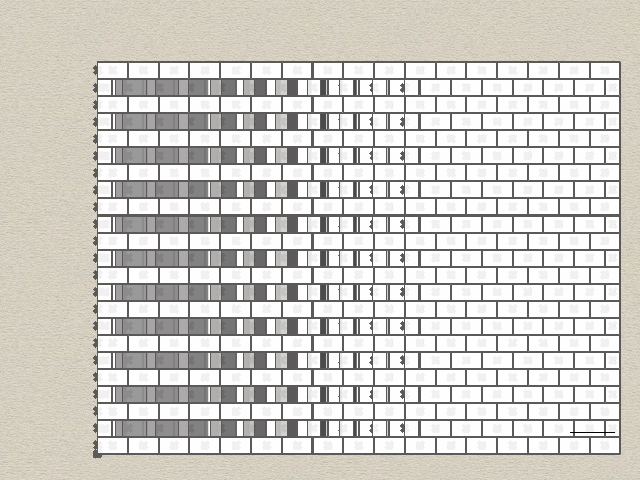
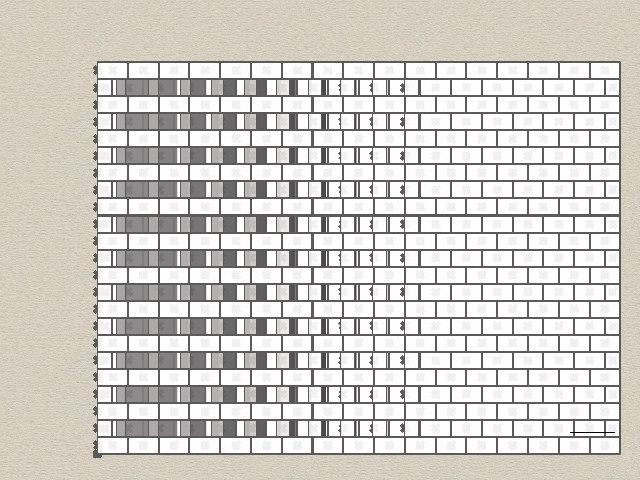
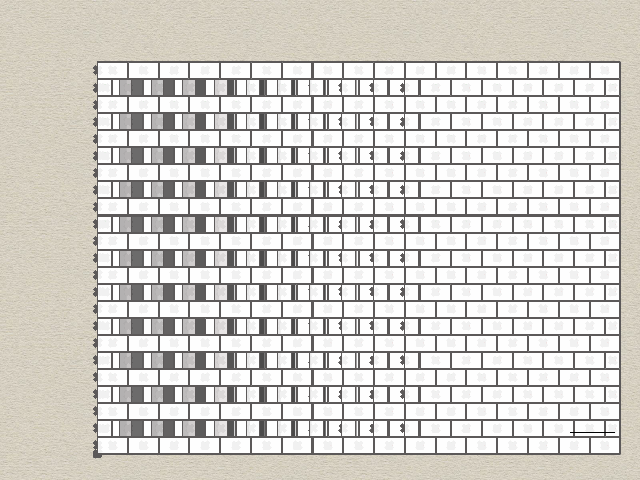
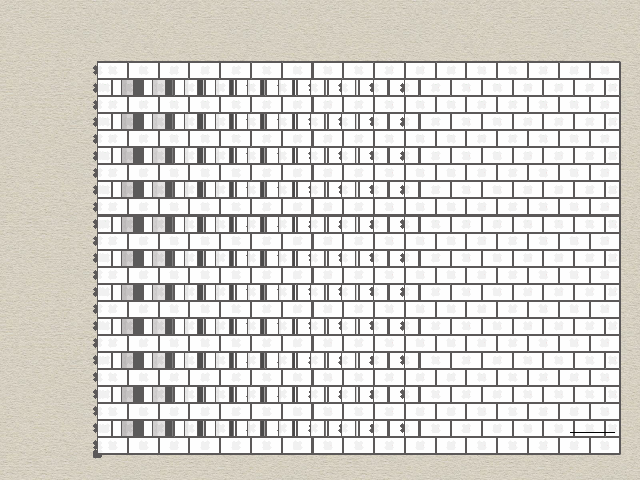
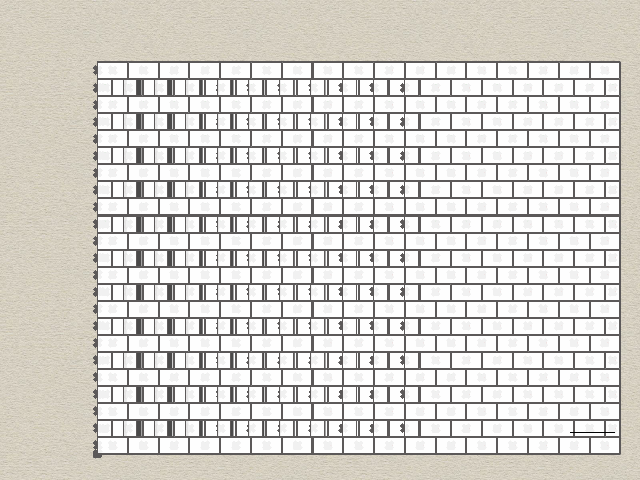
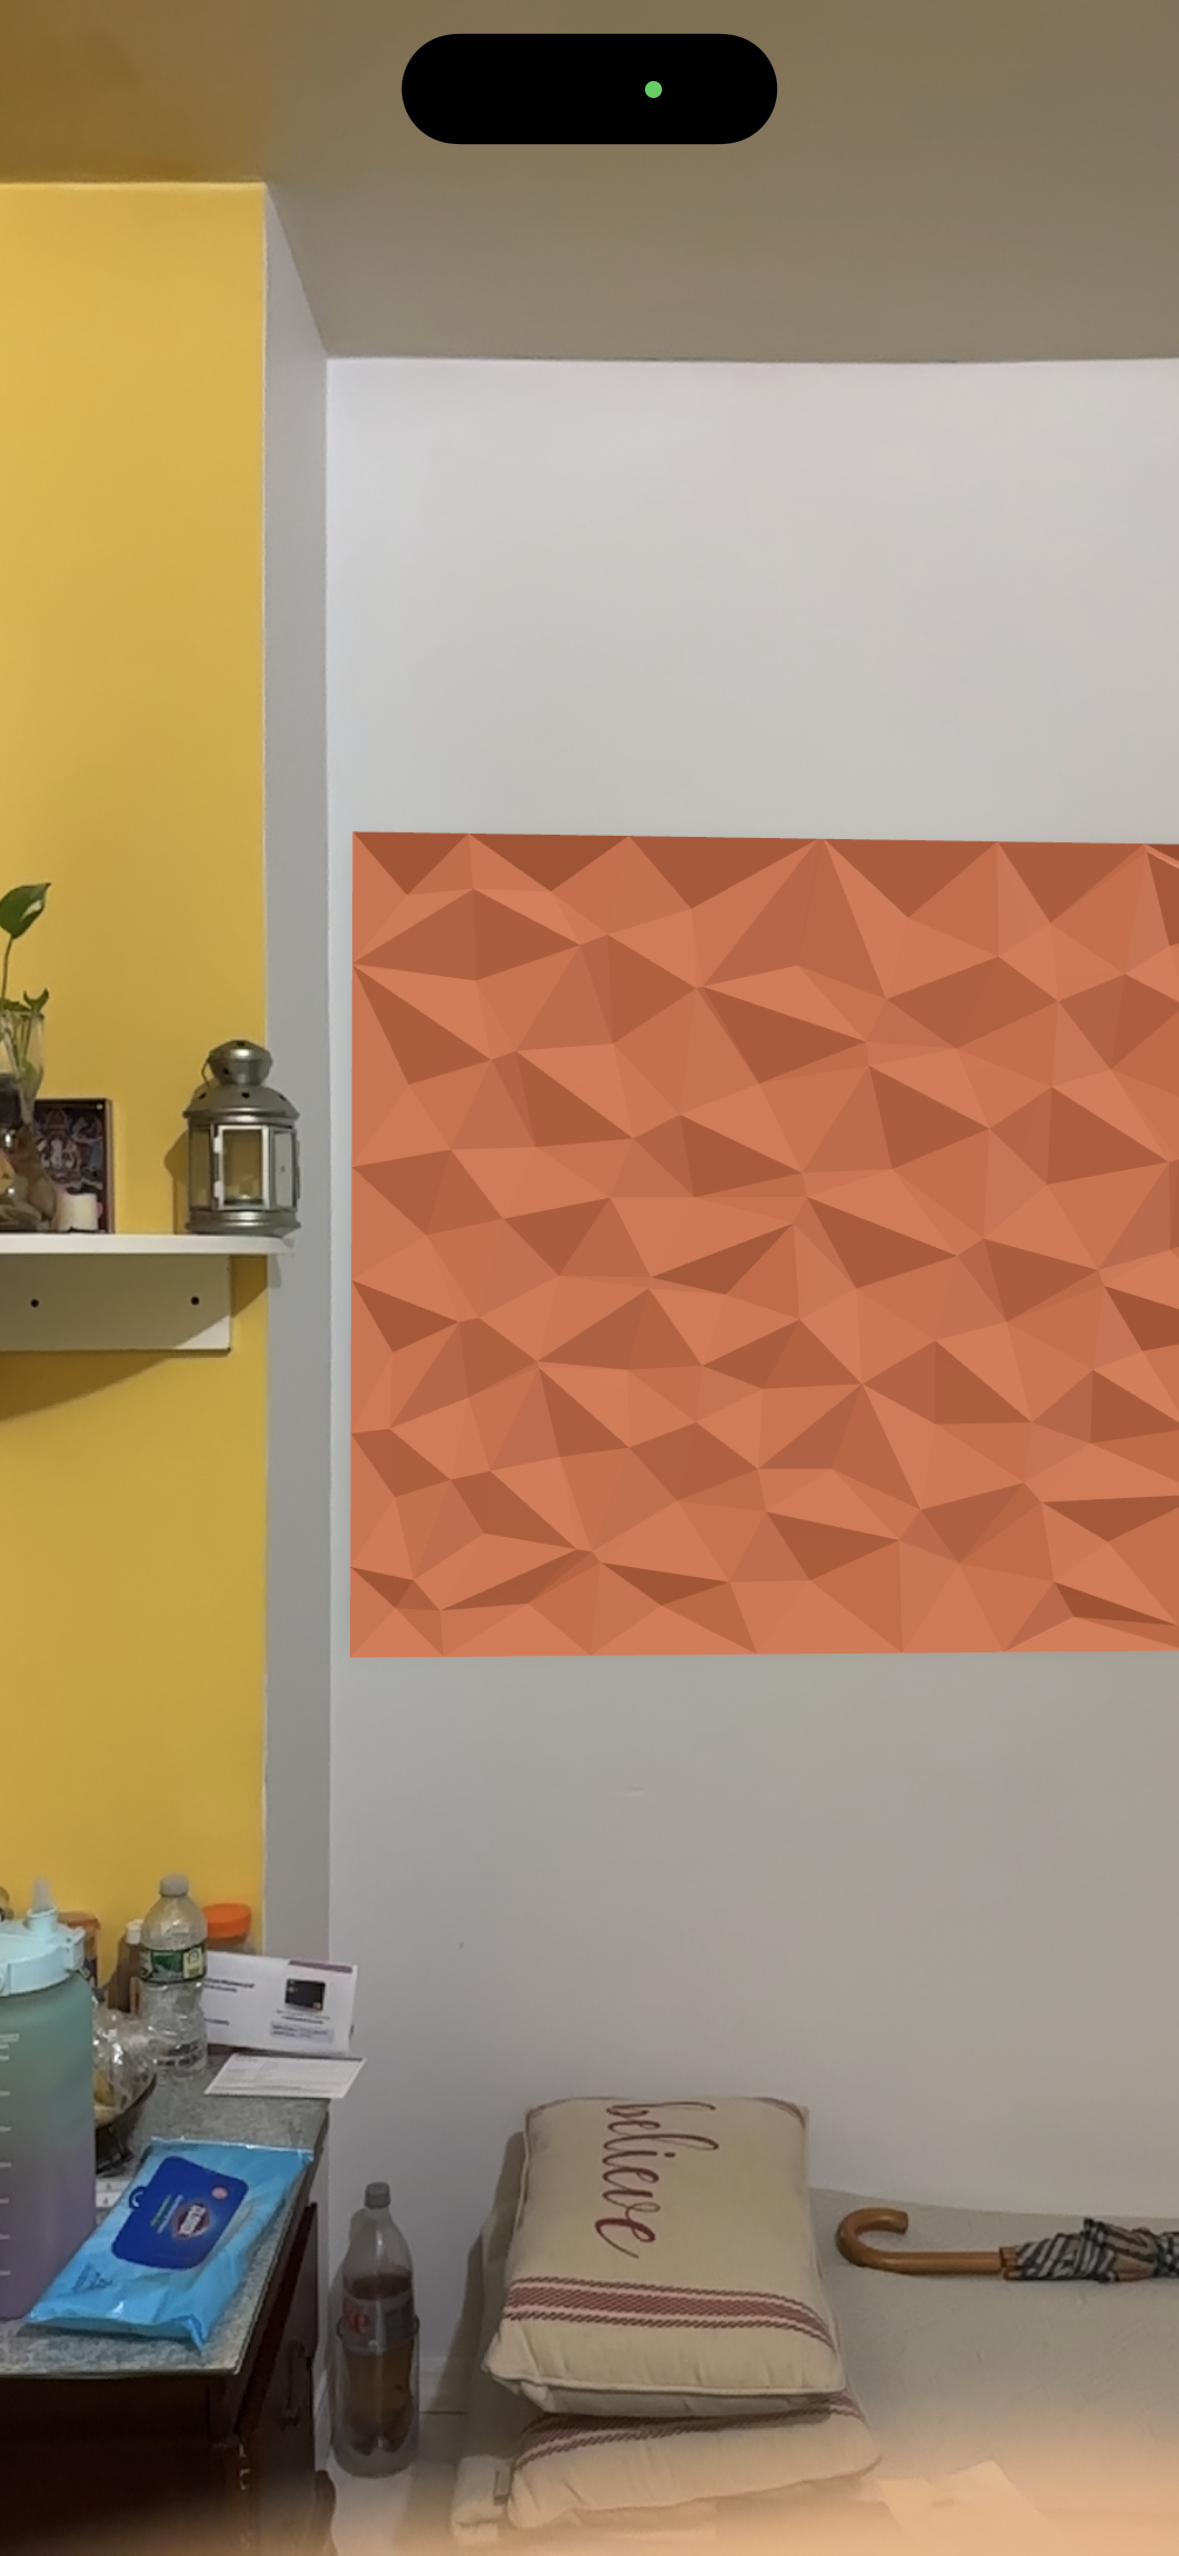
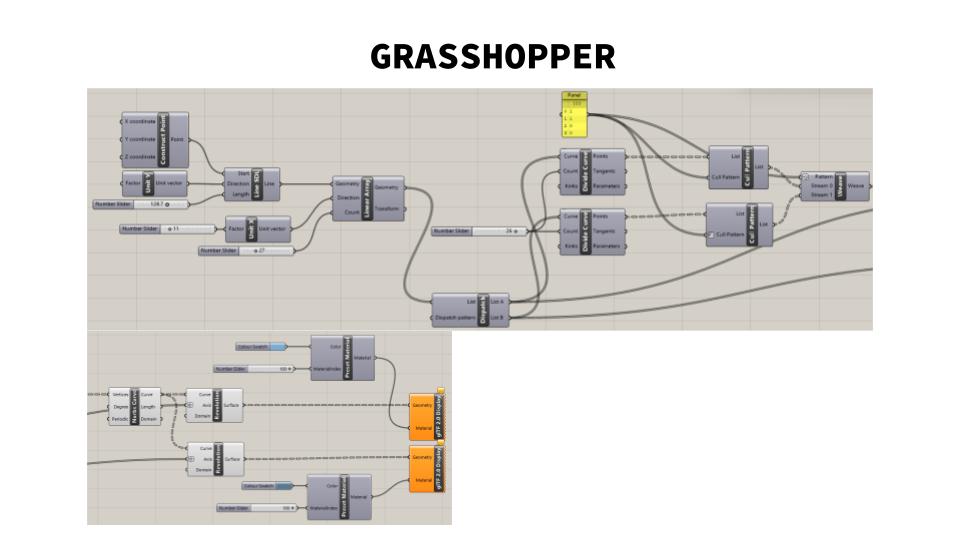
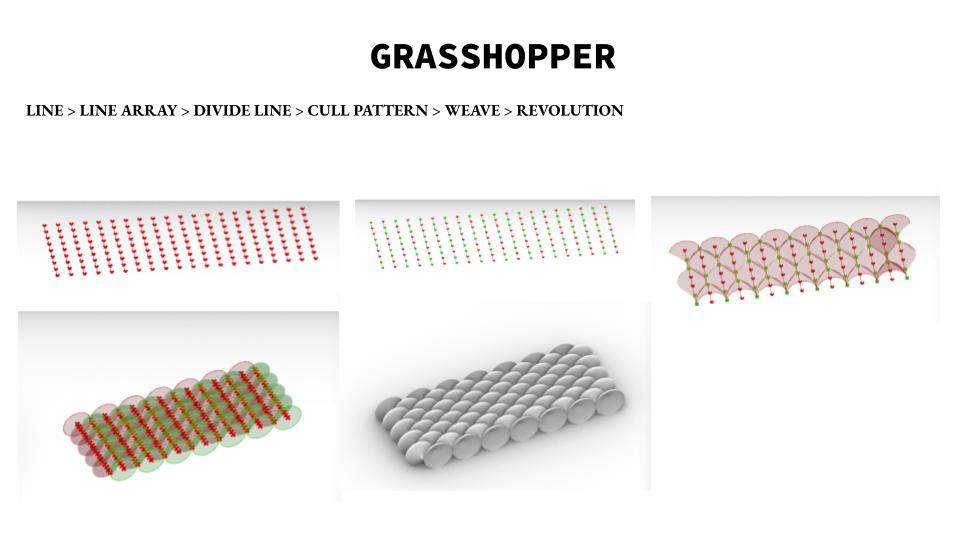
For my 2D printing project, I try to explore weaving shape on the Grasshopper. The weaving pattern is repeating and with lines weave to surface. The logic for weaving is LINE > LINE ARRAY > DIVIDE LINE > CULL PATTERN > WEAVE > REVOLUTION. Then change the LINE ARRAY to POLAR ARRAY.
The tutorial video is: https://www.youtube.com/watch?v=P5ppt-RN-Kk Grasshopper Tutorial || METAL weaving sheet.


Hi everyone, this is Shan from interior design, and I’m currently in the thesis year. Looking forward to study with your guys!
Hi! This is Ghezlan!
I am an architecture student continuing my studies in interior design MFA at Pratt Institute. I am very excited to start this class to further develop my 3D modeling skills and learn something new.

You must be logged in to post a comment.