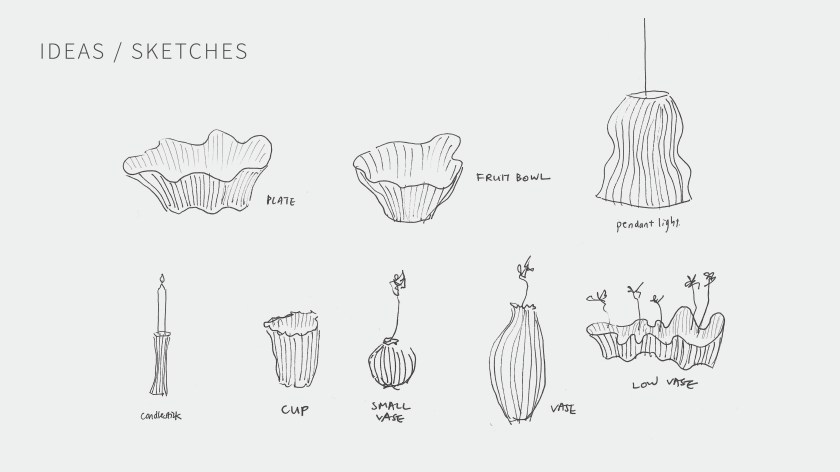
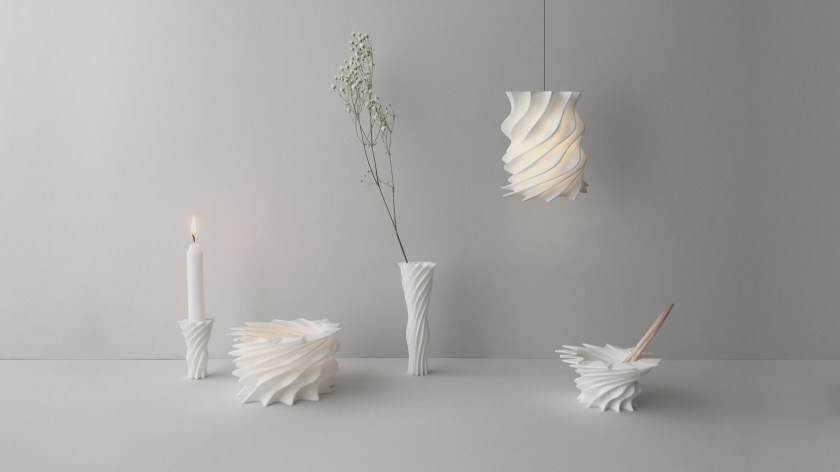
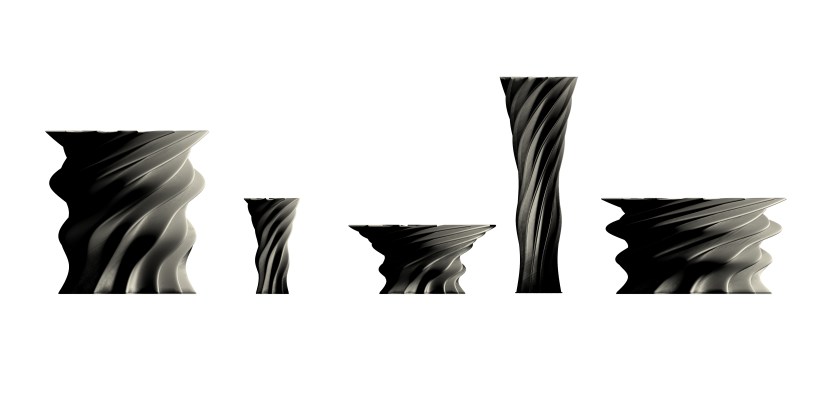
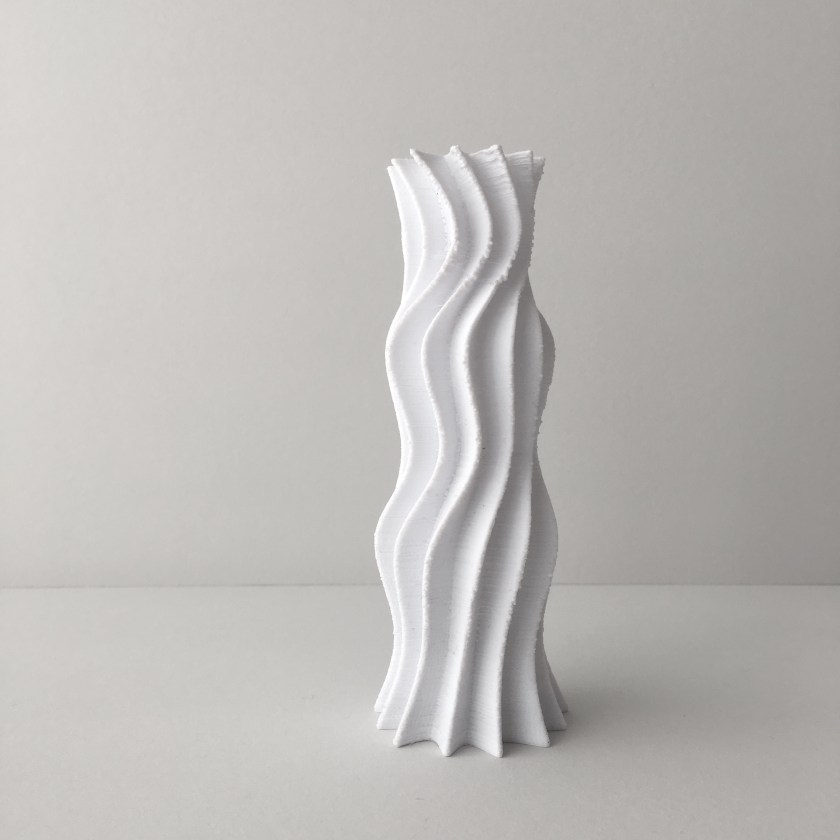
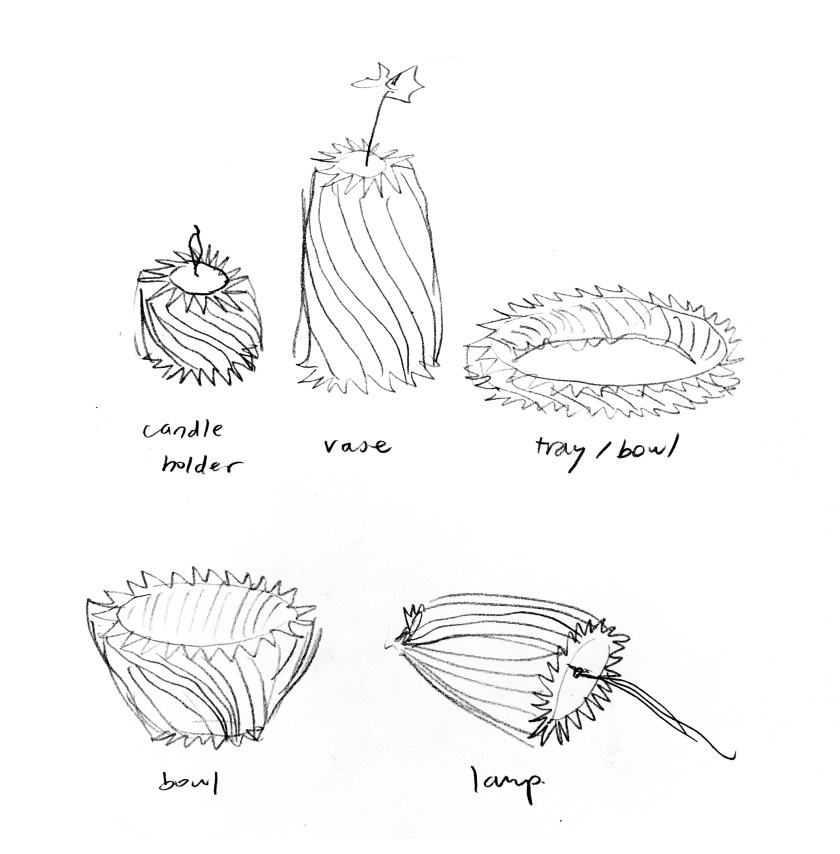
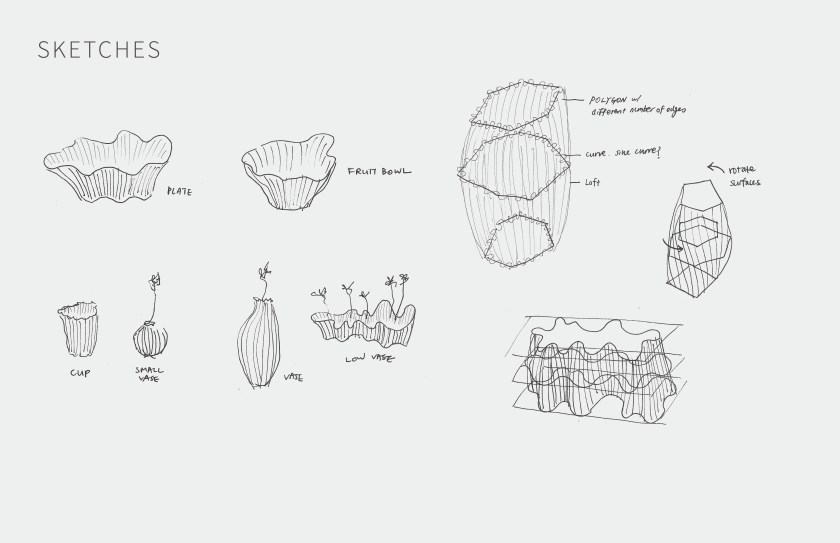
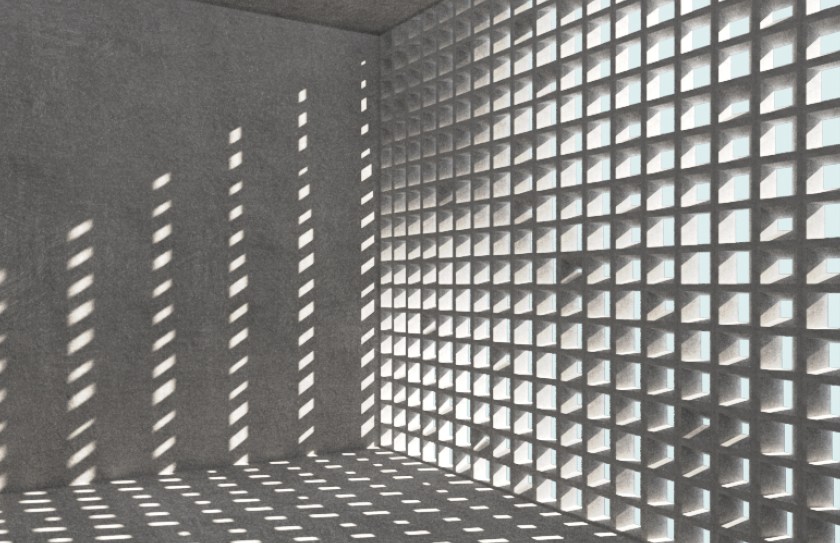
For the product family project, I have developed a container system that has a curvy profile and twirling form. The material of the products is a thin layer of plastic, allowing light to penetrate through the product. The series of products are designed specifically for the dining program, including candlesticks, candle holder, pendant light, vase, and container for various purposes. The twisting, curving forms set a fun mood with elegance.
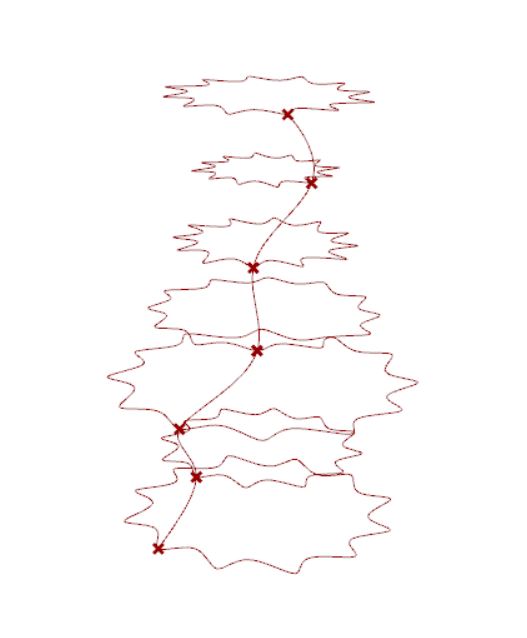
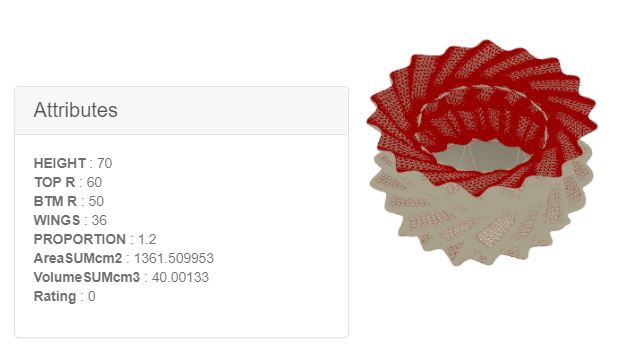
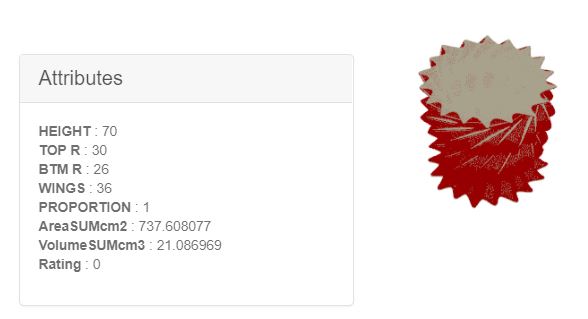
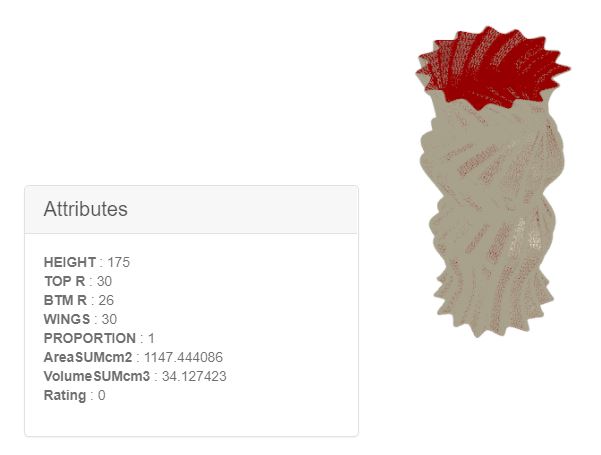
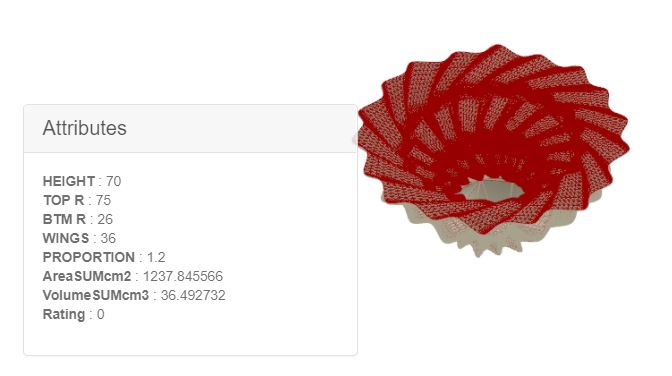
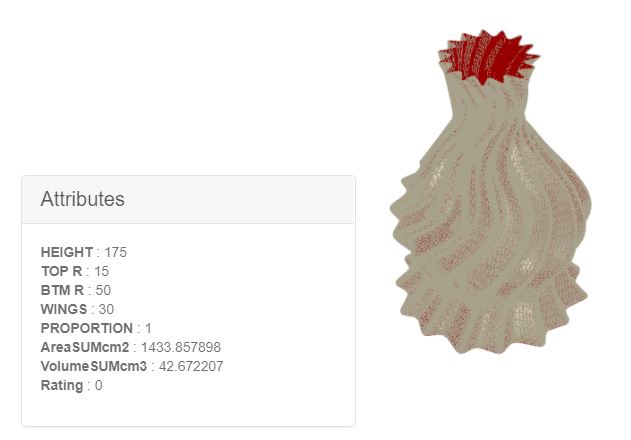
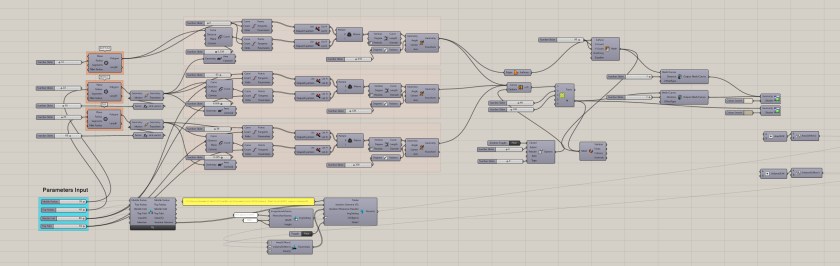
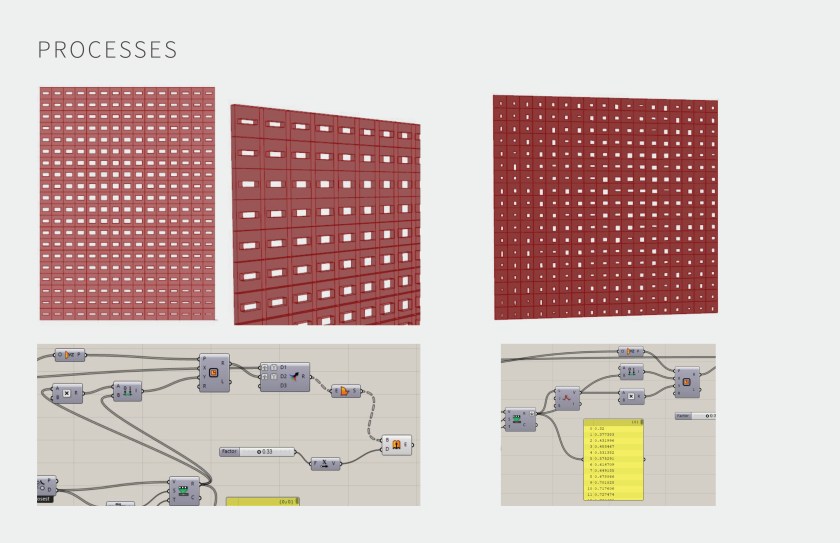
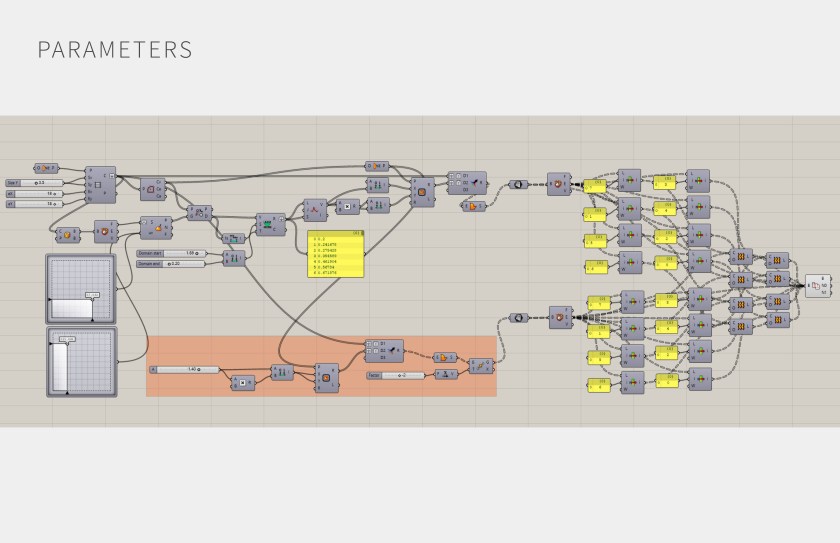
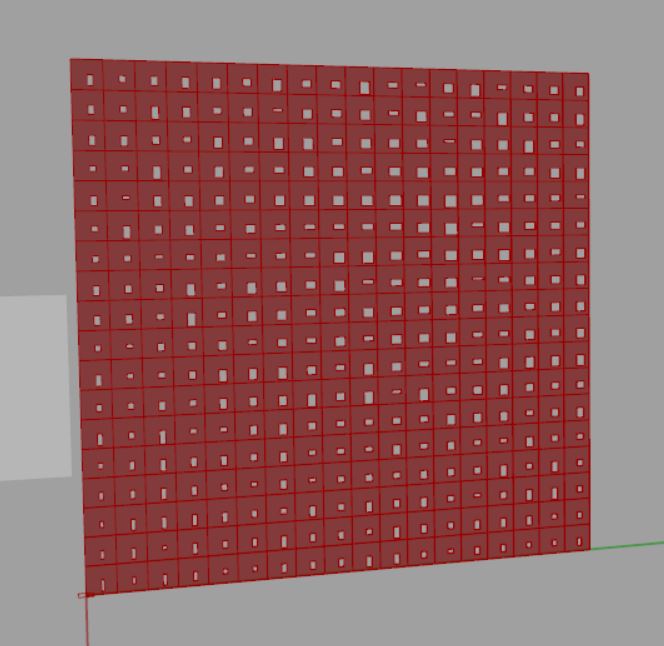
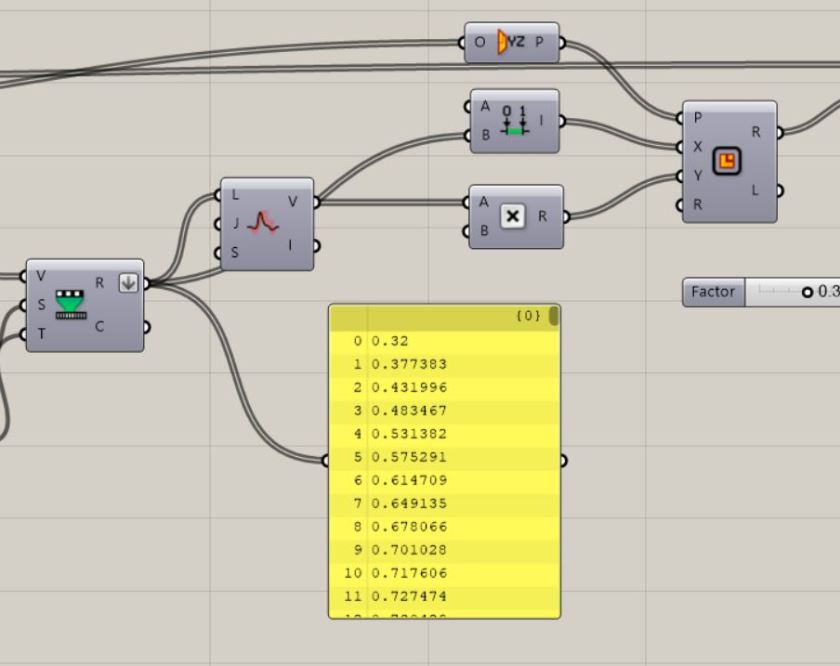
The product begins with a simple octagon. The geometry is offset and weaved to create the starry shape. The geometry is copied 6 times with even distances and lofted to create a volume. The profile is set by a list of numbers, acting as factors to control the profile of a selected product. When the radius or the height changes, the profile factors are scaled to accommodate different sizes and height. Each layer of geometry is then rotated by a certain degree so, when lofted, the form appears to be twisting. The bottom geometry is capped and combined with the loft surface to create a mesh. The meshes are welded and triangulated to produce a more accurate form. Inconsistencies in meshes are also fixed for a more desired, printable mesh. The thickness of mesh is 0.6 mm at this scale of objects to allow light to penetrate through. The input of each design driver: top radius, height, fold, and fin are determined by the range of dimensions in the uses of the products. In the dining setting, everything is smaller and more delicate although the evolution of the products is still evident with different input.
The process of this project requires numerous testing and 3D printings of the product. It allows a better understanding of the forms of objects and how they look and feel in reality. It helped me re-think and re-design certain aspects of the project and produce a satisfiable outcome. One of the biggest challenges was to design a profile, give it a character, and make it twist in the desired way. The profile needs to correspond with various uses, such as bowls, containers, candlesticks, etc. When the products are in different sizes, the profile did not work for all of them. Therefore, I scaled the profile according to different radiuses and heights. The shape of the profile was first scaled differently between each layer. Later, I have adopted sine curves and finally moved to carefully selected scaled factors to produce the profile. I have also come to understand better of how fixing meshes can produce different qualities of prints. This project allowed me to practice setting up different drivers of design and how they work together to form a product.


1. Radius
 2. Folds (offset)

3. Fins
4. Profile factors changed by Radius and Height

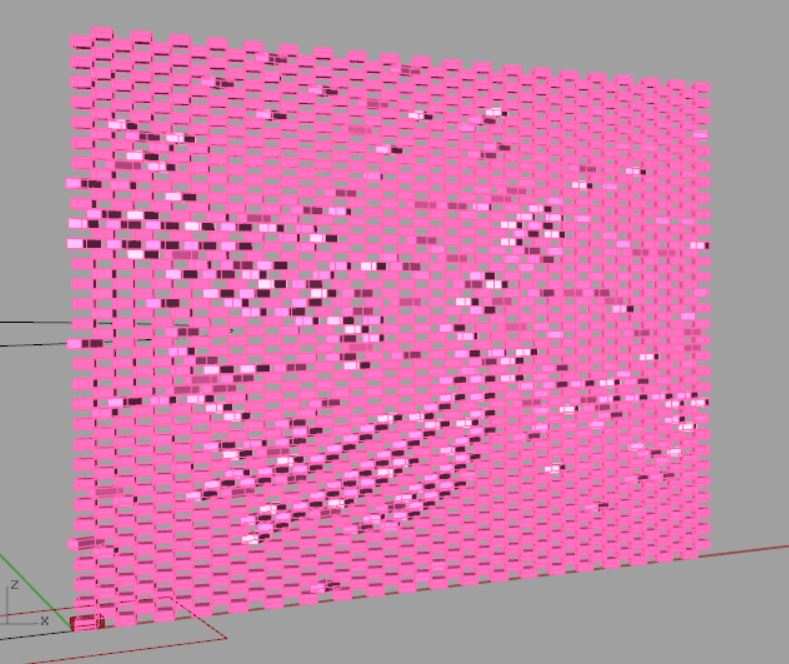
5. Skeleton View in action (different folds and radius)
6. Twisting

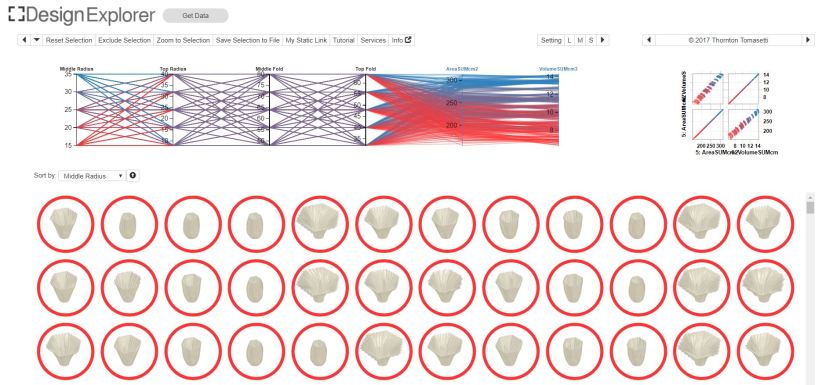
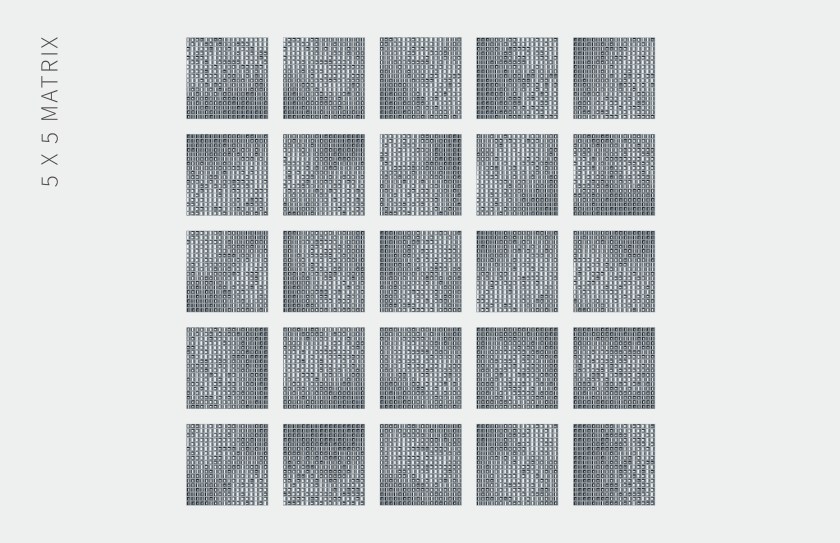
100 Matrix:
Link to High Res: https://drive.google.com/open?id=1105T3SrIiaJm7TKeFT3uk1jQ2J3adz1I
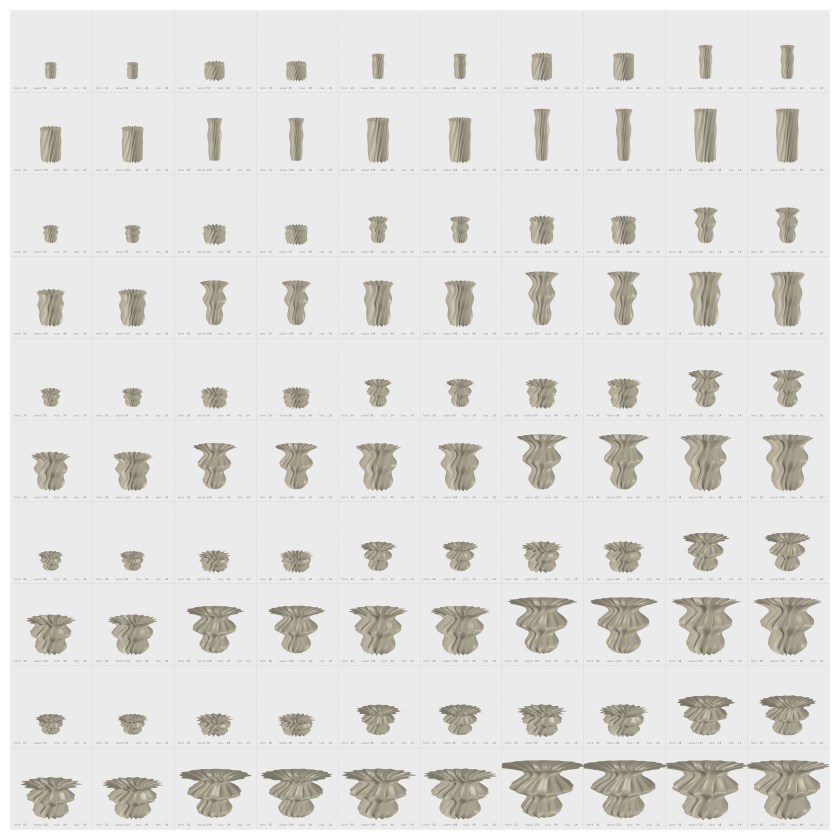
GIF of 100 Products

Printed Products
Design Explorer Link: https://goo.gl/Ehd7sD


You must be logged in to post a comment.