Nor, Toni, Ava, Roger, QD
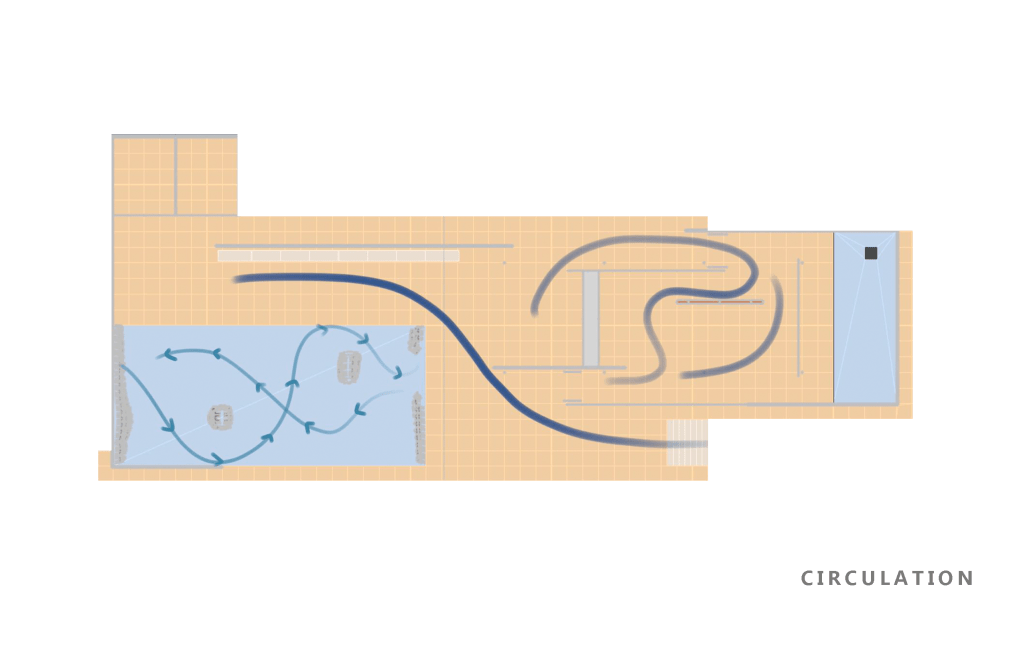
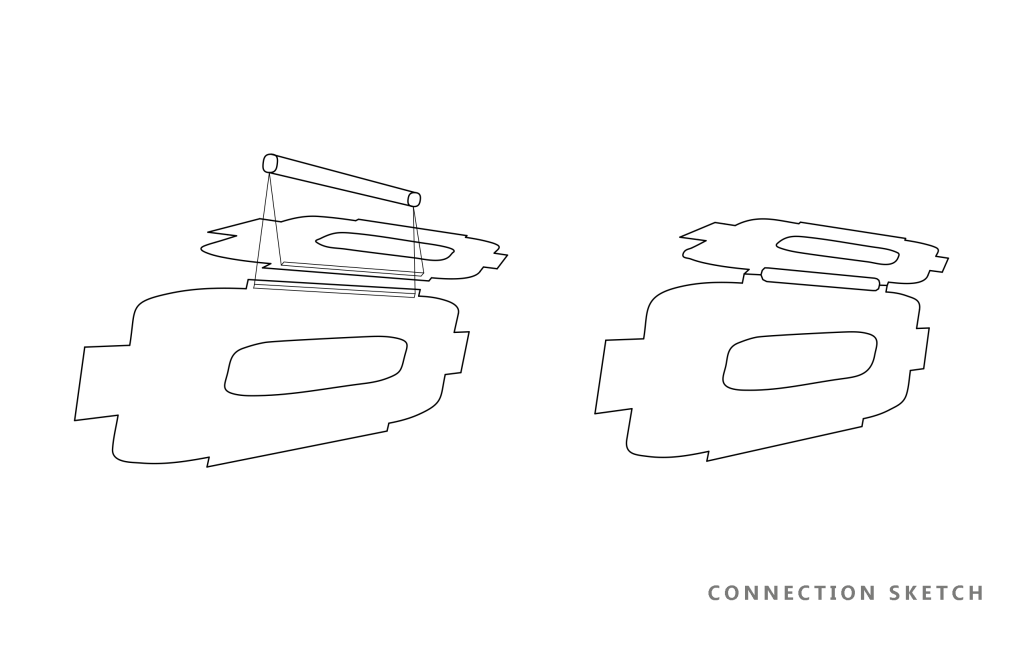
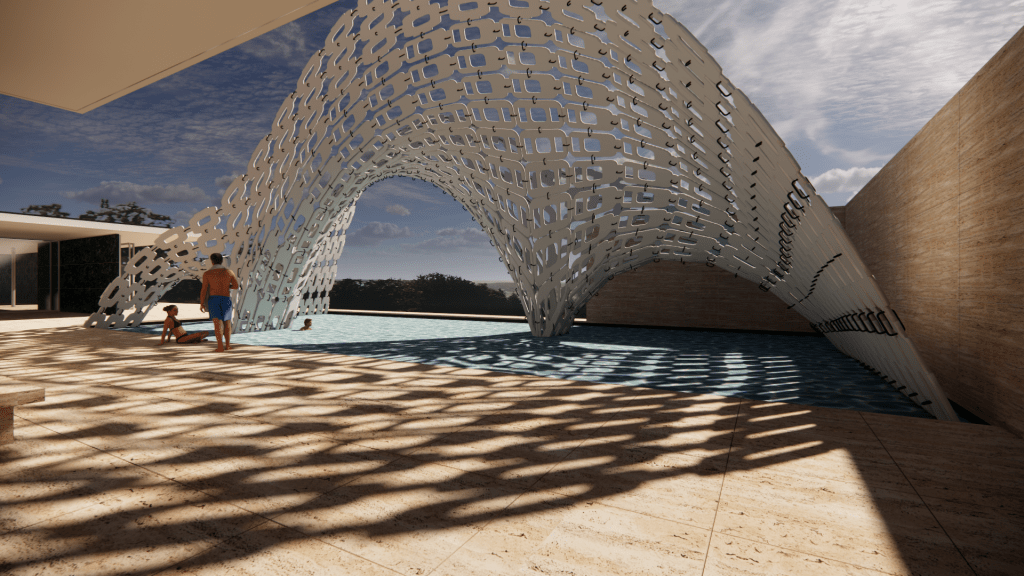
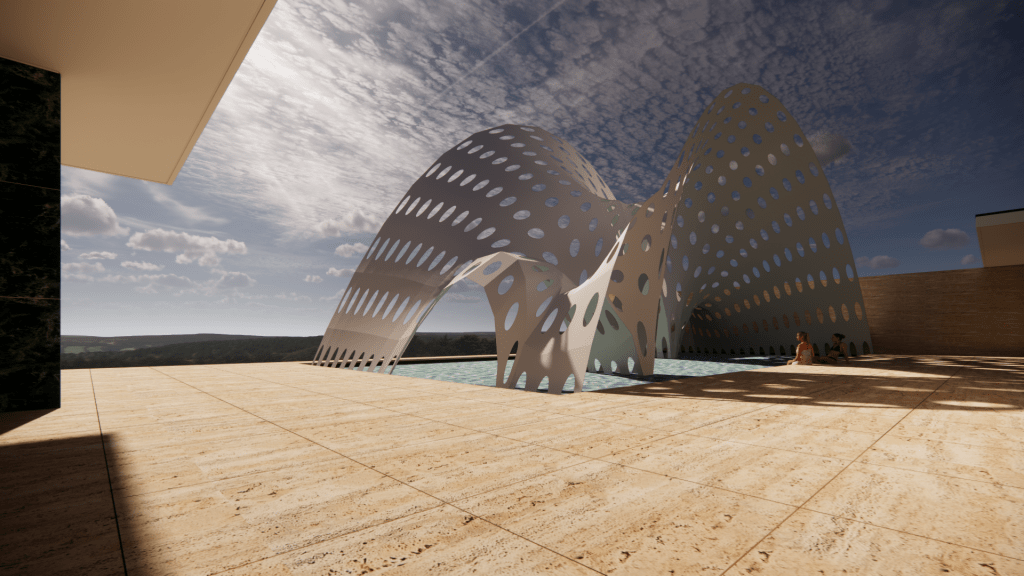
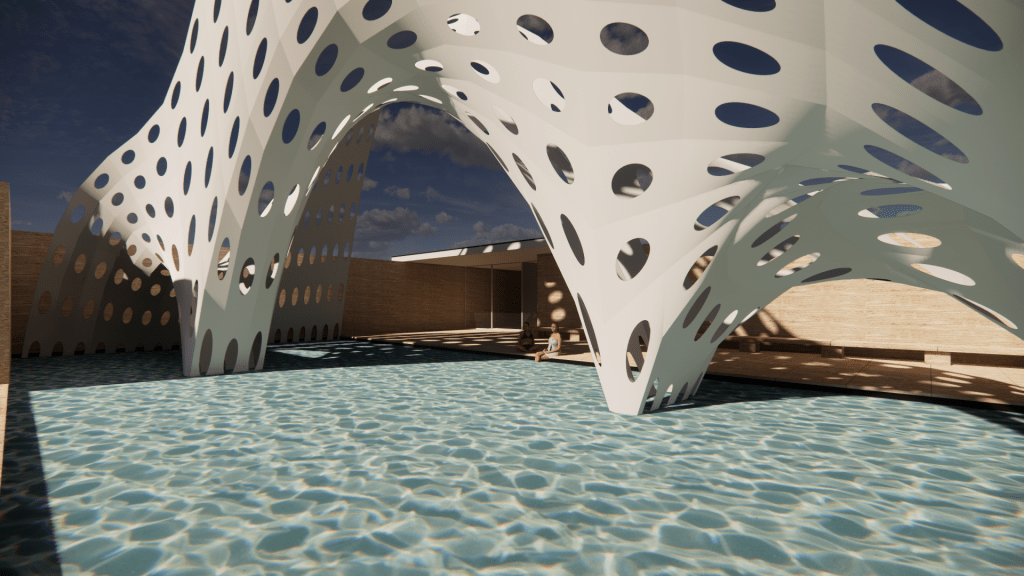
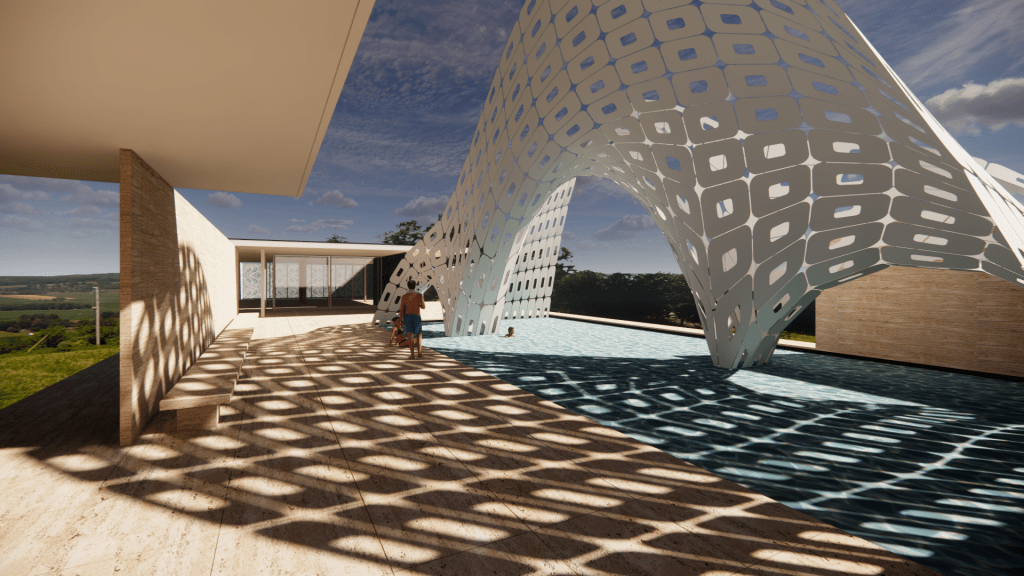
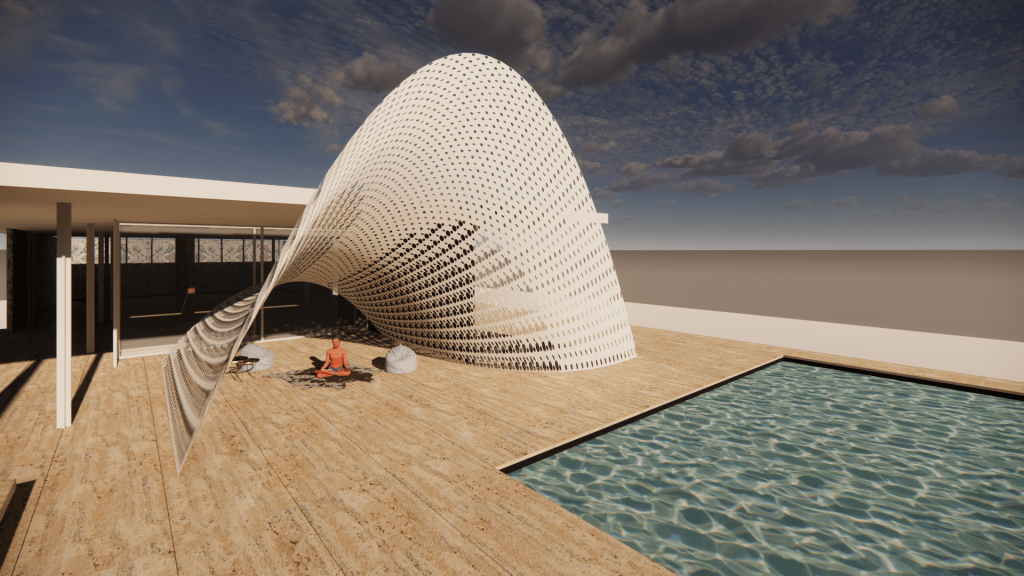
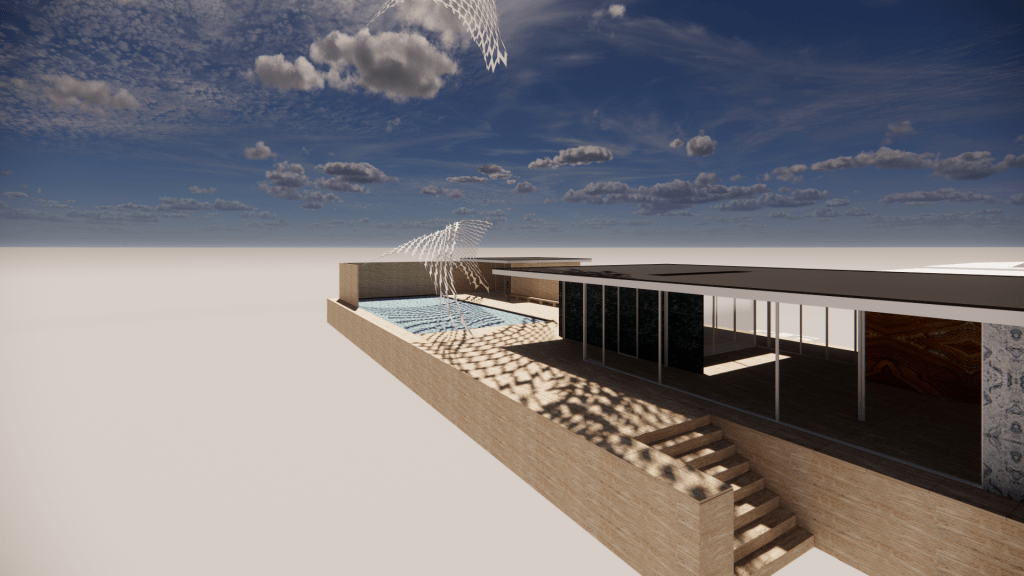
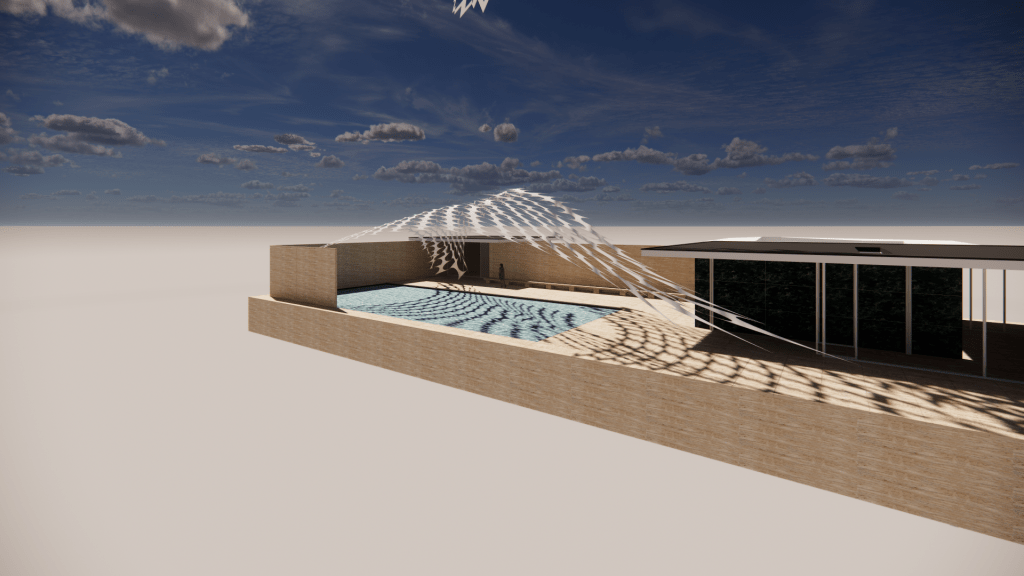
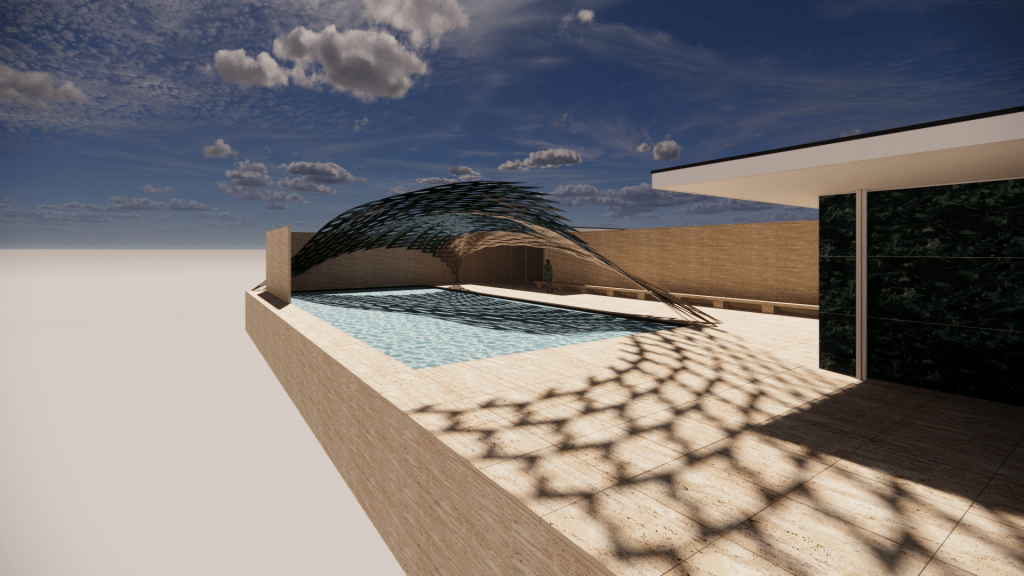
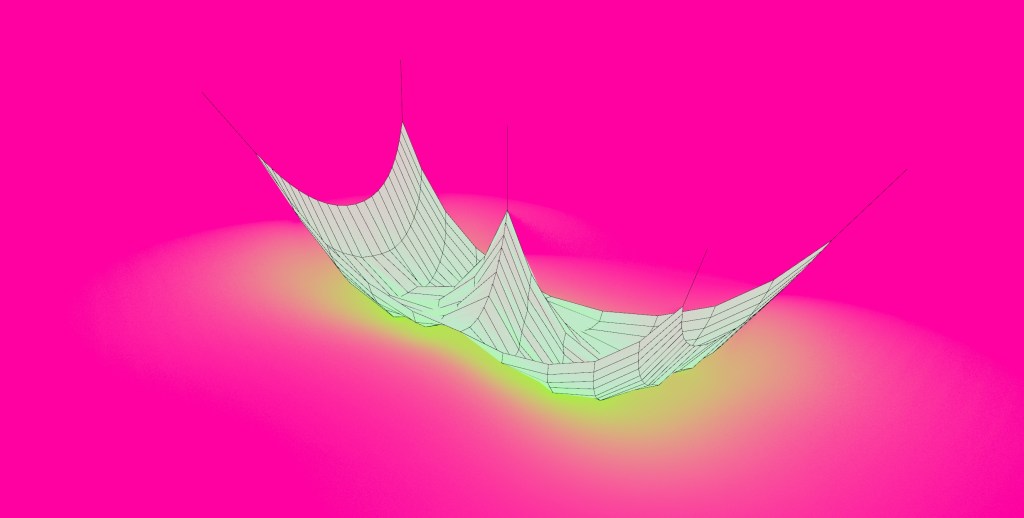
We create an umbrella cover above the swimming pool. The sunlight will go through the negative space on the water surface, floor and wall at different times everyday. It reduces the ultraviolet rays and lets the light go inside at the same time. There are two parts of this umbrella go into the water and separate the swimming pool into three channels. The large umbrella has a strong contrast with the house on the side. It is more opaque and smooth and the house is transition and geometrical. The material of the umbrella is white acrylic and connected by gray acrylic.
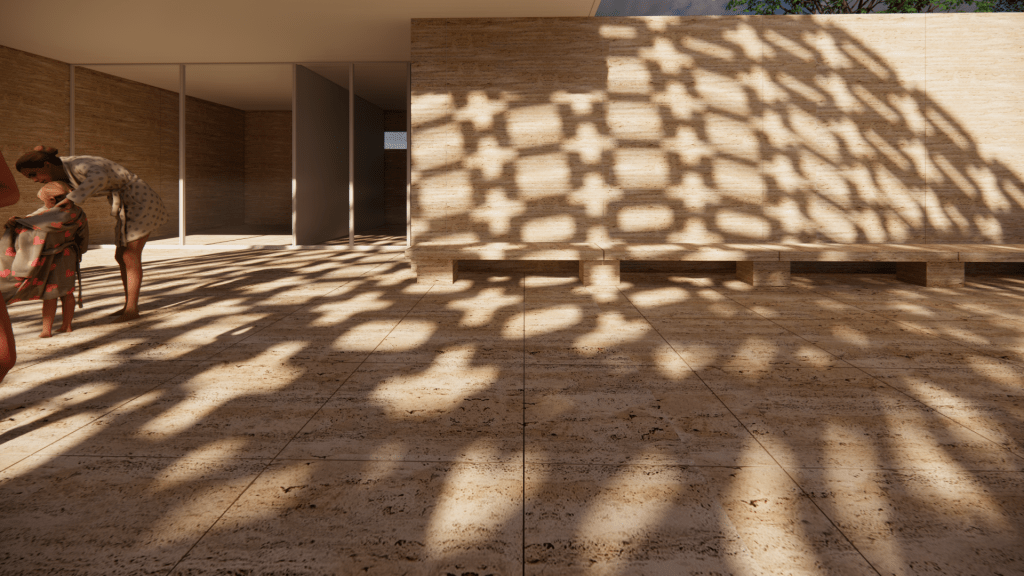
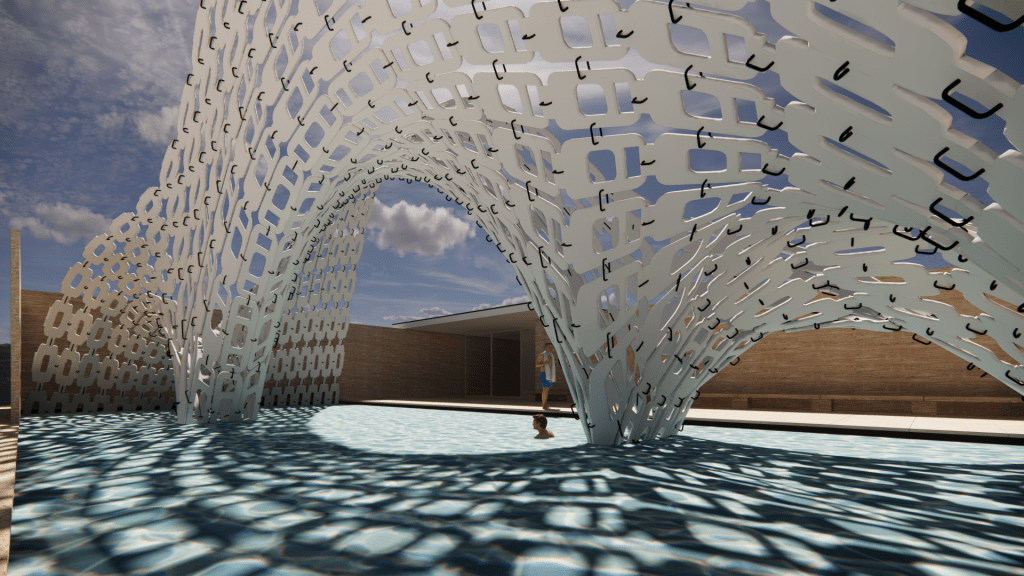
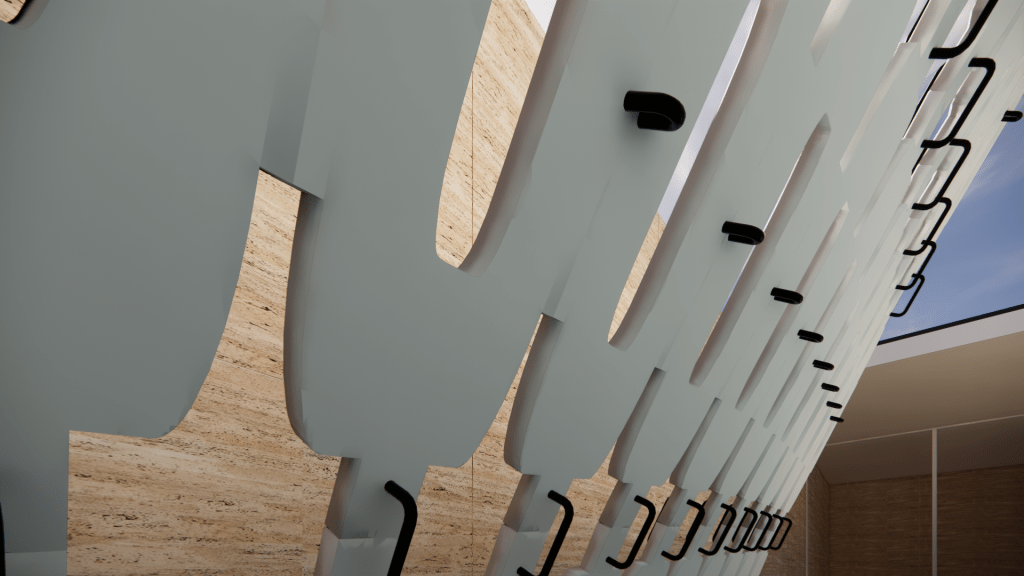
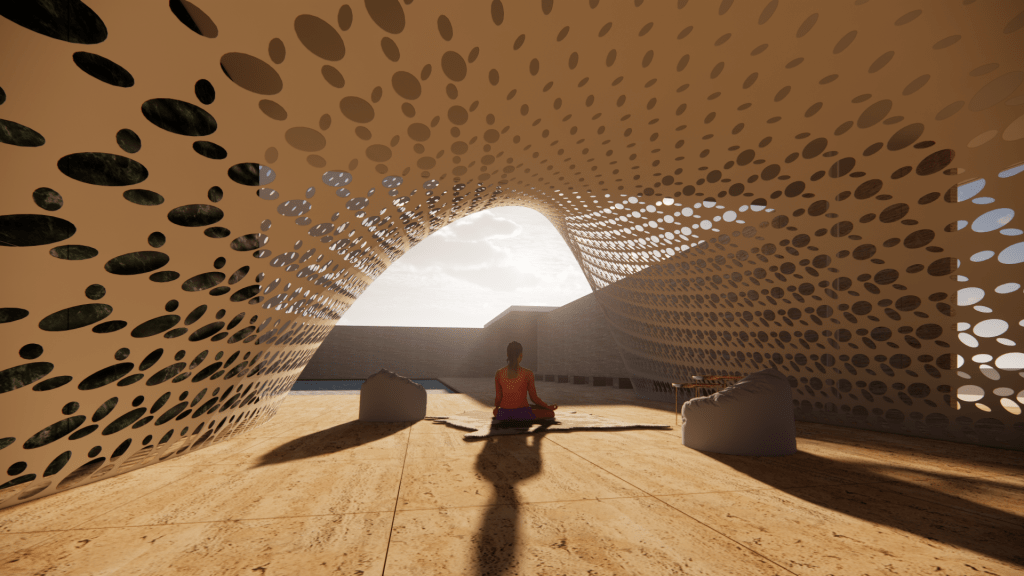
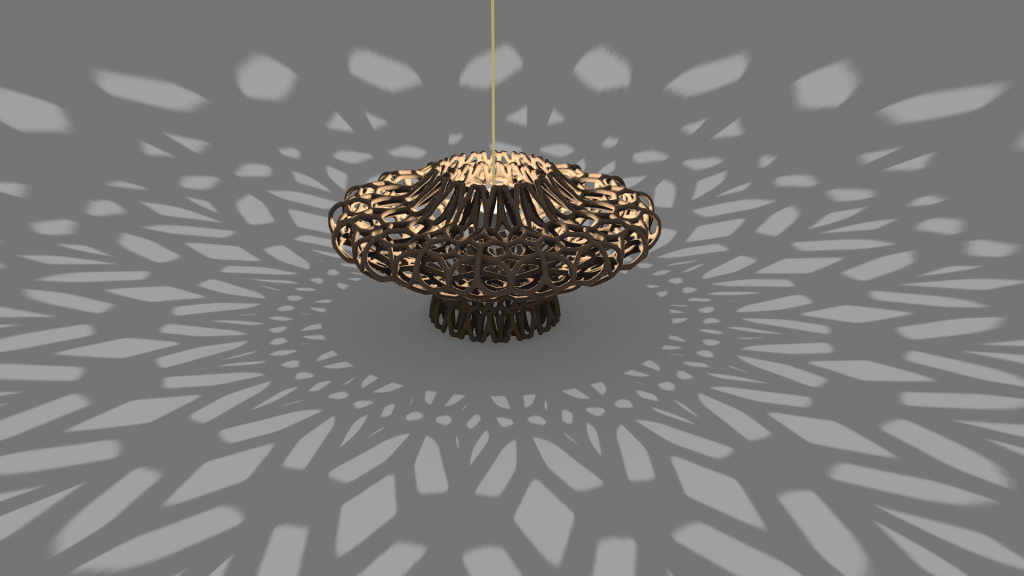
The shadow formed from the module 
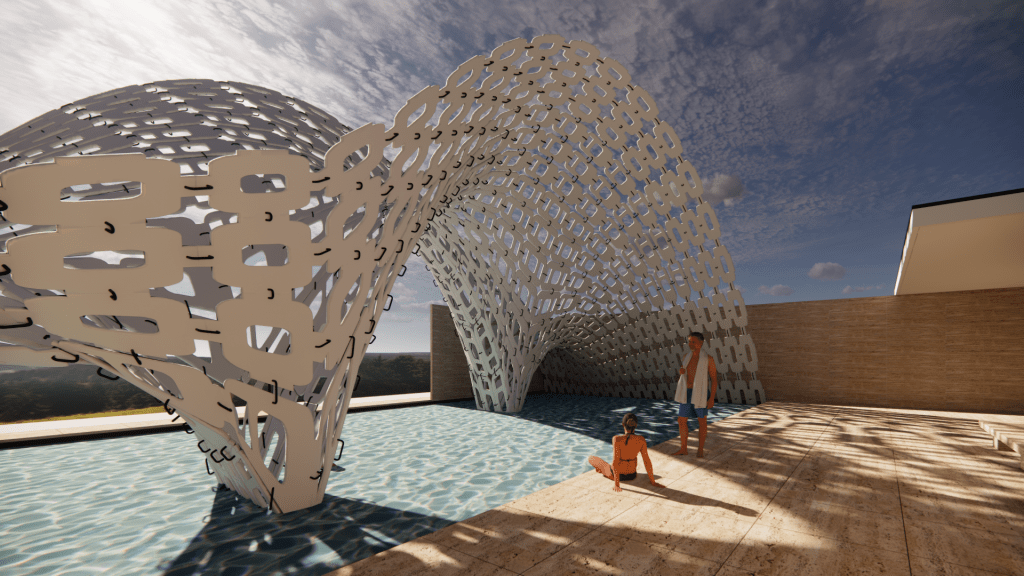
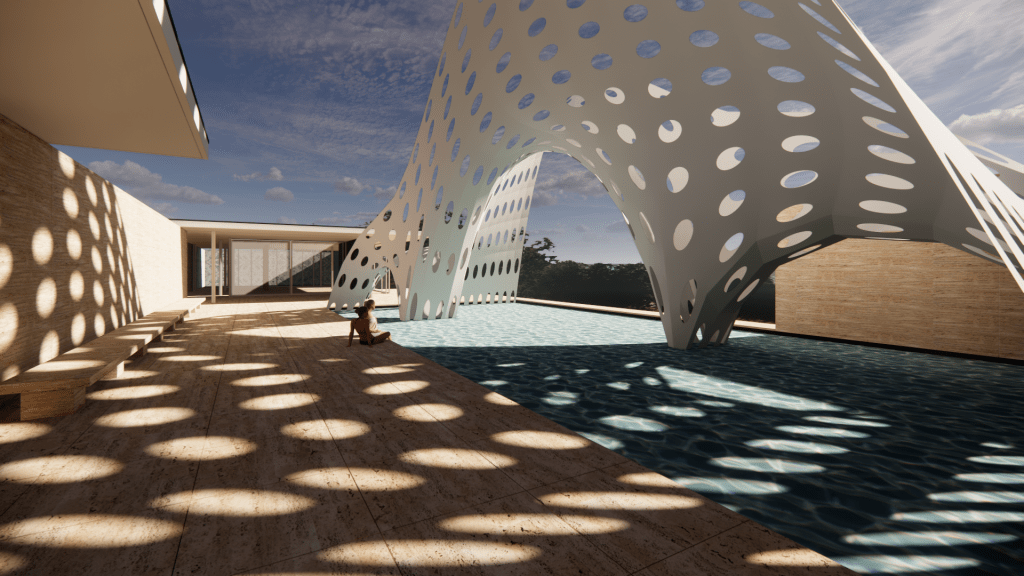
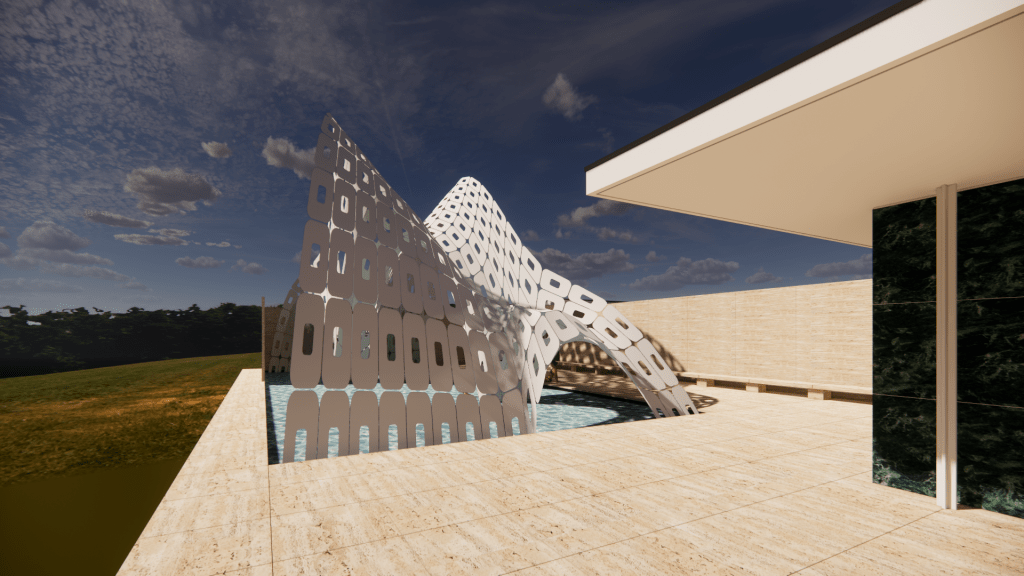
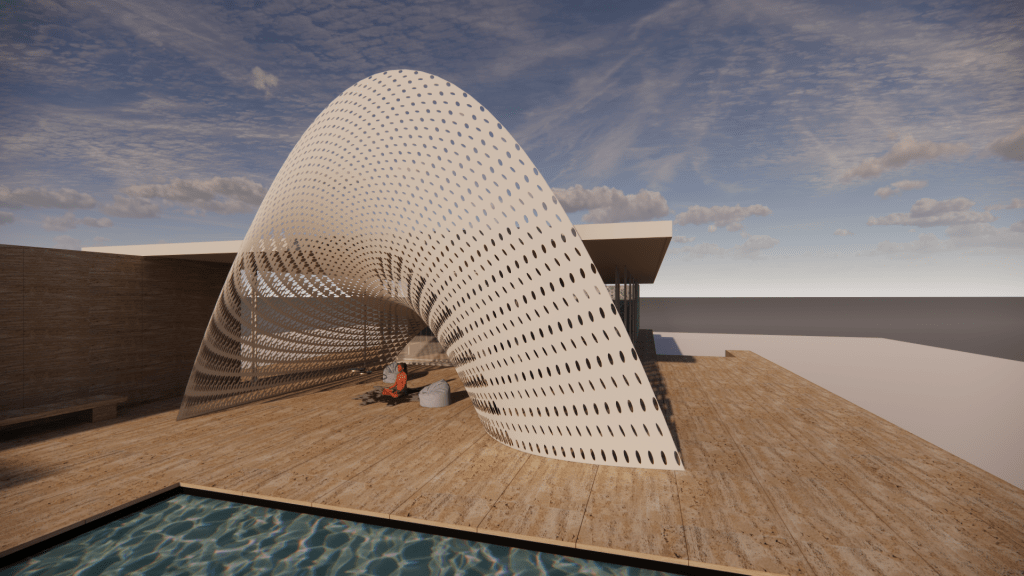
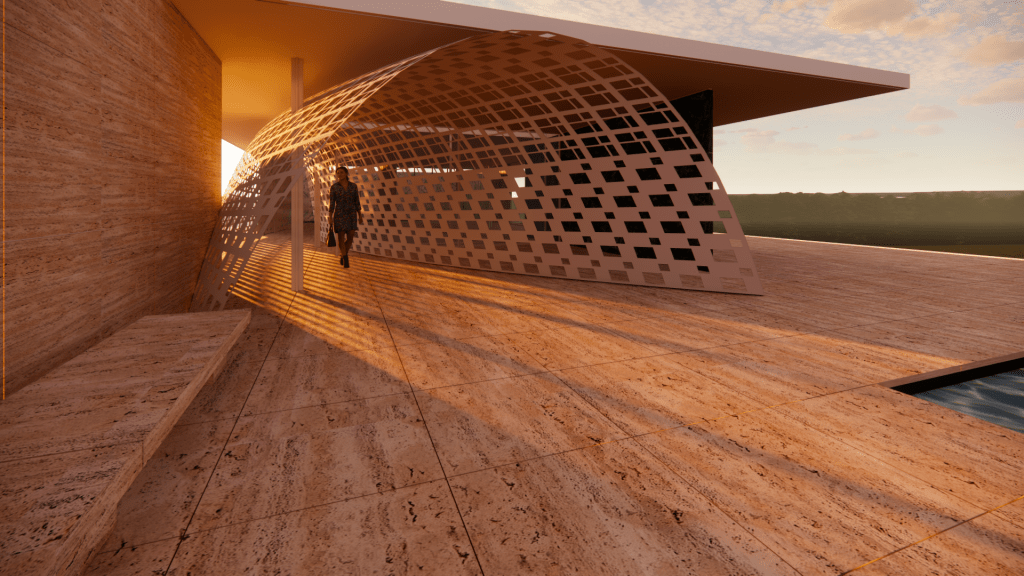
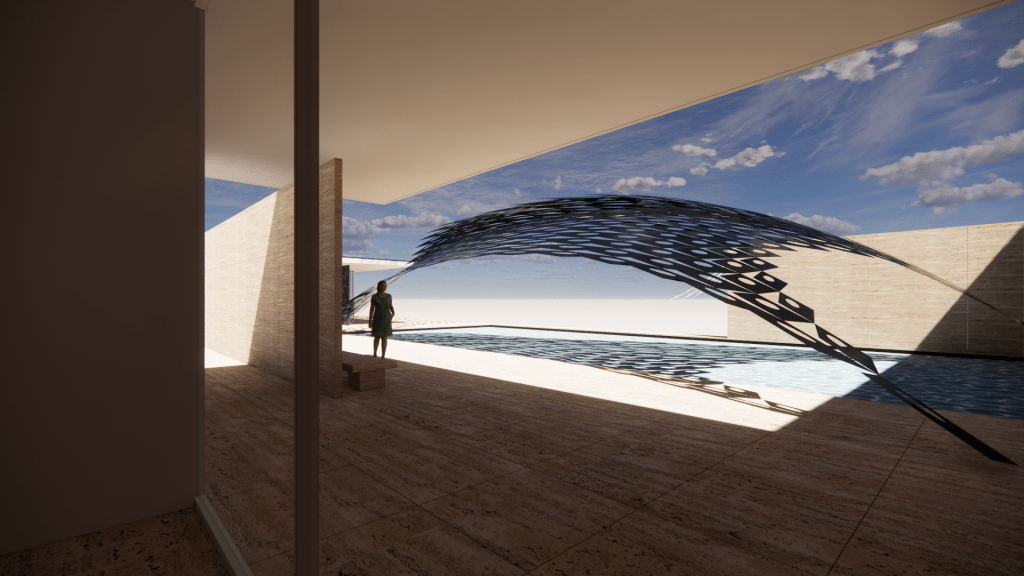
The view at the second entrance of the house 
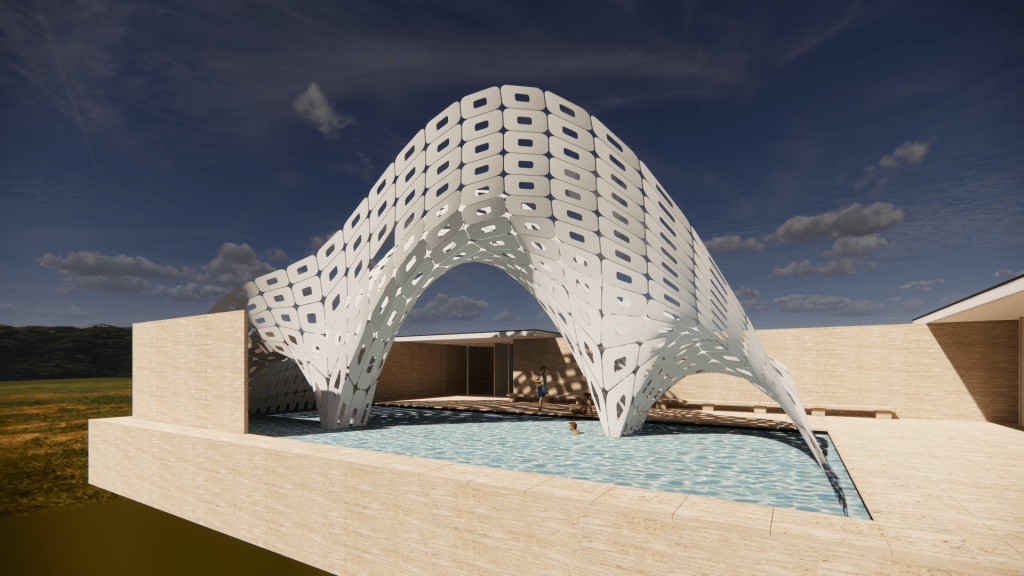
The view at the first entrance of the house


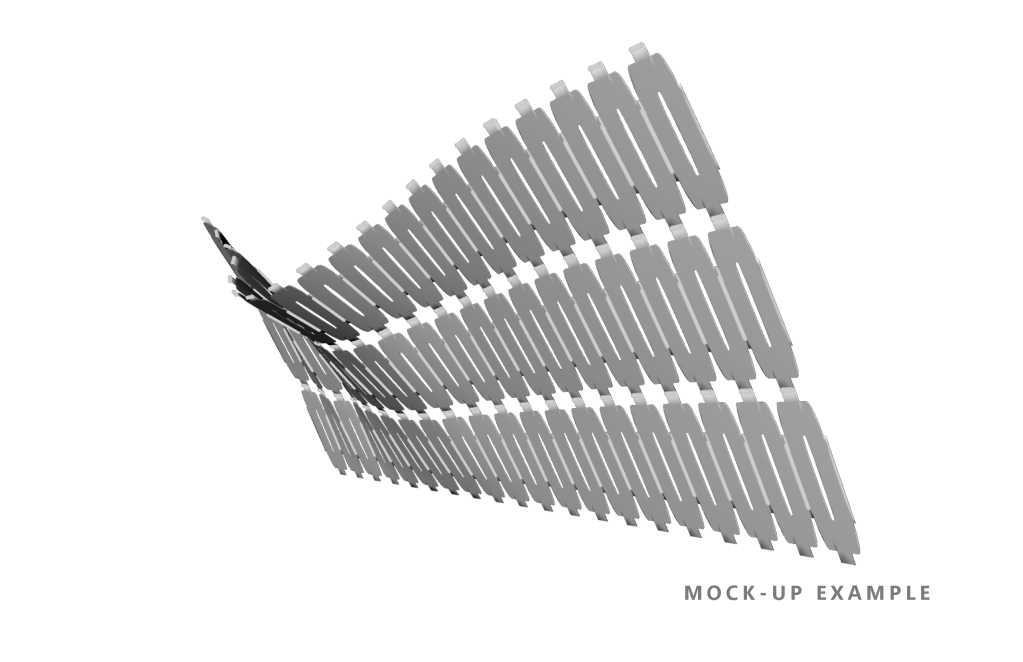
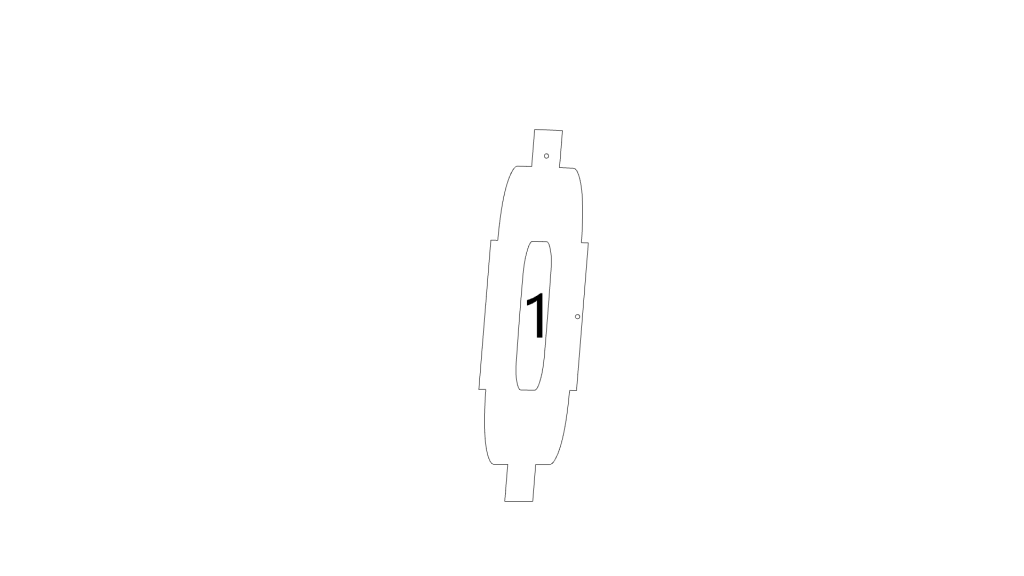
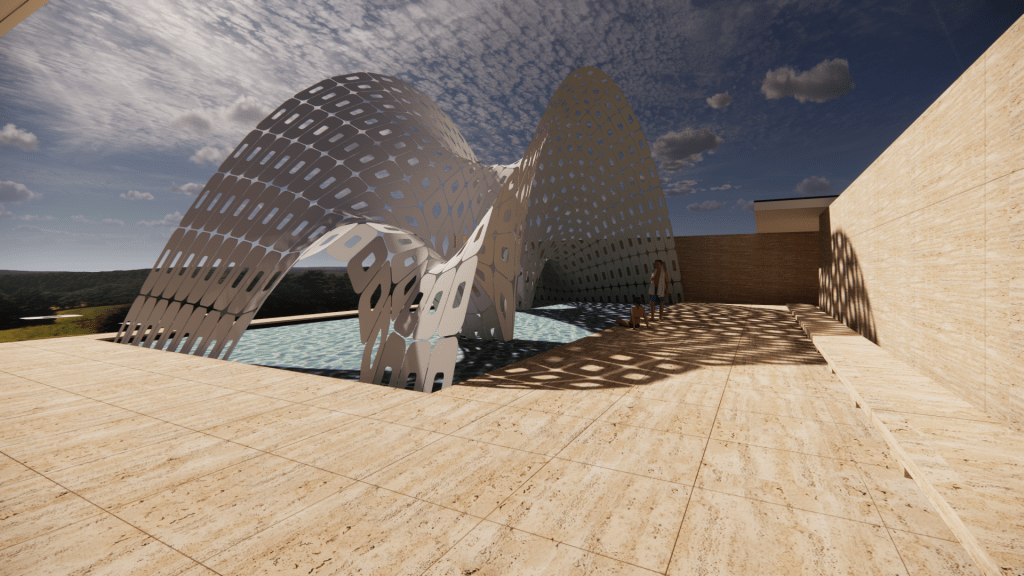
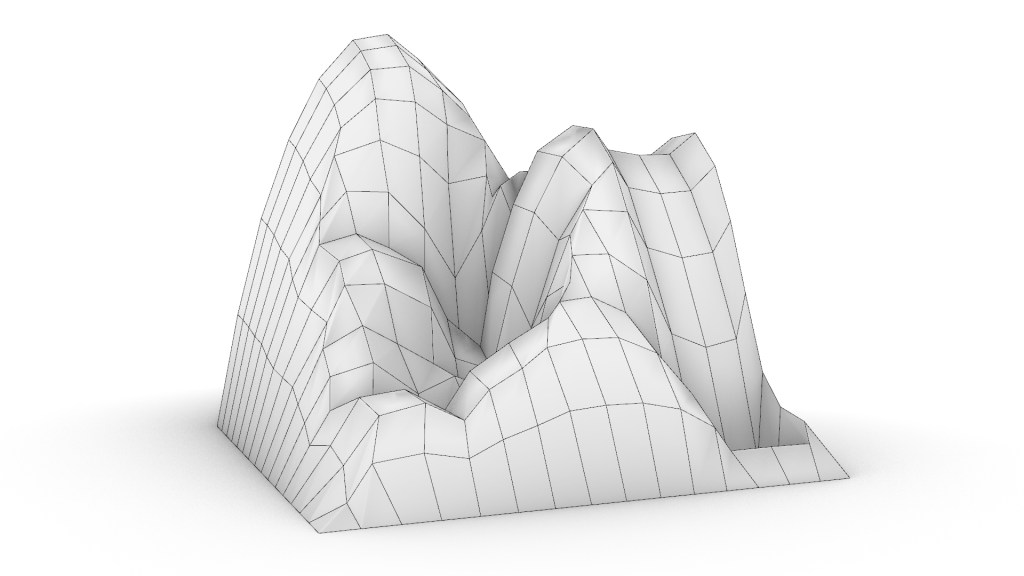
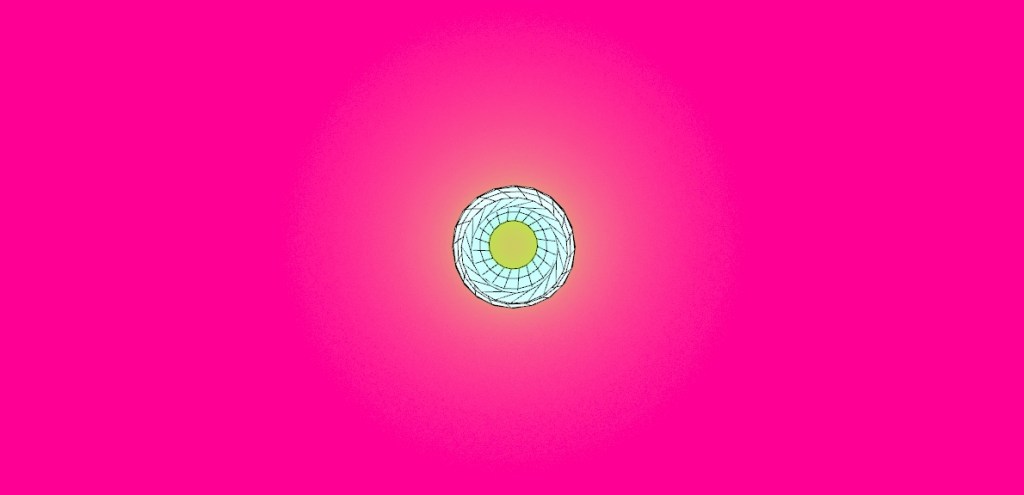
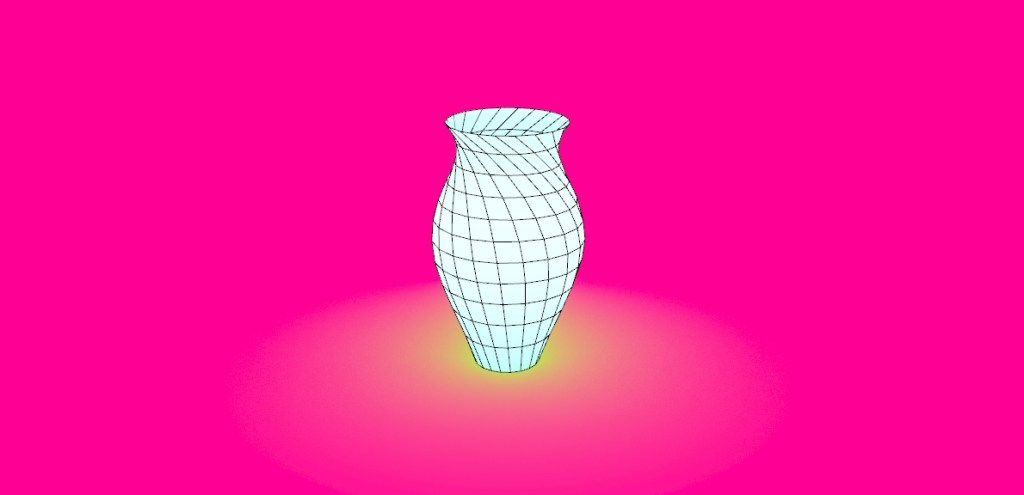
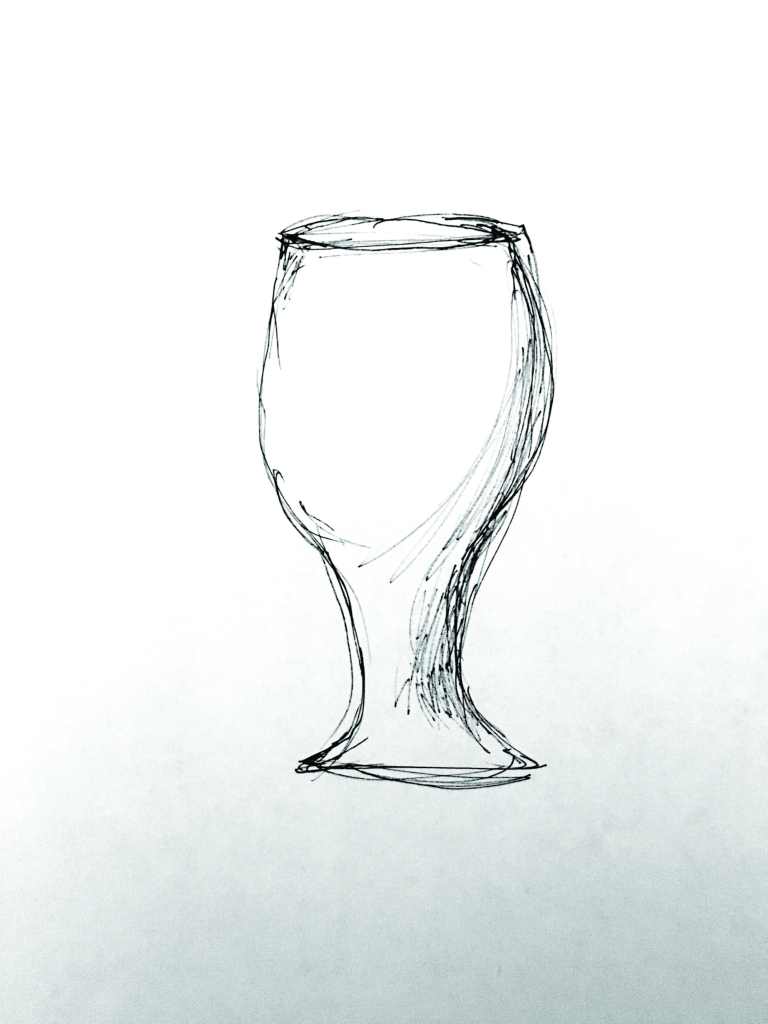
Overall sketch of the form
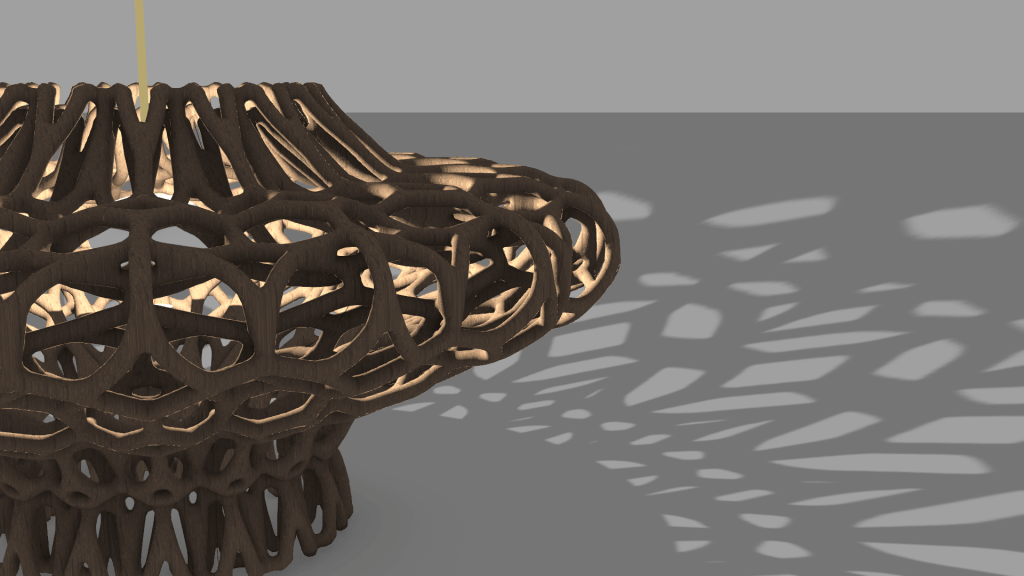
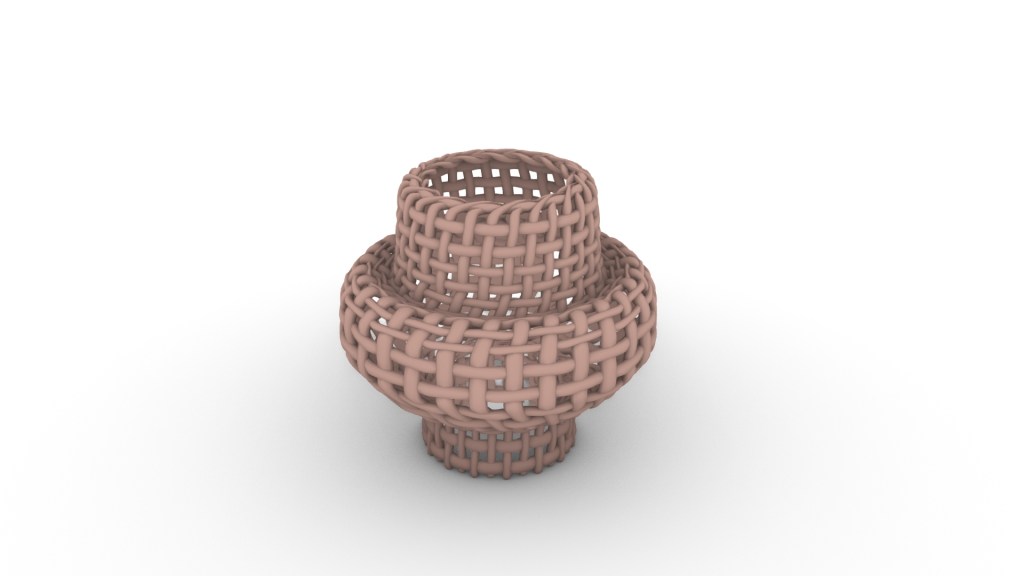
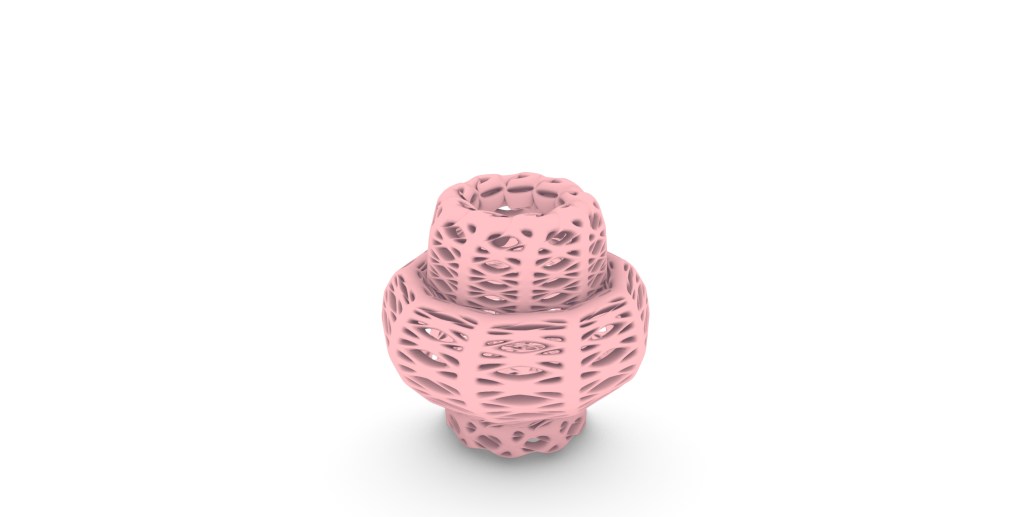
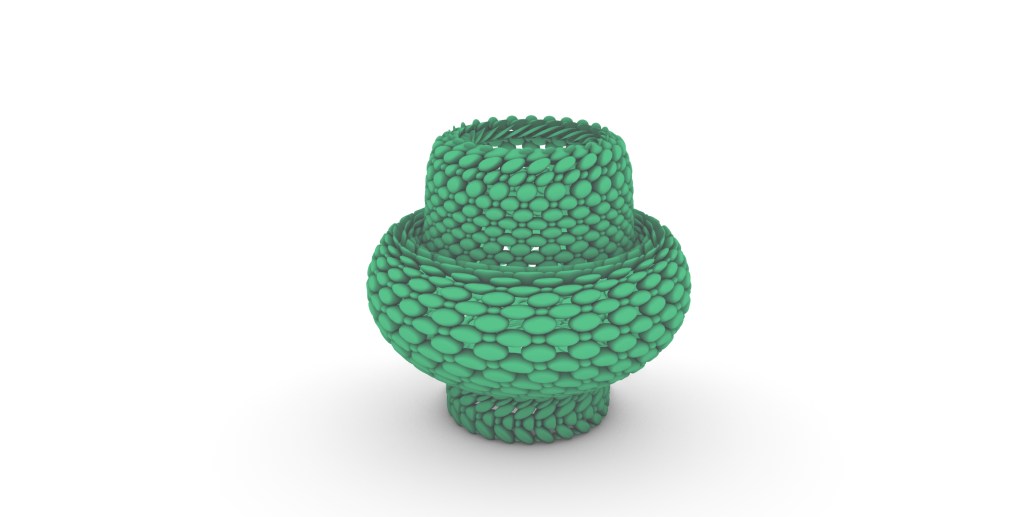
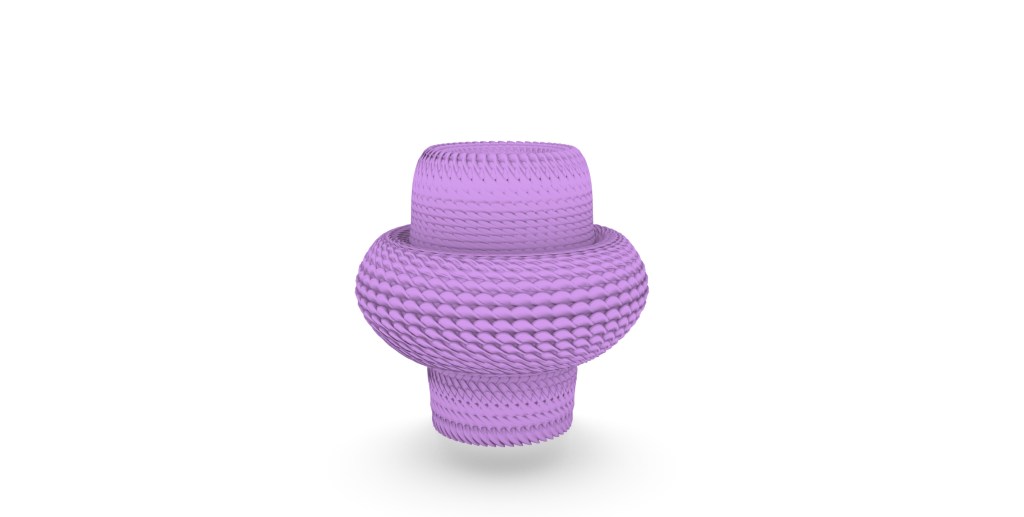
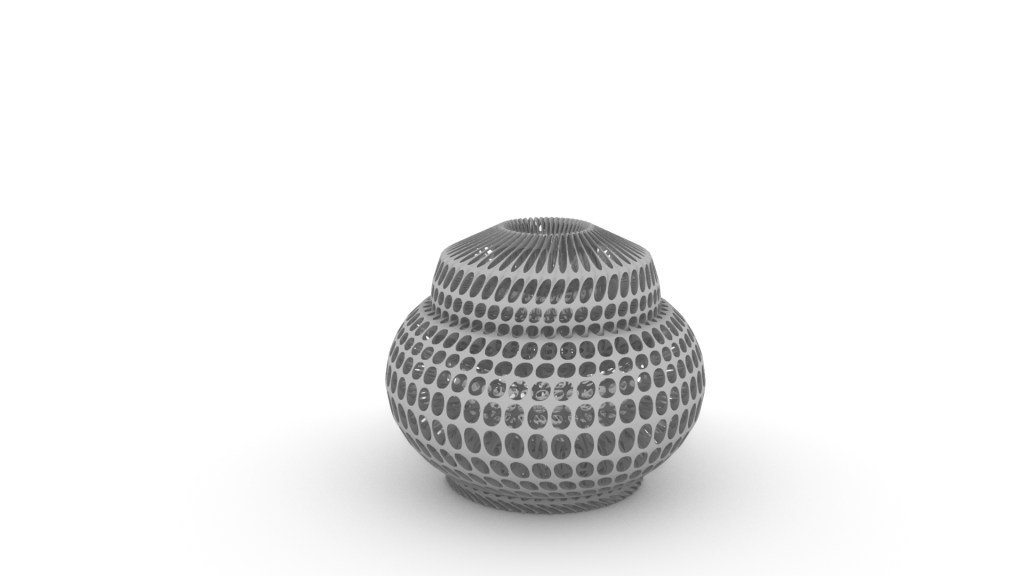
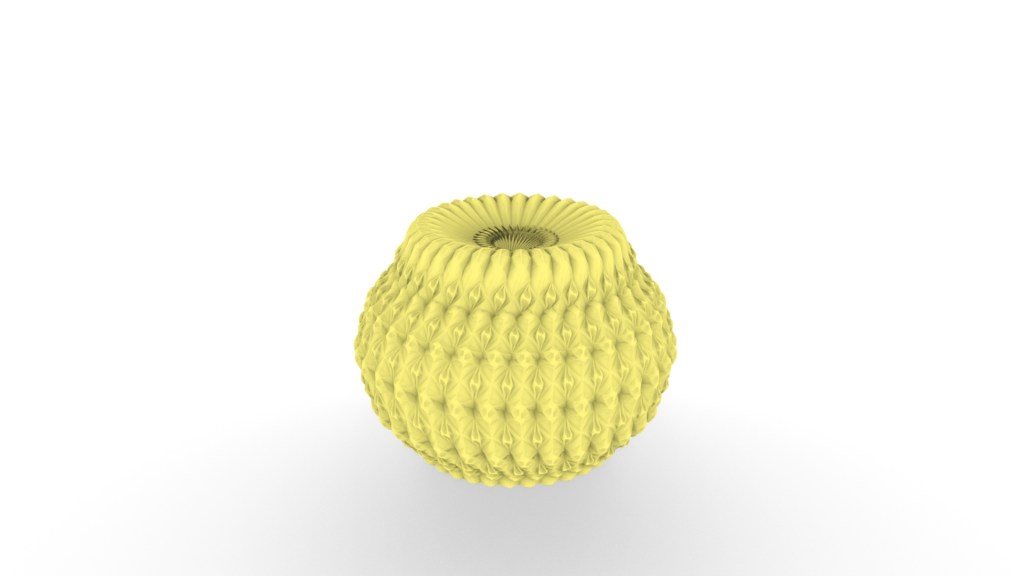
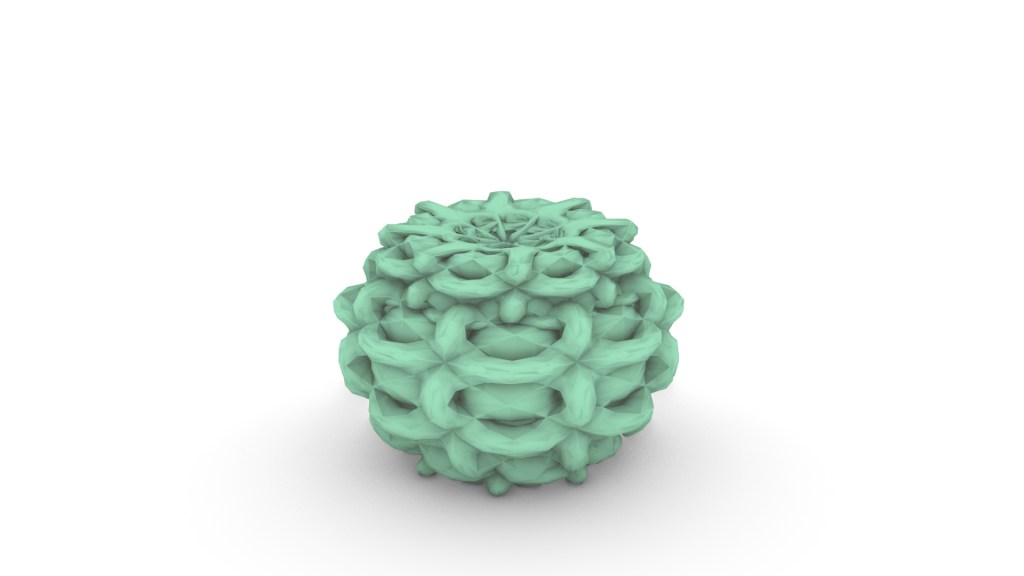
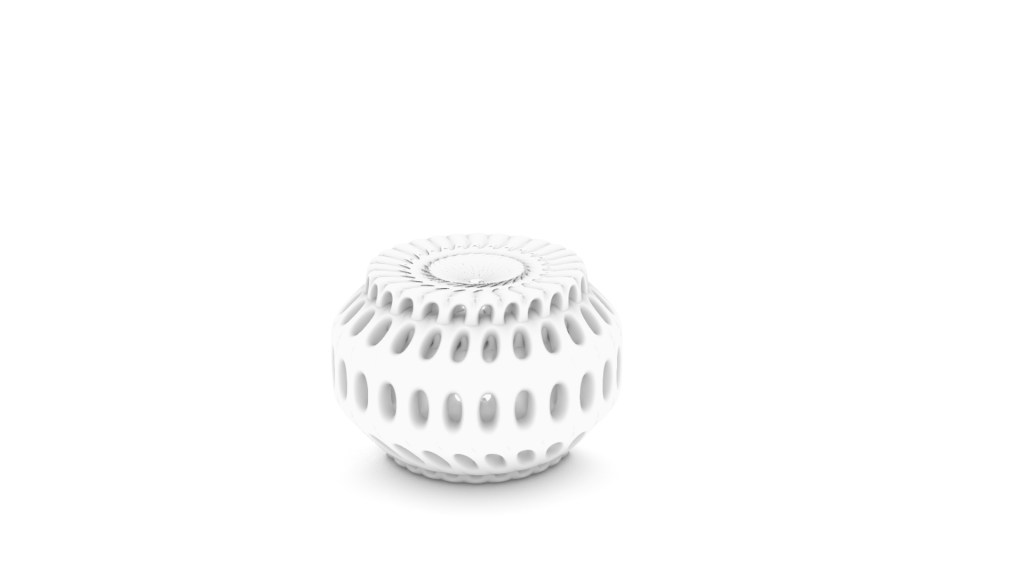
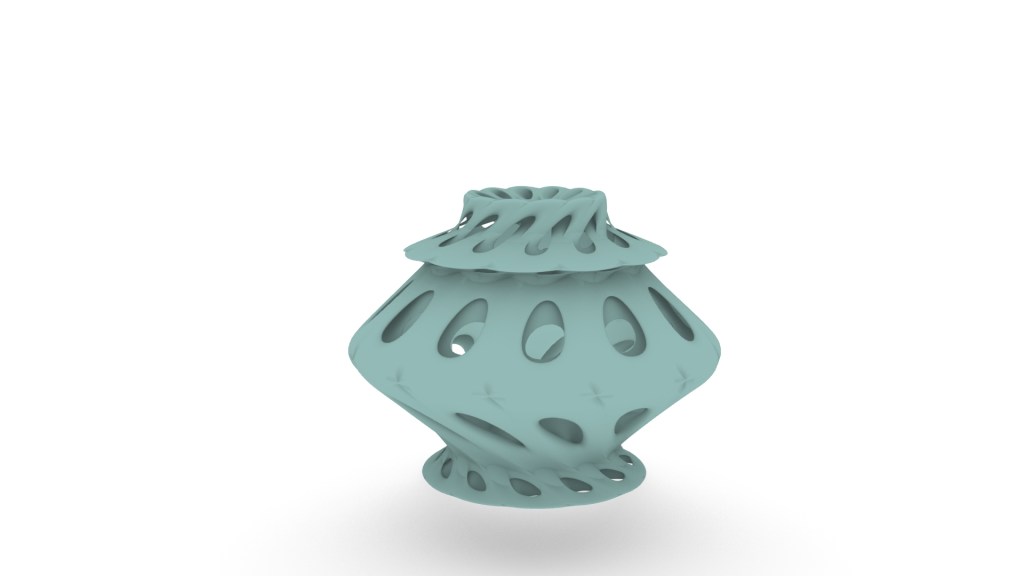
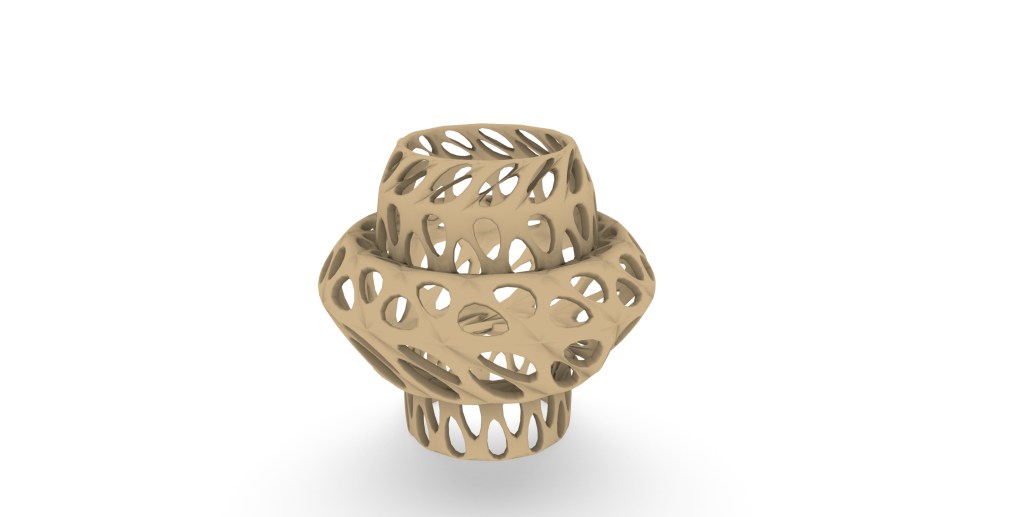
MODULE DETAIL

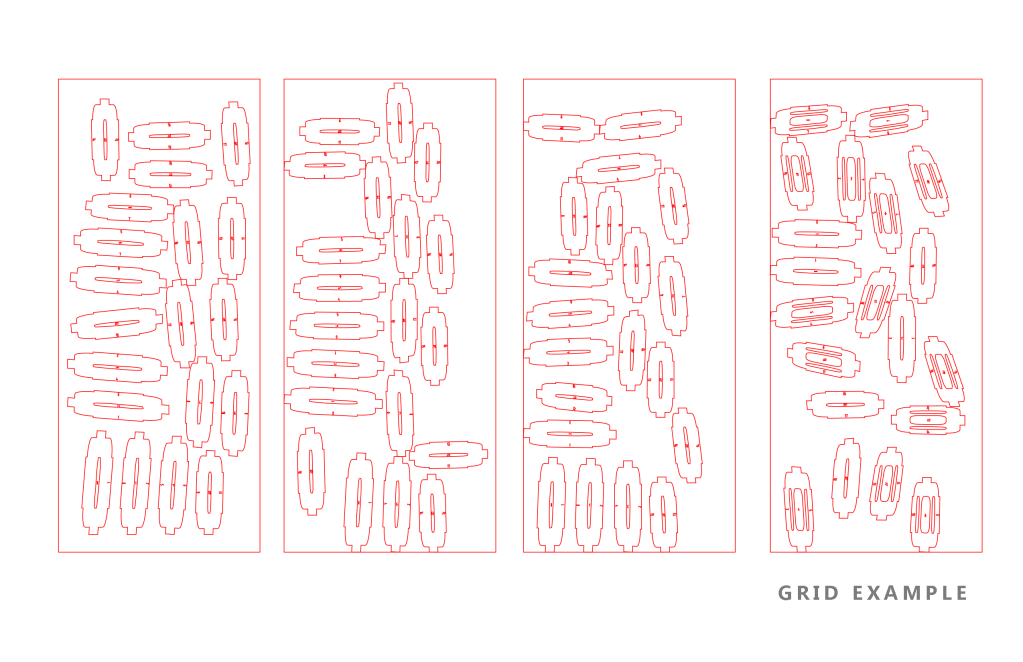
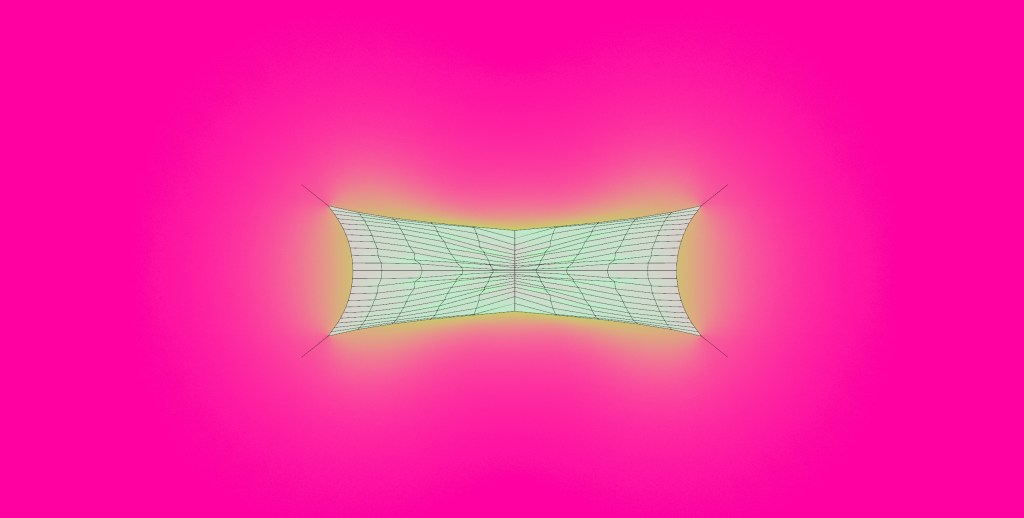
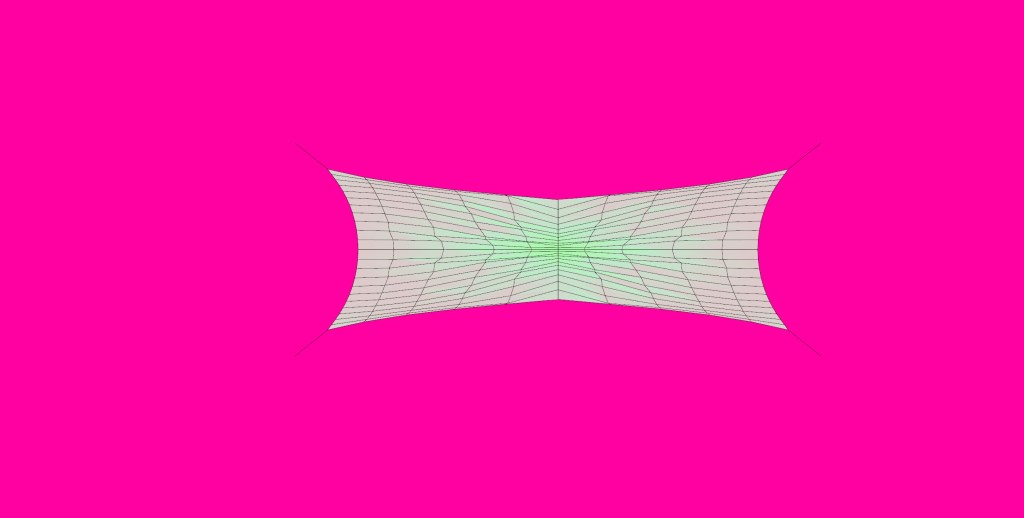
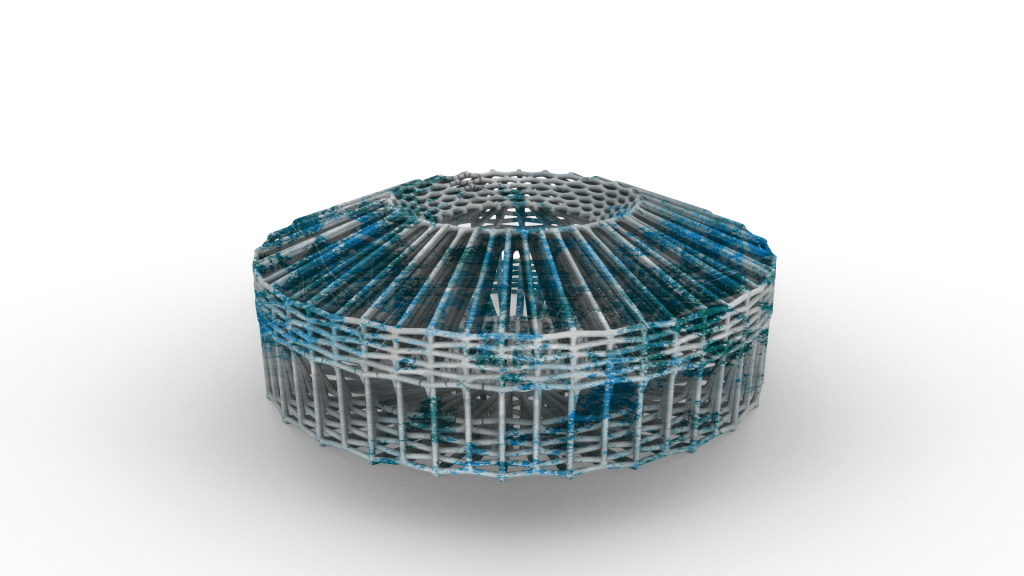
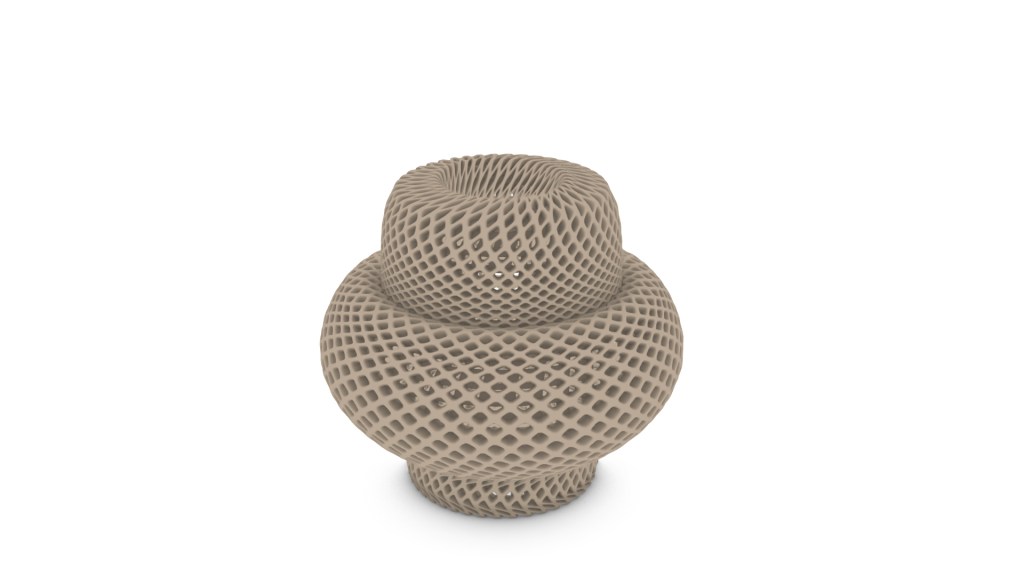
FABRICATION DETAIL
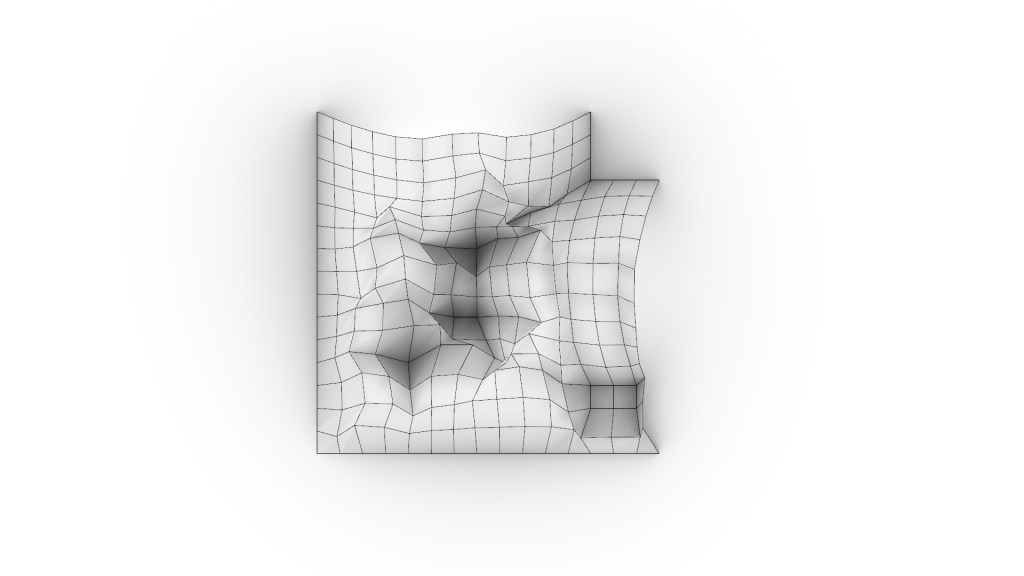
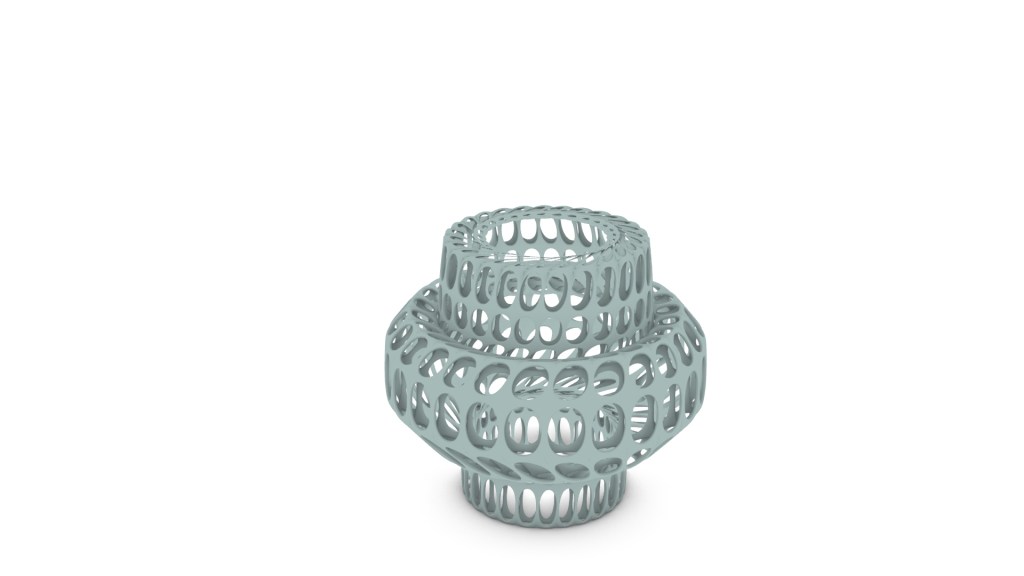
FABRICATION GRID


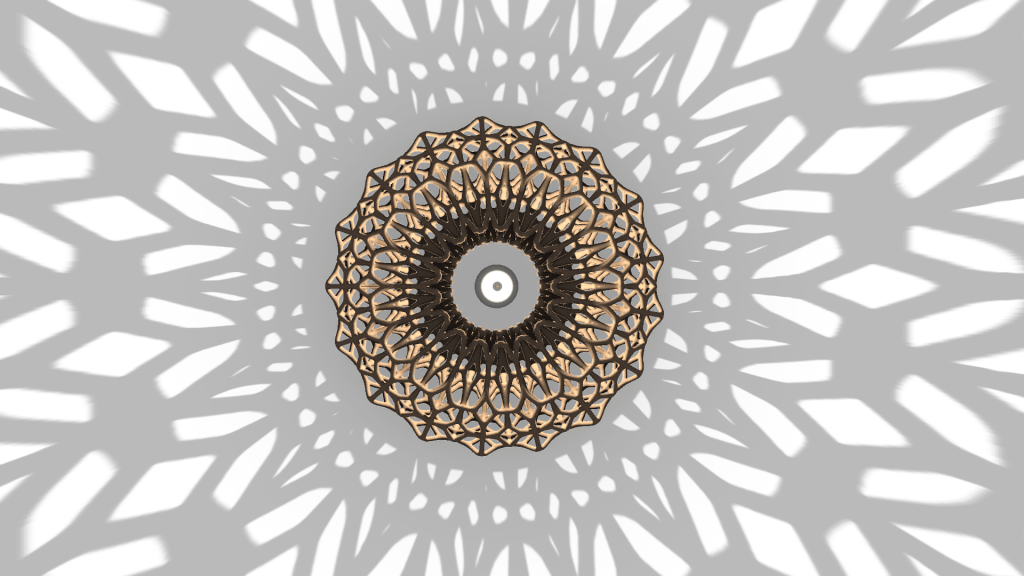
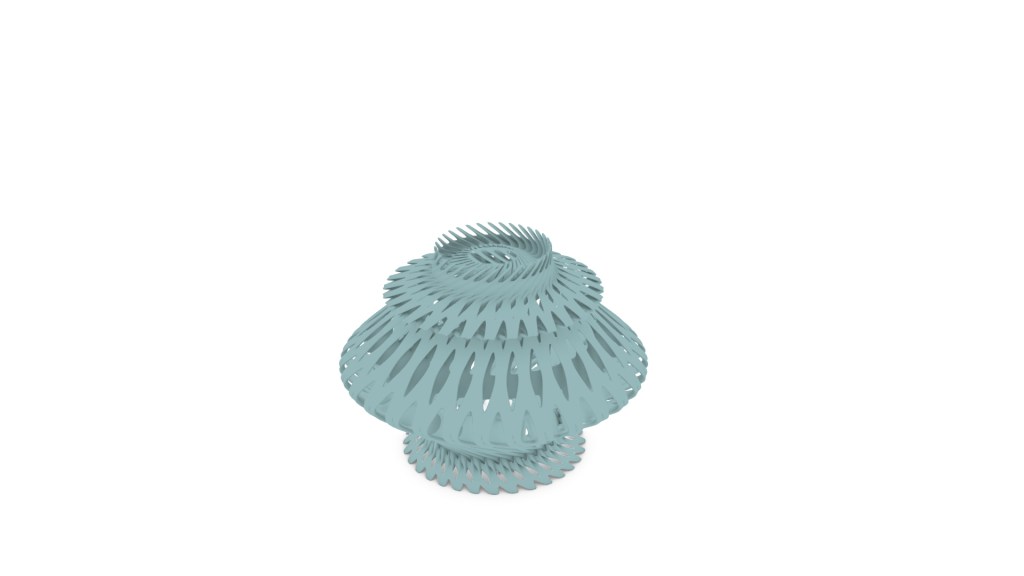
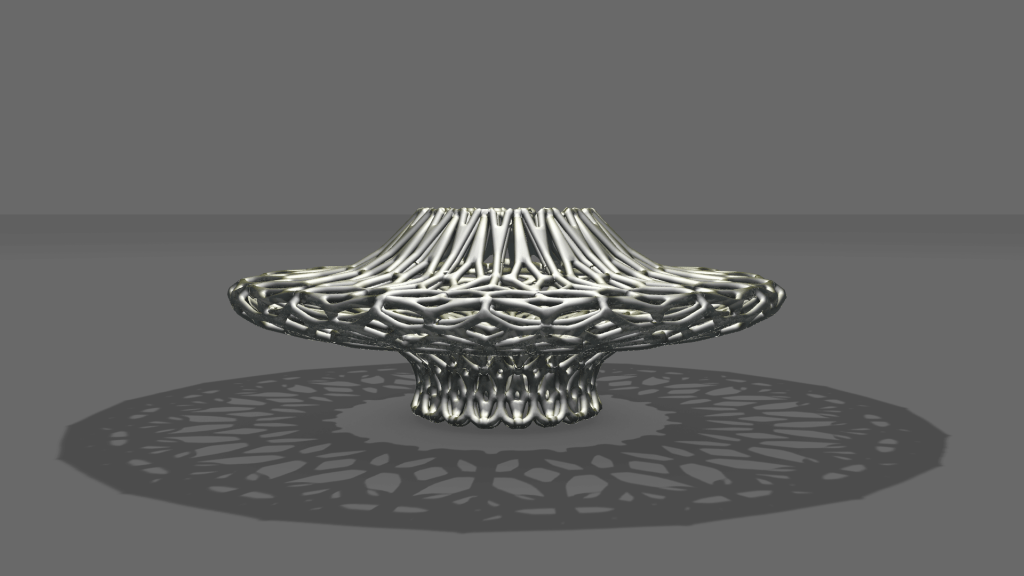
Underside View 1 
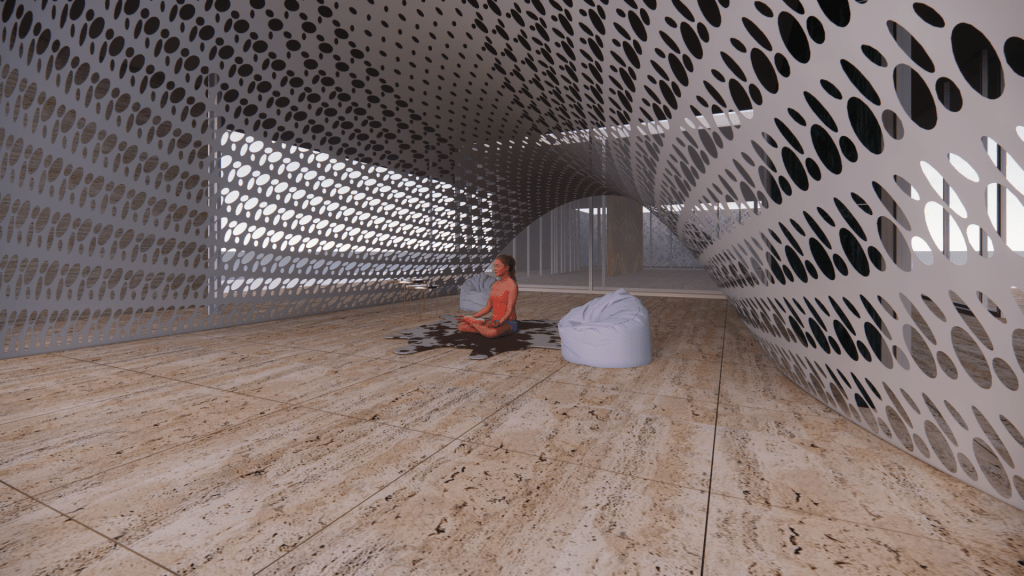
Underside View 2 
Underside View 3
Underside View 2-https://api2.enscape3d.com/v3/view/1741a85b-1966-4a73-bc10-4b563cbffd09
Underside View 3- https://api2.enscape3d.com/v3/view/ec184b30-1e2e-465c-ae65-fc673df26b7b
MODEL
https://api2.enscape3d.com/v1/view/11a8b966-b94e-4ac1-a213-75bd961468e5


You must be logged in to post a comment.