The project started with the research about the jewelry and accessory. I quite like the sphere shape. I want to create a ball with holes. The holes create a special environment for the leaking light. It also has a function which can hold products. For adding some more interesting detail, I thought about a spiral shape. To achieve that, I tried different ways.
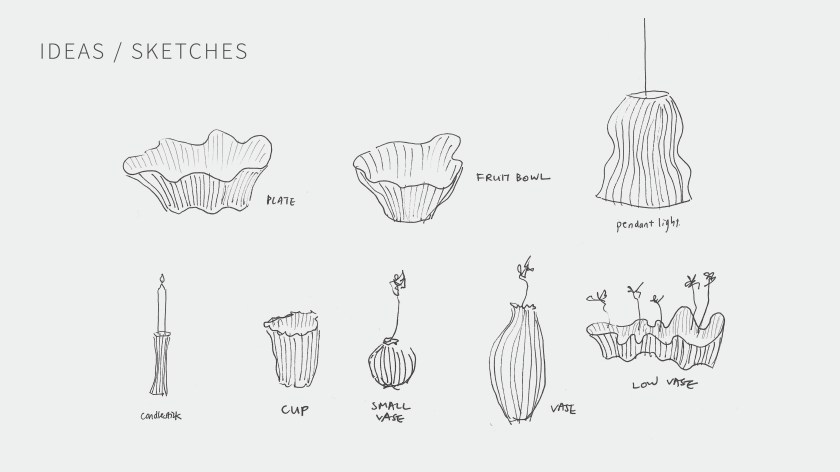
Intentions
 initial idea

First attempt – Millipede
In the beginning, I tried to use the component ‘ISO SURFACE’of millipede to achieve a surface with holes. It works, also easy to use. By this component, I got very ideal shape and pattern. The spiral is smooth and beautiful. However, when I check with 3D printing department, unfortunately, it’s not printable. The mesh is very very screwy. Due to there are too many details and some nurs are really sharp therefore the wall thickness is too thin. It’s difficult to keep a balance between printable wall thickness and size while keeping the shape elegant.

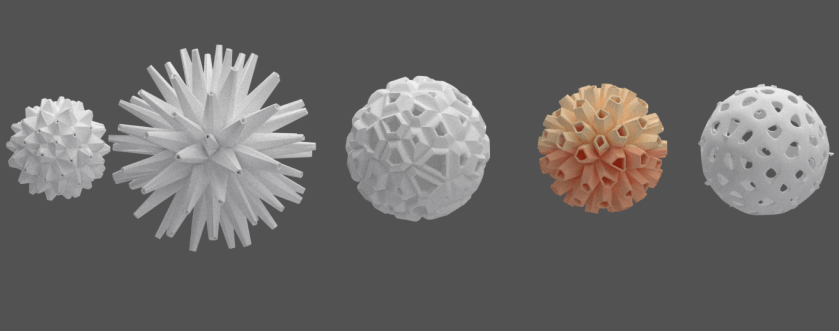
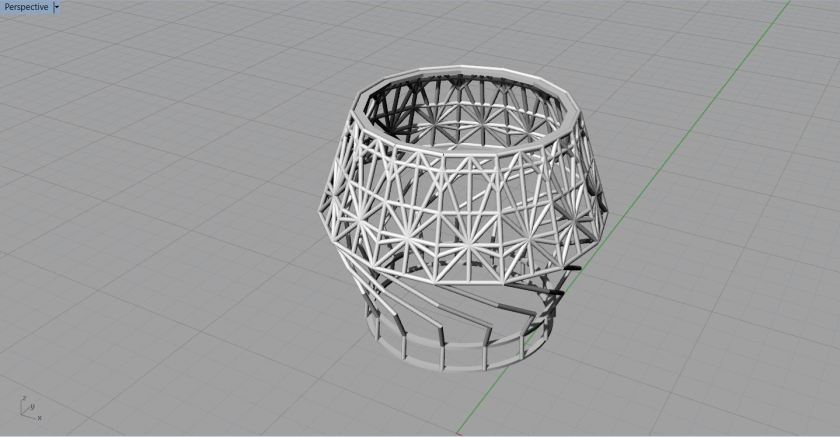
 unprintable shapes
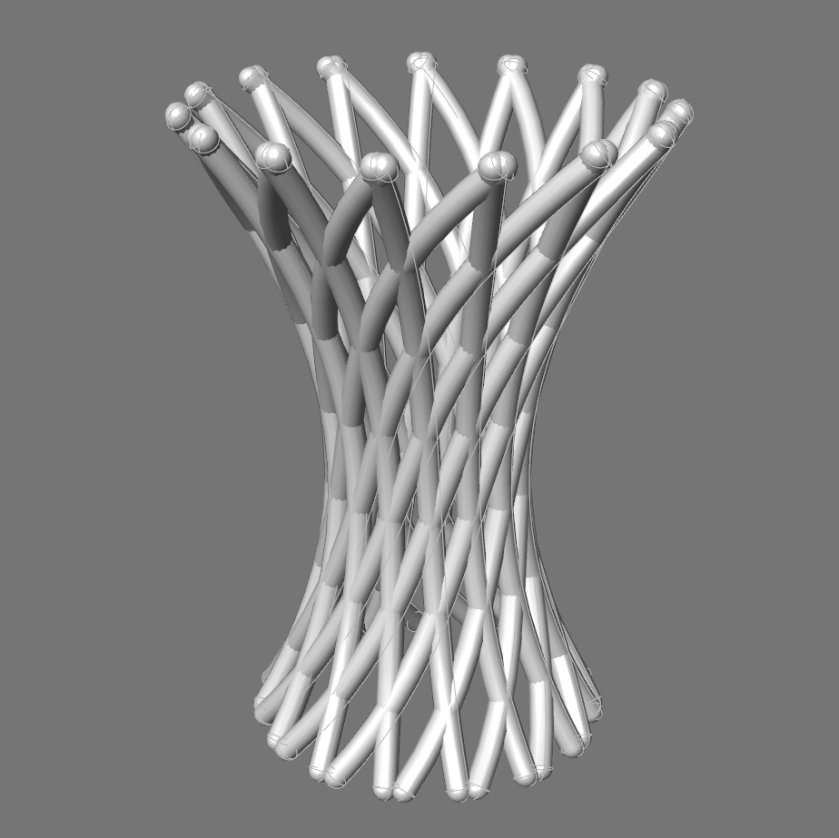
 spiral shape without holes -printable.
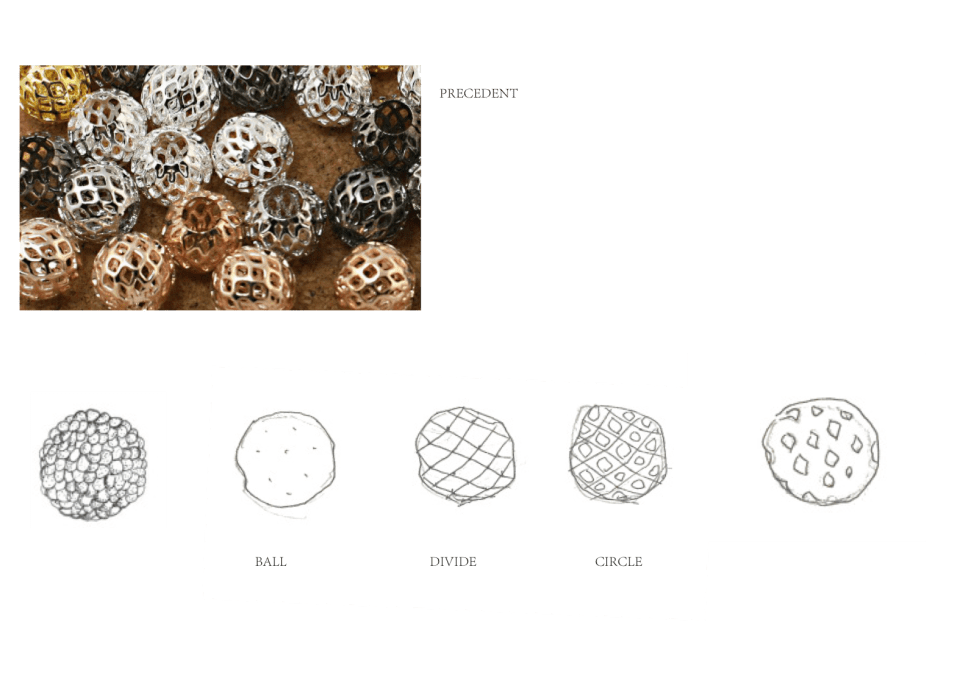
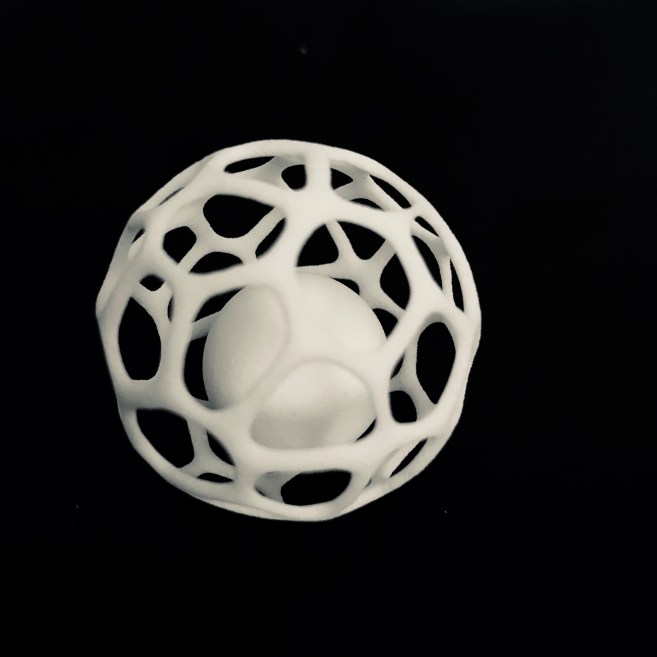
Attempt 2- Voronoi
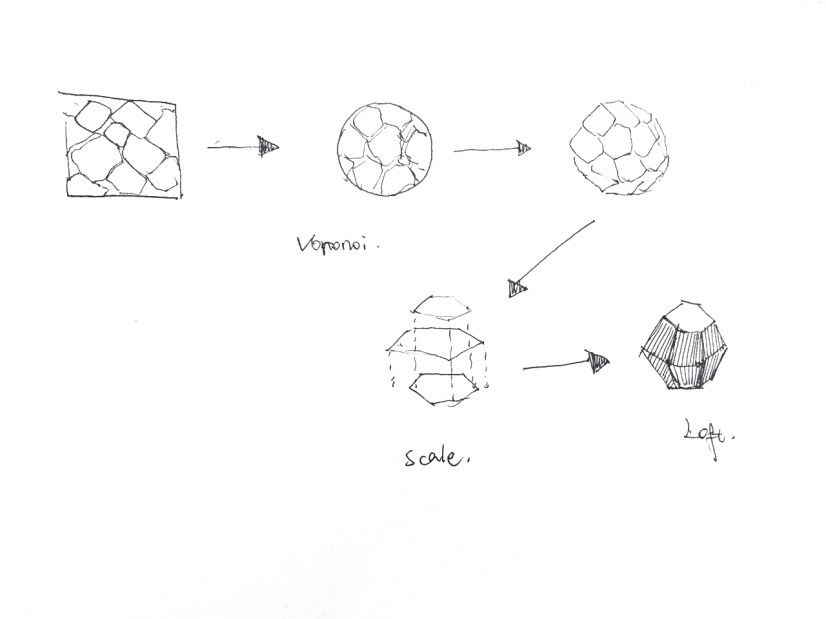
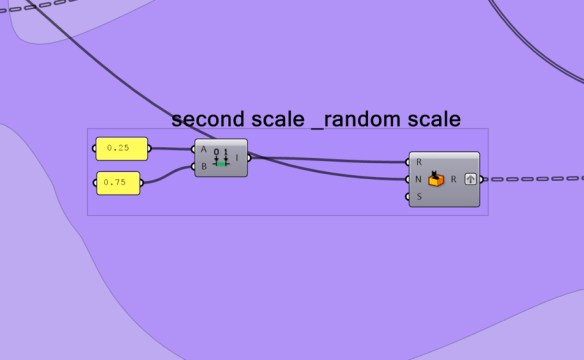
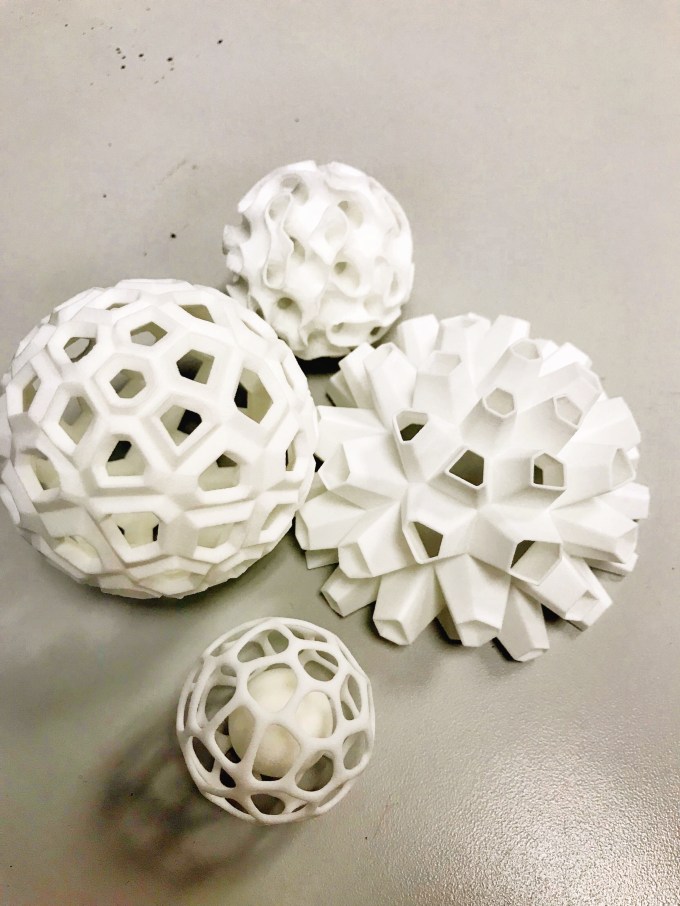
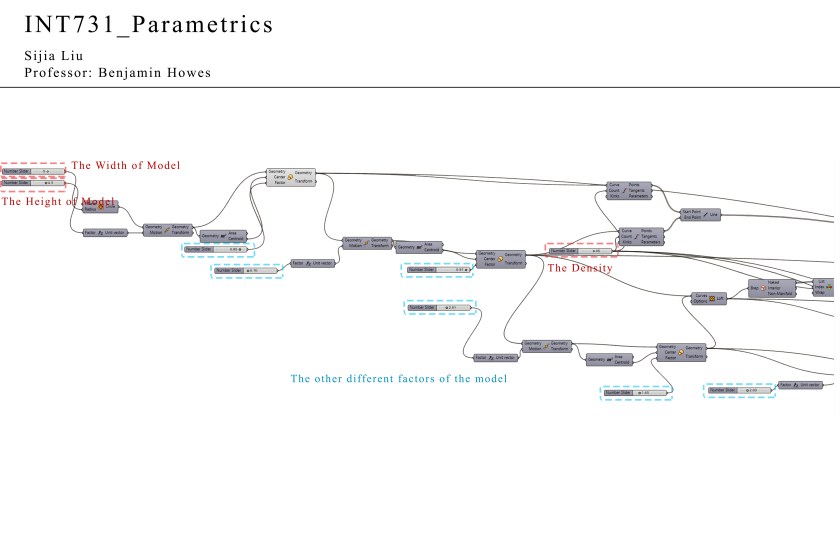
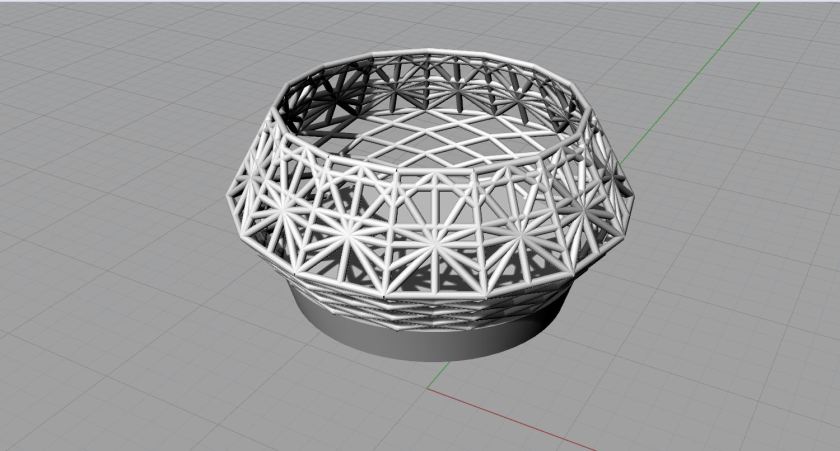
I don’t have too much time to change the project. So I go back to the very basic sphere model which I did in my midterm project. I tried to use ‘ VORONOI’which plays a similar role, it helps to create cells on the boundary box, then ‘BREP’ to the sphere. For making this project more interesting, I move the original cell in two scales, one inside the sphere while another outside. I also want to get cells in different sizes. To achieve that, I set up the 73 cells into a list, Then I set the size of the cells randomly.
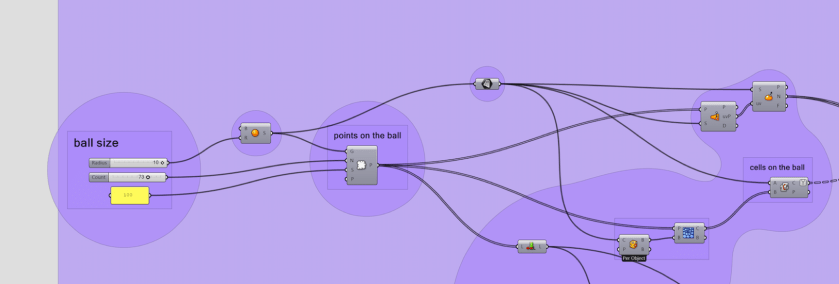
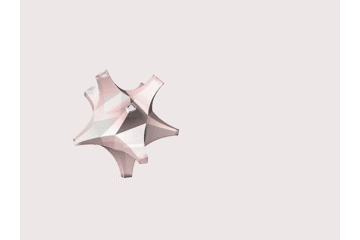
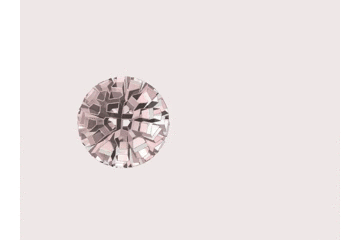
Through this way, the cells are in three scaled group, and they can create various patterns by changing the scale, be sharper, or more round.


with scale
without scale
The distance can be adjusted to create the height of each cell. If I adjust the distance and scale at the same time, that’s another shape.


loft and create mesh

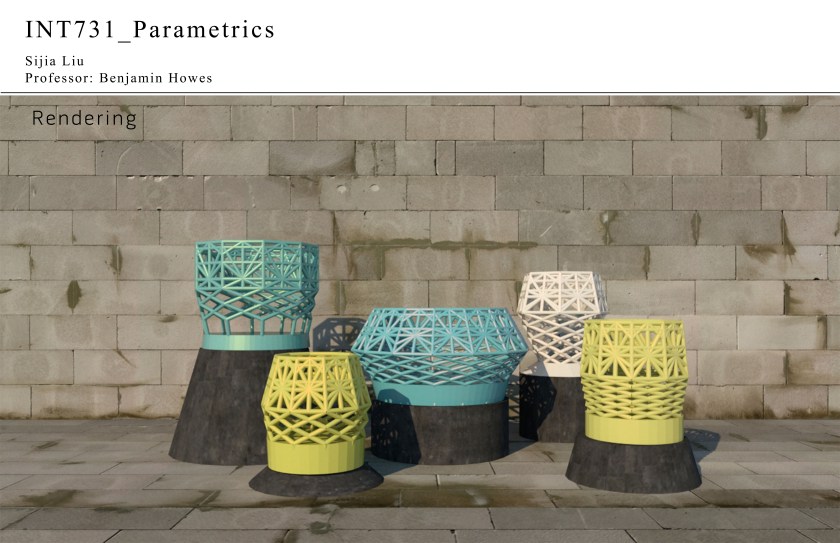
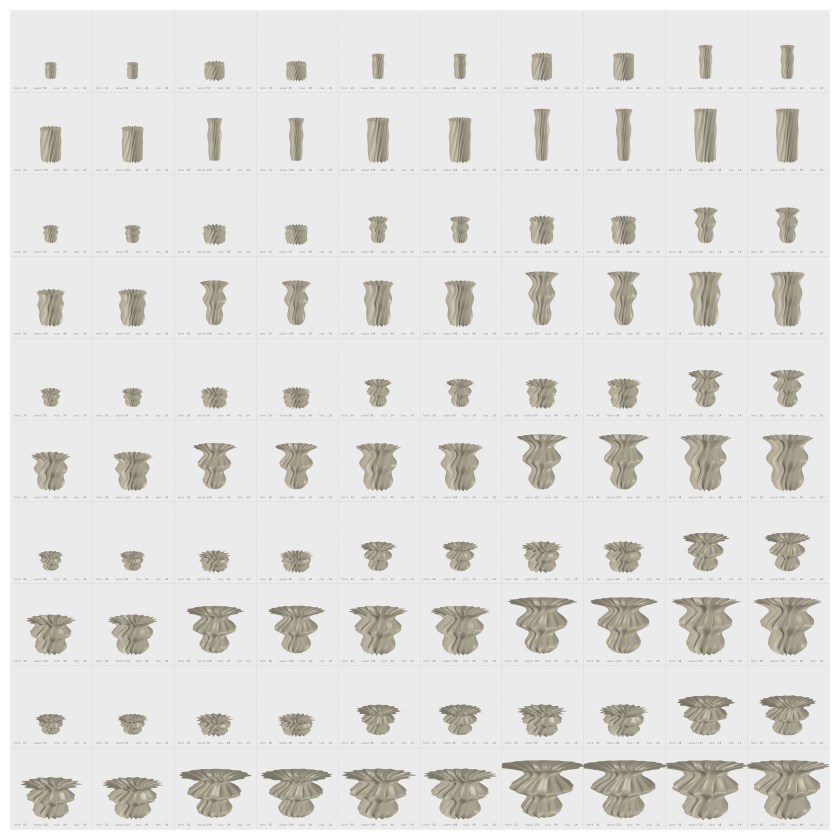
100 families


3D printings
I tried to print on the campus at first, but they asked for a flat surface at the bottom, so I cut the shapes into two pieces. Shapeways doesn’t have this requirement.
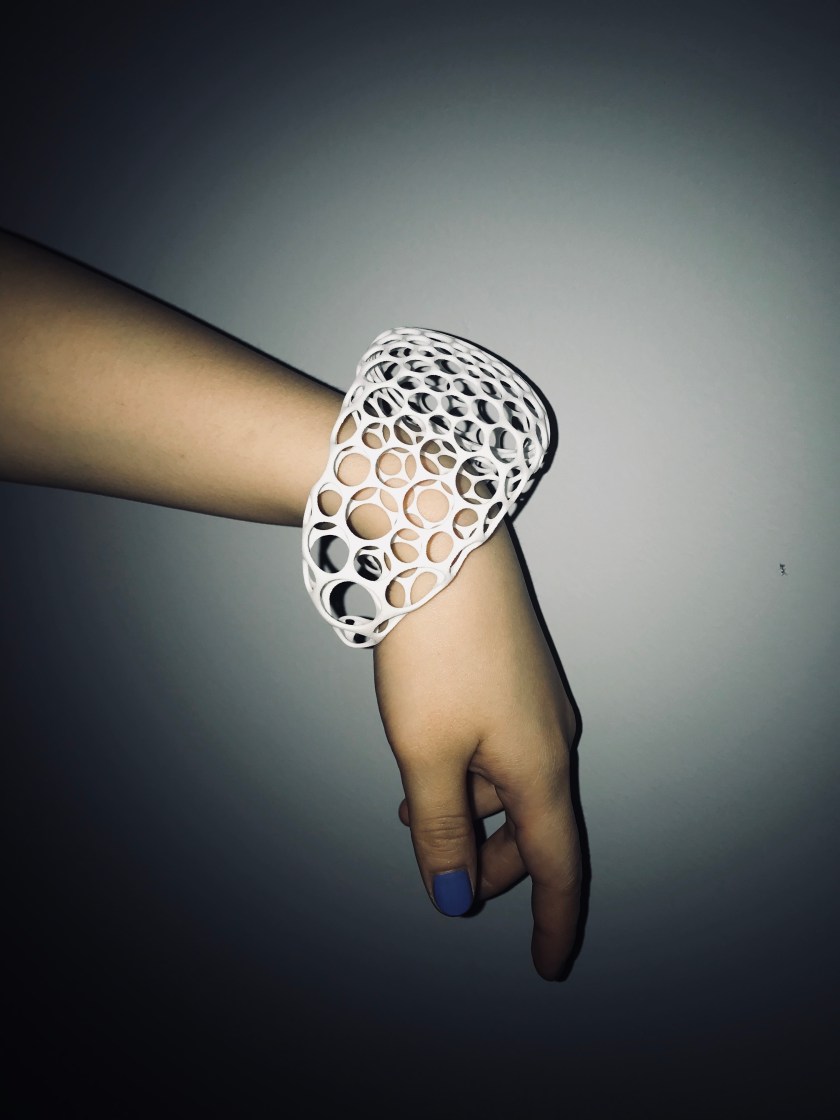
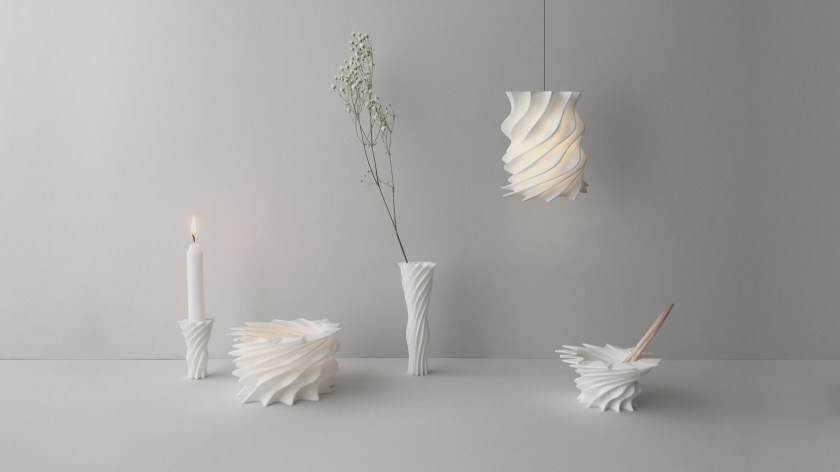
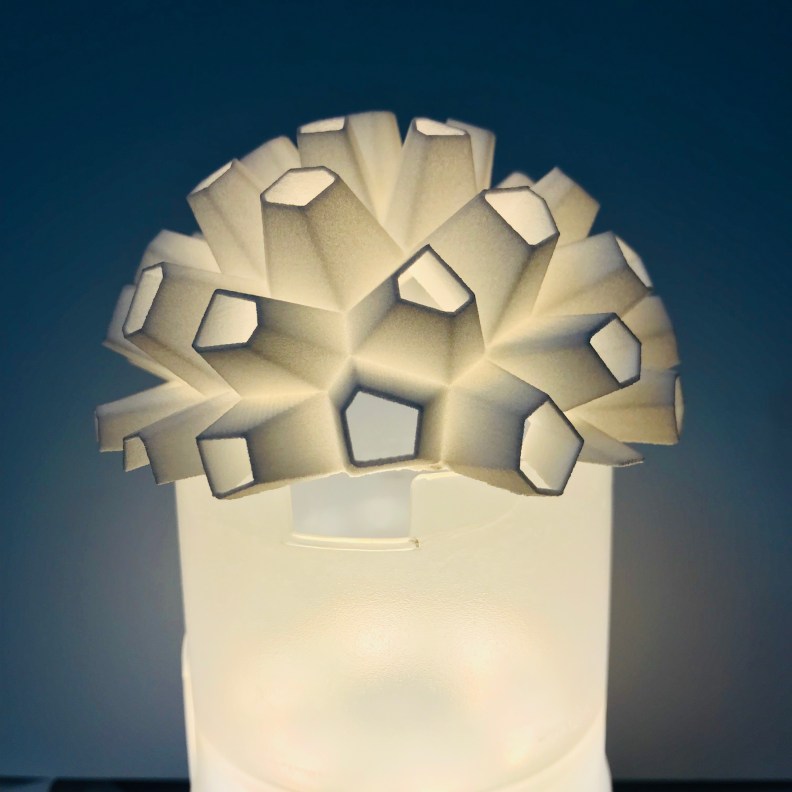 accessory lamp
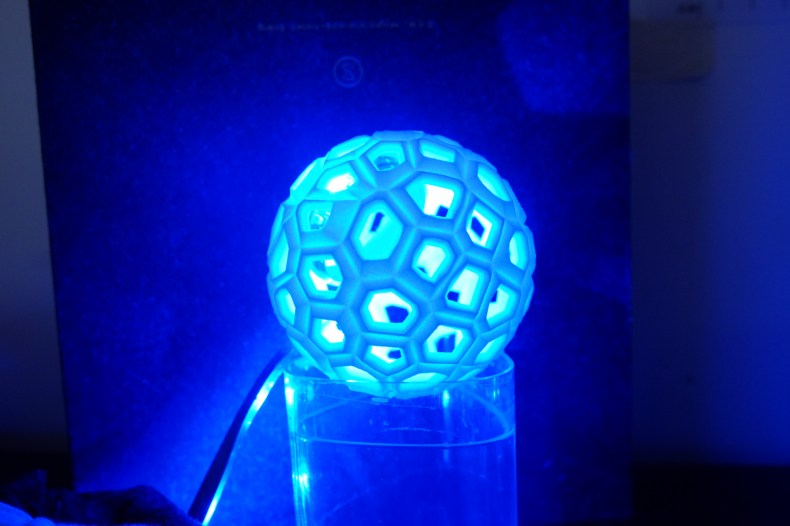 accessory lamp
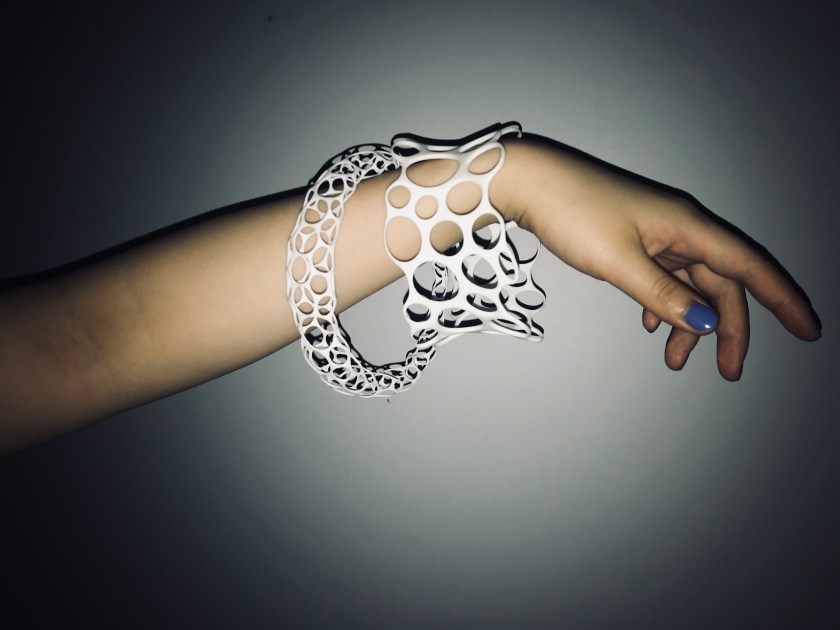
accessory
families

accessory
Actually, I designed two independent design projects. However, I think they are different but closely connected. As a geometry, the sphere is beautiful but in the meantime, it’s not so flexible as other polyhedrons. For example, the cylinder has more possibilities with shape and I don’t have too many sliders, it’s still a bit simple.
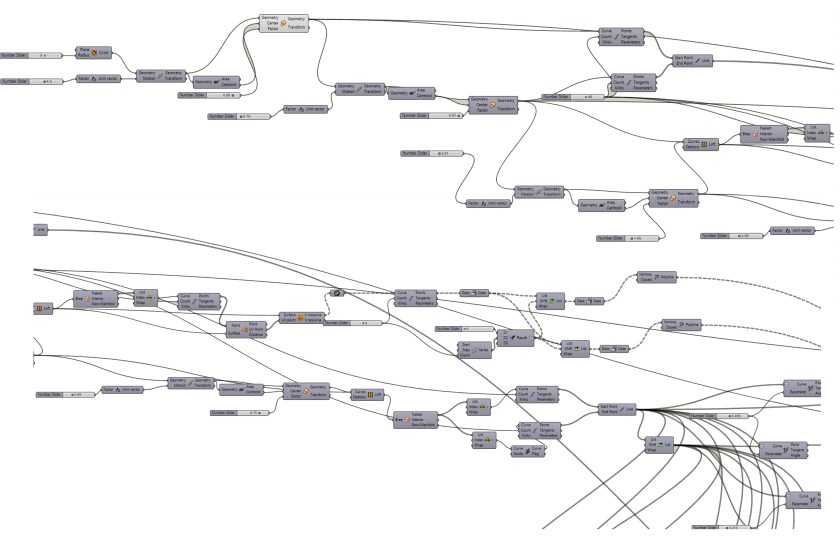
The process is tough, Grasshopper is cool but really difficult to understand and use. I spend a lot of time to follow different tutorials and find a similar one with my idea then create something new. I often have problems even I did the exact same thing with the tutorial.


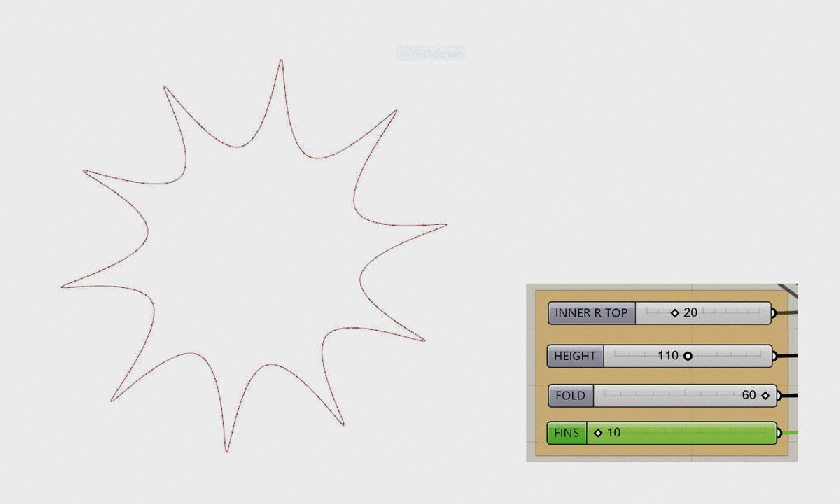
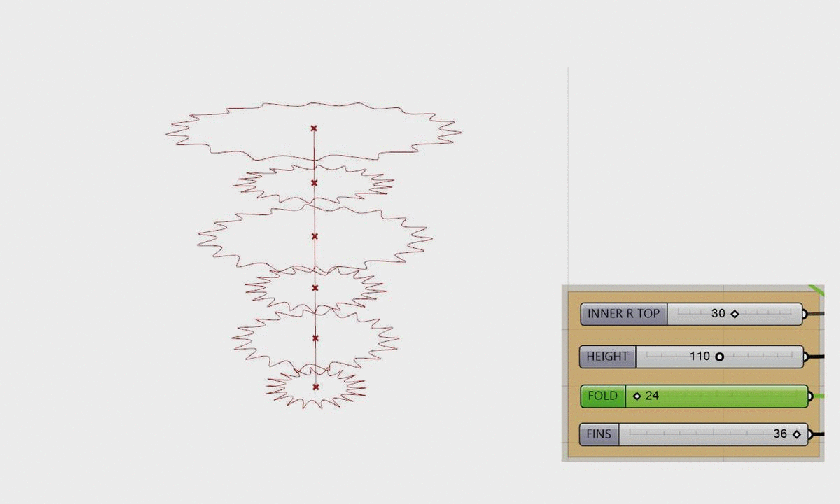
 2. Folds (offset)


You must be logged in to post a comment.