The movement of this geometry is entirely dependent on a spline curve that runs through the center of the piece. The geometry is generated by dividing the curve into a variable number of segments and extruding normal lines from the curve. As the curve moves so do the regions the lines create. In the first GIF, the spline is divided into 20 points.
This gif shows a version of the same methodology but with 50 subdivisions of the spline curve.
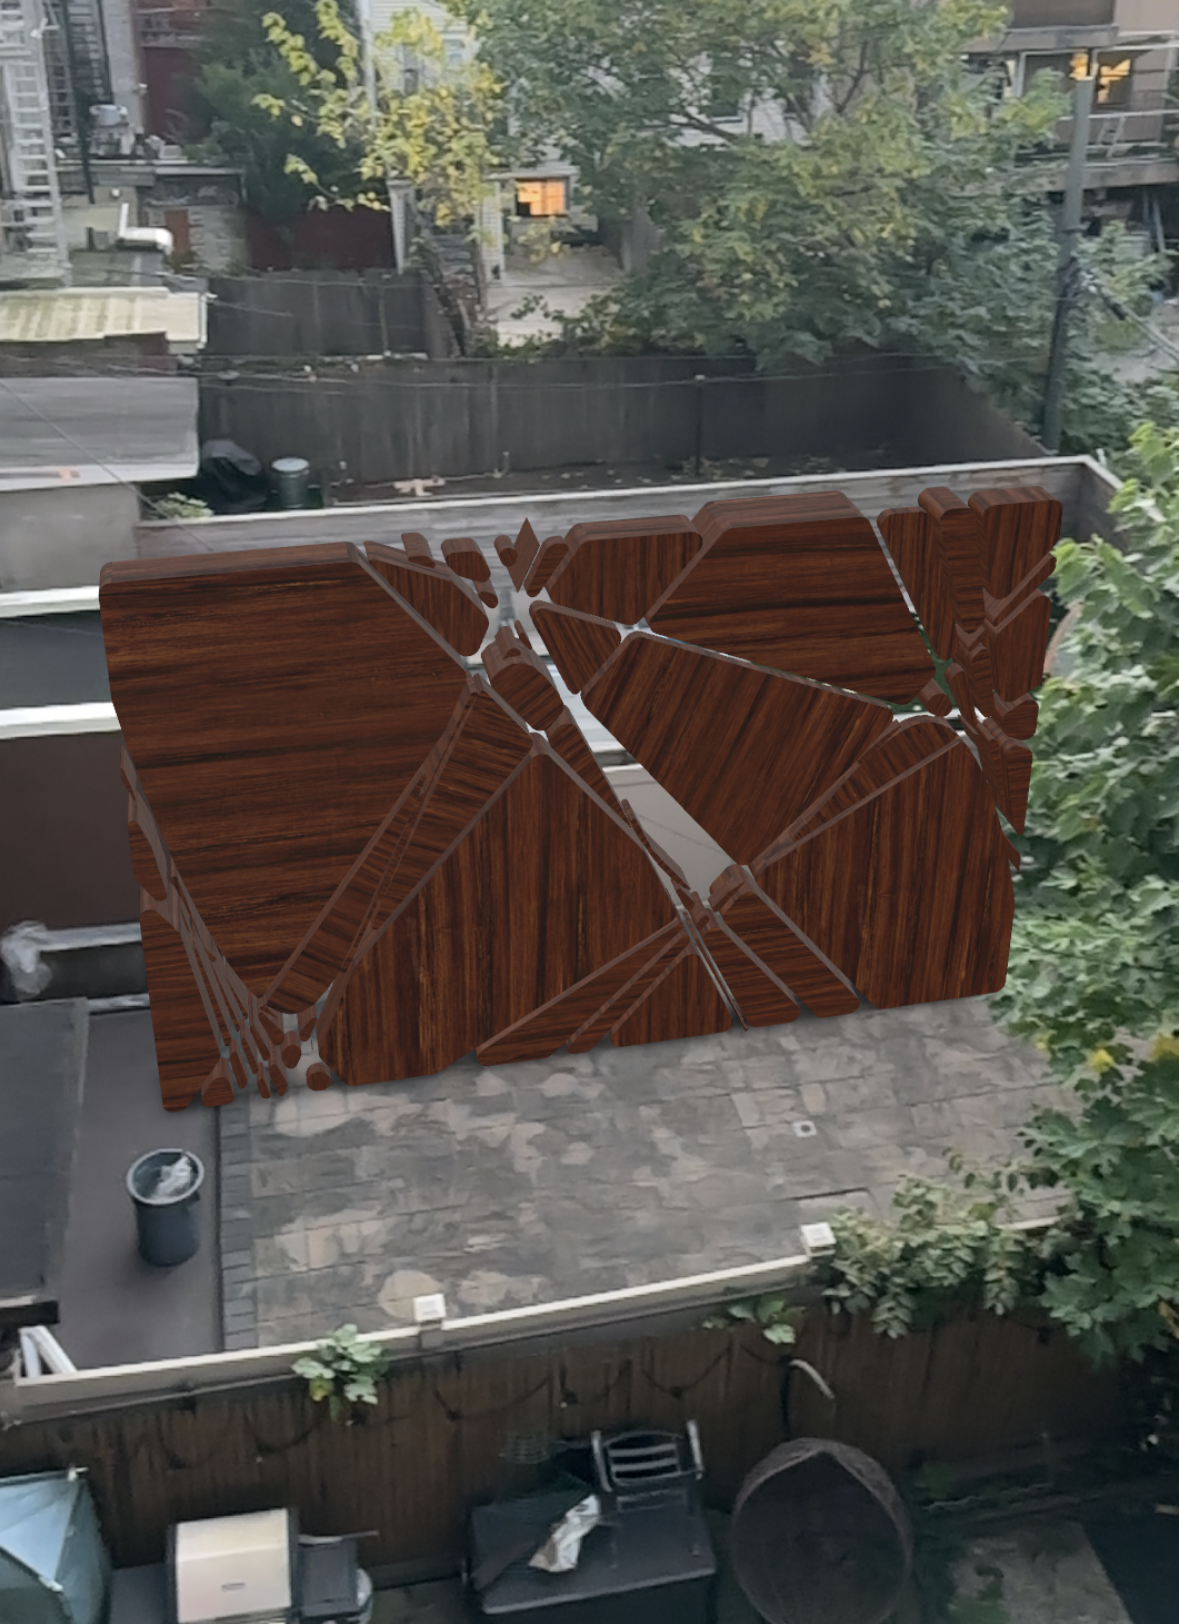
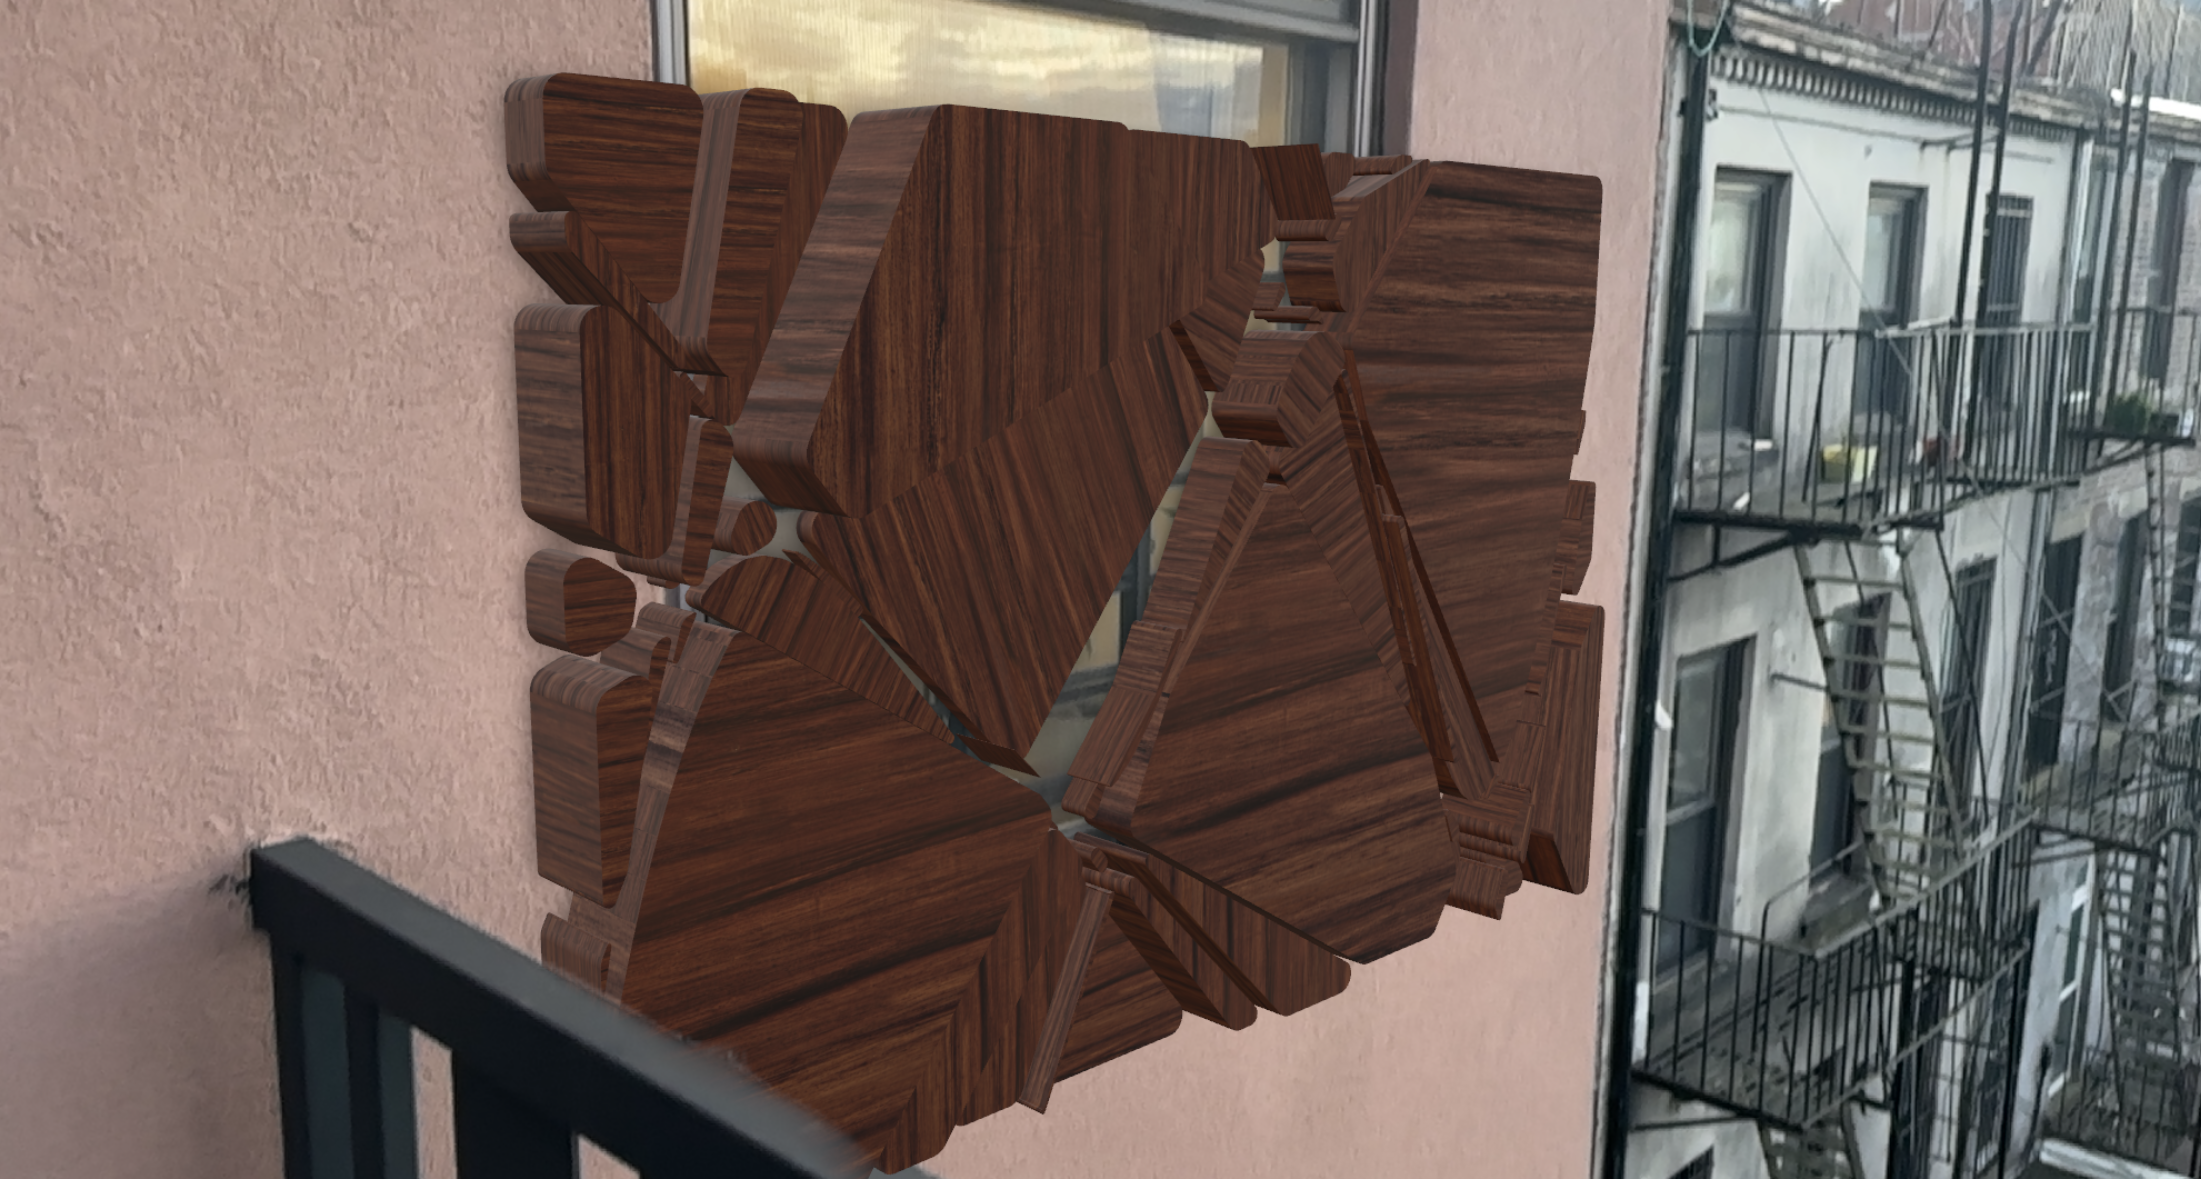
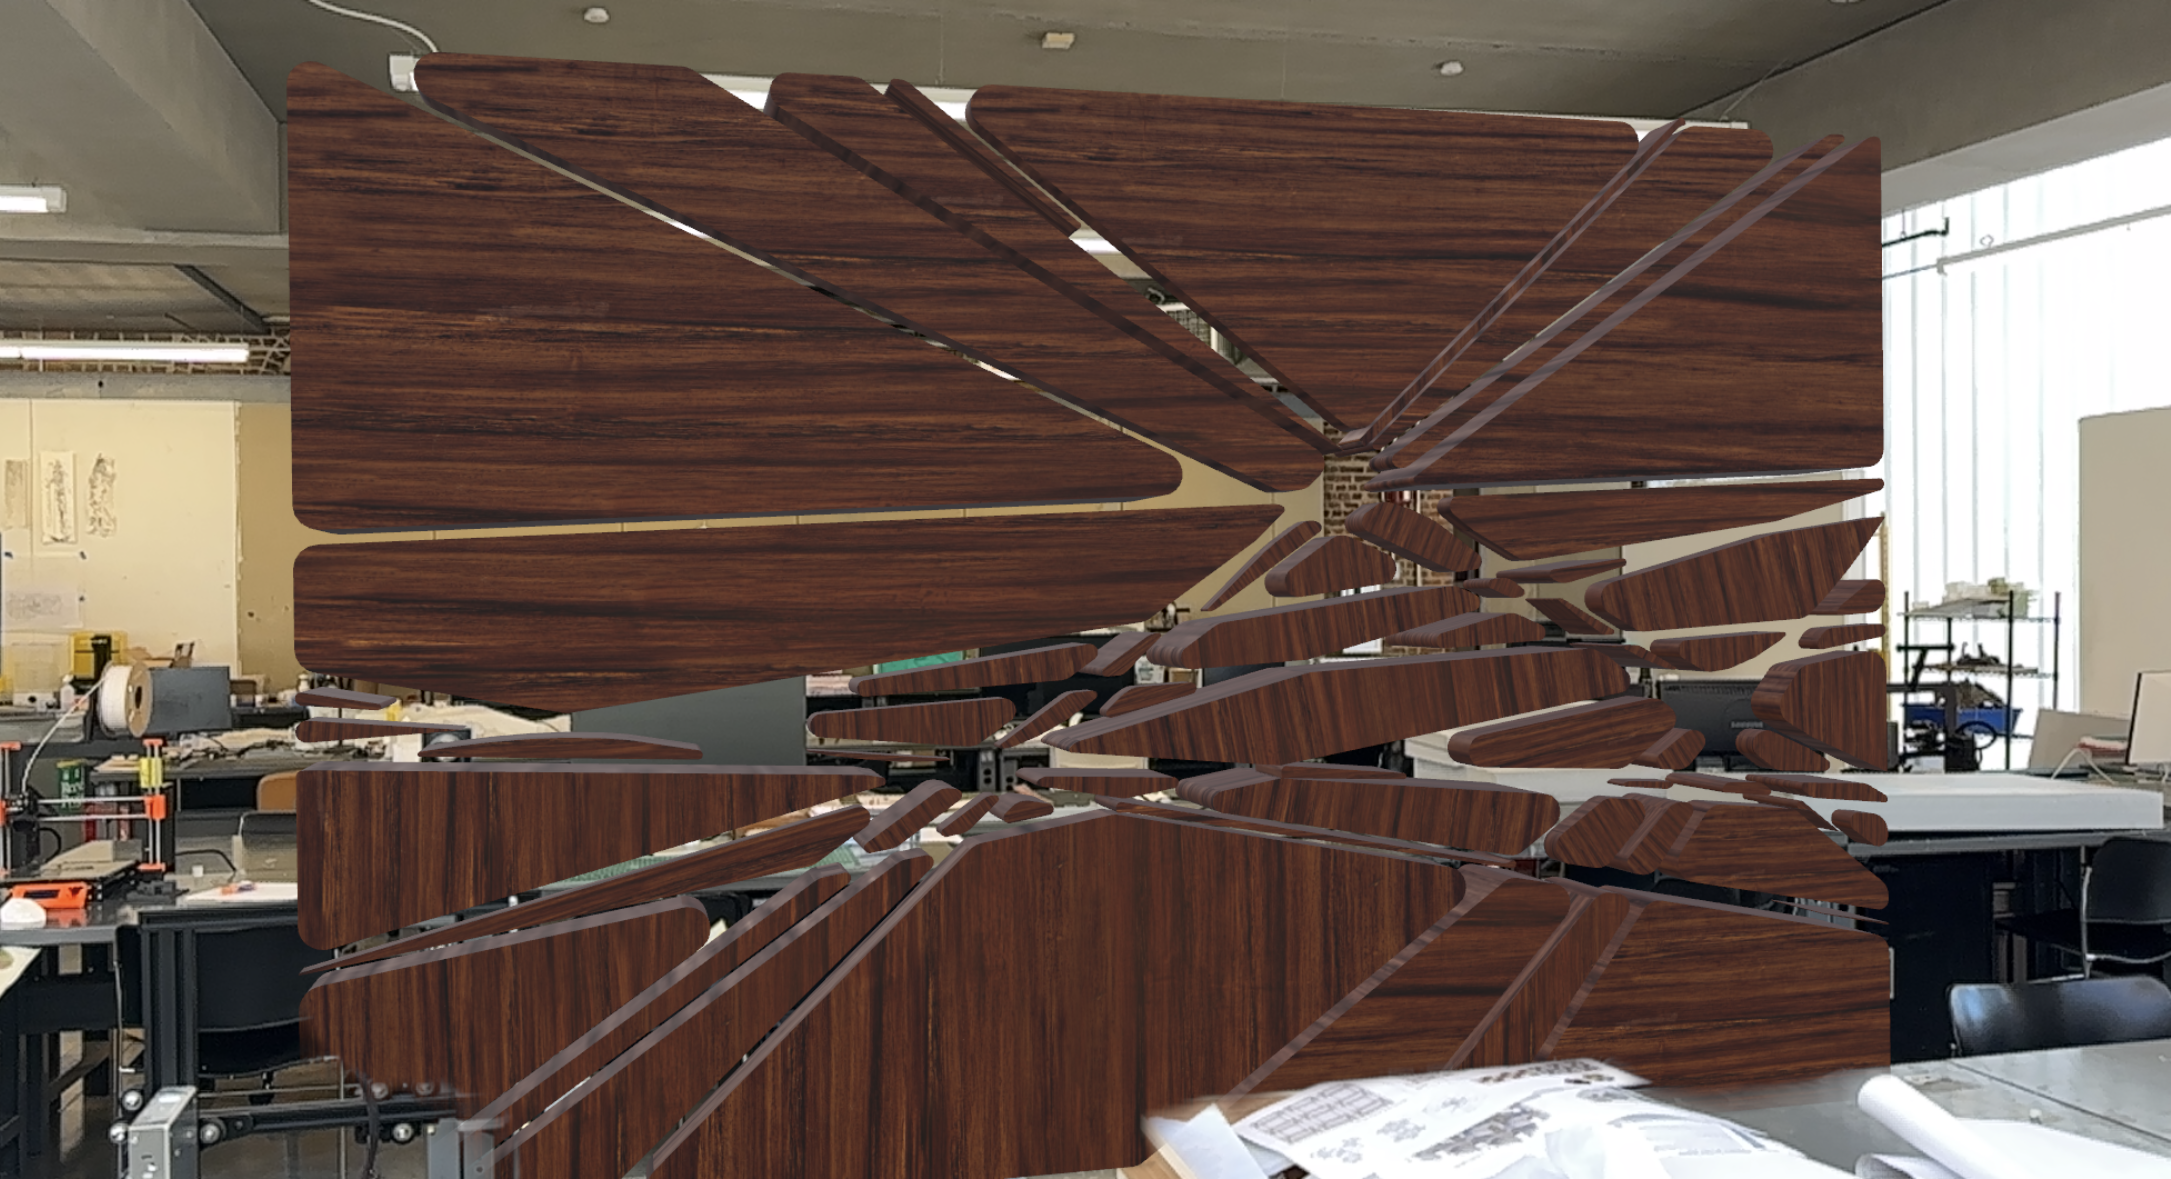
Problems with the mesh geometry prevented me from applying a texture directly in Grasshopper. To work around this, I baked 10 individual frames and assigned a texture to them, achieving a more three-dimensional effect.
Several issues came up when importing the original script into ShapeDiver. I was using a plugin that wasn’t supported, the geometry was too complex and heavy to embed in the script, and the mesh geometry was too distorted for ShapeDiver to display.


I had to create a simplified script using the same logic of dividing the curve to create spaces in between, but this time using NURBS modeling and fewer lines. However, the plugin I used still wasn’t supported by ShapeDiver, so I had to embed a few preset options and create a toggle to switch between them. This approach allowed me to apply materials to the object while offering a limited variety of configurations to toggle through in ShapeDiver