Project 1: Assignment 2

Royal Metamorphosis

The Final Model

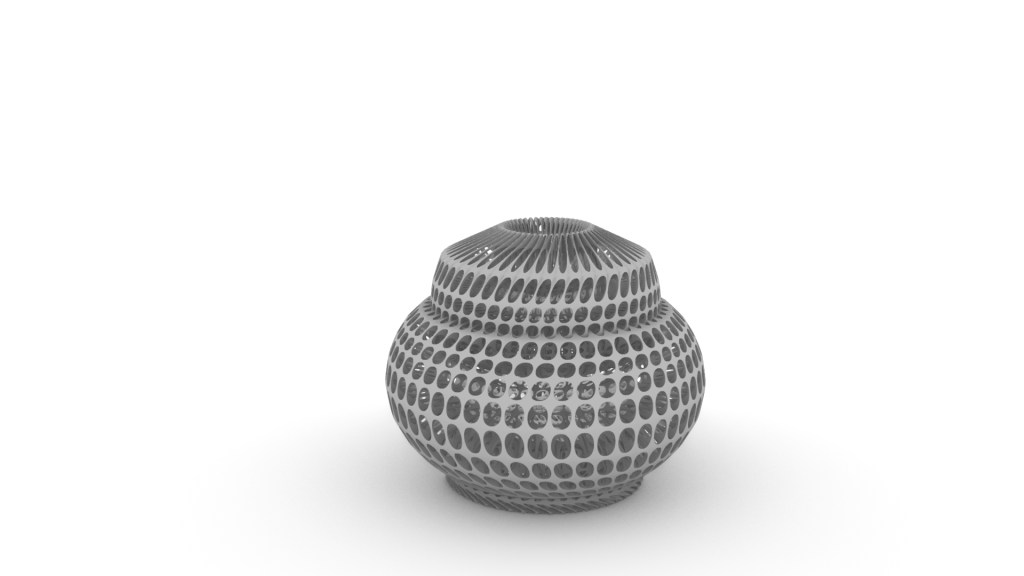
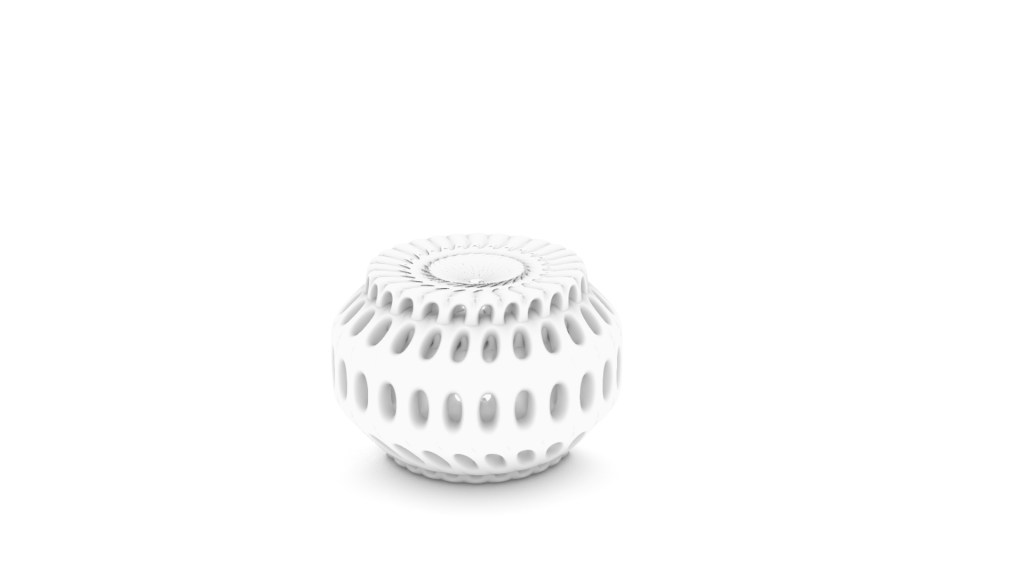
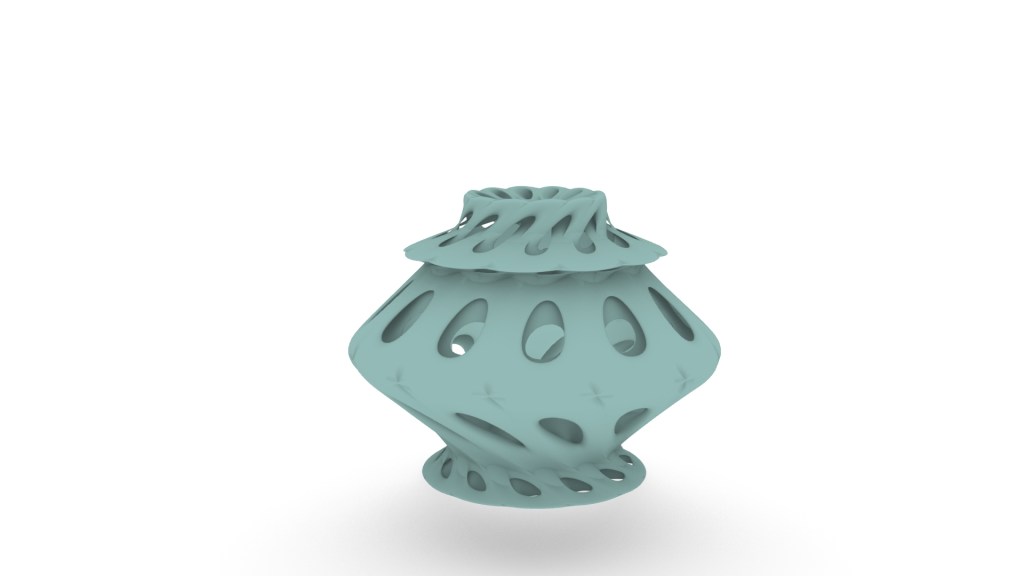
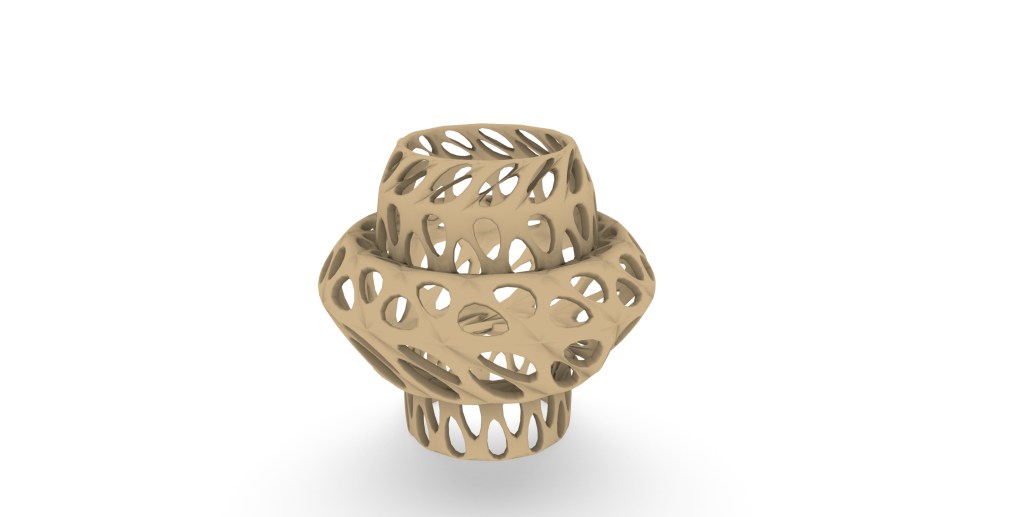
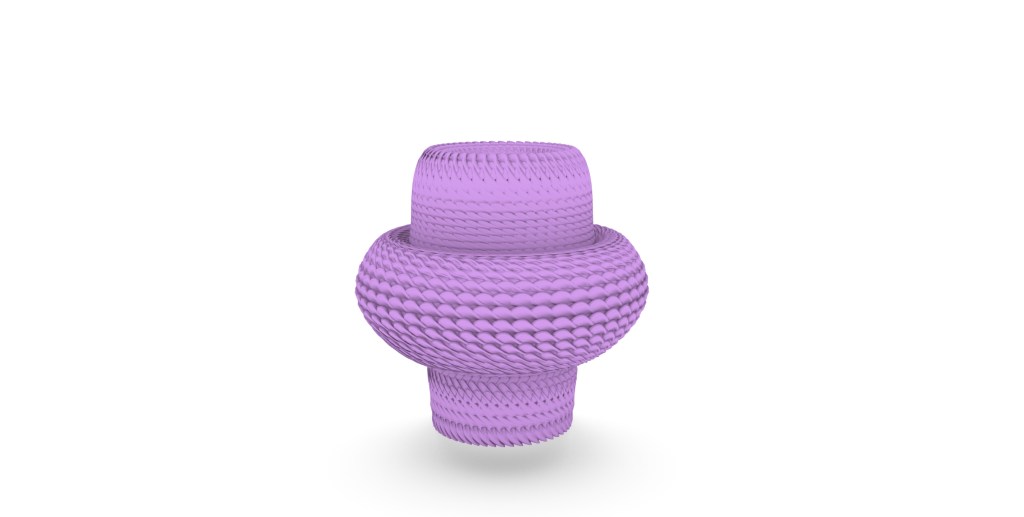
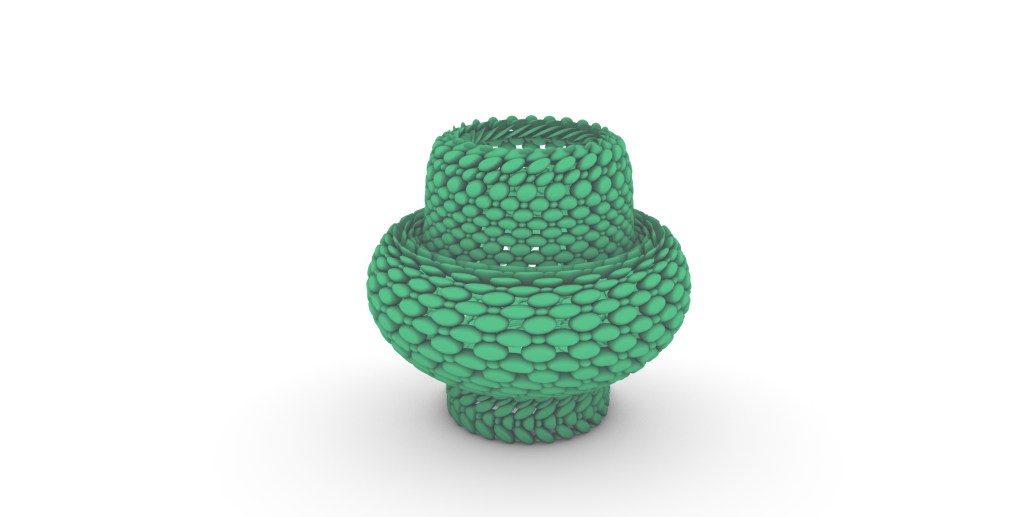
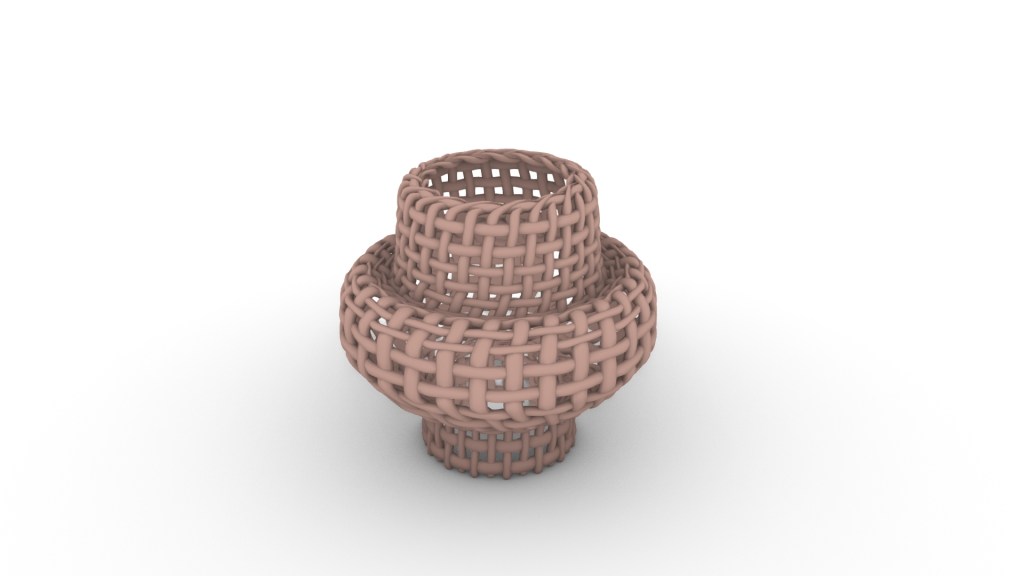
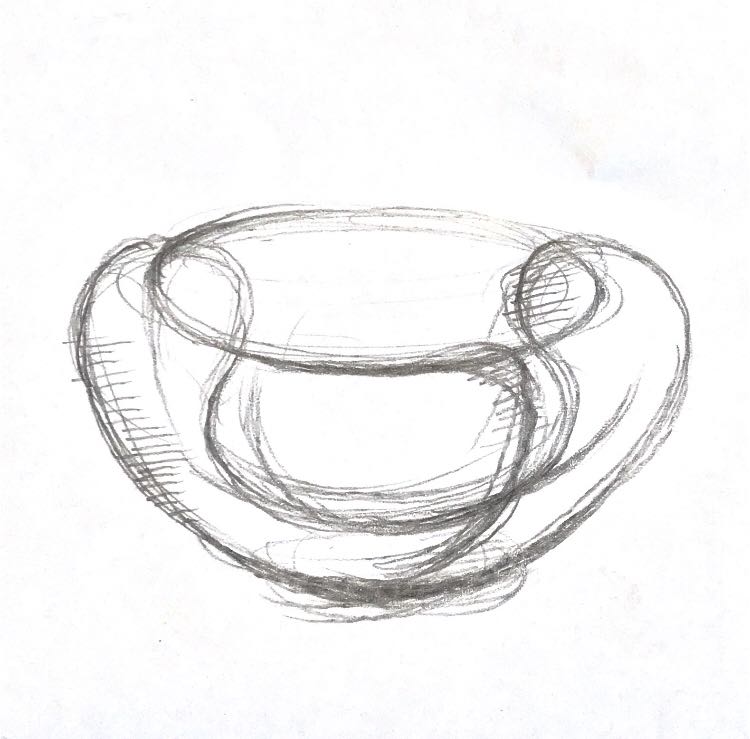
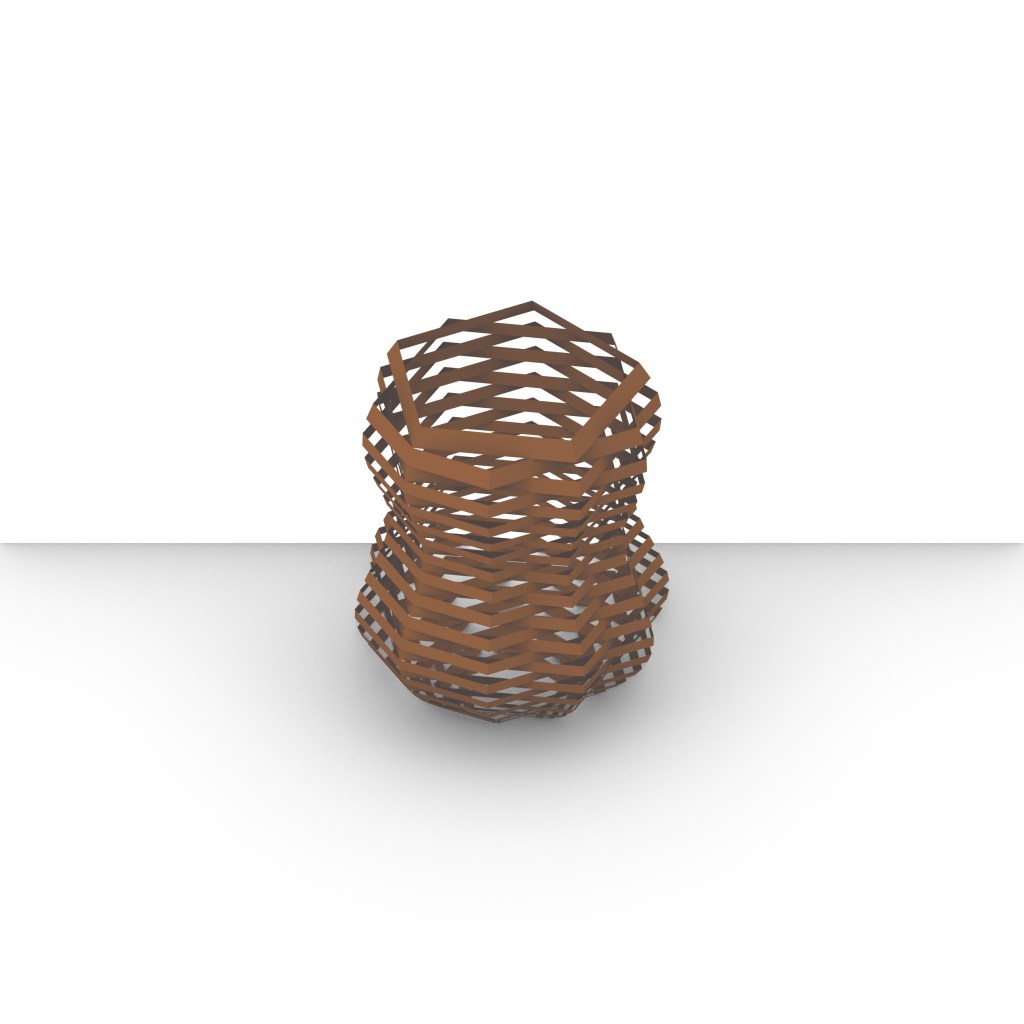
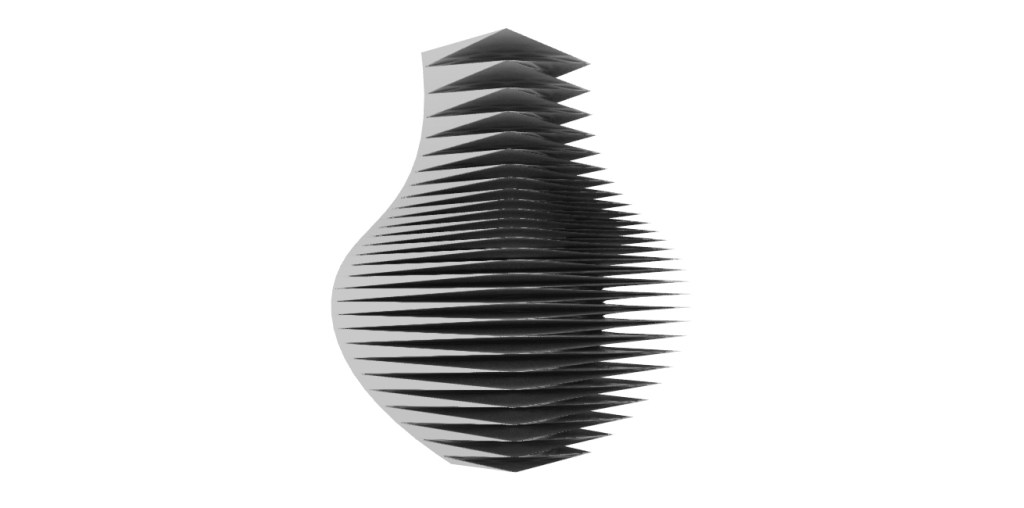
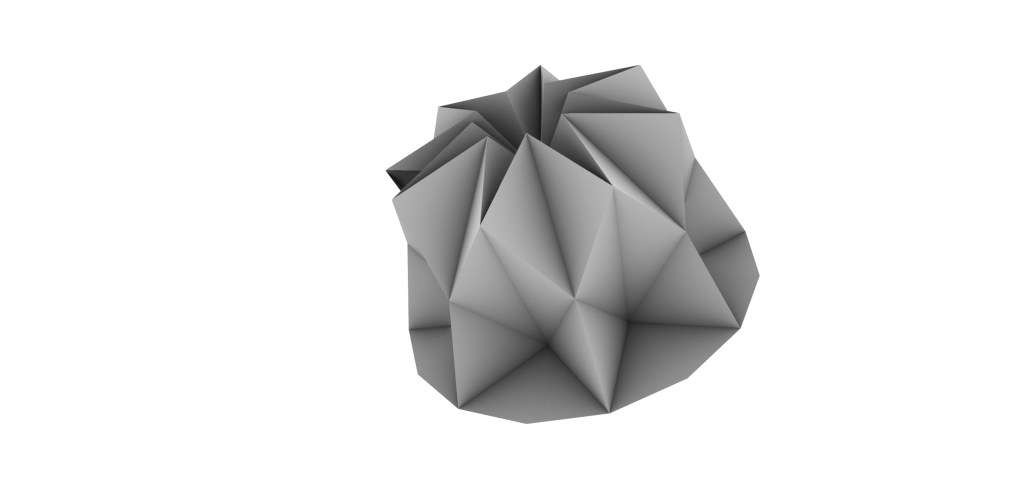
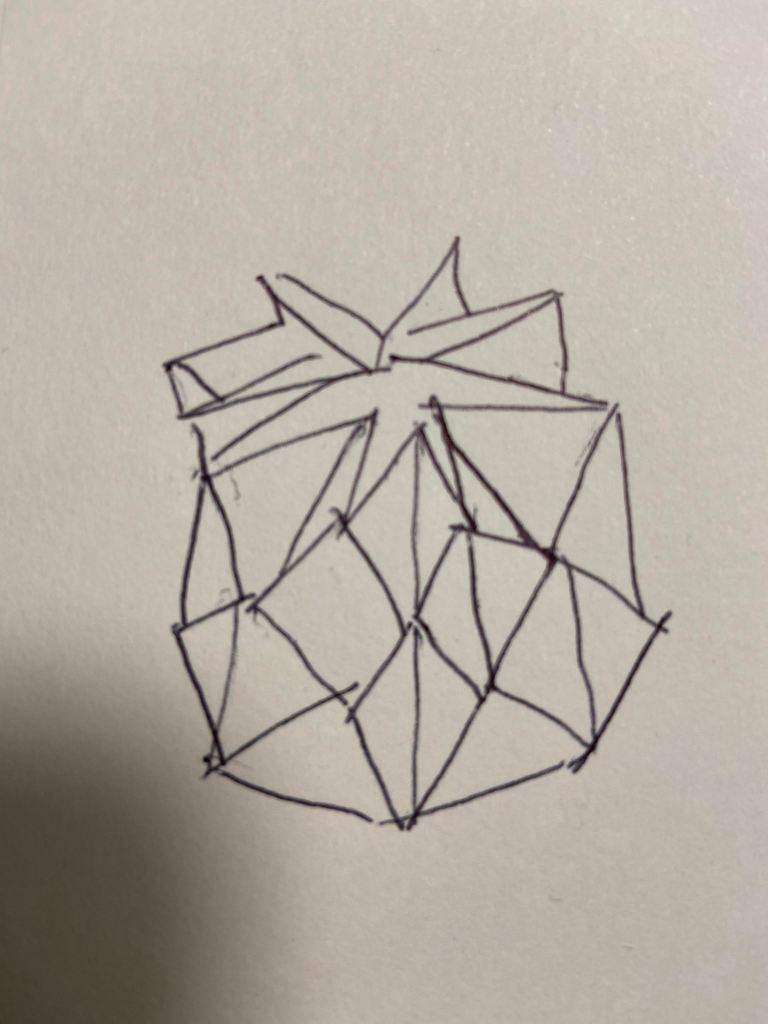
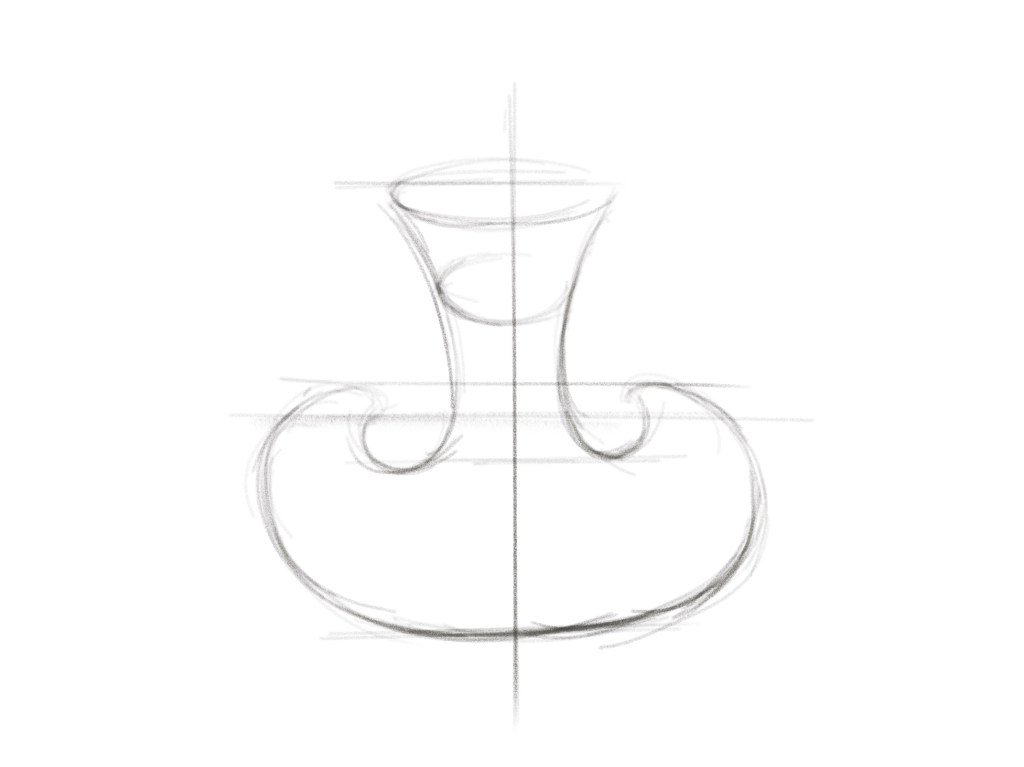
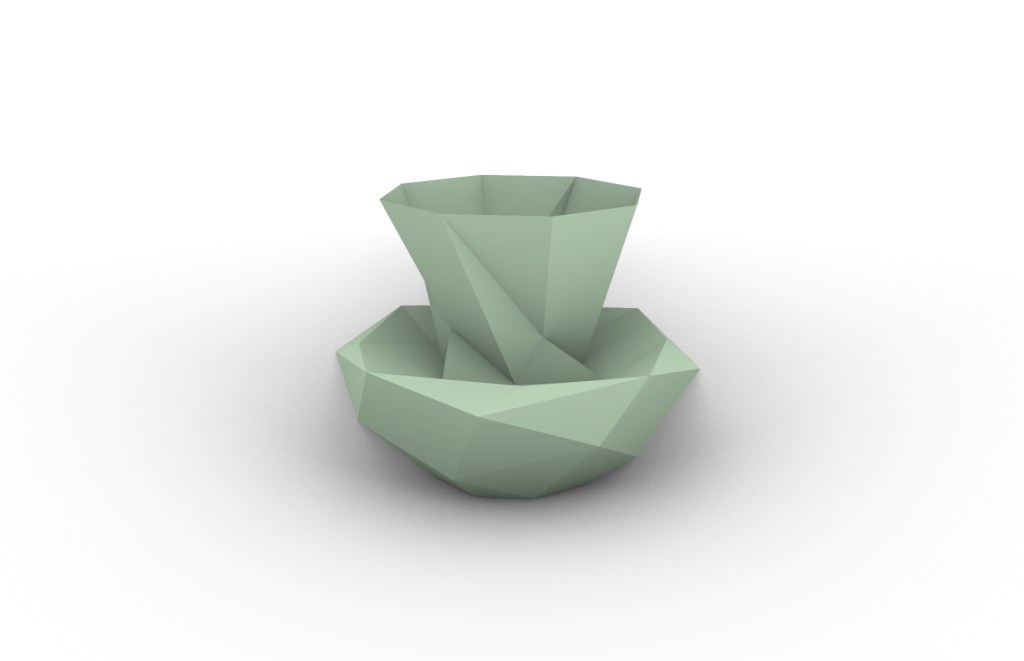
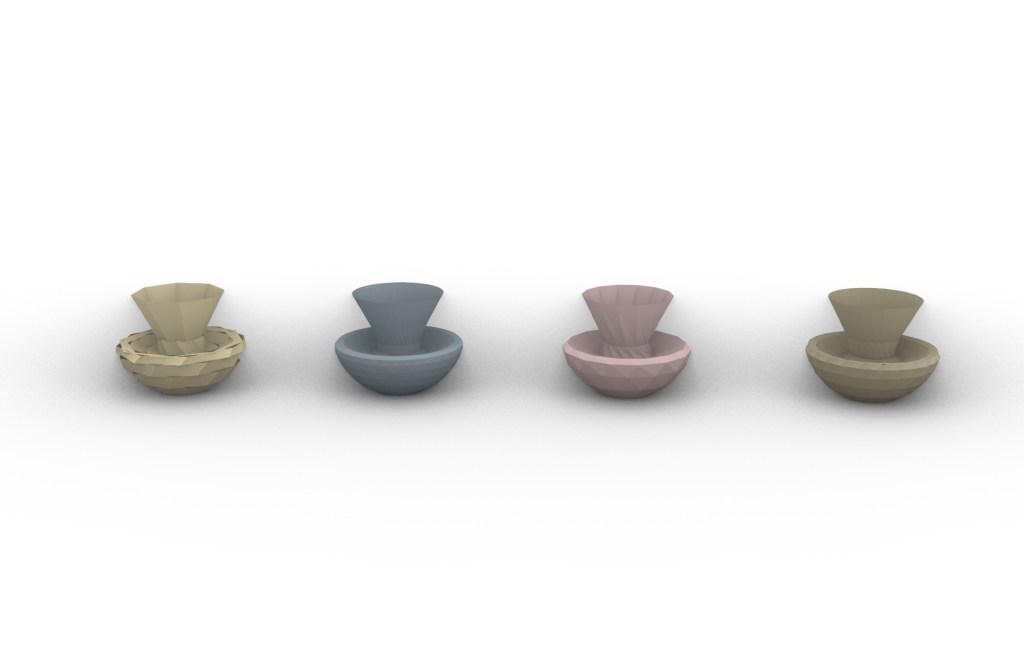
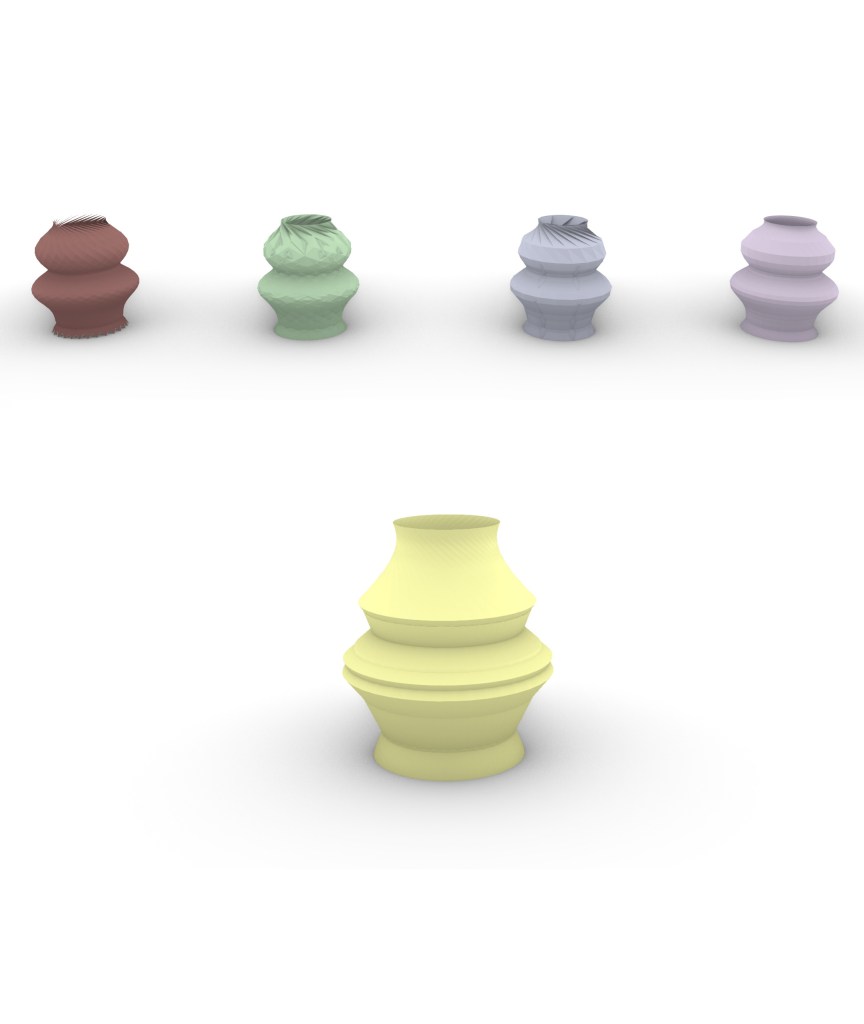
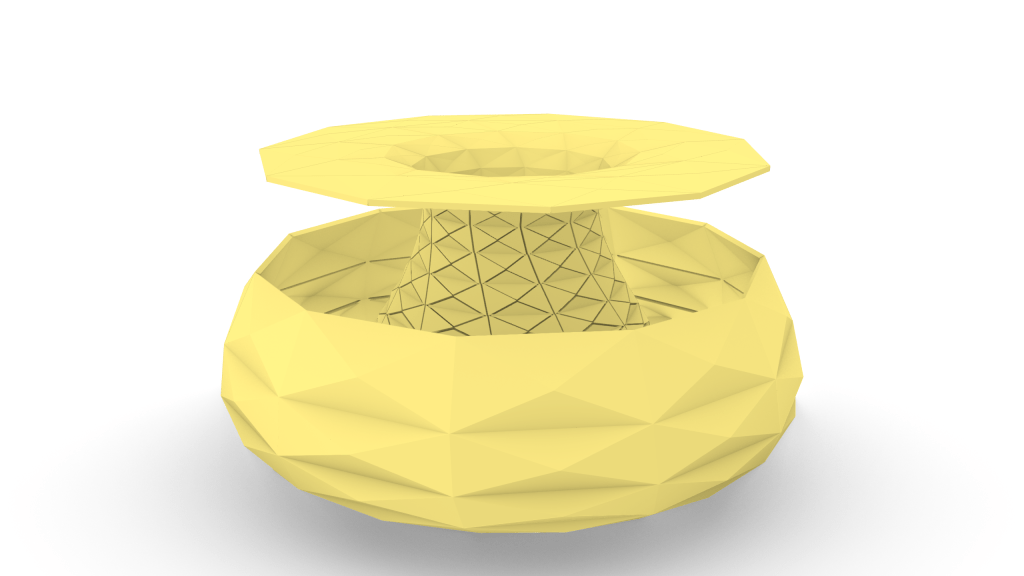
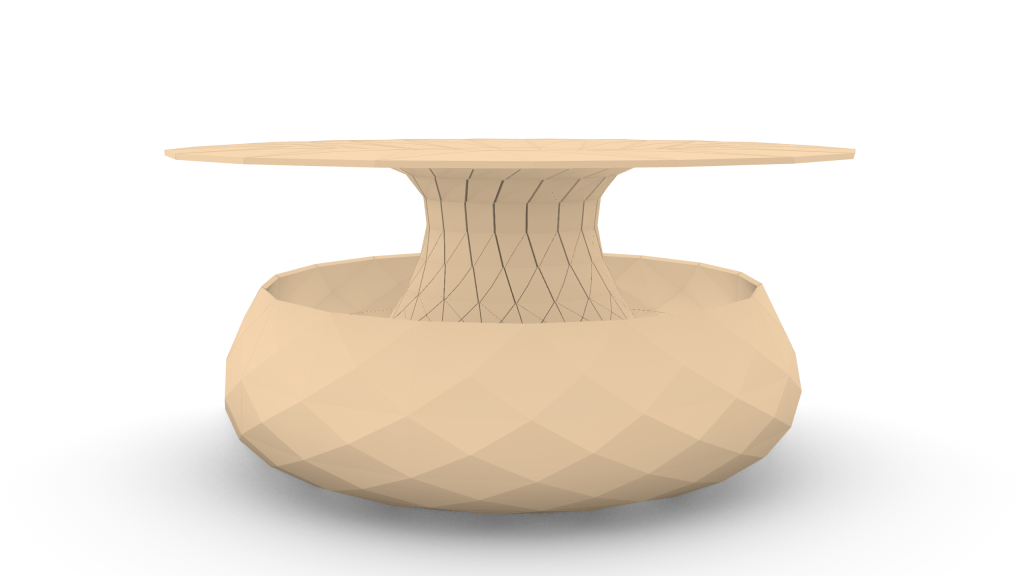
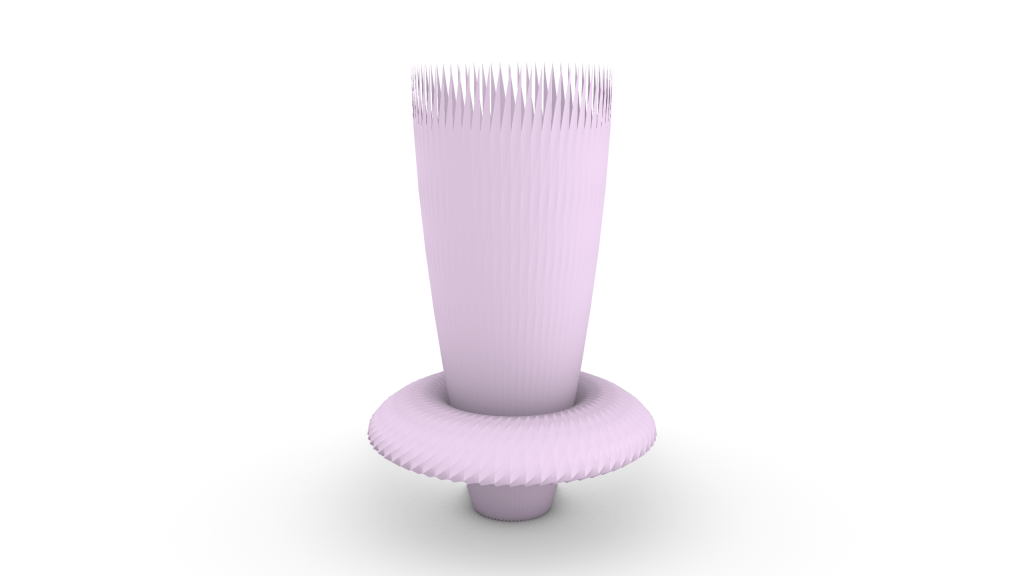
Royal metamorphosis is about the transformation that the vessel took from a very organic and weird shape to a very refined one. It starts from a very rounded shape at first and the end result is to have a very detailed vessel which can stand with elegance. The goal for this vessel is to make it translucent by having a lot of small gaps while still having a lot of details on its surface.

G-Basket

<a href="http://<div class="sketchfab-embed-wrapper"> https://sketchfab.com/models/7a248747b466431485e0f4368faf4d49/embed <p style="font-size: 13px; font-weight: normal; margin: 5px; color: #4A4A4A;"> <a href="https://sketchfab.com/3d-models/g-basket-7a248747b466431485e0f4368faf4d49?utm_medium=embed&utm_source=website&utm_campaign=share-popup&quot; target="_blank" style="font-weight: bold; color: #1CAAD9;">G-Basket</a> by <a href="https://sketchfab.com/Rog12?utm_medium=embed&utm_source=website&utm_campaign=share-popup&quot; target="_blank" style="font-weight: bold; color: #1CAAD9;">Rog12</a> on <a href="https://sketchfab.com?utm_medium=embed&utm_source=website&utm_campaign=share-popup&quot; target="_blank" style="font-weight: bold; color: #1CAAD9;">Sketchfab</a> </p>

http://<div class=”sketchfab-embed-wrapper”> <iframe title=”A 3D model” width=”640″ height=”480″ src=”https://sketchfab.com/models/7a248747b466431485e0f4368faf4d49/embed&#8221; frameborder=”0″ allow=”autoplay; fullscreen; vr” mozallowfullscreen=”true” webkitallowfullscreen=”true”></iframe> <p style=”font-size: 13px; font-weight: normal; margin: 5px; color: #4A4A4A;”> <a href=”https://sketchfab.com/3d-models/g-basket-7a248747b466431485e0f4368faf4d49?utm_medium=embed&utm_source=website&utm_campaign=share-popup&#8221; target=”_blank” style=”font-weight: bold; color: #1CAAD9;”>G-Basket</a> by <a href=”https://sketchfab.com/Rog12?utm_medium=embed&utm_source=website&utm_campaign=share-popup&#8221; target=”_blank” style=”font-weight: bold; color: #1CAAD9;”>Rog12</a> on <a href=”https://sketchfab.com?utm_medium=embed&utm_source=website&utm_campaign=share-popup&#8221; target=”_blank” style=”font-weight: bold; color: #1CAAD9;”>Sketchfab</a> </p> </div>

hollowed-out vase

  • Two curves link to revolution P and A
  • Export from revolution and link to Diamond Srf and Set up U, V
  • Export Diamond to Geo to join the two shapes together
  • At the same time, set up preview of Triangles.
  • Export from Geo to Area and from Area to Scale to set up two geometries with the same center point but different scale.
  • Deconstruction both geometries (Geo and Scale) and join the edges together 
  • Loft the edges together.

Project 1: Assignment 1

DIM SUM

*First draw a straight line and a curve line

*Open the grasshopper, open two curve elements

*Set the straight line into a curve element than set curve line into the other curve element

*Open lunchbox type solution panel and diamond panel

*Connect “P” “A” to the solution panel

*connect “S” to the surface panel

*Use the number slider to change the number

*Copy all the result and bake the model

*Then do the second model I change to quad panel

*Last The third model I change to triangle panel

Project 1: Assignment 1

More Than Mushroom

  • create a straight line in Z direction and a curve beside it
  • go to grasshopper / drag two “curve” under Params
  • named the first one as Profile and set the curve by selecting the curve in rhino / named the second one as Axis and set the curve by selecting the straight line in rhino
  • drag “revolution” under surface
  • connect profile to p / axis to a
  • drag one of the panels under lunchbox
  • connect “s” from revolution to “srf” from the panel from lunchbox
  • drag two “number slider” under param and connect them separately to “u” and “v” from the panel from lunchbox
  • double click the left side of the number slider, set the numeric domain
  • drag “custom preview” from “display”
  • connect “panels” from panel of lunchbox to “g” from preview
  • drag “color swach” from “params” / connect it to “m” in periew
  • right click preview to bake / check the group box


Project 1: Assignment 1

The Temple

  • Draw a straight line and make sure it is placed at the center (o,o,o)
  • Draw a curve next the line
  • Then open the grasshopper, placing two curve elements
  • rename as profile and axis respectively
  • Right click the profile element and select “set one curve” for the curve
  • Repeat click the axis element and select”set one curve” for the straight line
  • insect the revolution element and connect with profile and axis elements (profile connects with “P” and axis connects with “A”)
  • Open Lunchbox and put Quad panel on the canvas
  • connect “S” on the revolution panel and “Srf” on the Qual panel
  • add two number sliders for changing U and V division. Two number sliders connects with “U” and “V” on the Qual panel
  • Right click two number sliders and select view. Change the maximum numeric domain to 100
  • Place preview element on the canvas and connect “G” with “Panels” on the Qual panel
  • move the slider under the shape looks good
  • add color to the vessel by adding swatch on the canvas and connect with “M” on the preview panel
  • choose the color
  • After than, right click the preview and click bake
  • go to the rhino and export as OBJ


Project 1: Assignment 1

Big Apple Vessel

My Vessel Project – Other Tests

  • Create an axis in rhino and a curve that will rotate around this axis.
  • Create two curve elements in the grasshopper, named axis and profile.
  • Use the axis and curves in the rhino to define these two elements in the grasshopper.
  • Add a “revolution” panel to the grasshopper and input the two curve element.
  • Select the appropriate panel in the lunch box option in grasshopper.
  • Create two “number sliders” and connect them to “v” and “u” on the panel to adjust the values ​​separately.
  • Create a “preview” element that connects to the panel selected in the lunch box.
  • Add color-adjusted element and connect it with “preview” elements.
  • Adjust various values ​​and select different panel effects in the lunch box until the desired effect is achieved.
  • Right click the “preview” element to bake, adjust the perspective in Rhino, and finally export the obj. model file.