Hexagonal Seasonal Window Screens

Hello,

Window Screens_trial

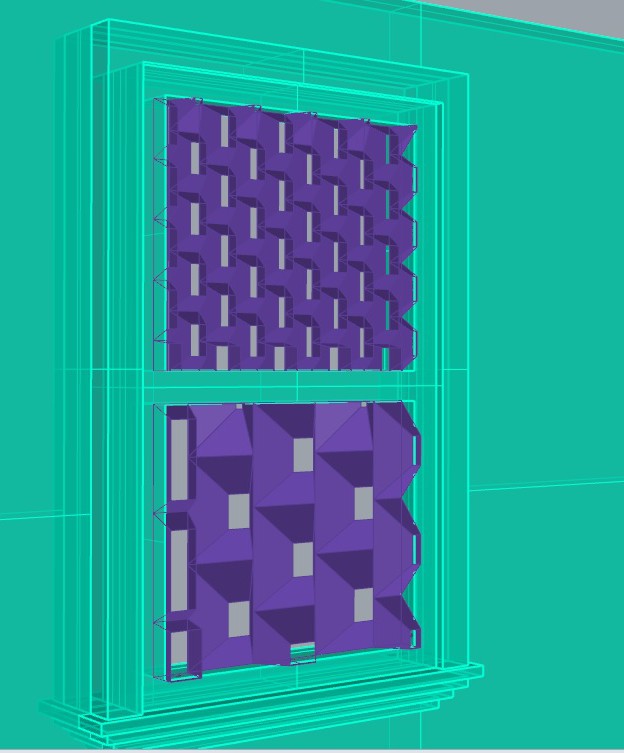
I have screens! I decided to go with a singular hanging screen over my window instead of making two separate screens.  My definition and drivers all remained the same. Since the midterm, it was really a matter of playing with Ladybug to find the right design for each season.

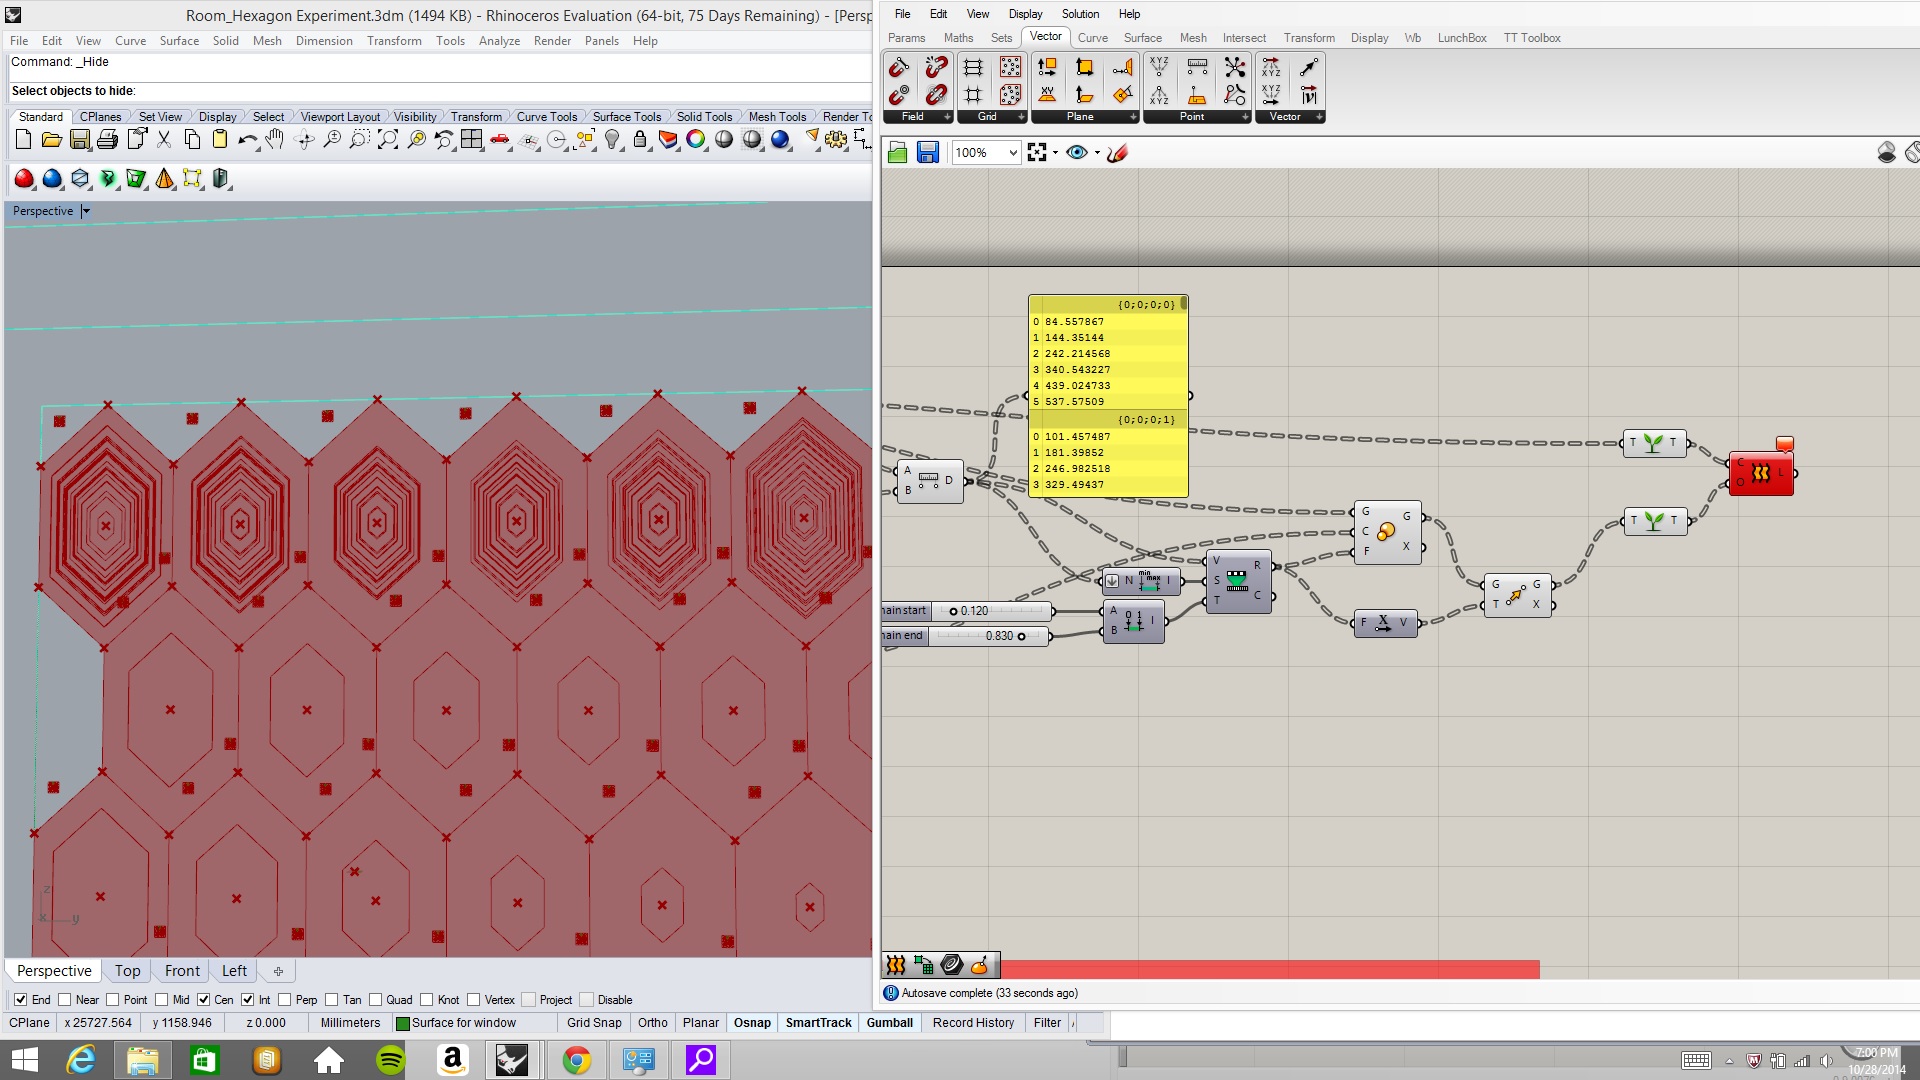
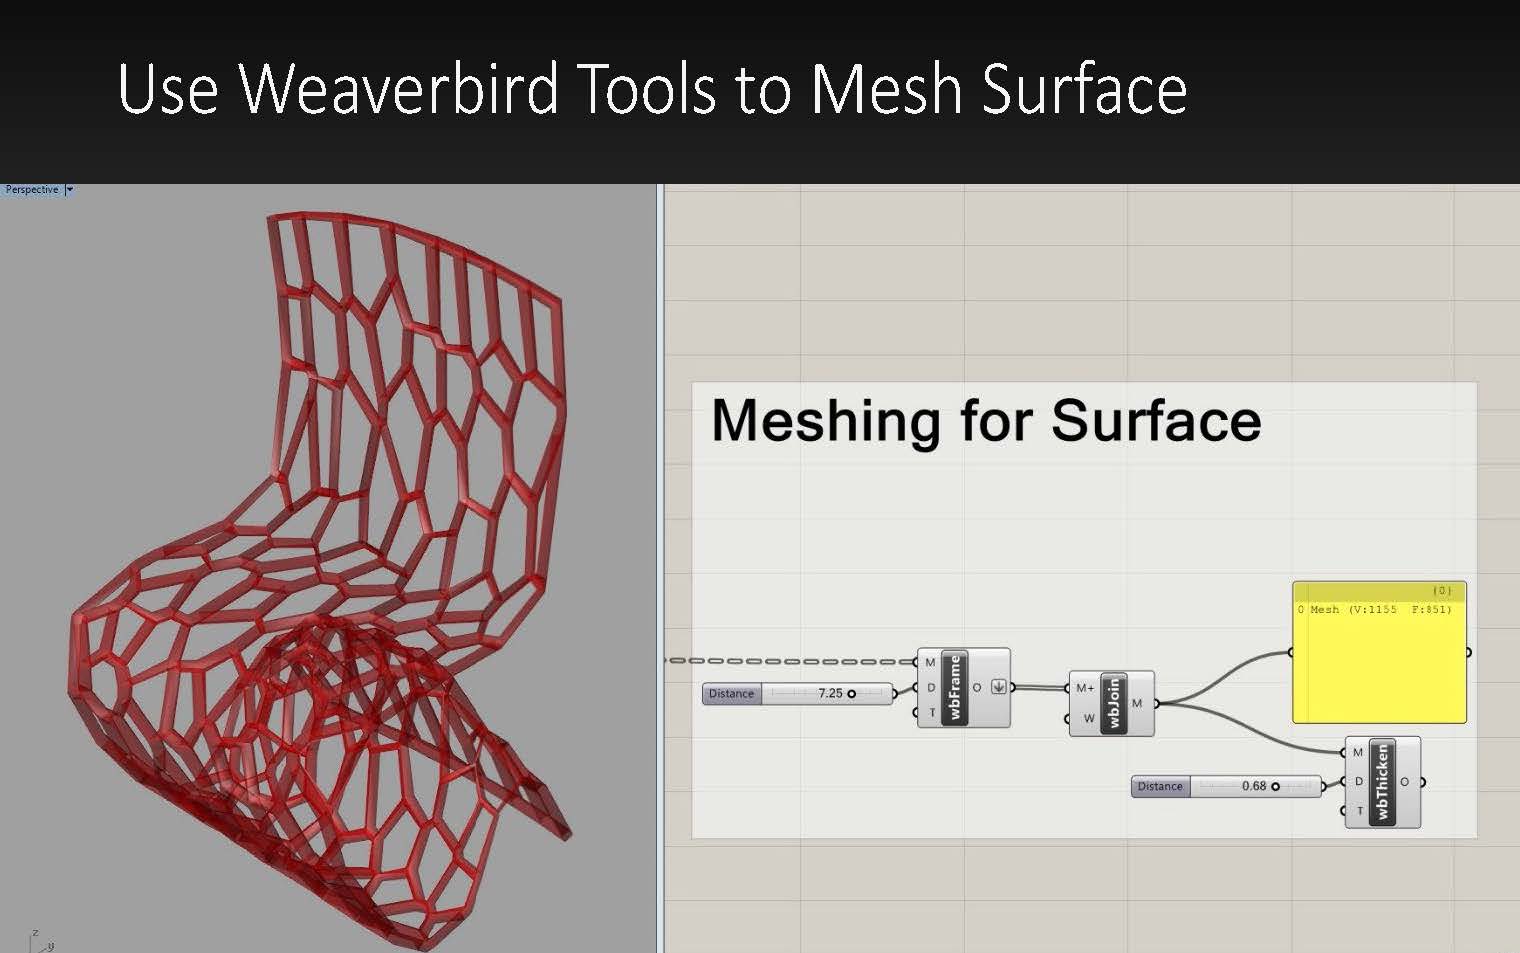
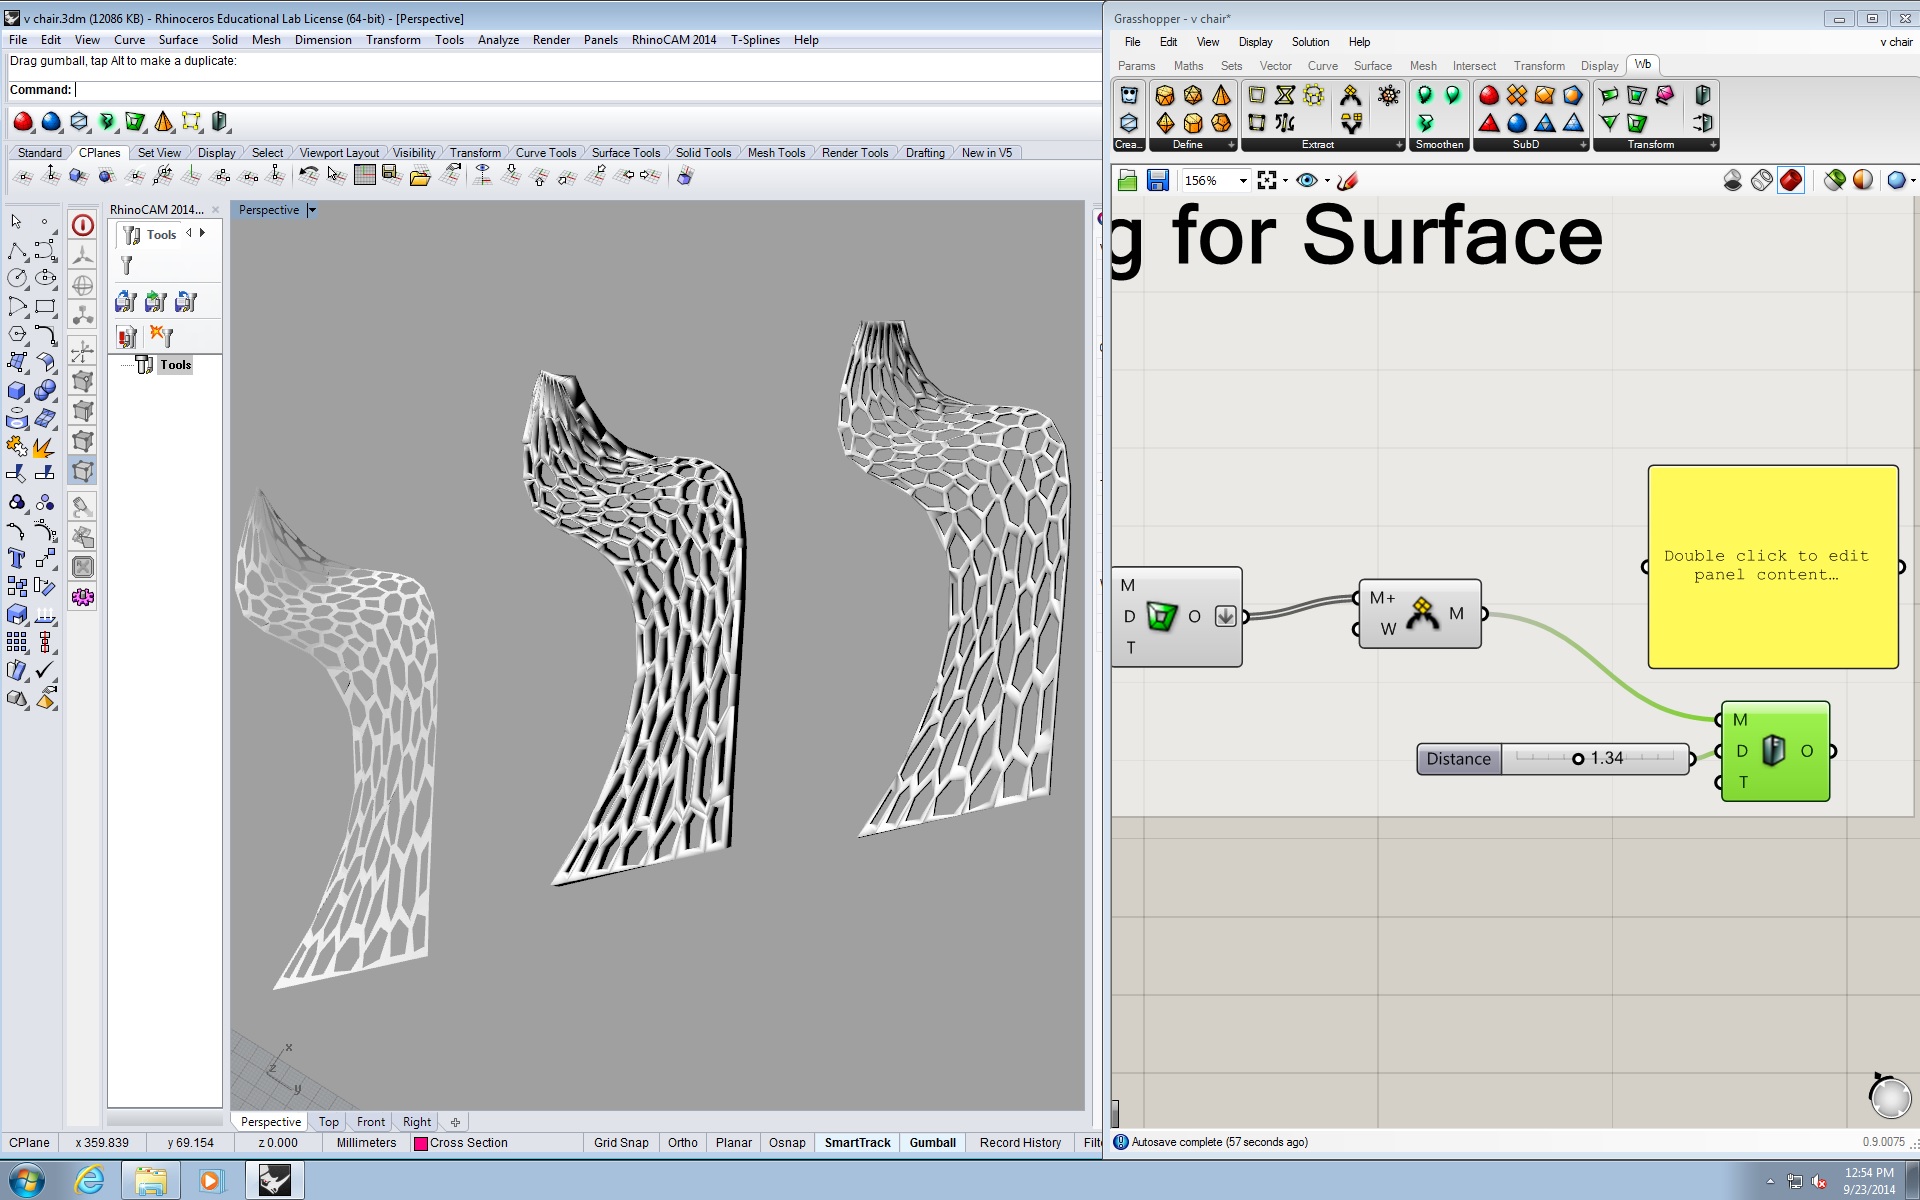
GRASSHOPPER DEFINITION:
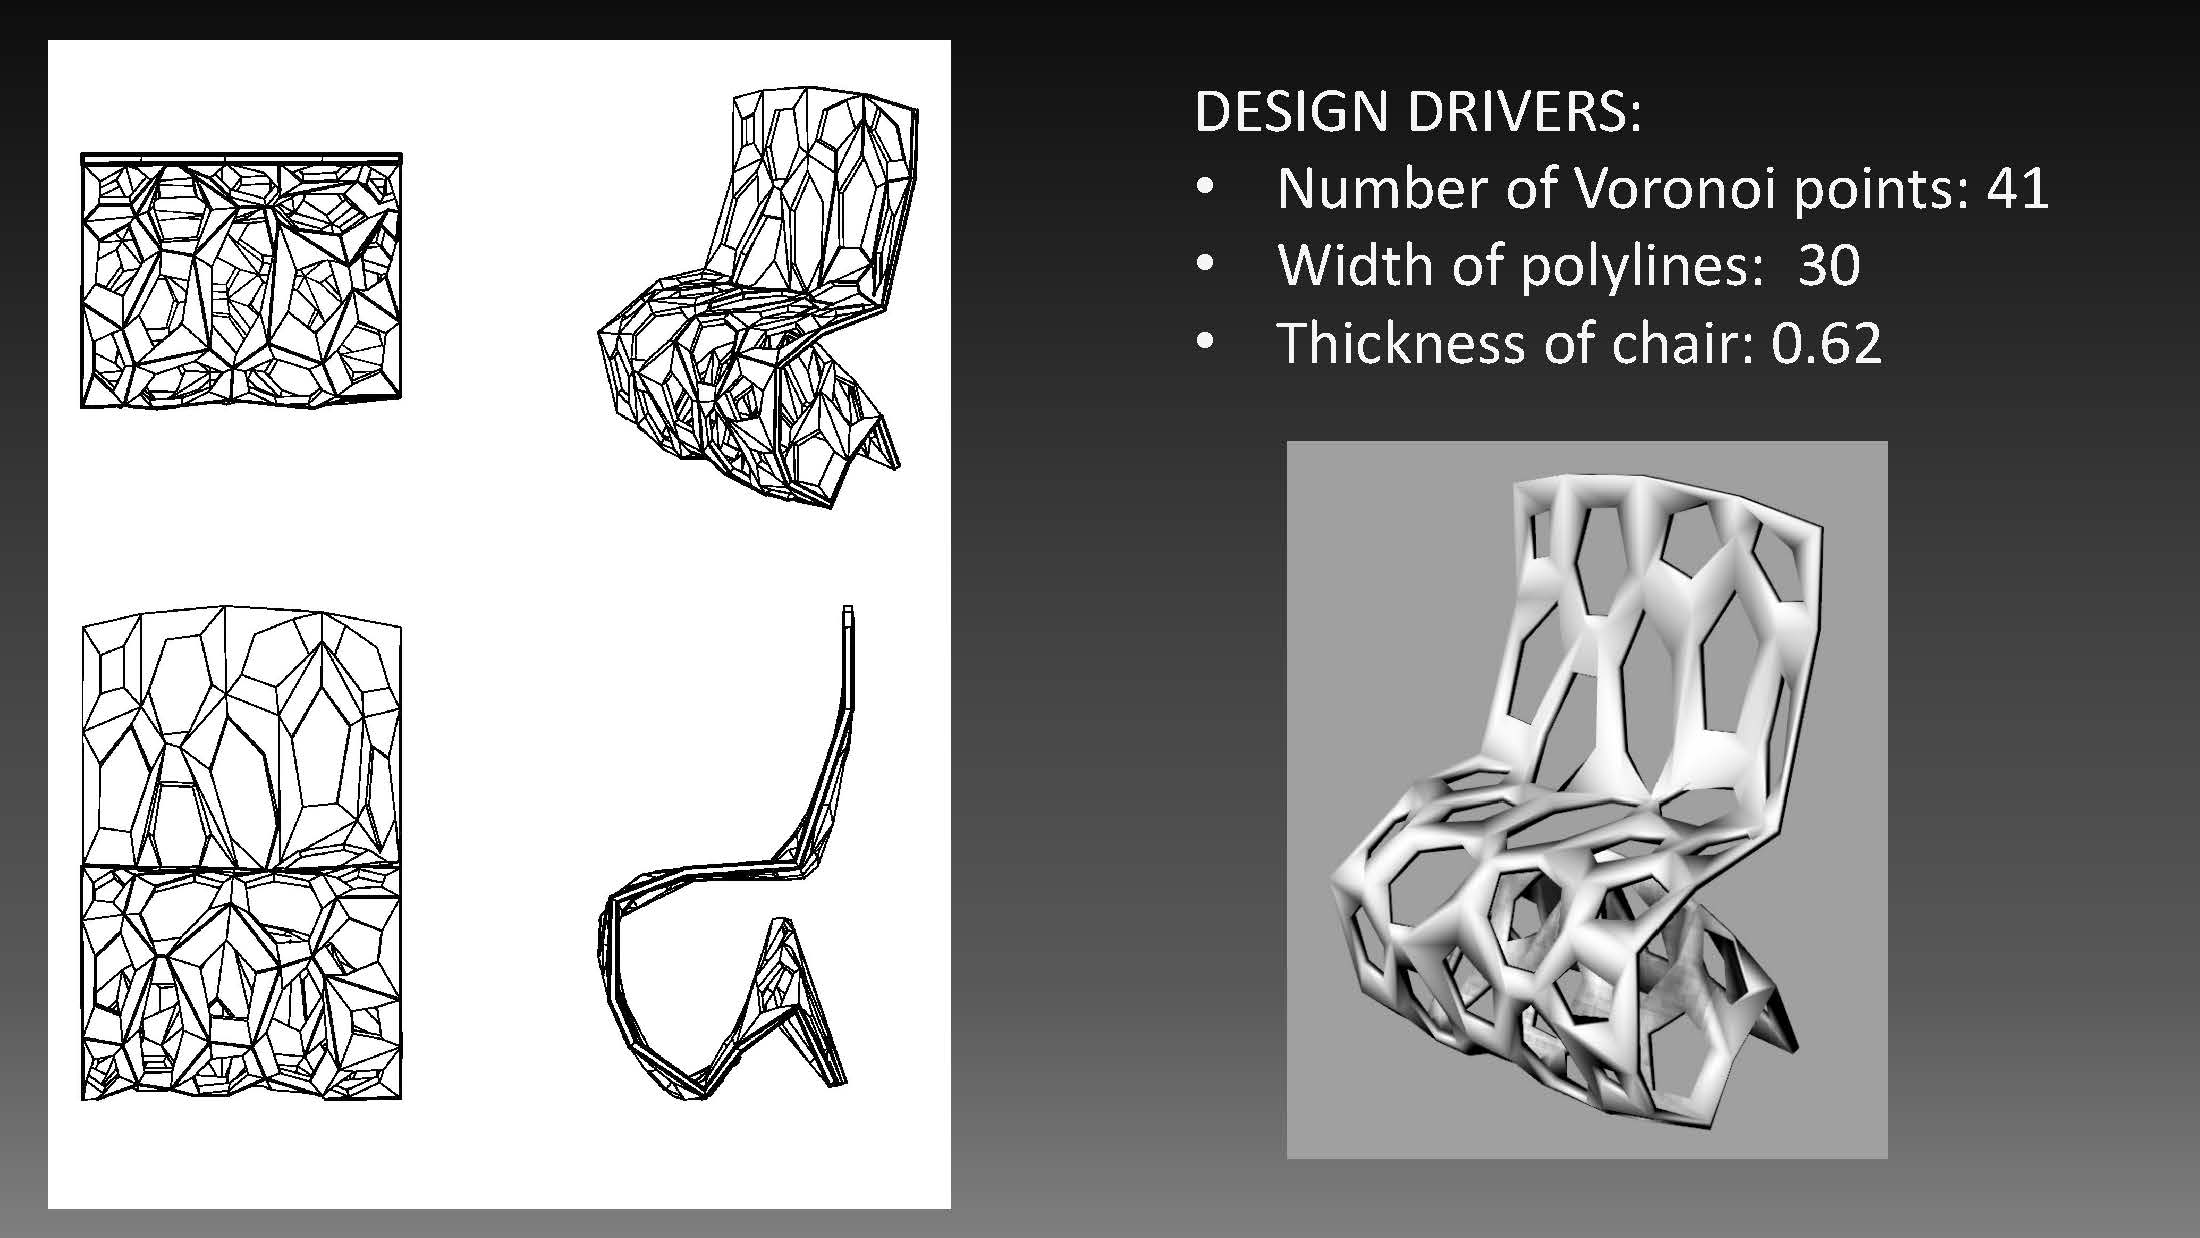
GH DEFINITION

DESIGN DRIVERS:

Controlling the number of Hexagons (Length)

HexLength

Controlling the number of Hexagons (Width)

HexWidth

Controlling the Depth of the screen

HexDepth

Controlling the Angle of the Hexagon

HexAngle

Controlling the Size of the Hexagon center holes (Closer to UV = Smaller hole)

Attractor - size of hex hole

Controlling the Maximum distance from the center of Hexagon

MaxDistance

Controlling the Maximum distance from the center of Hexagon

MinDistance

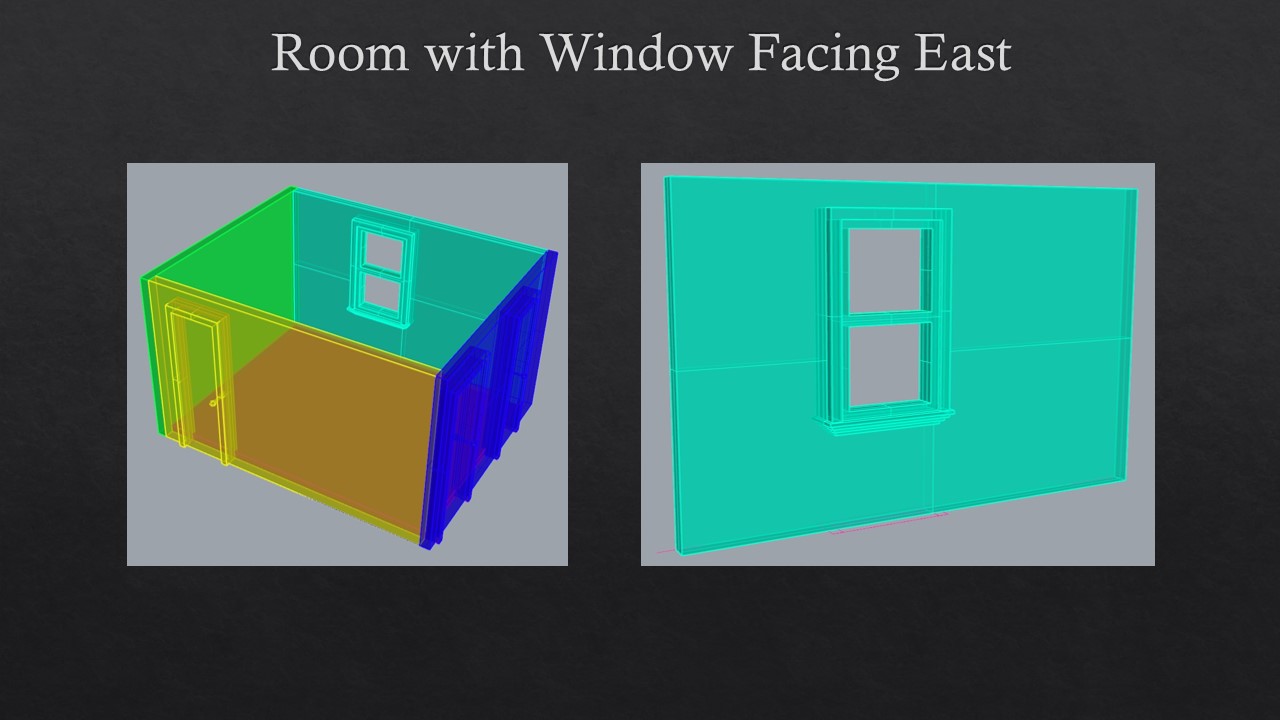
SEASONAL CONDITIONS:

WINTER:  No direct light on floor

SUMMER:  Minimum direct light

SPRING & FALL:  Maximum direct light

I used Ladybug to test whether my designs met the criteria. Each season had different tests. For each season, I checked every month to make sure the conditions/criteria were met. The biggest testing unit was done during the 1st bounce of light. After this, I would check how much light could get into the room by experimenting with the number of bounces in light.

Seasonal Window Screens (1)

Seasonal Window Screens (2)

Seasonal Window Screens (3)

Seasonal Window Screens (4)

Seasonal Window Screens (5)

Seasonal Window Screens (6)

Seasonal Window Screens (7)

Seasonal Window Screens

Seasonal Window Screens (8)

Seasonal Window Screens (9)

Seasonal Window Screens (10)

Seasonal Window Screens (11)

Seasonal Window Screens (12)

Seasonal Window Screens (13)

Seasonal Window Screens (14)

Seasonal Window Screens (15)

Seasonal Window Screens (16)

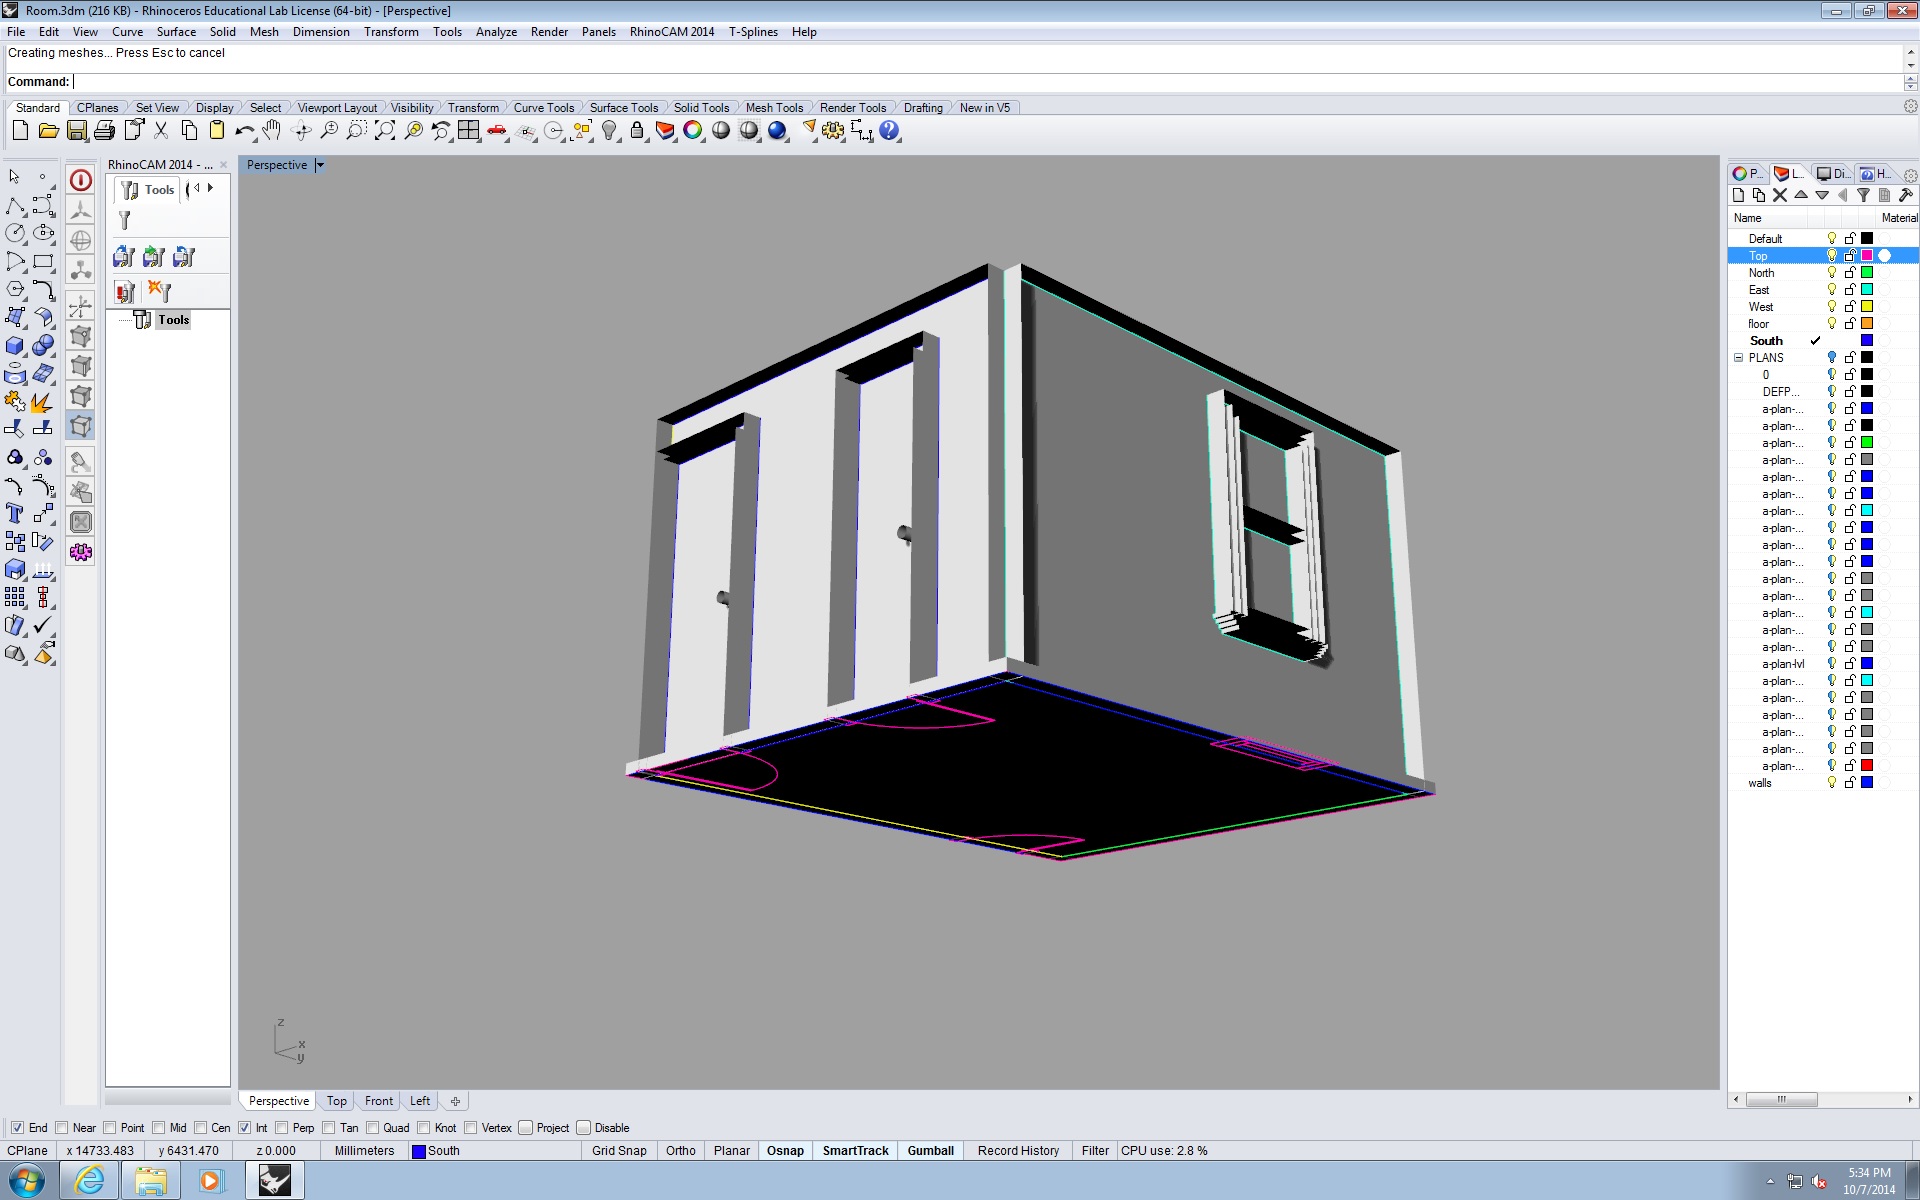
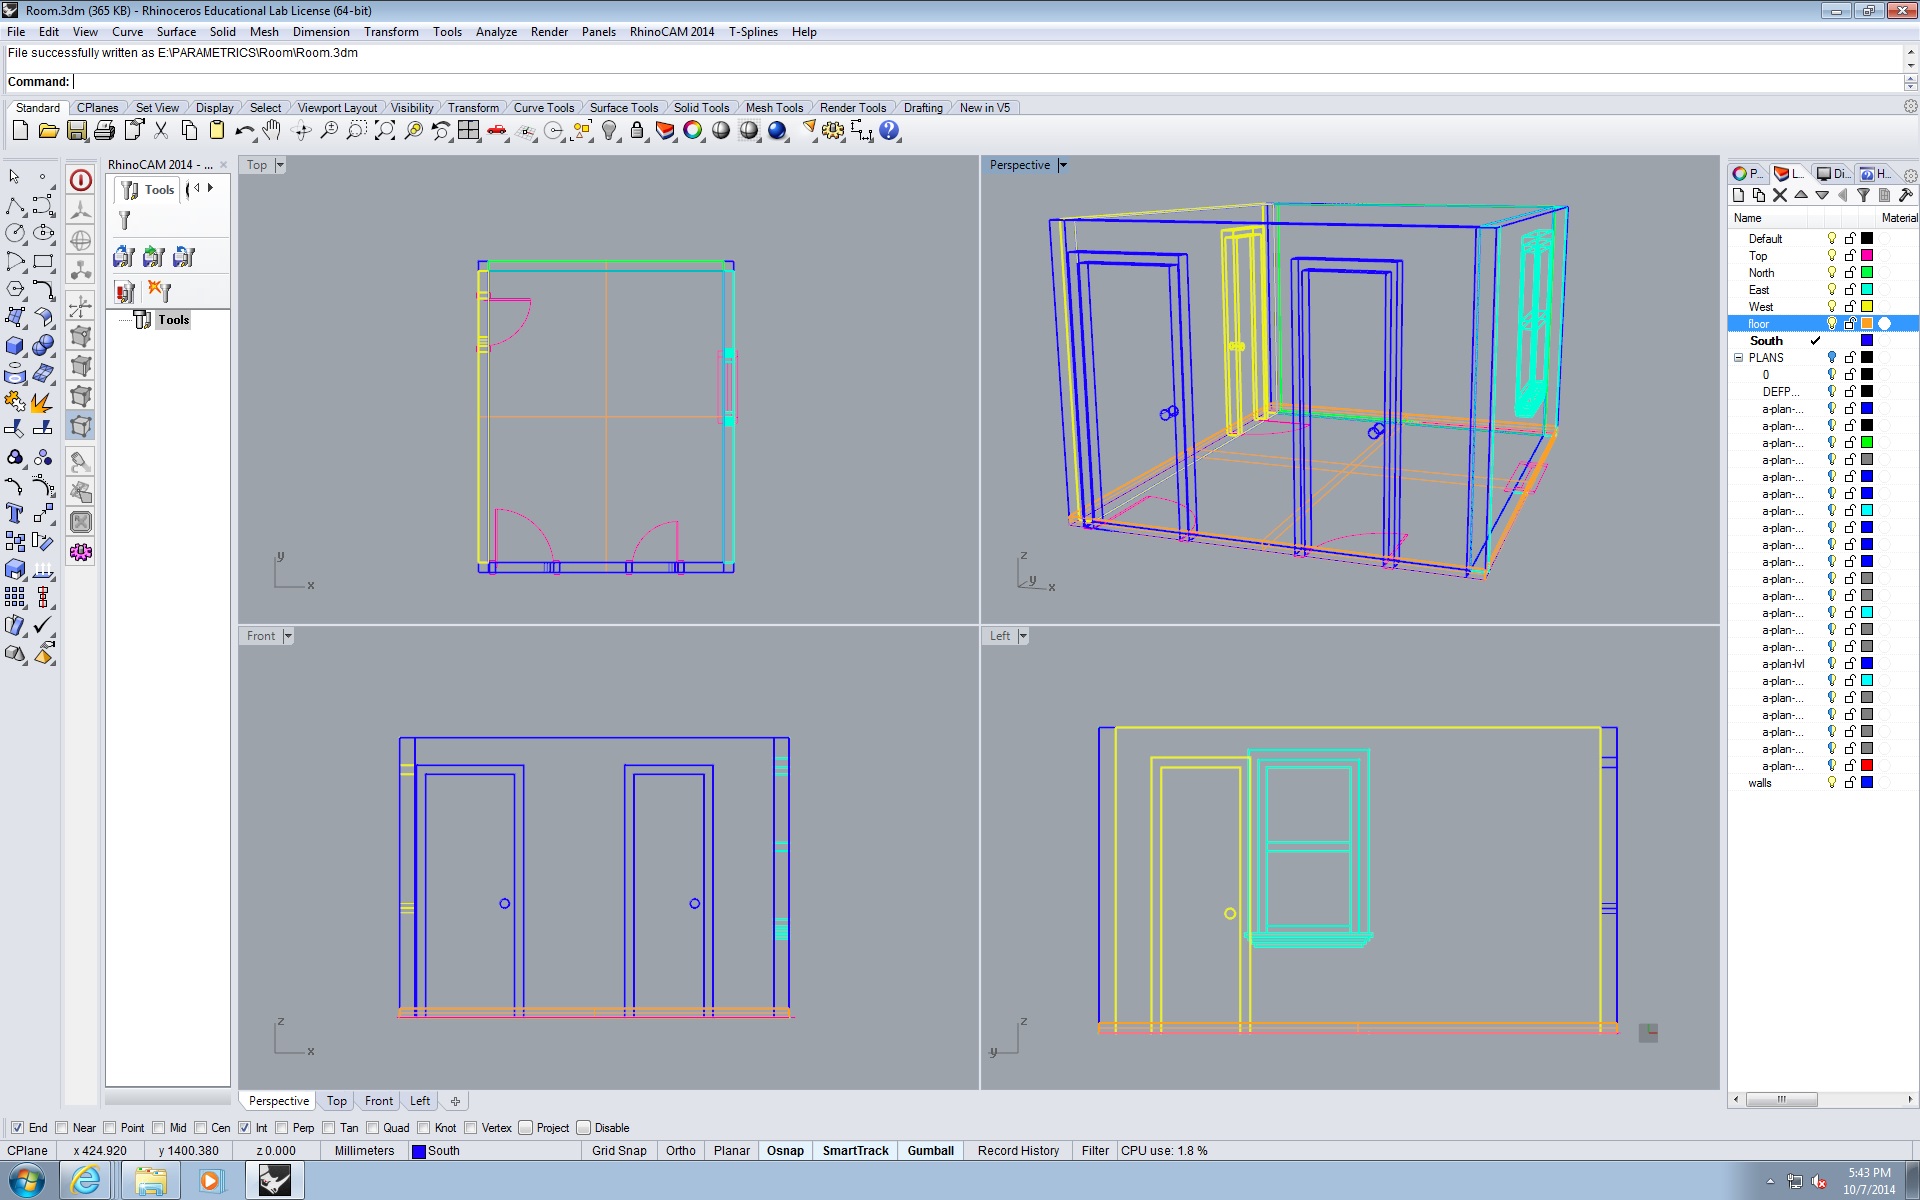
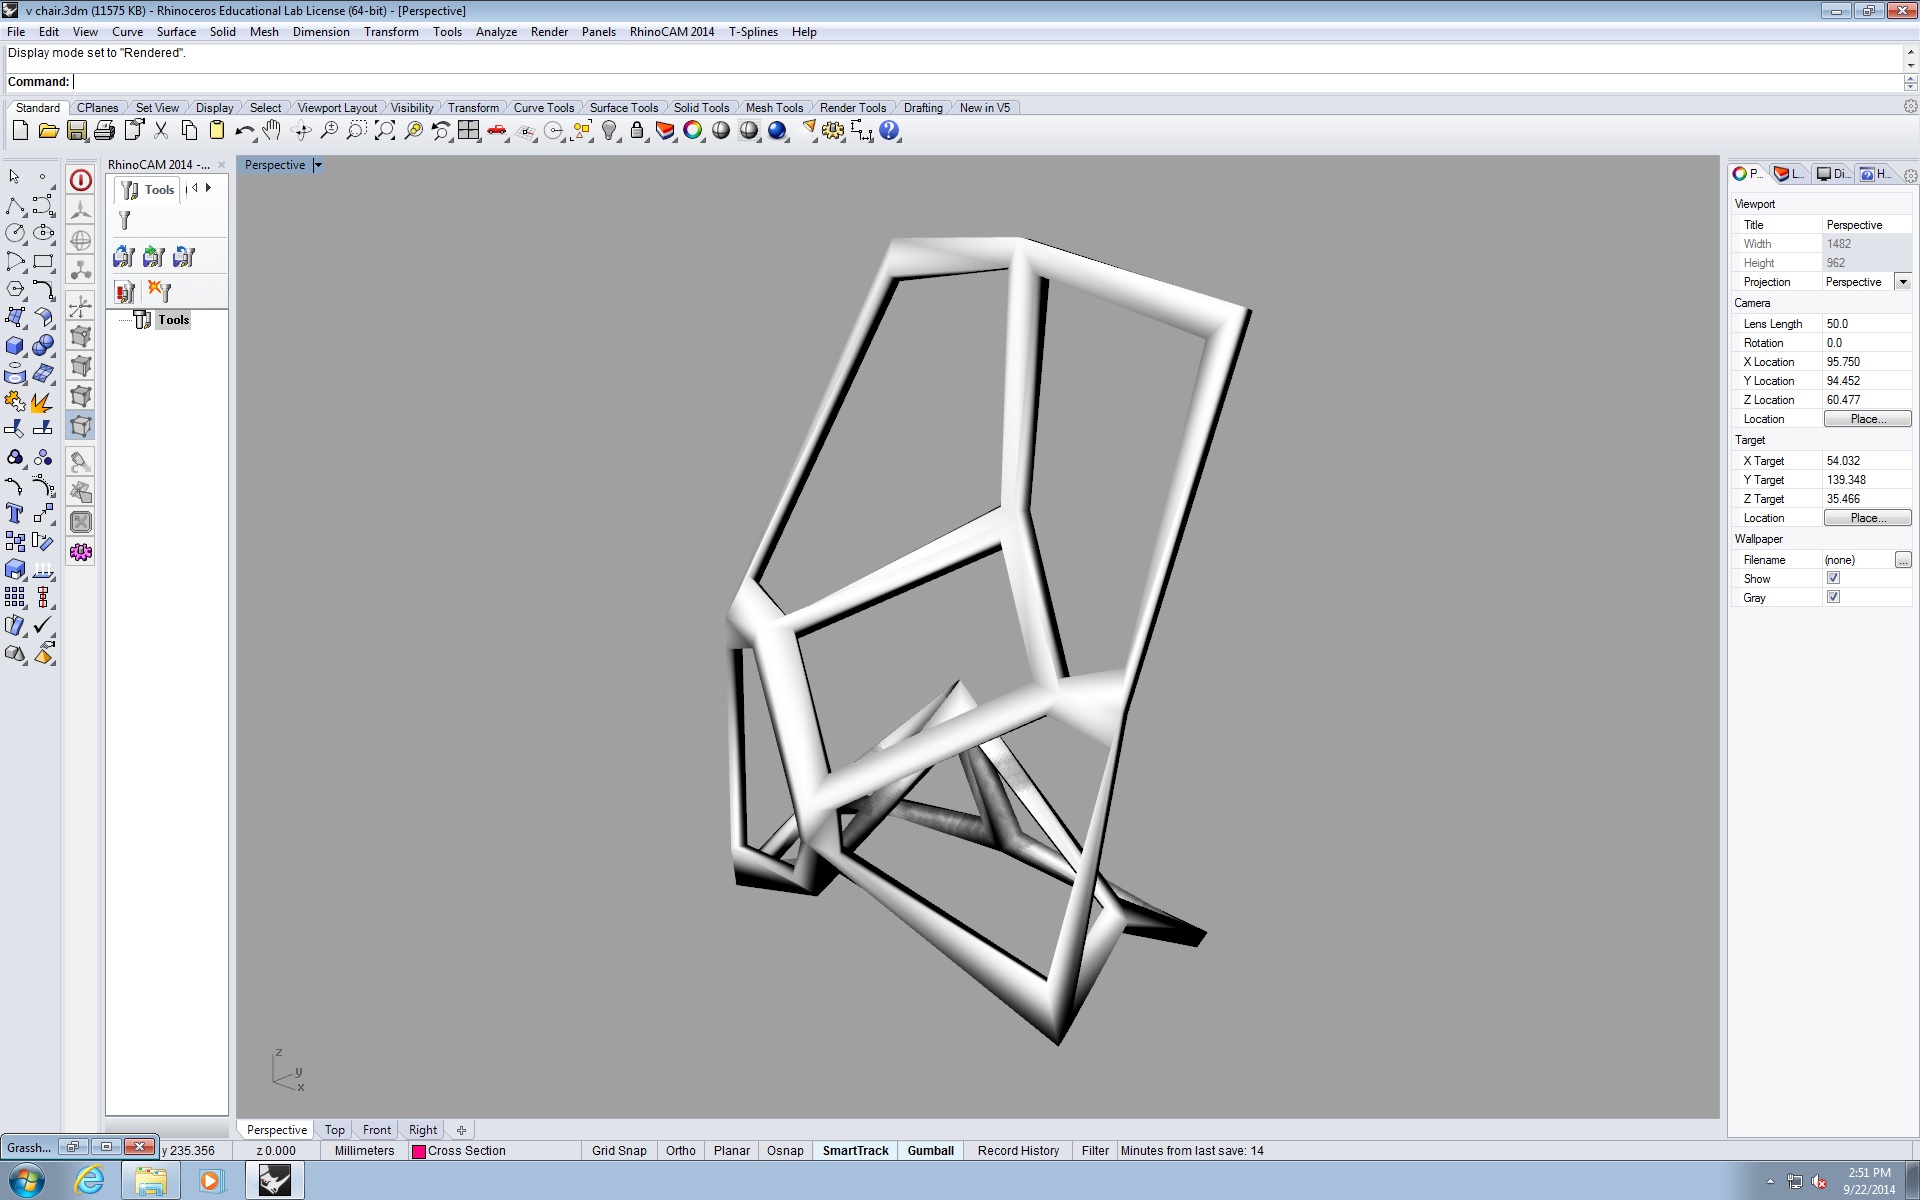
CONSTRUCTING THE SCREEN

UNFOLDING AND TAGGING PIECES:

UNFOLDING AND TAGGING

Unfolding my hexagons weren’t an issue. Tagging, however, became tricky.  I had to work backwards and found out there was a minor issue in my definition, which goes to show how one mistake can really catch up with you. I made my tabs for construction purposes using Panelling tools in Rhino. This is a plugin that I downloaded.

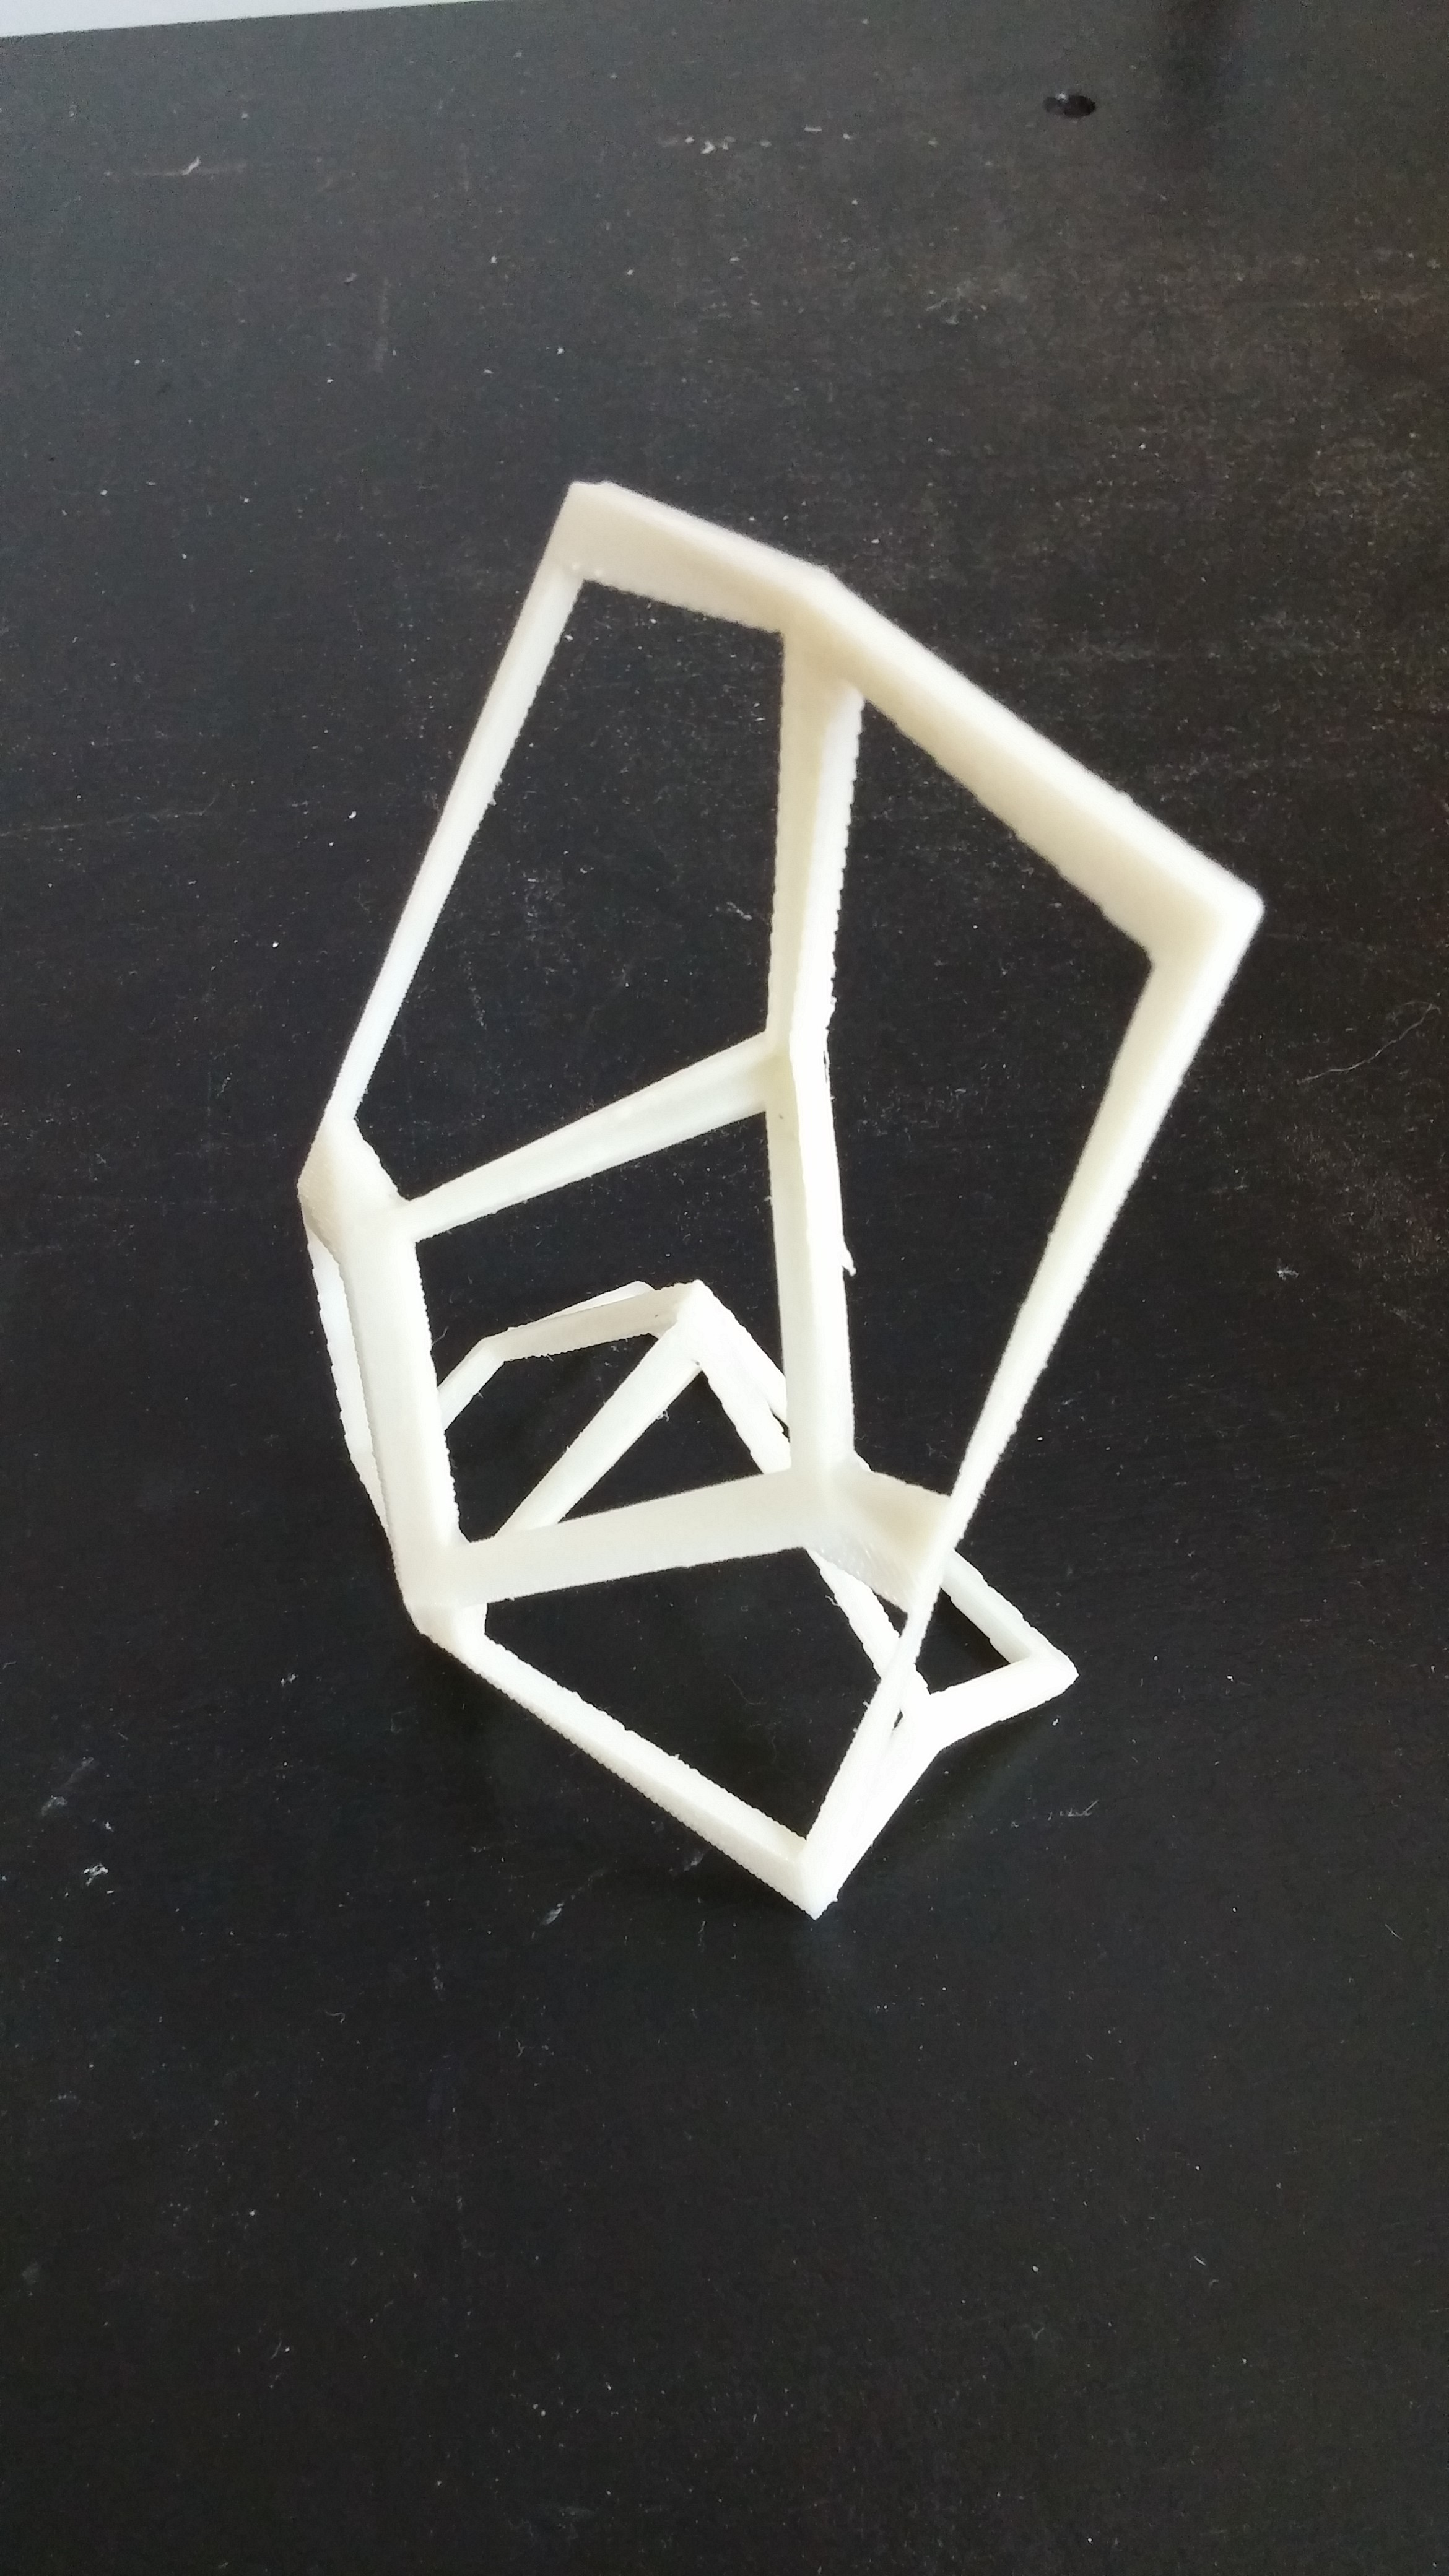
My model turned out pretty well. Laser cutting took a long time. I ended up only being able to cut close to 2am and didn’t finish until 4am. I only then decided to do one model because of the time constraints for access into the lab. Building the model didn’t take as long as I had feared. It was about 3 hours. The only unfortunate part is that I was not able to put model up against my window to see how light comes through. I had to leave my model in school because of how big it is. Also, I haven’t been home in the day time to test it out.

Overall, I am satisfied with the screens. I’m happy I was able to fabricate something I was able to test out digitally and customized to a space. I think this may be one of the first classes where things were practical in the sense that I can make use of the information provided via rhino and grasshopper and be able to apply it to real life.

Interesting.. (Grace! Read!)

http://www.treehugger.com/green-architecture/para-eco-house-tongji-university-students.html

Hey folks (Grace!)

I saw this online and thought of Grace’s design. It’s similar with the intentions of having some thermal control and integrating that into a space. The material choice may be interesting if you want that to contribute to your thermal control. (Are you including this with your thesis?). Anyways, still an interesting project. You can do it! =]

As for me… I’m still playing around with components to achieve seasonal conditions..not fun -_-.  But what I want to do now are the following:

Summer:  no direct sunlight before 10am
Winter: Maximum privacy and bounce light on ceiling onto walls (so no direct sunlight at all)
Spring/Fall: no direct sunlight on bed

Do these work as seasonal conditions?

Window Screen – Hexagons

Hi All,

So I have my window screen. Yay. The room has a window facing the East which means there’s a lot of sunlight that comes in which I hate, so I wanted to make a screen that would control the amount of light that comes into the space.

Slide2

Below is the screen I decided to make followed by the definition.

Window image

Slide4

Design Drivers:

±Controlling the number of Hexagons (Length)

HexLength

±Controlling the number of Hexagons (Width)

HexWidth

±Controlling the Depth of the screen

HexDepth

±Controlling the Angle of the Hexagon

HexAngle

±Controlling the Size of the Hexagon center holes (Closer to UV = Smaller hole)

Attractor - size of hex hole

±Controlling the Maximum distance from the center of Hexagon

MaxDistance

±Controlling the Minimum distance from center of Hexagon

MinDistance

Building a Prototype:

To build a prototype of my screen, I used the unfold tool to laser cut my file. I tried tagging the items but it looked a bit weird as the tags were floating by the objects, but not on them. I just used Illustrator to add the tags to the pieces myself.

Slide5

Unfolded pieces

1415149559862  Snapchat--7966599030237766992 Snapchat--7356075119314060376

I’m pretty happy with how it turned out. It would be easier to assemble if I had tabs but I kind of like the way it looks without the tabs. As far as attached it to the window, I would want to attach it to brackets. It’s against the window above. Of course this is at night, so I’ll have to see how it does in the daytime…when it is not cloudy and raining.

Window system

So i wanted to create a system that would control the amount of light that comes in through my window. I was able to model it in grasshopper and then I tried to remap it onto my window surface and I’ve been led to a few stumps.  I have pictures of what i’ve been wanting to do (the original model) and what happens when I try to do it with my window surface. What’s happening?

Original model only made in GH_2reference models in the back_3 ORIGINAL GH MODEL Front View

Side view of original model_5 ORIGINAL GH MODEL Side View

Failure for window to loft_also multiple lines in first row_4 Aftermath of being referenced onto the window. The top row has a lot of layers and the surfaces will not loft like in the original model.

GH Definition:

Code for hexagon

Building Room

Hey guys,

Bring in the cad file of your room. It’ll be easier to model the room in rhino from there. I separated the file into layers. (north, south, east west, etc.)

Use RemapCplane to orient the elevations. Select the lines (I.e. north elevation) in the Top view – “RemapCplane” – click into the viewport you want to set the elevation on (I.e. front view). Use Move tool to place the elevation where it should go. 1

3

Parametric Seating – Voronoi Chair

The chair I chose was the Voronoi Chair.

Voronoi-_chair_large

I started with making the surface model in Rhino and using Grasshopper to apply the voronoi pattern onto it.

Parametric Seating Voronoi Chair_Page_03

Because the voronoi pattern can only be applied to a planar surface, it was very difficult to apply the pattern to my curved chair.  I therefore had to create a reference plane.  I created a rectangle in Grasshopper as my surface reference plane to build the voronoi pattern onto. From there, I essentially projected the points onto my organic chair.

Parametric Seating Voronoi Chair_Page_06

Parametric Seating Voronoi Chair_Page_07

Making my chair such that the polylines were fluid also proved difficult. Many of you may remember my previous result, such that one could die from sitting on it.

V010
BAD – CHAIR WILL CUT YOU

I used the Weaverbird tools to create a mesh out of my polylines.

Parametric Seating Voronoi Chair_Page_08

Parametric Seating Voronoi Chair_Page_04

Design Drivers and Resulting Chairs:

Family chairs_final

I used Grasshopper to control the amount of voronoi points I wanted in the chair, the thickness of my chair, and the width of the polylines.

numberofpoints
Number of Points
thickness
Thickness
cop8w
Width

coppj

copqw

Parametric Seating Voronoi Chair_Page_10 Parametric Seating Voronoi Chair_Page_11 Parametric Seating Voronoi Chair_Page_12 Parametric Seating Voronoi Chair_Page_13 Parametric Seating Voronoi Chair_Page_14

3-D Printing

So I made a few variations of my Voronoi Chair. Below is a picture of the original and the subsequent are abstractions.

Voronoi-_chair_large

V012
Model of Voronoi Chair
VA1_3_AllViews
Abstraction 1

VA1_3

In this model, I changed the number of points to apply the voronoi pattern onto.  I also changed the width and thickness of the polylines.  All of these parameters were changed via Grasshopper.

VA2_2
Abstraction 2

VA2

In this model, I increased the density of the voronoi pattern. There are about 500 points to which polylines were created.

VA3_4
Abstraction 3

VA3_3

In this final abstraction, I created different shapes and applied the voronoi pattern onto it. It was a bit tricky because I tried to just set a new surface without having to do everything over. But I found that I had to detach all of the meshes and reattach them so the pattern would be applied appropriately and a mesh could be formed for the surface.

I decided to 3-D Print the first abstraction. I wanted to do all of them, but I learned that 3-D printing is quite expensive. If I wanted to print the original voronoi model I had, it would have cost about $64.  No thank you. The cost was not due to the model itself, but because of the support systems it would need in order to be made. I listed the process of my 3-D print below.

Have a model in *.STL format.  (You just need to save the rhino file as an *.stl).  However, you need to make sure your surface model is a mesh or it won’t print. Submit the file to the tech, you pay (hopefully not a crazy amount –Good Luck), and then you wait to pick it up.  The amount of time it takes to print depends on how complex the model is, plus an addition 4-5hours for washing. For example, my original model would have taken 21 hours just to print (without washing). The model I went with was much simpler and it took about 5 hours to print and 5 more to wash.

3-D Print Machine
3-D Print Machine

This is an image of the machine for printing. (Sorry for the reflectivity). The temperature of the machine is over 100 degrees F.

2

This is the first layer that was made during the print.

3

This machine is used to wash the model that was made. The webby stuff below shows the supports (which are the costly part of the printing). The wash is used to wash away the supports so that the model is what’s left.

4
Mid-Wash
5
TADAAA!

IT’S ALIVE! So above is the finished version. Interesting process, wish it wasn’t so expensive. Apparently, there’s the baker botts machine which is free for printing (first come, first serve), but it has quite the bad reputation of dying and therefore leaving a frantic student in misery. I wouldn’t really rely on baker botts if you’re working on a final.