The parametric screening system will account for realtime weather, light and temperature conditions to control for an ideal interior condition. Using a egg crate structural system, smaller, flexible modules made of mylar or textile will be inserted into each frame module. The flexible components will have to segments that unfold independently on a Y and Z axis. By allowing the axis of each to work independently, the system can respond more intelligently to data, either blocking, bouncing or non-interfering with light and temperature.
Grasshopper Definition:
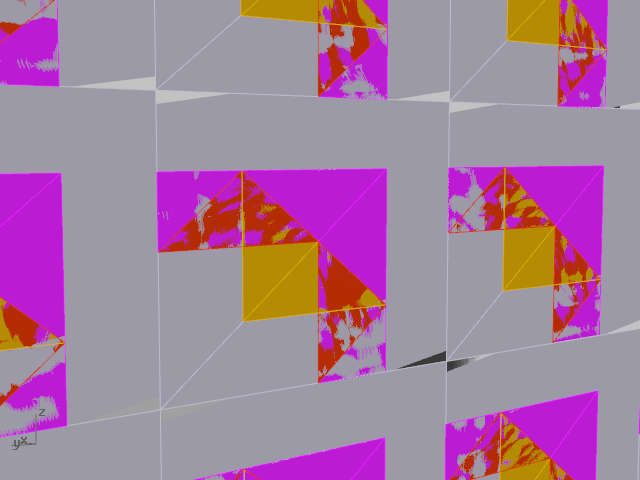
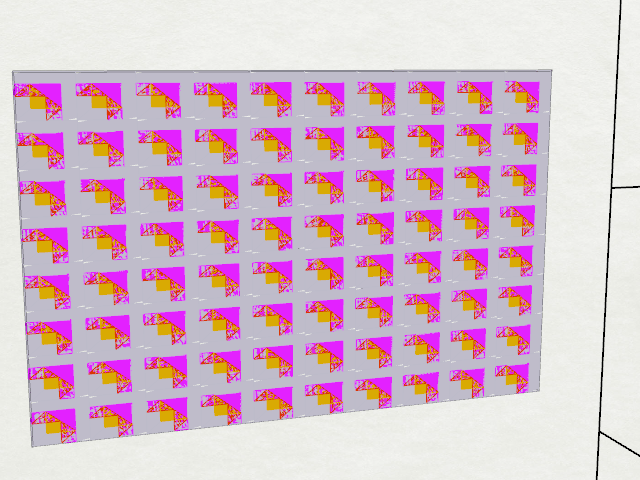
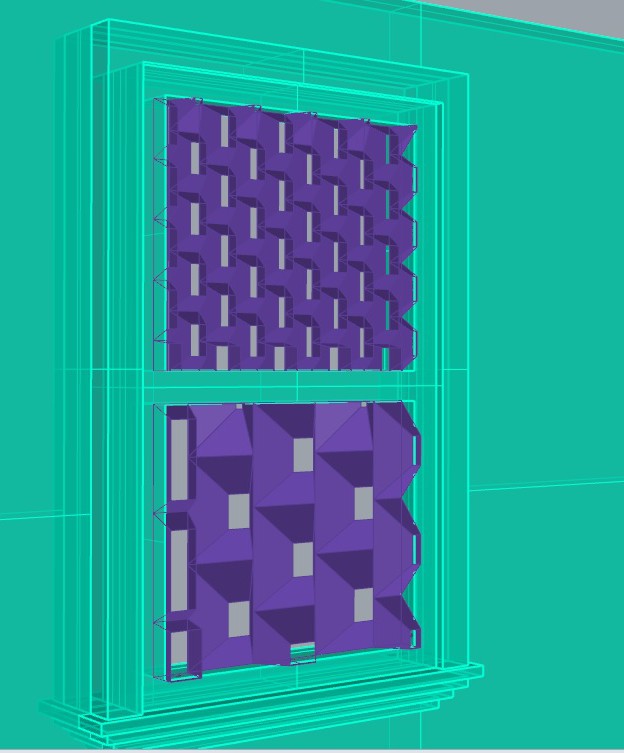
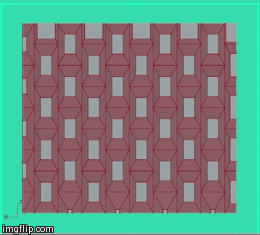
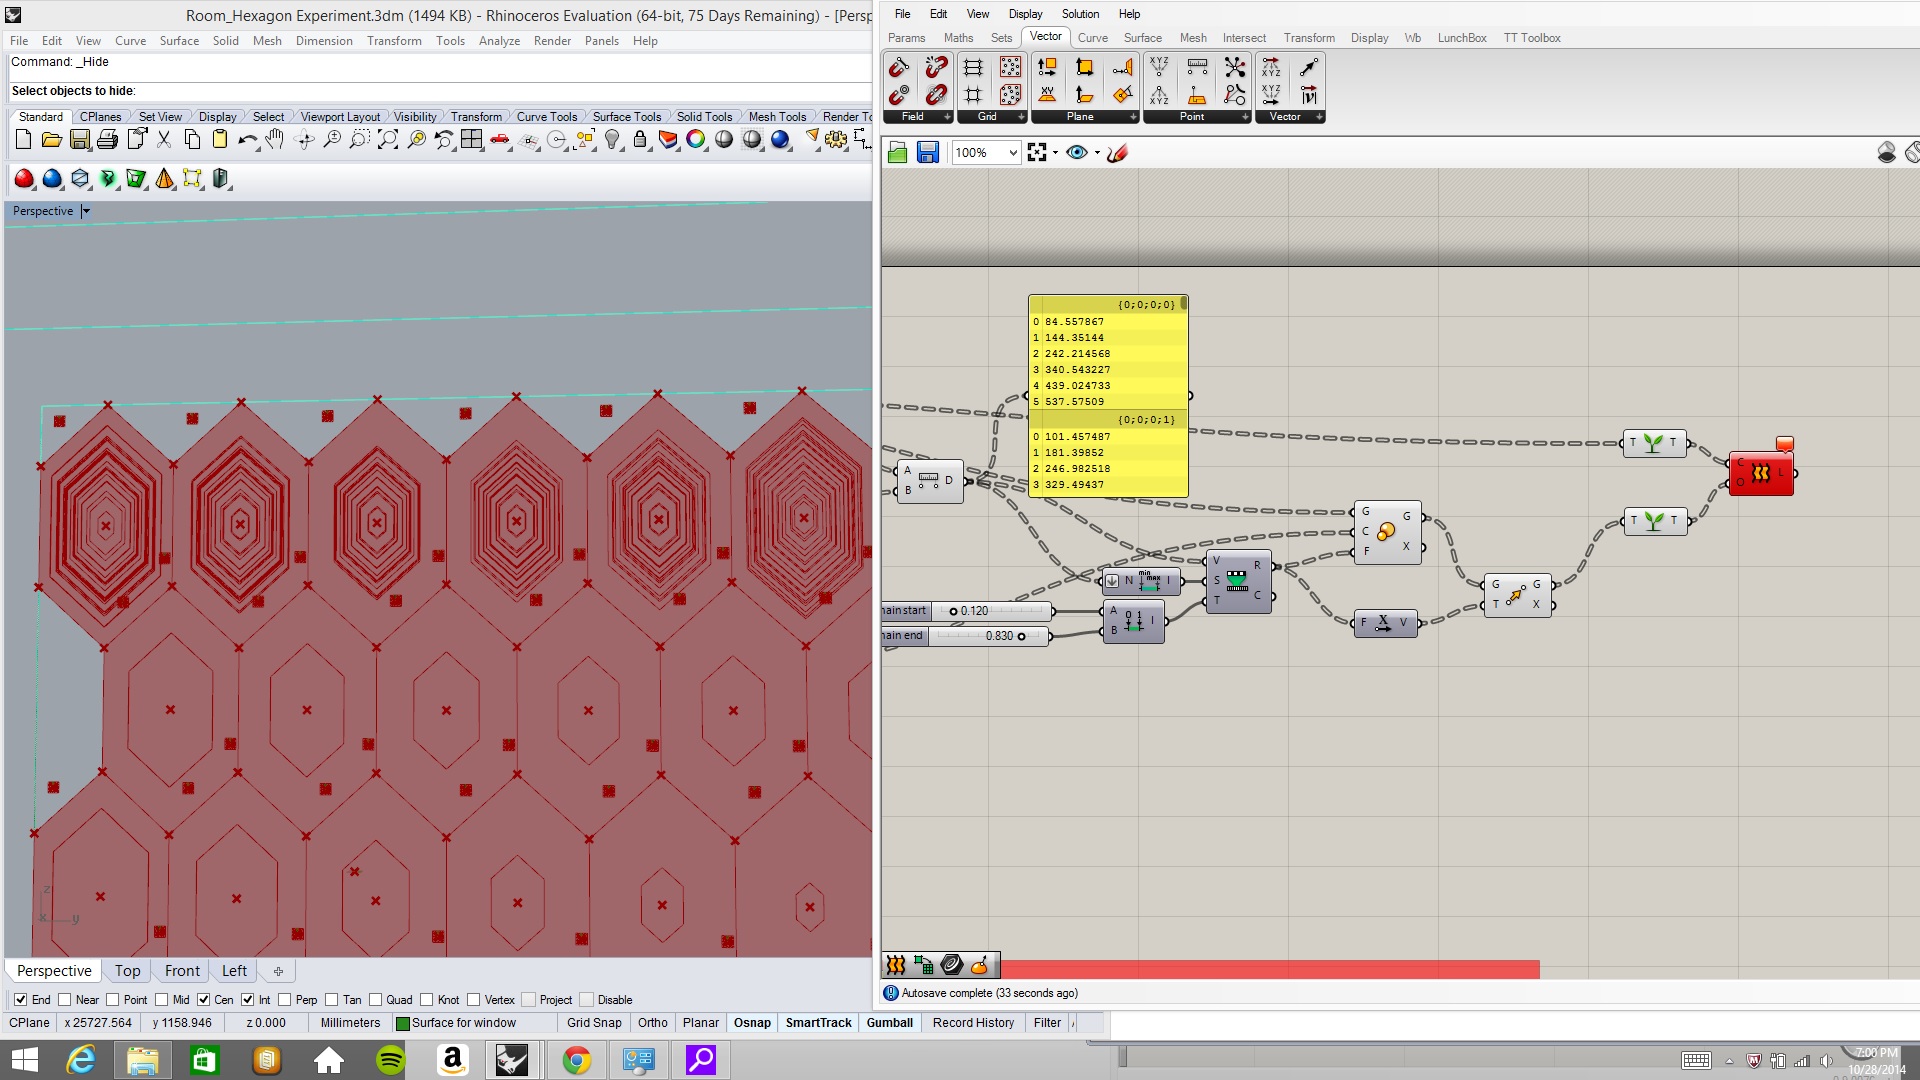
The grasshopper frame is based on a rectangular grid system and broken down to an egg crate support frame. Two flexible modules per rectangular component are them created based of of proportional points of the frame. The geometry movement is created by rotation around points.
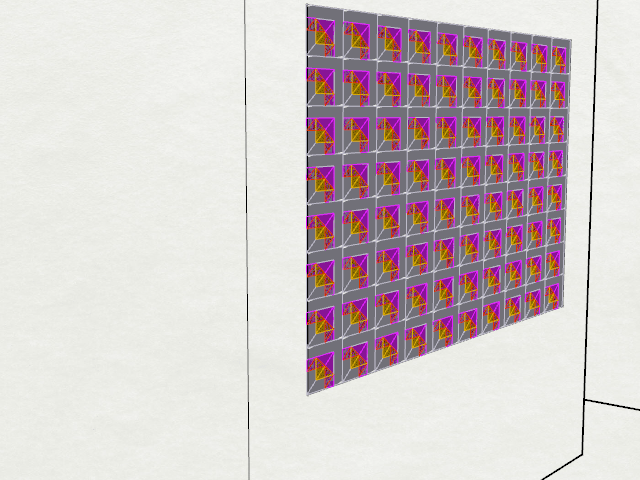
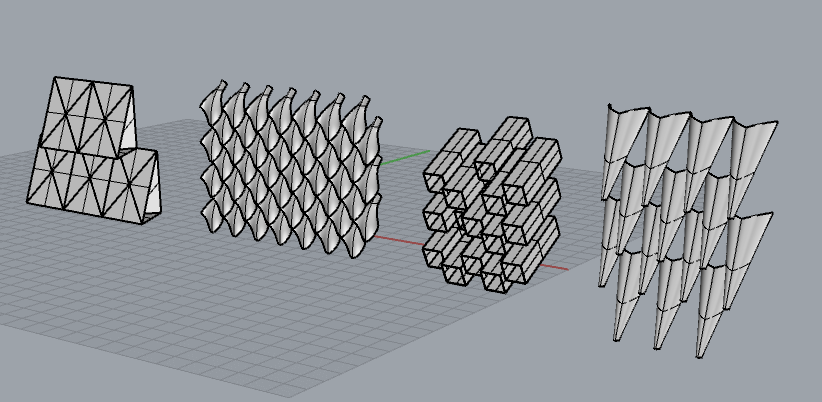
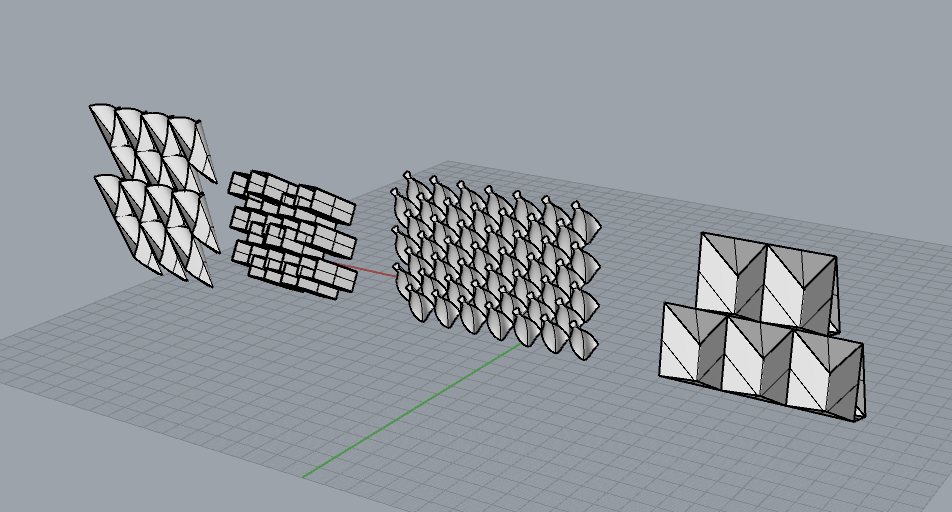
Movement only the Y axis:
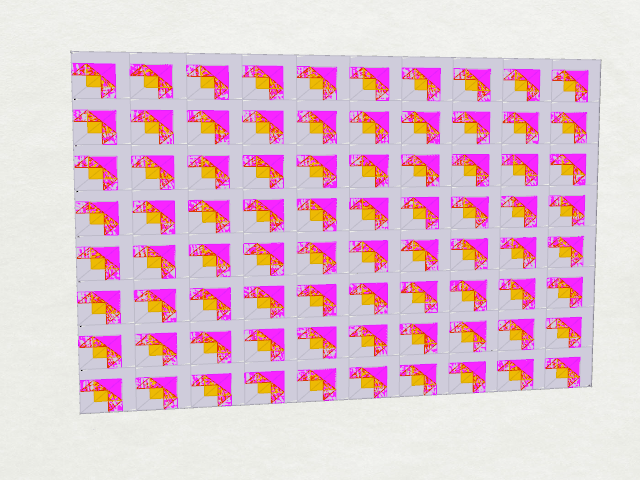
Movement on the Z axis:
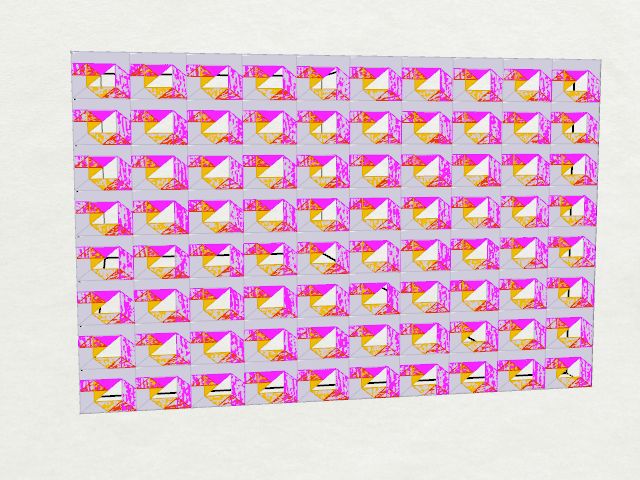
Movement on the Z and Y axis concurrently:
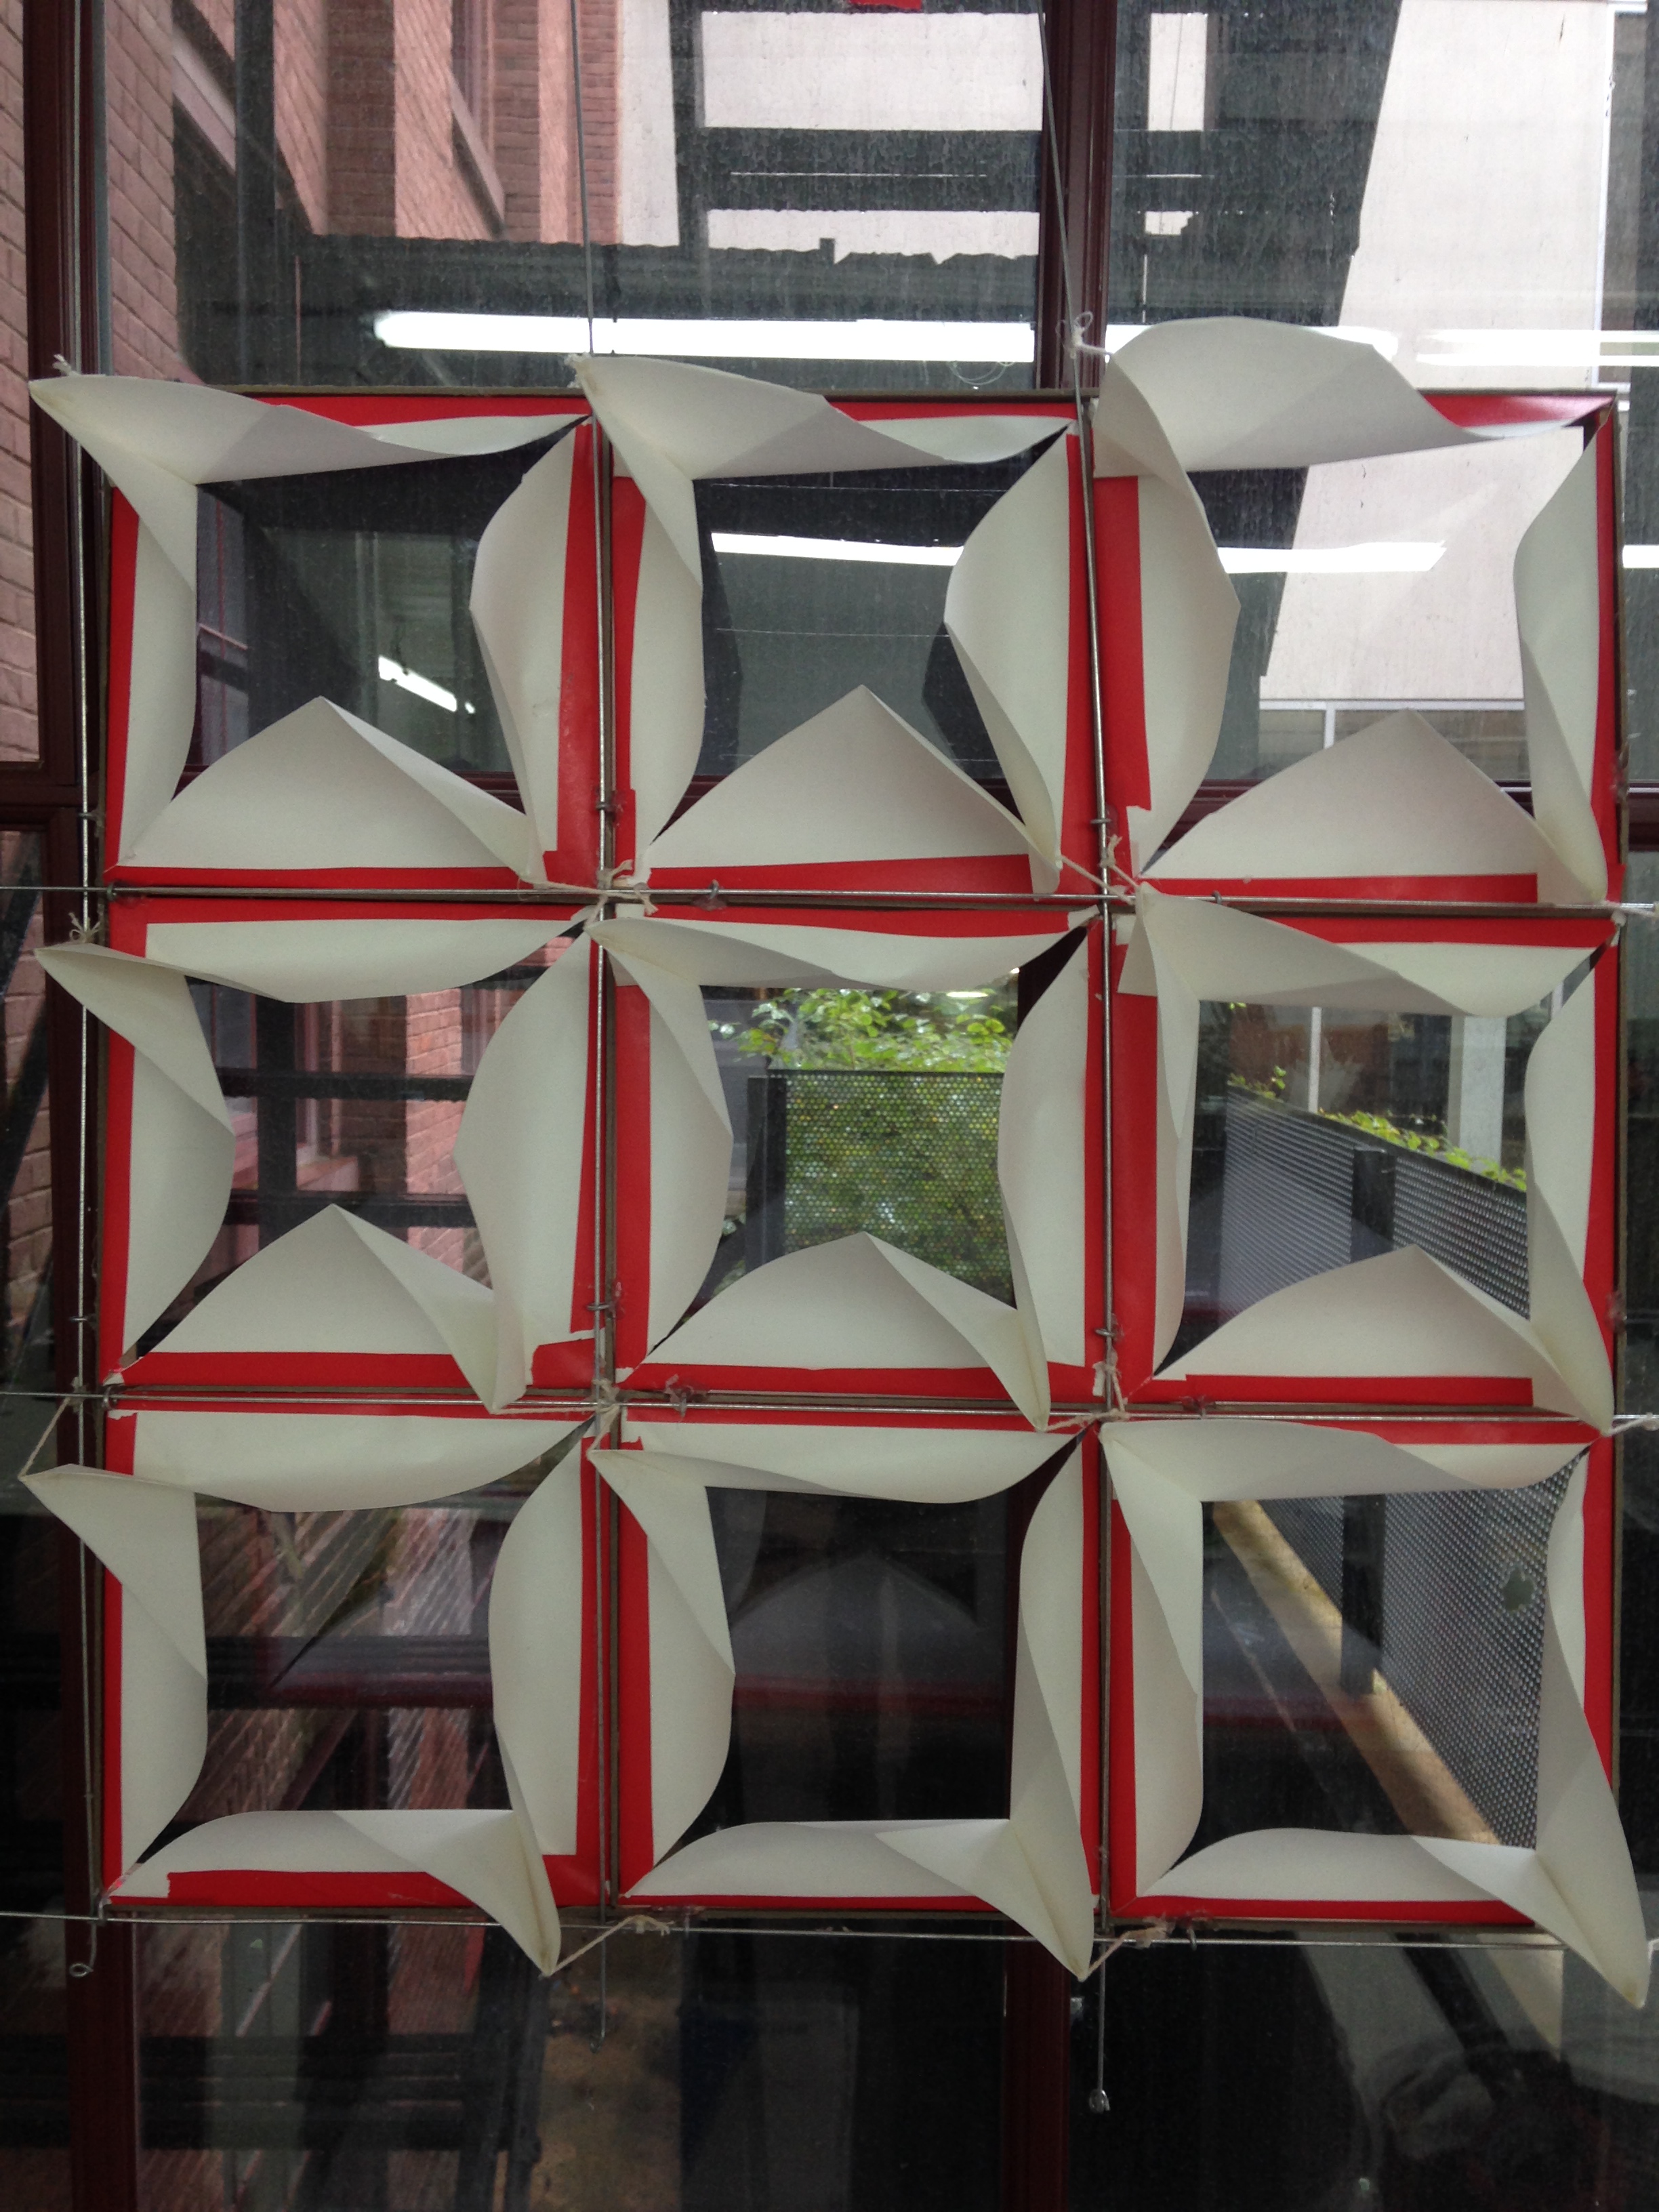
Kinetic Prototyping
The prototype uses linear motion to pull on the corners of each modular component. Currently the prototype is activated by pulling on the end handles. Next steps will include moving towards a rack and piston mechanical movement.

Robotic Next Steps:
I will begin moving into using Arduino in order to respond to realtime environmental conditions. Possibly, I will using streaming weather data via a wifi connection. Other options would be to use on site sensors to collect light and temperature data.
Arduino:
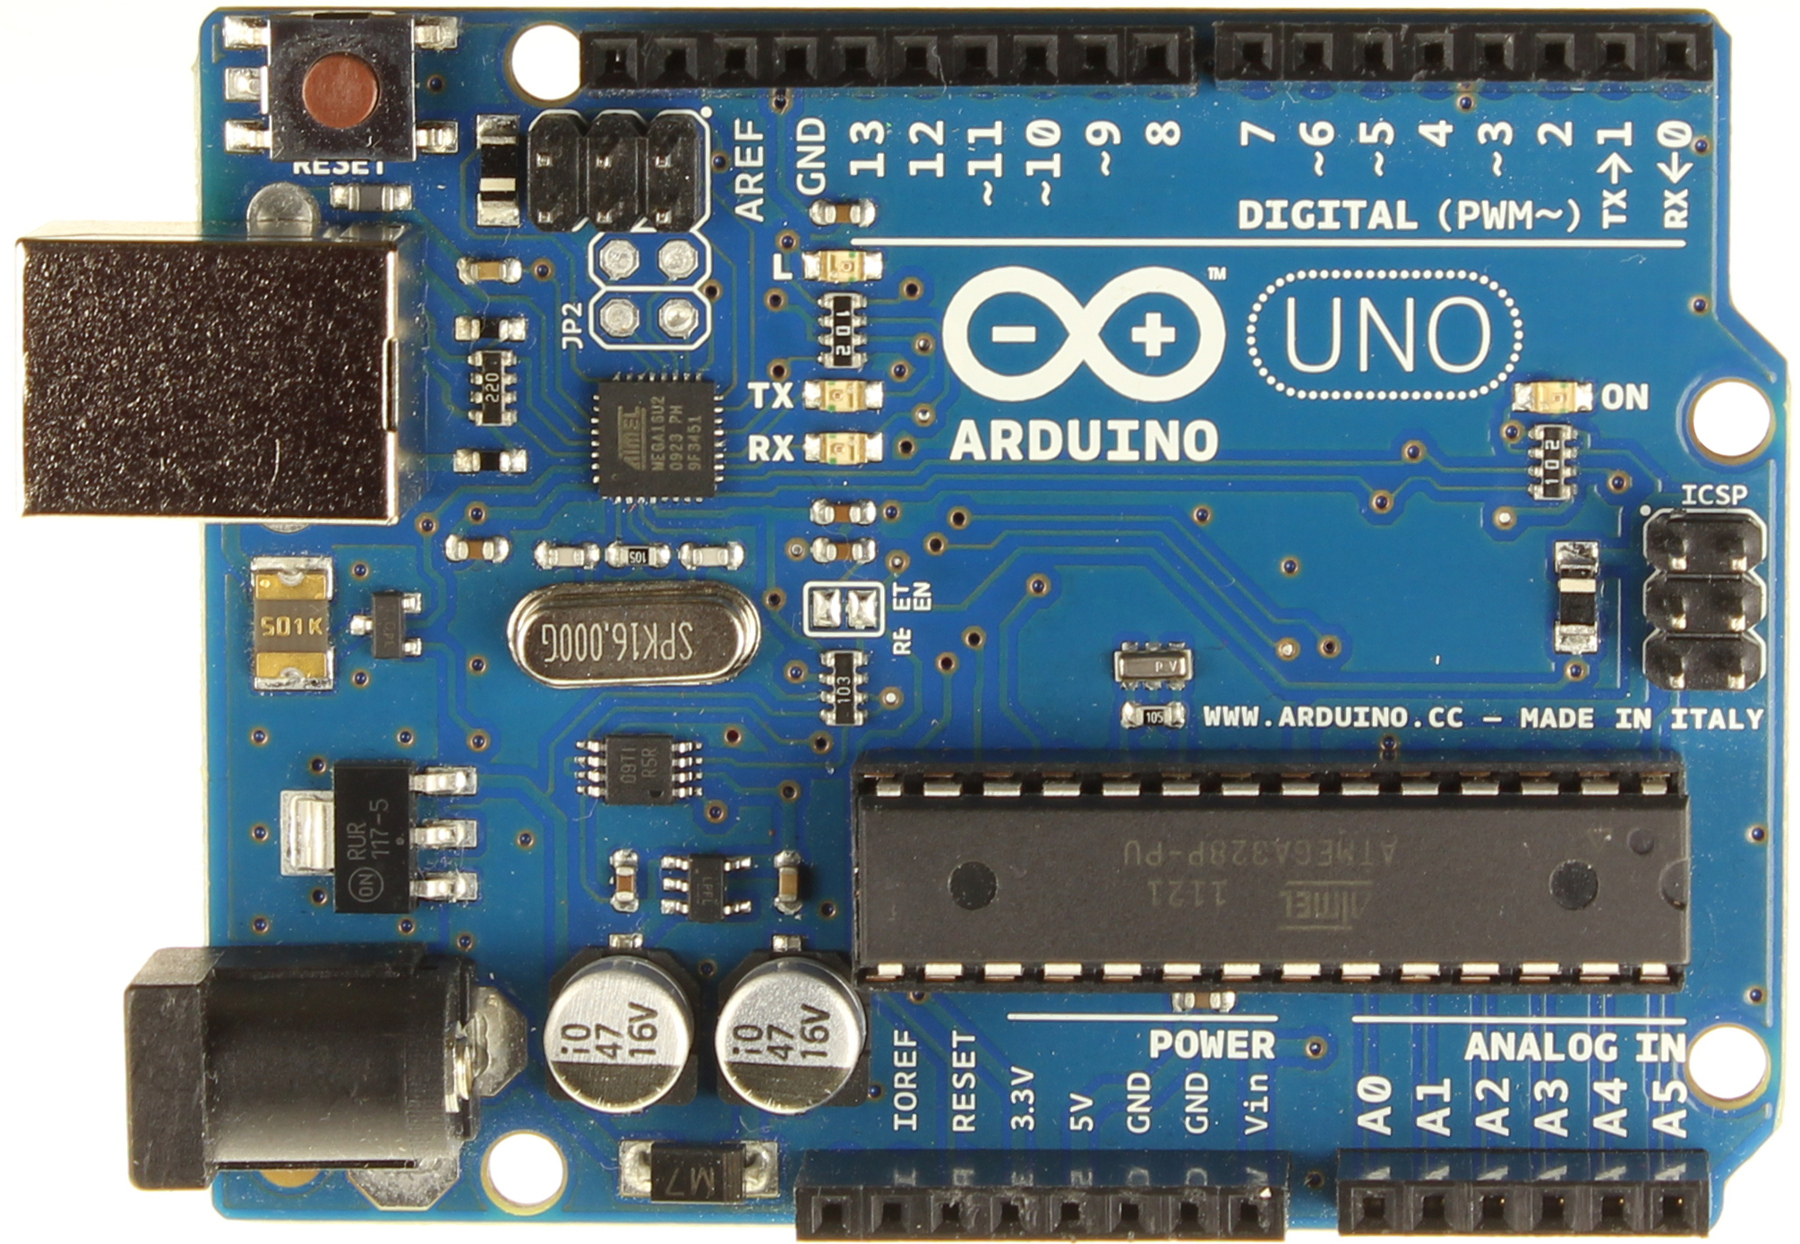
Stepper Motor for activating movement via a rack an piston.

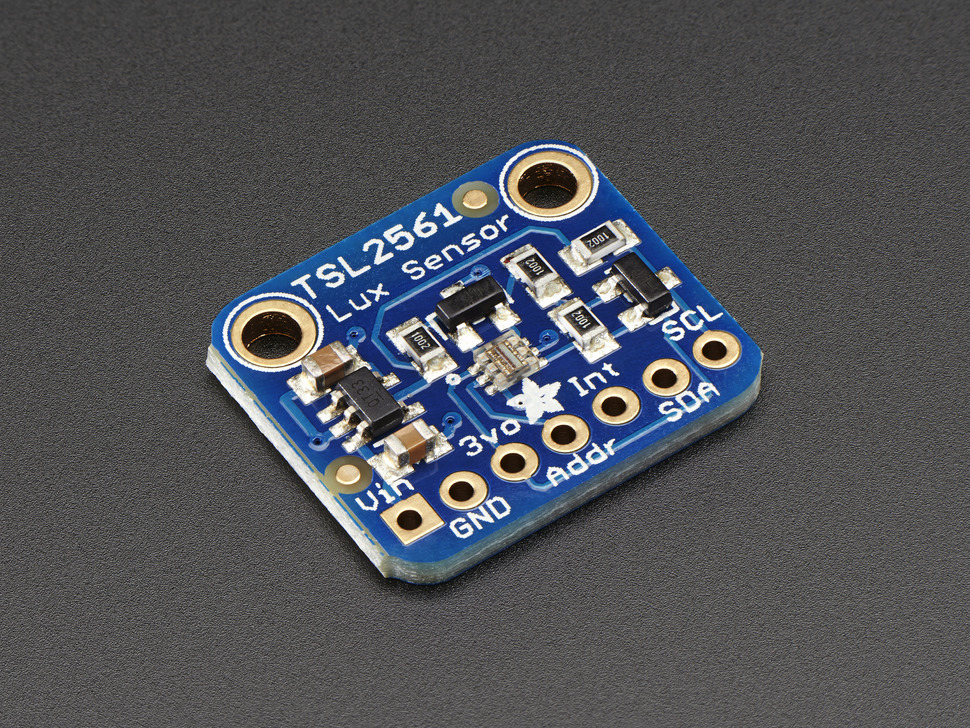
Light/Luminosity sensor.
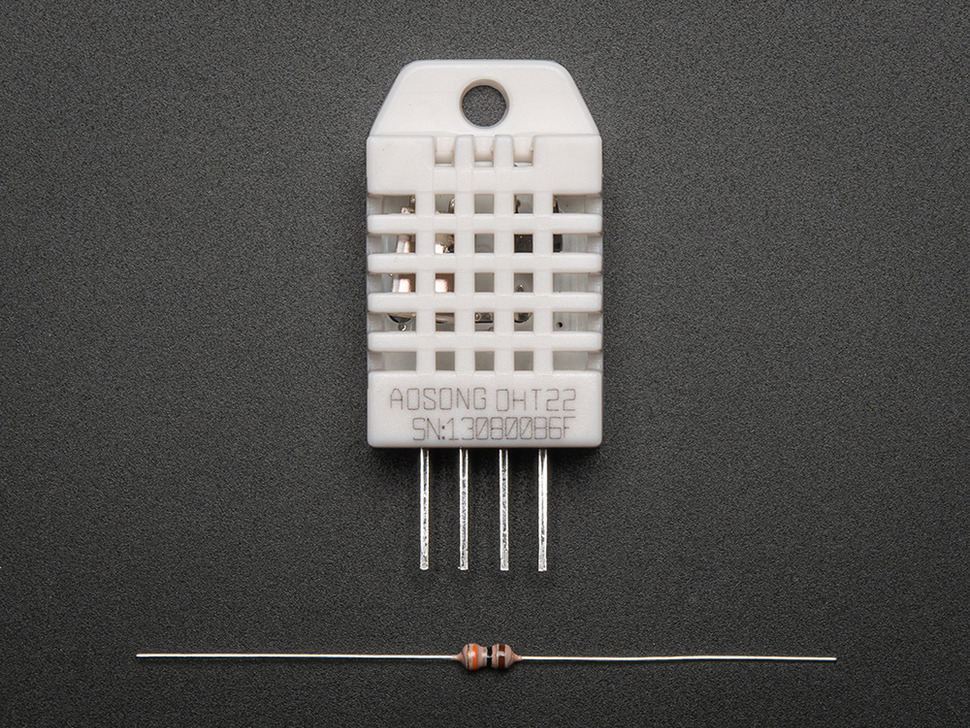
Temperature and humidity sensor.


 Light will be redirected left and right.
 Above my bed.
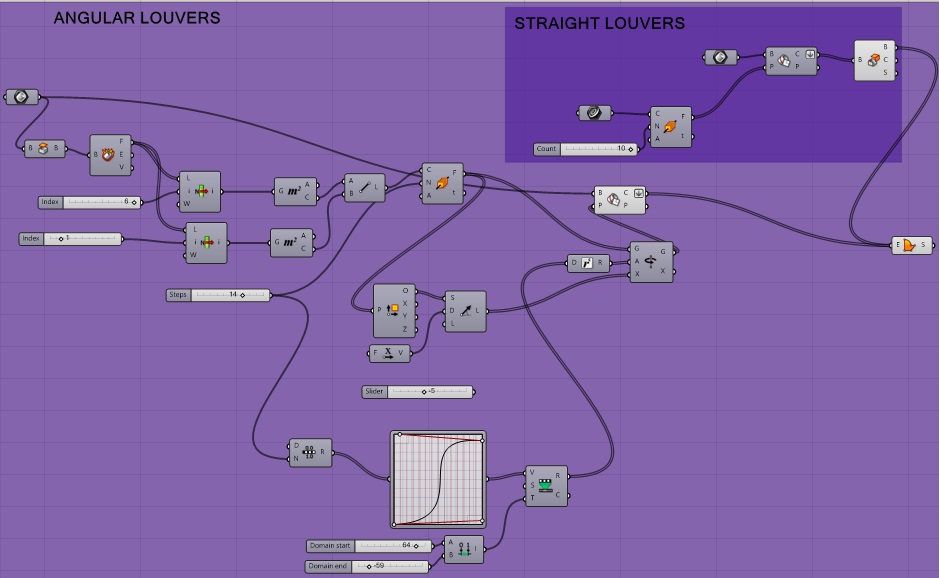


You must be logged in to post a comment.