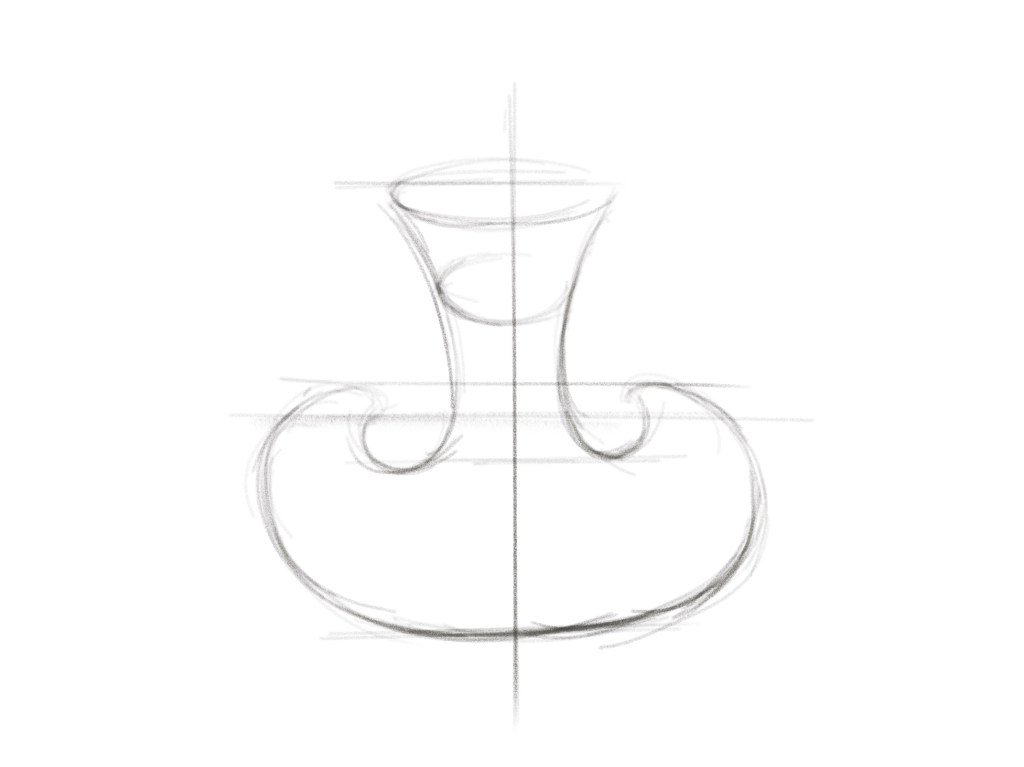
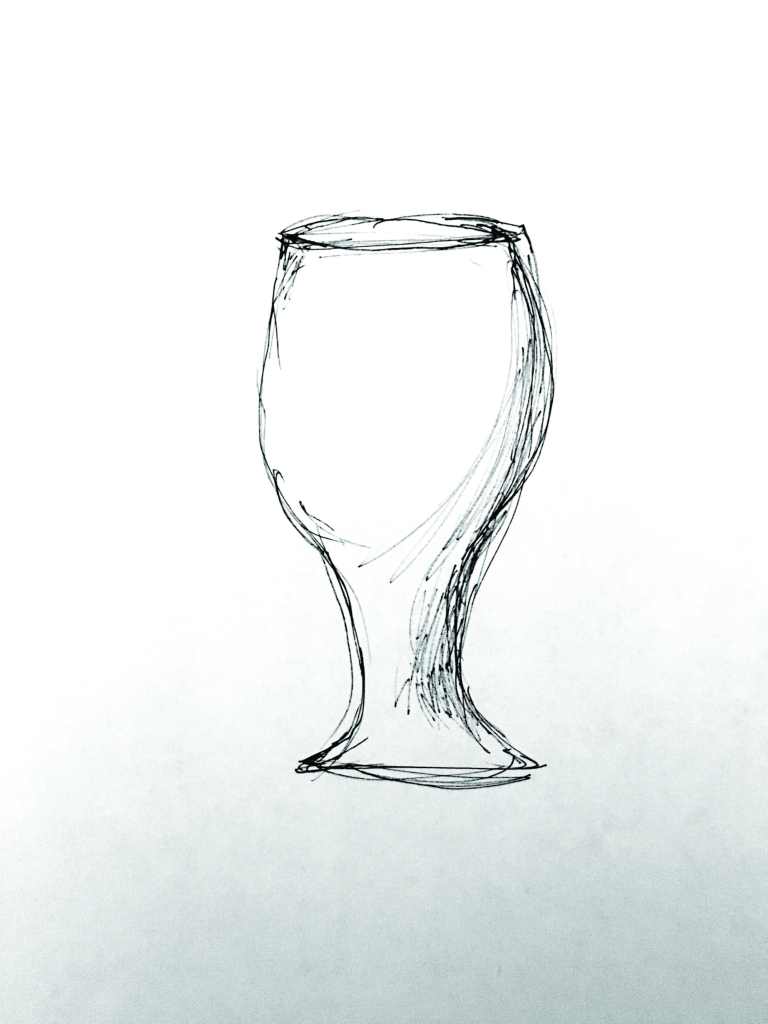
create a straight line in Z direction and a curve beside it
go to grasshopper / drag two “curve” under Params
named the first one as Profile and set the curve by selecting the curve in rhino / named the second one as Axis and set the curve by selecting the straight line in rhino
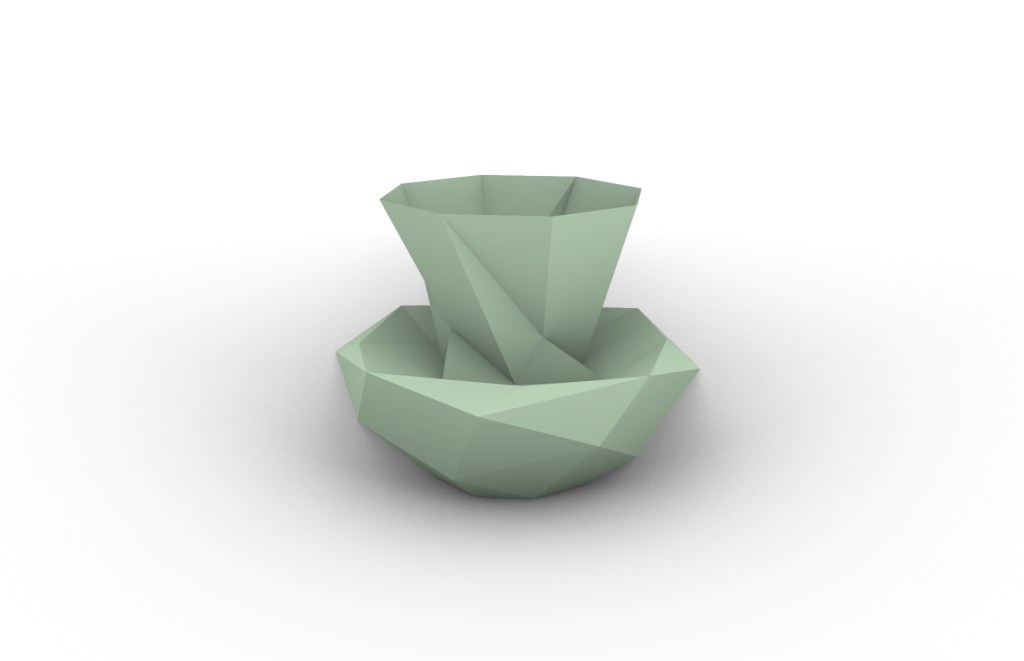
drag “revolution” under surface
connect profile to p / axis to a
drag one of the panels under lunchbox
connect “s” from revolution to “srf” from the panel from lunchbox
drag two “number slider” under param and connect them separately to “u” and “v” from the panel from lunchbox
double click the left side of the number slider, set the numeric domain
drag “custom preview” from “display”
connect “panels” from panel of lunchbox to “g” from preview
drag “color swach” from “params” / connect it to “m” in periew
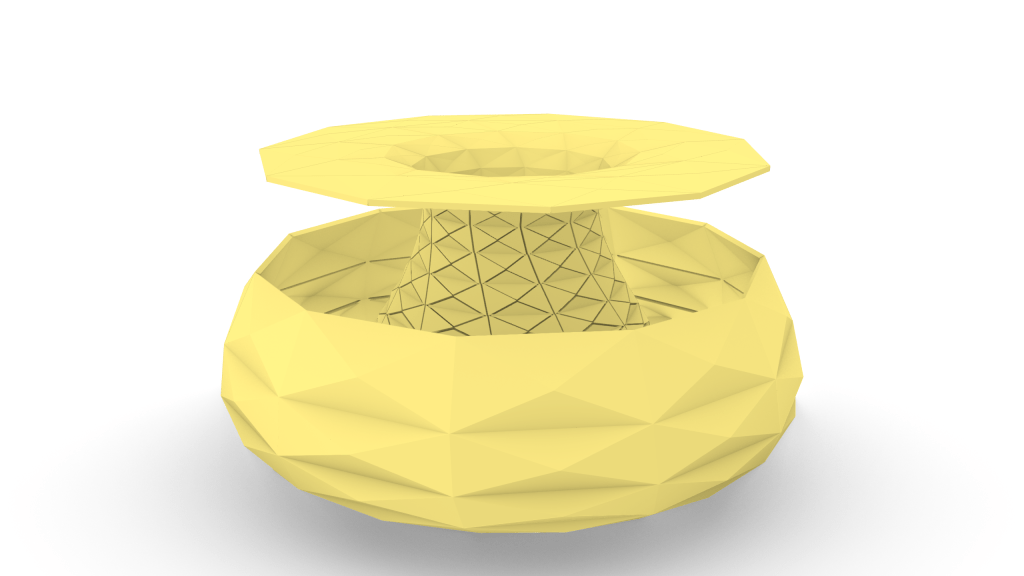
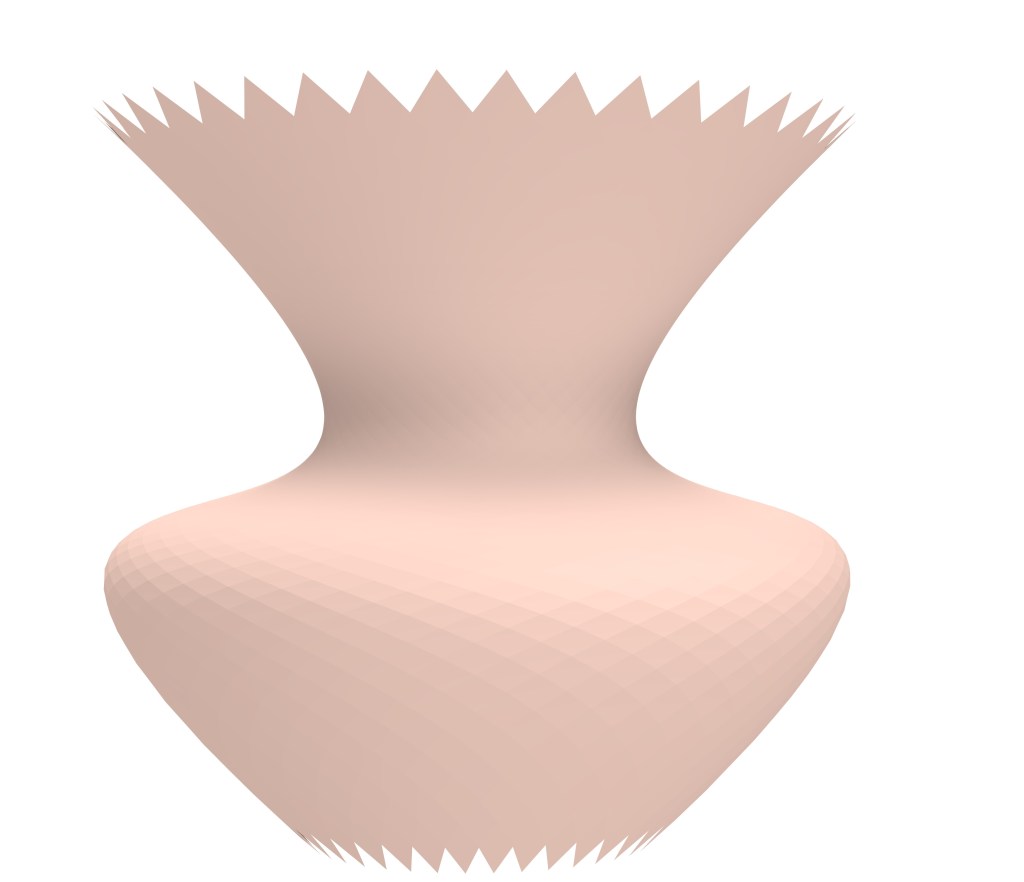
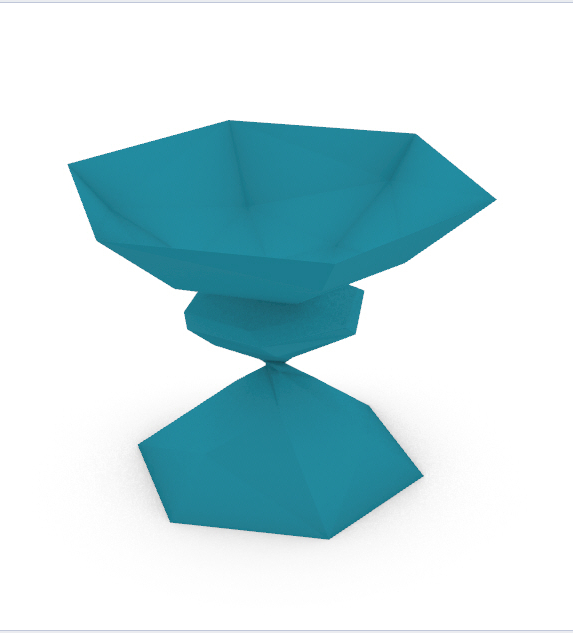
Type “revolve” in Rhino and try revolving them to become a closed 360′ shape.
Then go to Grasshopper and put two curve elements. Do this by clicking anywhere on the blank part twice and type “curves”.
You can easily access to any elements by clicking twice on the blank part of the canvas and type.
Select the Curve and make another copy by Ctrl+c and Ctrl+v so that you have two Curves element.
Rename as one as “Profile” and one as “Axis”.
Then add “Revolution” on the canvas and connect the “Profile” at “P” and “Axis” at “A”.
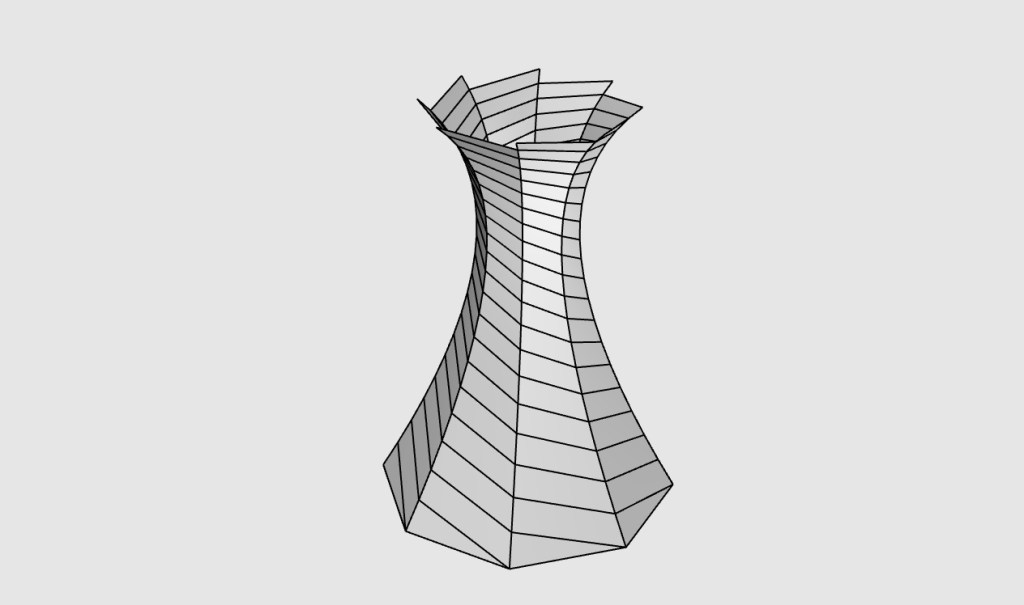
Then go to “Lunchbox” tab and under “Panels”, choose “Triangle Panels C”.
Connect the “S” at the “Revolution” with the “Srf” at the “Triangle Panels C”.
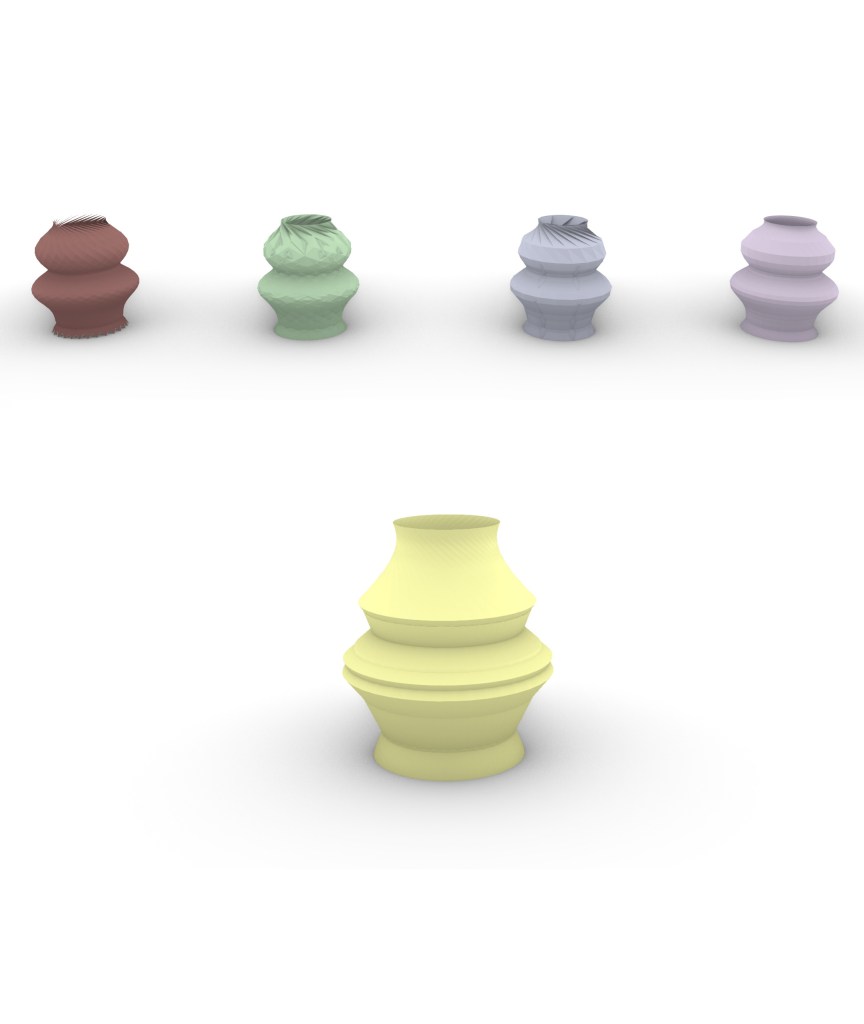
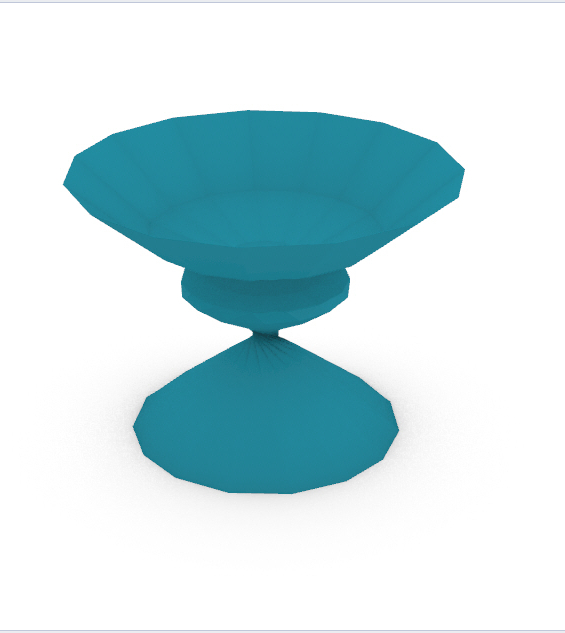
Add two “Number Slider” and name them “U division” and “V division”. In both of them, put 100 for the maximum value and choose “N” for integer number. Then select “okay”.
Connect “U division” at the “U” and “V division” at “V” of the Triangle Panels C.
Add “Custom Preview” element and connect the “Panels” at Triangle Panels C to “G” of the Preview.
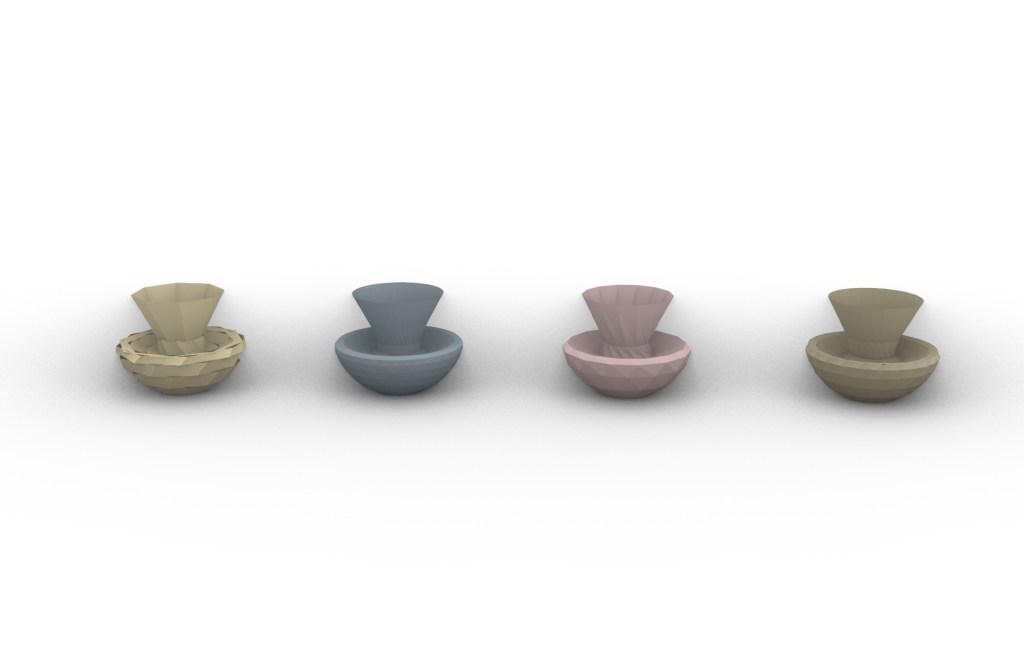
Add “Color Swatch” and connect it with the “M” at Preview element.
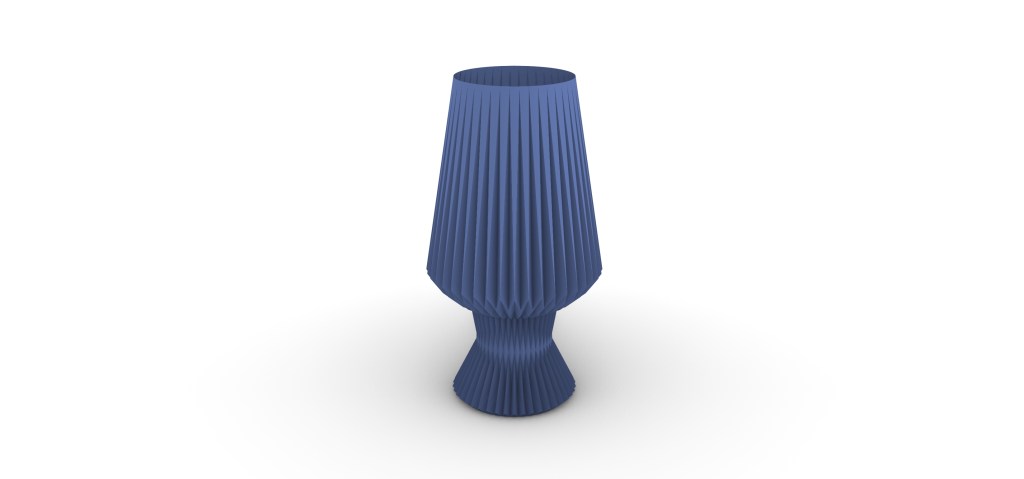
Then, choose your color.
After that, right click at Preview and choose “Bake”.
create a straight line in Z direction and a curve beside it
go to grasshopper / drag two “curve” under Params
named the first one as Profile and set the curve by selecting the curve in rhino / named the second one as Axis and set the curve by selecting the straight line in rhino
drag “revolution” under surface
connect profile to p / axis to a
drag one of the panels under lunchbox
connect “s” from revolution to “srf” from the panel from lunchbox
drag two “number slider” under param and connect them separately to “u” and “v” from the panel from lunchbox
double click the left side of the number slider, set the numeric domain
drag “custom preview” from “display”
connect “panels” from panel of lunchbox to “g” from preview
drag “color swach” from “params” / connect it to “m” in periew
right click preview to bake / check the group box


You must be logged in to post a comment.