Link to Interactive Thread Report
Link to Final Presentation
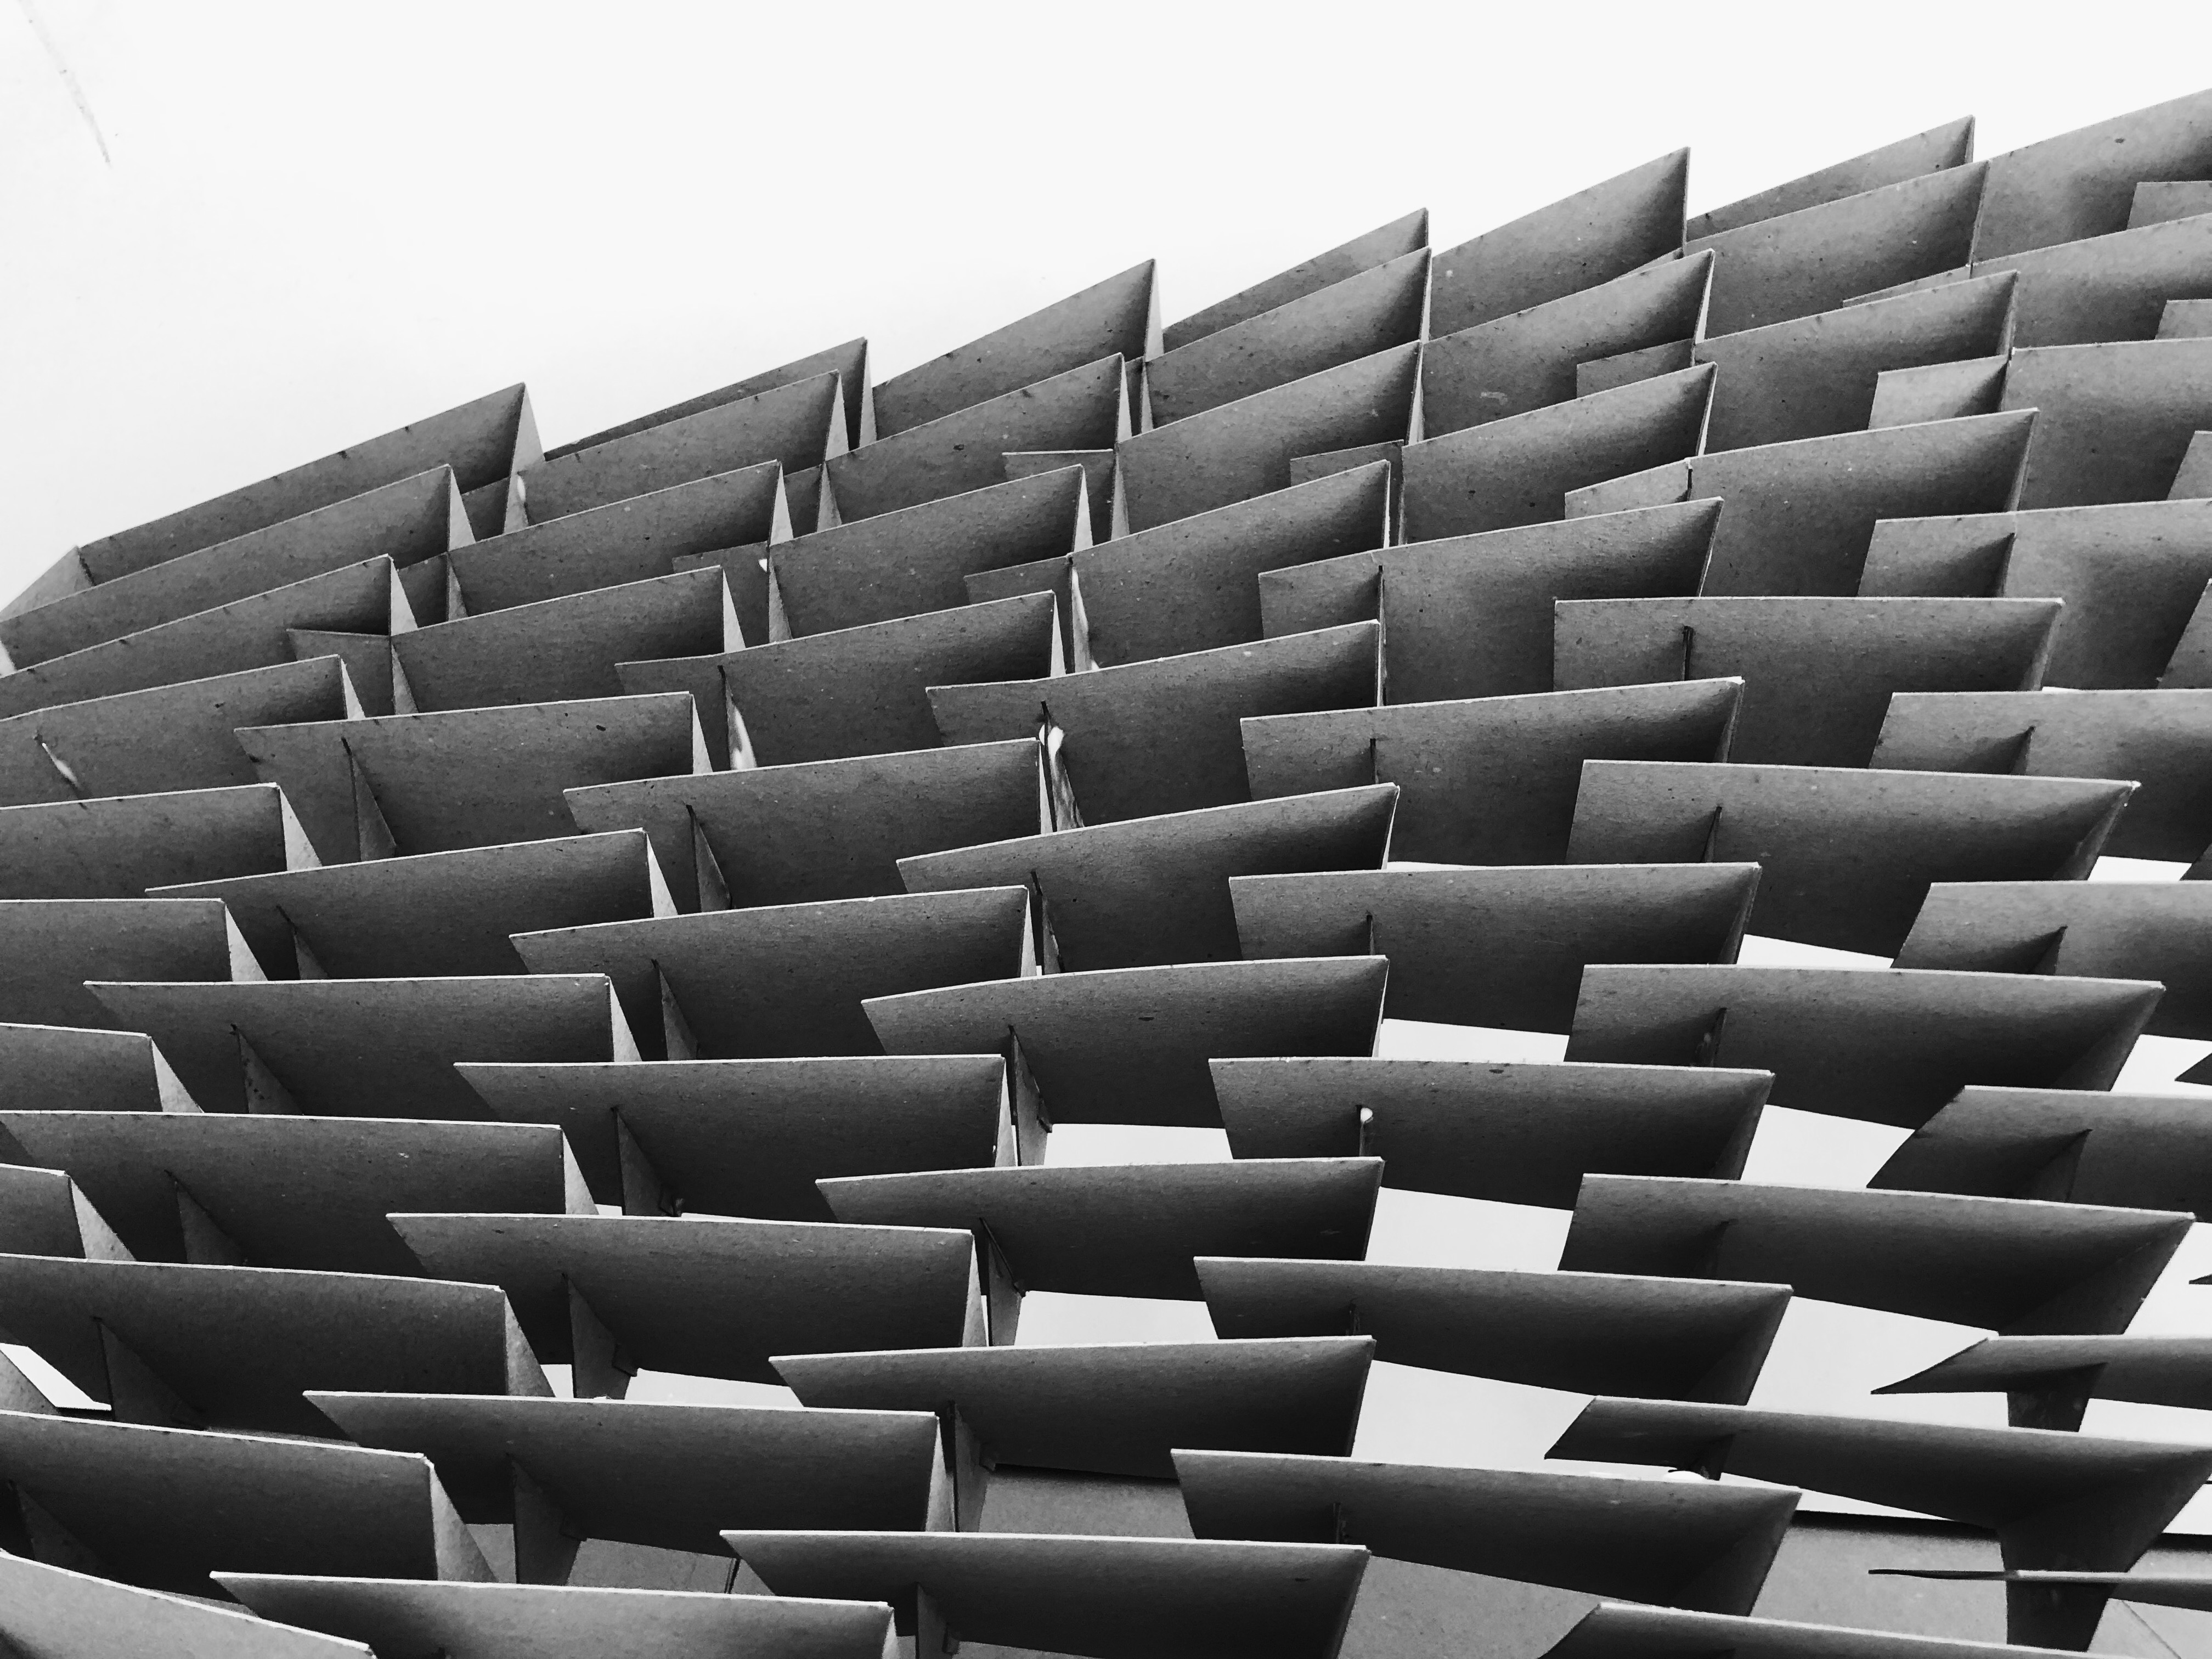
For our design or a privacy screen for children, we aimed to create something that we perceived as functional. Looking to shelves and shutters for inspiration, our screen takes the form of small cubbies that kids could use as shelving units. However, as the design evolved the idea of cubbies took a back seat. Instead, we added the ability to tilt each shelf to create more/less opacity in the screen. The three primary design variables are the number of quads, the angle of tilt, and the depth of the shelf. Below are images that better explains our design.
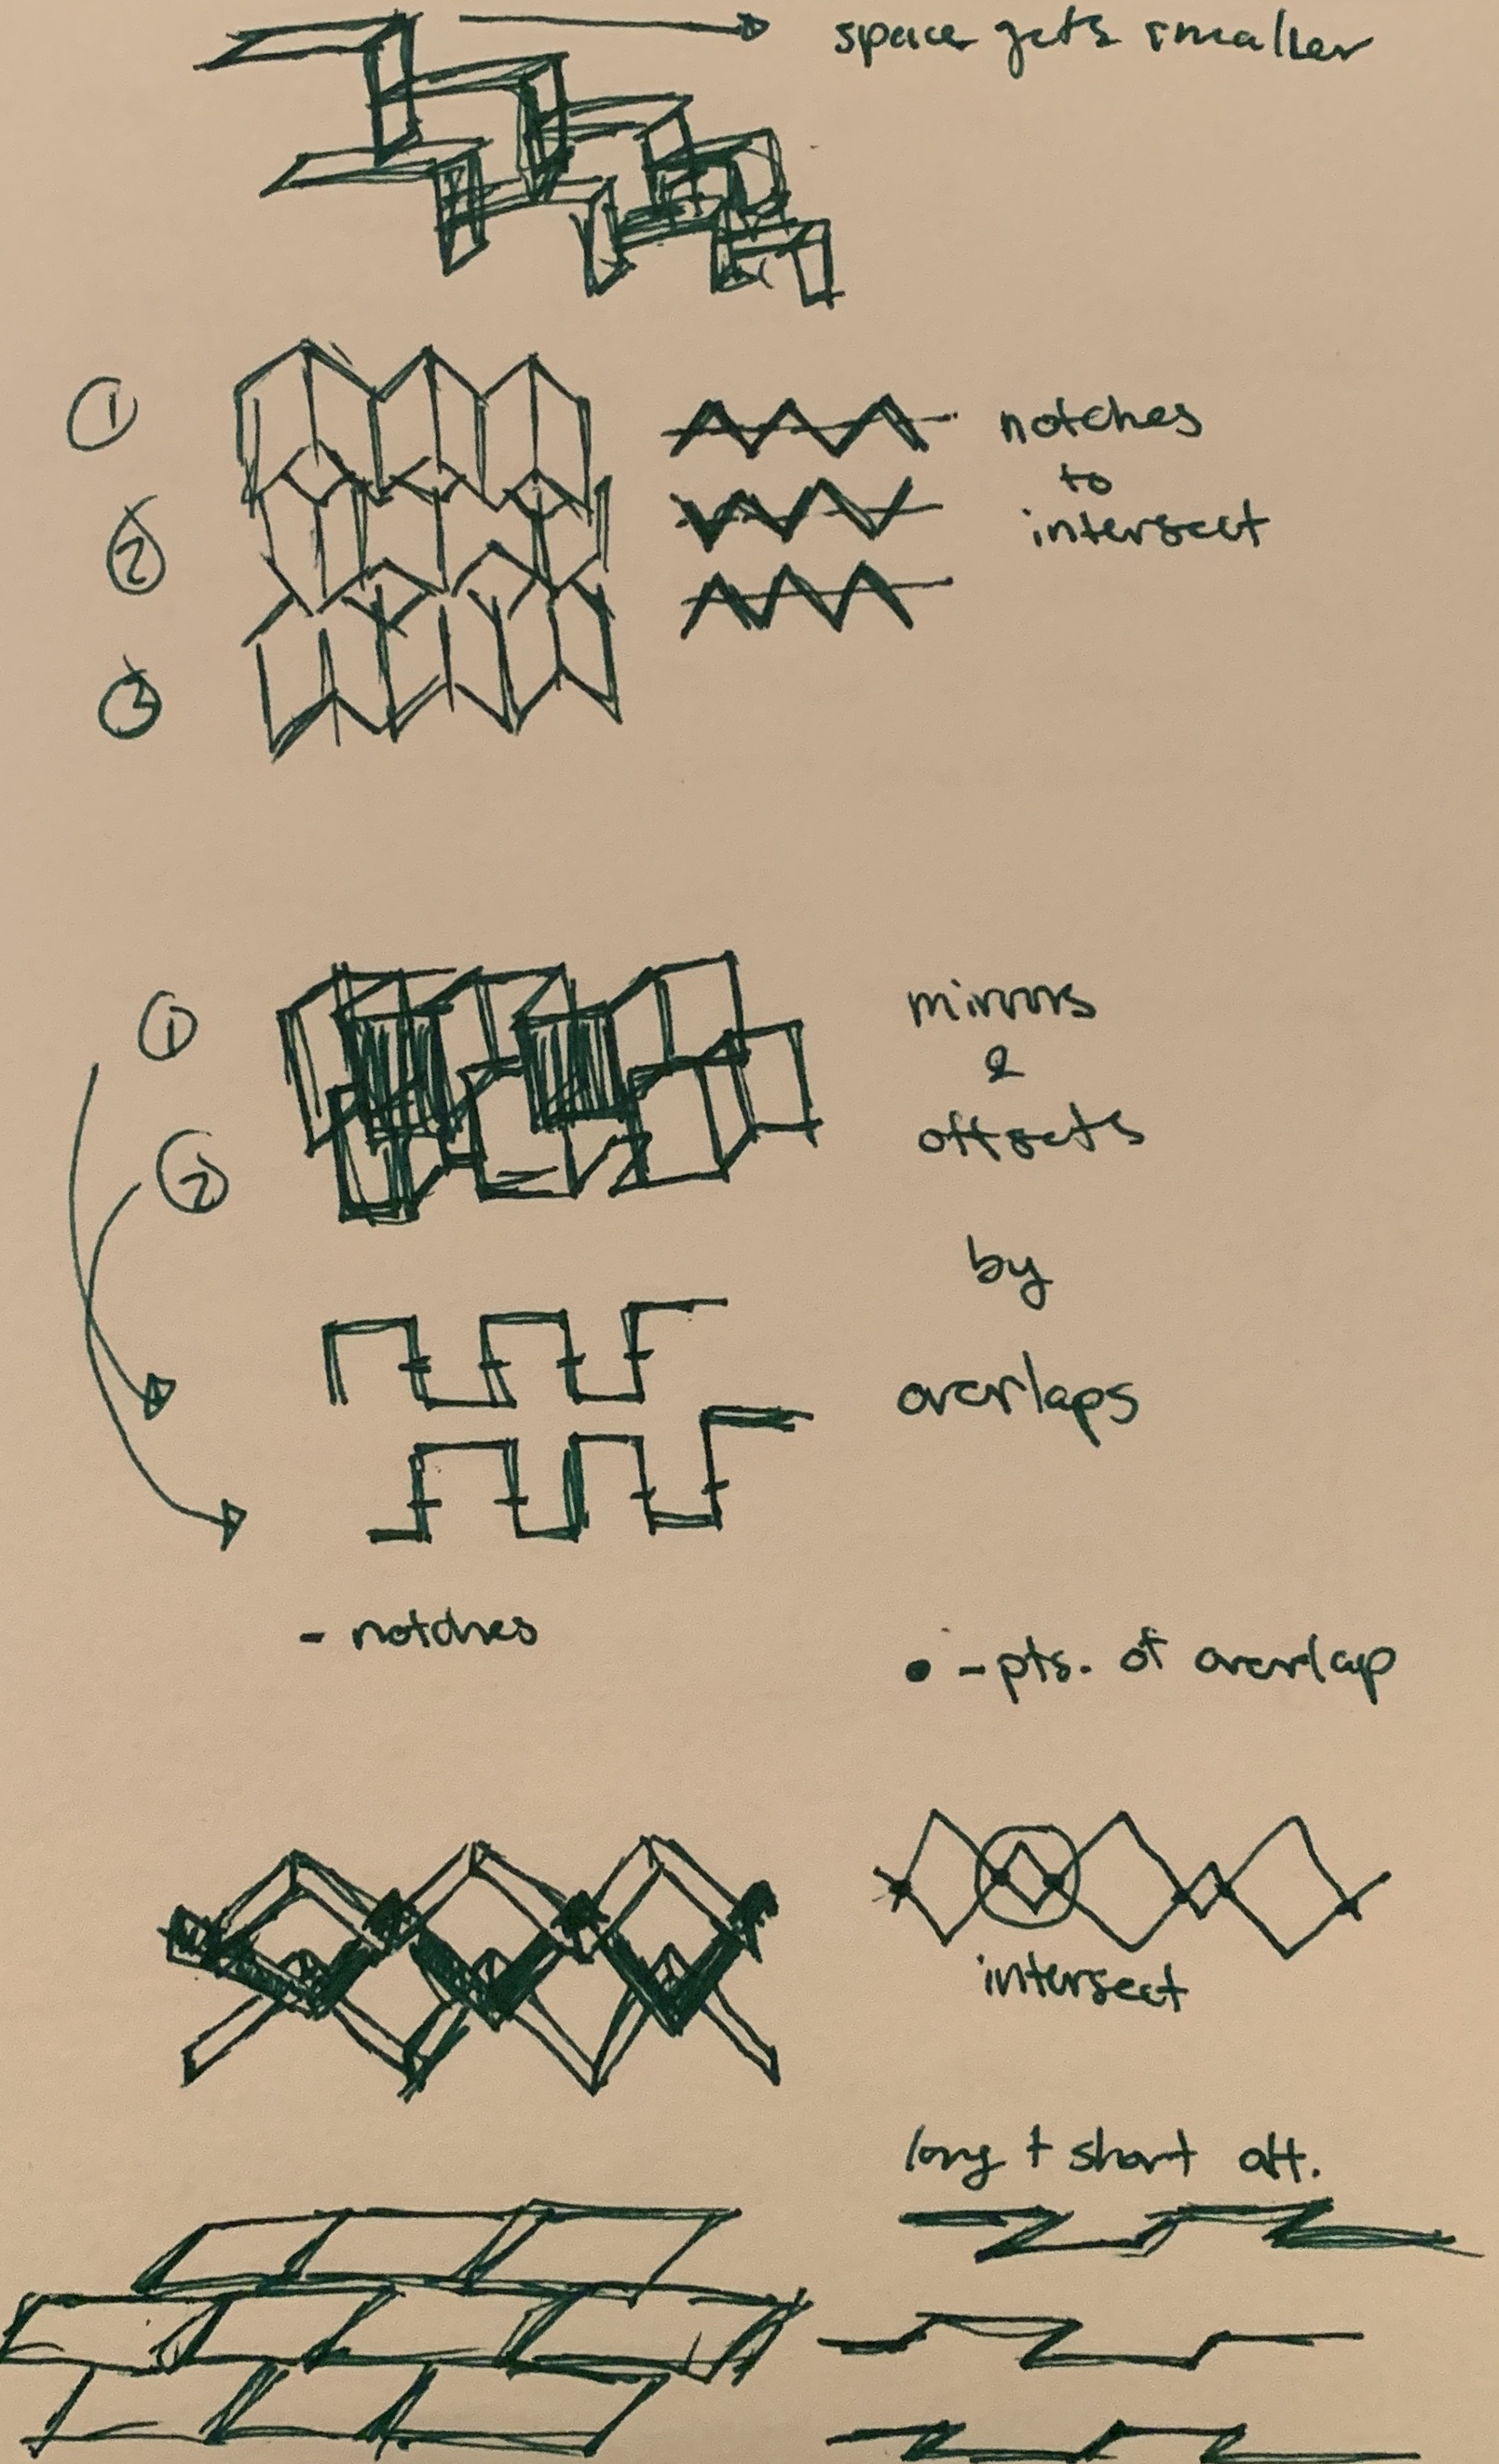
We faced a lot of challenges during this project. A lot of time was spent figuring out the edge conditions (left column and bottom row). We were applying the same code to all quads, but realized the left column needed to wrap around for structure, and the bottom row needed a larger piece below for stability. We isolated the left column and the bottom row and created separate functions for both. This process was successful until we tried to apply the tilt to the shelves again. The tilts were not matching up across the left column, bottom row, and the rest of the panel. Moreover, the intersection points between parts was not accurate when we tried to create notches for lasercutting. As a result, we decided to turn off the isolations and treat the panel as one whole for the purpose of successfully lasercutting.
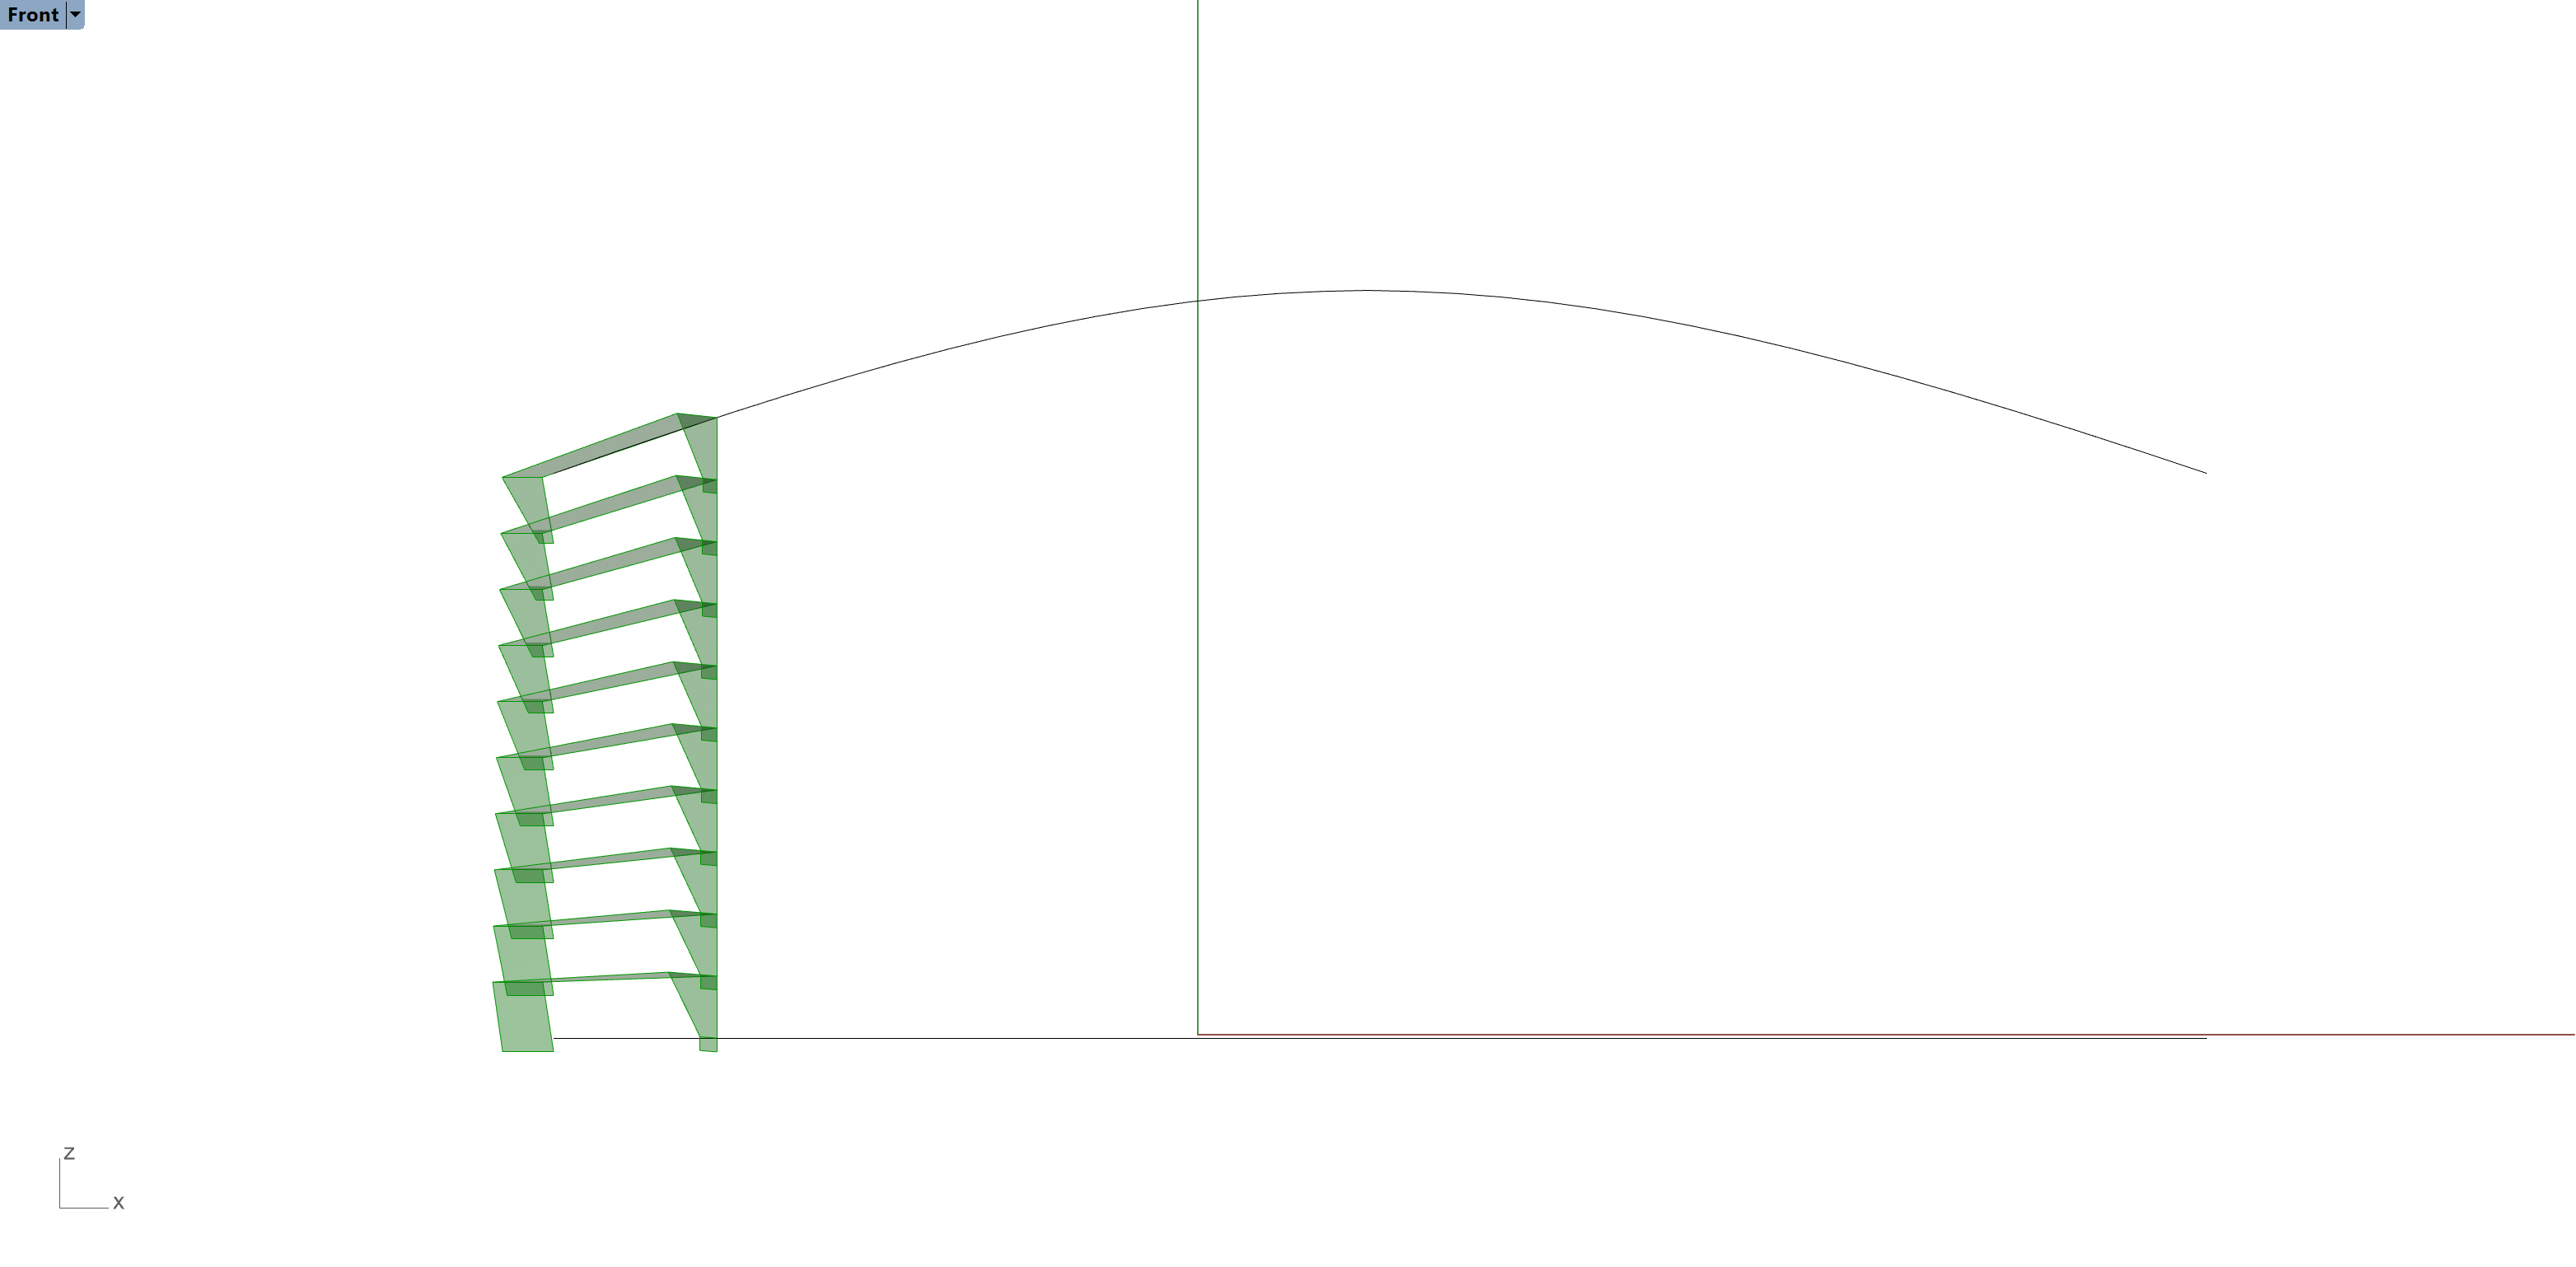
While we were able to tilt the shelves, we wanted to tilt each shelf at a different angle to create a gradual transition. We tried to use MD sliders and attraction points from a class example. However, the class example was trying to change the length of parts not the tilt. Finding the correct points with attractor points was not successful for us.
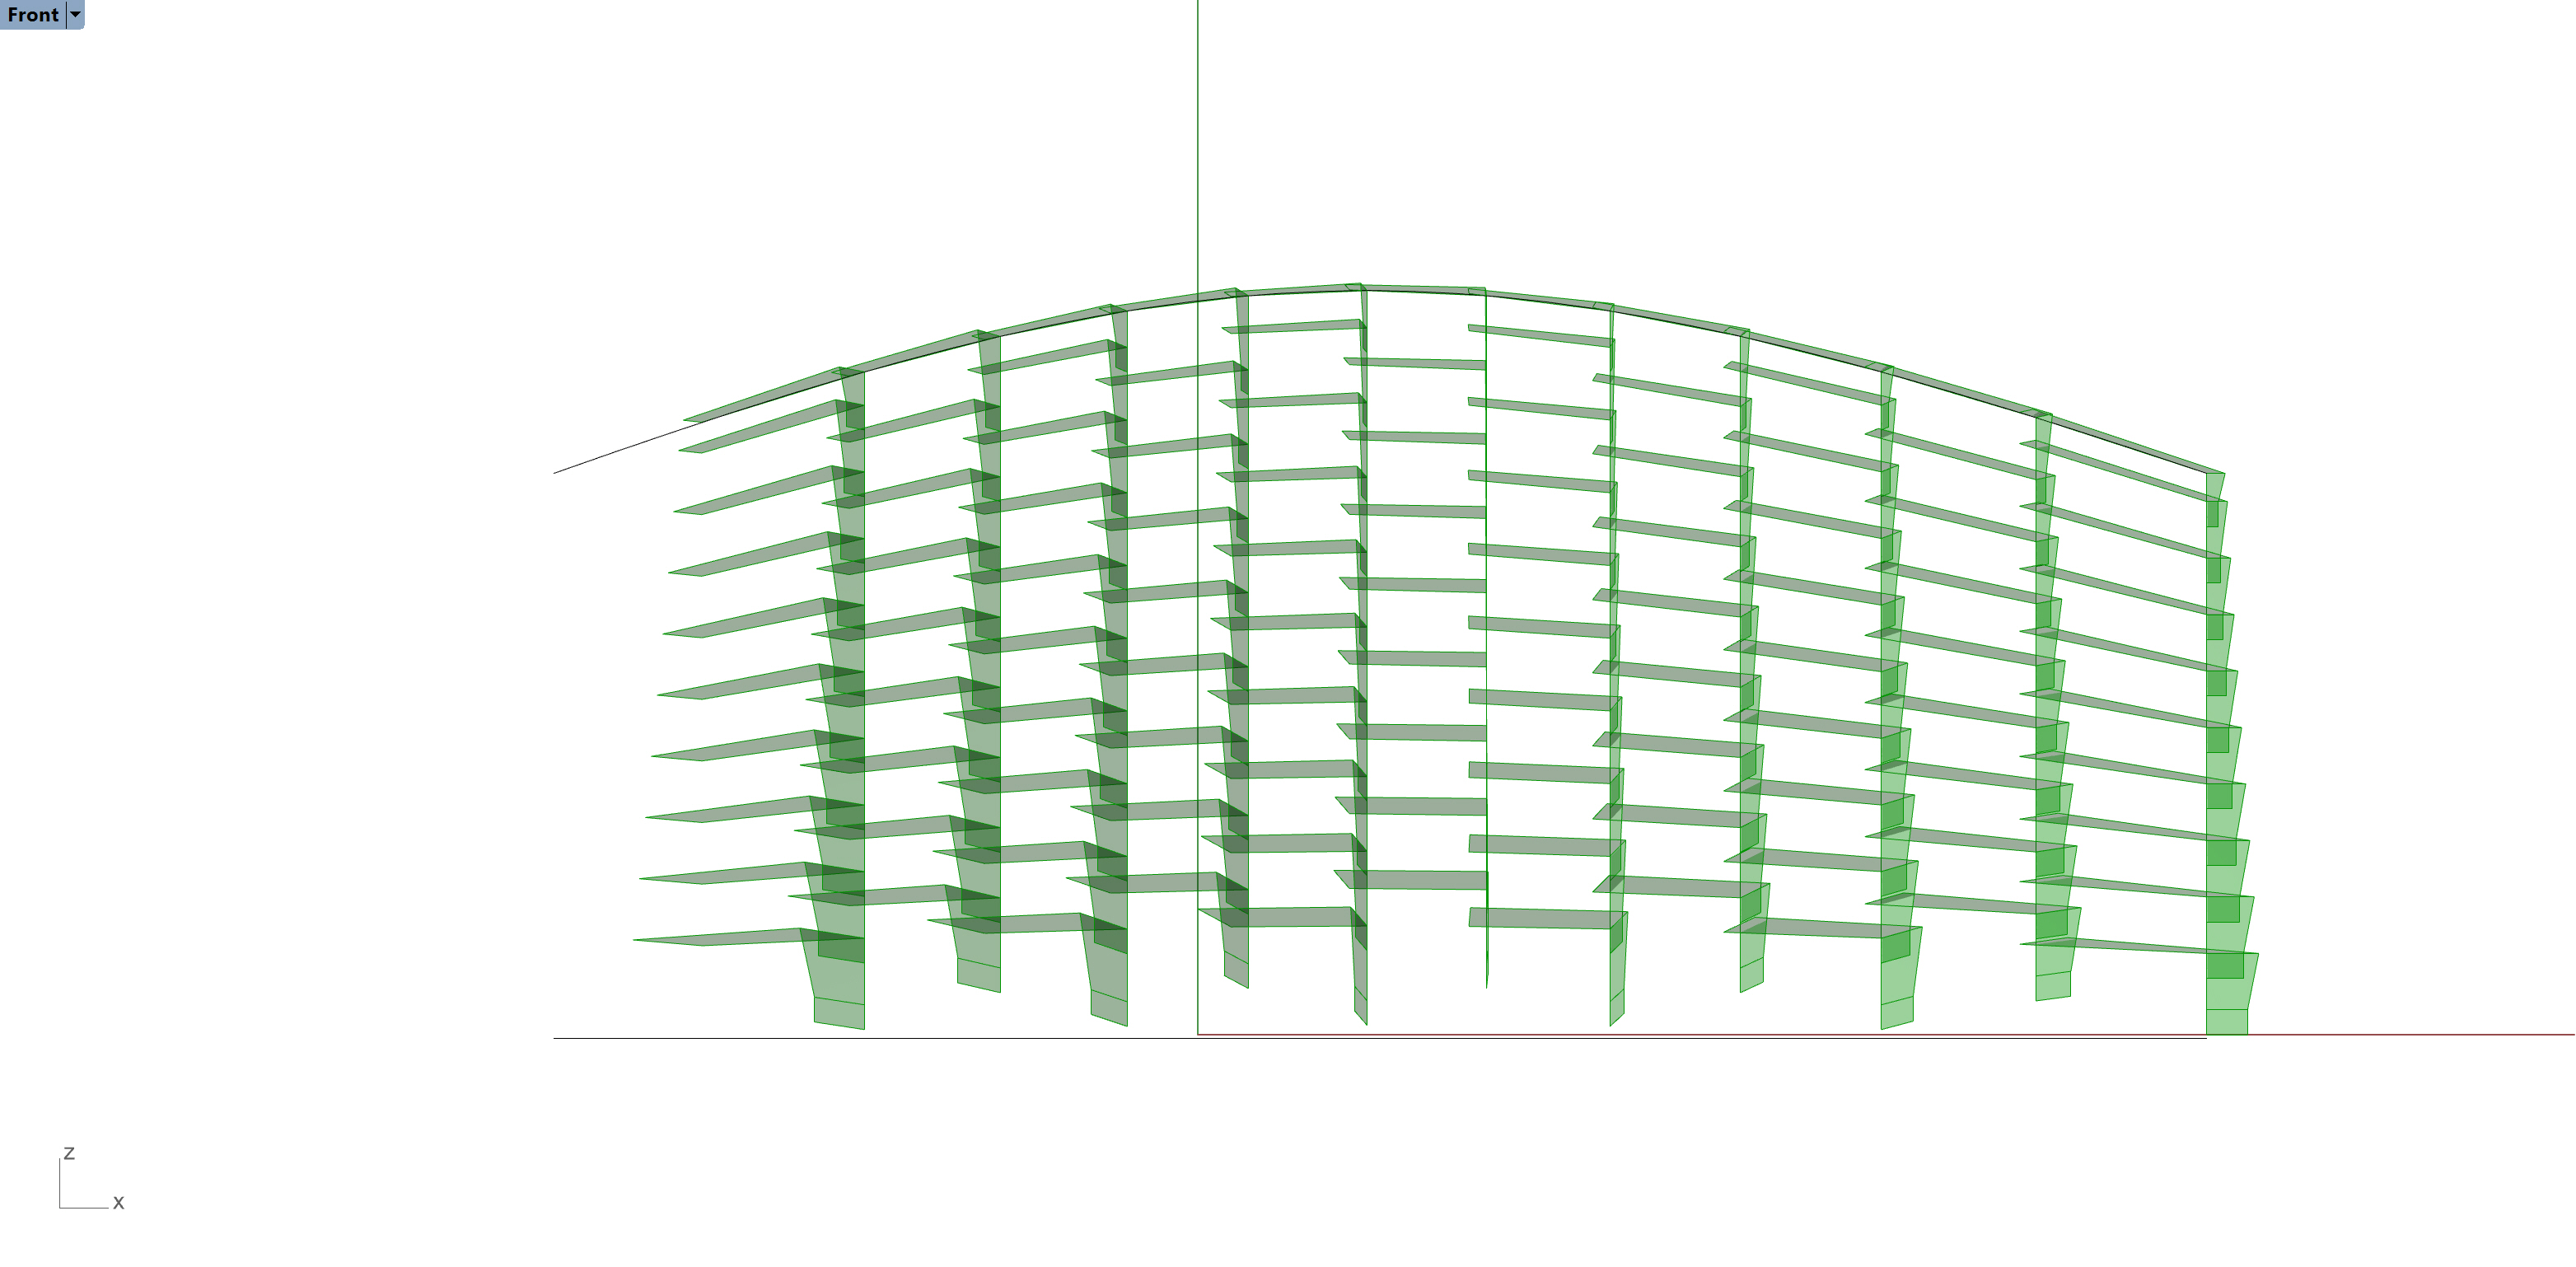
Overall, we were able to test different configurations of our shelves and explore ways to manipulate different areas of the screen. The process of creating in grasshopper and then assembling lasercut pieces in real life is useful for studio.