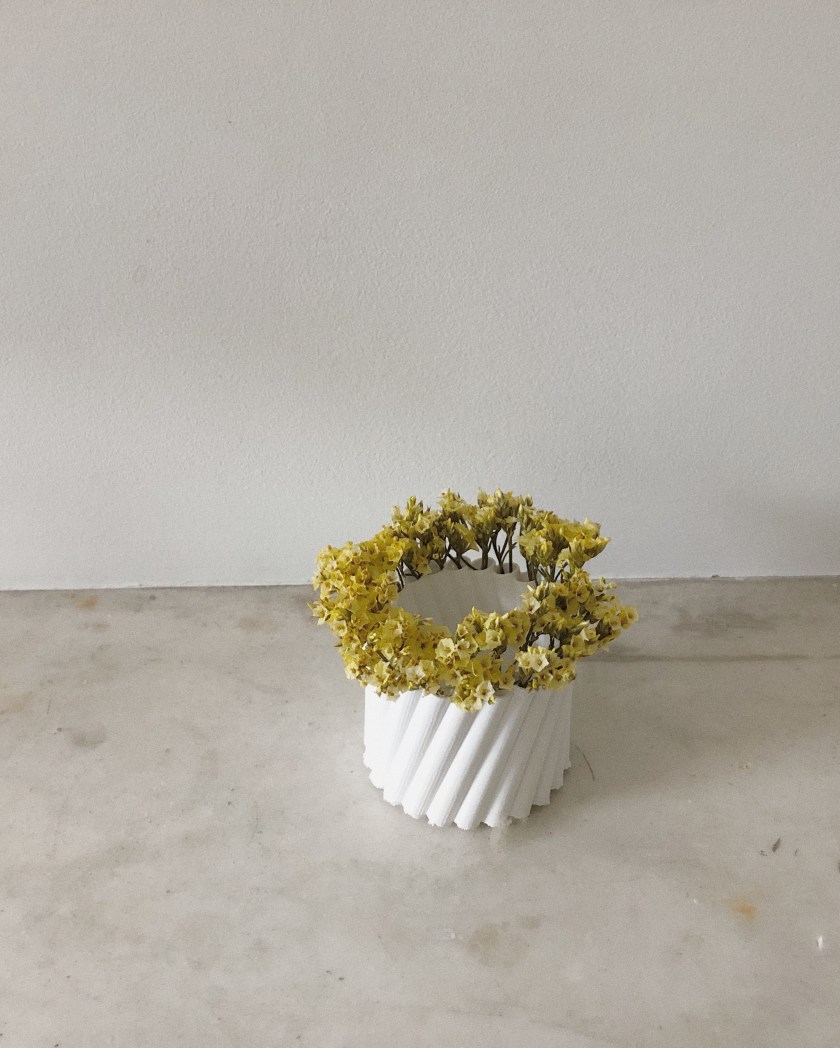
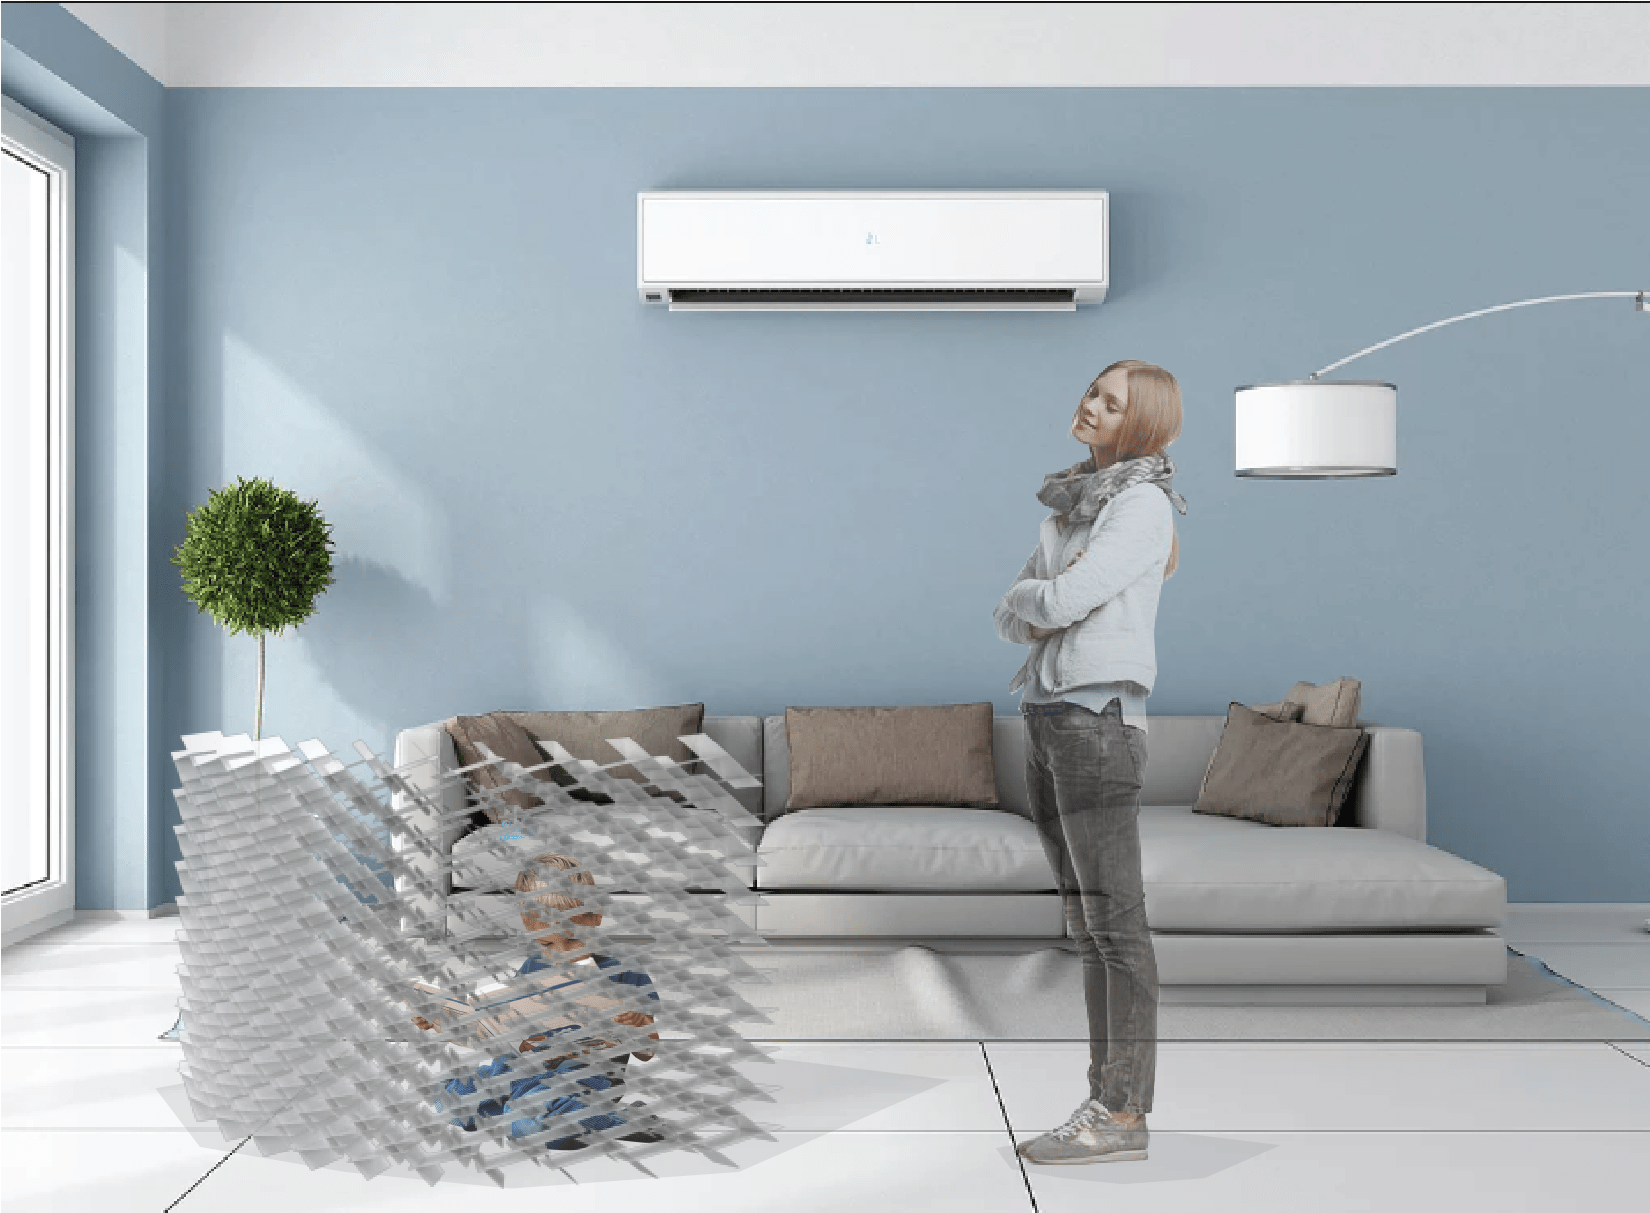
This project was inspired by the difficulty often faced when putting flowers in a vase. The flowers either clump together or are too far apart. This work aims to create a vase that makes a balanced bouquet no matter how many stems you have.
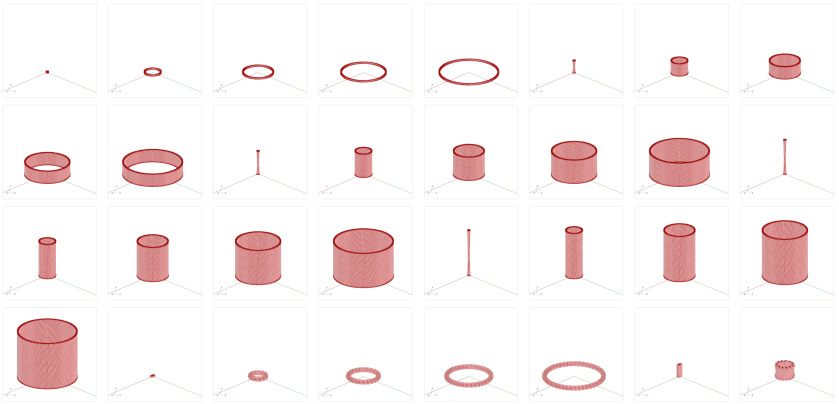
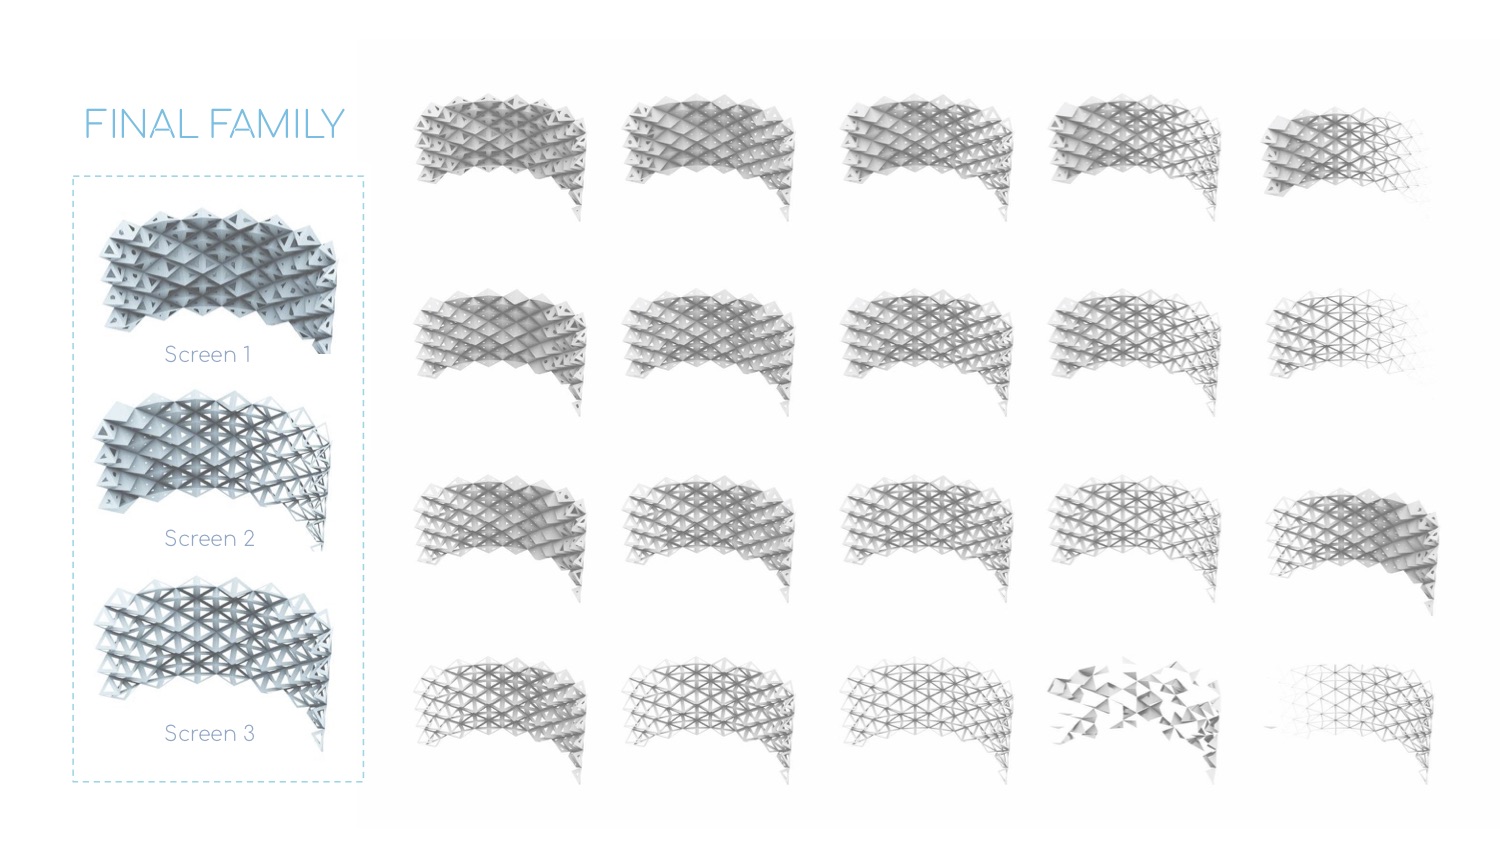
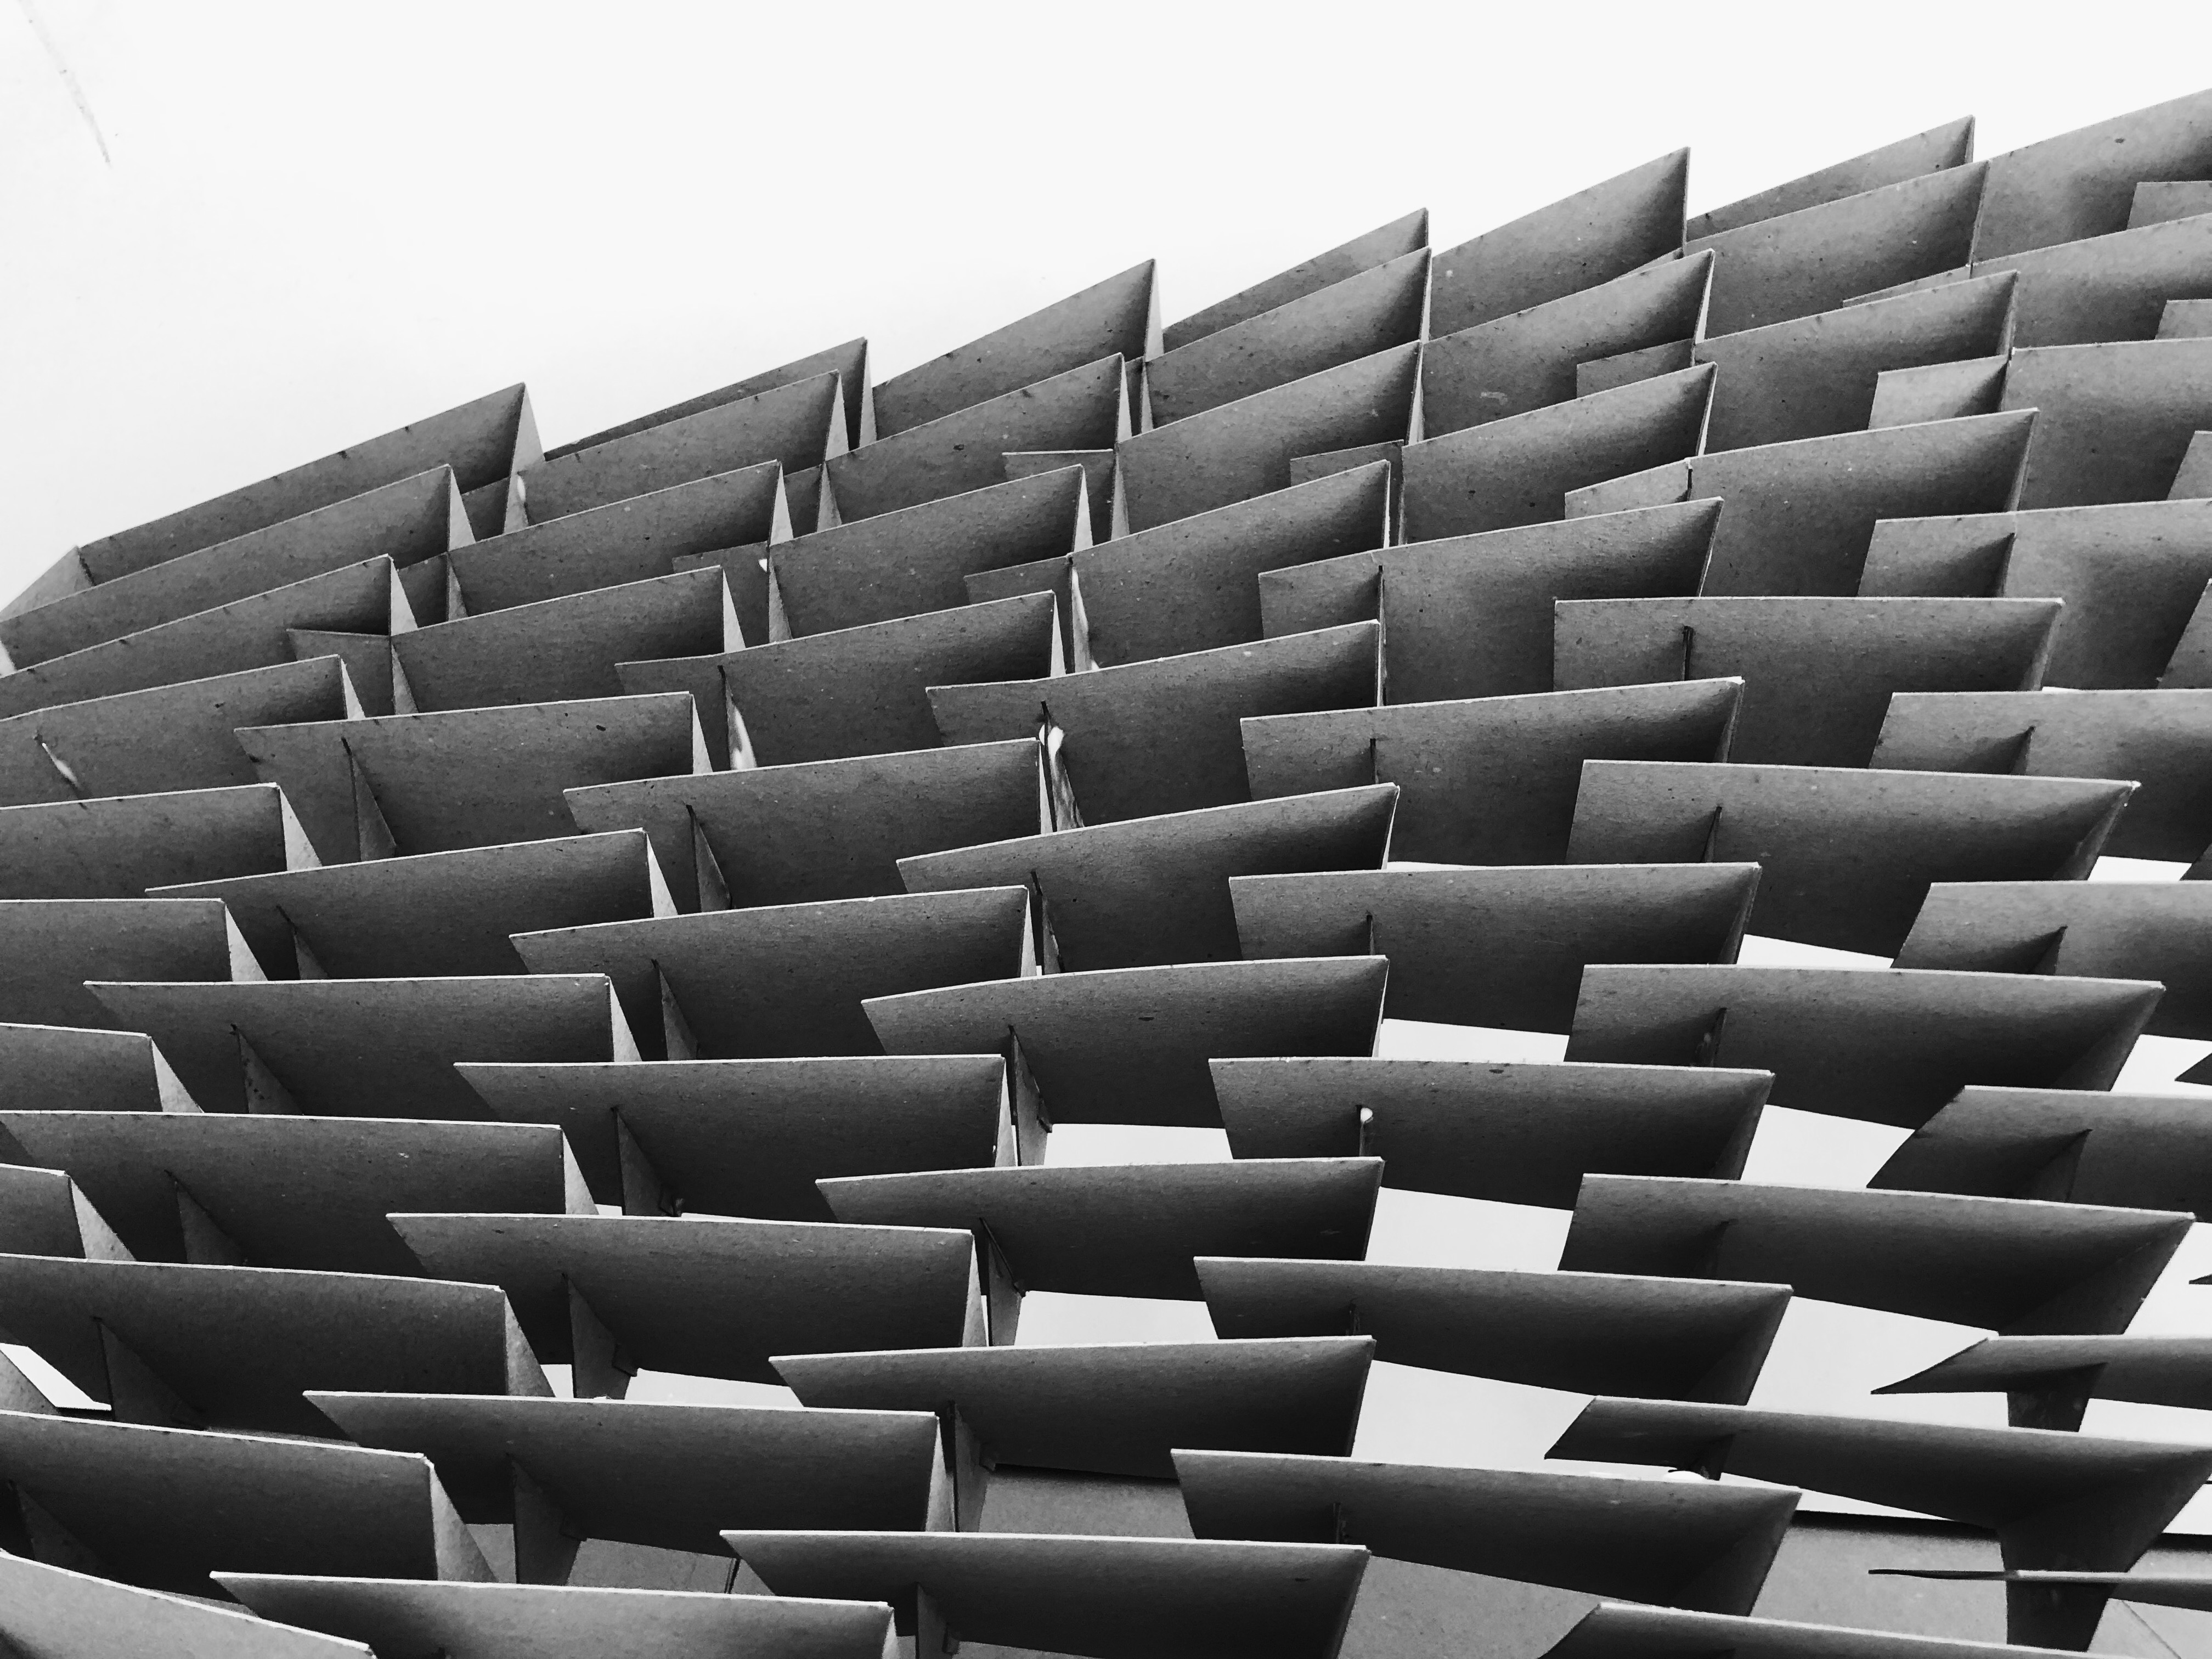
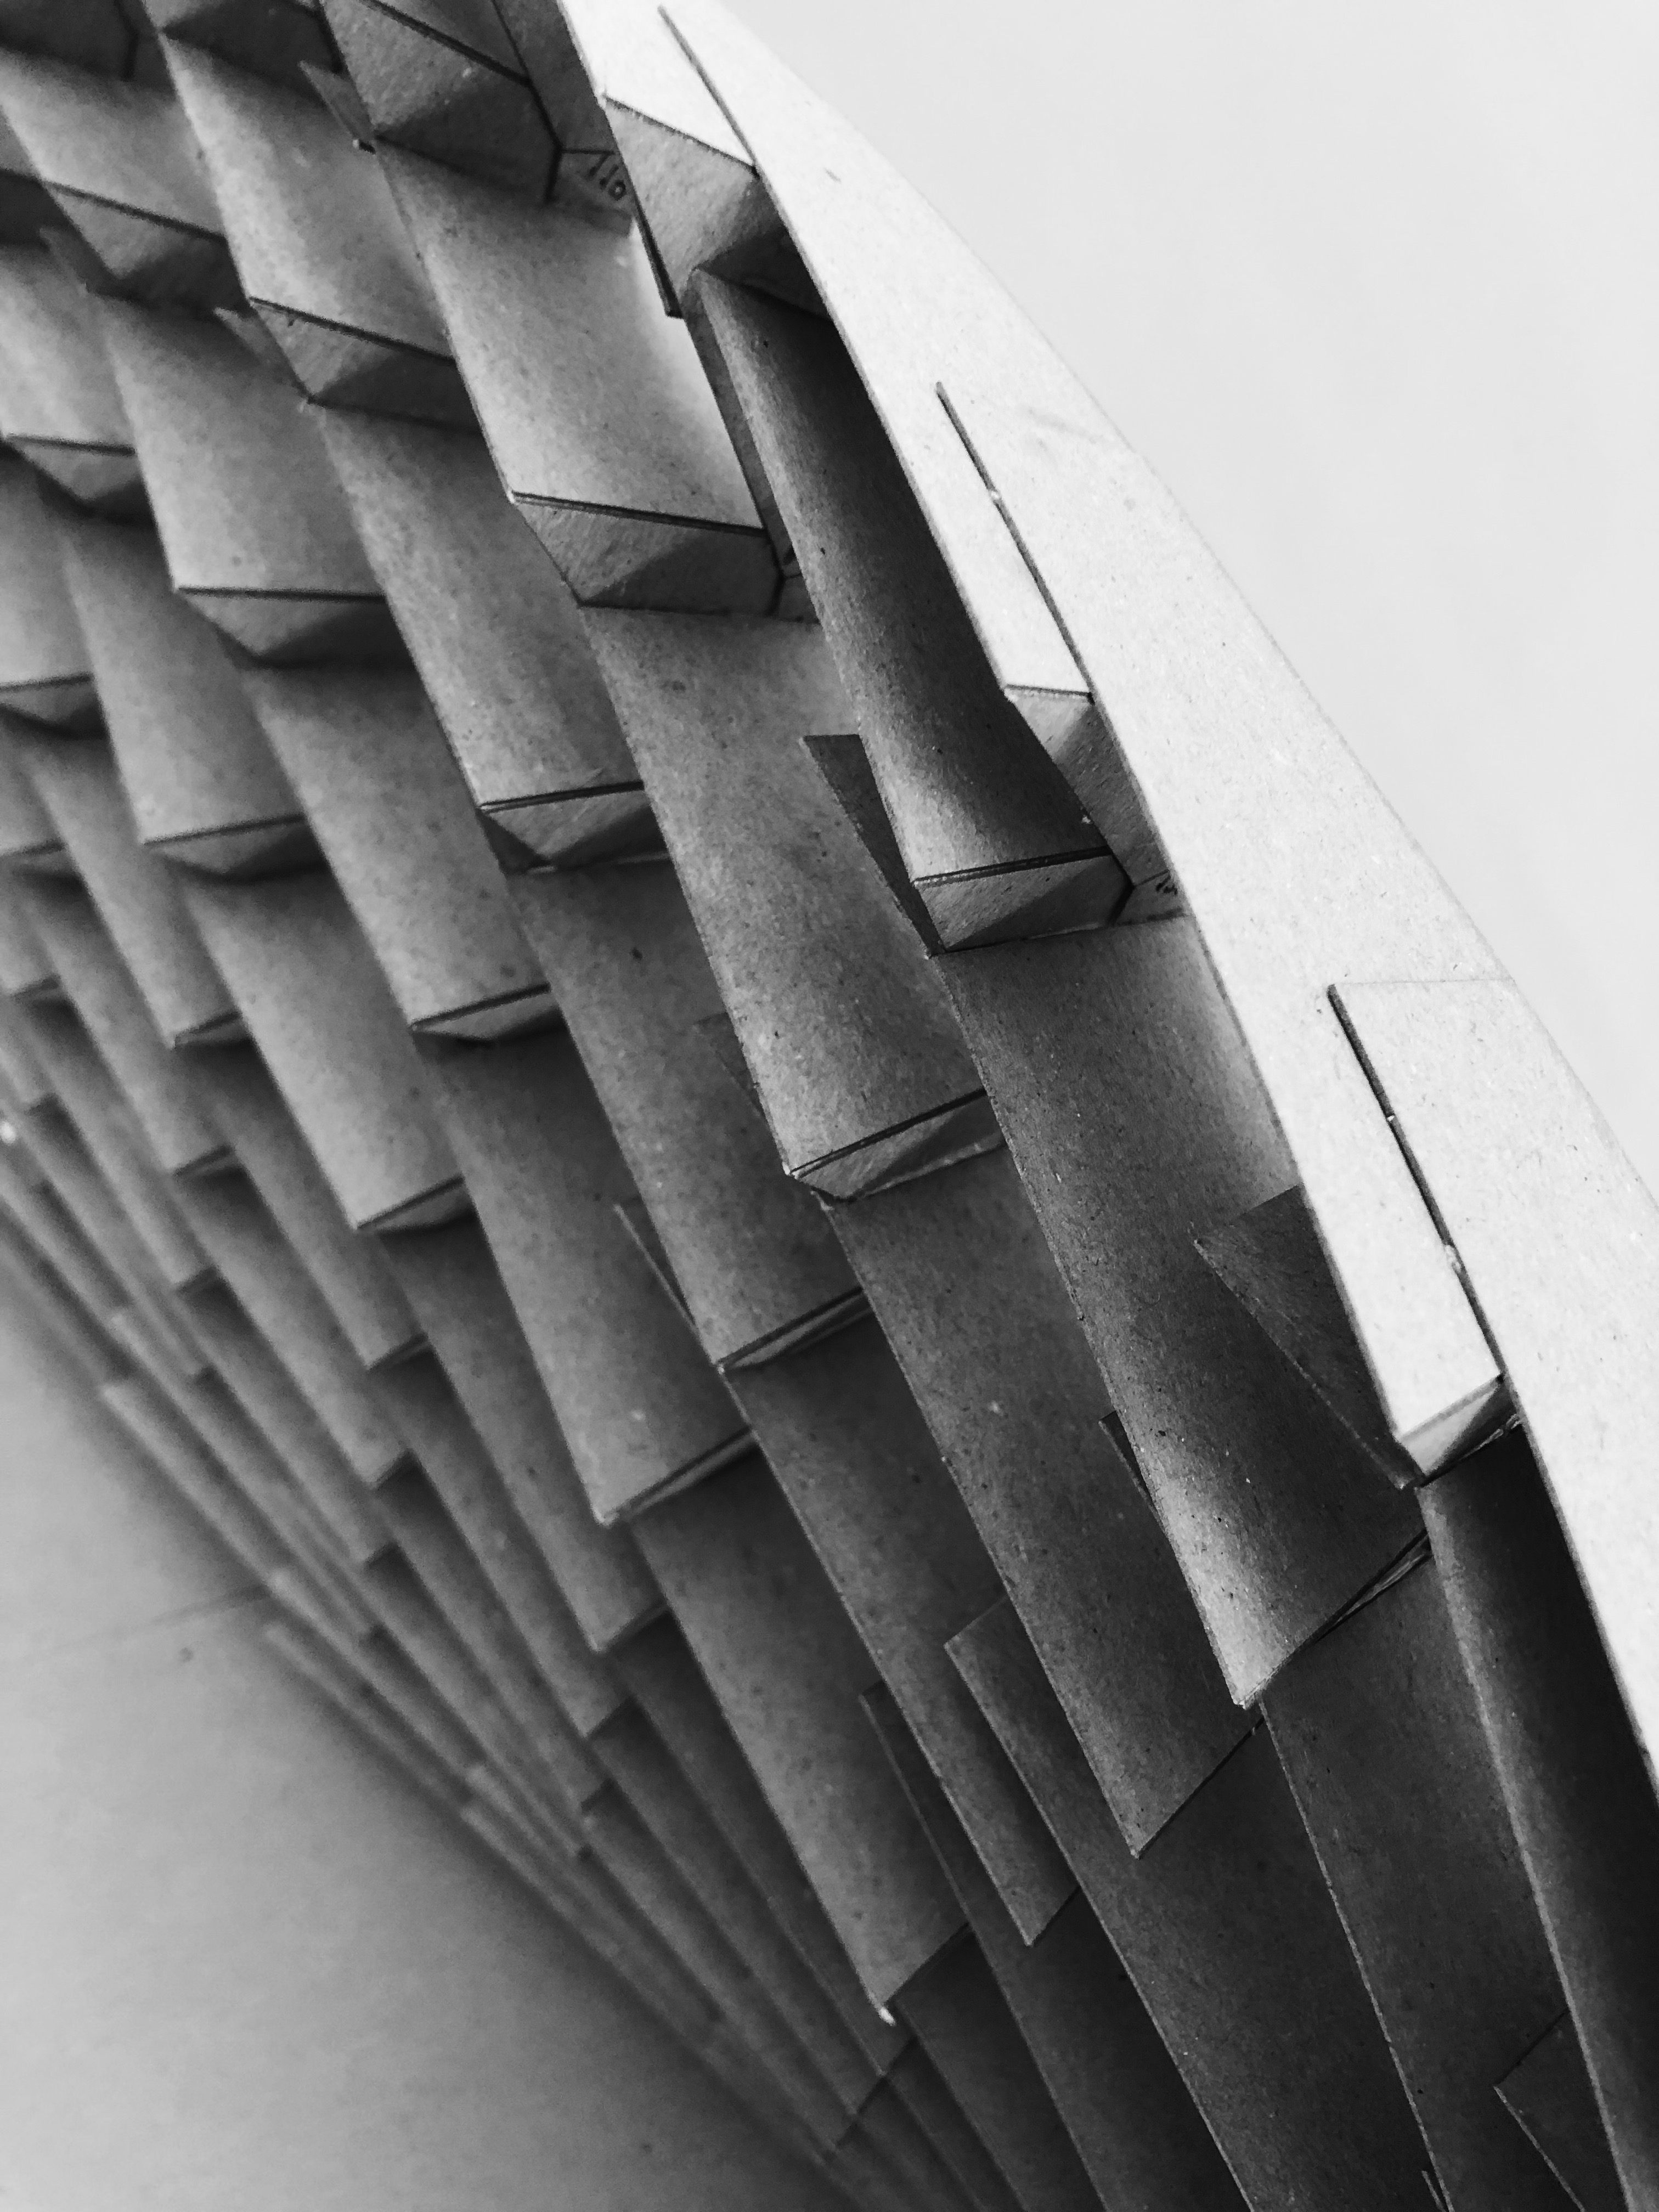
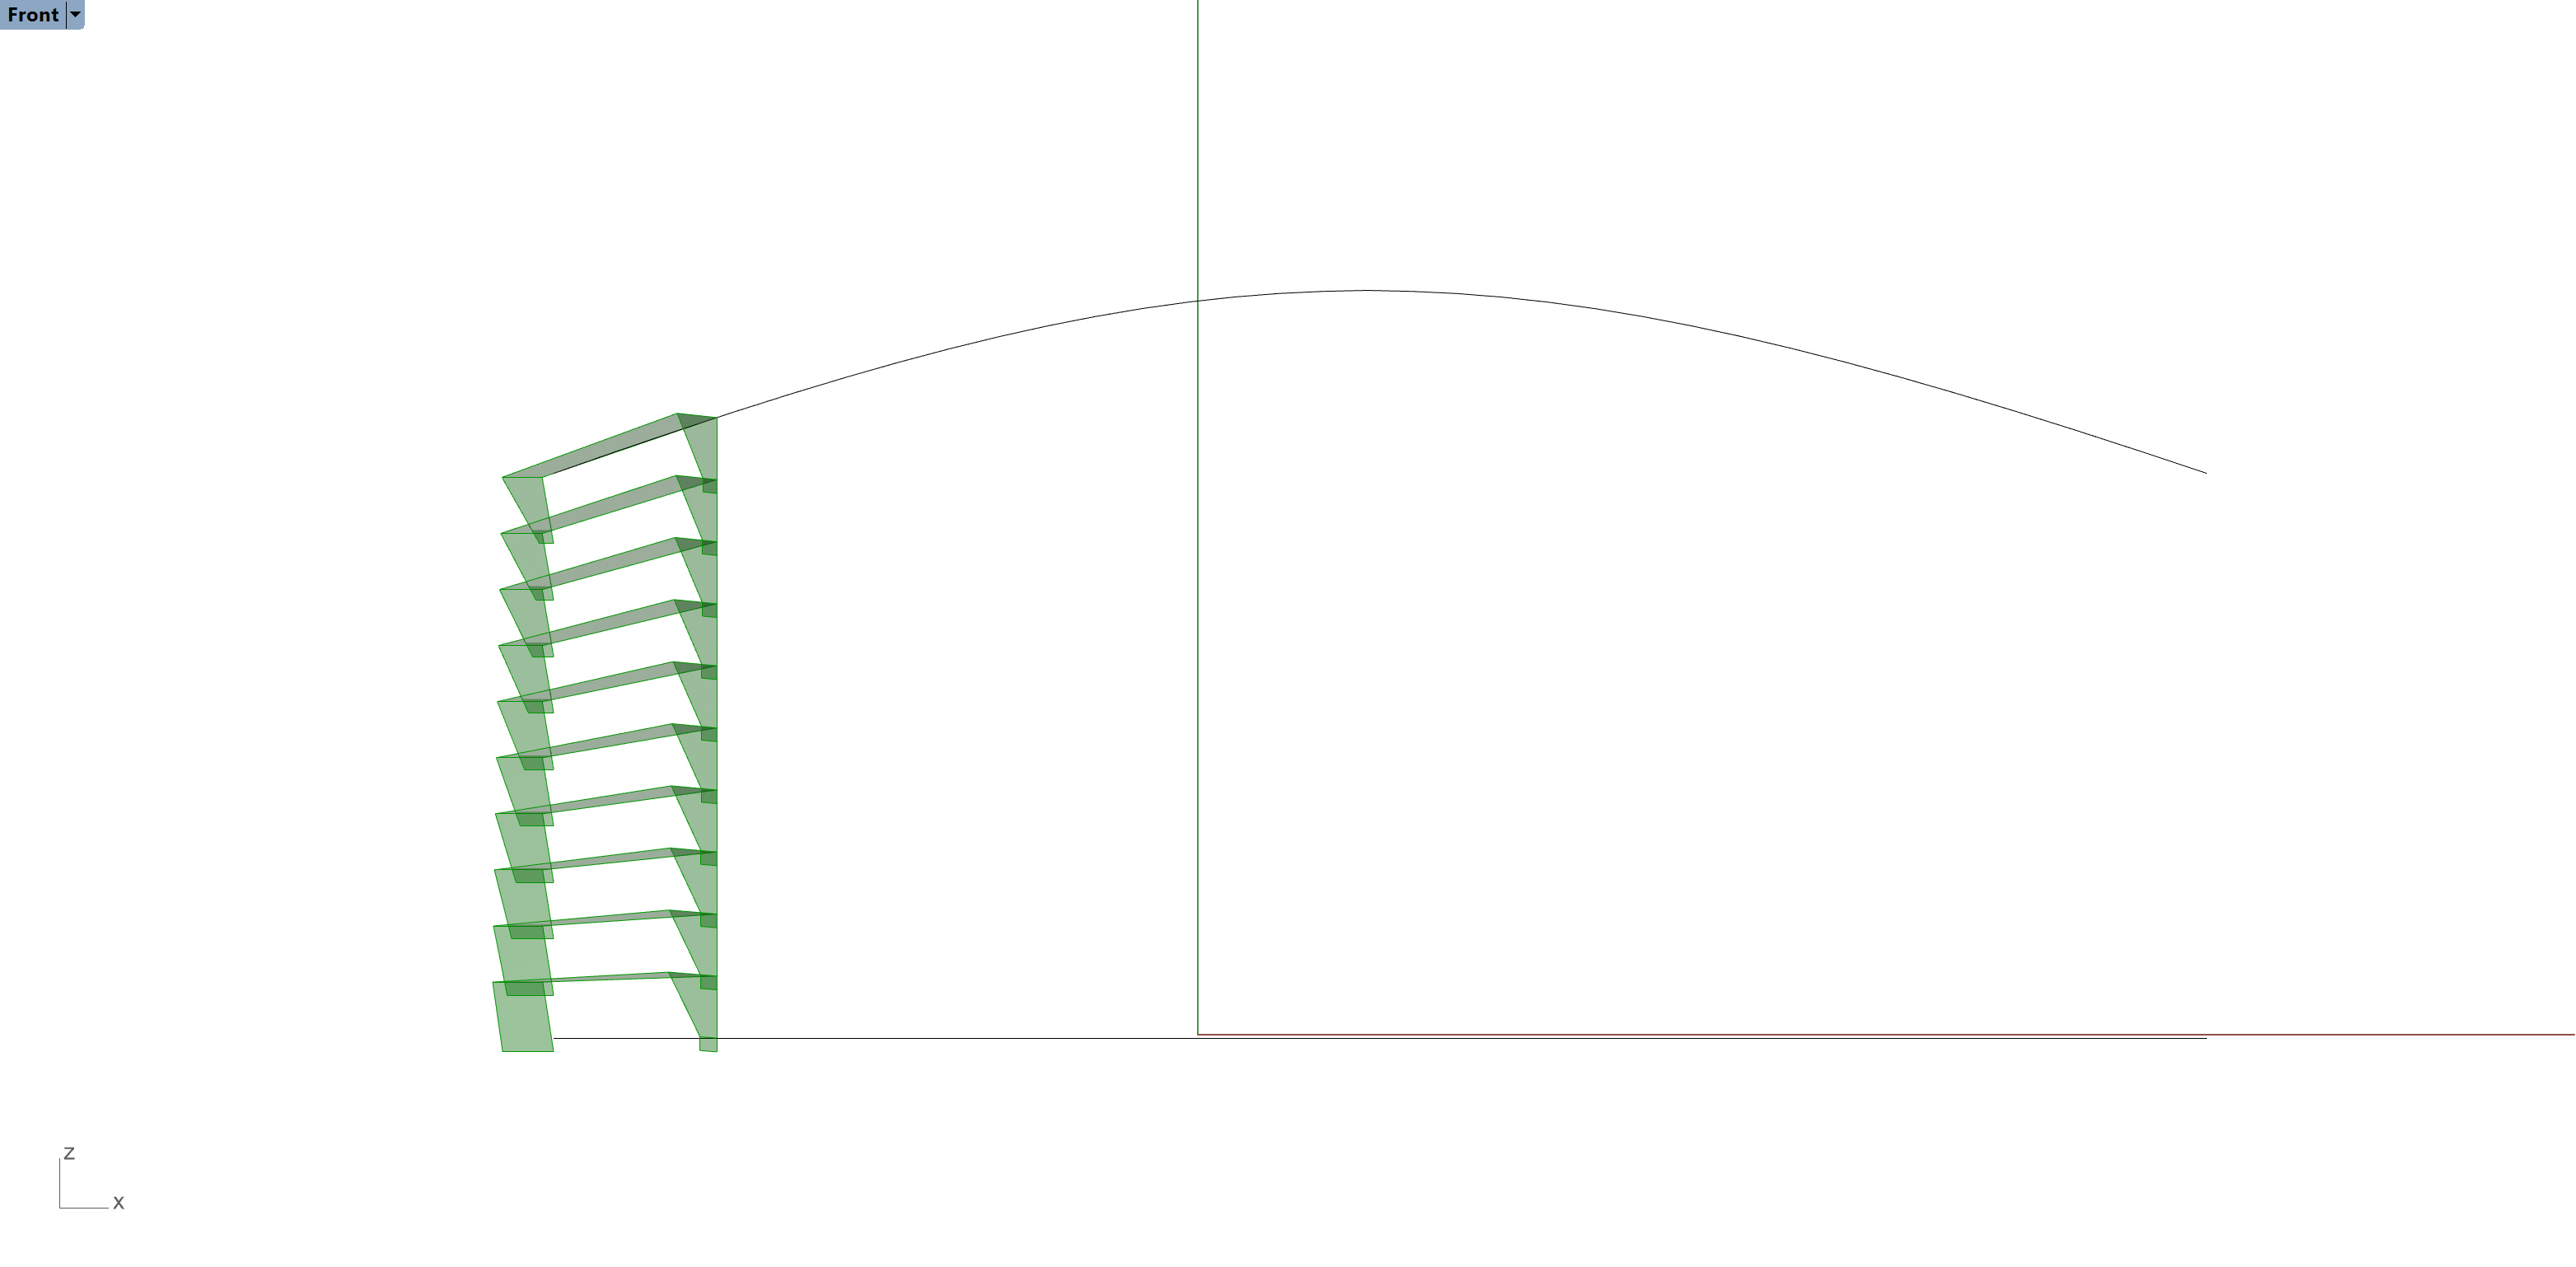
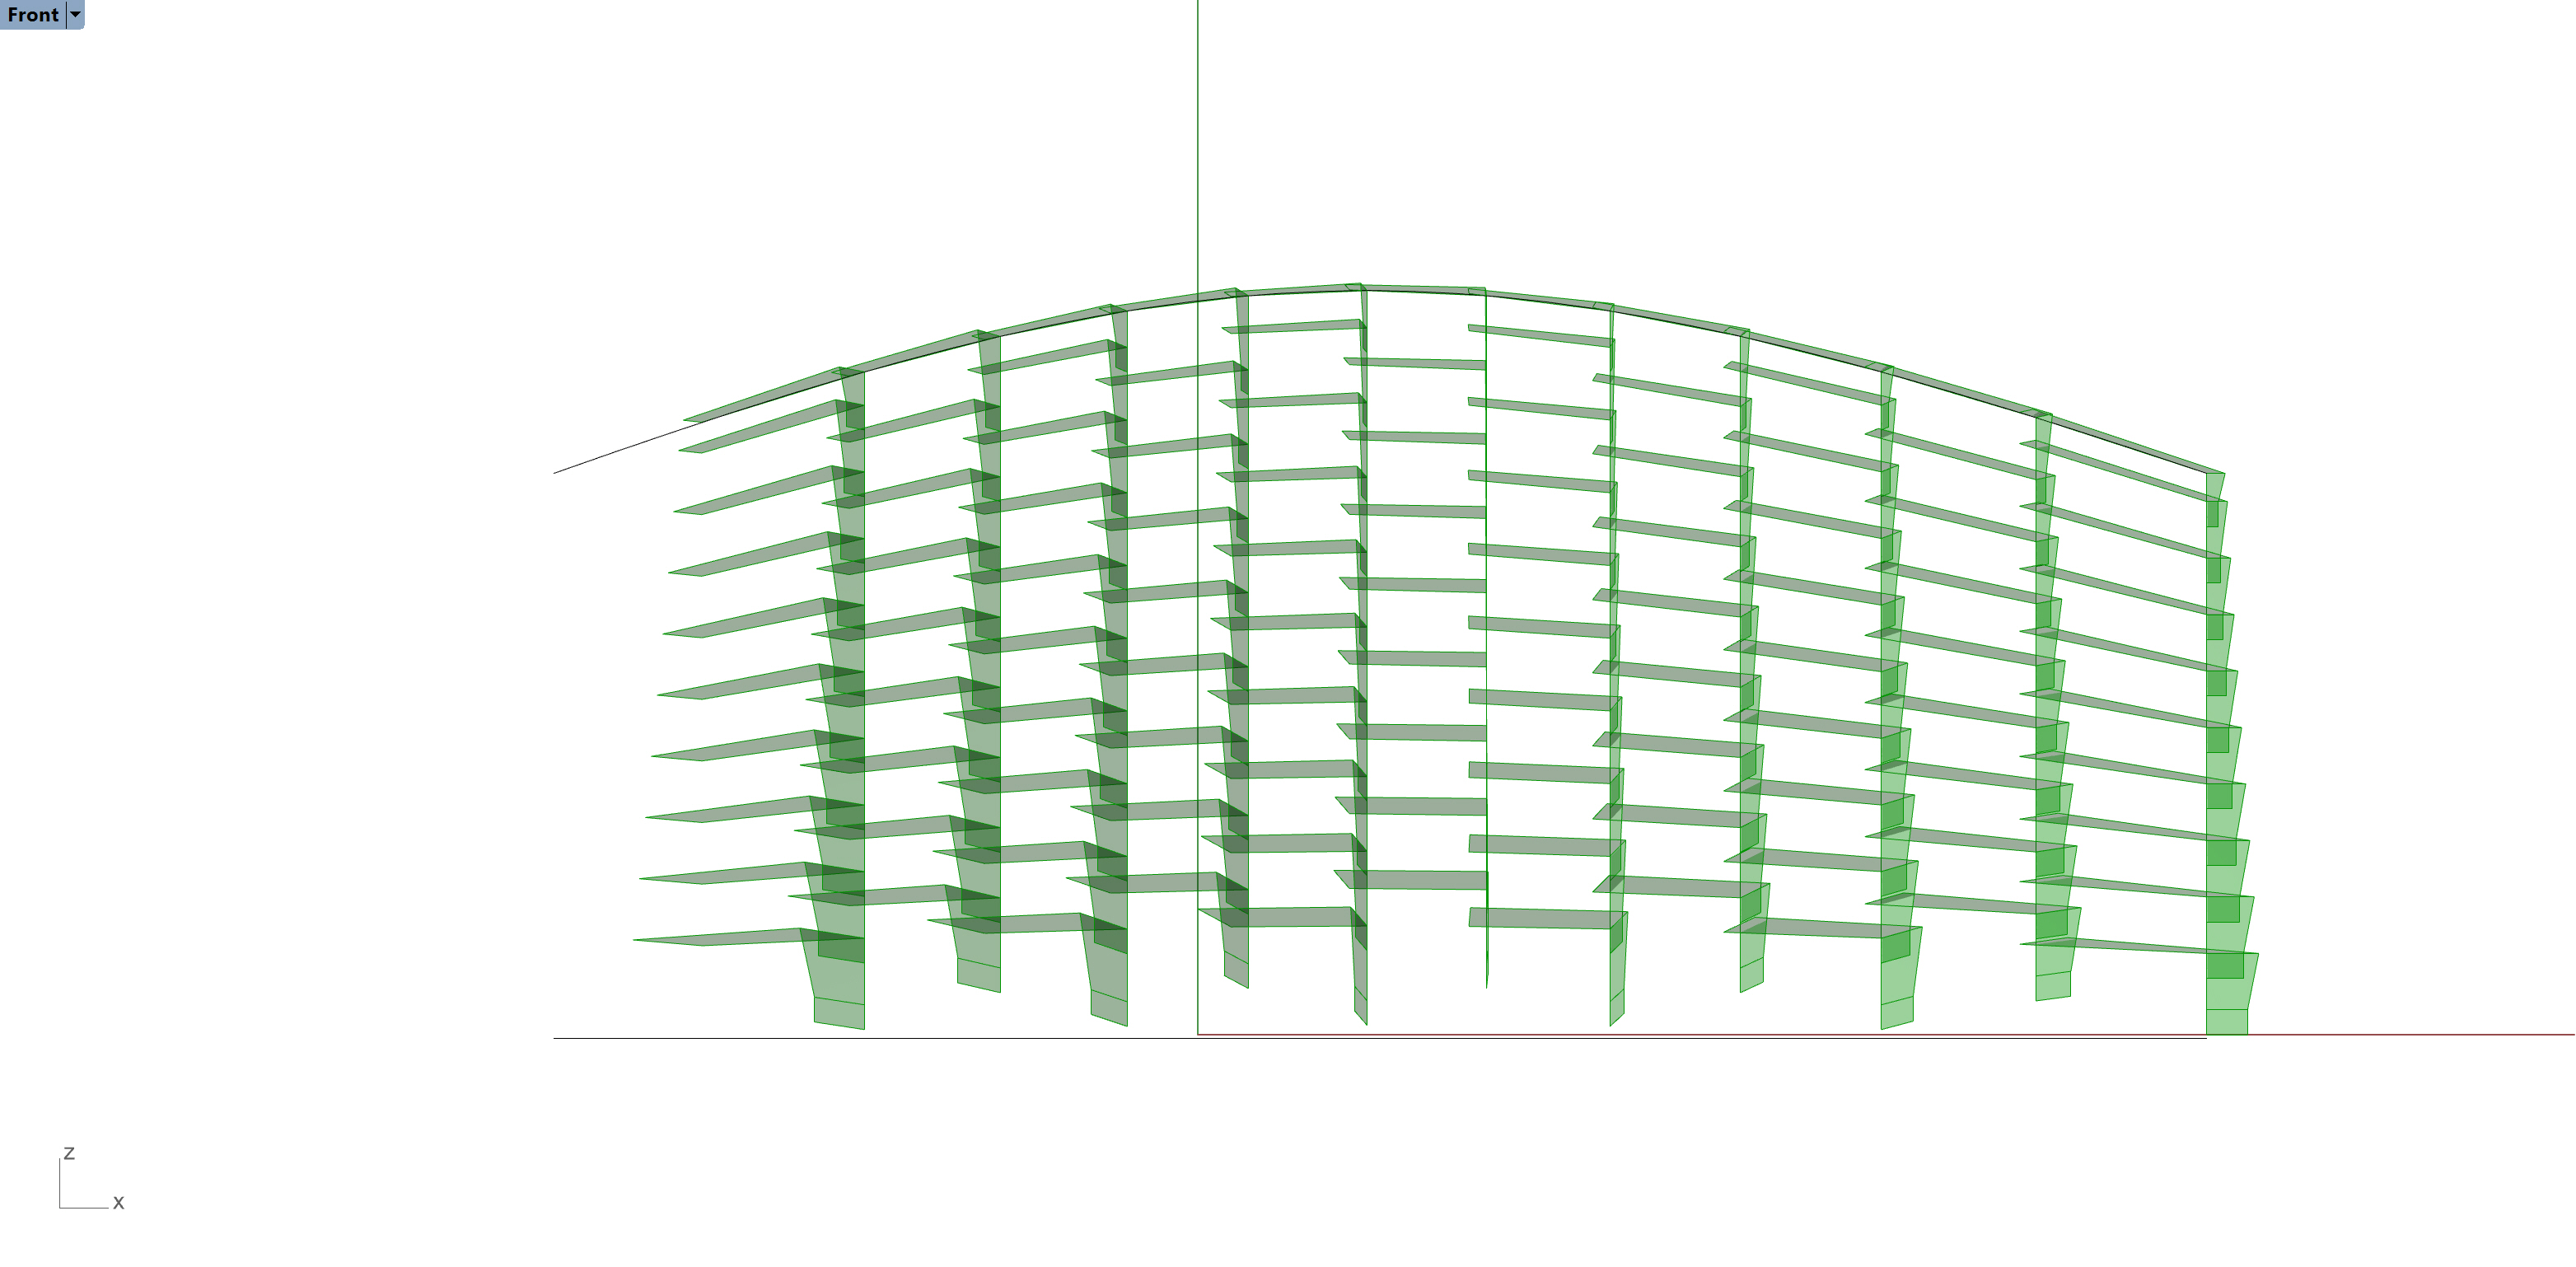
The design utilizes a series of tubes that run along a circle. The diameter of the circle and the tubes can change, independent of each other. The tubes can also be tilted at an angle, which gives the forms a tapered silhouette. The tubes can also change in height. I printed a range of products – from many tubes with low tilt to few tubes with high tilt.
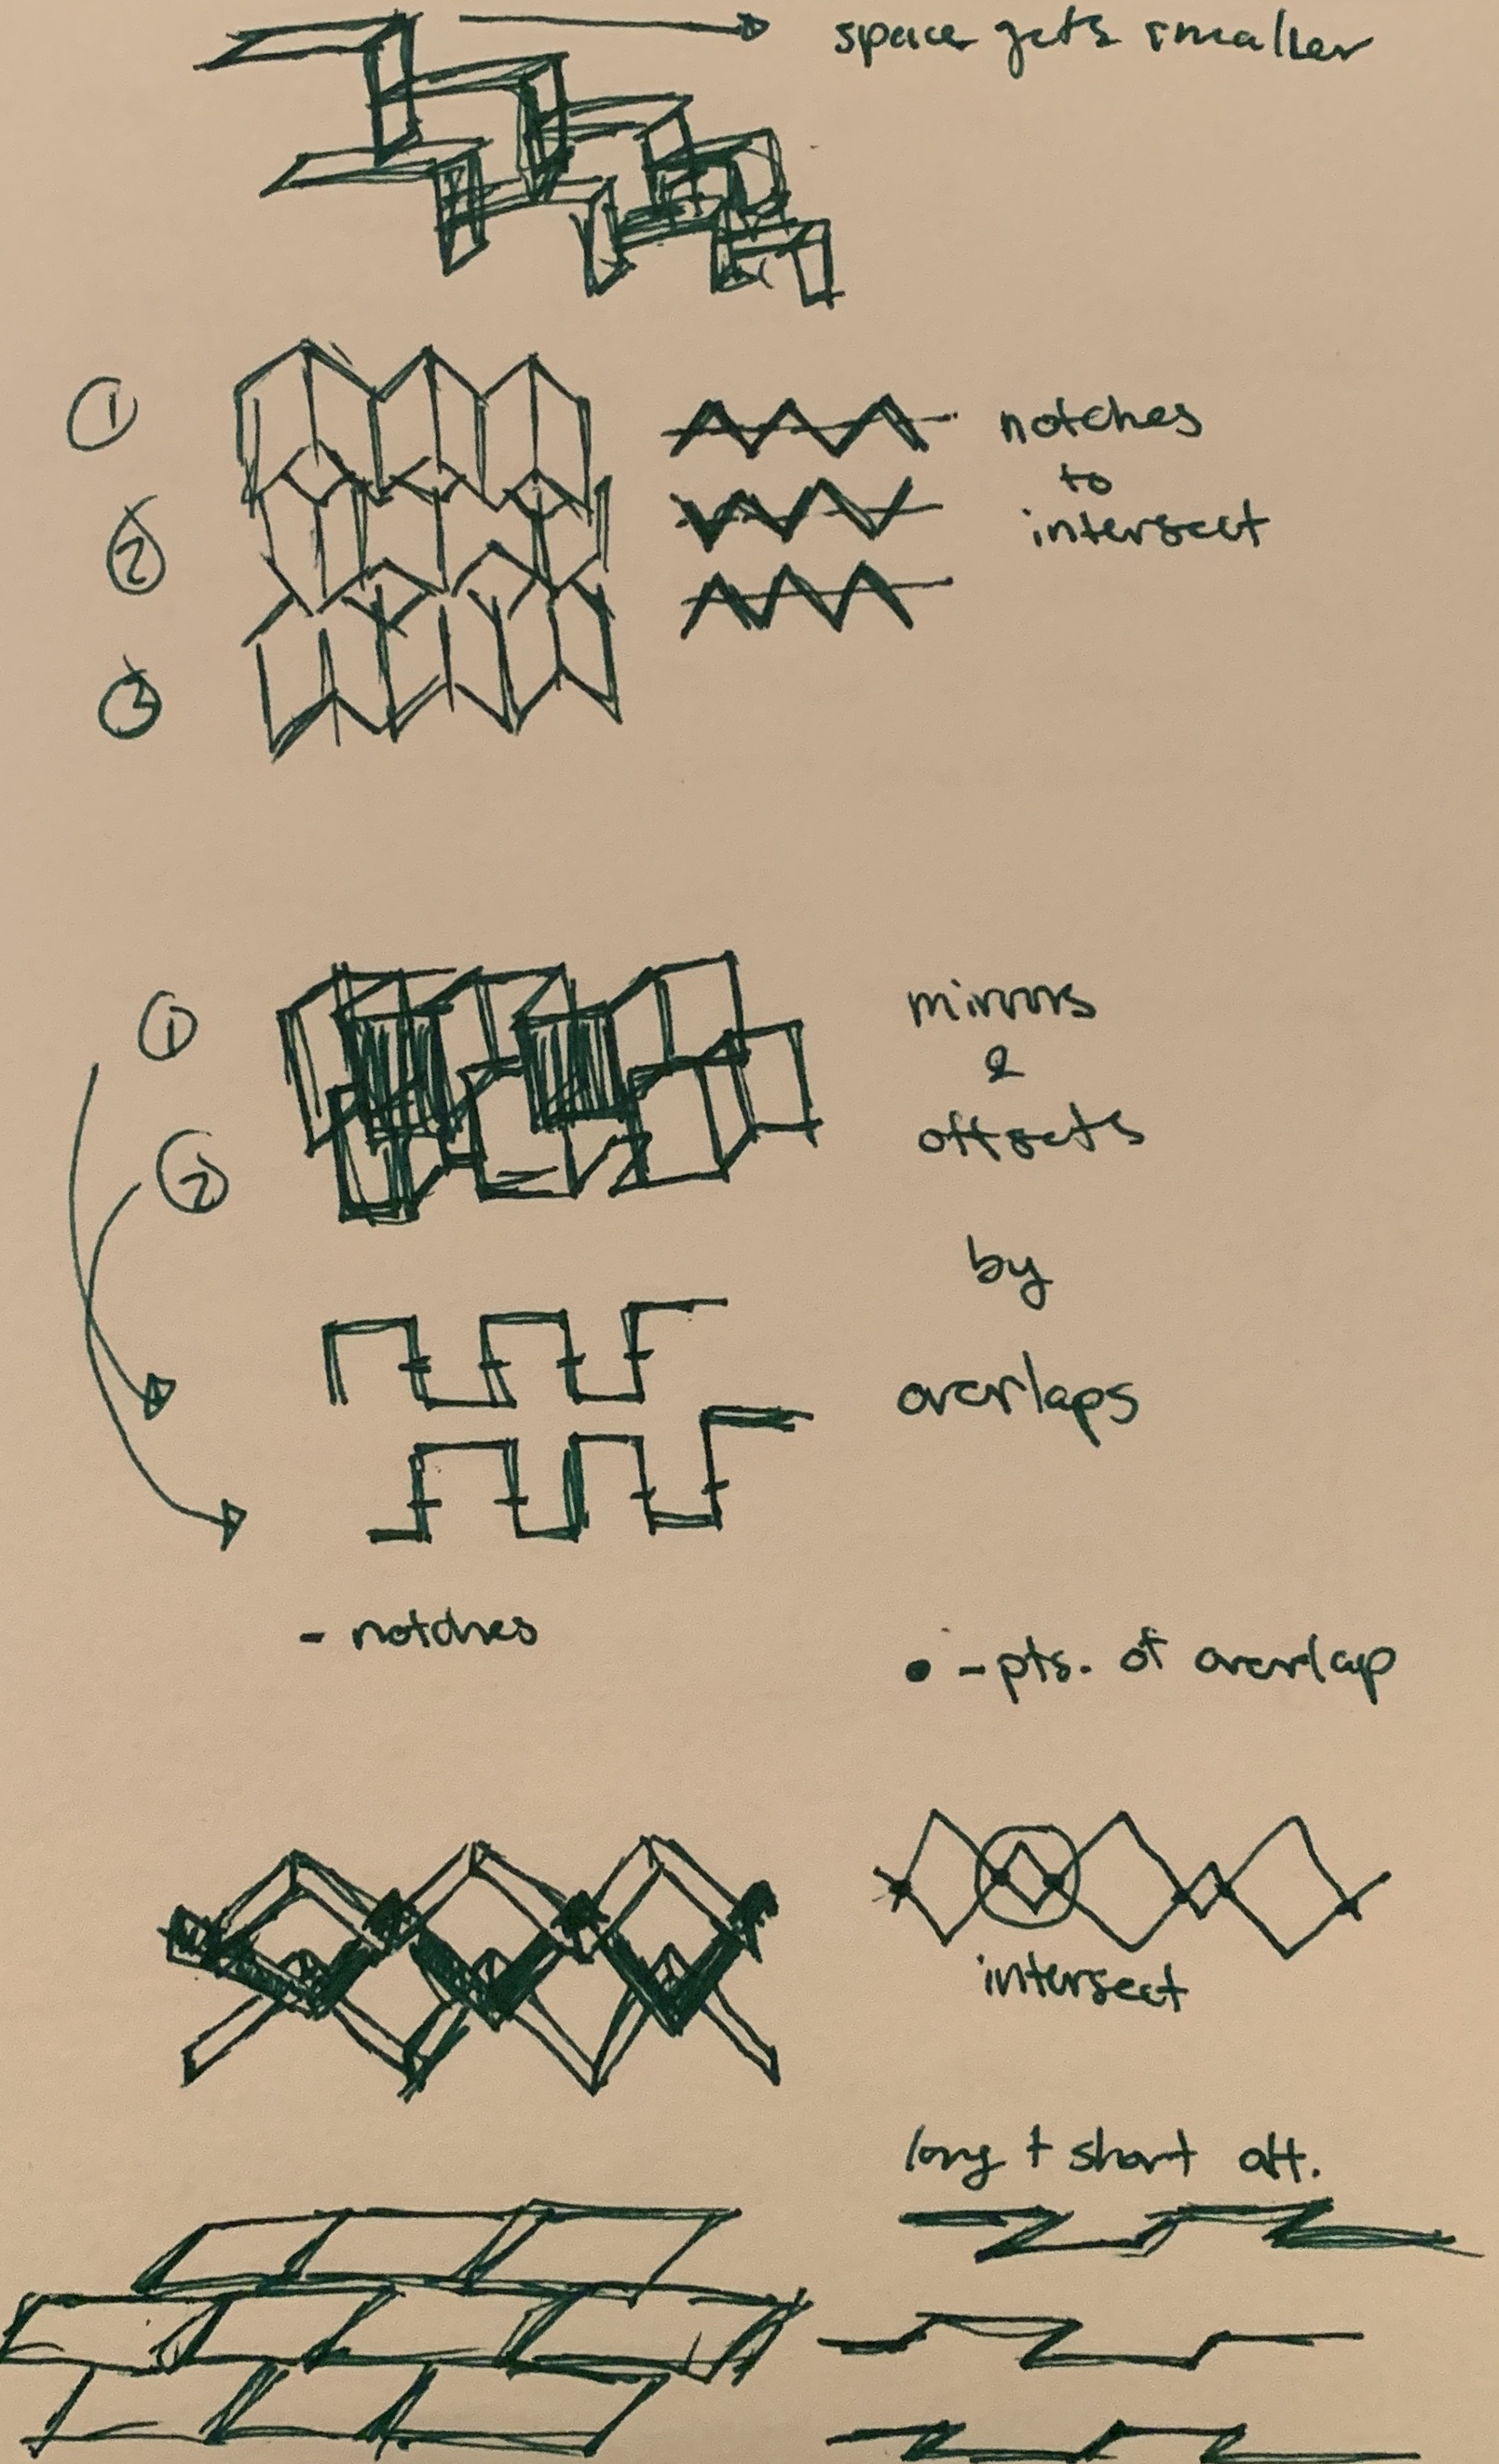
The main challenges throughout the project: capping only one side of the tube, creating thickness without crashing grasshopper, and creating one solid piece instead of multiple tubes (I ended up using Boolean Union after baking).
Once printed, I was able to play with the space in the middle of the form. As the diameter of the circle grows, so does the empty space in the middle – providing a space for another vase to sit in. See below!
The original form of this project is relatively simple: a tube – but through manipulation of height, diameter, tilt, and quantity, this project produces a variety of very different forms.
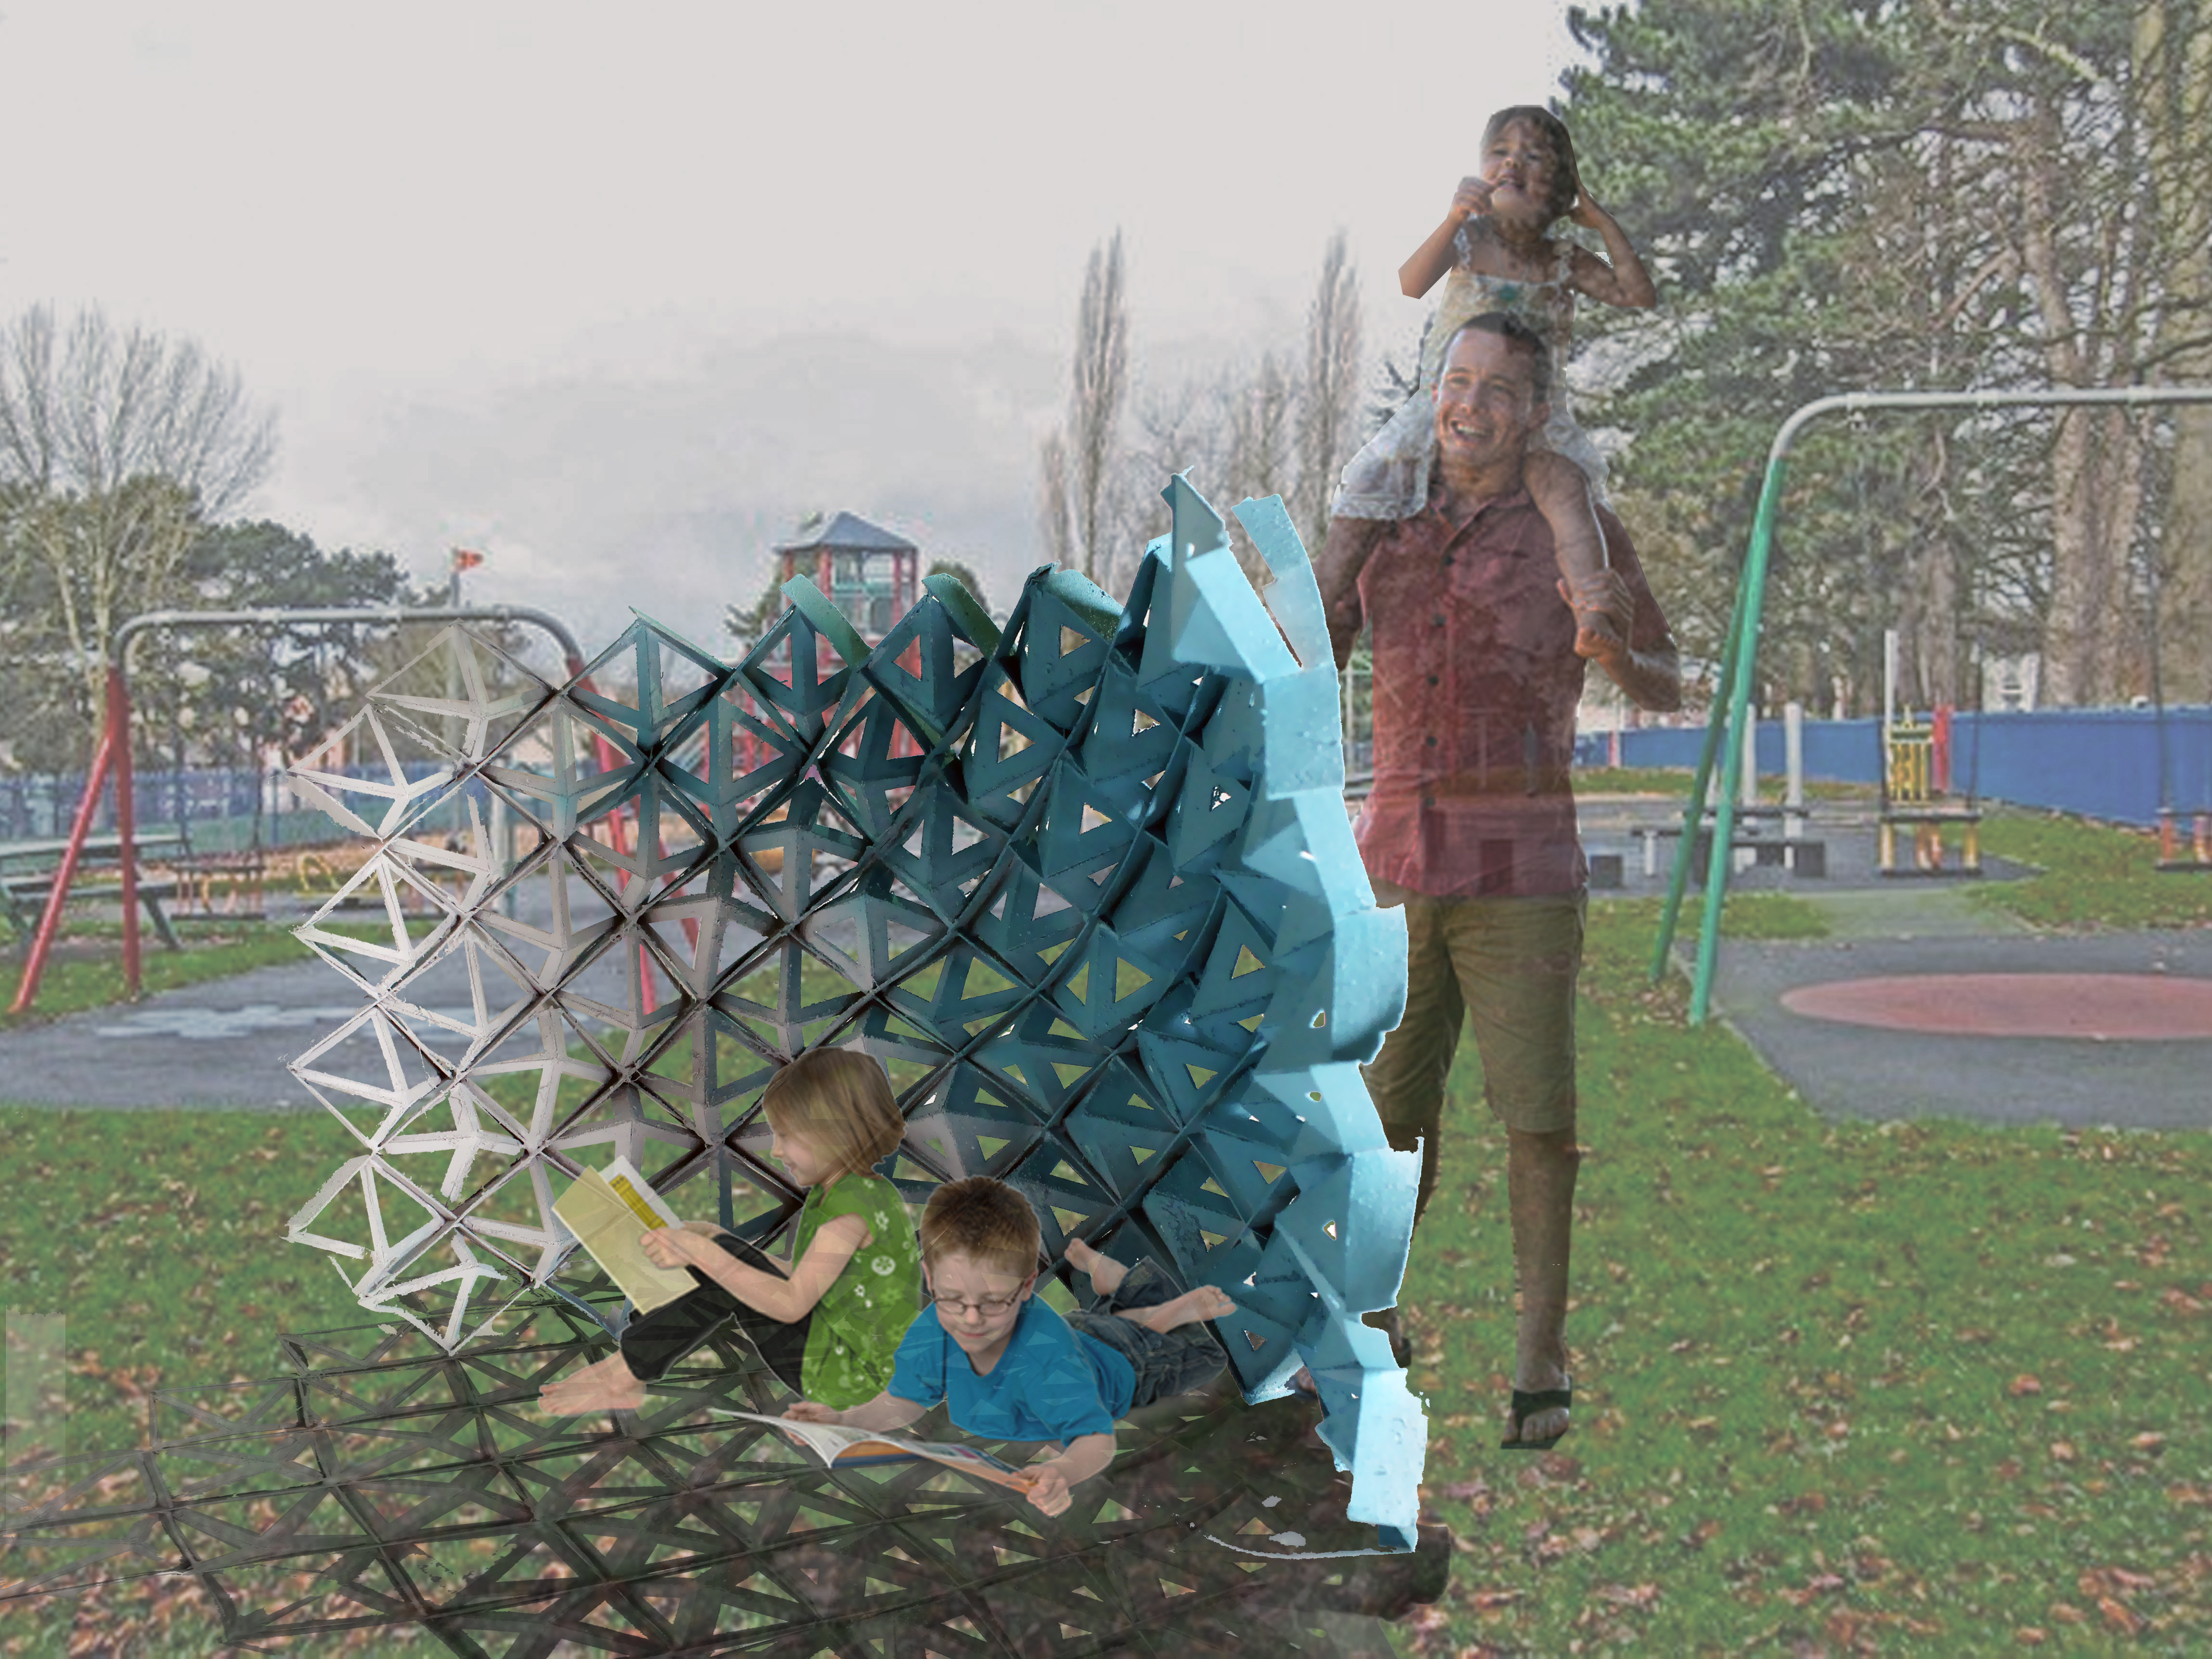
FINAL PHOTOS


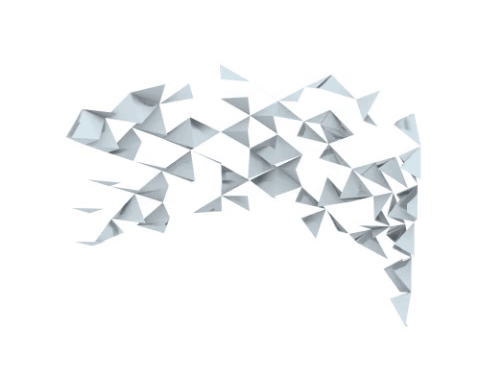
PROCESS


DANCING GIF

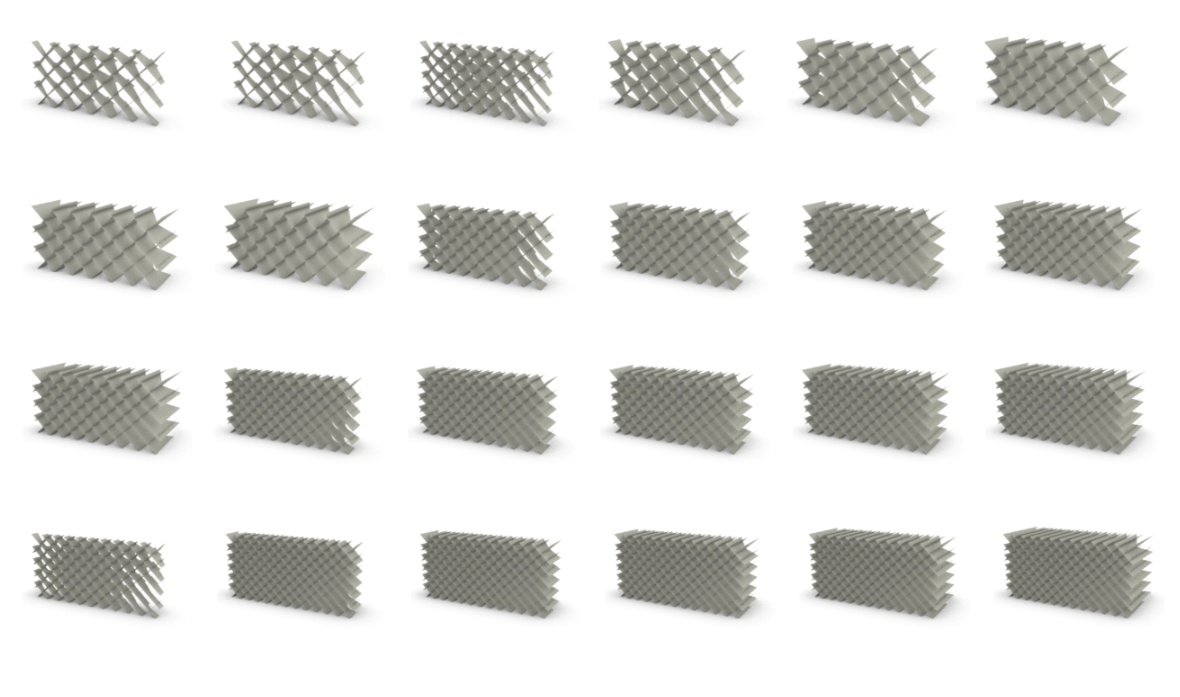
FINAL FAMILY MATRIX


You must be logged in to post a comment.